基于 Jekyll 构建,可通过 GitHub Pages 免费托管
Jekyll作品集
minimal-particle-template — Jekyll 作品集模板
作者 asaxena2019
基于 Jekyll 的个人作品集网站模板,在 GitHub personal-website 基础上增加了可自定义区块与动画粒子背景,使用 MIT 许可。
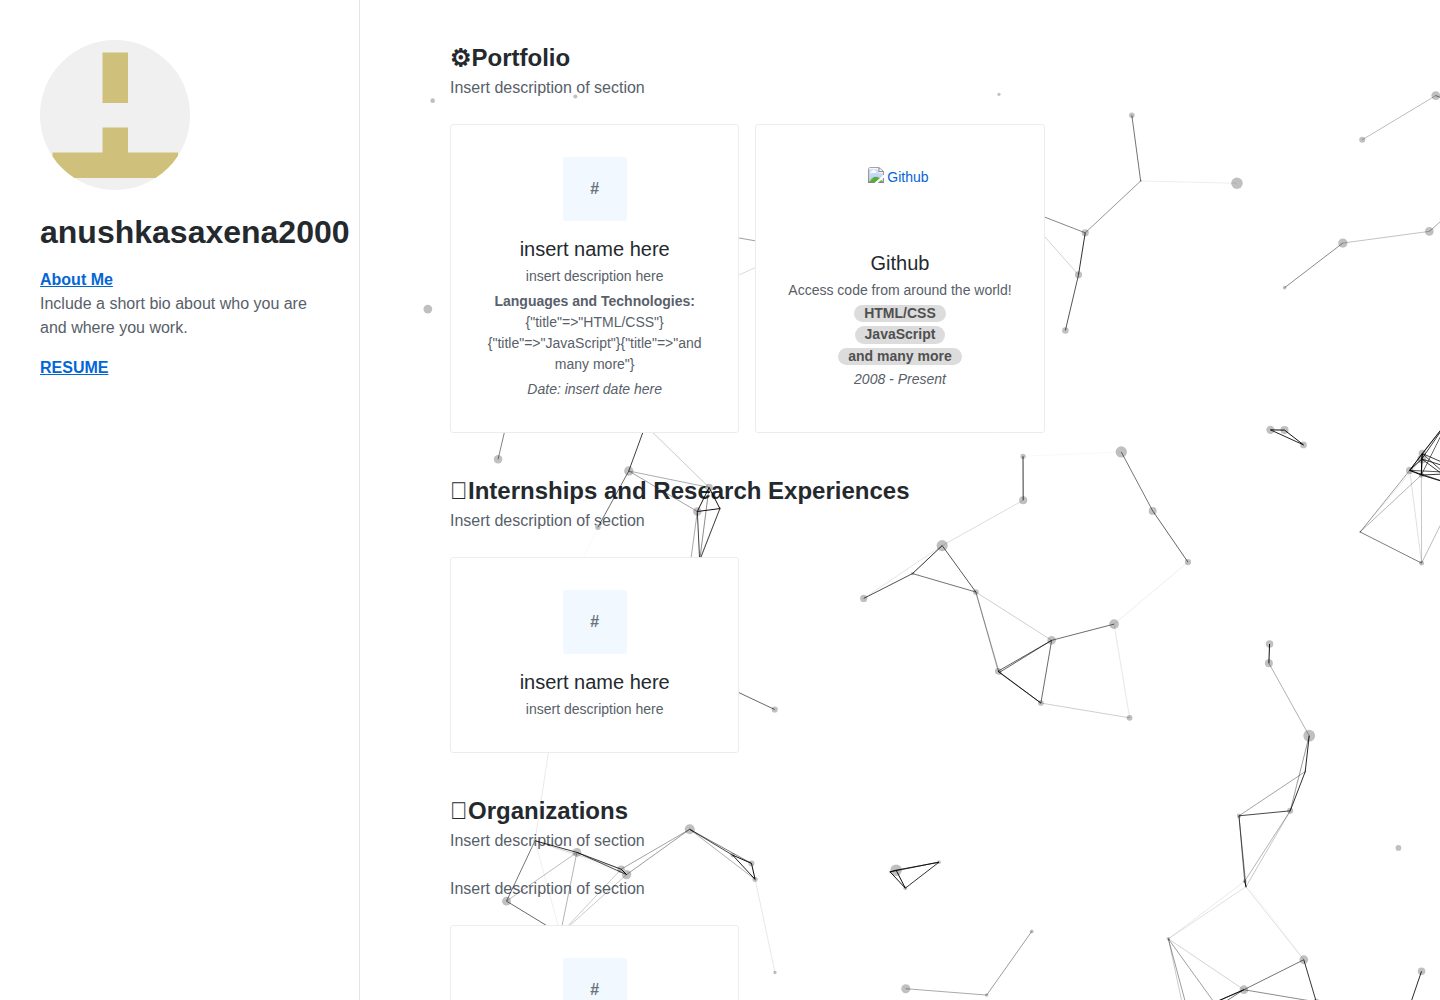
看看你的网站会是什么样
浏览真实页面截图,比较内容排版与手机效果。点击下方缩略图切换,放大查看整页细节。
全部页面与视图 2
截图用于了解视觉与布局,交互效果请以实际项目为准。
采集于 2026-10-03查看来源
值得关注的模板亮点
从已有项目资料中,快速了解它的特点。
在 GitHub personal-website 基础上增加可自定义区块
内置动画粒子背景,并修改了原始样式表
项目区块默认自动读取最近推送的九个 GitHub 仓库并排除 fork
支持浅色/深色样式与两栏/单栏布局切换
提供博客文章、独立页面及多种可复用 include 模板
模板详细介绍
该模板源自 github/personal-website 的分支,作者在此基础上增加了更多可自定义的区块、动画粒子背景,并修改了原有样式表。网站使用 Jekyll 构建,可通过 GitHub Pages 托管,并借助 GitHub API 自动填充仓库信息。
页面默认采用两栏布局,在较大屏幕上左侧边栏显示照片、姓名和基本信息;可在 _config.yml 中切换为单栏堆叠布局,也可在浅色与深色样式之间切换。首页包含「My Projects」「My Interests」「My Thoughts」等区块,其中项目列表默认展示最近推送的九个仓库并排除 fork。
模板支持添加独立页面和博客文章,内置 default、home、post 三种布局,并提供 header、footer、masthead、projects、interests、thoughts、post-card、repo-card、topic-card 等可复用 include 文件。社交链接支持 Behance、Dribbble、Facebook、LinkedIn、Medium、Stack Overflow、Twitter、YouTube 等服务。
使用前需注意:本地运行依赖 Ruby 环境与 Jekyll、Bundler;若需显示更详细的 GitHub 元数据(如分支名),需配置 GitHub API 认证。演示图片、字体、图标等第三方素材的许可需单独核对,代码的 MIT 许可不覆盖这些内容。
Jekyll作品集
适合你的项目吗?
适用场景
- 搭建展示个人项目与兴趣方向的开发者作品集网站
- 在 GitHub Pages 上发布个人主页并自动同步仓库信息
- 撰写并发布个人技术博客文章
- 通过 _config.yml 快速调整布局、配色与社交链接
适合人群
- 熟悉或愿意学习 Jekyll 与 Ruby 环境的开发者
- 希望用 GitHub 仓库自动生成项目列表的个人用户
- 需要浅色/深色切换与粒子背景效果的作品集站点
- 计划使用 GitHub Pages 托管个人网站的开发者
上手与定制指南
结合仓库当前版本的说明,按下面的资料检查内容、配置与运行要求。
- 1
先 fork github/personal-website 仓库,再按本模板的改动进行定制
- 2
本地需安装 Ruby 开发环境,并执行 gem install jekyll bundler 与 bundle install
- 3
使用 bundle exec jekyll serve 启动本地服务器,默认访问 http://localhost:4000
- 4
若安装 Jekyll 步骤中的命令无效,可尝试终端给出的推荐方案
- 5
将仓库命名为 username.github.io 可快速通过 GitHub Pages 发布,自定义域名需在仓库设置中配置
授权与来源资料
使用条件与限制
免费使用 · 保留许可声明本次收录的是公开仓库中采用 MIT 许可的免费版本;免费范围为该版本代码,不代表外部服务或第三方素材免费。
使用时需要遵守
- 允许免费使用、修改、商用和分发该版本代码。
- 分发代码副本或实质性部分时,保留原作者版权声明和完整 MIT 许可声明。
- 代码按现状提供;担保与责任限制以原许可证及适用法律为准。
额外费用与待核对事项
- 未配置 GitHub API 认证时,部分仓库元数据(如分支名)可能缺失或显示不正确;如需展示更详细的元数据,需自行配置 GitHub API 认证。
- 仅当需要展示更详细的 GitHub 元数据(例如分支名)时才需要配置 API 认证,否则可忽略该提示。
- 使用自定义域名时,需自行注册域名并在 DNS 服务商处配置解析,可能产生额外费用。
- 样式表通过 unpkg CDN 引入 Primer 框架,构建或访问时依赖该外部服务可用。
- 演示图片、字体、图标及其他第三方素材需按各自许可核对,不能仅凭代码的 MIT 许可判断。
- 域名、托管、数据库、支付或 AI 等外部服务可能另外收费。
查看原文依据
Permission is hereby granted, free of charge
许可证原文
GitHub Metadata: No GitHub API authentication could be found. Some fields may be missing or have incorrect data.
README 原文
API authentication is only necessary
README 原文
register and/or [configure your domain with a DNS provider]
README 原文
https://github.com/asaxena2019/minimal-particle-template/blob/master/LICENSE.txthttps://github.com/asaxena2019/minimal-particle-template/blob/master/README.md@import url('https://unpkg.com/primer/build/build.css');
README 原文
DeepSeek 根据仓库许可证和 README 整理 ·2026-10-03。结果仅覆盖已读取资料,依赖、图片、字体及后续条款变更以各自原文为准。
项目核对记录与介绍依据
模板资料
- 来源平台
- GitHub
- 资料与维护参考分
- 资料一般 · 68 / 100
- 技术栈
- Jekyll
- 网站类型
- 作品集
这个分数如何计算
本站按许可资料(最高30分)、演示链接(12分)、预览图(10分)、Star数(15分)、记录的维护时间(15分)、描述完整度(8分)、功能记录(5分)和分类资料(5分)计算。它不是代码、安全或性能测试,也不是 Google 评分;有链接不代表已实测可用。
这个项目需要核对什么
- 记录的仓库更新时间
- 2020-12-02
- 截图检查日期
- 2026-10-03
已收录演示链接。请用你的内容与屏幕尺寸检查;有演示不代表表单、认证或支付已经可用。
目录记录的主要技术栈是 Jekyll。请通过依赖清单和锁文件核对实际版本与托管要求。这些说明基于收录资料,不代表代码审计或部署实测。
查看具体选型方法 →介绍的制作与核对状态
介绍由 AI 辅助整理目录与仓库资料。仓库作者不等于这篇介绍的审核者。
审核声明: [email protected] · 2026-10-04
查看当时使用的来源资料
SHA-256: 49501a6c3e46faed41158543bdd97a46052d3545a2ed428c5594e7e0103e64ab
2026-10-03T08:45:42.039Z
来源文件 / 仓库# Portfolio Website
Template for my personal website. This includes more sections that you can customize, the famous animated particle background, and changes to the original stylesheet.
## How I Created My Website
I forked this [repo](https://github.com/github/personal-website) and made some changes, which can be found in this repo. For an example, visit [this website](http://anushkasaxena2000.github.io/).
Examples on how to edit and run the file is below. The files are also commented to explain how to edit.
When you get to step 4 under Install Jekyll, if that code doesn't work, try the recommended solution in terminal.
# Get started building your personal website
### Showcase your software development skills
This repository gives you the code you'll need to kickstart a personal website that showcases your work as a software developer. And when you manage the code in a GitHub repository, it will automatically render a webpage with the owner's profile information, including a photo, bio, and repositories.
Your personal website is waiting to be personalized, though. It includes space to highlight your specific areas of interest in software development, like languages or industries. And it's standing by to publish your next great blog post.
It's all possible using the combination of [Jekyll](https://jekyllrb.com/docs/) (for building your website), [GitHub Pages](https://pages.github.com/) (for hosting your website), and [GitHub's API](https://developer.github.com/v3/) (for automatically populating your website with content).
## Installation
### Fork the `github/personal-website` repo
You'll be making your own copy of the "personal website starter" repository so you have your own project to customize. A "fork" is a copy of a repository. So select "Fork" atop [the `github/personal-website` repository](https://github.com/github/personal-website).
Once you've found a home for your forked repository, it's yours. You're the owner, so you're ready to publish, if you wish.
### Install in your local development environment
If you want to manage your website in a local web development environment, you'll be using [Ruby](https://jekyllrb.com/docs/installation/).
Once you've found a home for your forked repository, **[clone it](https://help.github.com/articles/cloning-a-repository/)**.
#### Install Jekyll
Jekyll is a [Ruby Gem](https://jekyllrb.com/docs/ruby-101/#gems) that can be installed on most systems.
1. Install a full [Ruby development environment](https://jekyllrb.com/docs/installation/)
2. Install Jekyll and [bundler](https://jekyllrb.com/docs/ruby-101/#bundler) [gems](https://jekyllrb.com/docs/ruby-101/#gems)
```
gem install jekyll bundler
```
3. Change into your new directory
```
cd personal-website
```
4. Install missing gems
```
bundle install
```
5. Build the site and make it available on a local server
```
bundle exec jekyll serve
```
You should see something like:
```
Configuration file: /octocat/personal-website/_config.yml
Source: /octocat/personal-website
Destination: /octocat/_site
Incremental build: disabled. Enable with --incremental
Generating...
GitHub Metadata: No GitHub API authentication could be found. Some fields may be missing or have incorrect data.
done in 14.729 seconds.
Auto-regeneration: enabled for '/octocat/personal-website'
Server address: http://127.0.0.1:4000
Server running... press ctrl-c to stop.
```
Don't worry about the "No GitHub API authentication could be found" message. [API authentication is only necessary](https://github.com/jekyll/github-metadata/blob/master/docs/authentication.md) if you intend to display more detailed metadata, like a branch name.
6. Now browse to [http://localhost:4000](http://localhost:4000)
### Publish
When you host your personal website's code on GitHub, you get the support of free hosting through GitHub Pages.
**The fastest approach** is to rename your repository `username.github.io`, where `username` is your GitHub username (or organization name). Then, the next time you push any changes to your repository's `master` branch, they'll be accessible on the web at your `username.github.io` address.
**If you want to use a custom domain**, you'll want to add it to your repository's "Custom domain" settings on github.com. And then register and/or [configure your domain with a DNS provider](https://help.github.com/articles/quick-start-setting-up-a-custom-domain/).
## Customization
It's your website, and you control the source code. So you can customize everything, if you like. But we've provided a handful of quick customizations for you to consider as you get your website off the ground.
### Quick configuration changes
Most customizations can be done in a matter of seconds, by revising your repository's `_config.yml` file. Just remember to restart your local server each time you save new changes so your Jekyll-powered website rebuilds correctly:
1. Shut down your server by entering the keyboard command <kbd>CTRL</kbd>+<kbd>c</kbd>
2. Restart your server: `bundle exec jekyll serve`
#### Layout
Your website will display in a two-column layout by default on larger-screen devices, with your photo, name, and basic information displayed in a left-aligned "sidebar." You can quickly switch to a "stacked" single-column layout by changing the line in your `_config.yml` file that reads `layout: sidebar` to `layout: stacked`.
#### Style
Your website appears with a "light" white and gray background by default, with dark text. You can quickly switch to a "dark" background with white text by changing the line in your `_config.yml` file that reads `style: light` to `style: dark`.
#### Projects
The "My Projects" section of your website is generated by default with your nine most recently "pushed" repositories. It also excludes repositories that you forked, by default. But each of these parameters can be quickly customized in your repository's `_config.yml` file, under the `projects` dictionary line.
Parameters include:
- `sort_by`: The method by which repositories are sorted. Options include `pushed` and `stars`.
- `limit`: The maximum number of repositories that will be displayed in the "My Projects" section of your website. Out of the box, this number is set to `9`.
- `exclude`:
- `forks`: When `true`, repositories you've forked will be excluded from the listing.
- `projects`: A list the repository names you want to exclude from the listing.
#### Topics
Your website comes pre-configured with three topics (e.g. "Web design" and "Sass") that appear in a section titled "My Interests." These are also stored in your repository's `_config.yml` file, where you can define each topic's name and two other optional details:
- `web_url`: The web address you'd like to your topic to link to (e.g. `https://github.com/topics/sass`).
- `image_url`: The web address of an (ideally square) image that you'd like to appear with your topic.
#### Social media
Your website supports linking and sharing to social media services you're using, including Behance, Dribbble, Facebook, LinkedIn, Medium, Stack Overflow, Twitter, and YouTube. To identify the services you use:
1. Edit your repository's `_config.yml` file.
2. Edit the `social_media` dictionary line, and represent the services you like in a simple `key: value` form:
```
social_media:
behance: your_username
dribbble: your_username
facebook: your_username
hackerrank: your_username
instagram: your_username
keybase: your_username
linkedin: your_username
medium: your_username
stackoverflow: your_user_id
telegram: your_username
twitter: your_username
unsplash: your_username
vk: your_username
website: http://your_website_url
youtube: your_username
```
Links to your profile for each of the services you define will appear in the `<header>` of your website, appended to your bio. And if those services support sharing, any blog posts that you publish will include links to share that post using each social media service.
**Note**: This feature is supported by two files in your repository:
- `/_data/social_media.yml`: Defines each of the supported services, including variable name, display name, URL path, and SVG icon.
- `/_includes/social_media_share_url.html`: Outputs the share URL required for any of the supported social media services that support sharing URLs.
If you're interested in adding a social media service that's not already supported in this repo, you can edit these two files to build that support.
## Adding pages
To **add a page** to your website (e.g. detailed resume):
1. Create a new `.html` or `.md` file at the root of your repository.
2. Give it a filename that you want to be used in the page's URL (e.g. `http://yoursite.dev/filename`).
3. At the start of your file, include the following [front matter](https://jekyllrb.com/docs/front-matter/):
```
---
layout: default
---
```
## Adding blog posts
To **add a blog post** to your website:
1. Create a new `.md` file in your repository's `/_posts/` directory.
2. Give it a filename using the following format:
```
YEAR-MONTH-DAY-title.MARKUP
```
3. At the start of your file, include the following [front matter](https://jekyllrb.com/docs/front-matter/):
```
---
title: "The title of my blog post"
---
```
Your website comes with a placeholder blog post that you can reference. Notably, its [front matter](https://jekyllrb.com/docs/front-matter/) declares `published` as `false`, so that it won't appear on your website.
While you can define a `layout` in the front matter, your website is pre-configured to assign the `post` layout to all of the posts in your `/_posts/` directory. So you don't have to declare that in your posts.
Jekyll's conventions for authoring and managing blog posts is very flexible. You can [learn more in Jekyll's documentation for "Posts."](https://jekyllrb.com/docs/posts/)
## Content and templates
To give you a sound foundation to start your personal website, your repository includes a handful of "includes" -- dynamic `.html` files that are re-used throughout your website. They're all stored in the `/_includes/` directory.
There are the usual suspects, like `header.html` and `footer.html`. But there are few more worth pointing out:
- `interests.html`: A heading and dynamic list of "My Interests," which is populated with the [topics](#topics) you list in your `_config.yml`.
- `masthead.html`: A collection of your avatar, name, bio, and other metadata that's displayed prominently on all your webpages to help identify what the website is about.
- `post-card.html`: A compact, summarized presentation of a blog post, re-used to display a listing of your latest blog posts.
- `projects.html`: A heading and dynamic list of "My Projects," which is populated with a listing of your newest GitHub repositories.
- `repo-card.html`: A compact, summarized presentation of a repository, re-used to display a listing of your GitHub repositories.
- `thoughts.html`: A heading and dynamic list of "My Thoughts," which is populated with a listing of your latest blog posts.
- `topic-card.html`: A compact, summarized presentation of a topic (defined in your `_config.yml`), re-used to display a listing of your interests.
### Layouts
Your repository comes with three layouts:
- **default**: Not used by any of the built-in pages or posts, but useful for any new pages you create.
- **home**: Used by your `index.html` homepage to display listings of your projects, interests, and (optionally) your blog posts.
- **post**: Used by default by the posts in your `/_posts/` directory.
Jekyll's convention for defining layouts is very flexible. You can [learn more about customizing your layouts in the Jekyll "Layouts" docs.](https://jekyllrb.com/docs/layouts/)
## Styles
Your website is pre-configured to use [GitHub's very flexible CSS framework called "Primer,"](https://styleguide.github.com/primer/). It's currently referenced within your `styles.scss` file, using the CSS import at-rule:
```
@import url('https://unpkg.com/primer/build/build.css');
```
You are, of course, welcome to remove it or replace it with another framework. Just bear in mind that the HTML that your website came pre-packaged with references multiple Primer "utility classes" to define things like column widths, margins, and background colors.
You also have the option to add on to and extend Primer's styles by adding custom CSS to your `/assets/styles.scss` Sass stylesheet. By editing this file, you can customize your website's color scheme, typography, and more.
## License
The theme is available as open source under the terms of the [MIT License](https://opensource.org/licenses/MIT).
看看同类模板
对比同技术栈与用途的模板,找到更适合的视觉与内容结构。
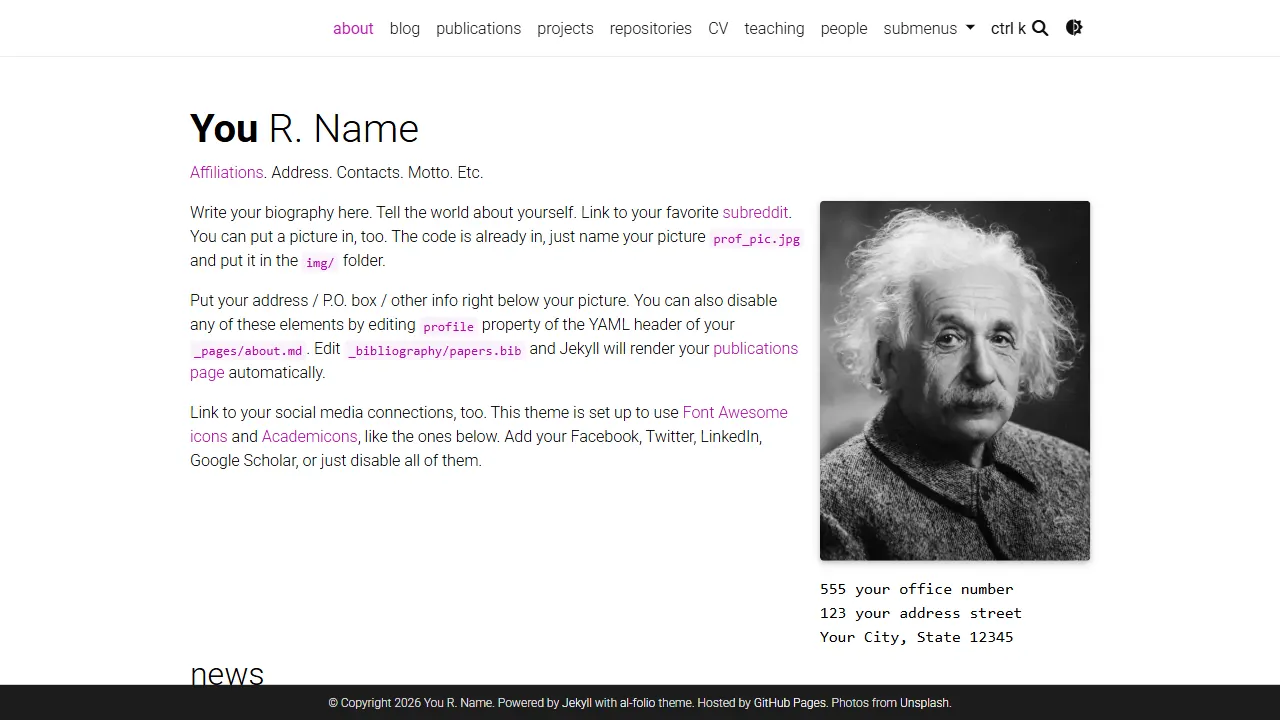
al-folio
al-folio 是一个面向学者与研究人员的 Jekyll 作品集主题,设计简洁、响应式,适合搭建个人学术主页。
Jekyll · 作品集
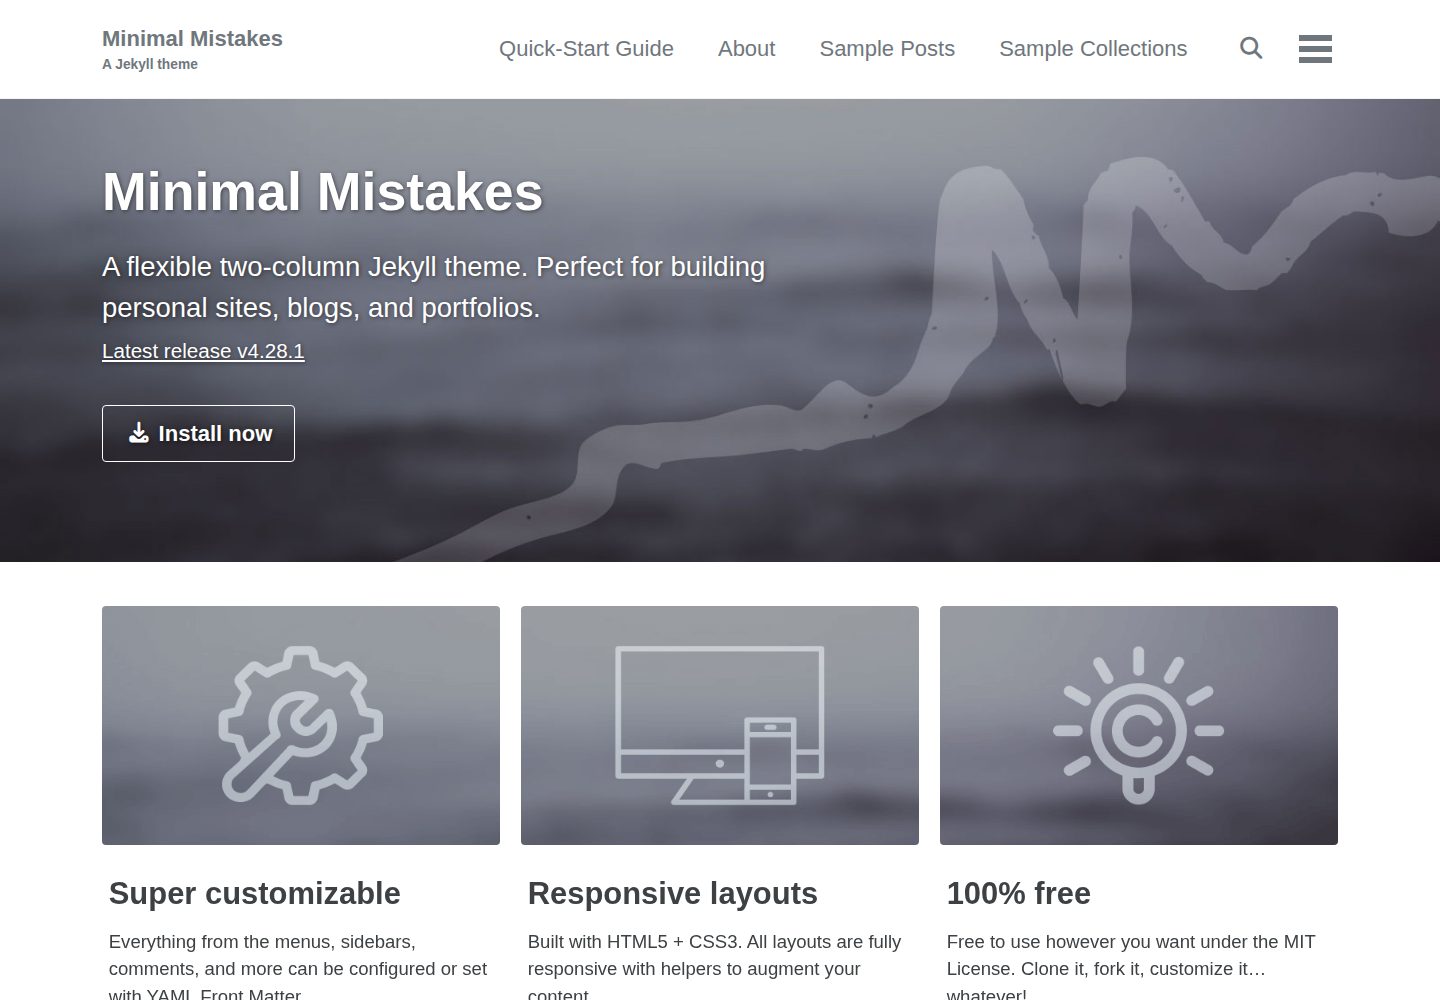
minimal-mistakes
:triangular_ruler: Jekyll theme for building a personal site, blog, project documentation, or portfolio.
Jekyll · 作品集
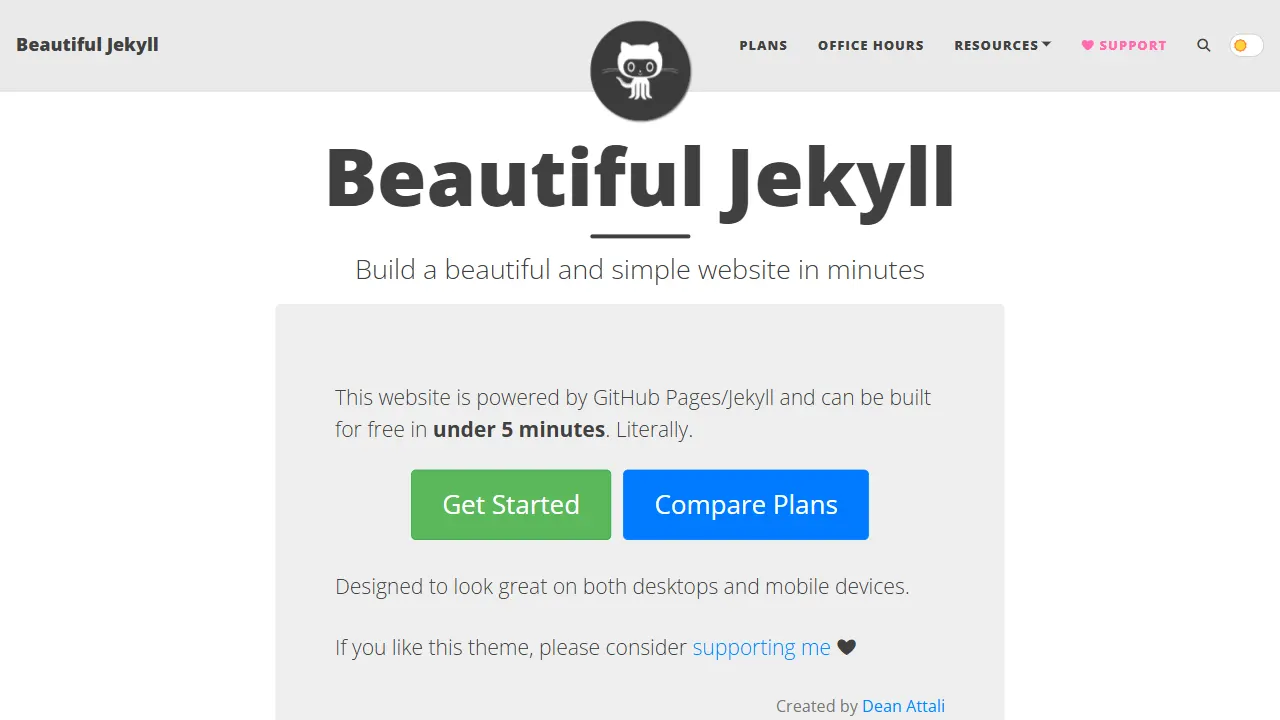
Beautiful Jekyll
Beautiful Jekyll 是一个在 Jekyll 生态中经过长期打磨的博客主题,由 Dean Attali 维护,自 2015 年起积累了超过 5 万用户。
Jekyll · 博客
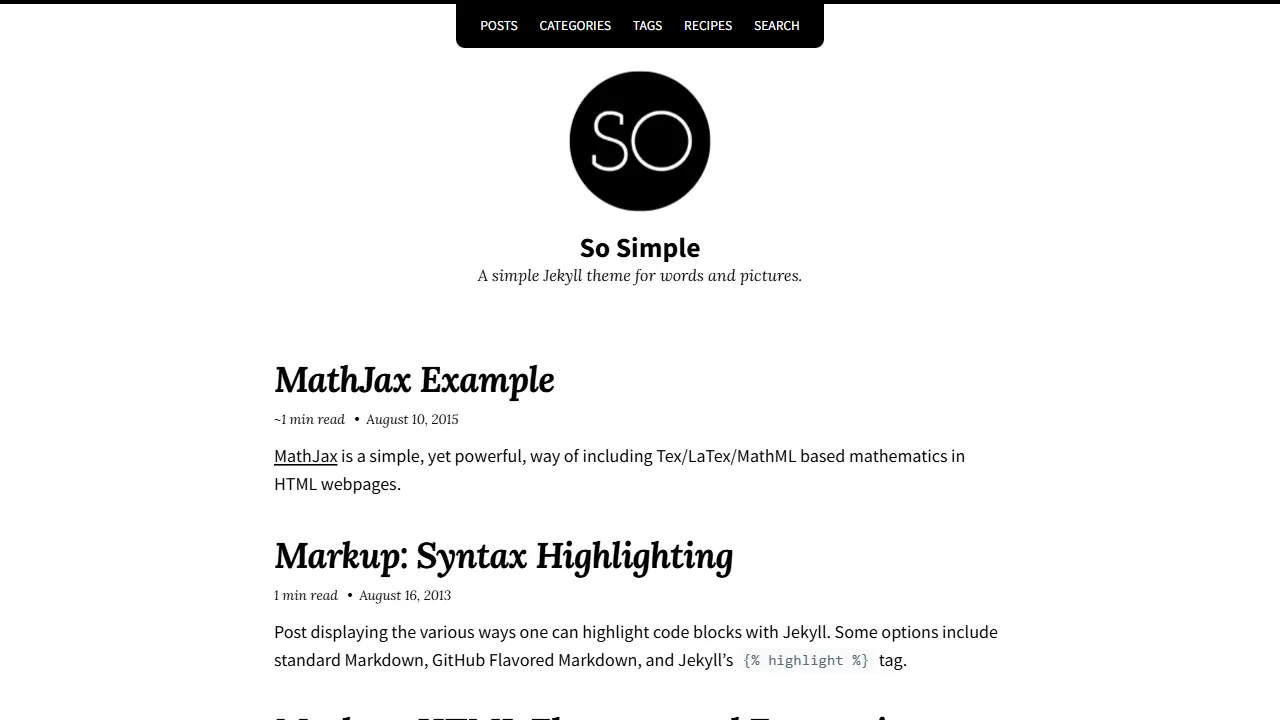
So Simple
So Simple 是 Michael Rose 开发的 Jekyll 主题,定位清晰:为文字和图片提供一个干净、可读性强的展示框架。
Jekyll · 博客
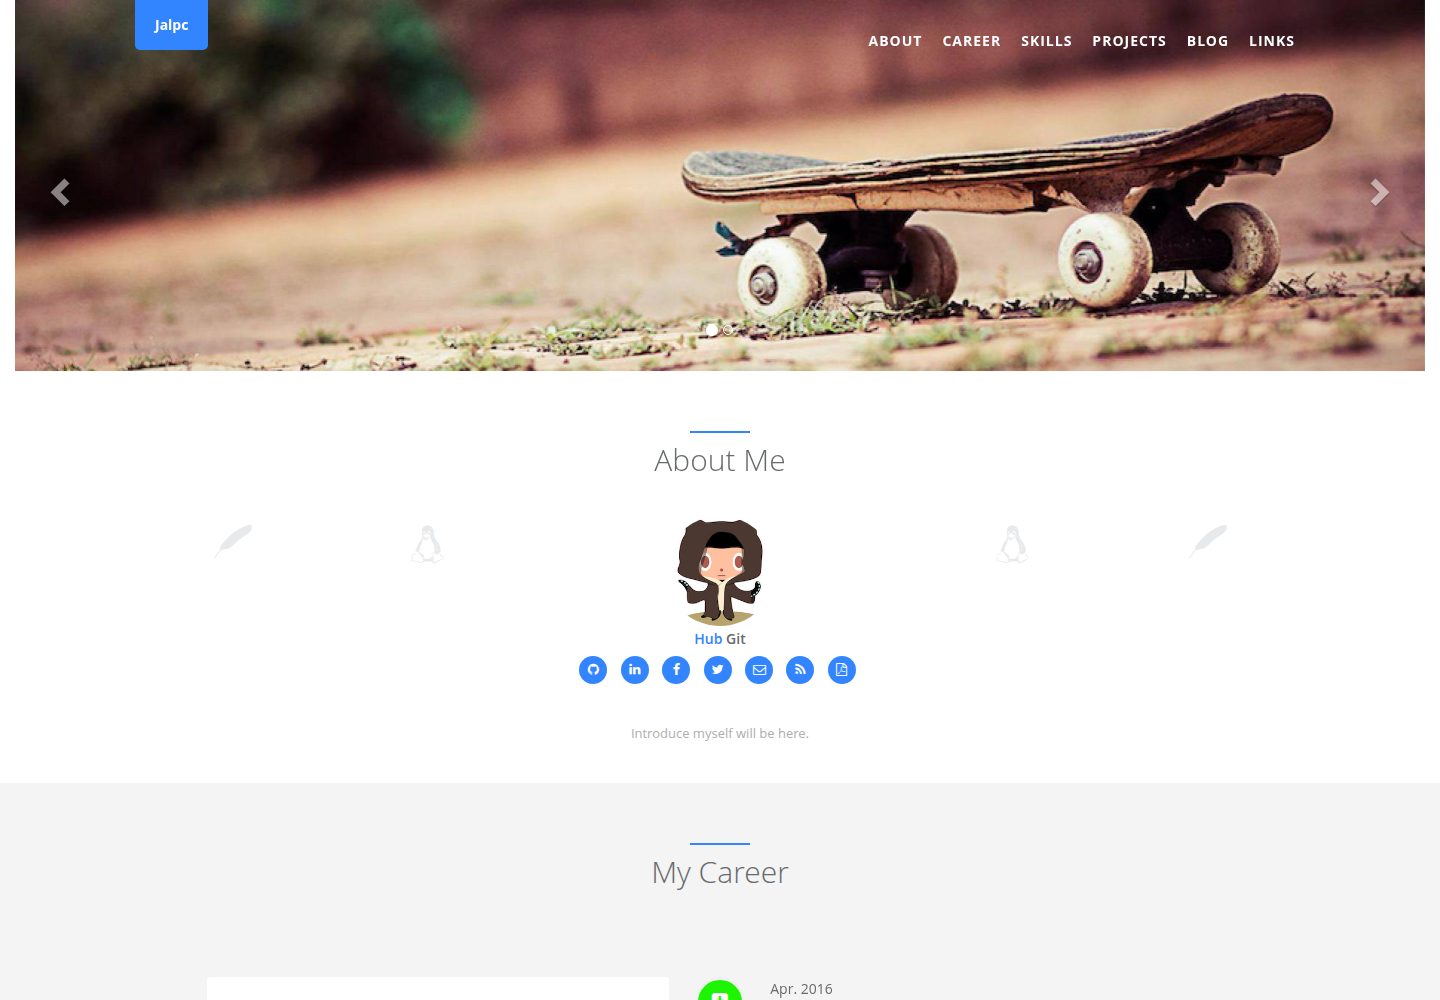
Jalpc
🍎Jalpc -- A flexible Jekyll theme, 3 steps to build your website.
Jekyll · 作品集
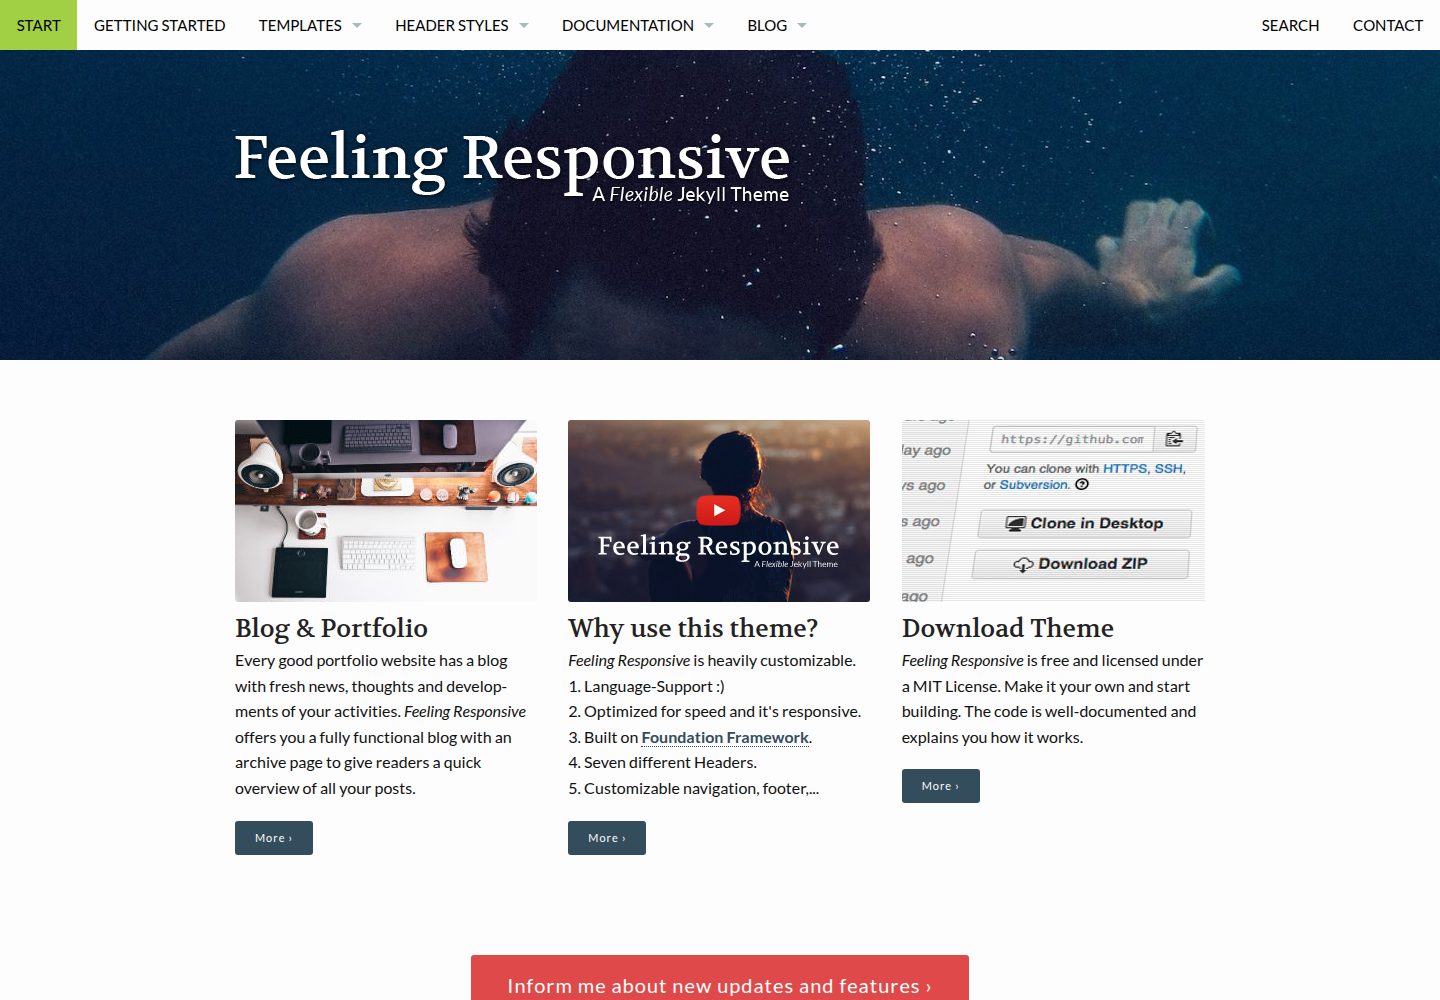
feeling-responsive
»Feeling Responsive« is a free flexible theme for Jekyll built on Foundation framework. You can use it for you…
Jekyll · 作品集