Built with Jekyll and can be hosted for free via GitHub Pages
JekyllPortfolio
minimal-particle-template — Jekyll Portfolio Template
By asaxena2019
A Jekyll-based personal portfolio website template that adds customizable sections and an animated particle background to GitHub personal-website, under the MIT license.
Explore the design
Compare the page layouts and mobile experience. Open any screenshot for a closer look.
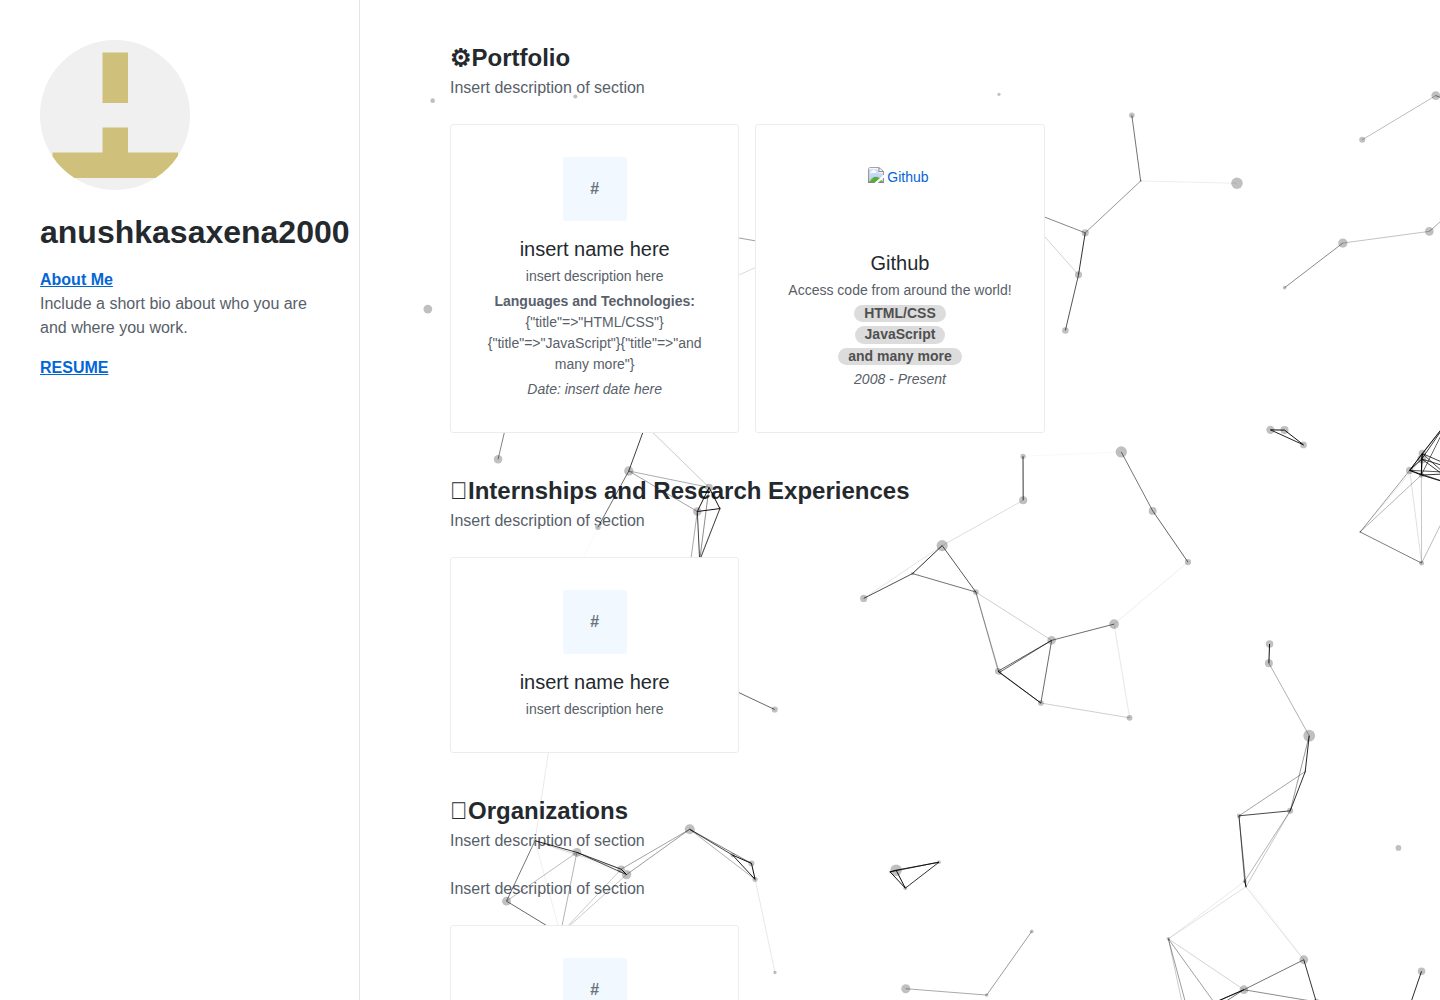
Desktop homepage1 / 2
Desktop captureTop of page
Actual screenshot captured by the server browser.
All pages & views 2
Screenshots show visual appearance; interactive behavior may differ.
Recorded 2026-10-03View source
What stands out
A quick read of the recorded project description.
Adds customizable sections on top of GitHub personal-website
Includes an animated particle background and modifies the original stylesheets
The projects section by default automatically reads the nine most recently pushed GitHub repositories and excludes forks
Supports light/dark styles and two-column/single-column layout toggles
Provides blog posts, standalone pages, and multiple reusable include templates
Template Details
This template is a fork of github/personal-website. The author added more customizable sections and an animated particle background, and modified the original stylesheets. The site is built with Jekyll, can be hosted via GitHub Pages, and automatically populates repository information using the GitHub API.
The page uses a two-column layout by default, with a left sidebar showing a photo, name, and basic information on larger screens; you can switch to a single-column stacked layout in _config.yml, and also toggle between light and dark styles. The homepage includes sections such as "My Projects," "My Interests," and "My Thoughts." The projects list by default shows the nine most recently pushed repositories and excludes forks.
The template supports adding standalone pages and blog posts, includes default, home, and post layouts, and provides reusable include files such as header, footer, masthead, projects, interests, thoughts, post-card, repo-card, and topic-card. Social links support services including Behance, Dribbble, Facebook, LinkedIn, Medium, Stack Overflow, Twitter, and YouTube.
Before use, note the following: running locally requires a Ruby environment along with Jekyll and Bundler; to display more detailed GitHub metadata (such as branch names), you need to configure GitHub API authentication. The licenses for third-party assets such as demo images, fonts, and icons must be checked separately; the code's MIT license does not cover these.
JekyllPortfolio
Is it right for your project?
Use Cases
- Build a developer portfolio site showcasing personal projects and interests
- Publish a personal homepage on GitHub Pages and automatically sync repository information
- Write and publish personal technical blog posts
- Quickly adjust layout, color scheme, and social links via _config.yml
Suitable For
- Developers familiar with or willing to learn the Jekyll and Ruby environment
- Individuals who want to automatically generate a project list from GitHub repositories
- Portfolio sites that need light/dark toggles and a particle background effect
- Developers planning to host a personal website with GitHub Pages
Getting started & customization
Use these recorded setup notes alongside the repository instructions for your chosen version.
- 1
First fork the github/personal-website repository, then customize according to this template's changes
- 2
A Ruby development environment is required locally; run gem install jekyll bundler and bundle install
- 3
Start the local server with bundle exec jekyll serve; by default visit http://localhost:4000
- 4
If the commands in the Jekyll installation steps do not work, try the recommended alternative shown in the terminal
- 5
Naming the repository username.github.io enables quick publishing via GitHub Pages; a custom domain must be configured in the repository settings
License & source material
Usage conditions & limitations
Free to use · keep license noticeThis entry covers the free version under the MIT license in the public repository; the free scope is the code of this version and does not mean external services or third-party assets are free.
Must comply with when using
- You may use, modify, commercially use, and distribute the code of this version for free.
- When distributing copies or substantial portions of the code, retain the original author's copyright notice and the full MIT license notice.
- The code is provided as is; warranties and limitations of liability are governed by the original license and applicable law.
Additional costs & items to verify
- Without GitHub API authentication configured, some repository metadata (such as branch names) may be missing or displayed incorrectly; to show more detailed metadata, you need to configure GitHub API authentication yourself.
- API authentication is only needed when you want to display more detailed GitHub metadata (for example, branch names); otherwise you can ignore this note.
- When using a custom domain, you need to register the domain yourself and configure DNS records with your DNS provider, which may incur additional costs.
- The stylesheets load the Primer framework via the unpkg CDN, so building or visiting depends on the availability of that external service.
- Demo images, fonts, icons, and other third-party assets must be checked against their respective licenses; do not judge solely based on the code's MIT license.
- External services such as domains, hosting, databases, payments, or AI may incur separate charges.
View Original Text Basis
Permission is hereby granted, free of charge
Original License Text
GitHub Metadata: No GitHub API authentication could be found. Some fields may be missing or have incorrect data.
Original README
API authentication is only necessary
Original README
register and/or [configure your domain with a DNS provider]
Original README
https://github.com/asaxena2019/minimal-particle-template/blob/master/LICENSE.txthttps://github.com/asaxena2019/minimal-particle-template/blob/master/README.md@import url('https://unpkg.com/primer/build/build.css');
Original README
Compiled by DeepSeek based on repository license and README ·2026-10-03. Results only cover the materials read; dependencies, images, fonts, and subsequent term changes are subject to their respective original texts.
Project checks & description sources
Template Information
- Source platforms
- GitHub
- Documentation and maintenance reference score
- Partly documented · 68 / 100
- Technologies
- Jekyll
- Website type
- Portfolio
How this score is calculated
Our heuristic uses license records (up to 30), a demo link (12), a preview (10), stars (15), recorded maintenance (15), description completeness (8), feature records (5) and classification data (5). It is not a code, security or performance test, or a Google score. A link does not establish tested functionality.
What to verify for this project
- Repository update recorded
- 2020-12-02
- Screenshot last checked
- 2026-10-03
A demo link is listed. Check it with your own content and viewport sizes; its presence does not confirm that forms, authentication or payments work.
The catalog identifies Jekyll as the primary stack. Check the actual dependency manifest and lockfile for versions and hosting requirements. These notes use recorded metadata, not a code audit or a deployment test.
Use a selection guide →How this description was prepared
AI-assisted description based on catalog records and repository material. Repository authors are not automatically the reviewers of this description.
Review declaration: [email protected] · 2026-10-04
Inspect the recorded source material
SHA-256: 49501a6c3e46faed41158543bdd97a46052d3545a2ed428c5594e7e0103e64ab
2026-10-03T08:45:42.039Z
Source file / repository# Portfolio Website
Template for my personal website. This includes more sections that you can customize, the famous animated particle background, and changes to the original stylesheet.
## How I Created My Website
I forked this [repo](https://github.com/github/personal-website) and made some changes, which can be found in this repo. For an example, visit [this website](http://anushkasaxena2000.github.io/).
Examples on how to edit and run the file is below. The files are also commented to explain how to edit.
When you get to step 4 under Install Jekyll, if that code doesn't work, try the recommended solution in terminal.
# Get started building your personal website
### Showcase your software development skills
This repository gives you the code you'll need to kickstart a personal website that showcases your work as a software developer. And when you manage the code in a GitHub repository, it will automatically render a webpage with the owner's profile information, including a photo, bio, and repositories.
Your personal website is waiting to be personalized, though. It includes space to highlight your specific areas of interest in software development, like languages or industries. And it's standing by to publish your next great blog post.
It's all possible using the combination of [Jekyll](https://jekyllrb.com/docs/) (for building your website), [GitHub Pages](https://pages.github.com/) (for hosting your website), and [GitHub's API](https://developer.github.com/v3/) (for automatically populating your website with content).
## Installation
### Fork the `github/personal-website` repo
You'll be making your own copy of the "personal website starter" repository so you have your own project to customize. A "fork" is a copy of a repository. So select "Fork" atop [the `github/personal-website` repository](https://github.com/github/personal-website).
Once you've found a home for your forked repository, it's yours. You're the owner, so you're ready to publish, if you wish.
### Install in your local development environment
If you want to manage your website in a local web development environment, you'll be using [Ruby](https://jekyllrb.com/docs/installation/).
Once you've found a home for your forked repository, **[clone it](https://help.github.com/articles/cloning-a-repository/)**.
#### Install Jekyll
Jekyll is a [Ruby Gem](https://jekyllrb.com/docs/ruby-101/#gems) that can be installed on most systems.
1. Install a full [Ruby development environment](https://jekyllrb.com/docs/installation/)
2. Install Jekyll and [bundler](https://jekyllrb.com/docs/ruby-101/#bundler) [gems](https://jekyllrb.com/docs/ruby-101/#gems)
```
gem install jekyll bundler
```
3. Change into your new directory
```
cd personal-website
```
4. Install missing gems
```
bundle install
```
5. Build the site and make it available on a local server
```
bundle exec jekyll serve
```
You should see something like:
```
Configuration file: /octocat/personal-website/_config.yml
Source: /octocat/personal-website
Destination: /octocat/_site
Incremental build: disabled. Enable with --incremental
Generating...
GitHub Metadata: No GitHub API authentication could be found. Some fields may be missing or have incorrect data.
done in 14.729 seconds.
Auto-regeneration: enabled for '/octocat/personal-website'
Server address: http://127.0.0.1:4000
Server running... press ctrl-c to stop.
```
Don't worry about the "No GitHub API authentication could be found" message. [API authentication is only necessary](https://github.com/jekyll/github-metadata/blob/master/docs/authentication.md) if you intend to display more detailed metadata, like a branch name.
6. Now browse to [http://localhost:4000](http://localhost:4000)
### Publish
When you host your personal website's code on GitHub, you get the support of free hosting through GitHub Pages.
**The fastest approach** is to rename your repository `username.github.io`, where `username` is your GitHub username (or organization name). Then, the next time you push any changes to your repository's `master` branch, they'll be accessible on the web at your `username.github.io` address.
**If you want to use a custom domain**, you'll want to add it to your repository's "Custom domain" settings on github.com. And then register and/or [configure your domain with a DNS provider](https://help.github.com/articles/quick-start-setting-up-a-custom-domain/).
## Customization
It's your website, and you control the source code. So you can customize everything, if you like. But we've provided a handful of quick customizations for you to consider as you get your website off the ground.
### Quick configuration changes
Most customizations can be done in a matter of seconds, by revising your repository's `_config.yml` file. Just remember to restart your local server each time you save new changes so your Jekyll-powered website rebuilds correctly:
1. Shut down your server by entering the keyboard command <kbd>CTRL</kbd>+<kbd>c</kbd>
2. Restart your server: `bundle exec jekyll serve`
#### Layout
Your website will display in a two-column layout by default on larger-screen devices, with your photo, name, and basic information displayed in a left-aligned "sidebar." You can quickly switch to a "stacked" single-column layout by changing the line in your `_config.yml` file that reads `layout: sidebar` to `layout: stacked`.
#### Style
Your website appears with a "light" white and gray background by default, with dark text. You can quickly switch to a "dark" background with white text by changing the line in your `_config.yml` file that reads `style: light` to `style: dark`.
#### Projects
The "My Projects" section of your website is generated by default with your nine most recently "pushed" repositories. It also excludes repositories that you forked, by default. But each of these parameters can be quickly customized in your repository's `_config.yml` file, under the `projects` dictionary line.
Parameters include:
- `sort_by`: The method by which repositories are sorted. Options include `pushed` and `stars`.
- `limit`: The maximum number of repositories that will be displayed in the "My Projects" section of your website. Out of the box, this number is set to `9`.
- `exclude`:
- `forks`: When `true`, repositories you've forked will be excluded from the listing.
- `projects`: A list the repository names you want to exclude from the listing.
#### Topics
Your website comes pre-configured with three topics (e.g. "Web design" and "Sass") that appear in a section titled "My Interests." These are also stored in your repository's `_config.yml` file, where you can define each topic's name and two other optional details:
- `web_url`: The web address you'd like to your topic to link to (e.g. `https://github.com/topics/sass`).
- `image_url`: The web address of an (ideally square) image that you'd like to appear with your topic.
#### Social media
Your website supports linking and sharing to social media services you're using, including Behance, Dribbble, Facebook, LinkedIn, Medium, Stack Overflow, Twitter, and YouTube. To identify the services you use:
1. Edit your repository's `_config.yml` file.
2. Edit the `social_media` dictionary line, and represent the services you like in a simple `key: value` form:
```
social_media:
behance: your_username
dribbble: your_username
facebook: your_username
hackerrank: your_username
instagram: your_username
keybase: your_username
linkedin: your_username
medium: your_username
stackoverflow: your_user_id
telegram: your_username
twitter: your_username
unsplash: your_username
vk: your_username
website: http://your_website_url
youtube: your_username
```
Links to your profile for each of the services you define will appear in the `<header>` of your website, appended to your bio. And if those services support sharing, any blog posts that you publish will include links to share that post using each social media service.
**Note**: This feature is supported by two files in your repository:
- `/_data/social_media.yml`: Defines each of the supported services, including variable name, display name, URL path, and SVG icon.
- `/_includes/social_media_share_url.html`: Outputs the share URL required for any of the supported social media services that support sharing URLs.
If you're interested in adding a social media service that's not already supported in this repo, you can edit these two files to build that support.
## Adding pages
To **add a page** to your website (e.g. detailed resume):
1. Create a new `.html` or `.md` file at the root of your repository.
2. Give it a filename that you want to be used in the page's URL (e.g. `http://yoursite.dev/filename`).
3. At the start of your file, include the following [front matter](https://jekyllrb.com/docs/front-matter/):
```
---
layout: default
---
```
## Adding blog posts
To **add a blog post** to your website:
1. Create a new `.md` file in your repository's `/_posts/` directory.
2. Give it a filename using the following format:
```
YEAR-MONTH-DAY-title.MARKUP
```
3. At the start of your file, include the following [front matter](https://jekyllrb.com/docs/front-matter/):
```
---
title: "The title of my blog post"
---
```
Your website comes with a placeholder blog post that you can reference. Notably, its [front matter](https://jekyllrb.com/docs/front-matter/) declares `published` as `false`, so that it won't appear on your website.
While you can define a `layout` in the front matter, your website is pre-configured to assign the `post` layout to all of the posts in your `/_posts/` directory. So you don't have to declare that in your posts.
Jekyll's conventions for authoring and managing blog posts is very flexible. You can [learn more in Jekyll's documentation for "Posts."](https://jekyllrb.com/docs/posts/)
## Content and templates
To give you a sound foundation to start your personal website, your repository includes a handful of "includes" -- dynamic `.html` files that are re-used throughout your website. They're all stored in the `/_includes/` directory.
There are the usual suspects, like `header.html` and `footer.html`. But there are few more worth pointing out:
- `interests.html`: A heading and dynamic list of "My Interests," which is populated with the [topics](#topics) you list in your `_config.yml`.
- `masthead.html`: A collection of your avatar, name, bio, and other metadata that's displayed prominently on all your webpages to help identify what the website is about.
- `post-card.html`: A compact, summarized presentation of a blog post, re-used to display a listing of your latest blog posts.
- `projects.html`: A heading and dynamic list of "My Projects," which is populated with a listing of your newest GitHub repositories.
- `repo-card.html`: A compact, summarized presentation of a repository, re-used to display a listing of your GitHub repositories.
- `thoughts.html`: A heading and dynamic list of "My Thoughts," which is populated with a listing of your latest blog posts.
- `topic-card.html`: A compact, summarized presentation of a topic (defined in your `_config.yml`), re-used to display a listing of your interests.
### Layouts
Your repository comes with three layouts:
- **default**: Not used by any of the built-in pages or posts, but useful for any new pages you create.
- **home**: Used by your `index.html` homepage to display listings of your projects, interests, and (optionally) your blog posts.
- **post**: Used by default by the posts in your `/_posts/` directory.
Jekyll's convention for defining layouts is very flexible. You can [learn more about customizing your layouts in the Jekyll "Layouts" docs.](https://jekyllrb.com/docs/layouts/)
## Styles
Your website is pre-configured to use [GitHub's very flexible CSS framework called "Primer,"](https://styleguide.github.com/primer/). It's currently referenced within your `styles.scss` file, using the CSS import at-rule:
```
@import url('https://unpkg.com/primer/build/build.css');
```
You are, of course, welcome to remove it or replace it with another framework. Just bear in mind that the HTML that your website came pre-packaged with references multiple Primer "utility classes" to define things like column widths, margins, and background colors.
You also have the option to add on to and extend Primer's styles by adding custom CSS to your `/assets/styles.scss` Sass stylesheet. By editing this file, you can customize your website's color scheme, typography, and more.
## License
The theme is available as open source under the terms of the [MIT License](https://opensource.org/licenses/MIT).
Explore similar templates
Compare previews and descriptions within the same stack and category.
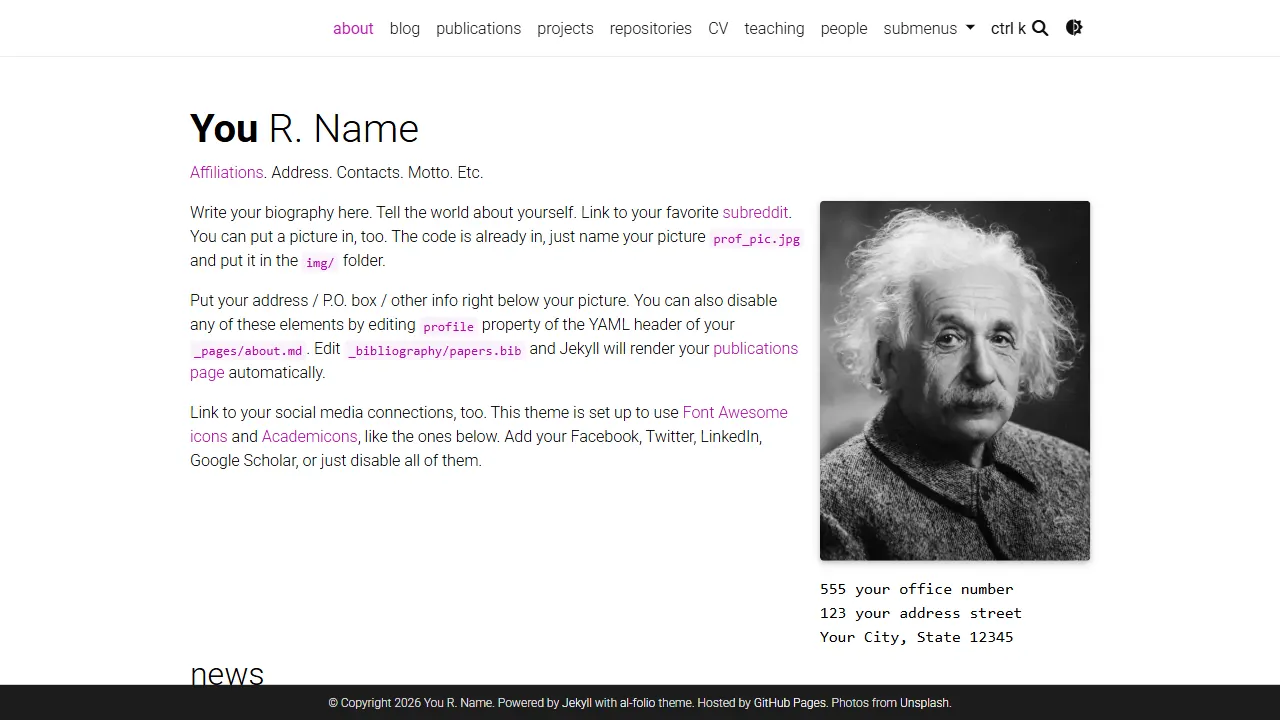
al-folio
A Jekyll academic homepage theme for scholars and researchers, with a clean responsive design and out-of-the-box support for publication lists, project showcases, CVs, and blogs.
Jekyll · Portfolio
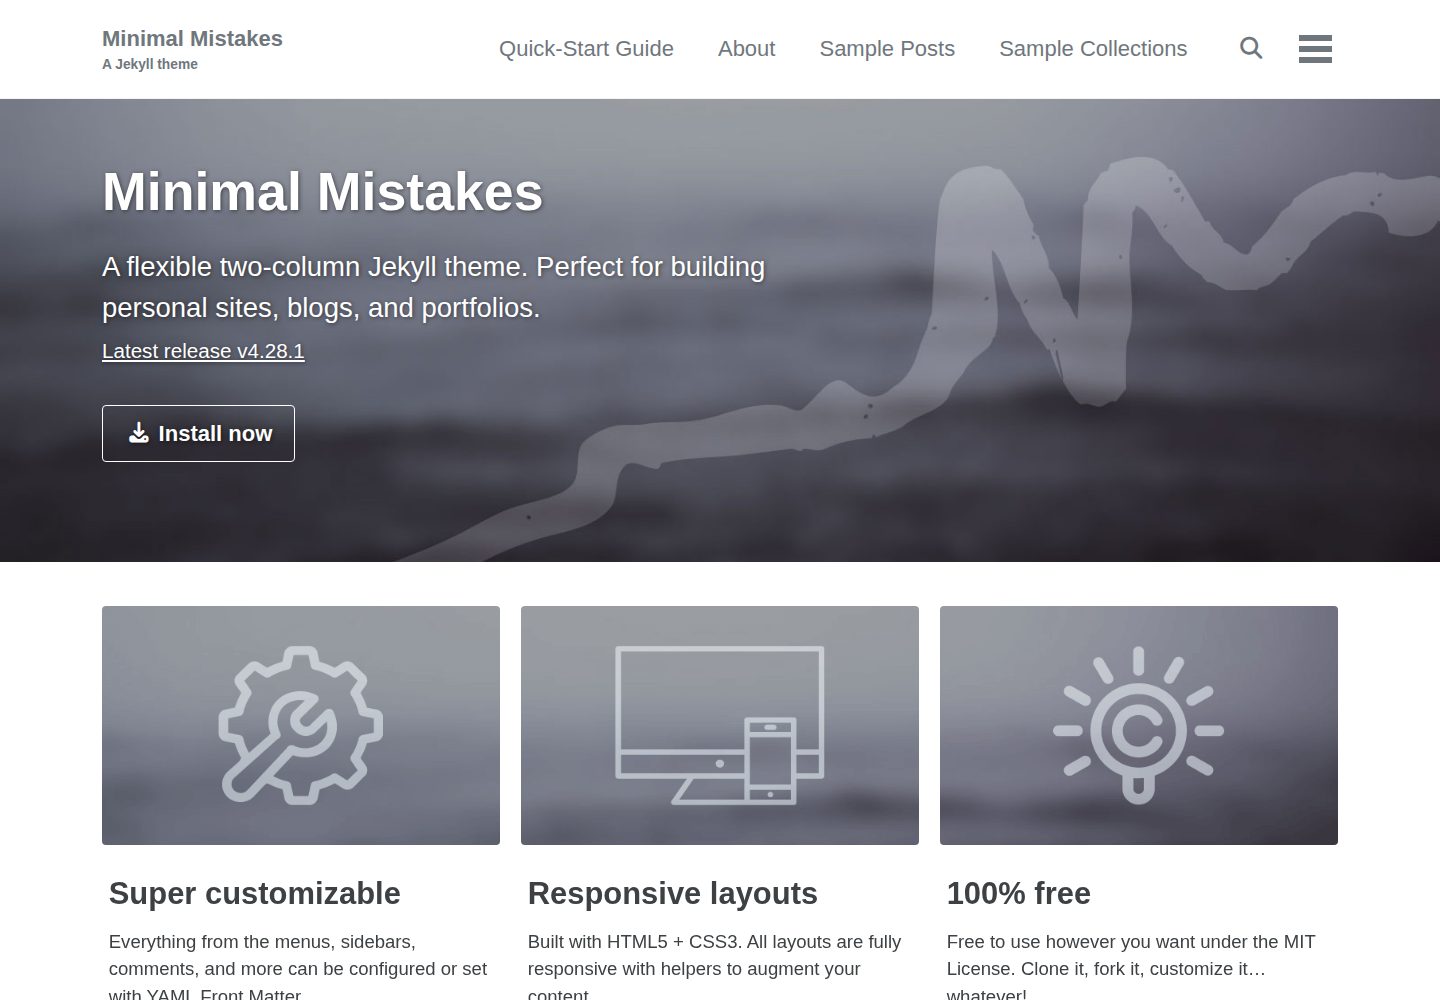
minimal-mistakes
Minimal Mistakes is a two-column Jekyll theme for personal sites, blogs, project documentation, or portfolios.
Jekyll · Portfolio
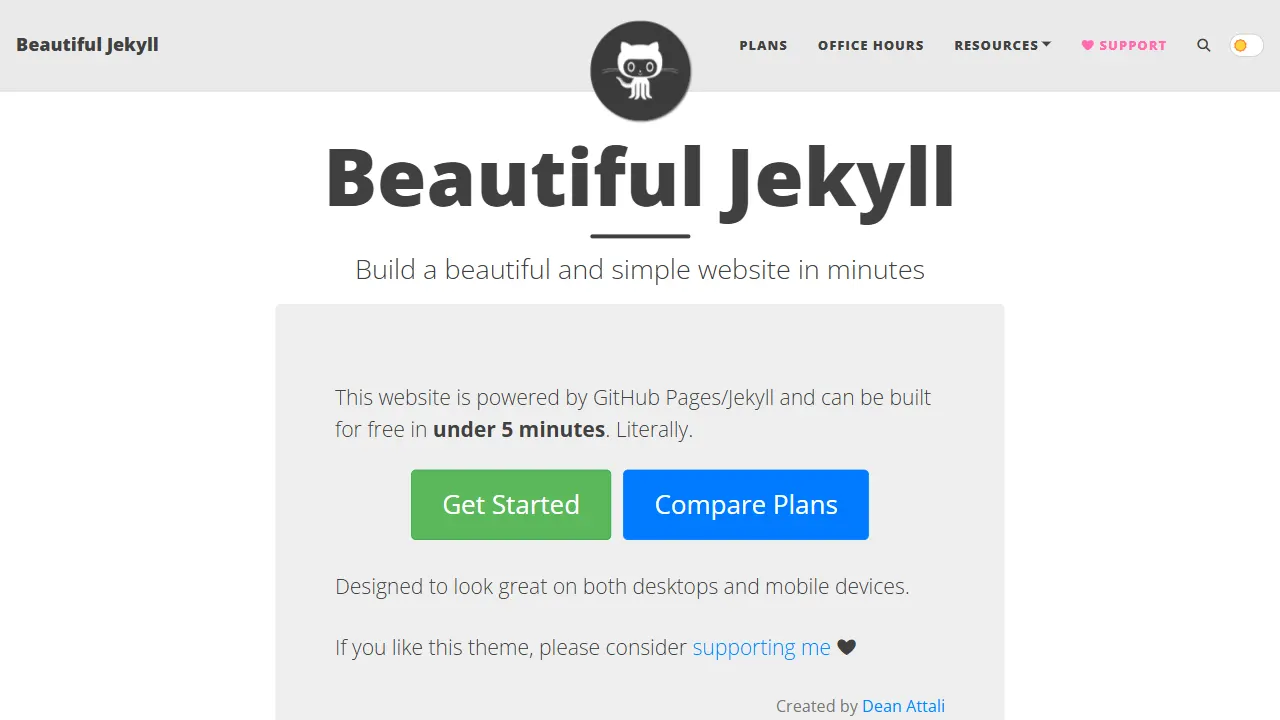
Beautiful Jekyll
Beautiful Jekyll is a mature, easy-to-use Jekyll blog theme maintained by Dean Attali since 2015, with over 50,000 users.
Jekyll · Blog
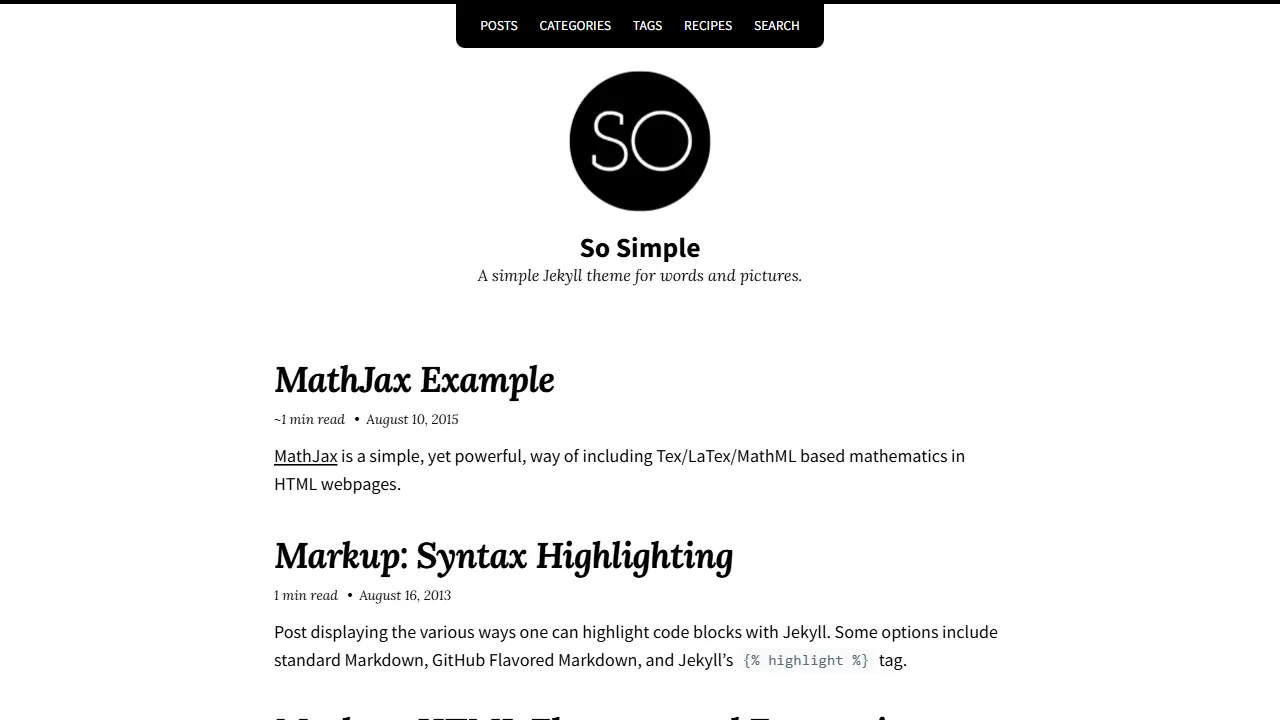
So Simple
A minimal reading-oriented Jekyll theme by Michael Rose for personal blogs, portfolios, and long-form reading. It offers multiple layouts, microformat markup, Disqus comments, Google Analytics, Jekyll SEO Tag, three skins, and aggregation by year, category, and tag with a grid view.
Jekyll · Blog
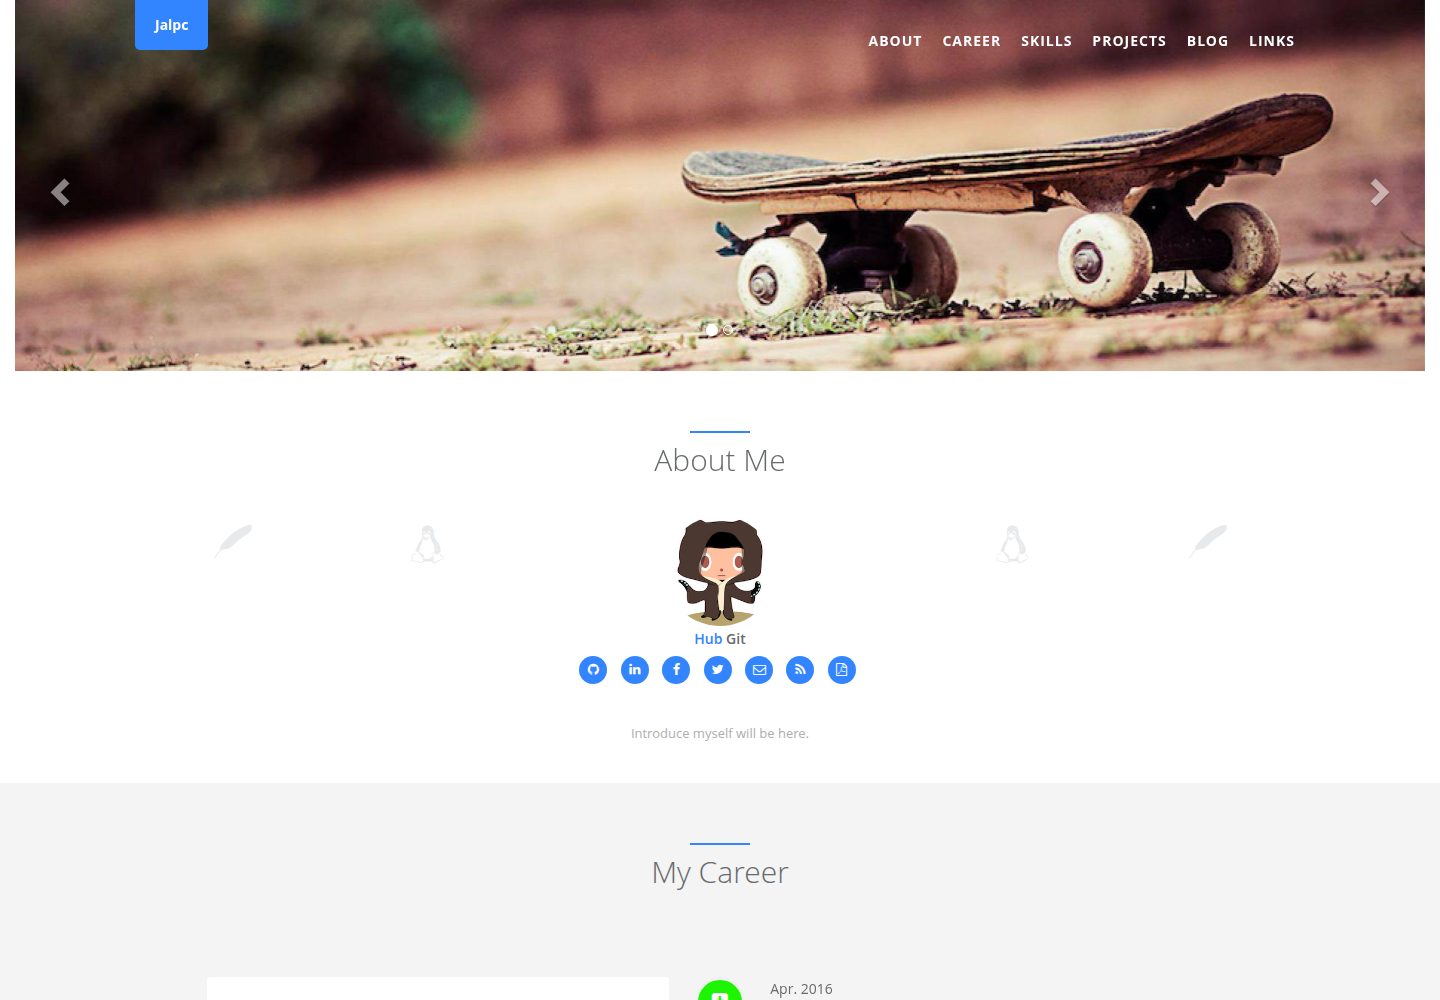
Jalpc
Jalpc is a Jekyll theme for a combined personal homepage and blog. The homepage is split into sections driven by YAML files under _data, so content changes usually do not require editing HTML.
Jekyll · Portfolio
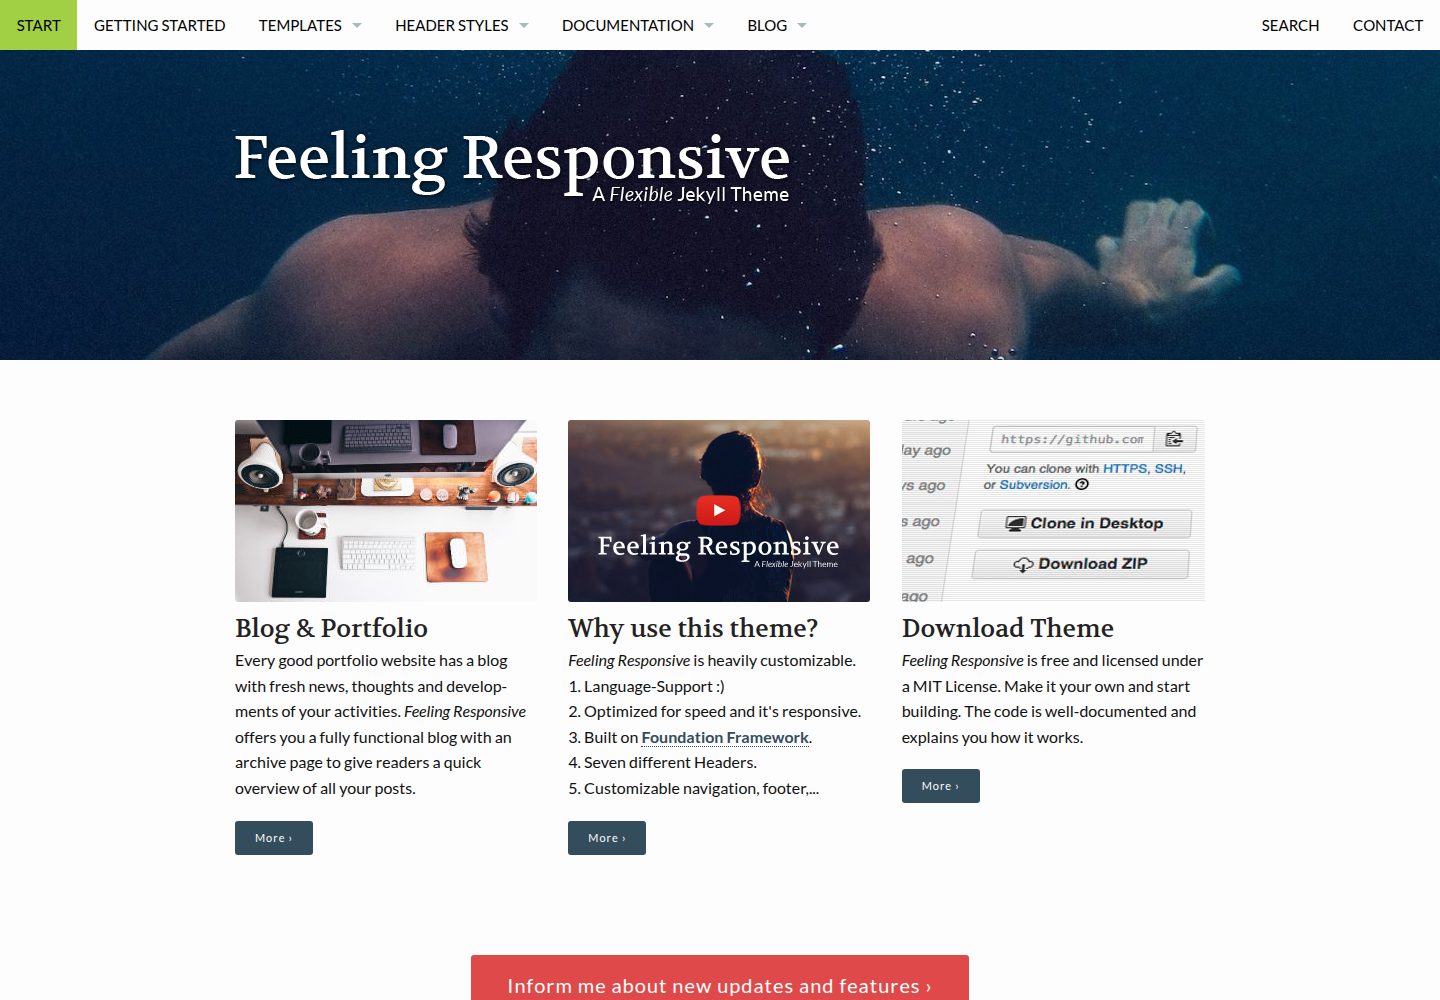
feeling-responsive
A free responsive Jekyll theme built on the Foundation framework, suitable for company sites, portfolios, or blogs. It offers language support, six header styles, customizable navigation and footer, plus documentation and an online demo.
Jekyll · Portfolio