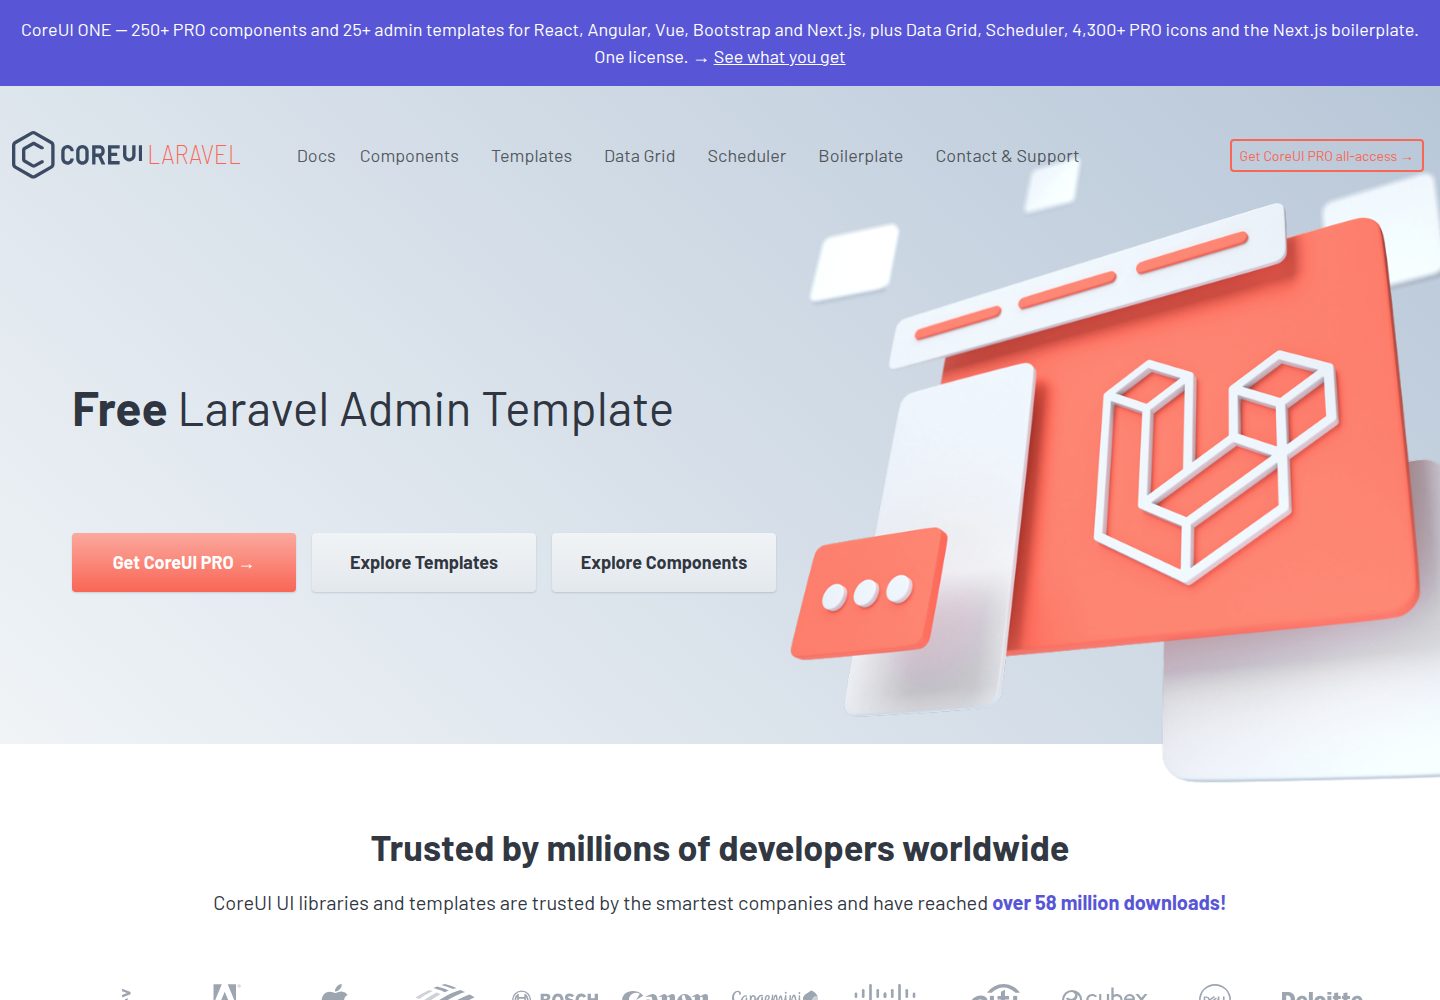
基于 Laravel 与 CoreUI Bootstrap 样式的后台管理模板,采用 MIT 许可
LaravelHTML后台
coreui-free-laravel-admin-template — Laravel 后台模板
作者 coreui
基于 Laravel 与 Bootstrap 的 CoreUI 免费后台模板,提供用户、菜单、角色、媒体、BREAD 与邮件模板等管理示例。
看看你的网站会是什么样
浏览真实页面截图,比较内容排版与手机效果。点击下方缩略图切换,放大查看整页细节。
全部页面与视图 3
截图用于了解视觉与布局,交互效果请以实际项目为准。
采集于 2026-10-01查看来源
值得关注的模板亮点
从已有项目资料中,快速了解它的特点。
内置登录示例账号,用户同时具备 user 与 admin 角色
提供用户、菜单、菜单项、角色、媒体、邮件模板等管理功能示例
BREAD 系统可针对数据库表生成浏览、读取、编辑、添加、删除界面,并支持外键关联
侧边栏菜单通过种子文件中的 insertLink、insertTitle、beginDropdown 等方法配置
支持 MySQL、SQLite、PostgreSQL 三种数据库连接配置
模板详细介绍
这是一个基于 Laravel 的后台管理模板,前端使用 CoreUI 的 Bootstrap 样式,仓库为 CoreUI 官方提供的免费版本,采用 MIT 许可。模板自带登录入口与示例账号([email protected] / password),登录用户同时具备 user 与 admin 角色,可用于查看后台布局与权限菜单的呈现方式。
模板内置若干管理功能示例:用户管理、菜单管理(可在种子文件中通过 insertLink、insertTitle、beginDropdown、endDropdown 等方法配置侧边栏)、菜单项管理、角色管理(支持创建、编辑、删除与排序,多角色用户按最高层级角色生成菜单)、媒体管理(虚拟文件夹、上传、移动、裁剪图片)、BREAD 系统(针对数据库表生成浏览、读取、编辑、添加、删除界面,并支持外键关联展示)以及邮件模板管理。
安装流程为克隆仓库后执行 composer install 与 npm install,复制 .env.example 为 .env,按需配置 MySQL、SQLite 或 PostgreSQL 连接,设置 APP_URL,执行 php artisan key:generate 与 php artisan migrate:refresh --seed,再运行 npm run dev;启动使用 php artisan serve,测试使用 php vendor/bin/phpunit。
需要注意:本次收录的是公开仓库中的免费版本,不包含 CoreUI Pro 的付费功能;演示图片、字体、图标等第三方素材需按各自许可核对;域名、托管、数据库等外部服务可能另行收费。README 中关于 UX、性能与轻量的表述属于项目自述,未在本次资料中独立验证。
LaravelHTML后台
适合你的项目吗?
适用场景
- 需要一个 Laravel 后台界面骨架,用于搭建内部管理系统的项目
- 希望参考角色与菜单权限联动实现方式的 Laravel 项目
- 需要为数据库表快速生成增删改查界面的后台开发场景
- 需要媒体文件夹管理与图片裁剪示例的后台项目
- 需要邮件模板管理与发送示例的 Laravel 应用
适合人群
- 使用 Laravel 并希望以 Bootstrap 风格构建后台界面的开发者
- 需要免费 MIT 许可后台模板进行二次开发的项目
- 希望参考菜单、角色、BREAD 等后台模块实现思路的团队
- 需要同时支持 MySQL、SQLite 或 PostgreSQL 的后台项目
上手与定制指南
结合仓库当前版本的说明,按下面的资料检查内容、配置与运行要求。
- 1
克隆仓库后执行 composer install 与 npm install 安装依赖
- 2
复制 .env.example 为 .env,按所选数据库(MySQL、SQLite 或 PostgreSQL)修改连接配置,并设置 APP_URL
- 3
执行 php artisan key:generate 生成应用密钥
- 4
执行 php artisan migrate:refresh --seed 迁移并填充数据,再运行 npm run dev 生成前端资源
- 5
使用 php artisan serve 启动本地服务,默认账号 [email protected],密码 password
授权与来源资料
使用条件与限制
免费使用 · 保留许可声明本次收录的是公开仓库中采用 MIT 许可的免费版本;免费范围为该版本代码,不代表外部服务或第三方素材免费。
使用时需要遵守
- 允许免费使用、修改、商用和分发该版本代码。
- 分发代码副本或实质性部分时,保留原作者版权声明和完整 MIT 许可声明。
- 代码按现状提供;担保与责任限制以原许可证及适用法律为准。
额外费用与待核对事项
- README 声明唯一限制:不得将 CoreUI 原样(stock)再分发;若对 CoreUI 进行修改,同样不得以此方式再分发。该限制与 MIT 许可的授权条款存在冲突,实际使用时需注意此项目自述的额外约束。
- CoreUI Pro 版本与 premium admin templates 为付费产品,不属于本免费仓库的提供范围;免费版本不包含 Pro 功能,如需 Pro 功能需另行购买。
- 项目资料提及可选付费版本或功能;本次仅收录公开免费代码,不包含付费升级。
- 演示图片、字体、图标及其他第三方素材需按各自许可核对,不能仅凭代码的 MIT 许可判断。
- 域名、托管、数据库、支付或 AI 等外部服务可能另外收费。
查看原文依据
Permission is hereby granted, free of charge
许可证原文
There is only one limitation you can't can’t re-distribute the CoreUI as stock. You can’t do this if you modify the CoreUI.
README 原文
https://github.com/coreui/coreui-free-laravel-admin-template/blob/master/LICENSEhttps://github.com/coreui/coreui-free-laravel-admin-template/blob/master/README.mdbuying [CoreUI Pro Version](https://coreui.io/pro) or buying one of our [premium admin templates](https://genesisui.com/?support=1)
README 原文
DeepSeek 根据仓库许可证和 README 整理 ·2026-10-01。结果仅覆盖已读取资料,依赖、图片、字体及后续条款变更以各自原文为准。
项目核对记录与介绍依据
模板资料
- 来源平台
- GitHub
- 资料与维护参考分
- 资料较完整 · 81 / 100
- 技术栈
- Laravel · HTML
- 网站类型
- 后台
这个分数如何计算
本站按许可资料(最高30分)、演示链接(12分)、预览图(10分)、Star数(15分)、记录的维护时间(15分)、描述完整度(8分)、功能记录(5分)和分类资料(5分)计算。它不是代码、安全或性能测试,也不是 Google 评分;有链接不代表已实测可用。
这个项目需要核对什么
- 记录的仓库更新时间
- 2024-08-09
- 截图检查日期
- 2026-10-01
已收录演示链接。请用你的内容与屏幕尺寸检查;有演示不代表表单、认证或支付已经可用。
目录记录的主要技术栈是 Laravel。请通过依赖清单和锁文件核对实际版本与托管要求。这些说明基于收录资料,不代表代码审计或部署实测。
查看具体选型方法 →介绍的制作与核对状态
介绍由 AI 辅助整理目录与仓库资料。仓库作者不等于这篇介绍的审核者。
已完成服务器许可规则与 AI 来源核对;未经过人工编辑审核。
查看当时使用的来源资料
SHA-256: e32a3ce1a279ce7b1825fc74e141f61c18df3b08860a494af9c492e44c465587
2026-10-01T01:40:31.496Z
来源文件 / 仓库# CoreUI Free Laravel Bootstrap Admin Template [](https://twitter.com/intent/tweet?text=CoreUI%20-%20Free%20Bootstrap%204%20Admin%20Template%20&url=https://coreui.io&hashtags=bootstrap,admin,template,dashboard,panel,free,angular,react,vue) [](https://opensource.org/licenses/MIT) [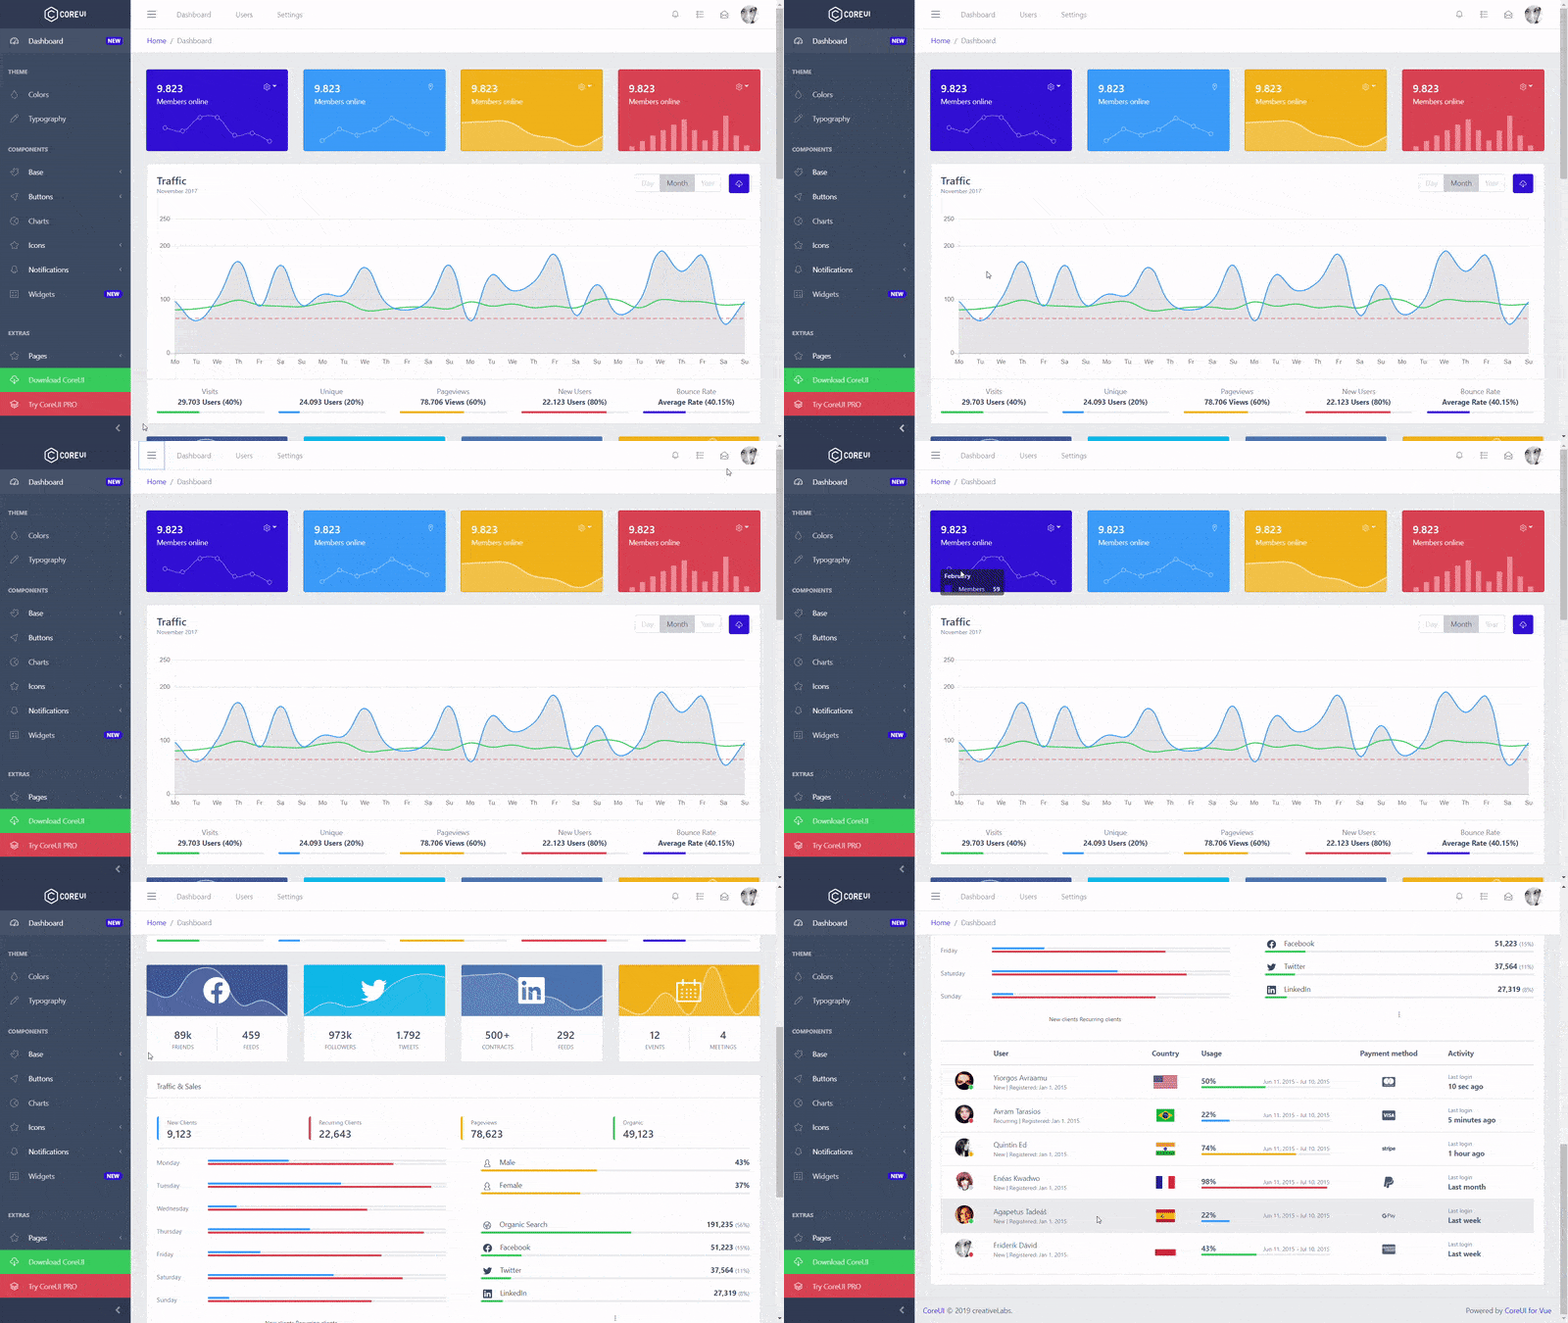](https://coreui.io/laravel/) Curious why I decided to create CoreUI? Please read this article: [Jack of all trades, master of none. Why Bootstrap Admin Templates suck.](https://medium.com/@lukaszholeczek/jack-of-all-trades-master-of-none-5ea53ef8a1f#.7eqx1bcd8) CoreUI offers 6 versions: [Bootstrap](https://github.com/coreui/coreui-free-bootstrap-admin-template), [Angular](https://github.com/coreui/coreui-free-angular-admin-template), [Laravel](https://github.com/coreui/coreui-free-laravel-admin-template), [React.js](https://github.com/coreui/coreui-free-react-admin-template), [Vue.js](https://github.com/coreui/coreui-free-vue-admin-template), and [Vue.js + Laravel](https://github.com/coreui/coreui-free-vue-laravel-admin-template). CoreUI is meant to be the UX game changer. Pure & transparent code is devoid of redundant components, so the app is light enough to offer ultimate user experience. This means mobile devices also, where the navigation is just as easy and intuitive as on a desktop or laptop. The CoreUI Layout API lets you customize your project for almost any device – be it Mobile, Web or WebApp – CoreUI covers them all! ## Table of Contents * [Versions](#versions) * [CoreUI Pro](#coreui-pro) * [Admin Templates built on top of CoreUI Pro](#admin-templates-built-on-top-of-coreui-pro) * [Installation](#installation) * [Usage](#Usage) * [Features](#Features) * [Creators](#creators) * [Community](#community) * [Community Projects](#community-projects) * [License](#license) * [Support CoreUI Development](#support-coreui-development) ## Versions CoreUI is built on top of Bootstrap 4 and supports popular frameworks. * [CoreUI Free Bootstrap Admin Template](https://github.com/coreui/coreui-free-bootstrap-admin-template) * [CoreUI Free Angular Admin Template](https://github.com/coreui/coreui-free-angular-admin-template) * [CoreUI Free Laravel Admin Template](https://github.com/coreui/coreui-free-laravel-admin-template) * [CoreUI Free React.js Admin Template](https://github.com/coreui/coreui-free-react-admin-template) * [CoreUI Free Vue.js Admin Template](https://github.com/coreui/coreui-free-vue-admin-template) * [CoreUI Free Vue.js + Laravel Admin Template](https://github.com/coreui/coreui-free-vue-laravel-admin-template) ## CoreUI Pro * 💪 [CoreUI Pro Bootstrap Admin Template](https://coreui.io/pro/) * 💪 [CoreUI Pro Angular Admin Template](https://coreui.io/pro/angular) * 💪 [CoreUI Pro Laravel Admin Template](https://coreui.io/pro/laravel) * 💪 [CoreUI Pro React Admin Template](https://coreui.io/pro/react) * 💪 [CoreUI Pro Vue Admin Template](https://coreui.io/pro/vue) * 💪 [CoreUI Pro Vue + Laravel Admin Template](https://coreui.io/pro/vue-laravel) ## Admin Templates built on top of CoreUI Pro | Default Theme | Legacy Theme | Dark Layout | | --- | --- | --- | | [](https://coreui.io/pro/laravel/) | [](https://coreui.io/pro/laravel/)| [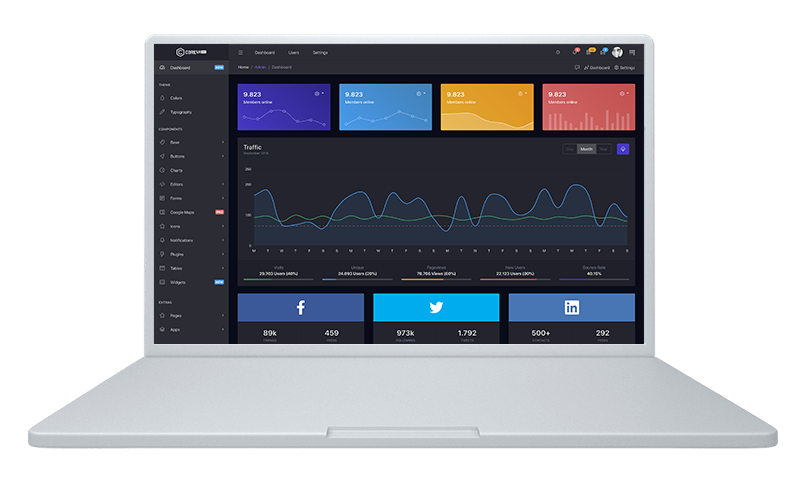](https://coreui.io/pro/laravel/) ## Installation ``` bash # clone the repo $ git clone https://github.com/coreui/coreui-free-laravel-admin-template.git my-project # go into app's directory $ cd my-project # install app's dependencies $ composer install # install app's dependencies $ npm install ``` ### If you choice to use SQLite ``` bash # create database $ touch database/database.sqlite ``` Copy file ".env.example", and change its name to ".env". Then in file ".env" replace this database configuration: * DB_CONNECTION=mysql * DB_HOST=127.0.0.1 * DB_PORT=3306 * DB_DATABASE=laravel * DB_USERNAME=root * DB_PASSWORD= To this: * DB_CONNECTION=sqlite * DB_DATABASE=/path_to_your_project/database/database.sqlite ### If you choice to use PostgreSQL 1. Install PostgreSQL 2. Create user ``` bash $ sudo -u postgres createuser --interactive enter name of role to add: laravel shall the new role be a superuser (y/n) n shall the new role be allowed to create database (y/n) n shall the new role be allowed to create more new roles (y/n) n ``` 3. Set user password ``` bash $ sudo -u postgres psql postgres= ALTER USER laravel WITH ENCRYPTED PASSWORD 'password'; postgres= \q ``` 4. Create database ``` bash $ sudo -u postgres createdb laravel ``` 5. Copy file ".env.example", and change its name to ".env". Then in file ".env" replace this database configuration: * DB_CONNECTION=mysql * DB_HOST=127.0.0.1 * DB_PORT=3306 * DB_DATABASE=laravel * DB_USERNAME=root * DB_PASSWORD= To this: * DB_CONNECTION=pgsql * DB_HOST=127.0.0.1 * DB_PORT=5432 * DB_DATABASE=laravel * DB_USERNAME=laravel * DB_PASSWORD=password ### If you choice to use MySQL Copy file ".env.example", and change its name to ".env". Then in file ".env" complete this database configuration: * DB_CONNECTION=mysql * DB_HOST=127.0.0.1 * DB_PORT=3306 * DB_DATABASE=laravel * DB_USERNAME=root * DB_PASSWORD= ### Set APP_URL > If your project url looks like: example.com/sub-folder Then go to `my-project/.env` And modify this line: * APP_URL = To make it look like this: * APP_URL = http://example.com/sub-folder ### Next step ``` bash # in your app directory # generate laravel APP_KEY $ php artisan key:generate # run database migration and seed $ php artisan migrate:refresh --seed # generate mixing $ npm run dev # and repeat generate mixing $ npm run dev ``` ## Usage ``` bash # start local server $ php artisan serve # test $ php vendor/bin/phpunit ``` Open your browser with address: [localhost:8000](localhost:8000) Click "Login" on sidebar menu and log in with credentials: * E-mail: [email protected]_ * Password: _password_ This user has roles: _user_ and _admin_ --- ### How to add a link to the sidebar: > Instructions for CoreUI Free Laravel admin template only. _Pro and Vue.js versions have separate instructions._ #### To add a __link__ to the sidebar - modify seeds file: `my-project/database/seeds/MenusTableSeeder.php` In `run()` function - add `insertLink()`: ```php $id = $this->insertLink( $rolesString, $visibleName, $href, $iconString); ``` * `$rolesString` - a string with list of user roles this menu element will be available, ex. `"guest,user,admin"` * `$visibleName` - a string caption visible in sidebar * `$href` - a href, ex. `/homepage` or `http://example.com` * `$iconString` - a string containing valid CoreUI Icon name (kebab-case), ex. `cil-speedometer` or `cil-pencil` To add a __title__ to the sidebar - use function `insertTitle()`: ```php $id = $this->insertTitle( $rolesString, $title ); ``` * `$rolesString` - a string with list of user roles this menu element will be available, ex. `"guest,user,admin"` * `$title` - a string caption visible in sidebar To add a __dropdown__ menu to the sidebar - use function `beginDropdown()`: ```php $id = $this->beginDropdown( $rolesString, $visibleName, $iconString); ``` * `$rolesString` - a string with list of user roles this menu element will be available, ex. `"guest,user,admin"` * `$visibleName` - a string caption visible in sidebar * `$iconString` - a string containing valid CoreUI icon name (kebab-case). For example: `cil-speedometer` or `cil-pencil` To end dropdown section - use function `endDropdown()`. To add __link__ to __dropdown__ call function `insertLink()` between function calls `beginDropdown()` and `endDropdown()`. Example: ```php $id = $this->beginDropdown('guest,user,admin', 'Some dropdown', 'cil-puzzle'); $id = $this->insertLink('guest,user,admin', 'Dropdown name', 'http://example.com'); $this->endDropdown(); ``` __IMPORTANT__ - At the end of `run()` function, call `joinAllByTransaction()` function: ```php $this->joinAllByTransaction(); ``` Once done with seeds file edit, __run__: ``` bash $ php artisan migrate:refresh --seed # This command also rollbacks database and migrates it again. ``` ## Features ### Table of contents: * [Notes](#notes) * [Users](#users) * [Management of menus](#menu-management) * [Manage menu items](#Manage-menu-items) * [Role management](#Role-management) * [Management of the media](#Manage-media) * [BREAD](#BREAD-system) * [Email Templates](#E-mail-Templates) #### Notes It is an example of data presentation in a pagination table, and CRUD functionality. #### Users It is a simple example of how to manage registered users. #### Menu management It is a system that allows you to create a new menu and edit existing menus. To place a new menu named "new" in any view use this code: ```php <?php use the App\MenuBuilder\FreelyPositionedMenus; if(isset($appMenus['new'])){ FreelyPositionedMenus::render( $appMenus['new'] , '', 'your-css-class-of-ul-element'); } ?> ``` #### Manage menu items Allows you to add, edit and delete menu items. To add a new menu item to the menu you must: * specify to which menu you are adding the item, * specify the roles of users for whom the item will be visible * name the item * type ( to choice: link, title and dropdown) * Href, the address to which the item is to refer, * Parent (To nest the item inside dropdown) * CORUI icons #### Role management Allows you to create, edit, delete and reorder user roles. When a user has more than one role, the highest hierarchical role is used to create a menu for him. #### Manage media It allows to: * Create virtual media folders. * Send media to applications. * Move media between folders, * Cut images, #### BREAD system BREAD stands for: browse, read, edit, add, delete. Our BREAD system allows you to easily and quickly generate for any table, from the database, a simple BREAD. To create a new BREAD just enter a table name from the database. Then enter a name for the form. Enter the number of rows in the browse table. Choose if you want the browse table to contain buttons: "show", "edit", "add", "delete". Assign roles for users who will be able to use the ready BREAD. Then complete each column of the table separately: * the column name visible to the user, * the input type for the column, The last step is to select the appropriate checkboxes: * browse (allows to display the column in the data table), * read (allows you to display the column in the show view,) * edit (enables column editing) * add (allows you to complete the column data when adding a record. Required if the column is not nullable). It is also possible to handle relationships with another table. If the column is a foreign key, it should be specified: in the field "Optional relation table name" - table name to which the foreign key refers, in the "Optional column name in relation table - to print" field - the name of the column that is in the relation table to be displayed. Finally, select one of the two "field types" that relate to the relation: 'relation select' or 'relation radio'. #### E-mail Templates It is an example of managing e-mail templates. Allows you to create, edit and delete templates. It also allows you to send an E-mail to a selected address. ## Creators **Łukasz Holeczek** * <https://twitter.com/lukaszholeczek> * <https://github.com/mrholek> **Andrzej Kopański** * <https://github.com/xidedix> **Marcin Michałek** * <https://github.com/rakieta2015> ## Community Get updates on CoreUI's development and chat with the project maintainers and community members. - Follow [@core_ui on Twitter](https://twitter.com/core_ui). - Read and subscribe to [CoreUI Blog](https://coreui.io/blog/). ## CoreUI Icons (500+ Free icons) - Premium designed free icon set with marks in SVG, Webfont and raster formats. CoreUI Icons are beautifully crafted symbols for common actions and items. You can use them in your digital products for web or mobile app. Ready-to-use fonts and stylesheets that work with your favorite frameworks.  ### CoreUI Icons Preview & Docs [https://coreui.io/icons/](https://coreui.io/icons/) ## Copyright and license copyright 2020 creativeLabs Łukasz Holeczek. Code released under [the MIT license](https://github.com/coreui/coreui-free-laravel-admin-template/blob/master/LICENSE). There is only one limitation you can't can’t re-distribute the CoreUI as stock. You can’t do this if you modify the CoreUI. In past we faced some problems with persons who tried to sell CoreUI based templates. ## Support CoreUI Development CoreUI is an MIT licensed open source project and completely free to use. However, the amount of effort needed to maintain and develop new features for the project is not sustainable without proper financial backing. You can support development by donating on [PayPal](https://www.paypal.me/holeczek), buying [CoreUI Pro Version](https://coreui.io/pro) or buying one of our [premium admin templates](https://genesisui.com/?support=1). As of now I am exploring the possibility of working on CoreUI fulltime - if you are a business that is building core products using CoreUI, I am also open to conversations regarding custom sponsorship / consulting arrangements. Get in touch on [Twitter](https://twitter.com/lukaszholeczek).
看看同类模板
对比同技术栈与用途的模板,找到更适合的视觉与内容结构。
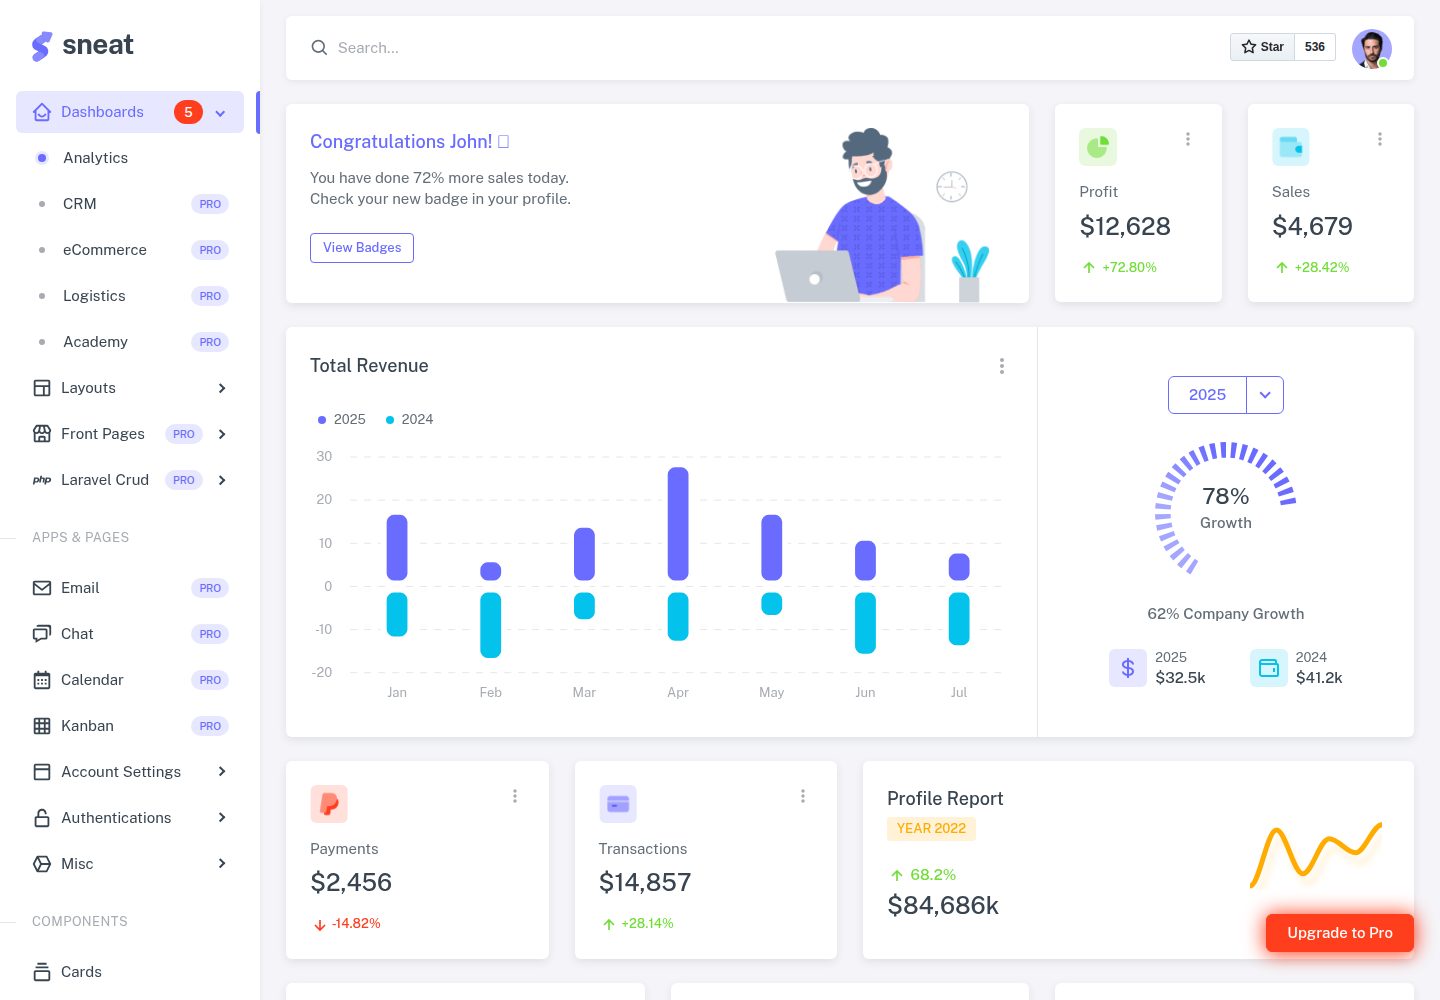
sneat-bootstrap-html-laravel-admin-template-free
Most Powerful & Comprehensive Free Bootstrap 5 HTML Laravel Admin Dashboard Template built for developers!
Laravel · 后台
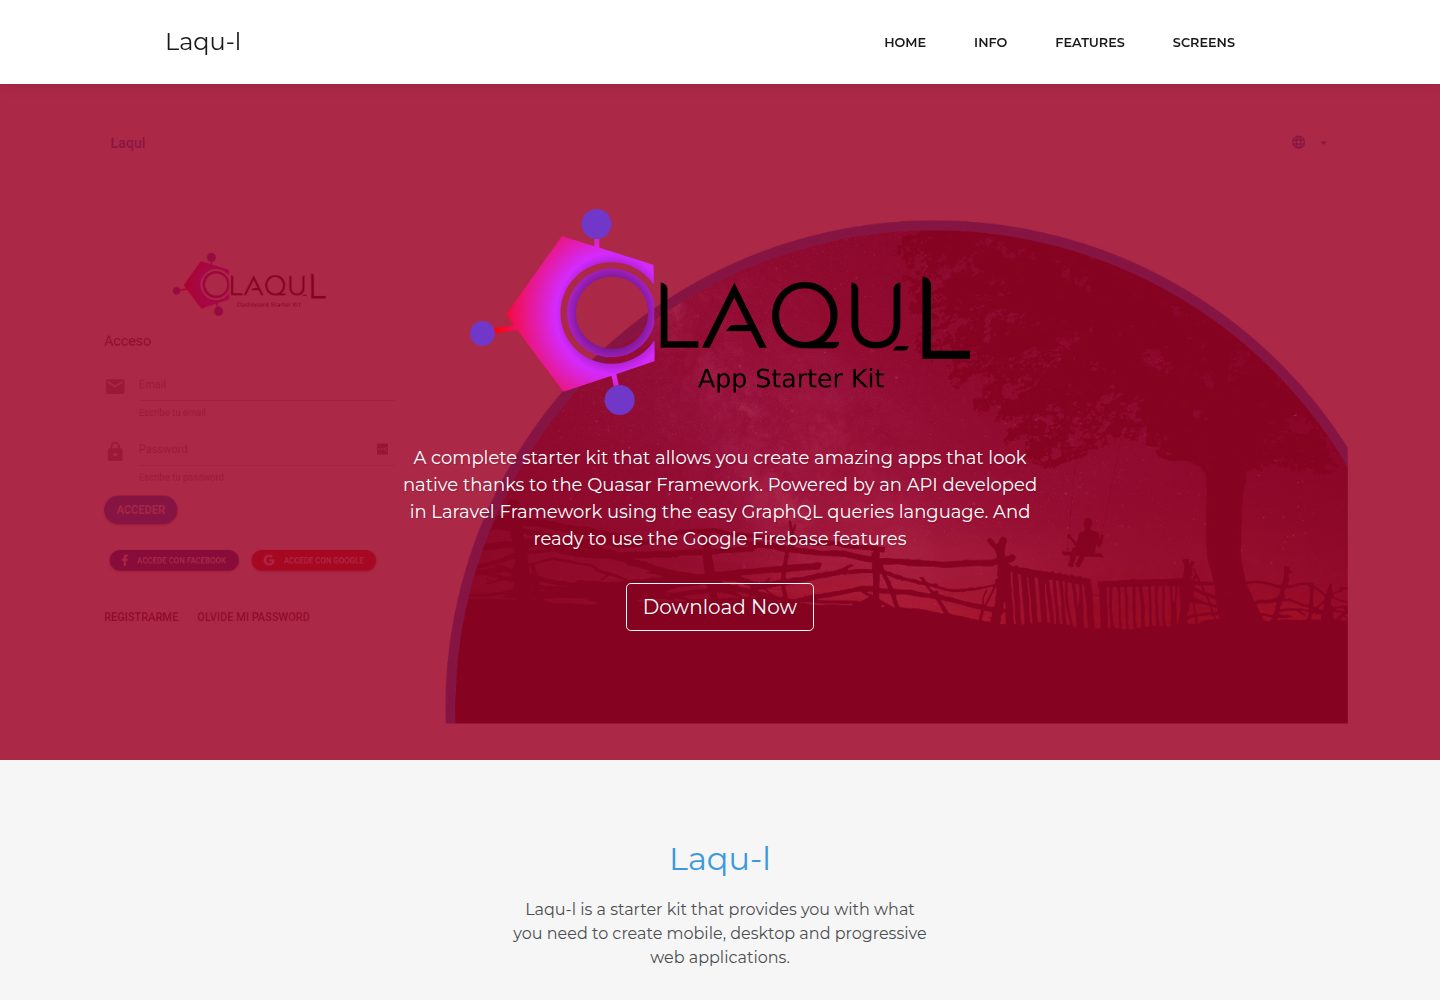
laqul
A complete starter kit that allows you create amazing apps that look native thanks to the Quasar Framework. Po…
Laravel · 后台
laravel9-inertiajs-reactjs-starter
This is a starter code to start the project built with Laravel 9 + InertiaJs + ReactJs, which already includes…
Laravel · 后台
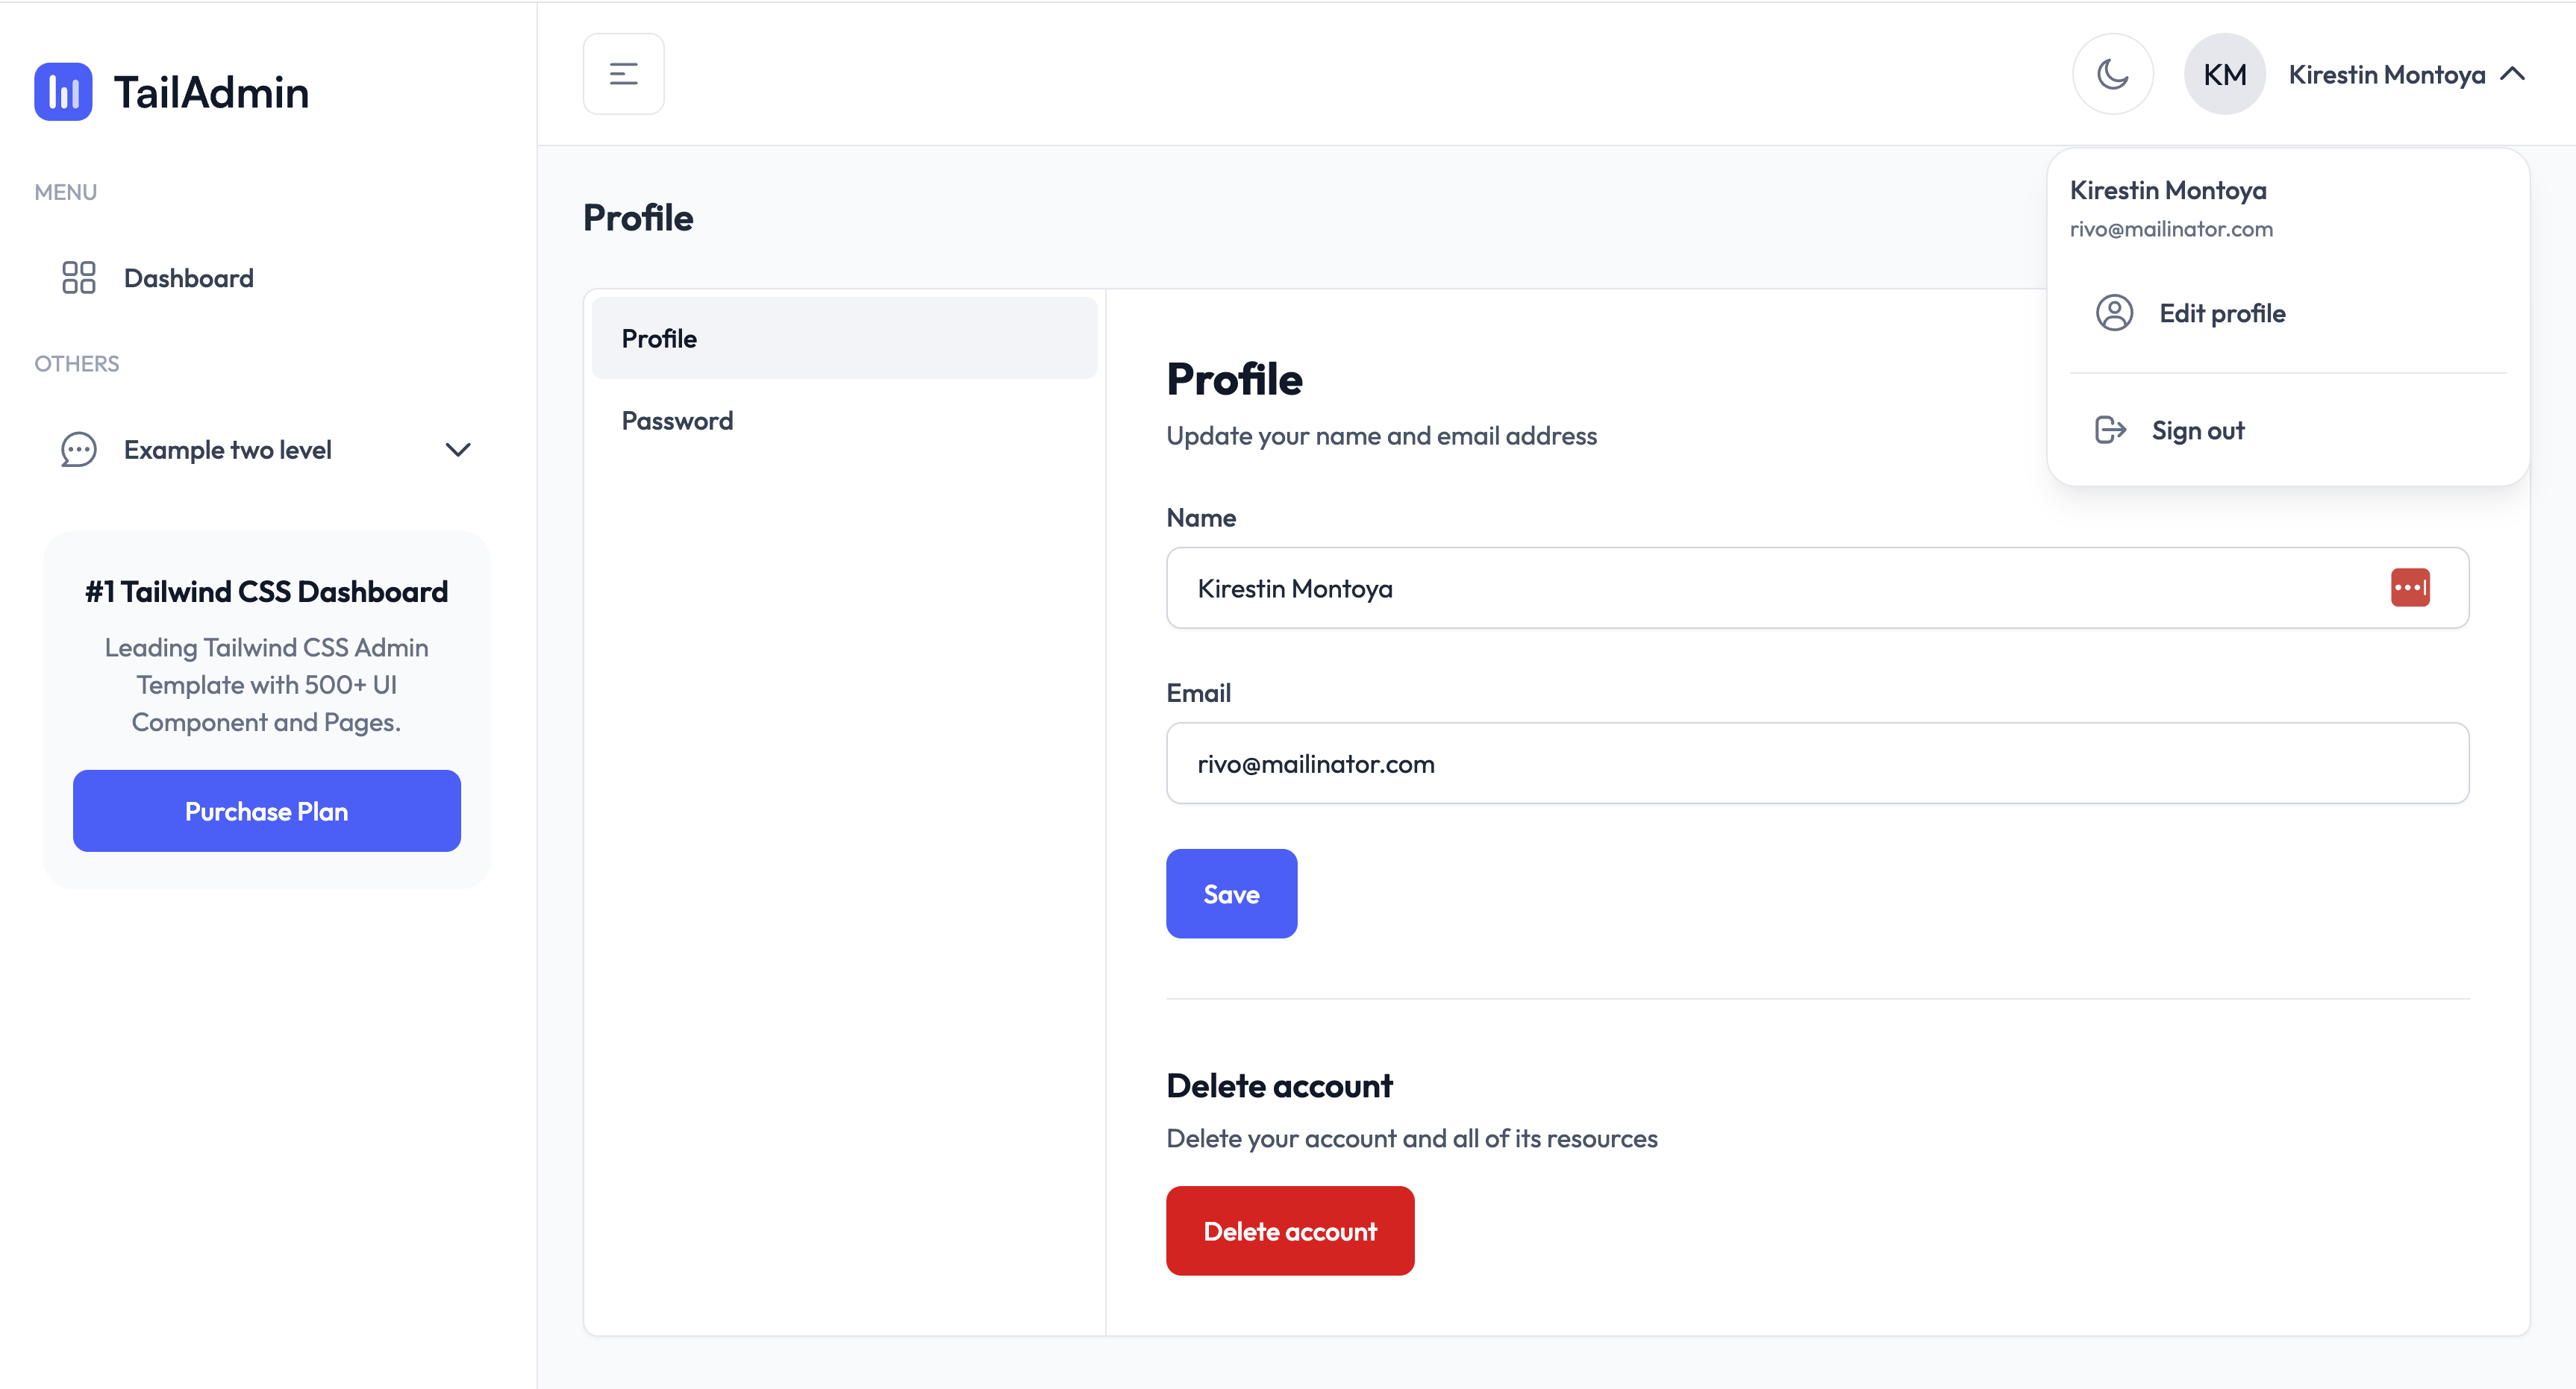
TailAdmin-Laravel-Starter-Kit
TailAdmin-Laravel-Starter-Kit 开源网站模板。
Laravel · 后台
laravel-sentinel-crud-starter
This is a Starter Laravel project ,using the Sentinel Authentication ,User Role ,User Perrmisson,Role perrmiss…
Laravel · 后台
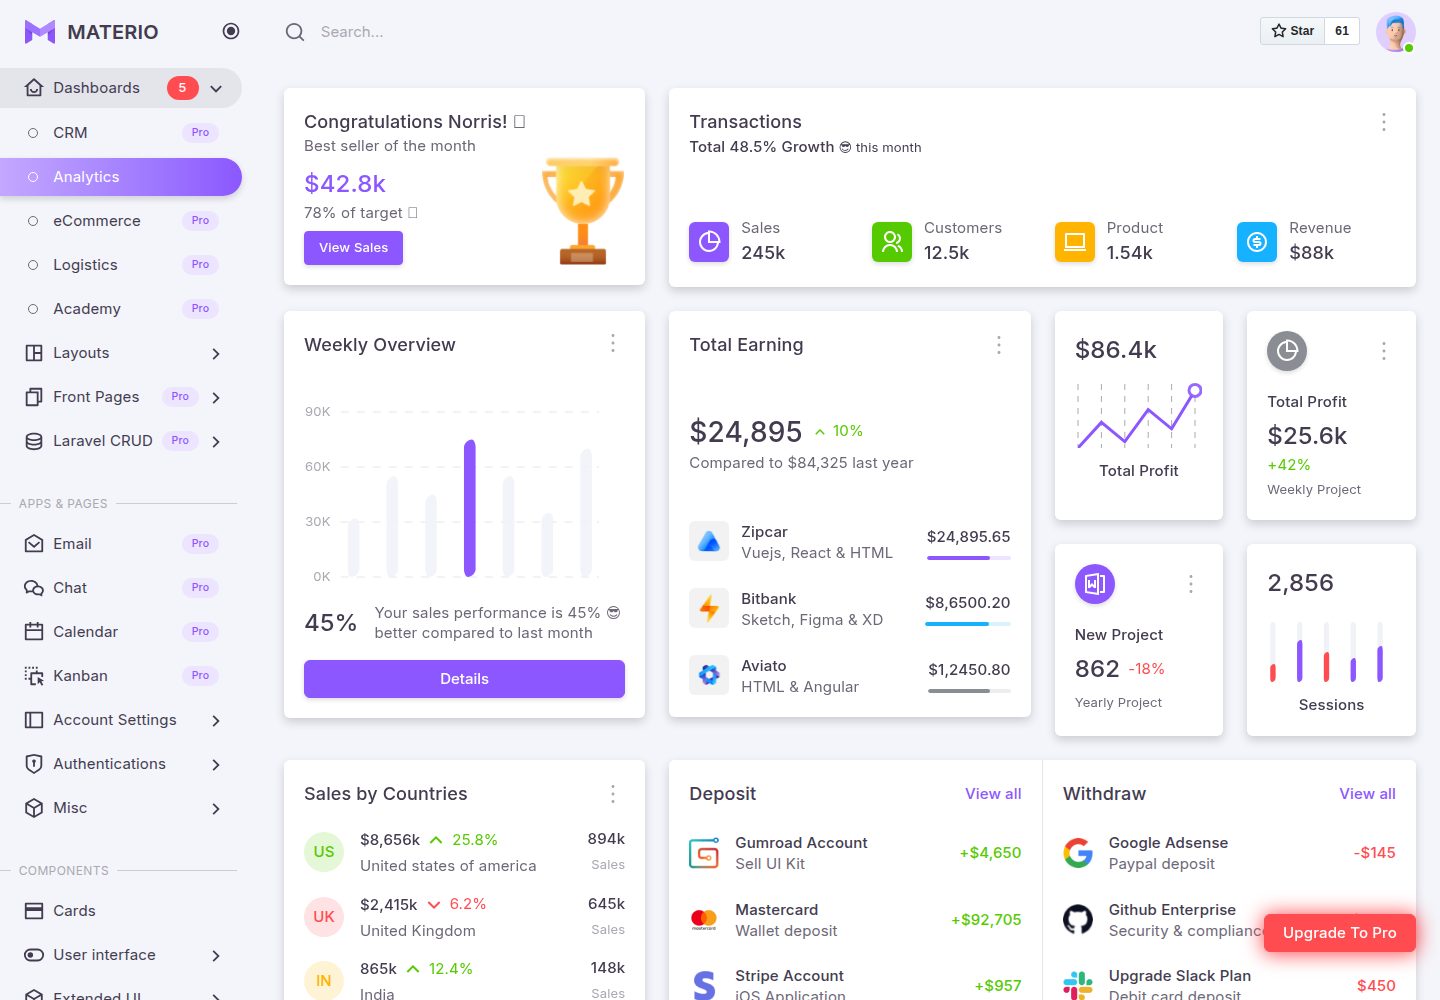
materio-bootstrap-html-laravel-admin-template-free
Most Powerful & Comprehensive Free Bootstrap 5 HTML Laravel Admin Dashboard Template built for developers!
Laravel · 后台