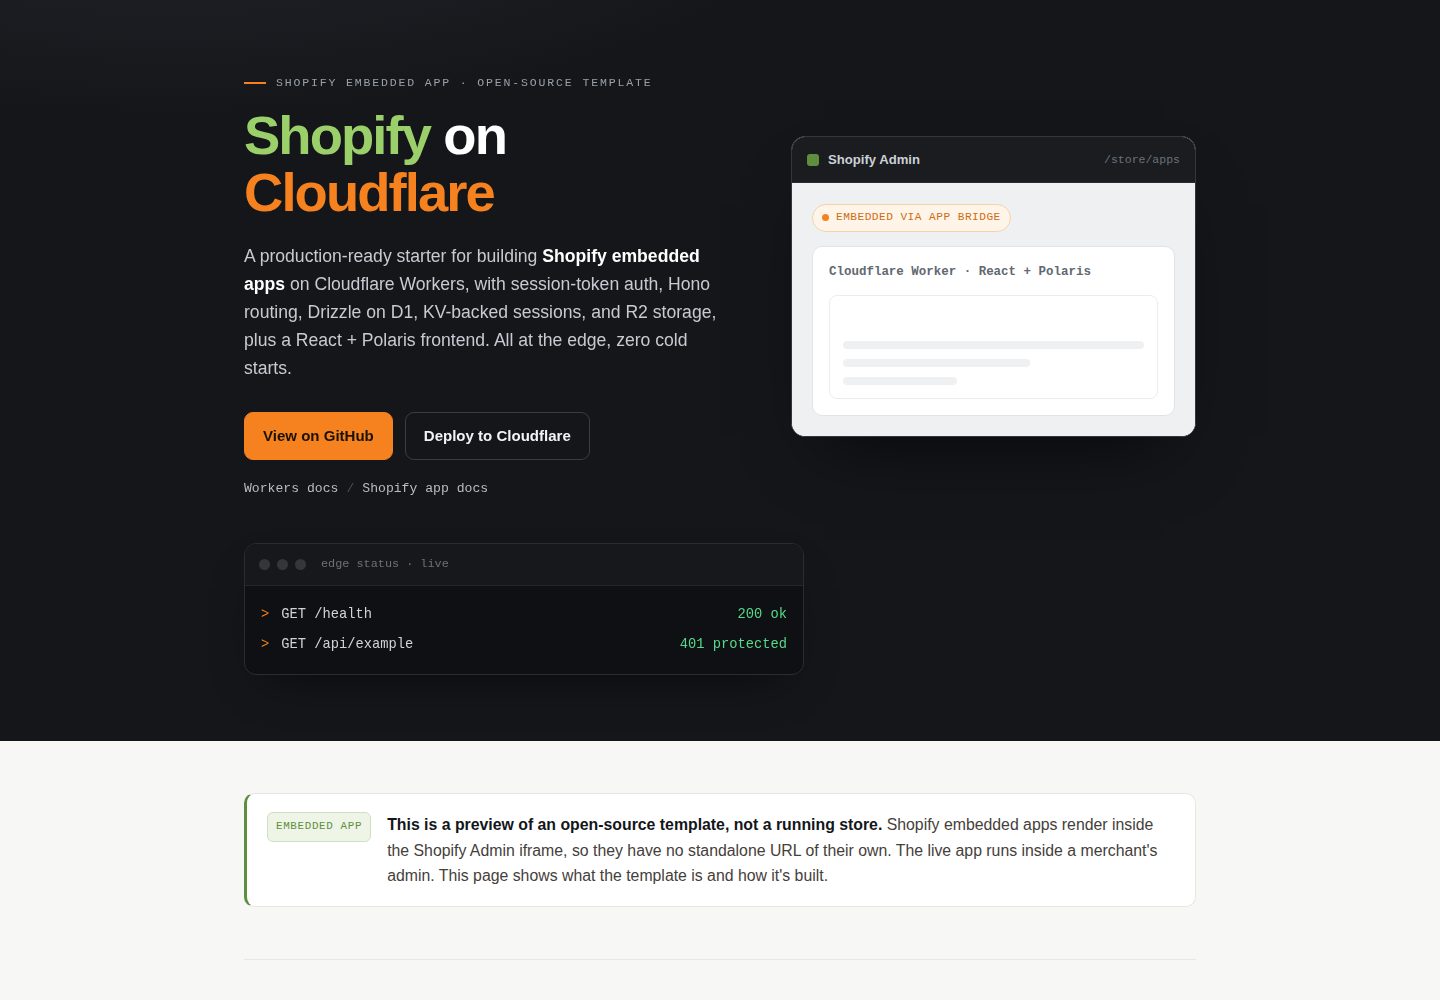
Shopify OAuth 安装流程与 App Bridge 会话令牌校验,/api/* 路由默认受中间件保护
React电商启动器
shopify-on-cloudflare — React 电商模板
作者 devkindhq
基于 Cloudflare Workers 的 Shopify 嵌入式应用模板,使用 Hono 路由、D1 + Drizzle、KV 会话存储、R2 文件存储,前端为 React 与 Shopify Polaris。
看看你的网站会是什么样
浏览真实页面截图,比较内容排版与手机效果。点击下方缩略图切换,放大查看整页细节。
全部页面与视图 2
截图用于了解视觉与布局,交互效果请以实际项目为准。
采集于 2026-10-01查看来源
值得关注的模板亮点
从已有项目资料中,快速了解它的特点。
KV 存储 Shopify 会话,D1 + Drizzle ORM 提供数据层并附一张示例表
React 前端使用 Shopify Polaris 与 App Bridge,由 Workers 静态资源绑定提供
包含安装/卸载生命周期与 app/uninstalled webhook 处理
wrangler.jsonc 中以注释形式预留 Queues、Durable Objects、Cron 触发器
提供 Vitest 单元测试与 Playwright 端到端冒烟测试脚本
模板详细介绍
这是一个 Shopify 嵌入式应用(embedded app)启动模板,运行在 Cloudflare Workers 上。后端用 Hono 处理路由,通过 Shopify OAuth 完成安装流程,会话保存在 KV 中;所有 /api/* 路由由 requireShop 中间件校验 App Bridge 传来的会话令牌 JWT。数据层使用 D1(SQLite)配合 Drizzle ORM,默认只带一张 shopify_shop 表,示例路由 GET /api/example 会查询 D1 并返回 JSON。前端是 React 单页应用,使用 Shopify Polaris 与 App Bridge,由 Workers 的静态资源绑定提供。
模板已接好安装与卸载生命周期,包括 app/uninstalled webhook;wrangler.jsonc 中把 Queues、Durable Objects、Cron 触发器以注释形式保留,需要时自行启用。本地开发通过 Cloudflare Vite 插件在单个端口同时运行前端与 Worker,D1、KV、R2 在本地绑定;由于 Shopify OAuth 要求公开 HTTPS 地址,仓库提供了 cloudflared 隧道脚本用于开发调试。
使用前需要自行创建 Cloudflare 的 D1 数据库、KV 命名空间和 R2 存储桶,把返回的 ID 填入 wrangler.jsonc,并在 Shopify Partner 后台配置应用 URL 与回调地址。模板采用 MIT 许可,但演示图片、字体、图标等第三方素材以及域名、托管等外部服务需另行核对与承担费用。
React电商启动器
适合你的项目吗?
适用场景
- 为 Shopify 商家开发嵌入式管理后台应用,并希望部署在 Cloudflare Workers 上
- 需要以会话令牌方式对接 Shopify Admin,而不是维护长期访问令牌
- 在 D1 上使用 Drizzle ORM 管理应用数据,并用 KV 保存会话、R2 存放文件
- 作为起点快速搭建带 Polaris 界面与受保护 API 路由的 Shopify 应用骨架
适合人群
- 熟悉 React、TypeScript 与 Cloudflare Workers 的开发者
- 已有 Shopify Partner 账号和开发应用、准备接入 OAuth 的团队
- 希望自行控制数据存储与边缘部署、而非使用托管后端平台的开发者
上手与定制指南
结合仓库当前版本的说明,按下面的资料检查内容、配置与运行要求。
- 1
需要 Node 20+、Cloudflare 账号和 Shopify Partner 开发应用
- 2
用 wrangler 创建 D1 数据库、KV 命名空间与 R2 存储桶,并把返回的 ID 填入 wrangler.jsonc
- 3
通过 wrangler secret 设置 SHOPIFY_CLIENT_ID、SHOPIFY_API_SECRET 和 HOST,本地开发则复制 .dev.vars.example 填写凭据
- 4
在 Shopify Partner 后台把 App URL 设为 /shopify/install、回调地址设为 /shopify/callback,本地调试需用 cloudflared 隧道提供 HTTPS 地址
- 5
首次运行前执行迁移脚本(本地 npm run setup,远程 npm run d1:migrate)
授权与来源资料
使用条件与限制
免费使用 · 保留许可声明本次收录的是公开仓库中采用 MIT 许可的免费版本;免费范围为该版本代码,不代表外部服务或第三方素材免费。
使用时需要遵守
- 允许免费使用、修改、商用和分发该版本代码。
- 分发代码副本或实质性部分时,保留原作者版权声明和完整 MIT 许可声明。
- 代码按现状提供;担保与责任限制以原许可证及适用法律为准。
额外费用与待核对事项
- 使用该模板需要注册 Shopify Partner 账号并创建一个开发应用,才能获取 client ID 与 secret 完成 OAuth 接入。
- 部署与运行需要 Cloudflare 账号;免费额度可用,但超出免费额度可能产生费用。
- Shopify OAuth 要求公开的 HTTPS 地址,本地开发必须借助 cloudflared 隧道暴露服务,无法仅用 localhost 完成安装流程。
- 可选的 Bugsnag 错误监控集成需要自备 API key,属于第三方外部服务,不使用时可移除相关依赖。
- README 中推广了 Devkind 的付费定制开发服务,但这是可选的商业服务,不影响模板本身的免费使用。
- 演示图片、字体、图标及其他第三方素材需按各自许可核对,不能仅凭代码的 MIT 许可判断。
- 域名、托管、数据库、支付或 AI 等外部服务可能另外收费。
查看原文依据
Permission is hereby granted, free of charge
许可证原文
A Shopify Partner account + a development app
README 原文
A Cloudflare account (free tier is fine)
README 原文
Shopify OAuth requires a public HTTPS URL
README 原文
VITE_BUGSNAG_API_KEY=your-bugsnag-api-key
README 原文
https://github.com/devkindhq/shopify-on-cloudflare/blob/main/LICENSEhttps://github.com/devkindhq/shopify-on-cloudflare/blob/main/README.mdNeed a custom Shopify app or storefront built on Cloudflare? See [Devkind's Shopify development services](https://devkind.com.au/services/shopify).
README 原文
DeepSeek 根据仓库许可证和 README 整理 ·2026-10-01。结果仅覆盖已读取资料,依赖、图片、字体及后续条款变更以各自原文为准。
项目核对记录与介绍依据
模板资料
- 来源平台
- GitHub
- 资料与维护参考分
- 资料较完整 · 88 / 100
- 技术栈
- React
- 网站类型
- 电商 · 启动器
这个分数如何计算
本站按许可资料(最高30分)、演示链接(12分)、预览图(10分)、Star数(15分)、记录的维护时间(15分)、描述完整度(8分)、功能记录(5分)和分类资料(5分)计算。它不是代码、安全或性能测试,也不是 Google 评分;有链接不代表已实测可用。
这个项目需要核对什么
- 记录的仓库更新时间
- 2026-09-18
- 截图检查日期
- 2026-10-01
已收录演示链接。请用你的内容与屏幕尺寸检查;有演示不代表表单、认证或支付已经可用。
目录记录的主要技术栈是 React。请通过依赖清单和锁文件核对实际版本与托管要求。这些说明基于收录资料,不代表代码审计或部署实测。
查看具体选型方法 →介绍的制作与核对状态
介绍由 AI 辅助整理目录与仓库资料。仓库作者不等于这篇介绍的审核者。
已完成服务器许可规则与 AI 来源核对;未经过人工编辑审核。
查看当时使用的来源资料
SHA-256: 849e347128d96c2b59678d2583598984763894dc8640dcfa56cc229b70dd0781
2026-10-01T01:29:16.510Z
来源文件 / 仓库# Shopify on Cloudflare
[](LICENSE)
[](https://workers.cloudflare.com)
[](https://hono.dev)
[](https://shopify.dev)
[](https://deploy.workers.cloudflare.com/?url=https://github.com/devkindhq/shopify-on-cloudflare)

**🔗 Live preview:** [cloudflare-shopify-starter-template.ali-d43.workers.dev/preview](https://cloudflare-shopify-starter-template.ali-d43.workers.dev/preview) (opens without a Shopify login).
**Keywords:** Shopify embedded app, Cloudflare Workers, Hono, Drizzle ORM, D1, KV, R2, React Polaris, session token auth, boilerplate, template, starter
<!-- dash-content-start -->
A production-ready Shopify embedded app boilerplate / template built on Cloudflare Workers. Features session-token auth, Hono routing, Drizzle ORM on D1, KV-backed session storage, R2 file storage, and a React 18 + Shopify Polaris frontend — all running at the edge with zero cold starts.
**Stack:** Cloudflare Workers (Hono) · D1 + Drizzle · KV (sessions) · R2 (files) · React 18 + Vite · Shopify Polaris + App Bridge.
What's wired up out of the box:
- Shopify OAuth + session-token auth (all `/api/*` routes are protected by middleware)
- KV-backed Shopify session storage
- D1 + Drizzle with a single `shopify_shop` table to extend
- Install / uninstall lifecycle, including `app/uninstalled` webhook
- One example protected API route (`GET /api/example`) and one Polaris page that fetches it
What's commented out as opt-in (in `wrangler.jsonc`): Cloudflare Queues, Durable Objects, Cron triggers.
---
## Architecture
```
Browser (Shopify Admin)
└── App Bridge (session token JWT)
└── Cloudflare Worker (Hono)
├── /shopify/install → OAuth install start
├── /shopify/callback → OAuth callback, session saved to KV
├── /api/* → requireShop middleware (JWT verification)
│ └── GET /api/example → queries D1, returns JSON
└── /* (static assets) → React + Polaris SPA (served via [assets])
```
- **Install flow:** `/shopify/install?shop=<shop>` → Shopify consent → `/shopify/callback` → session persisted in `SESSION_KV`.
- **Session-token flow:** App Bridge embeds a short-lived JWT in every API request header; the `requireShop` middleware verifies it and attaches the shop to the request context.
- **Data layer:** Drizzle ORM on D1 (SQLite). All tables cascade-delete on shop removal (`SHOP_REDACT` GDPR pattern).
<!-- dash-content-end -->
---
## Prerequisites
- Node 20+
- A Cloudflare account (free tier is fine)
- A Shopify Partner account + a development app
---
## One-time setup
### 1. Install dependencies
```bash
npm install
```
### 2. Create Cloudflare resources
```bash
# Database
wrangler d1 create shopify-on-cloudflare-db
# → copy the returned database_id into wrangler.jsonc
# KV namespace for Shopify sessions
wrangler kv:namespace create SESSION_KV
# → copy the returned id into wrangler.jsonc
# R2 bucket for file storage
wrangler r2 bucket create shopify-on-cloudflare-files
```
Open `wrangler.jsonc` and replace the `YOUR_*` placeholders (`database_id`, KV `id`) with the values above. (No `account_id` needed — Wrangler uses your logged-in account.)
### 3. Set Shopify secrets
In the Shopify Partner dashboard, create an app and copy its client ID and secret.
```bash
npx wrangler secret put SHOPIFY_CLIENT_ID
npx wrangler secret put SHOPIFY_API_SECRET
npx wrangler secret put HOST # bare hostname, no protocol, e.g. shopify-on-cloudflare.<you>.workers.dev
```
Copy `.env.example` to `.env` and fill in `VITE_SHOPIFY_CLIENT_ID` (the public client ID).
For **local development**, also copy `.dev.vars.example` to `.dev.vars` and fill in the same Shopify credentials — `wrangler dev` (via the Vite plugin) loads them from there, so you don't need `wrangler secret put` locally.
#### Shopify Partner Dashboard App URLs
After your first deploy (or when using a tunnel locally), set these values in the Shopify Partner Dashboard under **App setup**:
| Field | Value |
|---|---|
| App URL | `https://<your-worker-host>/shopify/install` |
| Allowed redirection URLs | `https://<your-worker-host>/shopify/callback` |
Replace `<your-worker-host>` with your `*.workers.dev` hostname (or custom domain).
### 4. Apply database migrations
```bash
npm run setup # local — apply D1 migrations for `npm run dev` (alias for d1:migrate:local)
npm run d1:migrate # remote — apply D1 migrations to your deployed D1
```
---
## Run locally
First time on a fresh clone, do the one-time setup — copy local vars and apply local migrations:
```bash
cp .dev.vars.example .dev.vars # then fill in your Shopify credentials
npm run setup # apply D1 migrations to the local database
```
Then a single command runs the whole app — React frontend **and** Worker backend — on one port, via the [Cloudflare Vite plugin](https://developers.cloudflare.com/workers/vite-plugin/):
```bash
npm run dev
```
Everything is served at http://localhost:5173, with the Worker running in the real `workerd` runtime and D1, KV, and R2 bound locally.
> **Shopify OAuth requires a public HTTPS URL** even in development.
> Use the included `cloudflared` tunnel to expose your local server:
>
> ```bash
> npm run dev:tunnel # exposes http://localhost:5173 via a cloudflared HTTPS tunnel
> ```
>
> Copy the printed `https://*.trycloudflare.com` URL and use
> `https://*.trycloudflare.com/shopify/install` as your **App URL** and
> `https://*.trycloudflare.com/shopify/callback` as your **Allowed redirection URL**
> in the Shopify Partner Dashboard for the duration of the dev session.
Seed a test shop and hit the example endpoint:
```bash
wrangler d1 execute shopify-on-cloudflare-db --local --command "
INSERT OR IGNORE INTO shopify_shop (id, myshopify_domain, domain, name, status, install_date)
VALUES ('test-shop-id', 'mystore.myshopify.com', 'mystore.myshopify.com', 'Test Store', 'installed', datetime('now'));
"
curl http://localhost:5173/api/example -H "x-shop-domain: mystore.myshopify.com"
# → {"shopId":"test-shop-id","now":"2026-..."}
```
---
## Testing
```bash
npm test # unit tests (Vitest)
npm run test:e2e # end-to-end smoke tests (Playwright)
```
The Playwright suite boots the app with `npm run dev` and checks the health endpoint, that protected `/api/*` routes reject unauthenticated requests, and that the SPA shell is served.
---
## Deploy
```bash
npm run deploy
```
`npm run deploy` builds the frontend and Worker together (`vite build`) and ships them with `wrangler deploy`.
---
## What's next
- Add tables: edit `src/db/schema.ts`, run `npm run d1:generate`, then `npm run d1:migrate`. New tables should have a non-null `shopId` FK to `shopify_shop` with `onDelete: 'cascade'` (GDPR `SHOP_REDACT` pattern).
- Add routes: drop a new file in `src/routes/`, export a Hono router, wire it in `src/index.ts`. `/api/*` paths are auth-guarded automatically.
- Add background jobs: uncomment the queues / durable-objects / cron blocks in `wrangler.jsonc` and add the matching `queue` / `scheduled` export to `src/index.ts`.
- Add a webhook topic: extend `TOPICS` in `src/lifecycle/webhooks.ts` and dispatch it in the handler.
---
## Optional integrations
### Bugsnag (error monitoring)
The frontend bundles `@bugsnag/js` and `@bugsnag/plugin-react`. To enable it, set your API key:
```bash
# .env (Vite/frontend)
VITE_BUGSNAG_API_KEY=your-bugsnag-api-key
```
If you do not use Bugsnag, you can safely remove `@bugsnag/js` and `@bugsnag/plugin-react` from `package.json` and delete the Bugsnag initialisation call in the frontend entry point.
---
## Contributing
Contributions, bug reports, and feature requests are welcome.
1. Fork the repository and create a branch from `main`.
2. Make your changes, keeping commits focused and atomic.
3. Follow the commit message convention enforced by `commitlint` (Conventional Commits: `feat:`, `fix:`, `chore:`, etc.).
4. Open a pull request — describe what you changed and why.
For significant changes, open an issue first to discuss the approach.
---
## Learn more
Need a custom Shopify app or storefront built on Cloudflare? See [Devkind's Shopify development services](https://devkind.com.au/services/shopify).
Built by [Devkind](https://devkind.com.au). Maintained by the Devkind Engineering team ([email protected]).
---
## License
MIT — see [LICENSE](LICENSE).
看看同类模板
对比同技术栈与用途的模板,找到更适合的视觉与内容结构。
ant-design-pro
Ant Design Pro 是 Ant Design 官方推出的企业级中后台前端脚手架,基于 React 19、Umi Max 4 和 antd 6 构建,内置 TypeScript 支持。
React · 后台

react-boilerplate
react-boilerplate 是一个为有一定 React 和 Redux 经验的开发者设计的启动器,目标是快速搭建可扩展、离线优先的 Web 应用。
React · 启动器
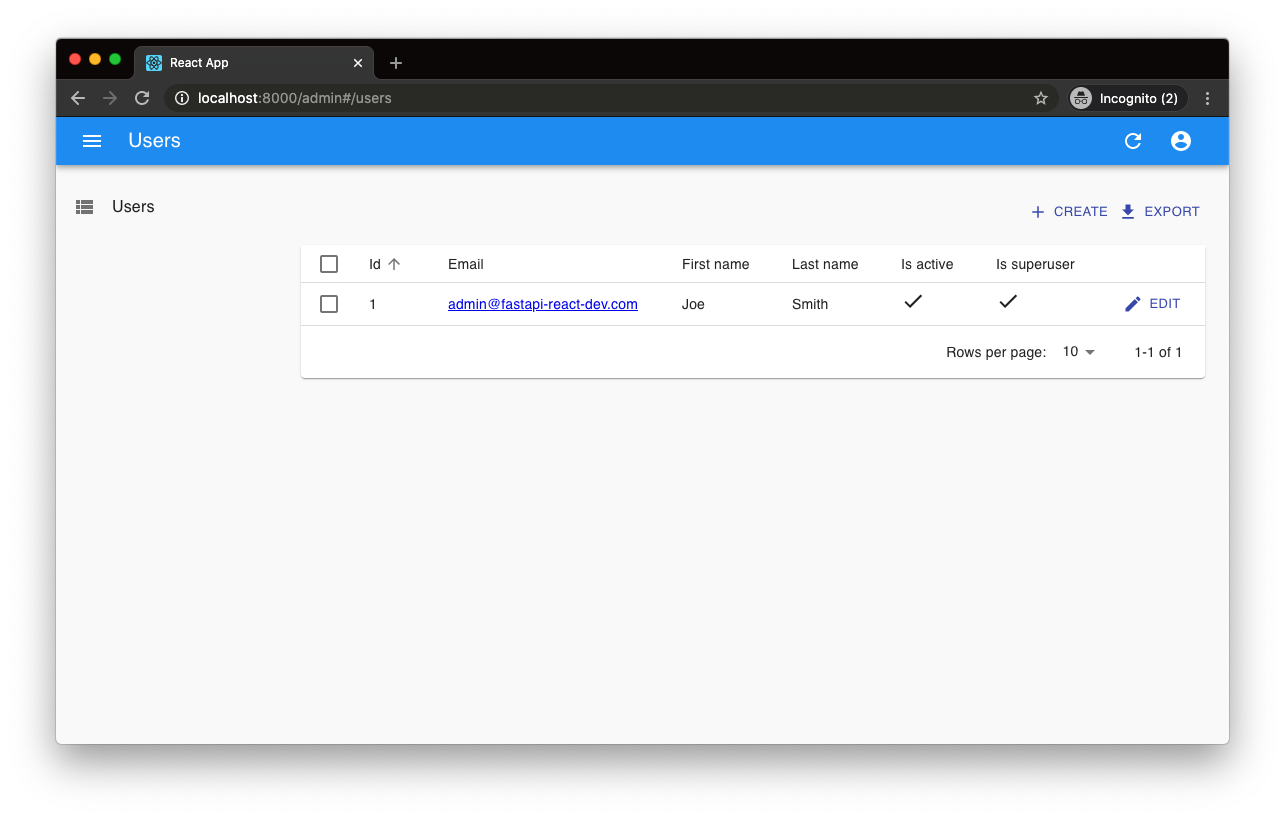
fastapi-react
fastapi-react 是一个基于 Cookiecutter 的模板,用于快速搭建 FastAPI 与 React(TypeScript)的全栈项目。
React · 后台
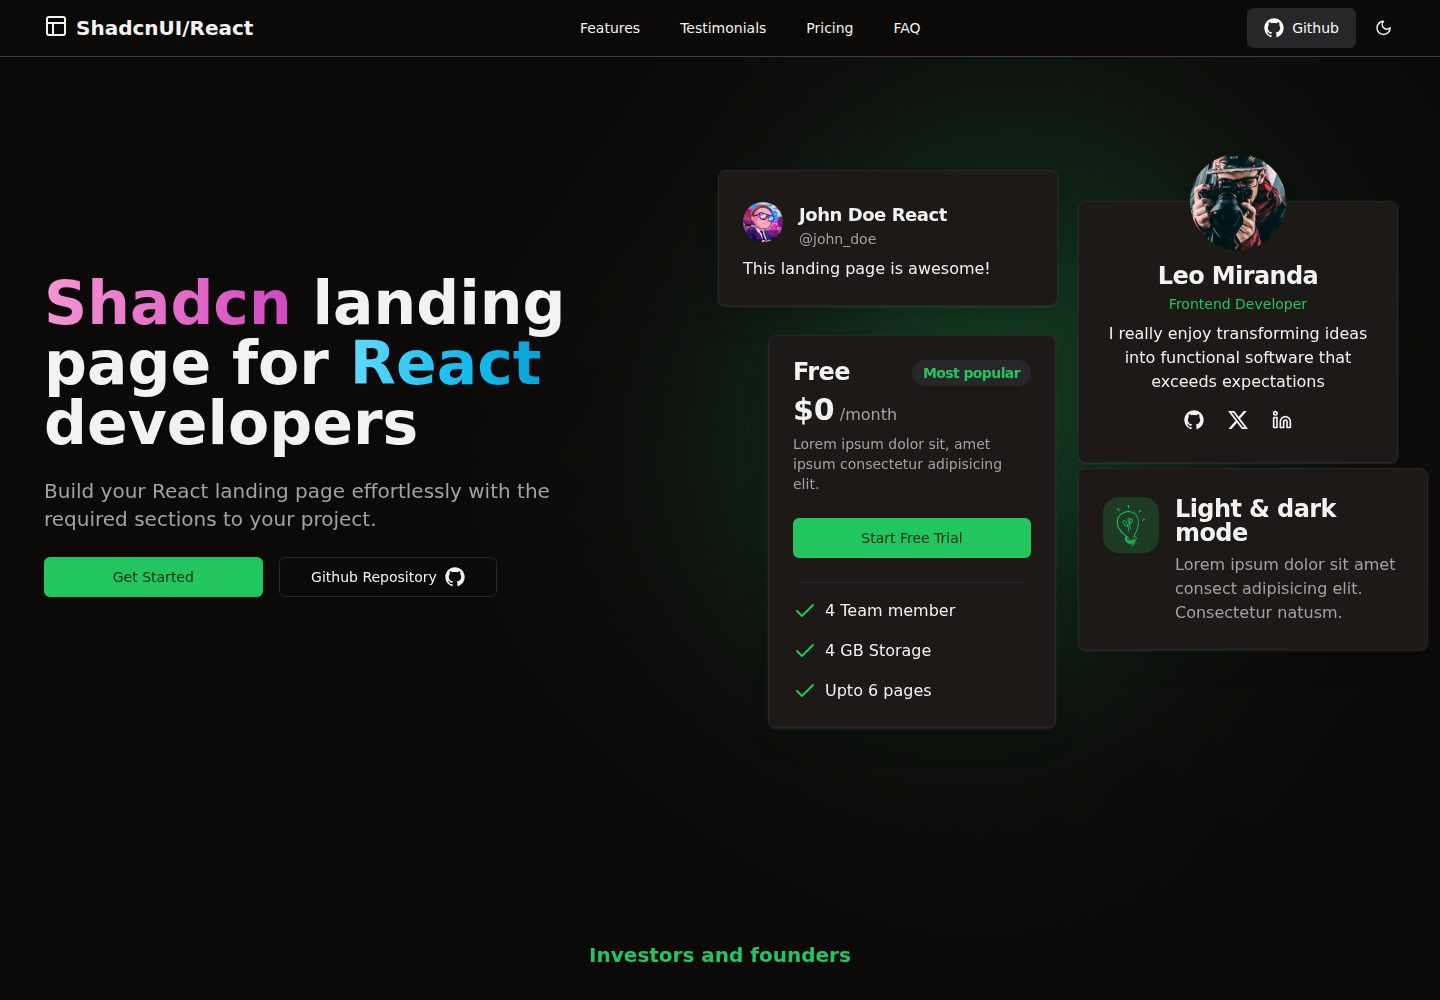
shadcn-landing-page
Free Landing page template using Shadcn, React, Typescript and Tailwind
React · 企业官网

start-ui-web
Start UI [web] 是 BearStudio 团队维护的一个有主见的全栈启动器,用于快速搭建 Web 应用。
React · 启动器

React-Landing-Page-Template
A simple react one page landing page templates for startups/companies
React · 企业官网