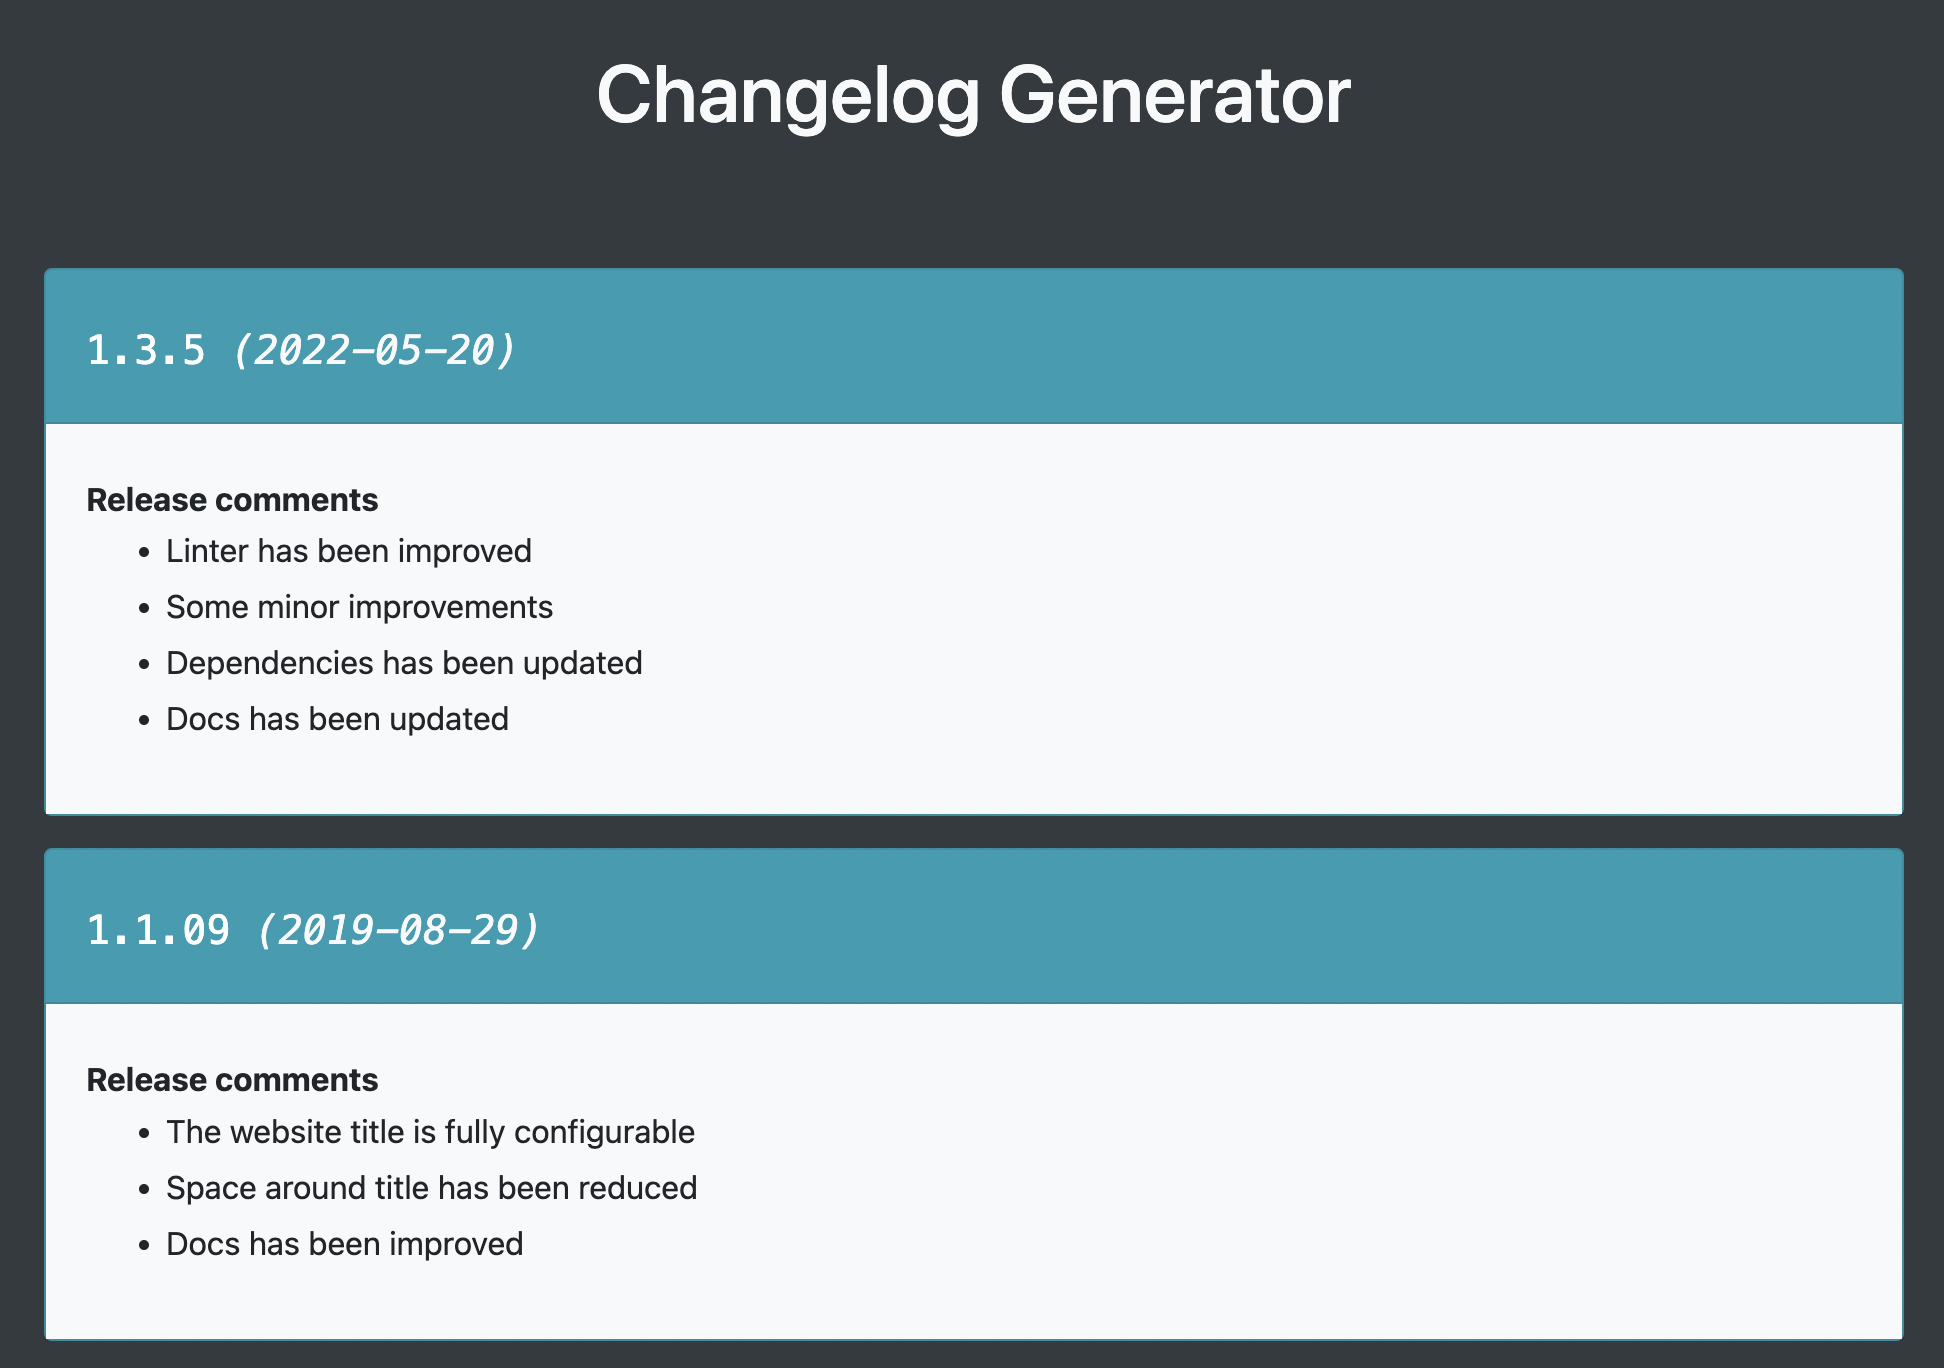
无需编写代码,只编辑 data/changelog.json 和 data/configuration.json 两个 JSON 文件即可维护内容
Next.jsReact工具站
changelog-generator — Next.js 工具站模板
作者 didaquis
基于 Next.js 的静态更新日志展示模板,通过编辑两个 JSON 文件即可生成可发布的 changelog 页面。
看看你的网站会是什么样
浏览真实页面截图,比较内容排版与手机效果。点击下方缩略图切换,放大查看整页细节。
目前有 1 张原始预览,可打开完整图片查看设计细节。
截图用于了解视觉与布局,交互效果请以实际项目为准。
采集于 2026-10-12查看来源
值得关注的模板亮点
从已有项目资料中,快速了解它的特点。
界面文本全部可自定义,不强制使用某种语言
发布命令 npm run publish 生成 /out 静态目录,可部署到任意静态托管服务
兼容浏览器打印功能,便于导出 PDF 版更新日志
除更新日志外,也可用于路线图或待办清单等列表型内容
模板详细介绍
这是一个用于展示项目更新日志的静态网站模板,基于 Next.js 构建,样式使用 Bootstrap 4。它的核心思路是把内容与代码分离:所有更新日志数据放在 data/changelog.json,站点配置放在 data/configuration.json,使用者无需编写代码,只需编辑这两个 JSON 文件即可完成内容维护。
配置项包括网站语言、页面标题、展示的版本数量上限、列表标题,以及页脚署名链接的地址与文字。更新日志数据按 JSON 中的顺序展示,默认显示前 10 个版本。模板不绑定特定语言,因为所有界面文本都可以自行填写。
使用流程上,项目要求本机安装 Node.js 16 或更高版本,克隆仓库后执行 npm install 安装依赖,用 npm run dev 在本地预览修改。发布时执行 npm run publish,会生成 /out 目录,把其中内容部署到 Web 服务器即可,也可以托管在 GitHub Pages、Surge、Netlify 等静态托管服务上。如果需要导出 PDF,可运行 npm run build && npm run start,然后在浏览器中通过打印功能生成 PDF。
模板的定位是轻量的静态展示工具,README 也提示:如果更新日志数据需要频繁更新,应考虑自动化生成 changelog.json。它适合做更新日志、路线图或待办清单这类按版本/条目罗列的内容页面。
Next.js工具站
适合你的项目吗?
适用场景
- 为开源项目或产品维护一个可公开访问的更新日志页面
- 把版本计划整理成路线图页面展示
- 用版本或条目形式呈现项目待办清单
- 需要把更新日志导出为 PDF 分发的场合
适合人群
- 希望不写代码就能维护更新日志内容的个人开发者或小团队
- 需要静态托管、不想引入后端服务的项目
- 接受通过编辑 JSON 文件来更新内容的维护方式
上手与定制指南
结合仓库当前版本的说明,按下面的资料检查内容、配置与运行要求。
- 1
本机需安装 Node.js 16 或更高版本,克隆仓库后执行 npm install 安装依赖
- 2
更新日志数据写入 data/changelog.json,站点配置写入 data/configuration.json
- 3
本地预览使用 npm run dev,默认地址为 http://localhost:3000
- 4
发布执行 npm run publish,将生成的 /out 目录内容上传到 Web 服务器或静态托管服务
- 5
导出 PDF 可执行 npm run build && npm run start,再用浏览器打印功能生成
授权与来源资料
使用条件与限制
免费使用 · 保留许可声明本次收录的是公开仓库中采用 MIT 许可的免费版本;免费范围为该版本代码,不代表外部服务或第三方素材免费。
使用时需要遵守
- 允许免费使用、修改、商用和分发该版本代码。
- 分发代码副本或实质性部分时,保留原作者版权声明和完整 MIT 许可声明。
- 代码按现状提供;担保与责任限制以原许可证及适用法律为准。
额外费用与待核对事项
- 演示图片、字体、图标及其他第三方素材需按各自许可核对,不能仅凭代码的 MIT 许可判断。
- 域名、托管、数据库、支付或 AI 等外部服务可能另外收费。
- 使用该模板需在本机安装 Node.js 16 或更高版本,否则无法安装依赖和运行构建命令。
- 需先克隆或下载仓库并执行 npm install 安装依赖,才能使用该模板。
- 若需频繁更新更新日志数据,README 建议自行实现 changelog.json 的自动化生成,模板本身不提供该自动化能力。
查看原文依据
Permission is hereby granted, free of charge
许可证原文
This project requires [Node.js](https://nodejs.org) 16 or higher installed on your computer.
README 原文
Clone or download this repository and then install the dependencies: `npm install`.
README 原文
https://github.com/didaquis/changelog-generator/blob/master/LICENSEhttps://github.com/didaquis/changelog-generator/blob/master/README.mdIf you need to update the changelog data frequently, you should consider automating the generation of the changelog.json file.
README 原文
DeepSeek 根据仓库许可证和 README 整理 ·2026-10-12。结果仅覆盖已读取资料,依赖、图片、字体及后续条款变更以各自原文为准。
项目核对记录与介绍依据
模板资料
- 来源平台
- GitHub
- 资料与维护参考分
- 资料一般 · 56 / 100
- 技术栈
- Next.js · React
- 网站类型
- 工具站
这个分数如何计算
本站按许可资料(最高30分)、演示链接(12分)、预览图(10分)、Star数(15分)、记录的维护时间(15分)、描述完整度(8分)、功能记录(5分)和分类资料(5分)计算。它不是代码、安全或性能测试,也不是 Google 评分;有链接不代表已实测可用。
这个项目需要核对什么
- 记录的仓库更新时间
- 2023-10-17
- 截图检查日期
- 2026-10-12
目前没有记录演示链接。请依据仓库说明在本地评估;仅凭截图无法确认交互行为。
目录记录的主要技术栈是 Next.js。请通过依赖清单和锁文件核对实际版本与托管要求。这些说明基于收录资料,不代表代码审计或部署实测。
查看具体选型方法 →介绍的制作与核对状态
介绍由 AI 辅助整理目录与仓库资料。仓库作者不等于这篇介绍的审核者。
审核声明: [email protected] · 2026-10-13
查看当时使用的来源资料
SHA-256: 9a6254dd6e7cc8bca477b5038b954bb619b31b1ffa1b3ac6032a464ceca87c21
2026-10-12T10:55:48.428Z
来源文件 / 仓库# Changelog-generator ⚡️ **A template for building static websites with the purpose of creating quick and easy changelogs!** This project is a simple way to create and maintain a changelog.  ## ✨ Features * **Without Coding!** You don't need to code anything. Only edit two JSON files * **No tied to language.** You can edit all text of website, so this repo doesn't force you to use any language * **Create a static website so fast.** You only need a couple of minutes * **Easy PDF creation.** Compatible with the browser's PDF print function * **Multipurpose.** Do changelogs, roadmaps or just TO DO lists! ## 🔨 How to use ### ⚠️ Requirements This project requires [Node.js](https://nodejs.org) 16 or higher installed on your computer. Clone or download this repository and then install the dependencies: `npm install`. ### 📝 Configuration and changelog data entry All configuration and data is obtained from JSON files. To add data that will be part of the changelog you must edit the file located in the directory `data/changelog.json`.  ``` 💡 TIP! If you need to update the changelog data frequently, you should consider automating the generation of the changelog.json file. ``` You should also edit the configuration file located in the directory `data/configuration.json`.  **Parameters to configure:** * `languageOfWebsite` => Set the language of website content (optional). Examples: `es` for spanish, or `en` for english. * `titleOfWebsite` => Set the page title (optional) * `limitOfVersionsToShow` => Set the number of versions to be displayed (starting at the top of JSON file. Default value is 10) * `textOfListHeader` => Set the title of the lists (optional) * `footerUrlLink` => Establish the link to indicate the authorship of the project (optional, but don't forget to set the property `footerTextLink` if you set a value) * `footerTextLink` => Establish the text of the link to indicate the authorship of the project (optional, but don't forget to set the property `footerUrlLink` if you set a value) You can run the command `npm run dev` to view the changes in live on `http://localhost:3000`. After edit both JSON files, you are ready to publish your website. ### 🚀 Publish Execute the comand `npm run publish`. Then a directory called `/out` will be created. Move all content of that folder to your web server. Of course, you can publish the website generated on GitHub Pages, Surge, Netlify or similar services. ``` 💡 TIP! If you would generate a PDF file with your changelog, you can run the command: `npm run build && npm run start`. Then navigate to `http://localhost:3000` and use the the browser's PDF print function to generate the PDF file. ``` ### 🌀 Development This project is made with [Next.js](https://nextjs.org) and [Bootstrap 4](https://getbootstrap.com). **Some useful commands:** * Run the project with 'watch' option: `npm run dev`. * Run a basic linter: `npm run lint`. ### 🐛 Issues, pull request or suggestions Feel free to open an issue to ask anything or even open a pull request to collaborate
看看同类模板
对比同技术栈与用途的模板,找到更适合的视觉与内容结构。
full-stack-ai-agent-template
Full-stack AI app generator — FastAPI + Next.js with AI Agents, RAG, streaming, auth, and 20+ integrations out…
Next.js · 工具站
tiktokenizer
tiktokenizer 是一个开源的在线工具站项目,核心功能是计算文本对应的 token 数量,服务于 openai/tiktoken 库。
Next.js · 工具站

resume builder
resume builder 是一个开源的在线简历生成工具,演示站点可直接体验。 它基于 Next.js、TypeScript 和 Material UI 构建,前端状态管理采用 Zustand,整体界面简洁,交互流畅。
Next.js · 工具站
picprose
PicProse 是一个开源的封面图生成工具,专为博客作者、内容创作者和开发者设计。 它通过直观的界面,让用户快速为 Medium、YouTube、B站等平台生成专业封面。
Next.js · 工具站
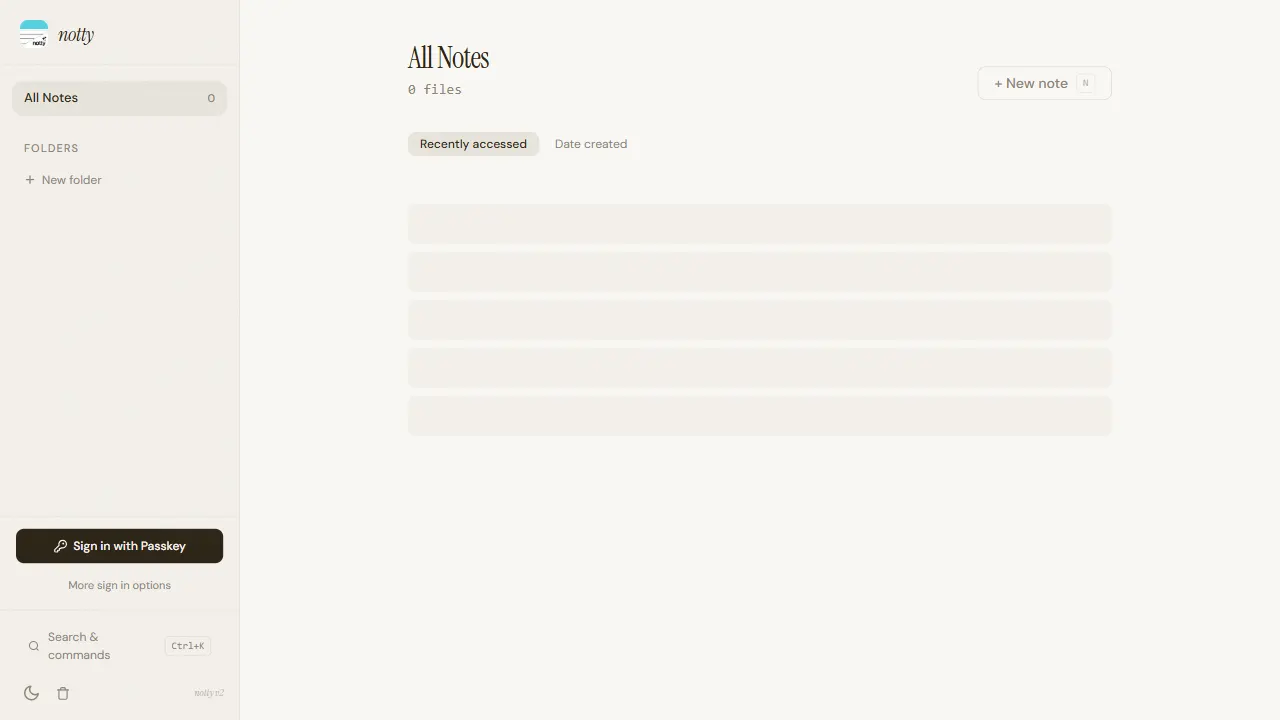
notty
Notty 是一个定位明确的笔记应用模板,核心卖点是“离线优先 + 实时协作 + 数据自主”。
Next.js · 工具站
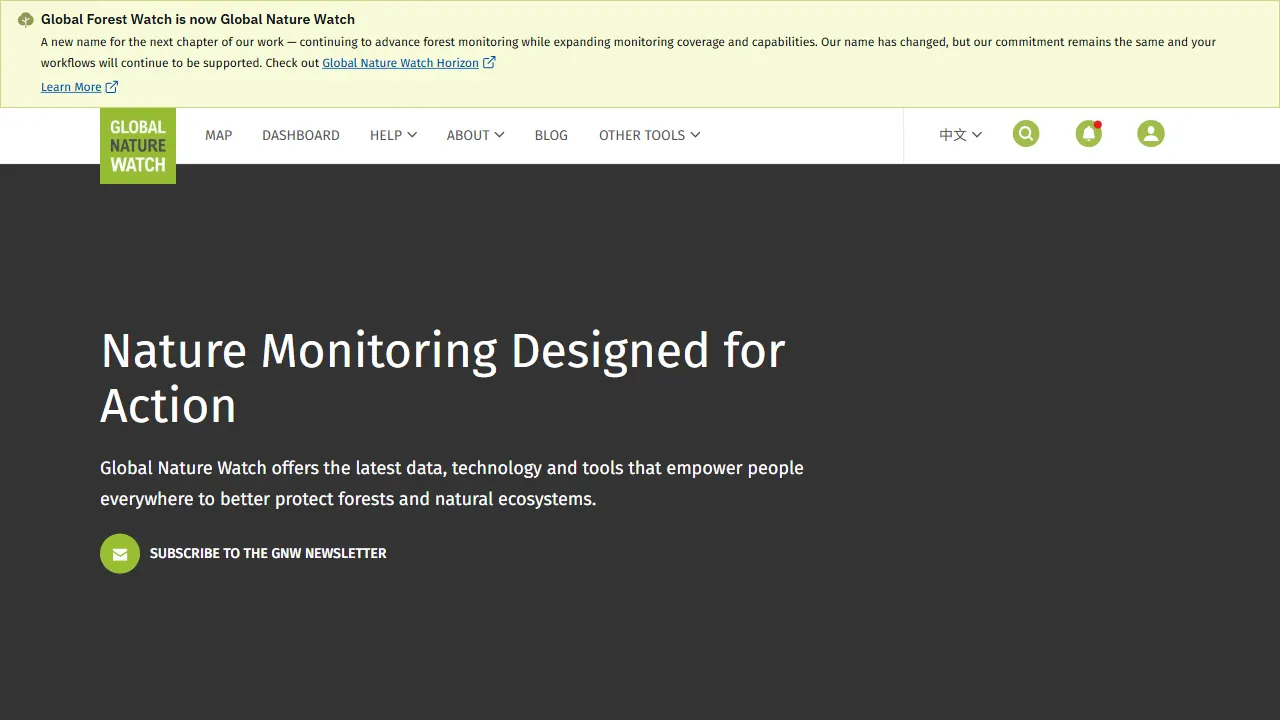
gfw
gfw 是 Global Forest Watch 的官方 Web 应用,一个面向森林监测与告警的在线工具站。
Next.js · 工具站