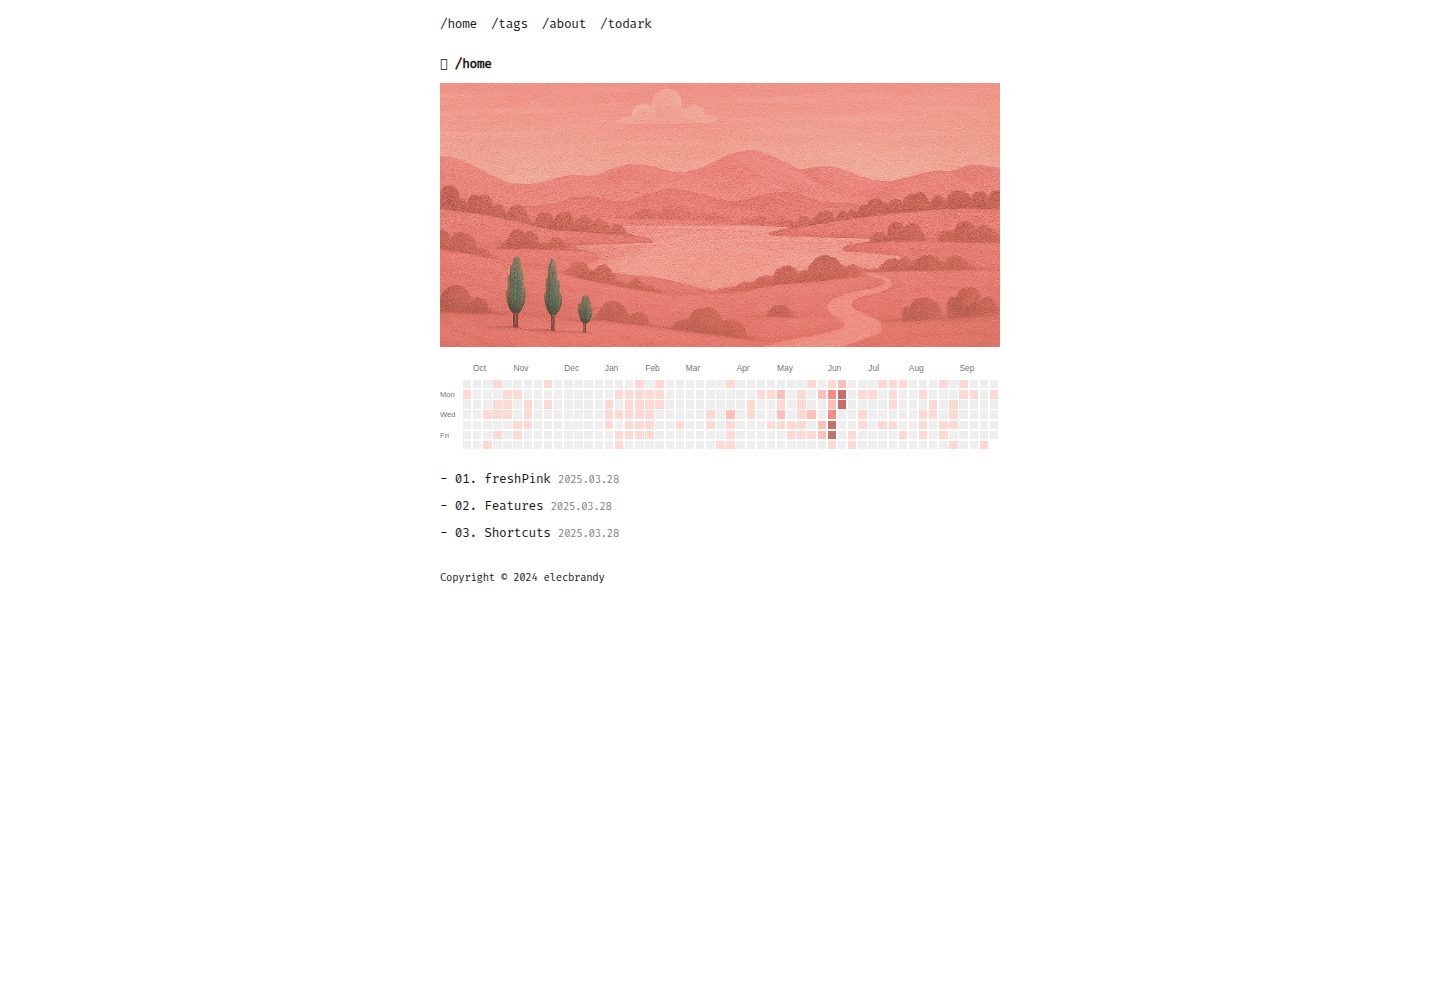
Hugo 博客主题,通过 Hugo Modules 引入,无需在配置中定义 theme 字段
Hugo博客
freshpink — Hugo 博客模板
作者 elecbrandy
freshPink 是一个面向 Hugo 的极简博客主题,通过 Hugo Modules 引入,支持主色、主图、GitHub 贡献图与 KaTeX 数学渲染等配置。
看看你的网站会是什么样
浏览真实页面截图,比较内容排版与手机效果。点击下方缩略图切换,放大查看整页细节。
全部页面与视图 3
截图用于了解视觉与布局,交互效果请以实际项目为准。
采集于 2026-10-02查看来源
值得关注的模板亮点
从已有项目资料中,快速了解它的特点。
可在 hugo.toml 中设置主色 primaryColor、首页主图 mainImageUrl 与显示开关
支持在首页展示 GitHub 贡献图,通过 githubUsername 与 showGithubChart 控制
可通过 math 参数开启 KaTeX 数学渲染
菜单在 [[menus.main]] 中定义,新增栏目只需创建同名内容文件夹并添加菜单项
MIT 许可,允许免费使用、修改、商用和分发该版本代码
模板详细介绍
freshPink 是一个 Hugo 博客主题,仓库描述为「mininal blog theme - hugo」。主题通过 Hugo Modules 方式安装,README 给出的流程是:新建 Hugo 站点、执行 hugo mod init、在 hugo.toml 中配置 [module] 导入 github.com/elecbrandy/freshpink,然后运行 hugo mod tidy 拉取主题文件。README 注明需要 Hugo v0.110+ extended,配置示例中的 module.hugoVersion 要求 extended 且 min 为 0.116.0。
主题的配置集中在 hugo.toml 的 [params] 下,可设置 primaryColor 主色、mainImageUrl 与 showMainImage 控制首页主图、githubUsername 与 showGithubChart 控制首页 GitHub 贡献图、googleAnalytics 统计 ID、copyright 页脚版权,以及 math 开关 KaTeX 数学渲染。菜单通过 [[menus.main]] 定义,README 说明 2025.11.11 的更新后导航栏可动态修改,并给出新增栏目(如 projects)的步骤:先在 content/ 下建同名文件夹,再在 hugo.toml 中添加对应菜单项。
主题以 MIT 许可发布,允许免费使用、修改、商用和分发该版本代码,分发时需保留版权声明与完整 MIT 许可声明。演示图片、字体、图标等第三方素材需按各自许可核对;域名、托管等外部服务可能另行收费。
Hugo博客
适合你的项目吗?
适用场景
- 使用 Hugo 搭建个人博客并希望快速套用极简主题
- 需要在首页展示 GitHub 贡献图以呈现开源活跃度
- 博客文章包含数学公式,需要 KaTeX 渲染
- 希望通过 hugo.toml 调整主色与首页主图来匹配个人风格
- 需要按栏目(如 projects、tags、about)自定义顶部导航
适合人群
- 使用 Hugo 并偏好极简博客外观的个人博主
- 习惯通过 Hugo Modules 管理主题的开发者
- 需要在博客中渲染数学公式的写作者
- 希望以 MIT 许可免费使用并自行修改主题代码的用户
上手与定制指南
结合仓库当前版本的说明,按下面的资料检查内容、配置与运行要求。
- 1
需要 Hugo extended 版本,README 注明 v0.110+,配置示例要求 min 0.116.0
- 2
安装流程:hugo new site、hugo mod init、在 hugo.toml 的 [module] 中导入 github.com/elecbrandy/freshpink,再执行 hugo mod tidy
- 3
不要在 hugo.toml 中定义 theme 字段,主题由 Hugo Modules 管理
- 4
更新主题可执行 hugo mod tidy 与 hugo mod get -u
- 5
演示图片、字体、图标等第三方素材需按各自许可核对,域名与托管等外部服务可能另行收费
授权与来源资料
使用条件与限制
免费使用 · 保留许可声明本次收录的是公开仓库中采用 MIT 许可的免费版本;免费范围为该版本代码,不代表外部服务或第三方素材免费。
使用时需要遵守
- 允许免费使用、修改、商用和分发该版本代码。
- 分发代码副本或实质性部分时,保留原作者版权声明和完整 MIT 许可声明。
- 代码按现状提供;担保与责任限制以原许可证及适用法律为准。
额外费用与待核对事项
- 首页 GitHub 贡献图依赖 githubUsername 配置,需填写有效的 GitHub 用户名才能正常获取并显示贡献数据。
- 启用站点统计需自行提供 Google Analytics 跟踪 ID,属于外部服务,可能涉及账号与数据合规要求。
- 主题通过 Hugo Modules 从 GitHub 拉取,安装与更新依赖网络访问 GitHub 仓库。
- 必须使用 Hugo extended 版本且不低于 0.116.0,普通版或更低版本无法正常构建。
- 演示图片、字体、图标及其他第三方素材需按各自许可核对,不能仅凭代码的 MIT 许可判断。
- 域名、托管、数据库、支付或 AI 等外部服务可能另外收费。
查看原文依据
Permission is hereby granted, free of charge
许可证原文
githubUsername = "elecbrandy" # GitHub username for contribution chart
README 原文
googleAnalytics = "G-000000000" # Your Google Analytics tracking ID
README 原文
path = "github.com/elecbrandy/freshpink" # important!
README 原文
https://github.com/elecbrandy/freshpink/blob/main/LICENSEhttps://github.com/elecbrandy/freshpink/blob/main/README.mdextended = true min = "0.116.0"
README 原文
DeepSeek 根据仓库许可证和 README 整理 ·2026-10-02。结果仅覆盖已读取资料,依赖、图片、字体及后续条款变更以各自原文为准。
项目核对记录与介绍依据
模板资料
- 来源平台
- GitHub
- 资料与维护参考分
- 资料较完整 · 79 / 100
- 技术栈
- Hugo
- 网站类型
- 博客
这个分数如何计算
本站按许可资料(最高30分)、演示链接(12分)、预览图(10分)、Star数(15分)、记录的维护时间(15分)、描述完整度(8分)、功能记录(5分)和分类资料(5分)计算。它不是代码、安全或性能测试,也不是 Google 评分;有链接不代表已实测可用。
这个项目需要核对什么
- 记录的仓库更新时间
- 2026-02-06
- 截图检查日期
- 2026-10-02
已收录演示链接。请用你的内容与屏幕尺寸检查;有演示不代表表单、认证或支付已经可用。
目录记录的主要技术栈是 Hugo。请通过依赖清单和锁文件核对实际版本与托管要求。这些说明基于收录资料,不代表代码审计或部署实测。
查看具体选型方法 →介绍的制作与核对状态
介绍由 AI 辅助整理目录与仓库资料。仓库作者不等于这篇介绍的审核者。
已完成服务器许可规则与 AI 来源核对;未经过人工编辑审核。
查看当时使用的来源资料
SHA-256: 59d6f56de4d280657d1664199fdb003e5869a8b69ef599243bd4998f45b12df3
2026-10-02T10:17:41.545Z
来源文件 / 仓库# freshPink – Hugo Theme
<img src="https://raw.githubusercontent.com/elecbrandy/freshpink/main/images/tn.png" width="600">
<img src="https://raw.githubusercontent.com/elecbrandy/freshpink/main/images/screenshot.png" width="600">
Welcome to the **freshPink** theme! A clean and minimalist theme for [Hugo](https://gohugo.io/), designed to give your blog a fresh look.
<br>
> [!NOTE]
> Hugo **v0.110+ extended**
<br>
## 🛠️ Fix — 2025.11.11
The navigation bar can now be dynamically modified, and the header can be freely configured through the `hugo.toml` file!
#### step 01. Create the Content Folder
First, you need to create a folder for your new section's content.
1. Go to your project's `content/` directory.
2. Create a new folder named after your section. For example, to create a "Projects" page, make a folder called `content/projects`.
3. You can add Markdown files (`.md`) inside this new folder to fill it with content. (Using `_index.md` is common for the main page of a section).
#### step 02. Add the Menu Item to `hugo.toml`
Next, open your `hugo.toml` file and add a new menu entry. This will make the "Projects" link appear in your site's navigation.
Add the following block to your `hugo.toml` -> `projects` menu (new!)
``` toml
[[menus.main]]
name = 'Home'
pageRef = '/'
weight = 10
[[menus.main]]
name = 'TAGS'
pageRef = '/tags/'
weight = 20
[[menus.main]]
name = 'PROJECTS'
pageRef = '/projects/'
weight = 50
```
- `name`: The text that will show up in the menu.
- `pageRef`: The URL for the link. This **must** match the folder you created in step 1.
- `weight`: This controls the order of your menu items. A higher number (like `50`) will appear after items with a lower number (like `10` or `20`).
<br>
<br>
## Demo Site
Check out the [**Demo Site**](https://elecbrandy.github.io/freshpink/) for an example and detailed instructions.
This guide walks you through applying the freshpink theme to a new Hugo site using **Hugo Modules** — the recommended modern way to manage themes.
<br>
<br>
## How to use
#### 1. Create a New Hugo Site
```bash
hugo new site myblog
cd myblog
```
<br>
#### 2. Initialize Hugo Modules
```bash
hugo mod init github.com/yourname/myblog
```
Replace `yourname/myblog` with your GitHub path (or any unique identifier).
That means the repository address that you will host through GitHub. In my case, I made it `hugo mod init github.com/elecbrandy/elecbrandy.github.io`.
<br>
#### 3. Update `hugo.toml`
Open the generated `hugo.toml` file and **replace its contents completely** with the configuration below. Then, update it with your own information:
* `baseURL`: Enter the URL of your GitHub repository (e.g. `https://elecbrandy.github.io/`)
* `title`: Choose the name you want for your blog
* `githubUsername`: Your GitHub username — this is required to display your contribution graph (grass) on the homepage
* `googleAnalytics`: (Optional) If you want to use Google Analytics, add your tracking ID here
* 👀 Important: **Do not add or define a `theme` field.** We're using Hugo Modules to manage the theme, so this must be left out.
* The [module] section below is what tells Hugo to fetch the freshPink theme. Make sure this part is included!
``` toml
baseURL = 'https://example.org/' # your git repository address
title = 'freshpink' # your own blog title
languageCode = 'en-us'
canonifyURLs = true
[[menus.main]]
name = 'Home'
pageRef = '/'
weight = 10
[[menus.main]]
name = 'TAGS'
pageRef = '/tags/'
weight = 20
[[menus.main]]
name = 'ABOUT'
pageRef = '/about/'
weight = 30
[module]
[module.hugoVersion]
extended = true
min = "0.116.0"
[[module.imports]]
path = "github.com/elecbrandy/freshpink" # important!
[params]
googleAnalytics = "G-000000000" # Your Google Analytics tracking ID
primaryColor = "#ec42ff" # Primary theme color (hex code)
githubUsername = "elecbrandy" # GitHub username for contribution chart
showGithubChart = true # Set to true to display the GitHub contributions chart
math = true
copyright = 'Copyright © 2024 elecbrandy'
[taxonomies]
tag = 'tags'
[markup]
[markup.goldmark]
[markup.goldmark.renderer]
unsafe = true
```
<br>
#### 4. Install and Fetch the Theme
Now, run the following command. Hugo will automatically detect the theme from your hugo.toml and download the necessary files. This command initializes the modules and downloads the theme files to your local cache.
``` bash
hugo mod tidy
```
<br>
#### 5. Create Your First Post
```bash
hugo new posts/hello.md
```
<br>
#### 6. Run the Local Server
```bash
hugo server -D
```
Then open (local check) -> [http://localhost:1313](http://localhost:1313)
You should see your blog styled with the **freshpink** theme! 🎉
<br>
<br>
## Update Guide
To update the theme to the latest version, run the following command in the root of your Hugo project.
```bash
hugo mod tidy
hugo mod get -u
```
This command will fetch the latest version of the theme from its repository.
<br>
<br>
## Features (hugo.toml)
#### Theme & Display
- **`primaryColor`**: Set your theme’s primary color (hex code). ex: `"#fa8b84"`.
- **`math`**: Enable or disable math rendering with KaTeX (`true` / `false`).
#### 🖼️ Main Image
- **`mainImageUrl`**: URL of the main image shown on the homepage.
- **`showMainImage`**: Toggle the main image on or off (`true` / `false`).
#### 📊 GitHub Contribution Graph
- **`githubUsername`**: Your GitHub username (used to fetch the contribution graph).
- **`showGithubChart`**: Show or hide the GitHub contributions chart on the homepage (`true` / `false`).
#### 🔖 Site Metadata
- **`googleAnalytics`**: Your Google Analytics tracking ID (e.g., `"G-000000000"`).
- **`copyright`**: Footer copyright.
#### Example -> `hugo.toml`
```toml
[params]
# --- Site Metadata ---
googleAnalytics = "G-000000000"
copyright = "Copyright © 2024 elecbrandy"
# --- Theme & Display Settings ---
primaryColor = "#fa8b84"
math = true
# --- GitHub Chart ---
githubUsername = "elecbrandy"
showGithubChart = true
# --- Main Image ---
mainImageUrl = "https://i.imgur.com/URQWyyY.png"
showMainImage = true
```看看同类模板
对比同技术栈与用途的模板,找到更适合的视觉与内容结构。
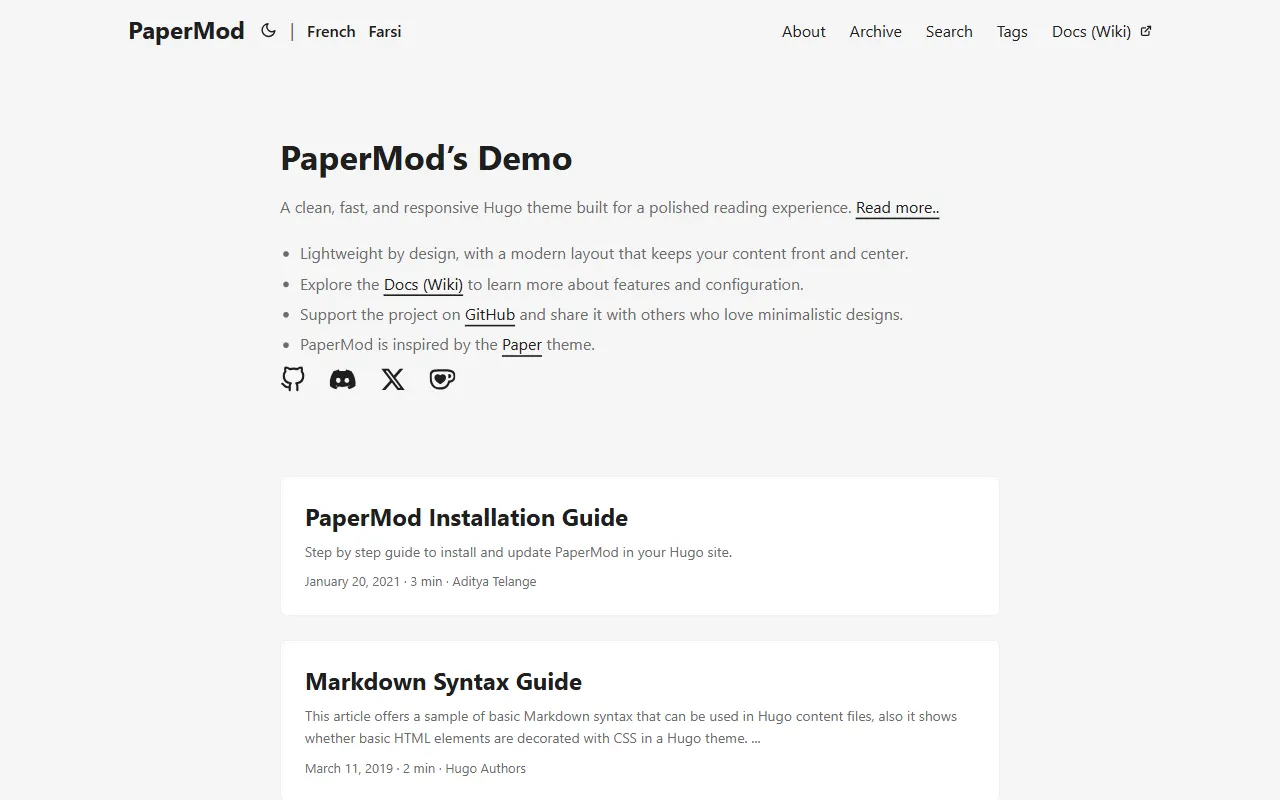
hugo-PaperMod
PaperMod 是 Hugo 生态里知名度较高的主题之一,定位很明确:给博客和轻量作品集站点提供一套干净、响应式的阅读界面。
Hugo · 作品集

LoveIt
❤️A clean, elegant but advanced blog theme for Hugo 一个简洁、优雅且高效的 Hugo 主题
Hugo · 博客
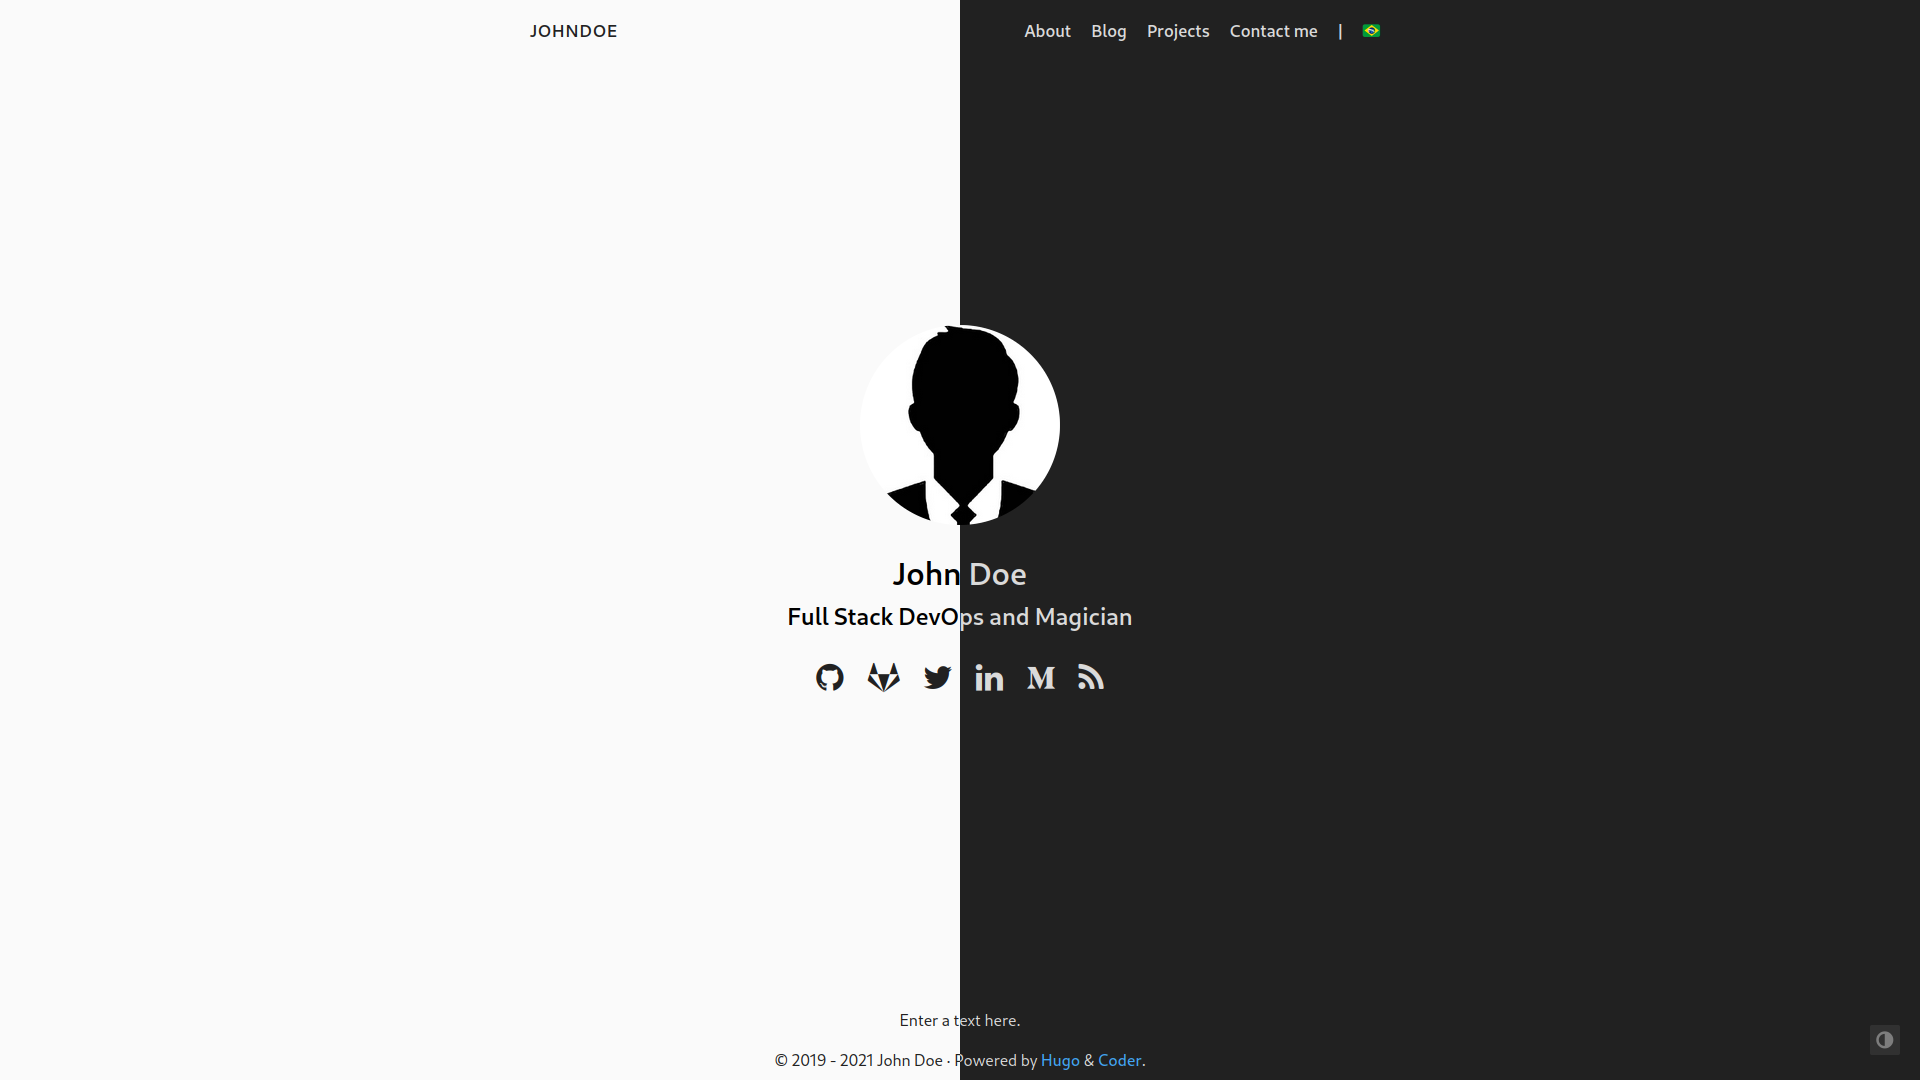
hugo-coder
A minimalist blog theme for hugo.
Hugo · 博客
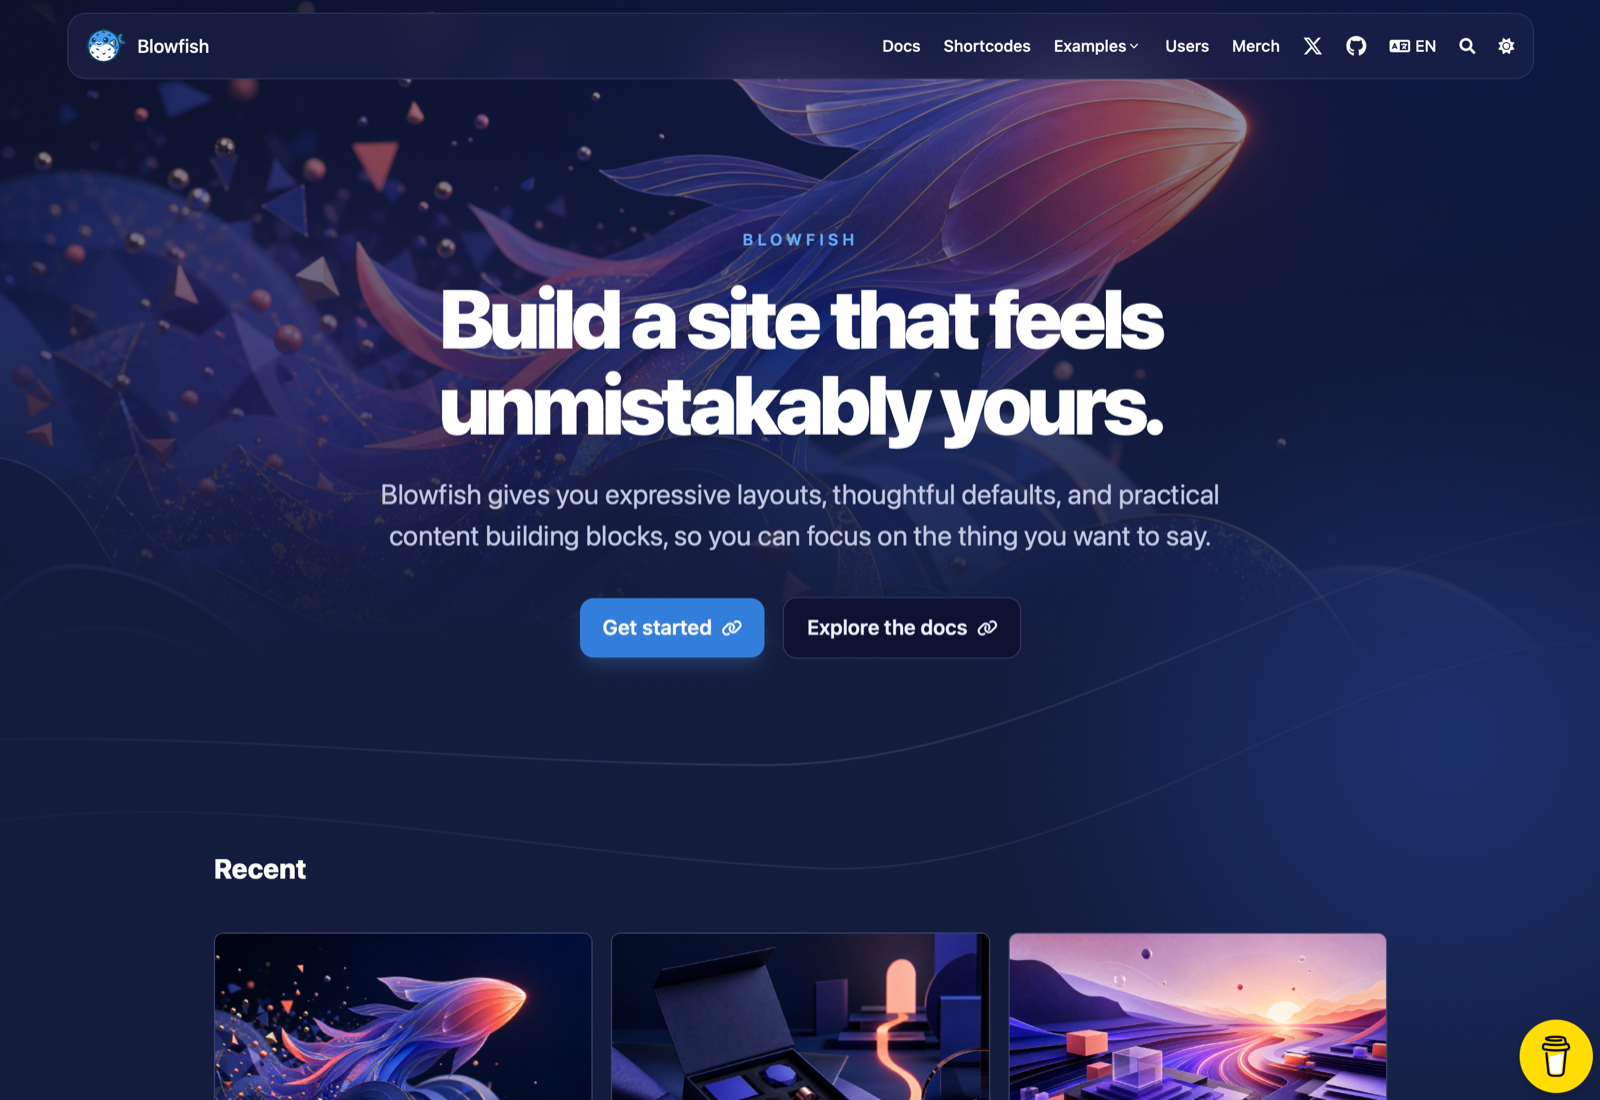
blowfish
Personal Website & Blog Theme for Hugo
Hugo · 博客
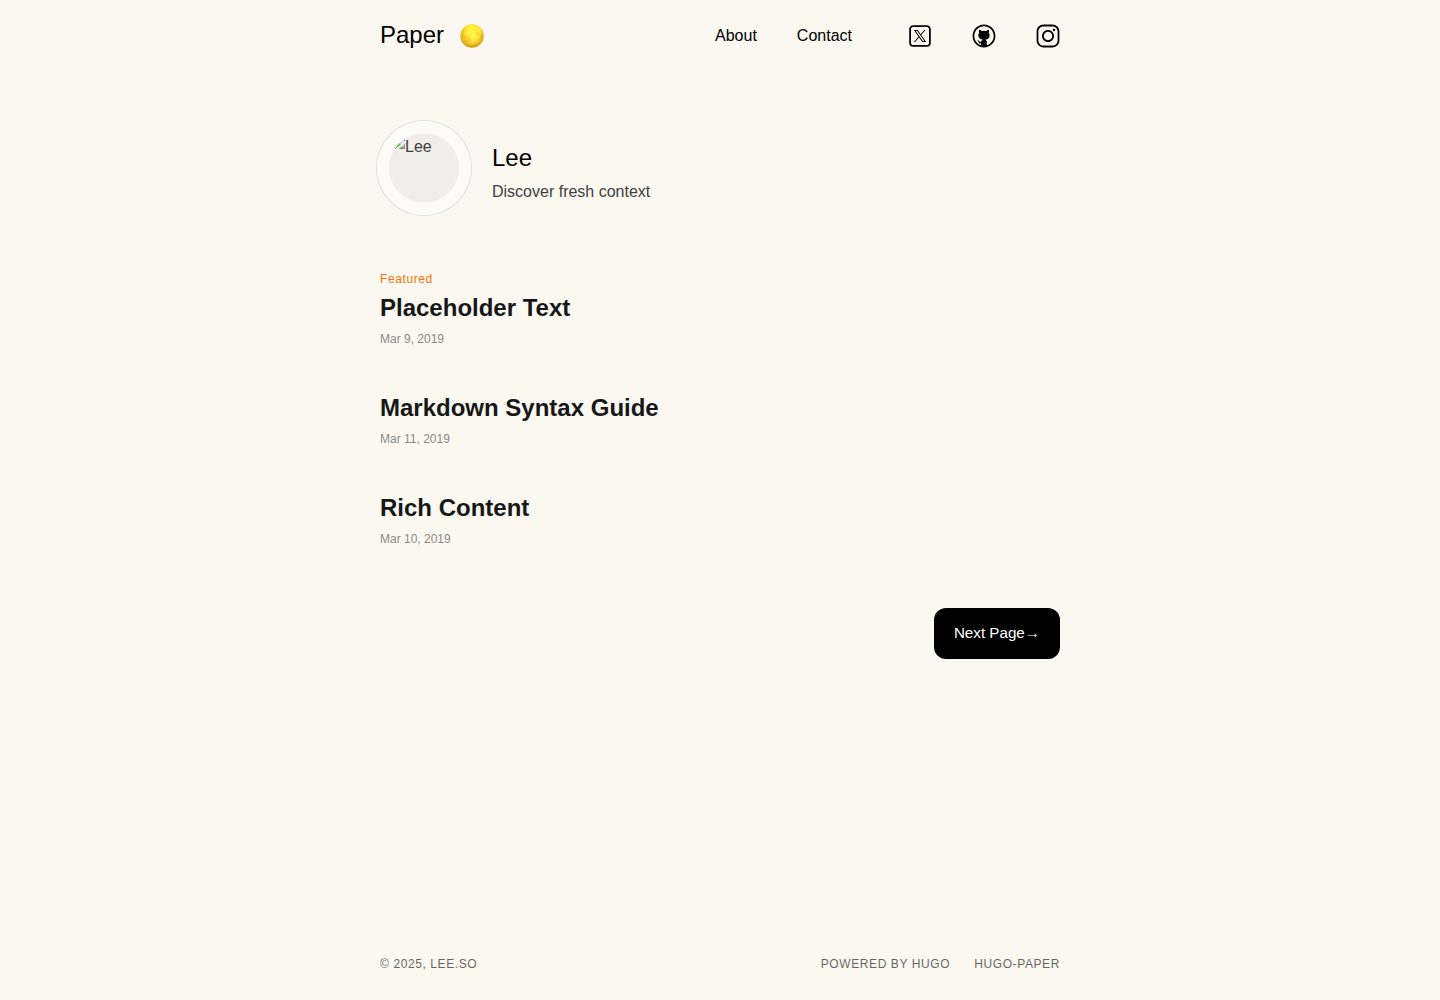
hugo-paper
🪺 A simple, clean, customizable Hugo theme
Hugo · 博客
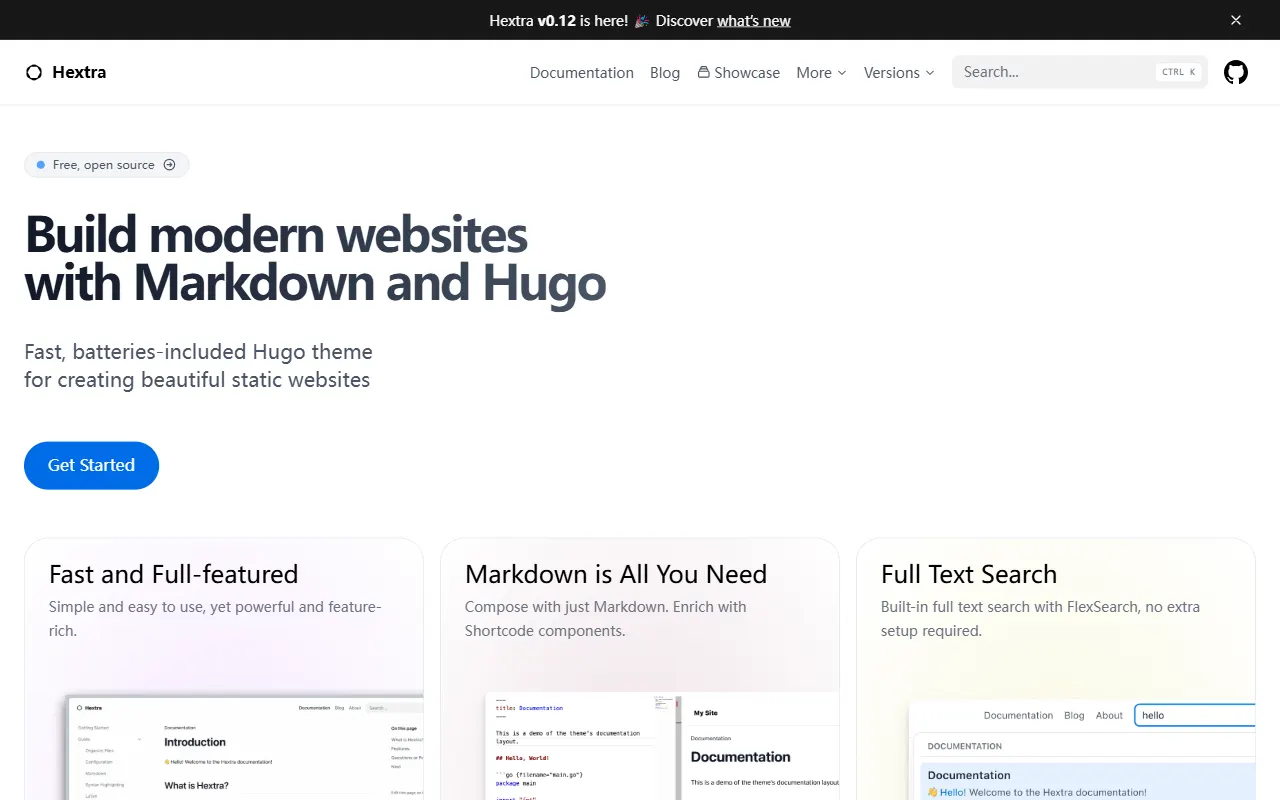
hextra
Hextra 是一个 Hugo 主题,定位在文档站与博客之间:既提供侧边栏导航、目录、面包屑、分页这类文档站结构,也能承载博客内容。
Hugo · 文档