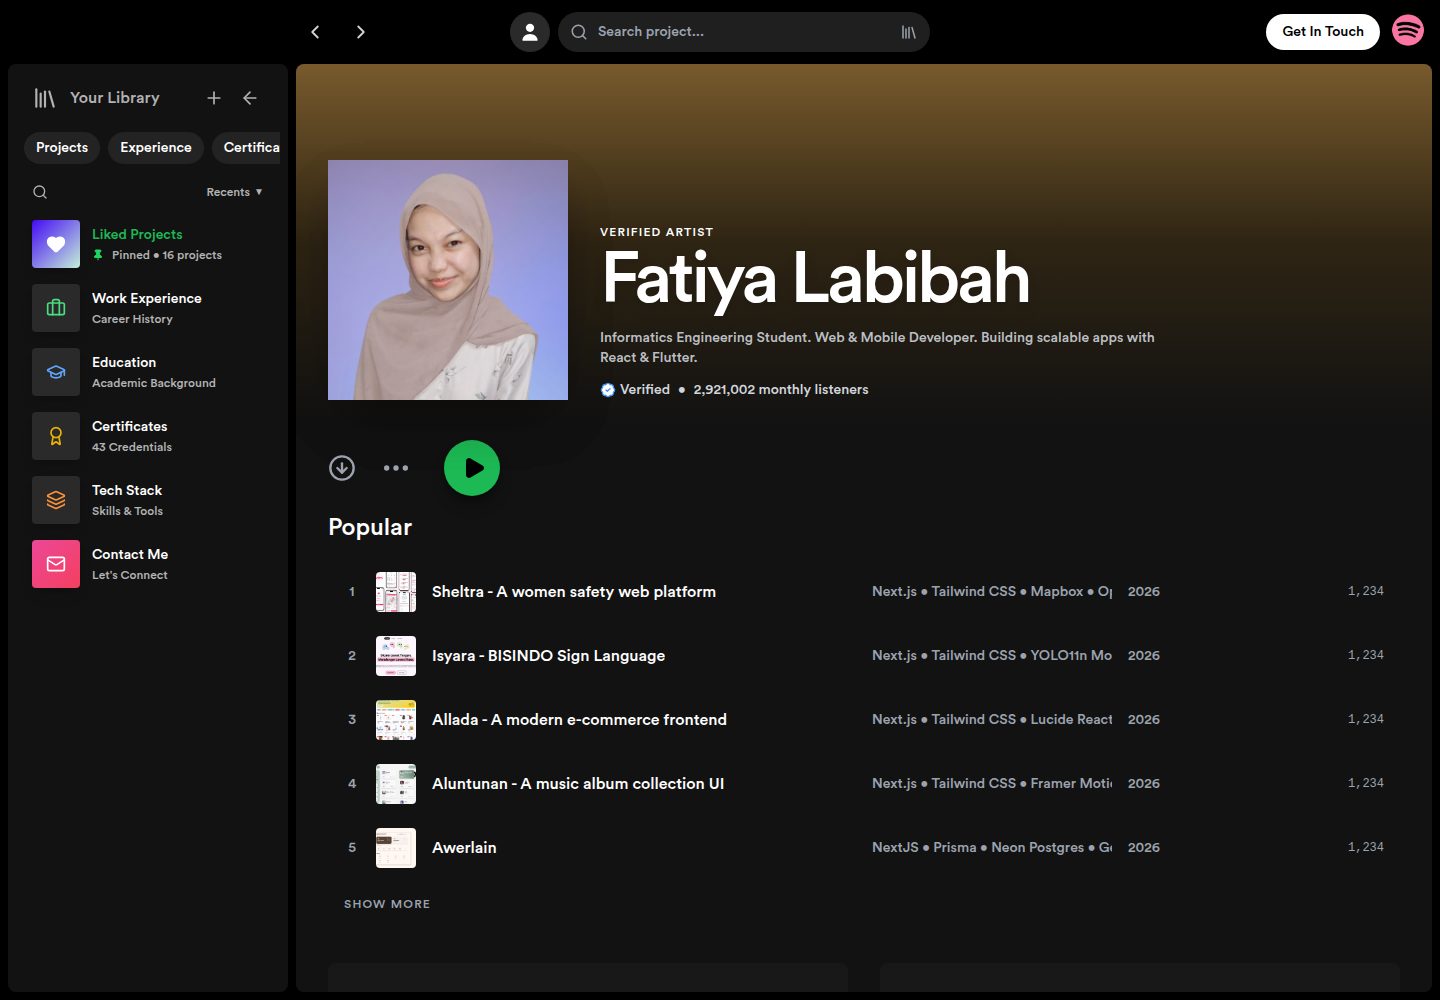
Spotify 风格的深色界面,含侧边栏导航与底部播放条式操作区
React后台作品集
portfolio-spotify — React 后台模板
作者 fatiya17
以 Spotify 界面为灵感的个人作品集网站,React 前端配合 Node/Express 后台与 MongoDB、Cloudinary,可通过管理面板维护项目、证书等内容。
看看你的网站会是什么样
浏览真实页面截图,比较内容排版与手机效果。点击下方缩略图切换,放大查看整页细节。
全部页面与视图 3
截图用于了解视觉与布局,交互效果请以实际项目为准。
采集于 2026-10-13查看来源
值得关注的模板亮点
从已有项目资料中,快速了解它的特点。
项目、教育、经历、证书等内容由数据库动态读取,可在后台增删改查
集成 Cloudinary 处理图片上传与存储,数据存放于 MongoDB Atlas
支持通过 URL 参数直接打开指定项目详情,并可复制链接或分享到 WhatsApp、LinkedIn
侧边栏折叠状态用 Local Storage 记忆,桌面与移动端均有适配
模板详细介绍
这是一个个人作品集网站模板,视觉与交互参照 Spotify 的深色界面:左侧边栏导航、底部播放条式操作区,桌面、平板与手机端均有适配。前端用 React 构建,项目、教育经历、工作经历、证书等内容从数据库读取而非写死在页面里。
仓库同时包含后台部分:提供管理员登录与项目、证书等内容的增删改查接口,图片上传到 Cloudinary,数据存放在 MongoDB Atlas。前端还有几处与作品集场景相关的交互,例如把项目链接分享到 WhatsApp、LinkedIn 或复制链接,通过 URL 参数(如 /?id=xyz)直接打开某个项目的详情侧栏,以及用 Local Storage 记住侧栏折叠状态。联系表单依赖 EmailJS 的 Service ID、Template ID 与 Public Key。
使用前需要自行准备 MongoDB Atlas 与 Cloudinary 账号,并按 README 在 server 与前端分别配置环境变量;README 给出的本地端口为后端 5000、前端 5173,部署示例面向 Vercel。仓库采用 MIT 许可,但演示图片、字体、图标等第三方素材需按各自许可单独核对。
React后台作品集
适合你的项目吗?
适用场景
- 搭建个人作品集网站,用 Spotify 式界面展示项目与经历
- 需要一个带登录后台、可自行维护内容的作品集而非纯静态页面
- 希望把项目图片托管到 Cloudinary、数据放在 MongoDB Atlas 的个人站点
- 作为 React + Express + MongoDB 全栈练习项目,参考前后端分离与后台 CRUD 的实现
适合人群
- 有 React 与 Node 基础、愿意自行配置数据库和图片服务的开发者
- 需要后台管理内容、不想每次改作品集都重新部署前端的人
- 喜欢 Spotify 深色界面风格、想直接沿用这套视觉的个人站点作者
上手与定制指南
结合仓库当前版本的说明,按下面的资料检查内容、配置与运行要求。
- 1
需要准备 MongoDB Atlas 与 Cloudinary 账号,并在 server 的 .env 中填写 MONGO_URI、ADMIN_PASSWORD 及 Cloudinary 的 cloud name、API key、API secret
- 2
前端需配置 EmailJS 的 VITE_EMAILJS_SERVICE_ID、VITE_EMAILJS_TEMPLATE_ID、VITE_EMAILJS_PUBLIC_KEY,联系表单才能发送邮件
- 3
本地运行时分两个终端:后端在 server 目录 npm install 后 npm start(默认 5000),前端在根目录 npm install 后 npm run dev(默认 5173)
- 4
部署到 Vercel 时需为前端添加 SPA 重写规则,并在项目设置中补齐前端环境变量
- 5
演示图片、字体(如 Circular Std)、图标等第三方素材需按各自许可核对,不能仅凭代码的 MIT 许可判断
授权与来源资料
使用条件与限制
免费使用 · 保留许可声明本次收录的是公开仓库中采用 MIT 许可的免费版本;免费范围为该版本代码,不代表外部服务或第三方素材免费。
使用时需要遵守
- 允许免费使用、修改、商用和分发该版本代码。
- 分发代码副本或实质性部分时,保留原作者版权声明和完整 MIT 许可声明。
- 代码按现状提供;担保与责任限制以原许可证及适用法律为准。
额外费用与待核对事项
- 演示图片、字体、图标及其他第三方素材需按各自许可核对,不能仅凭代码的 MIT 许可判断。
- 域名、托管、数据库、支付或 AI 等外部服务可能另外收费。
- 使用该项目需要自行注册 MongoDB Atlas 账号,用于托管数据库。
- 使用该项目需要自行注册 Cloudinary 账号,用于图片上传与存储。
- 联系表单依赖 EmailJS 服务,需要注册账号并配置 Service ID、Template ID 与 Public Key。
- 后台管理登录需要自行设置管理员密码环境变量。
- 需要自行提供 Cloudinary API Key 等凭据才能启用图片上传功能。
- 前端需配置 EmailJS 公钥,否则联系表单无法发送邮件。
查看原文依据
Permission is hereby granted, free of charge
许可证原文
MongoDB Atlas Account
README 原文
Cloudinary Account
README 原文
Create a free account at [EmailJS](https://www.emailjs.com/).
README 原文
ADMIN_PASSWORD=your_secret_admin_password
README 原文
CLOUDINARY_API_KEY=your_api_key
README 原文
https://github.com/fatiya17/portfolio-spotify/blob/main/LICENSEhttps://github.com/fatiya17/portfolio-spotify/blob/main/README.mdVITE_EMAILJS_PUBLIC_KEY=your_emailjs_public_key_here
README 原文
DeepSeek 根据仓库许可证和 README 整理 ·2026-10-13。结果仅覆盖已读取资料,依赖、图片、字体及后续条款变更以各自原文为准。
项目核对记录与介绍依据
模板资料
- 来源平台
- GitHub
- 资料与维护参考分
- 资料较完整 · 88 / 100
- 技术栈
- React
- 网站类型
- 后台 · 作品集
这个分数如何计算
本站按许可资料(最高30分)、演示链接(12分)、预览图(10分)、Star数(15分)、记录的维护时间(15分)、描述完整度(8分)、功能记录(5分)和分类资料(5分)计算。它不是代码、安全或性能测试,也不是 Google 评分;有链接不代表已实测可用。
这个项目需要核对什么
- 记录的仓库更新时间
- 2026-04-23
- 截图检查日期
- 2026-10-13
已收录演示链接。请用你的内容与屏幕尺寸检查;有演示不代表表单、认证或支付已经可用。
目录记录的主要技术栈是 React。请通过依赖清单和锁文件核对实际版本与托管要求。这些说明基于收录资料,不代表代码审计或部署实测。
查看具体选型方法 →介绍的制作与核对状态
介绍由 AI 辅助整理目录与仓库资料。仓库作者不等于这篇介绍的审核者。
审核声明: [email protected] · 2026-10-13
查看当时使用的来源资料
SHA-256: 1ea585b0d7060a34864ba1335eeef525b99b4cc9ab554b375a7035c0ec9c0ec4
2026-10-13T03:21:40.502Z
来源文件 / 仓库# <img src="./public/icon-spotify.png" alt="Spotify Logo" width="40" height="40" /> Fatiya Labibah - Portfolio (Spotify Style)
> A dynamic personal portfolio website inspired by Spotify's UI/UX. Built with the MERN Stack, featuring a custom Admin Dashboard, Cloudinary image optimization, and fully responsive design.

## 🎵 Live Demo
- **Frontend:** [https://fatiyalabibah.vercel.app](https://portfolio-frontend-yours.vercel.app)
- **Backend (Open Source):** [https://github.com/fatiya17/portfolio-be](https://github.com/fatiya17/portfolio-be)
## ✨ Key Features
### 🦊 User Interface (Frontend)
- **Spotify-inspired Design:** Dark mode aesthetic, sidebar navigation, and familiar layout.
- **Responsive:** Fully optimized for Desktop, Tablet, and Mobile devices.
- **Dynamic Content:** Projects, Education, Experience, and Certificates are fetched directly from the database.
- **Interactive Player Bar:** "Share Project" functionality (Copy Link, WhatsApp, LinkedIn).
- **Deep Linking:** Share specific projects via URL (e.g., `/?id=xyz`), which automatically opens the details sidebar.
- **Smart Sidebar:** Remembers user preference (collapsed/expanded) using Local Storage.
### 🦉 Administrator (Backend & CMS)
- **Secure Admin Panel:** Login system to manage portfolio content.
- **CRUD Operations:** Create, Read, Update, and Delete projects, certificates, etc.
- **Image Optimization:** Integrated with **Cloudinary** for fast image loading and efficient storage.
- **Database:** Hosted on **MongoDB Atlas** for real-time data access.
## ♟️ Tech Stack
| Area | Technologies |
| :--- | :--- |
| **Frontend** | React.js, Vite, Tailwind CSS, Framer Motion, Axios, Lucide React |
| **Backend** | Node.js, Express.js |
| **Database** | MongoDB Atlas (Mongoose ODM) |
| **Storage** | Cloudinary (Image CDN) |
| **Deployment** | Vercel (Frontend & Backend) |
## ⚙️ Installation & Setup (Local)
Follow these steps to run the project locally on your machine.
### Prerequisites
- Node.js (v16+)
- NPM or Yarn
- MongoDB Atlas Account
- Cloudinary Account
### 1. Clone Repository
```bash
git clone [https://github.com/your-username/repo-name.git](https://github.com/your-username/repo-name.git)
cd repo-name
```
### 2. Backend Setup
Navigate to the server folder and install dependencies.
```bash
cd server
npm install
```
Create a `.env` file inside the `server/` directory and add the following configuration:
```env
PORT=5000
MONGO_URI=mongodb+srv://<username>:<password>@cluster.mongodb.net/spotify_portfolio_db?appName=Cluster0
ADMIN_PASSWORD=your_secret_admin_password
# Cloudinary Config
CLOUDINARY_CLOUD_NAME=your_cloud_name
CLOUDINARY_API_KEY=your_api_key
CLOUDINARY_API_SECRET=your_api_secret
```
Start the server:
```bash
npm start
# Server runs at http://localhost:5000
```
### 3. Frontend Setup
Open a new terminal, navigate to the frontend folder (root).
```bash
# Assuming frontend is in the root directory
npm install
```
Ensure your API configuration in `src/api/axiosConfig.js` (or wherever you define Axios) points to localhost during development, or configure it via `.env`.
Create a `.env` file inside the `client/` (or root frontend) directory for EmailJS configuration:
```env
VITE_EMAILJS_SERVICE_ID=your_emailjs_service_id_here
VITE_EMAILJS_TEMPLATE_ID=your_emailjs_template_id_here
VITE_EMAILJS_PUBLIC_KEY=your_emailjs_public_key_here
```
**How to get EmailJS keys:**
1. Create a free account at [EmailJS](https://www.emailjs.com/).
2. Add an **Email Service** (e.g., Gmail) to get your `Service ID`.
3. Create an **Email Template** to get your `Template ID`. Ensure your template payload (`{{name}}`, `{{email}}`, `{{subject}}`, `{{message}}`) matches the frontend form parameters. *(Note: You can use the provided [emailjs-template.html](./emailjs-template.html) file in this repository as a starting point for your email design!)*
4. Go to **Account > API Keys** to find your `Public Key`.
Start the frontend:
```bash
npm run dev
# Website runs at http://localhost:5173
```
---
## 🔗 API Endpoints
The backend provides a RESTful API for the frontend.
| Method | Endpoint | Description |
| --- | --- | --- |
| **POST** | `/api/login` | Admin authentication |
| **GET** | `/api/projects` | Get all projects |
| **POST** | `/api/projects` | Create new project (Image uploaded to Cloudinary) |
| **PUT** | `/api/projects/:id` | Update project |
| **DELETE** | `/api/projects/:id` | Delete project |
| **GET** | `/api/certificates` | Get all certificates |
| ... | ... | *(Same patterns for Education, Experience, Skills)* |
---
## ☁️ Deployment Guide
This project is configured for deployment on **Vercel**.
### Frontend Deployment
1. Push the frontend code to GitHub.
2. Ensure `vercel.json` exists in the frontend root to handle React routing (SPA):
```json
{
"rewrites": [{"source": "/(.*)", "destination": "/index.html"}]
}
```
3. Import the project into Vercel.
4. Add all frontend **Environment Variables** (`VITE_EMAILJS_SERVICE_ID`, etc.) in the Vercel project settings.
5. Deploy!
---
## 🪶 Credits
Developed by **Fatiya Labibah**.
* **Design Inspiration:** Spotify
* **Icons:** Lucide React
* **Fonts:** Circular Std (Spotify Font)
---
⭐ **Don't forget to star this repo if you find it useful!**
---
*© 2026 Portfolio Project. All Rights Reserved.*看看同类模板
对比同技术栈与用途的模板,找到更适合的视觉与内容结构。
ant-design-pro
Ant Design Pro 是 Ant Design 官方推出的企业级中后台前端脚手架,基于 React 19、Umi Max 4 和 antd 6 构建,内置 TypeScript 支持。
React · 后台
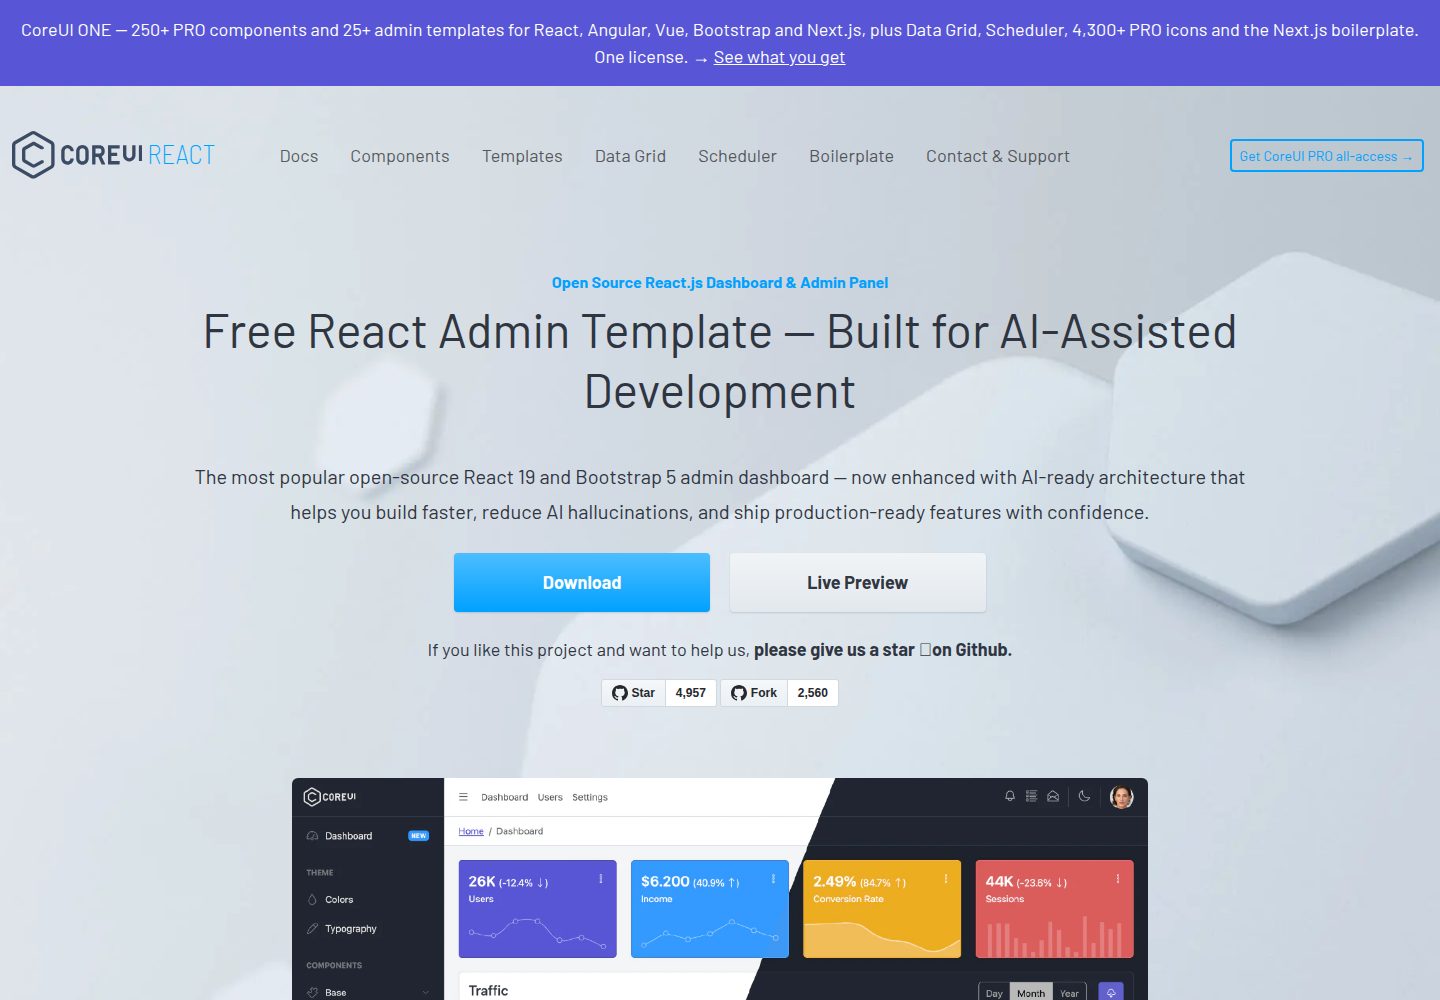
coreui-free-react-admin-template
Free React Admin & Dashboard Template Built for AI-Assisted Development
React · 后台
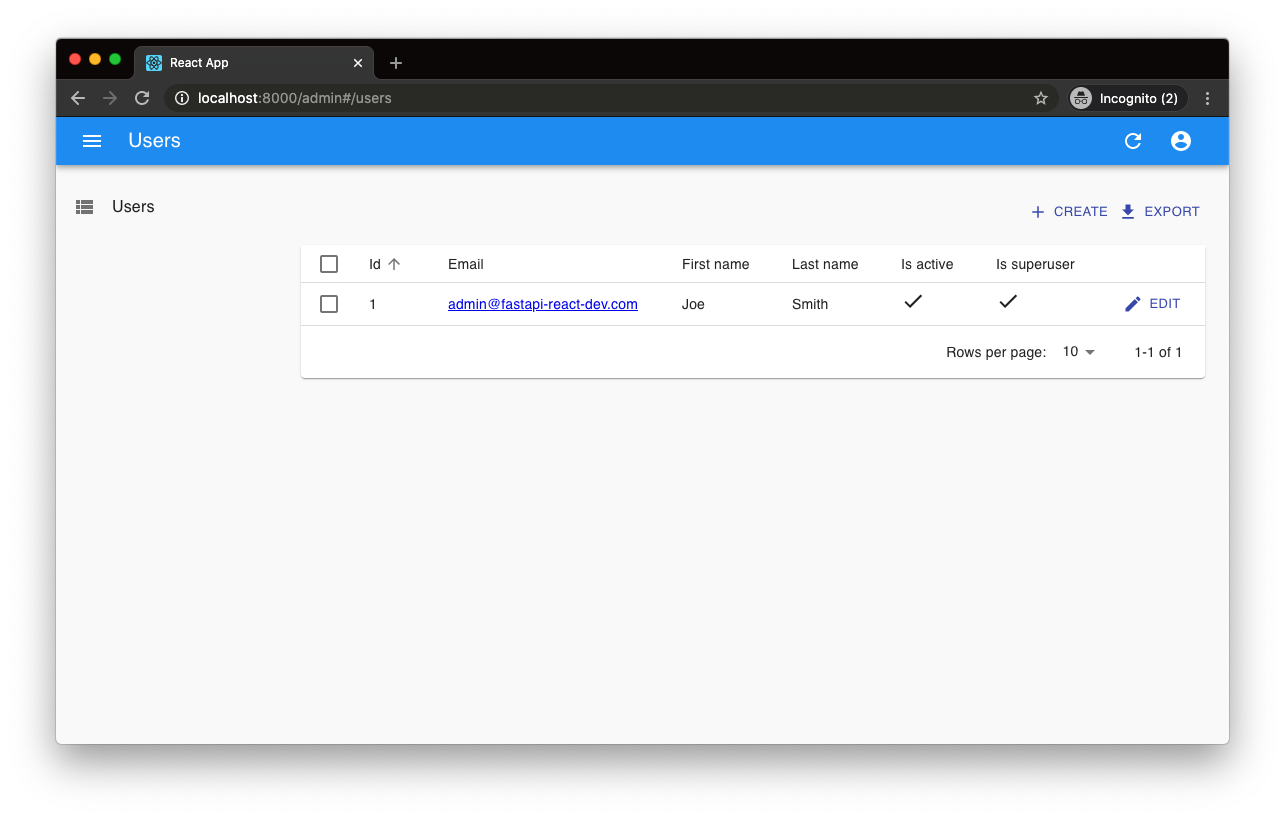
fastapi-react
fastapi-react 是一个基于 Cookiecutter 的模板,用于快速搭建 FastAPI 与 React(TypeScript)的全栈项目。
React · 后台

react-antd-admin-template
一个基于React+Antd的后台管理模版,在线预览https://nlrx-wjc.github.io/react-antd-admin-template/
React · 后台
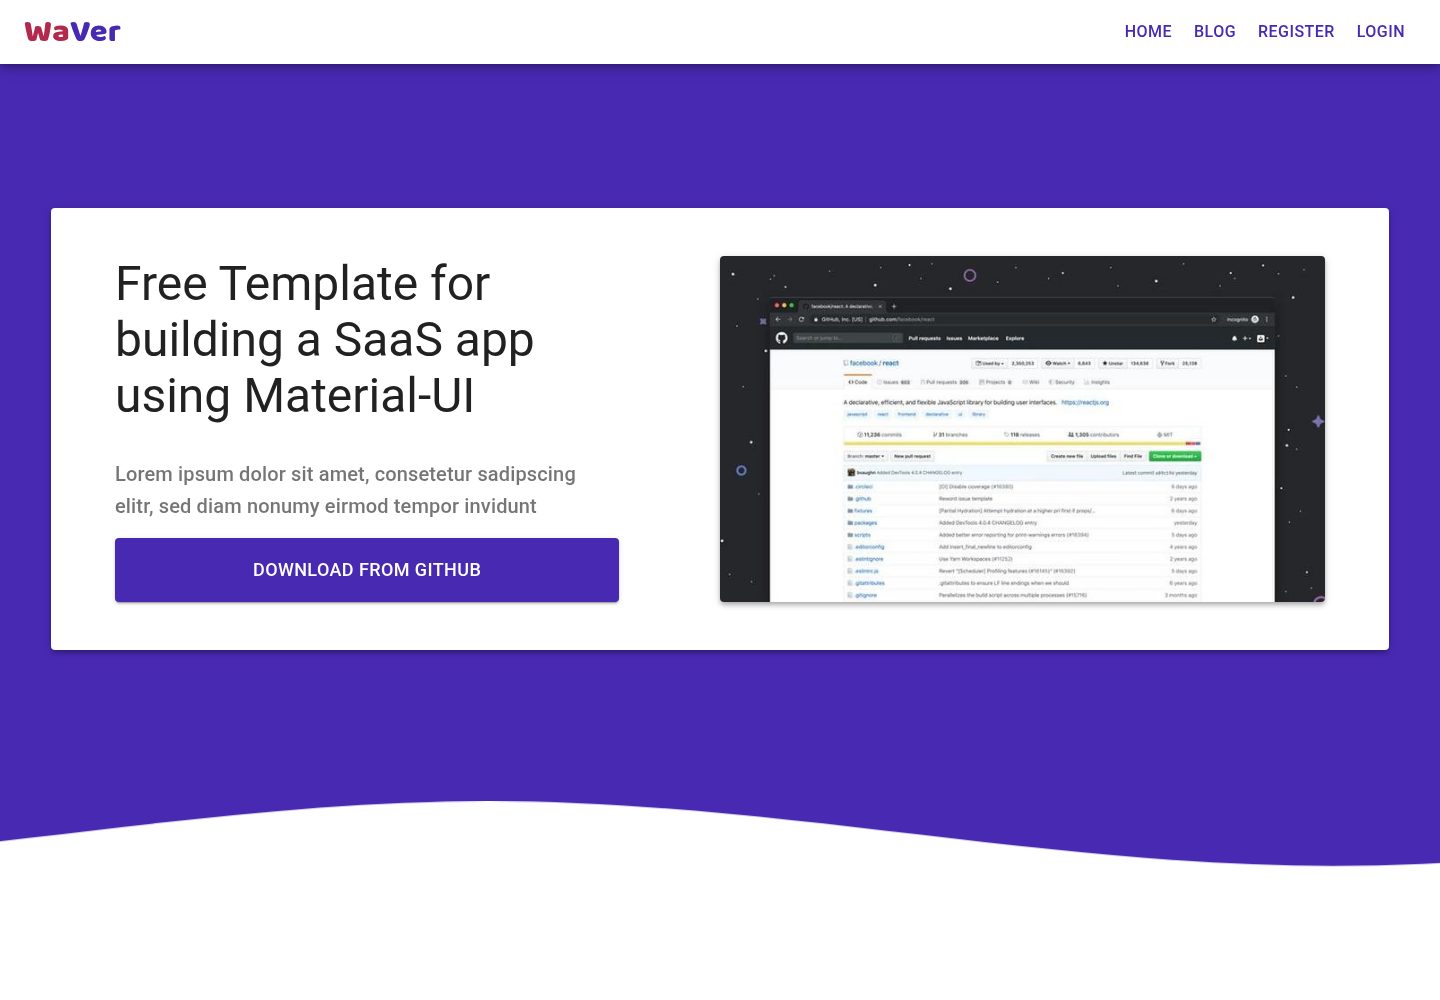
react-saas-template
🌊 Template for building an SaaS / admin website using React + Material-UI
React · 后台
react-material-admin
☄️React Material Admin is a React template built with Material-UI
React · 后台