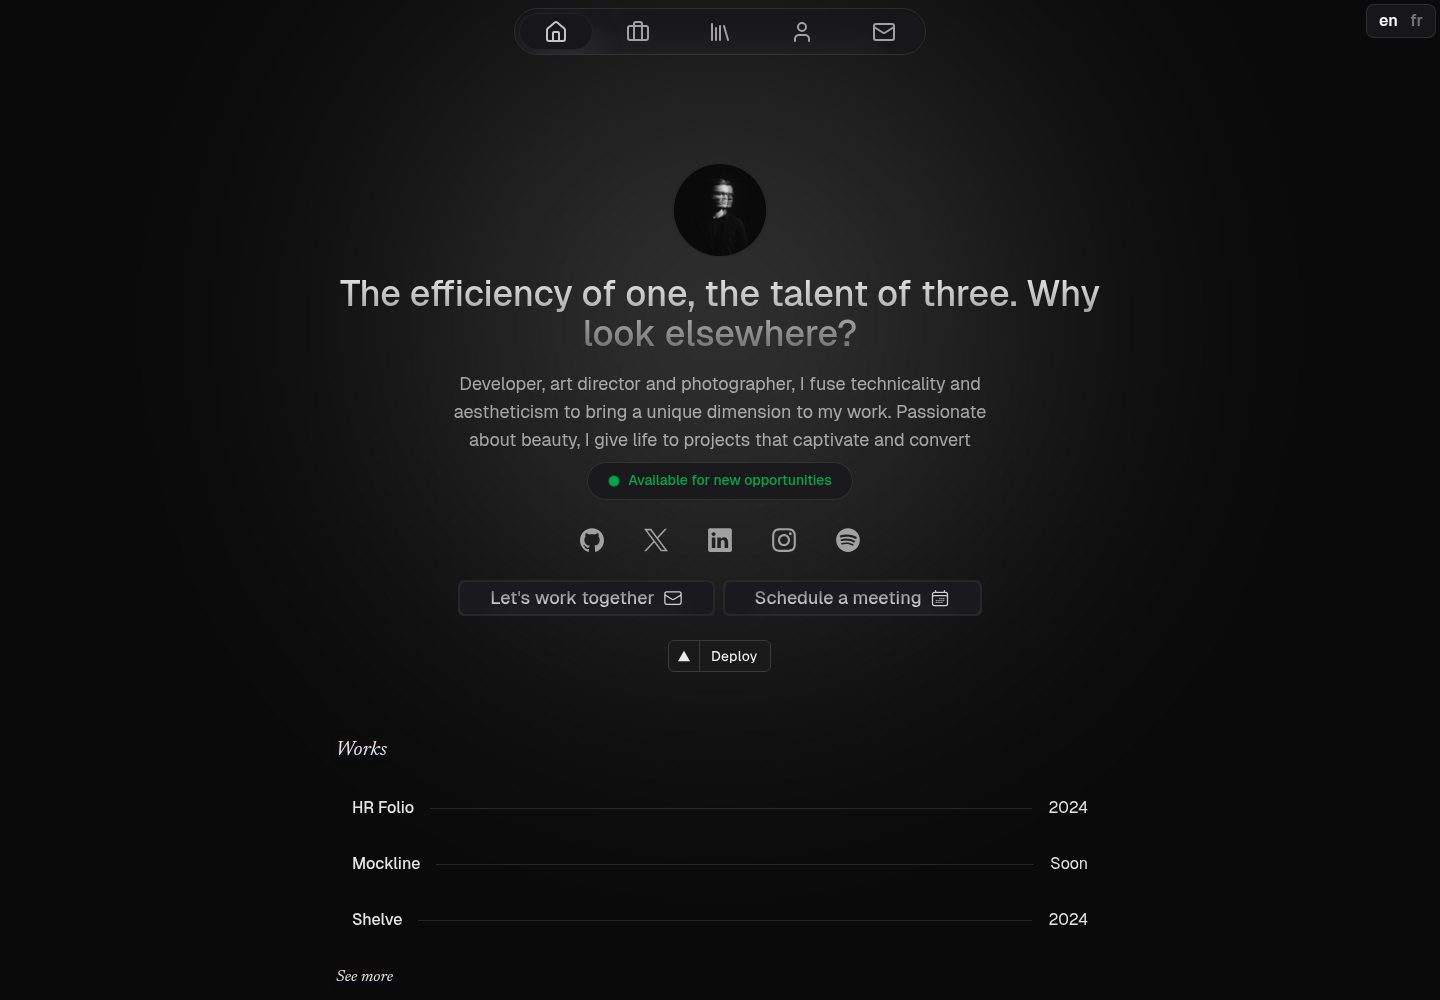
基于 Nuxt,配合 Nuxt UI 组件与 Tailwind CSS 构建响应式作品集页面
NuxtVue作品集启动器
canvas — Nuxt 作品集模板
作者 HugoRCD
Canvas 是一个基于 Nuxt 的作品集模板,使用 Nuxt Content 管理内容、Nuxt UI 提供组件,支持多语言、Nuxt Studio 可视化编辑与 Resend 联系表单,采用 Apache-2.0 许可。
看看你的网站会是什么样
浏览真实页面截图,比较内容排版与手机效果。点击下方缩略图切换,放大查看整页细节。
全部页面与视图 3
截图用于了解视觉与布局,交互效果请以实际项目为准。
采集于 2026-09-30查看来源
值得关注的模板亮点
从已有项目资料中,快速了解它的特点。
使用 Nuxt Content 管理内容,文章与作品以 Markdown、JSON 文件存放在 content/ 目录
集成 Nuxt Studio 可视化编辑器,可在浏览器 /admin 路径下直接修改内容
通过 Nuxt i18n 提供多语言支持,演示站包含英文等语言版本
内置 SEO 相关能力:Nuxt OG Image 生成分享图、Nuxt Robots 生成 robots.txt、自动生成 sitemap
联系表单通过 Resend 发送邮件,未配置 API Key 时不会启用该服务端逻辑
模板详细介绍
Canvas 是 HugoRCD 发布的个人作品集模板,仓库为 https://github.com/HugoRCD/canvas,演示站为 https://canvas.hrcd.fr/en。模板以 Nuxt 为基础,配合 Nuxt UI 组件与 Tailwind CSS 构建页面,内容层使用 Nuxt Content,把文章、作品等以 Markdown 与 JSON 文件形式存放在 content/ 目录中,便于直接编辑或通过 Nuxt Studio 在浏览器中可视化修改。
功能上覆盖作品集常见需求:多语言(Nuxt i18n)、联系表单(通过 Resend 发送邮件,未配置 API Key 时该服务端逻辑不启用)、SEO 相关能力(Nuxt OG Image 生成 Open Graph 图片、Nuxt Robots 生成 robots.txt、自动生成 sitemap)、图片优化(Nuxt Image)以及 ESLint 配置。模板声明适配 NuxtHub 与 Vercel 等平台,也提供 Docker 镜像与社区 docker-compose 文件。
使用限制方面:Nuxt Content v3 默认依赖 SQLite 存储内容,而 Vercel、Netlify 等无服务器平台不原生支持 SQLite,需要接入 PostgreSQL、Turso 或 D1 等外部数据库;Nuxt Studio 在生产环境使用需配置 GitHub OAuth 应用与仓库信息;联系表单依赖 Resend 的 API Key。仓库采用 Apache-2.0 许可,可免费使用、修改、商用与分发,但演示图片、字体、图标等第三方素材需单独核对许可,域名、托管、数据库、邮件等外部服务可能另行收费。
Nuxt作品集启动器
适合你的项目吗?
适用场景
- 开发者或设计师搭建个人作品集网站,展示项目、文章与个人信息
- 需要多语言作品集,面向不同语言访客展示内容
- 希望通过 Nuxt Studio 在浏览器中可视化编辑内容,而不直接改代码
- 需要联系表单并接入 Resend 发送邮件的个人站点
- 部署到 NuxtHub、Vercel 等平台,或使用 Docker 镜像自托管
适合人群
- 熟悉 Nuxt 与 Vue 生态、希望基于现成模板二次开发的开发者
- 需要作品集模板并接受以 Markdown/JSON 管理内容的个人用户
- 计划使用 Nuxt Studio 或 Nuxt Content 进行内容维护的团队
- 愿意为无服务器部署配置外部数据库(PostgreSQL、Turso、D1 等)的使用者
上手与定制指南
结合仓库当前版本的说明,按下面的资料检查内容、配置与运行要求。
- 1
克隆仓库后安装依赖(README 使用 pnpm install),复制 .env.example 为 .env 并填写变量
- 2
开发运行 pnpm dev,静态生成 pnpm generate,生产启动 pnpm start
- 3
在 app.config.ts 中调整作品集全局配置,内容文件位于 content/ 目录
- 4
生产环境使用 Nuxt Studio 需创建 GitHub OAuth App,配置 STUDIO_GITHUB_CLIENT_ID、STUDIO_GITHUB_CLIENT_SECRET 并在 nuxt.config.ts 中设置仓库信息
- 5
联系表单需在 .env 中配置 NUXT_PRIVATE_RESEND_API_KEY,并修改 server/api/ 下 sendEmail 路由中的 from 字段;无服务器平台部署时需为 Nuxt Content 接入外部数据库
授权与来源资料
使用条件与限制
免费使用 · 保留许可声明本次收录的是公开仓库中采用 Apache-2.0 许可的免费版本;免费范围为该版本代码,不代表外部服务或第三方素材免费。
使用时需要遵守
- 允许免费使用、修改、商用和分发;分发时需随附 Apache-2.0 许可证。
- 修改过的文件需显著标明改动,并保留相关版权、专利、商标及归属声明。
- 若原项目附有 NOTICE 文件,分发衍生作品时需保留其中适用的归属声明。
- 许可包含适用的贡献者专利授权;发起许可所述专利诉讼会终止该专利授权,且不授予商标使用权。
- 代码按现状提供;担保与责任限制以原许可证及适用法律为准。
额外费用与待核对事项
- 在 Vercel、Netlify 等无服务器平台部署时,Nuxt Content v3 默认使用 SQLite,而这些平台不原生支持 SQLite,需额外接入 PostgreSQL、Turso 或 D1 等外部数据库服务,可能产生额外配置与费用。
- 生产环境使用 Nuxt Studio 可视化编辑器需自行创建 GitHub OAuth 应用,并配置 STUDIO_GITHUB_CLIENT_ID、STUDIO_GITHUB_CLIENT_SECRET 及仓库信息,依赖 GitHub 账号与外部授权。
- 联系表单依赖第三方邮件服务 Resend,需注册账号并获取 API Key(NUXT_PRIVATE_RESEND_API_KEY)才能启用;未配置时该服务端逻辑不生效。
- 访问 /admin 使用 Nuxt Studio 编辑器时需通过 GitHub 账号进行身份验证,属于外部账号依赖。
- 演示图片、字体、图标及其他第三方素材需按各自许可核对,不能仅凭代码的 Apache-2.0 许可判断。
- 域名、托管、数据库、支付或 AI 等外部服务可能另外收费。
查看原文依据
no-charge, royalty-free, irrevocable copyright license
许可证原文
Nuxt Content v3 relies by default on SQLite for content storage. Since these platforms do not support SQLite natively, we recommend connecting Canvas Portfolio to an external database
README 原文
To enable Nuxt Studio in production, you need to configure GitHub OAuth
README 原文
This portfolio uses [Resend](https://resend.com/) to handle the contact form, but it's not mandatory.
README 原文
https://github.com/HugoRCD/canvas/blob/main/LICENSEhttps://github.com/HugoRCD/canvas/blob/main/README.mdYou'll be prompted to authenticate with GitHub to access the editor
README 原文
DeepSeek 根据仓库许可证和 README 整理 ·2026-10-01。结果仅覆盖已读取资料,依赖、图片、字体及后续条款变更以各自原文为准。
项目核对记录与介绍依据
模板资料
- 来源平台
- GitHub
- 资料与维护参考分
- 资料较完整 · 96 / 100
- 技术栈
- Nuxt · Vue
- 网站类型
- 作品集 · 启动器
这个分数如何计算
本站按许可资料(最高30分)、演示链接(12分)、预览图(10分)、Star数(15分)、记录的维护时间(15分)、描述完整度(8分)、功能记录(5分)和分类资料(5分)计算。它不是代码、安全或性能测试,也不是 Google 评分;有链接不代表已实测可用。
这个项目需要核对什么
- 记录的仓库更新时间
- 2026-09-25
- 截图检查日期
- 2026-10-01
已收录演示链接。请用你的内容与屏幕尺寸检查;有演示不代表表单、认证或支付已经可用。
目录记录的主要技术栈是 Nuxt。请通过依赖清单和锁文件核对实际版本与托管要求。这些说明基于收录资料,不代表代码审计或部署实测。
查看具体选型方法 →介绍的制作与核对状态
介绍由 AI 辅助整理目录与仓库资料。仓库作者不等于这篇介绍的审核者。
已完成服务器许可规则与 AI 来源核对;未经过人工编辑审核。
查看当时使用的来源资料
SHA-256: b54bc3f0835134785e88490b20bac091a7c665635f719626e1baf0216d2edf4e
2026-10-01T14:11:37.810Z
来源文件 / 仓库
<p align="center">
<a aria-label="Hugo's Website" href="https://hrcd.fr">
<img alt="" src="https://img.shields.io/badge/Website-hrcd.fr-blue?style=for-the-badge&labelColor=000000&logo=google-chrome&logoColor=white">
<a aria-label="License" href="https://github.com/hugorcd/canvas/blob/main/LICENSE">
<img alt="" src="https://img.shields.io/npm/l/vue.svg?style=for-the-badge&labelColor=000000&color=blue">
</a>
<a aria-label="Follow Hugo on Twitter" href="https://twitter.com/HugoRCD__">
<img alt="" src="https://img.shields.io/twitter/follow/HugoRCD__.svg?style=for-the-badge&labelColor=000000&logo=twitter&label=Follow%20Hugo&logoWidth=20&logoColor=white">
</a>
</p>
# Canvas template
Canvas Portfolio is a fully customizable i18n portfolio template built with Nuxt and Nuxt UI, designed to help you showcase your work, testimonials, and key information with ease. The template integrates with Nuxt Studio for a smooth editing experience, while leveraging Nuxt Content for content management. Built with performance, flexibility, and responsiveness in mind, Canvas Portfolio provides a robust foundation for developers and creatives alike.
## Demo
You can see a live demo at [canvas.hrcd.fr](https://canvas.hrcd.fr/).
## Features
- **Modern Components & Layouts** – Includes built-in components.
- **Nuxt UI v3** – Utilize pre-built, customizable UI components.
- **Nuxt Studio** – Built-in visual editor to edit content directly from the browser.
- **NuxtHub ready** - Deploy on NuxtHub in seconds.
- **Tailwind CSS** – A beautiful, responsive design system.
- **Working Contact Form** – Integrated with Resend for easy email handling.
- **Multi-language Support** – Powered by Nuxt i18n.
- **SEO-Ready** – Open Graph Image (Nuxt OG Image) & Nuxt Robots for automatic robots.txt generation.
- **Good practices** – Auto-generated sitemap, optimized images (Nuxt Image), and ESLint (Nuxt config with Flat config).
- **Fully Responsive** – Adapts to all modern browsers and devices.
- **Minimal & Professional Design** – Clean, elegant, and easy to customize.
## Quick Setup
1. Clone this repository if you have access or download it from the store
```bash
git clone [email protected]:HugoRCD/canvas.git
```
2. Install dependencies
```bash
pnpm install
```
3. Copy the `.env.example` file to `.env` and fill in the values
```bash
cp .env.example .env
```
4. Start development server
```bash
pnpm dev
```
5. Generate static project
```bash
pnpm generate
```
6. Start production server
```bash
pnpm start
```
## Deployments
Canvas Portfolio is designed to simplify the deployment process on various platforms, whether serverless or not. Below are several detailed methods to deploy your portfolio.
### 1. Serverless Platforms (Vercel, Netlify, etc.)
When using serverless platforms, it's important to note that Nuxt Content v3 relies by default on SQLite for content storage. Since these platforms do not support SQLite natively, we recommend connecting Canvas Portfolio to an external database such as:
- **PostgreSQL**
- **Turso**
- **D1**
For further details on this process and the suitable solutions for serverless deployments, refer to the official Nuxt Content documentation:
[Nuxt Content and Serverless Deployment](https://content.nuxt.com/docs/deploy/serverless)
#### Vercel deployment do not need any extra configuration.
[](https://vercel.com/new/clone?repository-url=https%3A%2F%2Fgithub.com%2FHugoRCD%2Fcanvas&env=NUXT_PRIVATE_RESEND_API_KEY,NUXT_PUBLIC_SITE_URL,STUDIO_GITHUB_CLIENT_ID,STUDIO_GITHUB_CLIENT_SECRET&envDescription=You%20will%20require%20an%20API%20key%20for%20Resend%20and%20Nuxt%20Studio%2C%20but%20it%20is%20not%20essential%20for%20the%20portfolio%20to%20work.%20Simply%20add%20%22test%2C%22%20for%20example%2C%20and%20edit%20the%20variable%20later.&project-name=canvas-portfolio&repository-name=canvas-portfolio&demo-title=Canvas&demo-url=canvas.hrcd.fr&demo-image=https%3A%2F%2Fcanvas.hrcd.fr%2Fog.png)
---
### 2. Deployment on Nuxthub
Nuxthub offers a powerful solution to deploy your portfolio in just a few clicks. With fast global delivery through the Cloudflare network, Nuxthub also provides advanced features such as:
- KV storage for optimized data management
- High-performance caching to reduce loading times
- Integration of AI tools and analytics for performance improvements
Check out the [official Nuxthub documentation](https://hub.nuxt.com/docs/getting-started/installation#add-to-a-nuxt-project) for more info.
NuxtHub deployment do not need any extra configuration.
[](https://hub.nuxt.com/new?repo=HugoRCD/canvas-nuxthub)
---
### 3. Deployment via Docker
Canvas Portfolio is also available as a Docker image, making it easy to deploy in containerized environments. An official Docker image is automatically created using a GitHub workflow whenever a new release is made, or it can be triggered manually.
This workflow not only builds the official Canvas image but also provides a standard way for anyone who forks the project to create their own Docker image with a proper version tag (e.g., v2.0, v1.0.0, etc.).
**To pull the latest Docker image:**
```bash
docker pull ghcr.io/hugorcd/canvas:latest
```
You can also use Docker Compose for a quick deployment. A community-provided [docker-compose.community.yml](docker-compose.community.yml) file is available and can be used with platforms like Coolify for one-click deployments.
## How to Modify the Portfolio Content
This portfolio uses [Nuxt Content](https://content.nuxt.com/) to manage the content. Here's how you can modify it:
First check the `app.config.ts` file to change the global configuration of the portfolio, there is a lot of stuff you can change here.
### Writing
1. Navigate to the `content/2.articles` directory.
2. Here, you'll find Markdown files for each article. To modify an article, simply open its Markdown file and make your changes.
3. To add a new article, create a new Markdown file in this directory. The name of the file will be used as the URL slug for the article.
### Works
1. Navigate to the `content/1.works/` directory.
2. Here, you'll find Markdown files for each article. To modify an article, simply open its Markdown file and make your changes.
3. To add a new project, add a new JSON file in this directory.
#### Featured Works
To change the featured works on the homepage, simply add the `"featured": true` key the JSON file.
### Other Content
Simply go to the `content/` directory and edit any of the Markdown or JSON files to modify the content.
## Editing Content with Nuxt Studio
Canvas Portfolio includes [Nuxt Studio](https://content.nuxt.com/docs/studio/setup), a built-in visual editor that allows you to edit your content directly from the browser without touching code.
### Accessing Nuxt Studio
1. Start your development server:
```bash
pnpm dev
```
2. Navigate to `/admin` in your browser (e.g., `http://localhost:3000/admin`)
3. You'll be prompted to authenticate with GitHub to access the editor
### Setting Up Nuxt Studio
To enable Nuxt Studio in production, you need to configure GitHub OAuth:
1. Create a GitHub OAuth App:
- Go to [GitHub Developer Settings](https://github.com/settings/developers)
- Click "New OAuth App"
- Set the Authorization callback URL to: `https://your-domain.com`
- Copy the Client ID and Client Secret
2. Add the following environment variables to your `.env` file:
```bash
STUDIO_GITHUB_CLIENT_ID=your_github_client_id
STUDIO_GITHUB_CLIENT_SECRET=your_github_client_secret
```
3. Update the repository configuration in `nuxt.config.ts` to match your GitHub repository:
```ts
studio: {
repository: {
provider: 'github',
owner: 'your-username',
repo: 'your-repo-name',
branch: 'main',
},
}
```
Once configured, you can edit all your content (articles, projects, pages) directly from the `/admin` interface with a user-friendly visual editor.
## Setup the Contact Form
This portfolio uses [Resend](https://resend.com/) to handle the contact form, but it's not mandatory. The server handle will not be used if you don't set the `NUXT_PRIVATE_RESEND_API_KEY` environment variable.
To set it up, follow these steps:
- Get your api key from [Resend](https://resend.com/) here [your api key](https://resend.com/api-keys)
- Add your api key in the `.env` file
- change the `from` key in the `sendEmail` route in the `server/api/` folder, you can customize everything you want in this route
- That's it, you're good to go!
<!-- automd:fetch url="gh:hugorcd/markdown/main/src/contributions.md" -->
## Contributing
To start contributing, you can follow these steps:
1. First raise an issue to discuss the changes you would like to make.
2. Fork the repository.
3. Create a branch using conventional commits and the issue number as the branch name. For example, `feat/123` or `fix/456`.
4. Make changes following the local development steps.
5. Commit your changes following the [Conventional Commits](https://www.conventionalcommits.org/en/v1.0.0/) specification.
6. If your changes affect the code, run tests using `bun run test`.
7. Create a pull request following the [Pull Request Template](https://github.com/HugoRCD/markdown/blob/main/src/pull_request_template.md).
- To be merged, the pull request must pass the tests/workflow and have at least one approval.
- If your changes affect the documentation, make sure to update it.
- If your changes affect the code, make sure to update the tests.
8. Wait for the maintainers to review your pull request.
9. Once approved, the pull request will be merged in the next release !
<!-- /automd -->
<!-- automd:fetch url="gh:hugorcd/markdown/main/src/local_development_dev.md" -->
<details>
<summary>Local development</summary>
- Clone this repository
- Install latest LTS version of [Node.js](https://nodejs.org/en/)
- Enable [Corepack](https://github.com/nodejs/corepack) using `corepack enable`
- Install dependencies using `bun install`
- Start development server using `bun dev`
- Open [http://localhost:3000](http://localhost:3000) in your browser
</details>
<!-- /automd -->
<!-- automd:fetch url="gh:hugorcd/markdown/main/src/sponsors.md" -->
## Sponsors
<p align="center">
<a href="https://cdn.jsdelivr.net/gh/hugorcd/static/sponsors.svg">
<img src='https://cdn.jsdelivr.net/gh/hugorcd/static/sponsors.svg' alt="HugoRCD sponsors" />
</a>
</p>
<!-- /automd -->
## Community
<!-- automd:contributors license=Apache author=HugoRCD github="hugorcd/canvas" -->
Published under the [APACHE](https://github.com/hugorcd/canvas/blob/main/LICENSE) license.
Made by [@HugoRCD](https://github.com/HugoRCD) and [community](https://github.com/hugorcd/canvas/graphs/contributors) 💛
<br><br>
<a href="https://github.com/hugorcd/canvas/graphs/contributors">
<img src="https://contrib.rocks/image?repo=hugorcd/canvas" />
</a>
<!-- /automd -->
<!-- automd:with-automd lastUpdate -->
---
_🤖 auto updated with [automd](https://automd.unjs.io) (last updated: Mon Feb 10 2025)_
<!-- /automd -->
看看同类模板
对比同技术栈与用途的模板,找到更适合的视觉与内容结构。
laravel-nuxt
A Laravel-Nuxt starter kit.
Nuxt · 启动器
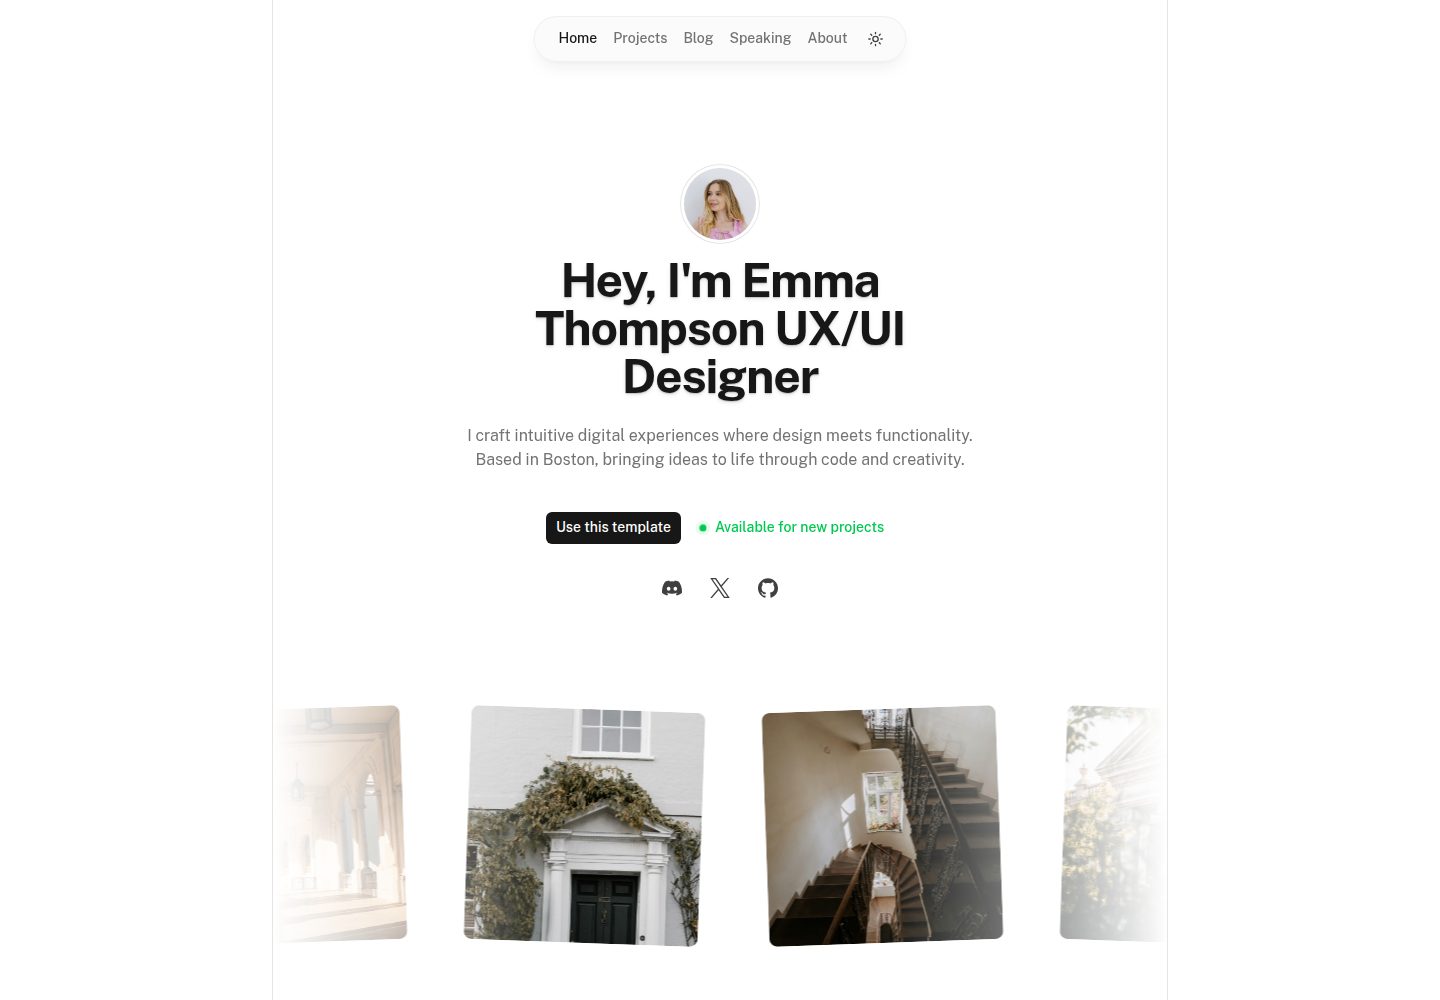
portfolio
Nuxt Portfolio Template made with Nuxt UI and Nuxt Content.
Nuxt · 作品集
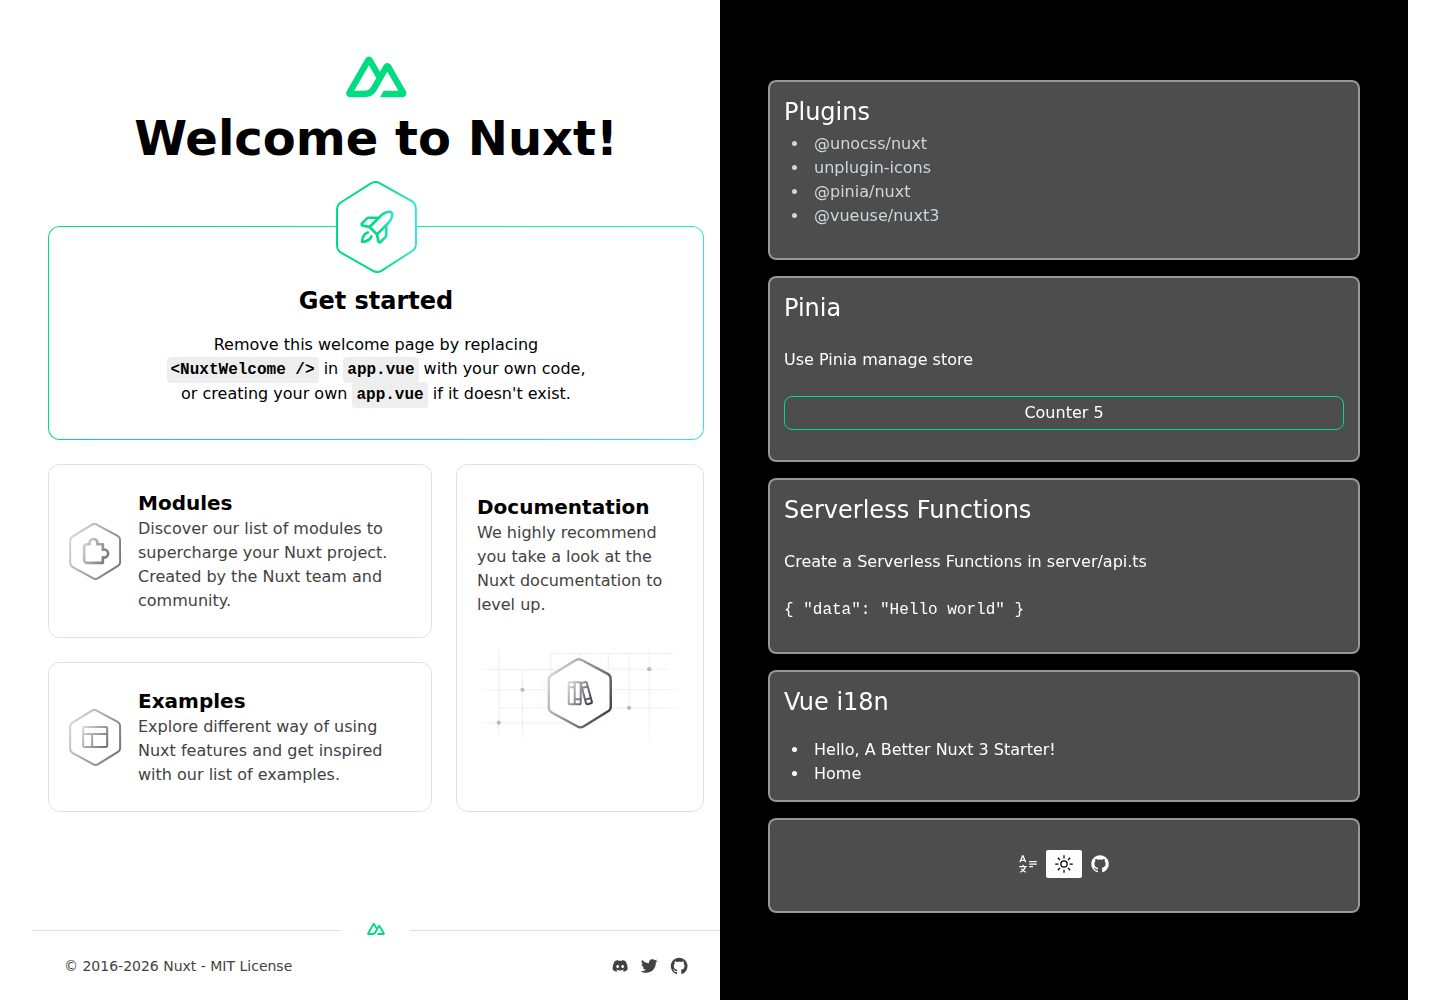
nuxt3-starter
💚 A Better Nuxt 3 Starter Template,generate by nuxi.
Nuxt · 启动器
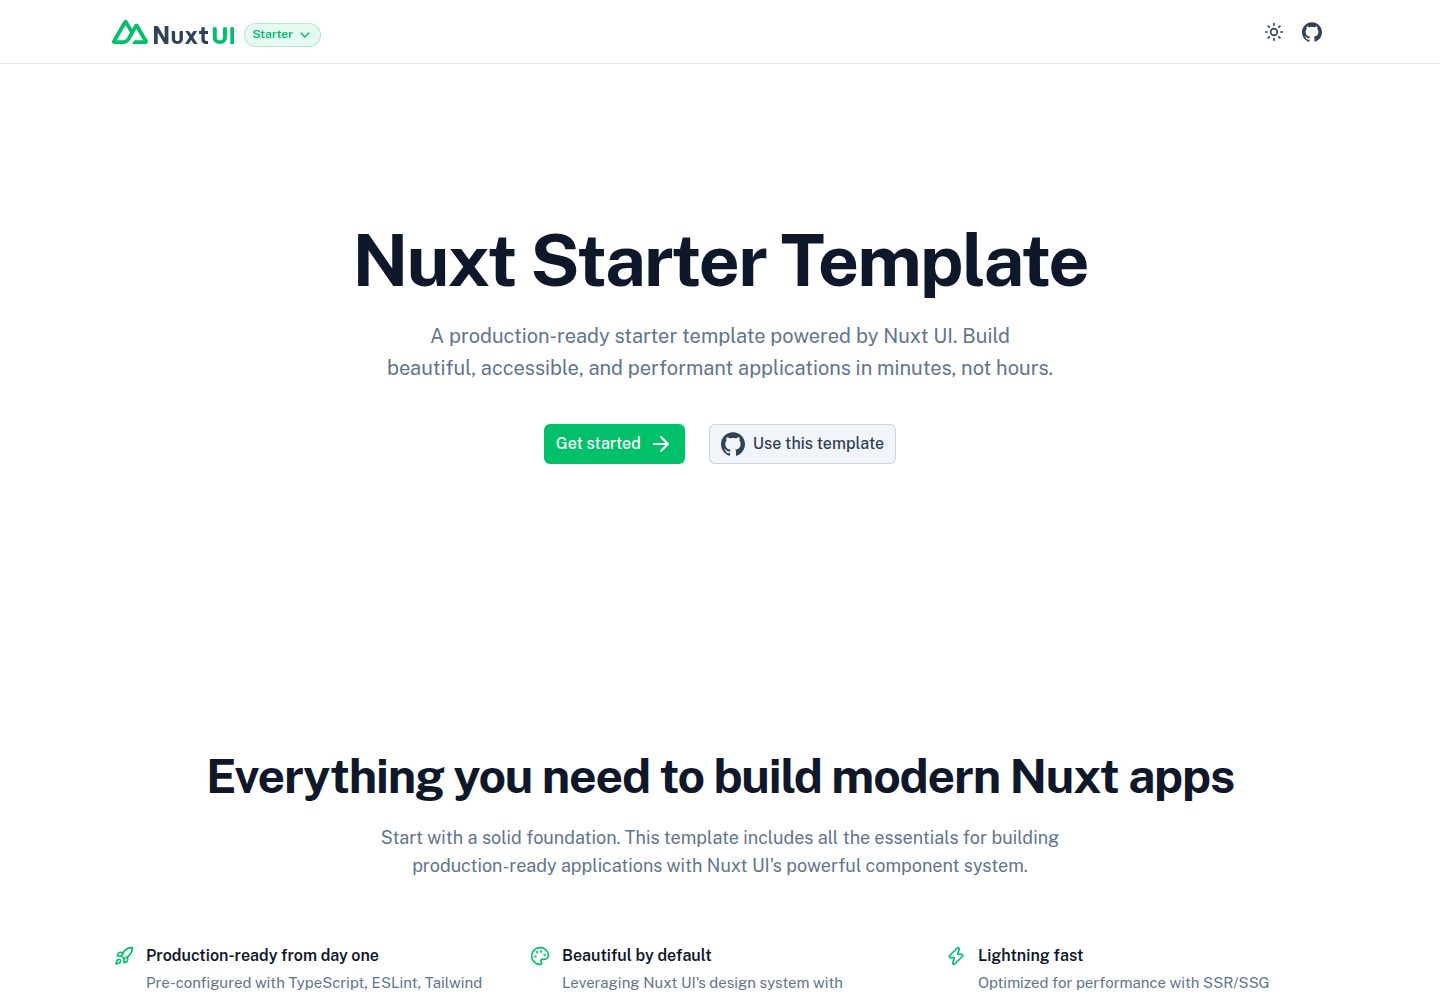
starter
Nuxt Starter Template for Nuxt UI.
Nuxt · 启动器
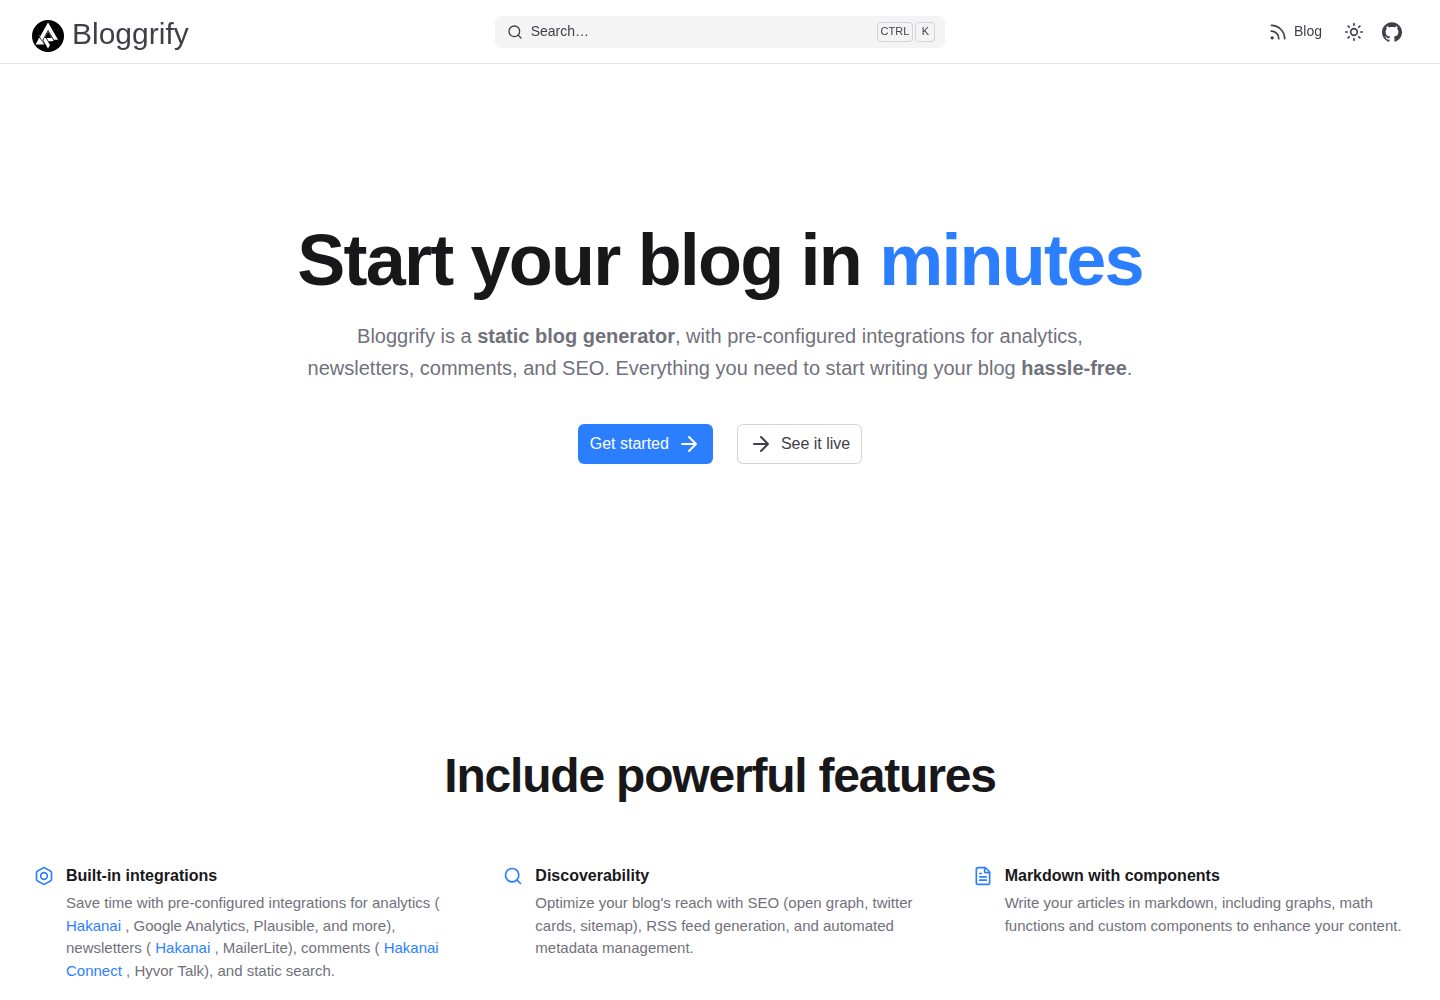
bloggrify
Run a blog from Markdown files. Themes, SEO, analytics, newsletter and comments preconfigured. Like Docus, but…
Nuxt · 博客
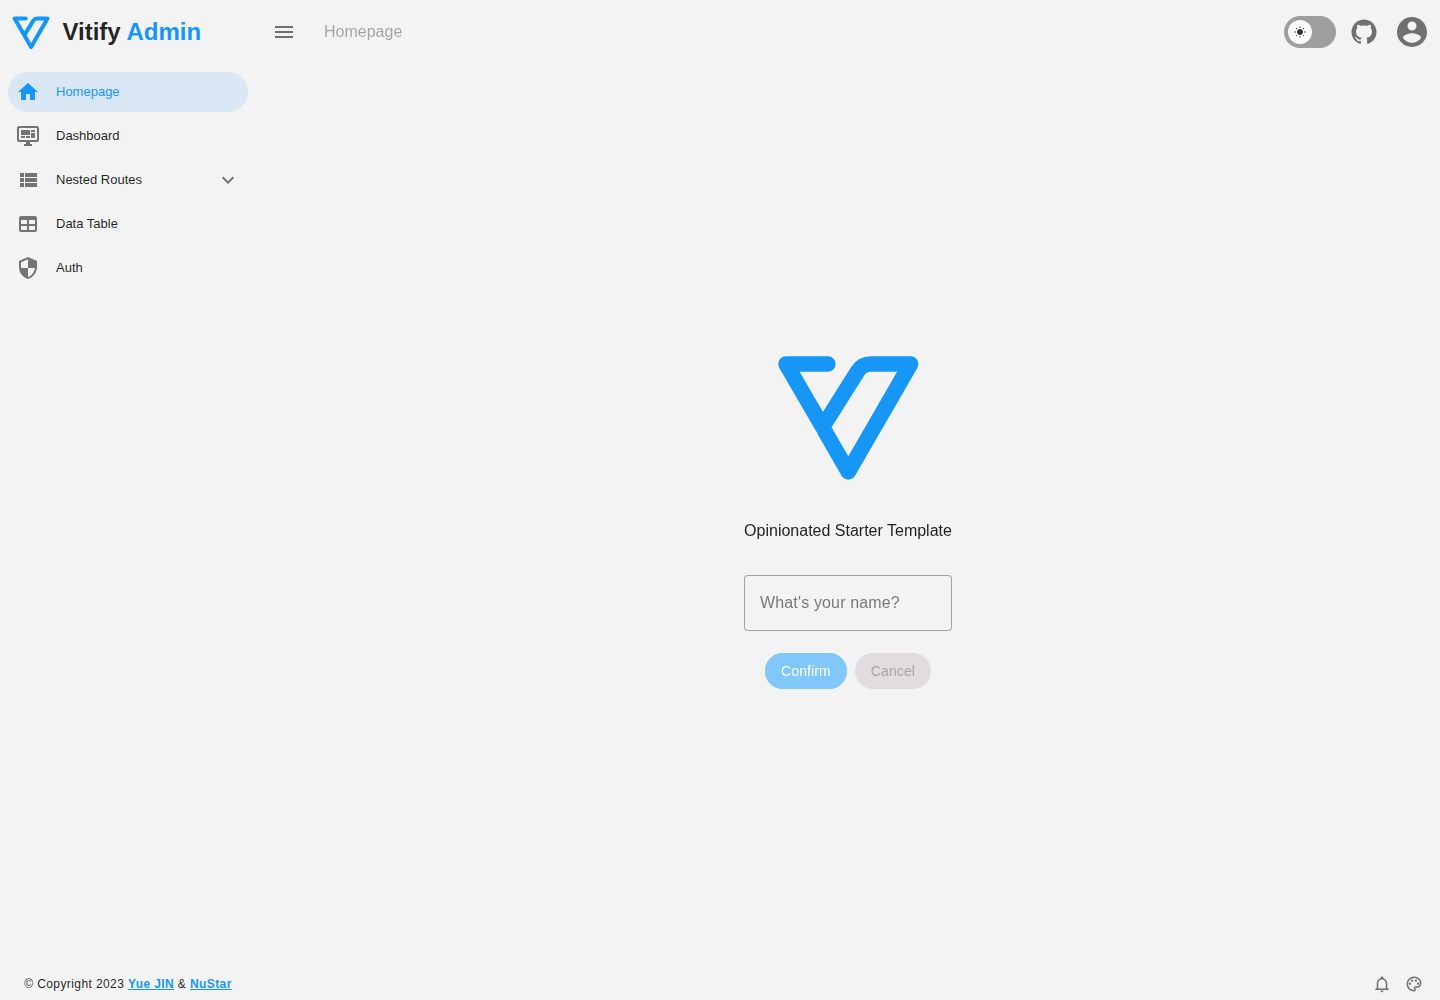
vitify-nuxt
🔽🏔 Vuetify + Nuxt Starter Template
Nuxt · 后台