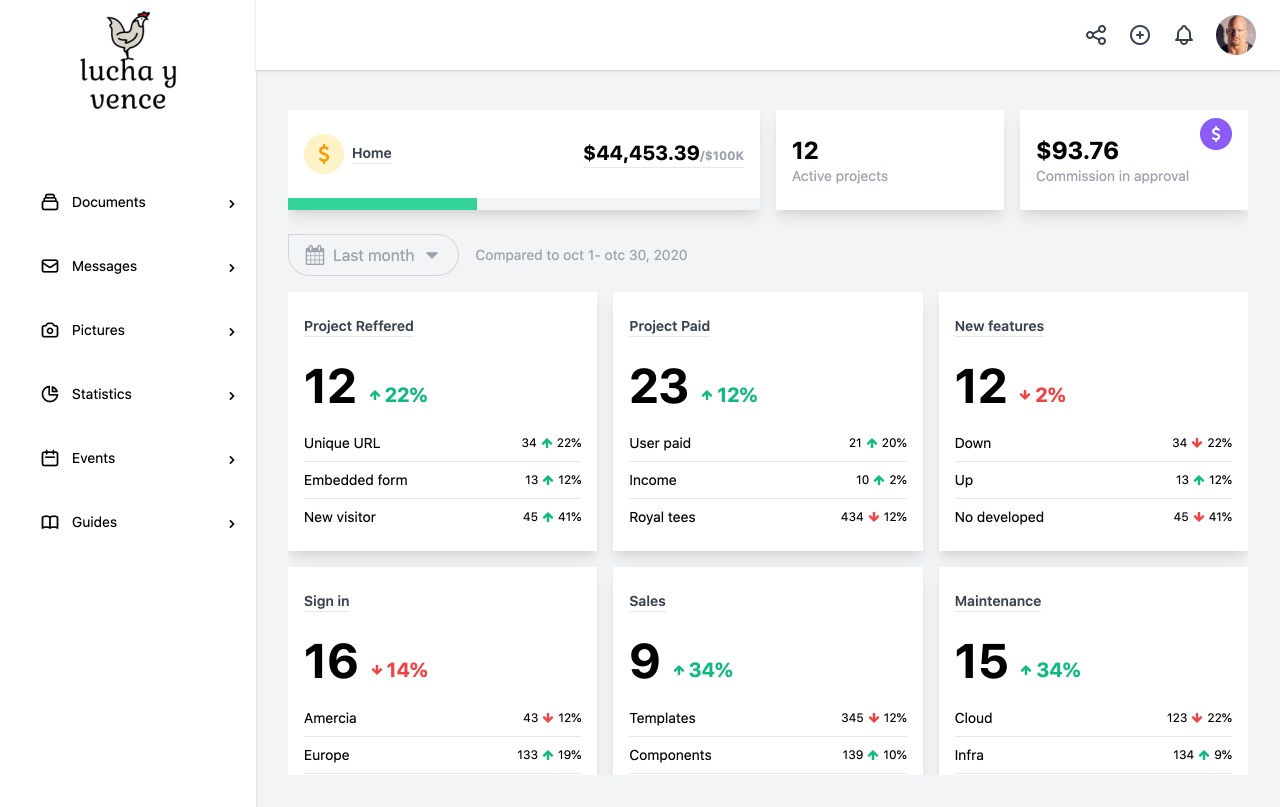
基于 React 与 Create React App 的后台仪表盘模板
React后台
dashboard-v8-cra — React 后台模板
作者 Jhonnyc
基于 React 与 Create React App 搭建的 Salvia-kit Dashboard v8 后台管理模板,采用 MIT 许可发布。
看看你的网站会是什么样
浏览真实页面截图,比较内容排版与手机效果。点击下方缩略图切换,放大查看整页细节。
目前有 1 张原始预览,可打开完整图片查看设计细节。
截图用于了解视觉与布局,交互效果请以实际项目为准。
采集于 2026-10-13查看来源
值得关注的模板亮点
从已有项目资料中,快速了解它的特点。
属于 Salvia-kit Dashboard v8 系列
仓库内含标准 MIT 许可文件,允许商用与修改
README 提供作者预览图与浏览器支持表
沿用 Create React App 的 start、test、build、eject 脚本
模板详细介绍
这是一个 Salvia-kit 出品的 Dashboard v8 后台模板,使用 React 编写,并以 Create React App 作为脚手架。仓库名 dashboard-v8-cra 中的 cra 即指 Create React App。
模板定位为数据型后台界面,README 中提供了作者预览图,并说明文档可在本地开发服务器的 /guides/documentation 路径查看。README 同时列出了 Chrome、Firefox、Edge、Safari、Opera 的浏览器支持表,以及指向 salvia-kit/dashboard-v8-cra 仓库的贡献指南链接。
项目采用 Create React App 的标准脚本:yarn start 启动开发模式并在 3000 端口预览,yarn test 以交互式监听模式运行测试,yarn build 将生产构建输出到 build 目录,yarn eject 可导出构建配置但不可逆。README 另有一处 npm run dev / yarn dev 的启动说明,与 CRA 脚本并存,实际使用时需以仓库脚本为准。
许可方面,仓库包含标准 MIT 许可文件,允许免费使用、修改、商用与分发该版本代码,分发时需保留版权声明与许可声明。演示图片、字体、图标等第三方素材的许可需单独核对,域名、托管、数据库等外部服务可能另行收费。仓库更新记录停留在 2021 年。
React后台
适合你的项目吗?
适用场景
- 搭建数据展示型后台管理界面
- 作为 React 后台项目的界面起点进行二次开发
- 学习 Create React App 项目的目录与脚本组织方式
适合人群
- 需要 React 后台界面基础模板的开发者
- 接受 Create React App 脚手架方式的团队
- 希望以 MIT 许可代码为基础进行修改的项目
上手与定制指南
结合仓库当前版本的说明,按下面的资料检查内容、配置与运行要求。
- 1
使用 yarn start 启动开发模式,默认在 3000 端口预览
- 2
使用 yarn build 生成生产构建,输出到 build 目录
- 3
yarn eject 为不可逆操作,执行后需自行维护构建配置
- 4
README 中另有 npm run dev / yarn dev 的启动说明,请以仓库实际脚本为准
- 5
演示图片、字体、图标等第三方素材需单独核对许可
授权与来源资料
使用条件与限制
免费使用 · 保留许可声明本次收录的是公开仓库中采用 MIT 许可的免费版本;免费范围为该版本代码,不代表外部服务或第三方素材免费。
使用时需要遵守
- 允许免费使用、修改、商用和分发该版本代码。
- 分发代码副本或实质性部分时,保留原作者版权声明和完整 MIT 许可声明。
- 代码按现状提供;担保与责任限制以原许可证及适用法律为准。
额外费用与待核对事项
- 演示图片、字体、图标及其他第三方素材需按各自许可核对,不能仅凭代码的 MIT 许可判断。
- 域名、托管、数据库、支付或 AI 等外部服务可能另外收费。
查看原文依据
https://github.com/Jhonnyc/dashboard-v8-cra/blob/main/LICENCE.mdhttps://github.com/Jhonnyc/dashboard-v8-cra/blob/main/README.mdPermission is hereby granted, free of charge
许可证原文
DeepSeek 根据仓库许可证和 README 整理 ·2026-10-13。结果仅覆盖已读取资料,依赖、图片、字体及后续条款变更以各自原文为准。
项目核对记录与介绍依据
模板资料
- 来源平台
- GitHub
- 资料与维护参考分
- 资料较少 · 53 / 100
- 技术栈
- React
- 网站类型
- 后台
这个分数如何计算
本站按许可资料(最高30分)、演示链接(12分)、预览图(10分)、Star数(15分)、记录的维护时间(15分)、描述完整度(8分)、功能记录(5分)和分类资料(5分)计算。它不是代码、安全或性能测试,也不是 Google 评分;有链接不代表已实测可用。
这个项目需要核对什么
- 记录的仓库更新时间
- 2021-07-20
- 截图检查日期
- 2026-10-13
目前没有记录演示链接。请依据仓库说明在本地评估;仅凭截图无法确认交互行为。
目录记录的主要技术栈是 React。请通过依赖清单和锁文件核对实际版本与托管要求。这些说明基于收录资料,不代表代码审计或部署实测。
查看具体选型方法 →介绍的制作与核对状态
介绍由 AI 辅助整理目录与仓库资料。仓库作者不等于这篇介绍的审核者。
审核声明: [email protected] · 2026-10-13
查看当时使用的来源资料
SHA-256: d692b1951d22f114ca972eab034b1249f105c4f5ceedcb685d371729d77efe65
2026-10-13T04:43:48.559Z
来源文件 / 仓库# Salvia-kit Dashboard v8 create-react-app 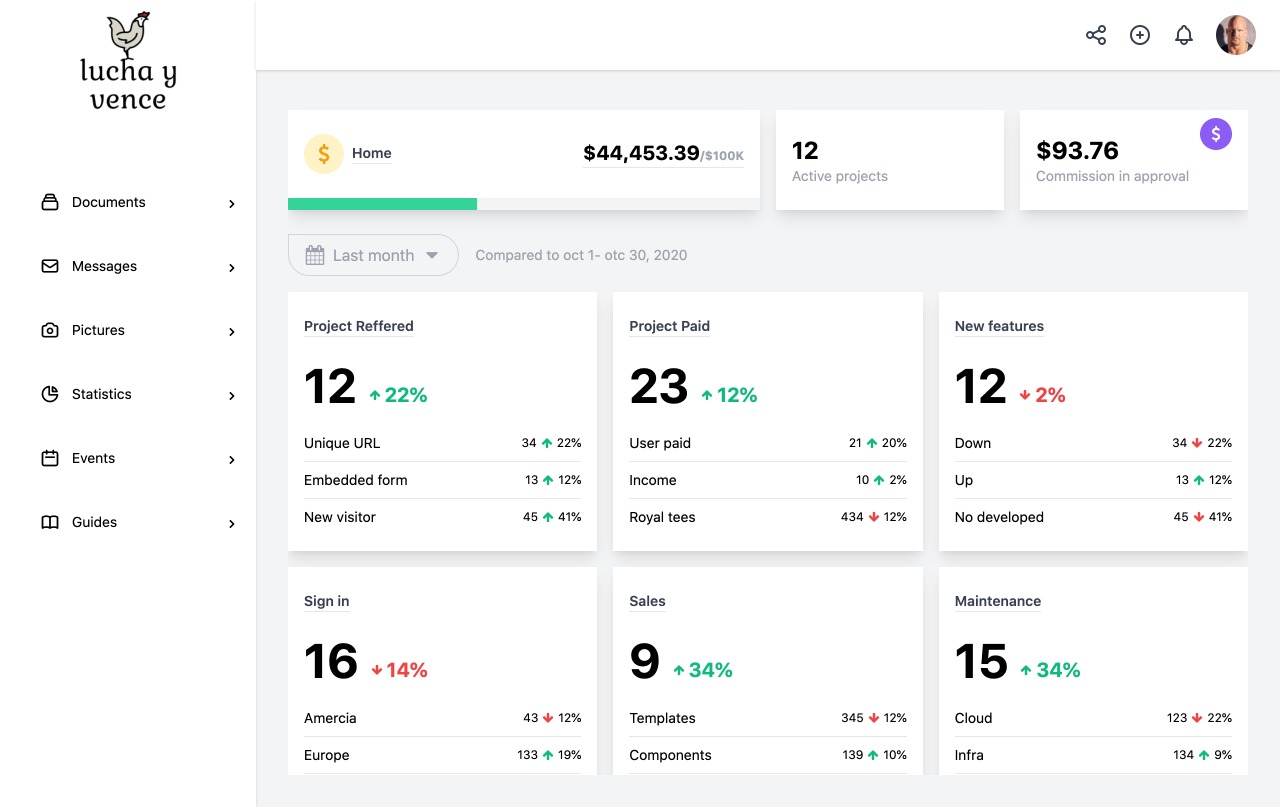 ## 📋 Documentation You can see the documentation on [http://localhost:3000/guides/documentation](http://localhost:3000/admin/documentation) ## Browser Support | Chrome | Firefox | Edge | Safari | Opera | |:---:|:---:|:---:|:---:|:---:| | <img src="https://github.com/creativetimofficial/public-assets/blob/master/logos/chrome-logo.png?raw=true" width="64" height="64"> | <img src="https://raw.githubusercontent.com/creativetimofficial/public-assets/master/logos/firefox-logo.png" width="64" height="64"> | <img src="https://raw.githubusercontent.com/creativetimofficial/public-assets/master/logos/edge-logo.png" width="64" height="64"> | <img src="https://raw.githubusercontent.com/creativetimofficial/public-assets/master/logos/safari-logo.png" width="64" height="64"> | <img src="https://raw.githubusercontent.com/creativetimofficial/public-assets/master/logos/opera-logo.png" width="64" height="64"> | ## Contribution If you would like to contribute on the project, fixing bugs, please follow our [Contribution guide](https://github.com/salvia-kit/dashboard-v8-cra/blob/main/contributing.md) First, run the development server: ```bash npm run dev # or yarn dev ``` Open [http://localhost:3000](http://localhost:3000) with your browser to see the result. # Getting Started with Create React App This project was bootstrapped with [Create React App](https://github.com/facebook/create-react-app). ## Available Scripts In the project directory, you can run: ### `yarn start` Runs the app in the development mode.\ Open [http://localhost:3000](http://localhost:3000) to view it in the browser. The page will reload if you make edits.\ You will also see any lint errors in the console. ### `yarn test` Launches the test runner in the interactive watch mode.\ See the section about [running tests](https://facebook.github.io/create-react-app/docs/running-tests) for more information. ### `yarn build` Builds the app for production to the `build` folder.\ It correctly bundles React in production mode and optimizes the build for the best performance. The build is minified and the filenames include the hashes.\ Your app is ready to be deployed! See the section about [deployment](https://facebook.github.io/create-react-app/docs/deployment) for more information. ### `yarn eject` **Note: this is a one-way operation. Once you `eject`, you can’t go back!** If you aren’t satisfied with the build tool and configuration choices, you can `eject` at any time. This command will remove the single build dependency from your project. Instead, it will copy all the configuration files and the transitive dependencies (webpack, Babel, ESLint, etc) right into your project so you have full control over them. All of the commands except `eject` will still work, but they will point to the copied scripts so you can tweak them. At this point you’re on your own. You don’t have to ever use `eject`. The curated feature set is suitable for small and middle deployments, and you shouldn’t feel obligated to use this feature. However we understand that this tool wouldn’t be useful if you couldn’t customize it when you are ready for it. ## Learn More You can learn more in the [Create React App documentation](https://facebook.github.io/create-react-app/docs/getting-started). To learn React, check out the [React documentation](https://reactjs.org/). ### Code Splitting This section has moved here: [https://facebook.github.io/create-react-app/docs/code-splitting](https://facebook.github.io/create-react-app/docs/code-splitting) ### Analyzing the Bundle Size This section has moved here: [https://facebook.github.io/create-react-app/docs/analyzing-the-bundle-size](https://facebook.github.io/create-react-app/docs/analyzing-the-bundle-size) ### Making a Progressive Web App This section has moved here: [https://facebook.github.io/create-react-app/docs/making-a-progressive-web-app](https://facebook.github.io/create-react-app/docs/making-a-progressive-web-app) ### Advanced Configuration This section has moved here: [https://facebook.github.io/create-react-app/docs/advanced-configuration](https://facebook.github.io/create-react-app/docs/advanced-configuration) ### Deployment This section has moved here: [https://facebook.github.io/create-react-app/docs/deployment](https://facebook.github.io/create-react-app/docs/deployment) ### `yarn build` fails to minify This section has moved here: [https://facebook.github.io/create-react-app/docs/troubleshooting#npm-run-build-fails-to-minify](https://facebook.github.io/create-react-app/docs/troubleshooting#npm-run-build-fails-to-minify)
看看同类模板
对比同技术栈与用途的模板,找到更适合的视觉与内容结构。
ant-design-pro
Ant Design Pro 是 Ant Design 官方推出的企业级中后台前端脚手架,基于 React 19、Umi Max 4 和 antd 6 构建,内置 TypeScript 支持。
React · 后台
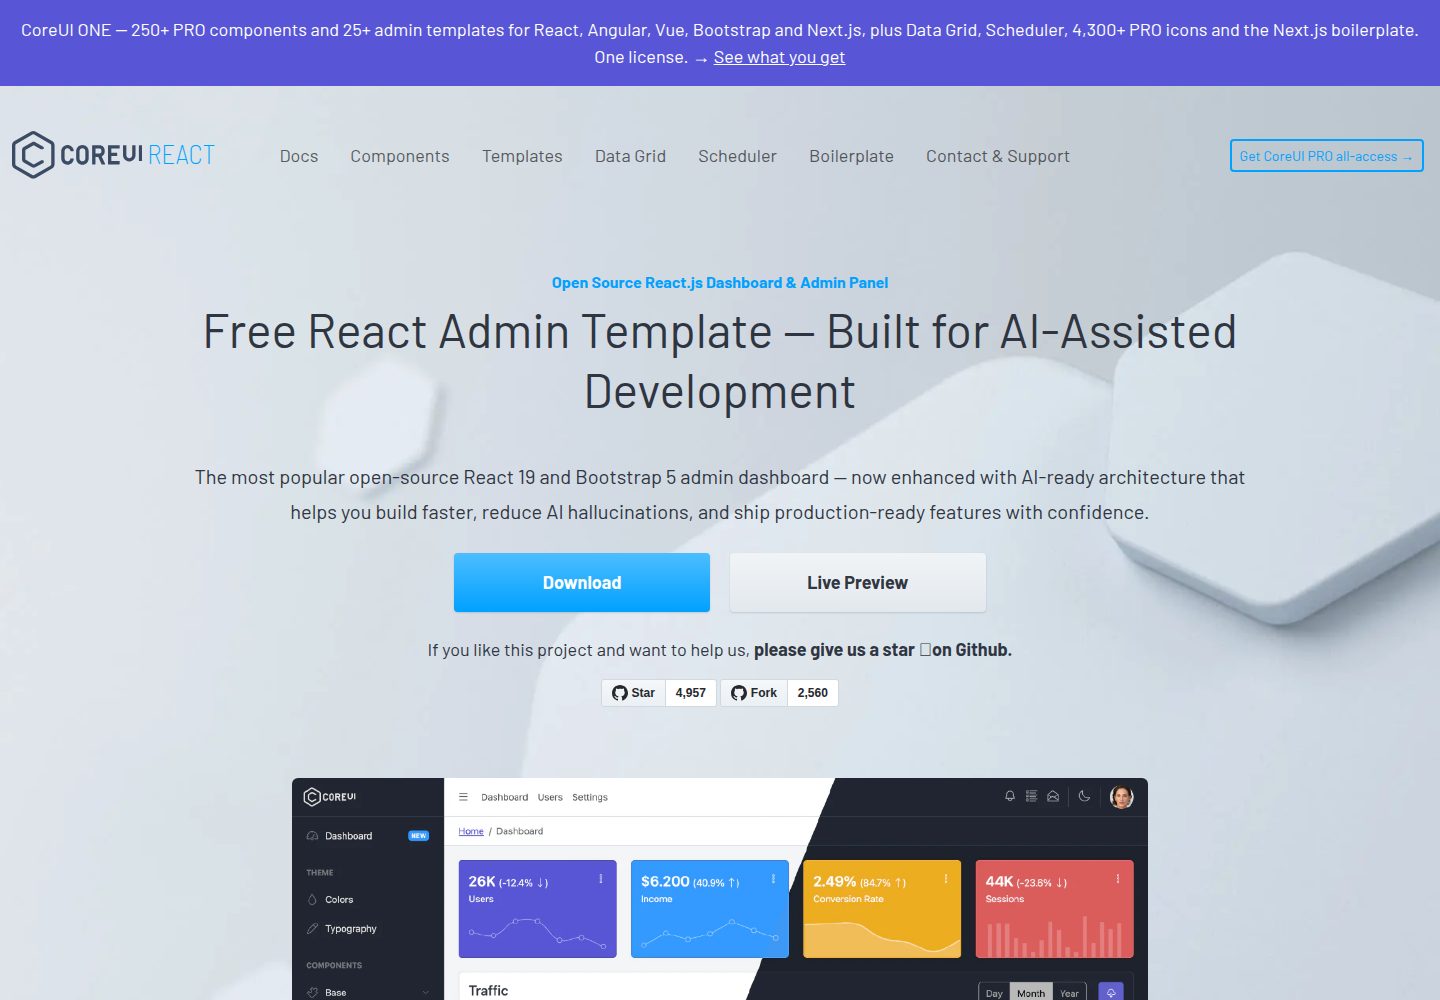
coreui-free-react-admin-template
Free React Admin & Dashboard Template Built for AI-Assisted Development
React · 后台
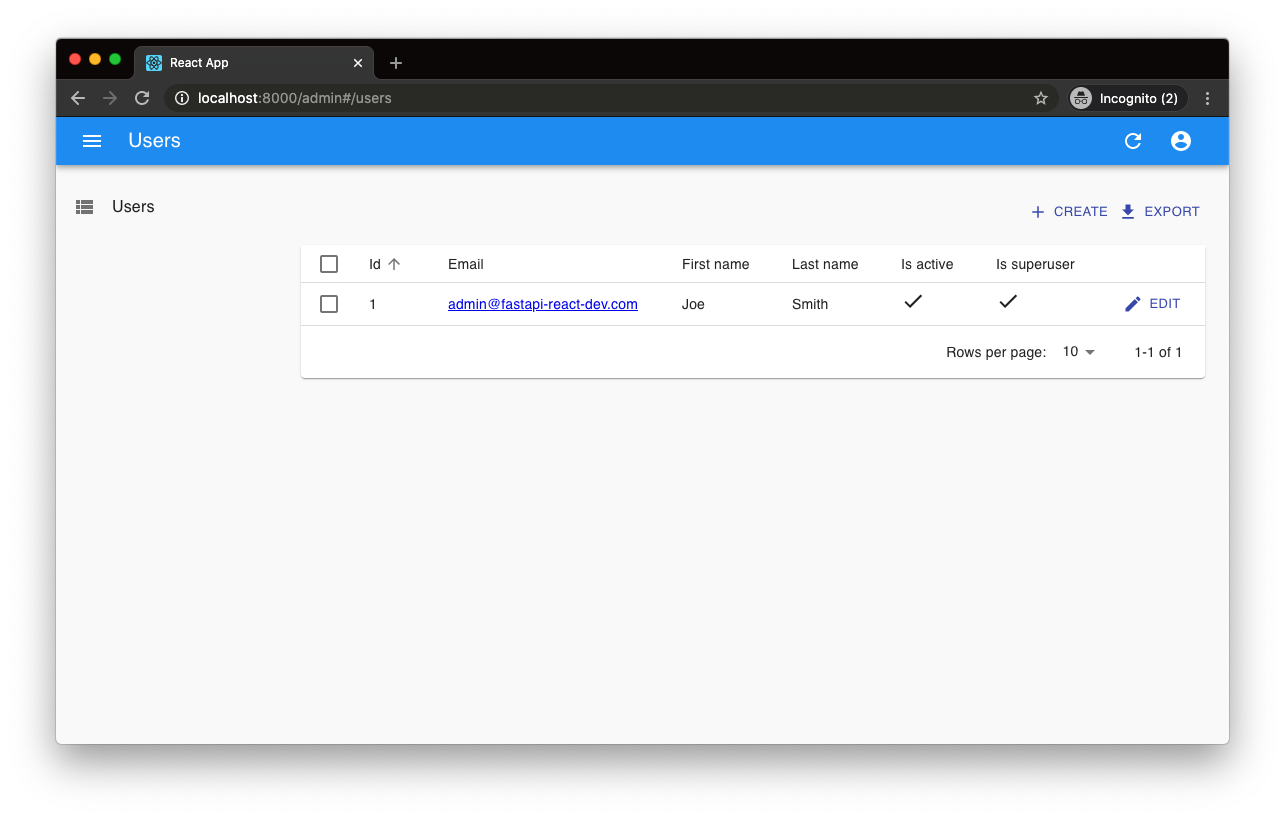
fastapi-react
fastapi-react 是一个基于 Cookiecutter 的模板,用于快速搭建 FastAPI 与 React(TypeScript)的全栈项目。
React · 后台

react-antd-admin-template
一个基于React+Antd的后台管理模版,在线预览https://nlrx-wjc.github.io/react-antd-admin-template/
React · 后台
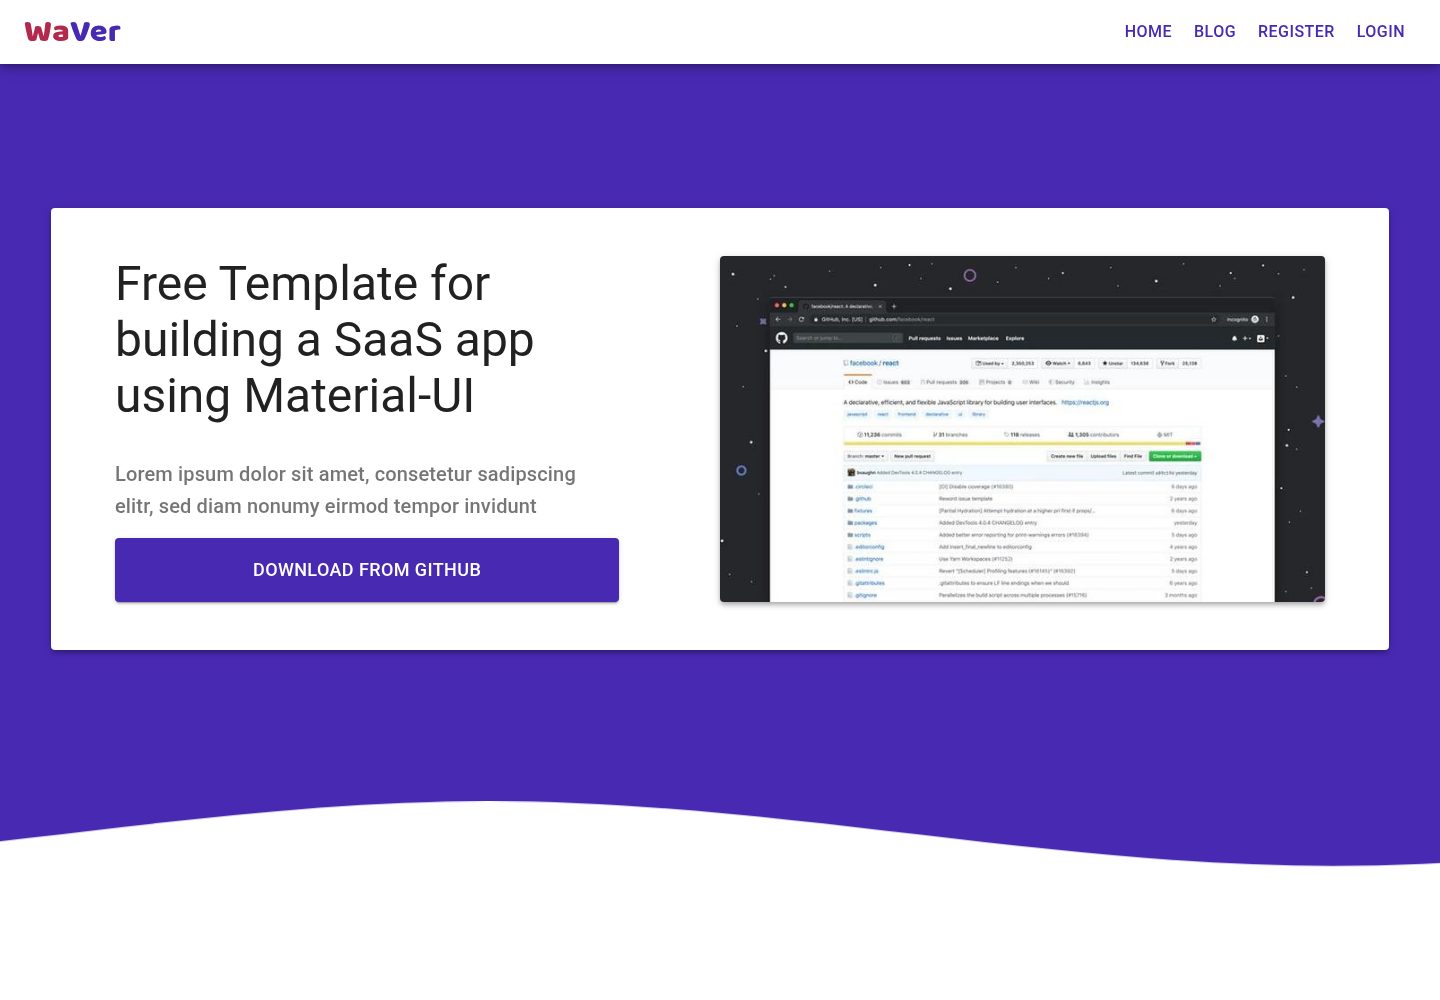
react-saas-template
🌊 Template for building an SaaS / admin website using React + Material-UI
React · 后台
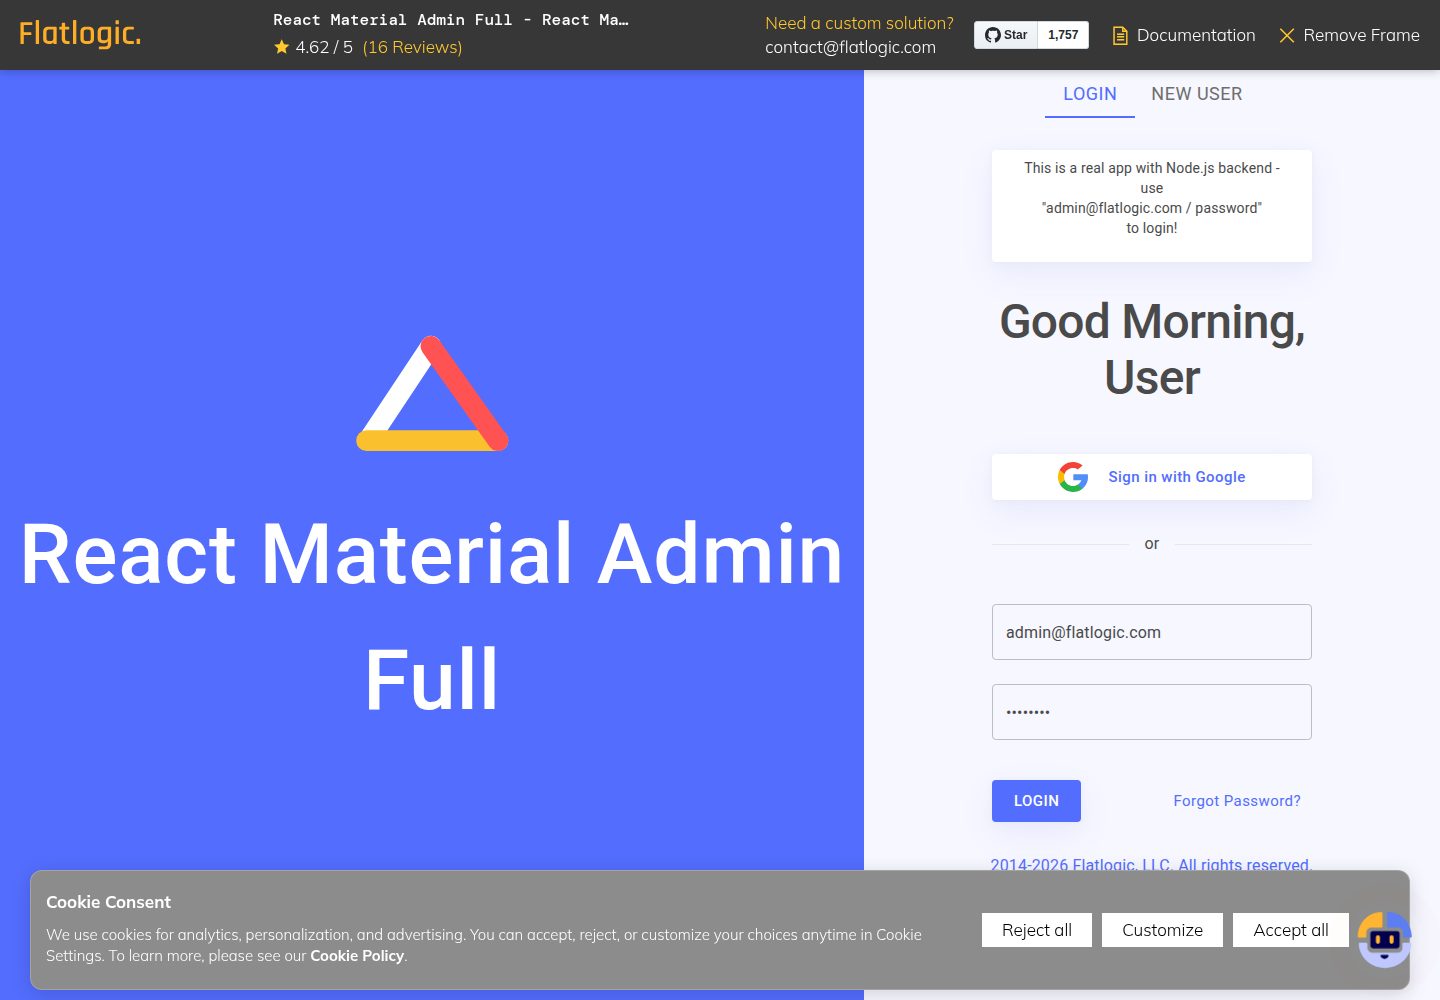
react-material-admin
☄️React Material Admin is a React template built with Material-UI
React · 后台