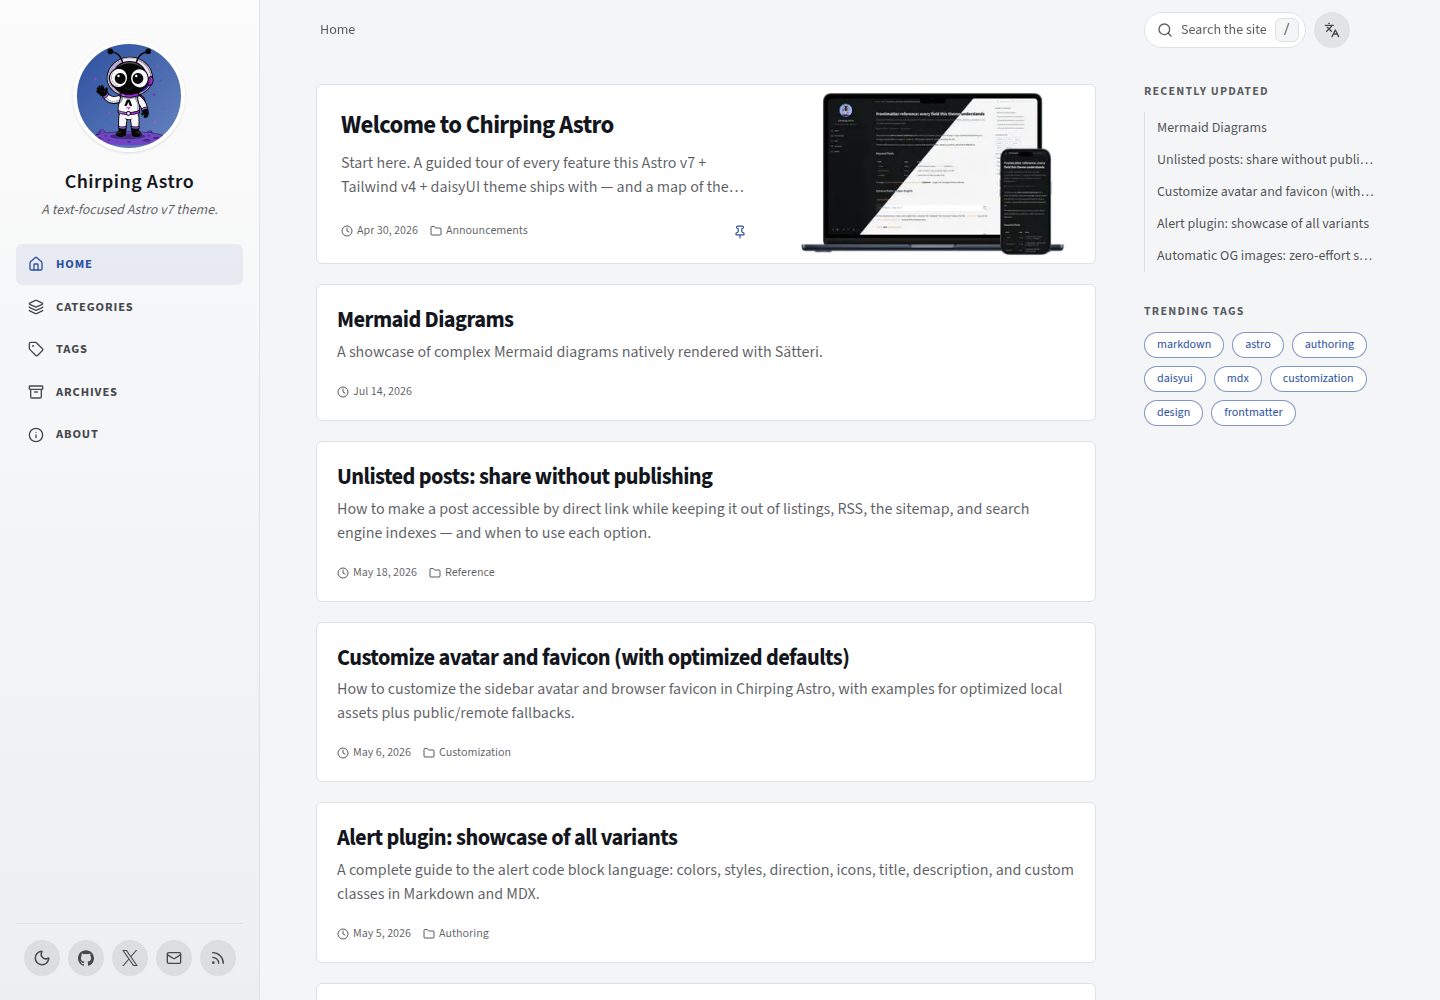
基于 Astro 的博客启动模板,仓库由 Chirping Astro 主仓库自动同步
Astro启动器
chirping-astro-starter — Astro 启动器模板
作者 kannansuresh
Chirping Astro 主题的 Astro 启动模板,内置多语言、Tailwind CSS、daisyUI、Pagefind 搜索、Giscus 评论、Mermaid 图表与 KaTeX 数学公式,并附带 GitHub Pages 部署工作流。
看看你的网站会是什么样
浏览真实页面截图,比较内容排版与手机效果。点击下方缩略图切换,放大查看整页细节。
全部页面与视图 3
截图用于了解视觉与布局,交互效果请以实际项目为准。
采集于 2026-10-02查看来源
值得关注的模板亮点
从已有项目资料中,快速了解它的特点。
默认英文与法文双语内容结构,可通过配置切换为单语言模式
集成 Tailwind CSS、daisyUI、Pagefind 搜索、Giscus 评论、Mermaid 图表与 KaTeX 数学公式
内置 GitHub Actions 工作流,推送 main 分支后构建并部署到 GitHub Pages
站点标题、作者、导航、社交链接、头像与 favicon 等集中在配置文件和资源目录中修改
评论、社交链接等扩展功能通过可选环境变量按需启用
模板详细介绍
这是一个面向 Chirping Astro 博客主题的启动模板,仓库由主仓库自动同步,用于快速搭建基于 Astro 的博客站点。模板默认提供英文与法文双语内容结构,包含示例文章和双语隐私政策页面,可通过配置切换为单语言模式。
功能方面,模板集成 Tailwind CSS 与 daisyUI 用于样式,Pagefind 提供站内搜索,Giscus 提供基于 GitHub Discussions 的评论,Mermaid 用于绘制图表,KaTeX 用于渲染数学公式。站点标题、作者、导航、社交链接、头像、favicon 与默认 OG 图片等均可在 src/config.ts 或对应资源目录中修改。
部署方面,仓库内置 GitHub Actions 工作流,在推送到 main 分支时构建站点,并在启用 GitHub Pages 后自动部署;工作流可自动识别自定义域名与子路径。评论、社交链接等扩展功能通过环境变量按需开启,全部变量均为可选,零配置也能构建和部署。
使用限制:该启动器仓库为自动同步,不应在此提交 PR,问题与贡献需前往主仓库;演示图片、字体、图标等第三方素材需单独核对许可;域名、托管等外部服务可能产生费用。
Astro启动器
适合你的项目吗?
适用场景
- 使用 Astro 快速搭建个人博客或技术写作站点
- 需要多语言(英文/法文)内容结构的博客项目
- 希望集成站内搜索、评论、图表与数学公式的静态站点
- 通过 GitHub Pages 自动部署博客的仓库
适合人群
- 熟悉 Astro 或愿意按 README 配置的开发者
- 需要多语言博客起步模板的个人作者
- 计划使用 GitHub Pages 托管站点的用户
- 需要 Markdown/MDX 写作并附带搜索、评论、图表与公式能力的项目
上手与定制指南
结合仓库当前版本的说明,按下面的资料检查内容、配置与运行要求。
- 1
推荐使用 bunx create-astro@latest --template kannansuresh/chirping-astro-starter 创建项目,或直接克隆仓库后运行 bun install
- 2
编辑 src/config.ts 设置站点标题、作者与社交链接,并将 .env.example 复制为 .env 填写变量
- 3
替换 src/assets/images/site/ 下的 avatar.svg、favicon.svg 与 og-default.svg,文章写入 src/content/posts/en/
- 4
部署前在仓库 Settings → Pages 中将 Source 设为 GitHub Actions;若首次运行早于启用 Pages,需重新触发工作流
- 5
评论功能需安装 Giscus 应用并在 giscus.app 获取参数后,通过 github-pages 环境变量启用
授权与来源资料
使用条件与限制
免费使用 · 保留许可声明本次收录的是公开仓库中采用 MIT 许可的免费版本;免费范围为该版本代码,不代表外部服务或第三方素材免费。
使用时需要遵守
- 允许免费使用、修改、商用和分发该版本代码。
- 分发代码副本或实质性部分时,保留原作者版权声明和完整 MIT 许可声明。
- 代码按现状提供;担保与责任限制以原许可证及适用法律为准。
额外费用与待核对事项
- 演示图片、字体、图标及其他第三方素材需按各自许可核对,不能仅凭代码的 MIT 许可判断。
- 域名、托管、数据库、支付或 AI 等外部服务可能另外收费。
- 该启动器仓库由主仓库自动同步,不应在此仓库提交 PR,改动会在下次同步时被覆盖;问题反馈与贡献需前往主仓库进行。
- 启用评论功能需在仓库安装 Giscus 应用,并在 giscus.app 填写仓库信息获取参数,属于依赖外部服务与账号的配置步骤。
- 部署到 GitHub Pages 需在仓库设置中将 Pages 来源设为 GitHub Actions,依赖 GitHub 平台服务。
- 若未启用 GitHub Pages,工作流只构建而跳过部署步骤,需先启用 Pages 才能发布站点。
查看原文依据
Permission is hereby granted, free of charge
许可证原文
> **This starter repository is automatically synced from the [main Chirping Astro repository](https://github.com/kannansuresh/chirping-astro).** Please do not open pull requests here — changes will be overwritten on the next sync.
README 原文
1. Install the [Giscus app](https://github.com/apps/giscus) on your repo. 2. Go to [giscus.app](https://giscus.app), fill in your repo details, and copy the generated values.
README 原文
Go to your repo **Settings → Pages → Source** and select **GitHub Actions**.
README 原文
https://github.com/kannansuresh/chirping-astro-starter/blob/main/LICENSEhttps://github.com/kannansuresh/chirping-astro-starter/blob/main/README.md> If Pages is not enabled yet, the workflow still builds but skips the deploy step.
README 原文
DeepSeek 根据仓库许可证和 README 整理 ·2026-10-04。结果仅覆盖已读取资料,依赖、图片、字体及后续条款变更以各自原文为准。
项目核对记录与介绍依据
模板资料
- 来源平台
- GitHub
- 资料与维护参考分
- 资料较完整 · 83 / 100
- 技术栈
- Astro
- 网站类型
- 启动器
这个分数如何计算
本站按许可资料(最高30分)、演示链接(12分)、预览图(10分)、Star数(15分)、记录的维护时间(15分)、描述完整度(8分)、功能记录(5分)和分类资料(5分)计算。它不是代码、安全或性能测试,也不是 Google 评分;有链接不代表已实测可用。
这个项目需要核对什么
- 记录的仓库更新时间
- 2026-08-02
- 截图检查日期
- 2026-10-04
已收录演示链接。请用你的内容与屏幕尺寸检查;有演示不代表表单、认证或支付已经可用。
目录记录的主要技术栈是 Astro。请通过依赖清单和锁文件核对实际版本与托管要求。这些说明基于收录资料,不代表代码审计或部署实测。
查看具体选型方法 →介绍的制作与核对状态
介绍由 AI 辅助整理目录与仓库资料。仓库作者不等于这篇介绍的审核者。
审核声明: [email protected] · 2026-10-05
查看当时使用的来源资料
SHA-256: 680a7f370d04e09518c00245f9594b9ffe9bbf1c39316976cab3fdcc2518f454
2026-10-04T21:20:22.585Z
来源文件 / 仓库# Chirping Astro Starter A minimal starter template for [Chirping Astro](https://github.com/kannansuresh/chirping-astro) — a Chirpy-inspired, multilingual **Astro v7** blog theme with **Tailwind CSS v4**, **daisyUI v5**, **Pagefind** search, **Giscus** comments, **Mermaid** diagrams, and **KaTeX** math. > **Live demo:** [https://kannansuresh.github.io/chirping-astro](https://kannansuresh.github.io/chirping-astro) ## Quick Start ### Option 1: Astro CLI (recommended) ```bash bunx create-astro@latest --template kannansuresh/chirping-astro-starter ``` The wizard will prompt you for a project name, install dependencies, and initialize git. ### Option 2: Clone directly ```bash git clone https://github.com/kannansuresh/chirping-astro-starter.git my-blog cd my-blog bun install ``` ### Start dev server ```bash bun dev ``` Open [http://localhost:4321](http://localhost:4321) to see your site. ## Configuration 1. Edit `src/config.ts` to set your site title, author name, and social links. 2. Copy `.env.example` to `.env` and fill in your values. 3. Replace `src/assets/images/site/avatar.svg` with your own avatar. 4. Replace `src/assets/images/site/favicon.svg` with your own favicon. 5. Start writing posts in `src/content/posts/en/`. ## Writing Posts Create a new `.md` or `.mdx` file in `src/content/posts/en/`: ```markdown --- title: 'My First Post' description: 'A short summary of this post.' pubDate: 2026-01-01 tags: [hello, world] categories: [General] --- Your content here... ``` See the included sample post for all available frontmatter fields. ## Deploy to GitHub Pages The included `.github/workflows/deploy.yml` builds your site on every push to `main`. Deployment runs automatically once GitHub Pages is enabled for the repository. To set it up: ### 1. Enable GitHub Pages Go to your repo **Settings → Pages → Source** and select **GitHub Actions**. > If Pages is not enabled yet, the workflow still builds but skips the deploy step. ### 2. Set environment variables (optional) Go to **Settings → Environments → github-pages → Environment variables** and add any of: | Variable | Purpose | Default | | --------------------------- | ------------------------------------- | -------------------- | | `SITE_URL` | Your production URL | Auto-detected | | `BASE_PATH` | Sub-path for the site | Auto-detected | | `PUBLIC_GITHUB_HANDLE` | GitHub profile link in sidebar | Your GitHub username | | `PUBLIC_TWITTER_HANDLE` | Twitter/X link in sidebar | _(none)_ | | `PUBLIC_CONTACT_EMAIL` | Email link in sidebar | _(none)_ | | `PUBLIC_GISCUS_ENABLED` | Enable comments (`true`/`false`) | _(none)_ | | `PUBLIC_GISCUS_REPO` | `owner/repo` for Giscus | _(none)_ | | `PUBLIC_GISCUS_REPO_ID` | From [giscus.app](https://giscus.app) | _(none)_ | | `PUBLIC_GISCUS_CATEGORY` | Discussion category name | _(none)_ | | `PUBLIC_GISCUS_CATEGORY_ID` | From [giscus.app](https://giscus.app) | _(none)_ | > **Note:** All variables are optional. The site builds and deploys with zero configuration — variables just enable extra features. ### 3. Customize the Privacy Policy (optional) Edit the bilingual privacy policy templates: ```text src/content/pages/en/privacy.md src/content/pages/fr/privacy.md ``` Replace placeholder values in `[BRACKETS]` (site name, contact email, etc.). The privacy policy appears in the footer with a link — disable it by setting `showPrivacyPolicy: false` in `src/config.ts`. ### 4. Push to `main` That's it. The workflow will build and deploy your site. Your site will be available at `https://<username>.github.io/<repo-name>/`. ### 5. Run (or re-run) the deploy workflow after enabling Pages If your first workflow run happened before step 1, deploy was skipped by design. After enabling Pages, trigger deployment with either option: 1. Push any new commit to `main`. 2. Or go to **Actions → Deploy to GitHub Pages → Run workflow**. The next run will execute the deploy job and publish your site. ## Custom Domain ### Dedicated domain for this site To use your own domain (e.g., `https://blog.example.com`) exclusively for this site: 1. Configure your DNS and repository settings — see [GitHub's custom domain docs](https://docs.github.com/en/pages/configuring-a-custom-domain-for-your-github-pages-site). 2. The workflow automatically detects custom domains and configures `SITE_URL` and `BASE_PATH` correctly. **No manual configuration is needed at all** — it works out of the box! ### Using a custom domain on your GitHub user site If your GitHub user site (`<username>.github.io`) already points to a custom domain (e.g., `example.com`), then **all project sites** under that account are automatically served under that domain: ```text username.github.io → example.com (user site) username.github.io/blog → example.com/blog (this repo) ``` In this case, you don't need any extra DNS setup. The workflow detects the origin (`example.com`) and path (`/blog`) and configures it automatically! ## Giscus Comments To enable GitHub Discussions-powered comments on posts: 1. Install the [Giscus app](https://github.com/apps/giscus) on your repo. 2. Go to [giscus.app](https://giscus.app), fill in your repo details, and copy the generated values. 3. Add these environment variables in **Settings → Environments → github-pages**: - `PUBLIC_GISCUS_ENABLED` = `true` - `PUBLIC_GISCUS_REPO` = `your-username/your-repo` - `PUBLIC_GISCUS_REPO_ID` = _(from giscus.app)_ - `PUBLIC_GISCUS_CATEGORY` = `Announcements` _(or your chosen category)_ - `PUBLIC_GISCUS_CATEGORY_ID` = _(from giscus.app)_ ## Single Language Mode This starter ships with English + French (i18n). To run a single-language site: 1. Open `src/config.ts` and set `multilingual: false`. 2. Delete the `src/content/posts/fr/` folder (and `src/content/pages/fr/` if present). 3. Remove the `src/pages/fr/` directory. The language switcher will disappear and all `hreflang` tags are omitted. ## Customization | What | Where | | ------------------------------- | --------------------------------------- | | Site title, description, author | `src/config.ts` → `SITE` | | Navigation links | `src/config.ts` → `NAV` | | Social links | `src/config.ts` → `SOCIAL` | | Avatar image | `src/assets/images/site/avatar.svg` | | Favicon | `src/assets/images/site/favicon.svg` | | Default OG image | `src/assets/images/site/og-default.svg` | | Global styles | `src/styles/global.css` | | Theme colors | daisyUI theme tokens in `global.css` | ## Commands | Command | Action | | ---------------- | ------------------------------------ | | `bun dev` | Start dev server at `localhost:4321` | | `bun run build` | Build production site to `./dist/` | | `bun preview` | Preview production build locally | | `bun run lint` | Run ESLint | | `bun run format` | Format with Prettier | ## Documentation For full documentation on all features (i18n, dark mode, math, comments, OG images, etc.), see the [main repository README](https://github.com/kannansuresh/chirping-astro#readme). ## Contributing & Issues > **This starter repository is automatically synced from the [main Chirping Astro repository](https://github.com/kannansuresh/chirping-astro).** Please do not open pull requests here — changes will be overwritten on the next sync. - **Found a bug?** [Open an issue](https://github.com/kannansuresh/chirping-astro/issues) on the main repository. - **Want to contribute?** See the [contributing guide](https://github.com/kannansuresh/chirping-astro/blob/main/CONTRIBUTING.md) on the main repository. - **Have a question?** Use [Discussions](https://github.com/kannansuresh/chirping-astro/discussions) on the main repository. ## License MIT — see [LICENSE](./LICENSE).
看看同类模板
对比同技术栈与用途的模板,找到更适合的视觉与内容结构。
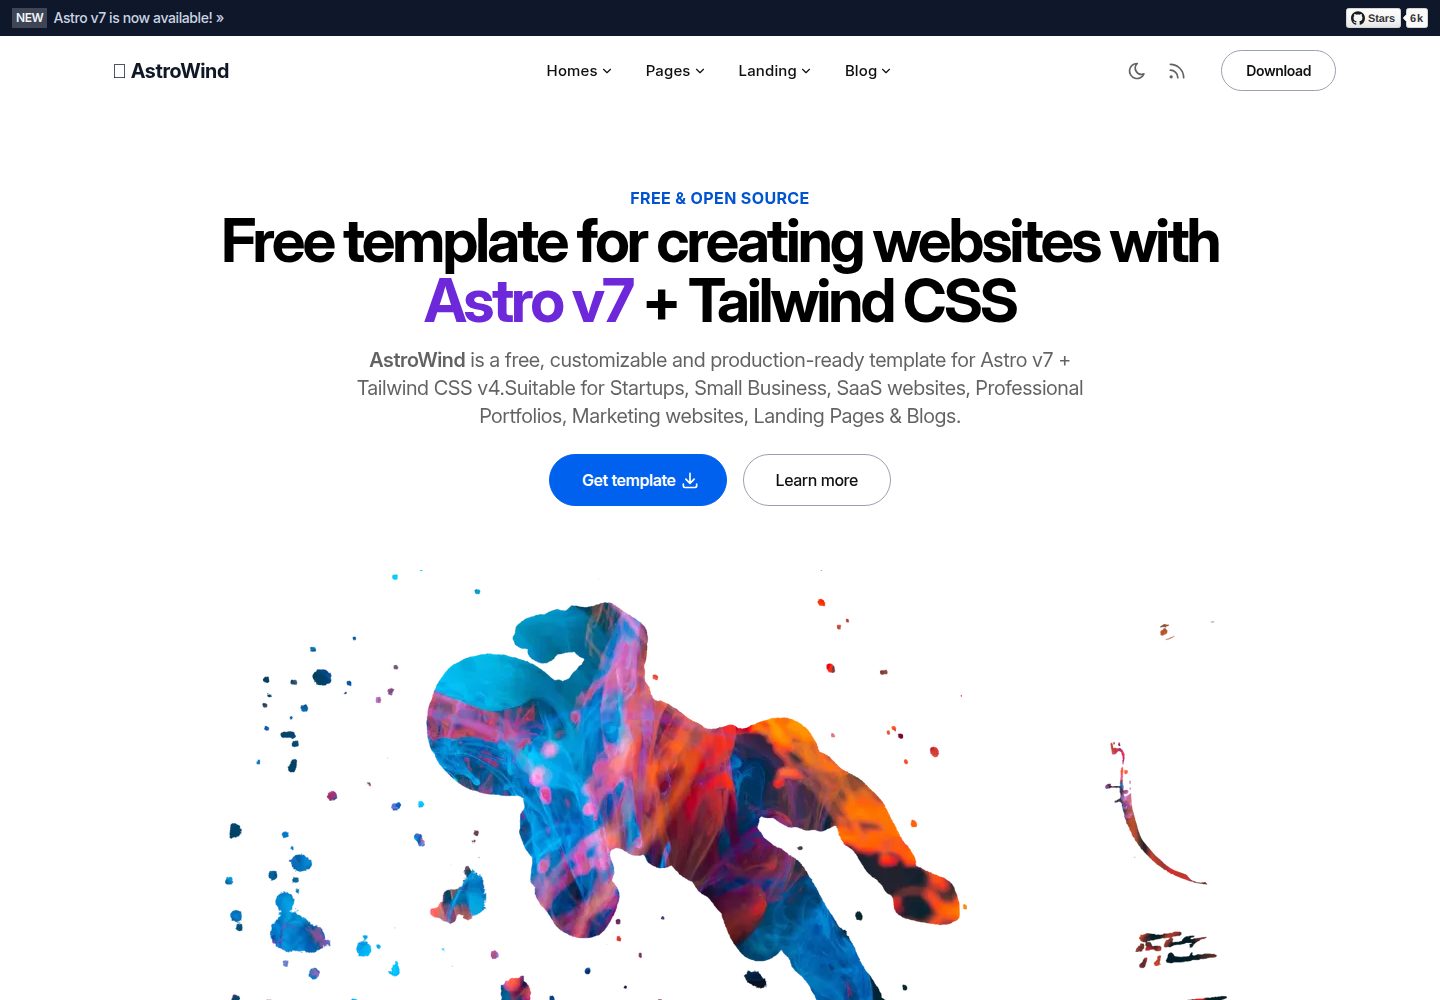
astrowind
⭕️ AstroWind: A free template using Astro v7 and Tailwind CSS v4. Astro starter theme.
Astro · 博客
accessible-astro-starter
Accessible Astro Starter 是一个以无障碍为核心理念的 Astro 6 启动模板,由 incluud 团队维护。
Astro · 博客
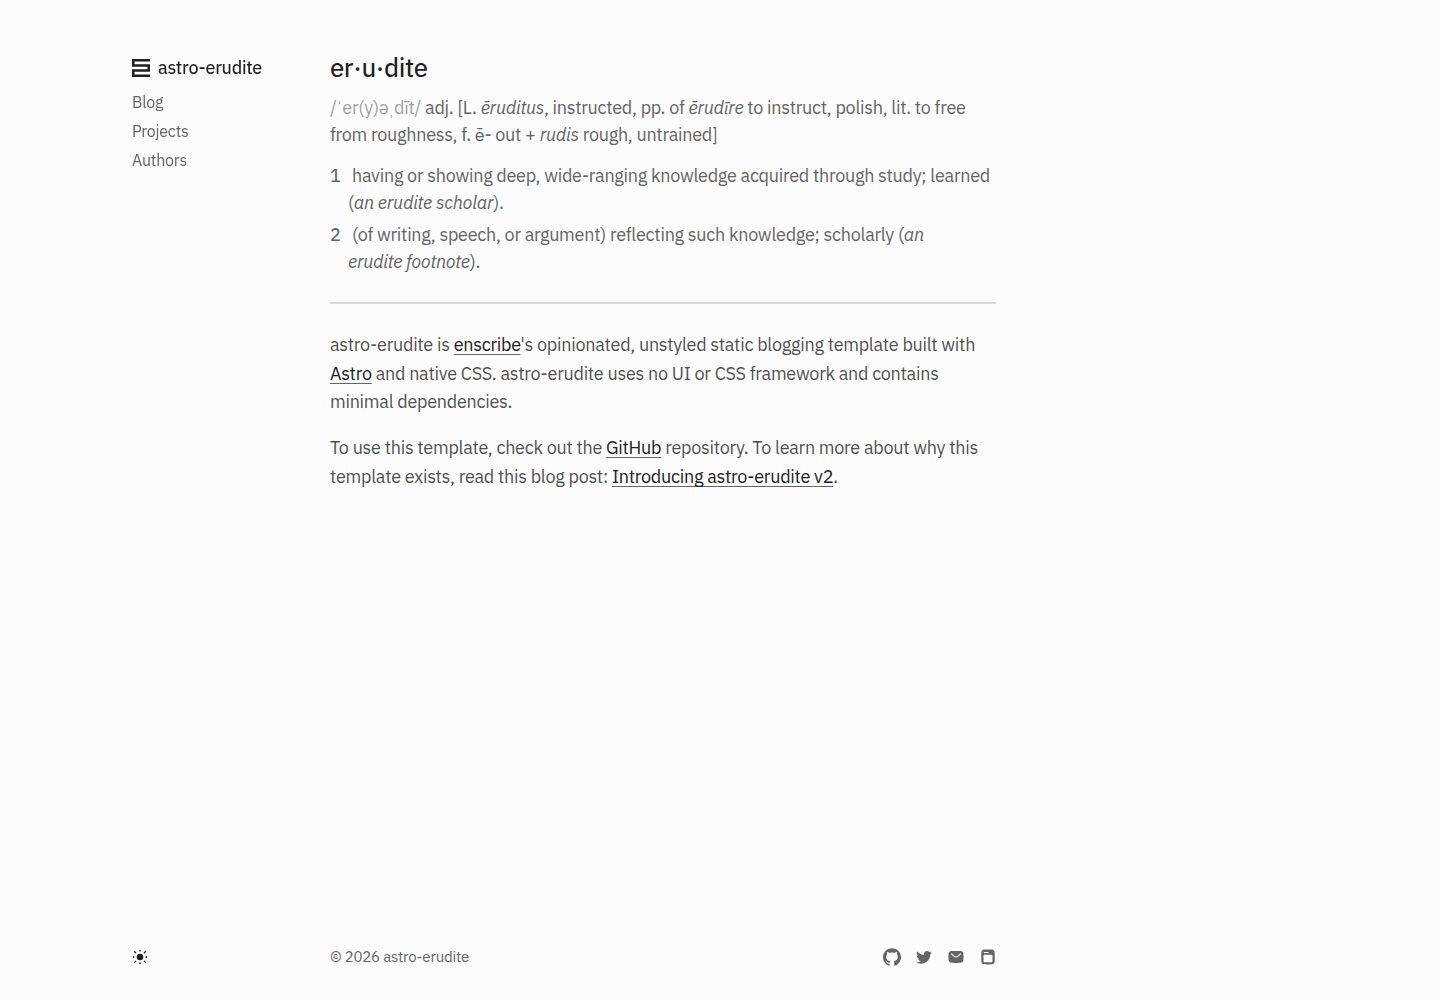
astro-erudite
An opinionated, unstyled static blogging template built with Astro and native CSS.
Astro · 作品集

astro-shopify
astro-shopify 是一个面向开发者的轻量级电商启动模板,用于构建基于 Shopify 的无头店面。
Astro · 电商
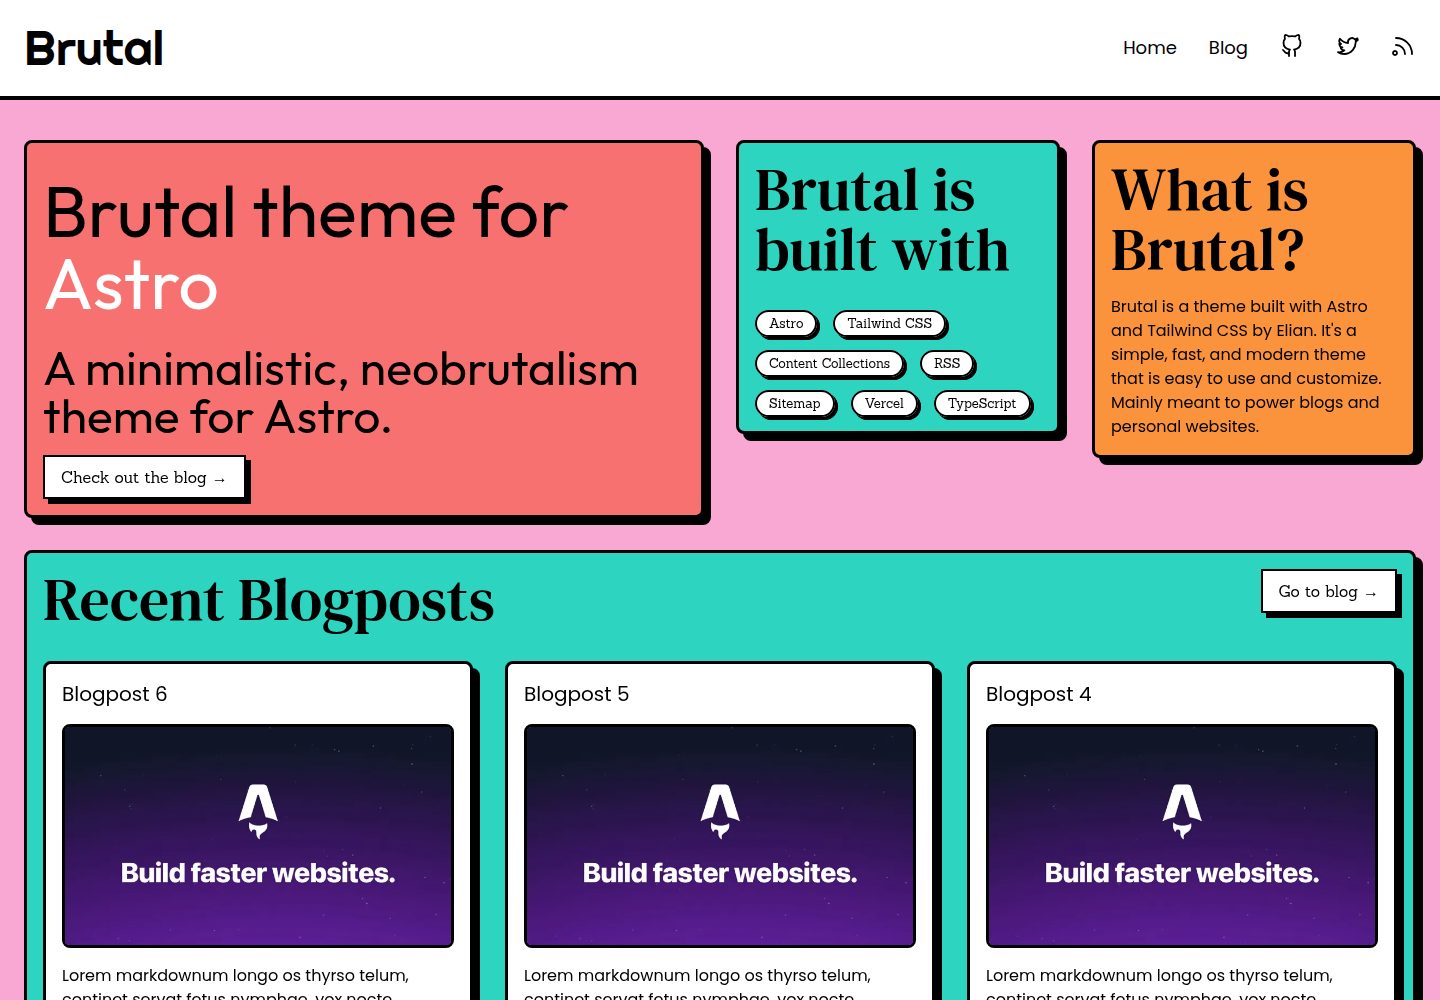
brutal
A neobrutalism Astro starter theme
Astro · 启动器
qwind
⭕️ Qwind: A template to make your website using Qwik + Tailwind CSS.
Astro · 工具站