单页布局,包含简介、技能/经历/教育标签页、服务、作品与联系等区块
HTML作品集
Personal-Portfolio — HTML 作品集模板
作者 kusal-tharindu
一个面向开发者的单页个人作品集模板,使用 HTML、CSS 与 JavaScript 构建,包含深色主题、滚动显现动画与联系表单。
看看你的网站会是什么样
浏览真实页面截图,比较内容排版与手机效果。点击下方缩略图切换,放大查看整页细节。
全部页面与视图 2
截图用于了解视觉与布局,交互效果请以实际项目为准。
采集于 2026-10-03查看来源
值得关注的模板亮点
从已有项目资料中,快速了解它的特点。
深色主题,带滚动显现动画与侧边折叠导航菜单
使用 HTML、CSS 与 JavaScript 编写,无构建步骤
联系表单可提交到 Google Sheets,需自行配置 Apps Script
README 按区块给出替换文字与图片的修改说明
模板详细介绍
该模板是一个单页个人作品集网站,用于展示个人简介、技能、经历、教育背景、服务、作品与联系方式,也可作为在线简历或 CV 使用。页面由 HTML、CSS 和 JavaScript 组成,采用深色主题与滚动显现动画,导航为侧边菜单形式,在移动端可折叠展开。
内容集中在 index.html 中,按 head、侧边菜单、About、Services、Portfolio、Contact 等区块组织,替换文字与图片即可填入个人信息。About 区域用标签页切换技能、经历与教育三组内容;Portfolio 区域以卡片网格展示作品并支持悬停显示说明与链接。
联系表单通过 Google Apps Script 将提交数据写入 Google Sheets,README 给出了对应的脚本配置方式与参考教程,需要自行部署脚本并替换 scriptURL。模板依赖 Font Awesome 图标与本地图片资源,演示与截图中的图片、字体、图标等第三方素材需按各自许可单独核对。
HTML作品集
适合你的项目吗?
适用场景
- 开发者搭建个人作品集或在线简历页面
- 展示技能、工作经历与教育背景等履历信息
- 以卡片形式陈列个人项目并提供外链
- 通过表单收集访客留言并存入 Google Sheets
适合人群
- 希望用静态 HTML 快速搭建个人作品集的开发者
- 需要单页在线简历或 CV 展示页的个人
- 能自行编辑 HTML/CSS/JavaScript 并替换图片与文字的用户
上手与定制指南
结合仓库当前版本的说明,按下面的资料检查内容、配置与运行要求。
- 1
克隆或下载仓库后,用编辑器打开项目,通过 Live Server 等本地服务器打开 index.html 预览
- 2
在 index.html 中按区块替换姓名、简介、技能、经历、教育、服务、作品与联系方式,并替换 images 目录下的图片
- 3
使用联系表单前,需按 README 指引创建 Google Apps Script 并替换脚本中的 scriptURL
- 4
表单提交依赖外部 Google 服务,需确认该服务的可用性与数据处理方式
- 5
Font Awesome 图标及演示图片等第三方素材需按各自许可核对后再使用
授权与来源资料
使用条件与限制
免费使用 · 保留许可声明本次收录的是公开仓库中采用 MIT 许可的免费版本;免费范围为该版本代码,不代表外部服务或第三方素材免费。
使用时需要遵守
- 允许免费使用、修改、商用和分发该版本代码。
- 分发代码副本或实质性部分时,保留原作者版权声明和完整 MIT 许可声明。
- 代码按现状提供;担保与责任限制以原许可证及适用法律为准。
额外费用与待核对事项
- 联系表单需自行创建并部署 Google Apps Script,并将脚本中的 scriptURL 替换为自己的地址,否则表单无法提交。
- 表单提交依赖外部 Google 服务,需替换占位 scriptURL 并确认该服务的可用性与数据处理方式。
- 部署建议使用 Cloudflare Pages 等外部托管服务,可能涉及第三方账号与费用,需自行核对。
- 演示图片、字体、图标及其他第三方素材需按各自许可核对,不能仅凭代码的 MIT 许可判断。
- 域名、托管、数据库、支付或 AI 等外部服务可能另外收费。
查看原文依据
Permission is hereby granted, free of charge
许可证原文
You can set-up `google_scrpits` and connect with your form.
README 原文
const scriptURL = 'https://script.google.com/macros/s/your_google_scrpits'
README 原文
https://github.com/kusal-tharindu/Personal-Portfolio/blob/main/LICENSEhttps://github.com/kusal-tharindu/Personal-Portfolio/blob/main/README.mdI highly recommend to use [Cloudflare pages](https://pages.cloudflare.com/)
README 原文
DeepSeek 根据仓库许可证和 README 整理 ·2026-10-03。结果仅覆盖已读取资料,依赖、图片、字体及后续条款变更以各自原文为准。
项目核对记录与介绍依据
模板资料
- 来源平台
- GitHub
- 资料与维护参考分
- 资料一般 · 68 / 100
- 技术栈
- HTML
- 网站类型
- 作品集
这个分数如何计算
本站按许可资料(最高30分)、演示链接(12分)、预览图(10分)、Star数(15分)、记录的维护时间(15分)、描述完整度(8分)、功能记录(5分)和分类资料(5分)计算。它不是代码、安全或性能测试,也不是 Google 评分;有链接不代表已实测可用。
这个项目需要核对什么
- 记录的仓库更新时间
- 2022-12-24
- 截图检查日期
- 2026-10-03
已收录演示链接。请用你的内容与屏幕尺寸检查;有演示不代表表单、认证或支付已经可用。
目录记录的主要技术栈是 HTML。请通过依赖清单和锁文件核对实际版本与托管要求。这些说明基于收录资料,不代表代码审计或部署实测。
查看具体选型方法 →介绍的制作与核对状态
介绍由 AI 辅助整理目录与仓库资料。仓库作者不等于这篇介绍的审核者。
已完成服务器许可规则与 AI 来源核对;未经过人工编辑审核。
查看当时使用的来源资料
SHA-256: 5b795641f3932b9efaf8d3d07ffcdd86b81f5474926aa2e0389b9515d78fd87e
2026-10-03T02:03:04.252Z
来源文件 / 仓库# dtkfolio ⚡️ [](https://github.com/kusal-tharindu/portfolio/blob/main/LICENSE)  
## A minimal portfolio template for Developers!
<h2 align="center">
<img src="images/demo.gif" alt="dtkfolio" width="600px" />
<br>
</h2>
## Features
In this project I created personal portfolio website using HTML CSS and JavaScript. You can use this website to make your online resume or CV.
⚡️ Modern UI Design + Reveal Animations\
⚡️ Dark theme\
⚡️ One Page Layout\
⚡️ Styled with HTML + CSS +JavaScript\
⚡️ Fully Responsive\
⚡️ Valid HTML5 & CSS3\
⚡️ add contact info and contact form.\
⚡️ Your can receive the contact form data on your google sheets\
⚡️ Well organized documentation
To view the demo: **[click here](https://kusal-tharindu.github.io/portfolio/)**
---
## Why do you need a portfolio? 🤷♀️
- Professional way to showcase your work to digital word
- Increases your visibility and online presence
- Shows you’re more than just a resume
---
## Getting Started 🚀
These instructions will get you a copy of the project up and running on your local machine for development and testing purposes. See deployment for notes on how to deploy the project on a live system.
### Prerequisites 📋
You'll need [Git](https://git-scm.com) and IDE(Integrated development environment) [Visual Studio Code](https://code.visualstudio.com/download) installed on your computer.
### Download 👇
- [Git](https://git-scm.com)
- IDE ( Integrated development environment ) [Visual Studio Code](https://code.visualstudio.com/download)
---
## How To Use 🔧
From your command line, first clone DTKfolio:
### 1. Download code
- Method-01
```bash
# Clone the repository
$ git clone https://github.com/kusal-tharindu/DTKfolio
```
- Method-02
Download directly from github.
<h2 align="center">
<img src="images\download-2.png" alt="Simplefolio" width="300px" height="300px" />
<br>
</h2>
<!-- photo -->
### 2. Open code via IDE
You start DIE and open the download floder(portfolio-main) with it and edit it with your details. I am using VS Code for this demo.
### 3. Open the html file via your localhost and view
download [Live Server](https://marketplace.visualstudio.com/items?itemName=ritwickdey.LiveServer) extension. Once your server has started, open ***index.html*** file via Live Server extension.
<h2 align="center">
<img src="images/demo.gif" alt="Simplefolio" width="600px" />
<br>
</h2>
---
## Template Instructions:
Go to `index.html` and put your information, there are several sections:
### <span style= "color: #00c1ff">**(1) Head** </span>
- Search below `html` code in `head` section
- Replace *Kusal Tharindu* with you name
```html
<!-- head -->
<title>Kusal Tharindu</title>
```
### <span style= "color: #00c1ff">**(2) Side-menu** </span>
- Repale `sidemenu` infomation and `header text` with you details
- Change image in the `img src="images/logo.png" class="logo"` html code.
```html
<!-- sidemenu -->
<div id="header">
<div class="container">
<nav>
<img src="images/logo.png" class="logo">
<ul id="sidemenu">
<li><a href="#header">Home</a></li>
<li><a href="#about">About</a></li>
<li><a href="#services">My services</a></li>
<li><a href="#portfolio">Portfolio</a></li>
<li><a href="#contact">Contact</a></li>
<i class="fa-solid fa-xmark" onclick="closemenu()"></i>
</ul>
<i class="fa-solid fa-bars" onclick="openmenu()"></i>
</nav>
<div class="header-text">
<p>Network Engineer</p>
<h1>I'm <span>Kusal</span><br> from Sri lanka</h1>
</div>
</div>
</div>
```
### <span style= "color: #00c1ff">**(3) About** </span>
- Repale `ABOUT` infomation and `skills` with you details.
- Change image in the `img src="images/user.png"` html code.
```html
<div id="about">
<div class="container">
<div class="row">
<div class="about-col-1">
<img src="images/user.png">
</div>
<div class="about-col-2">
<h1 class="sub-title">About me</h1>
<p>This site focuses on cyber security and network engineering. Knowledge of the these
fields goes beyond the ordinary and we are tempted to present it in
a new dimension and different way.</p>
<div class="tab-titles">
<p class="tab-links active-link" onclick="opentab('skills')" >Skills</p>
<p class="tab-links" onclick="opentab('experience')" >Experiences</p>
<p class="tab-links" onclick="opentab('education')" >Education</p>
</div>
<div class="tab-contents active-tab" id="skills">
<ul>
<li><span>Networking</span><br>configuer the routers</li>
<li><span>Cyber Securety</span><br>wireshark configuratiuon</li>
</ul>
</div>
<div class="tab-contents" id="experience">
<ul>
<li><span>2021- currnt</span><br>diolog</li>
<li><span>2020-2021</span><br>MIT</li>
</ul>
</div>
<div class="tab-contents" id="education" >
<ul>
<li><span>Networking</span><br>Harvard University</li>
<li><span>Cyber Securety</span><br>CISCO</li>
</ul>
</div>
</div>
</div>
</div>
</div>
```
### <span style= "color: #00c1ff">**(4) Services** </span>
- Repale `services` infomation with you details.
- Add you personal link for that specific Services in the `<a href="#">` htlm code.
```html
<!-- Services -->
<div id="services">
<div class="container">
<h1 class="sub-title">My services</h1>
<div class="services-list">
<div>
<i class="fa-solid fa-server"></i>
<h2>Networking</h2>
<p>Networking Essentials ( Version 2) Pretest Exam answers</p>
<a href="#">Learn more</a>
</div>
<div>
<i class="fa-solid fa-user-secret"></i>
<h2>Cyber security</h2>
<p>Cyber security is the application of technologies, processes,
and controls to protect systems, networks, programs</p>
<a href="#">Learn more</a>
</div>
<div>
<i class="fa-solid fa-code"></i>
<h2>Programming</h2>
<p>Programming involves tasks such as analysis, generating algorithms, profiling algorithms'
accuracy and resource consumption</p>
<a href="#">Learn more</a>
</div>
</div>
</div>
</div>
```
### <span style= "color: #00c1ff">**(5) Portpolio** </span>
- Repale `portfolio` infomation with you details.
- Add you personal link for that specific portfolio in the `<a href="#">` htlm code.
```html
<!-- portpolio -->
<div id="portfolio">
<div class="container">
<h1 class="sub-title">My work</h1>
<div class="work-list">
<div class="work">
<img src="images/work-1.png">
<div class="layer">
<h3>Social app</h3>
<p>Create app and make up to $1000 monthly passive income. Absolutely free
forever. No monthly charges, fees or paid features</p>
<a href="#"><i class="fa-solid fa-link"></i></a>
</div>
</div>
<div class="work">
<img src="images/work-2.png">
<div class="layer">
<h3>Mucic app</h3>
<p>Create app and make up to $1000 monthly passive income. Absolutely free
forever. No monthly charges, fees or paid features</p>
<a href="#"><i class="fa-solid fa-link"></i></a>
</div>
</div>
<div class="work">
<img src="images/work-3.png">
<div class="layer">
<h3>Online app</h3>
<p>Create app and make up to $1000 monthly passive income. Absolutely free
forever. No monthly charges, fees or paid features</p>
<a href="#"><i class="fa-solid fa-link"></i></a>
</div>
</div>
</div>
<a href="#" class="btn">See more</a>
</div>
</div>
```
### <span style= "color: #00c1ff">**(6) Contect** </span>
- Repale `contect` infomation with you details.
- Add you social-media link for that specific portfolio in the `<a href="#">` htlm code.
```html
<!-- ********contect*******-->
<div id="contact">
<div class="container">
<div class="row">
<div class="contact-left">
<h1 class="sub-title">Contact me</h1>
<p><i class="fa-solid fa-envelope"></i> [email protected]</p>
<p><i class="fa-solid fa-square-phone"></i> 011345678</p>
<div class="social-icons">
<a href="#"><i class="fa-brands fa-facebook"></i></a>
<a href="#"><i class="fa-brands fa-twitter-square"></i></a>
<a href="#"><i class="fa-brands fa-instagram"></i></a>
<a href="#"><i class="fa-brands fa-linkedin"></i></a>
</div>
<a href="Documents/my_cv.pdf" download class="btn btn2">Download CV</a>
</div>
<div class="contact-right">
<form name="submit-to-google-sheet">
<input type="text" name="Name" placeholder="Your name" required>
<input type="email" name="email" placeholder="Your Email",required>
<textarea name="Massage" rows="6" placeholder="Your Massage"></textarea>
<button type="submit" class="btn btn2">Submit</button>
</form>
<span id="msg"></span>
</div>
</div>
</div>
<div class="copyright">
<p>copyright <i class="fa-regular fa-copyright"></i> kusal.Tharindu</p>
</div>
</div>
```
### <span style= "color: #00c1ff">**(7) how Send contact form data on Google sheets?** </span>
- You can set-up `google_scrpits` and connect with your form.
- Step by step guide: [Easy Tutorials](https://www.youtube.com/watch?v=0YFrGy_mzjY&t=6473s)
```javascript
<script>
/* How to Send contact form data on Google sheets,
reference: "https://www.youtube.com/watch?v=0YFrGy_mzjY&t=6473s" */
const scriptURL = 'https://script.google.com/macros/s/your_google_scrpits'
const form = document.forms['submit-to-google-sheet']
const msg =document.getElementById("msg")
form.addEventListener('submit', e => {
e.preventDefault()
fetch(scriptURL, { method: 'POST', body: new FormData(form)})
.then(response => {
msg.innerHTML= "Message sent successfully"
setTimeout(function(){
msg.innerHTML=""
}, 5000)
form.reset()
})
.catch(error => console.error('Error!', error.message))
})
</script>
```
---
## Deployment 📦
Once you finish your setup. You need to put your website online!
I highly recommend to use [Cloudflare pages](https://pages.cloudflare.com/) because it is super easy. By default you can get yourname.pages.dev domain. also you can set custom domain name.
---
## Authors
- **`Kusal Tharindu`** - [https://github.com/kusal-tharindu](https://github.com/kusal-tharindu)
---
## License 📄
This project is licensed under the MIT License - see the [LICENSE.md](https://github.com/kusal-tharindu/portfolio/blob/main/LICENSE) file for details.
---
## Acknowledgments 🎁
I was motivated to create this project because I wanted to contribute on something useful for the dev community.
Many thanks to [Easy Tutorials](https://www.youtube.com/@EasyTutorialsVideo).
看看同类模板
对比同技术栈与用途的模板,找到更适合的视觉与内容结构。
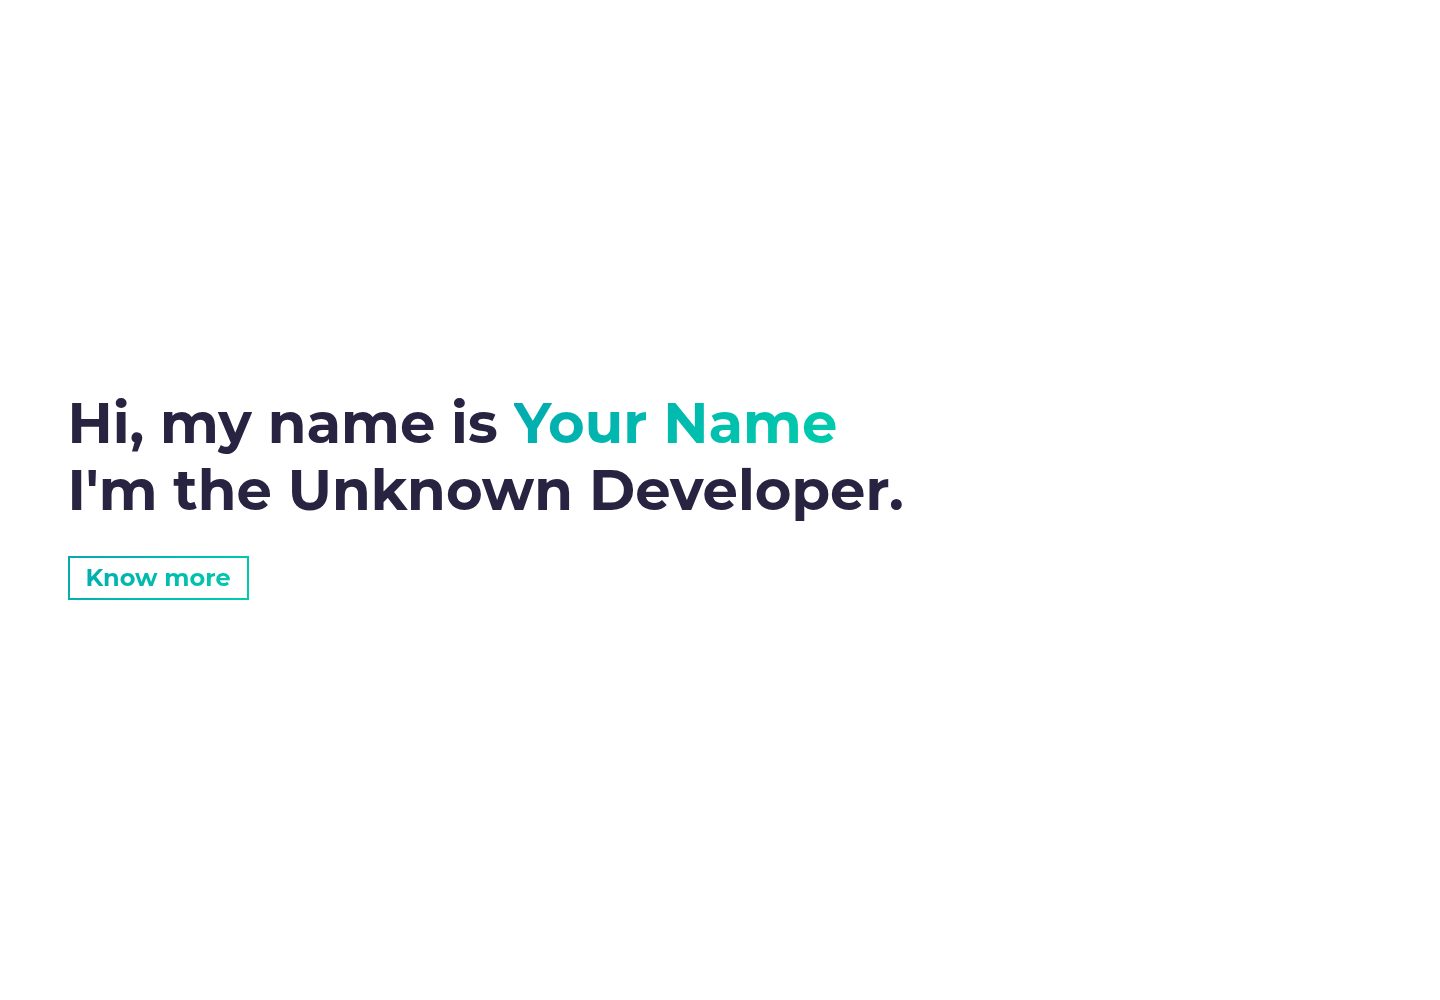
simplefolio
⚡️ A minimal portfolio template for Developers
HTML · 作品集
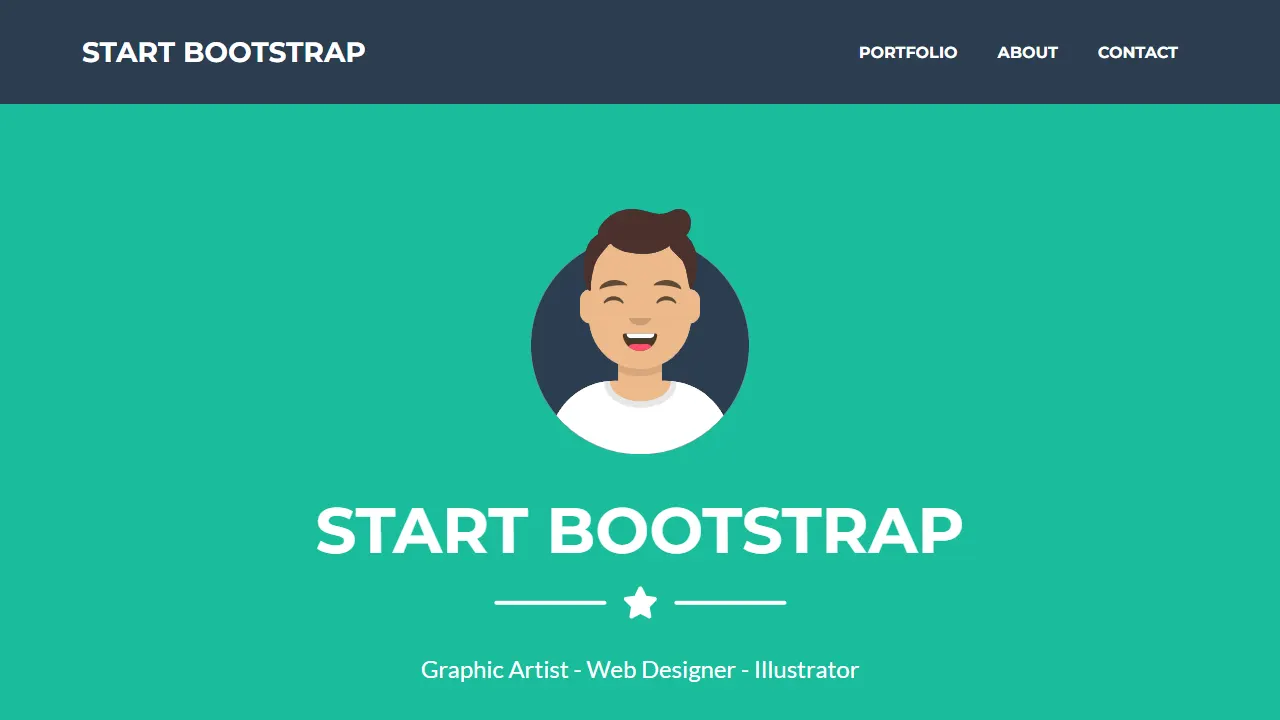
Freelancer
Freelancer 是 Start Bootstrap 出品的单页作品集模板,专为自由职业者、设计师和小型工作室设计。 页面结构清晰,包含多个内容区块、响应式作品集网格,每个作品项目配有模态窗口展示详情。
HTML · 作品集
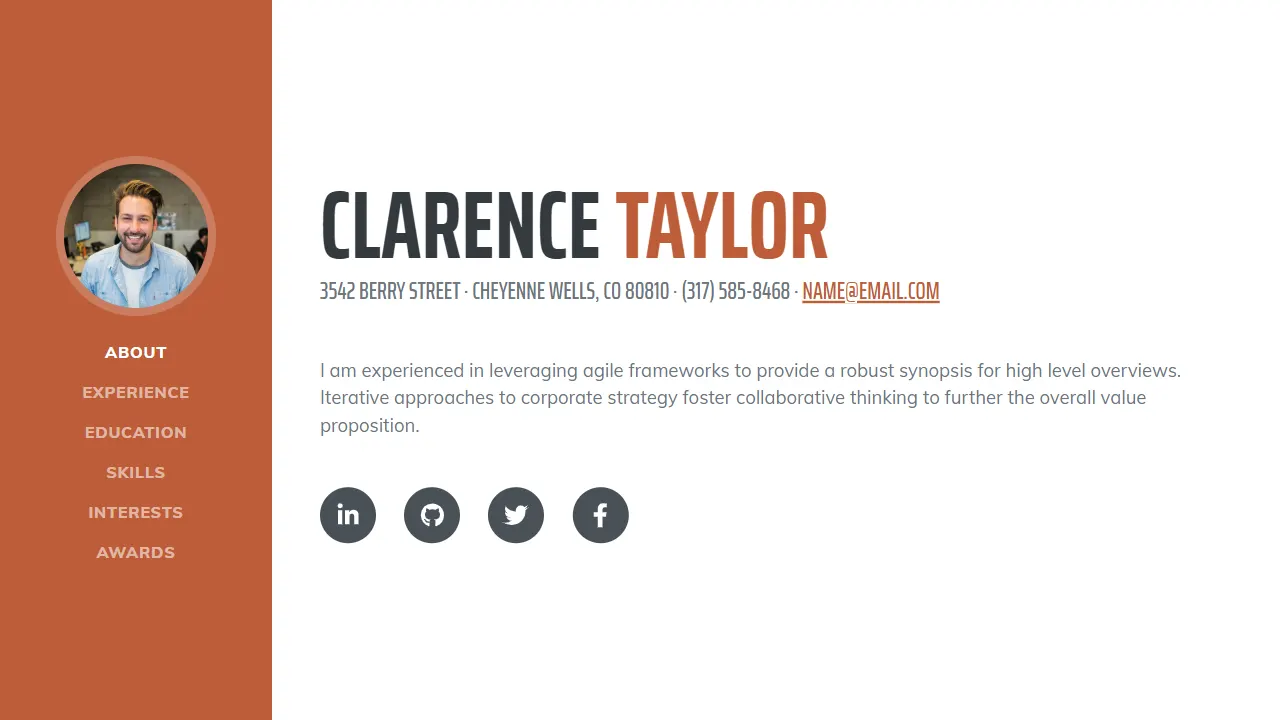
Resume
Resume 是 Start Bootstrap 推出的简历与 CV 主题,基于 Bootstrap 构建,采用固定侧边栏加内容区块的结构。
HTML · 作品集
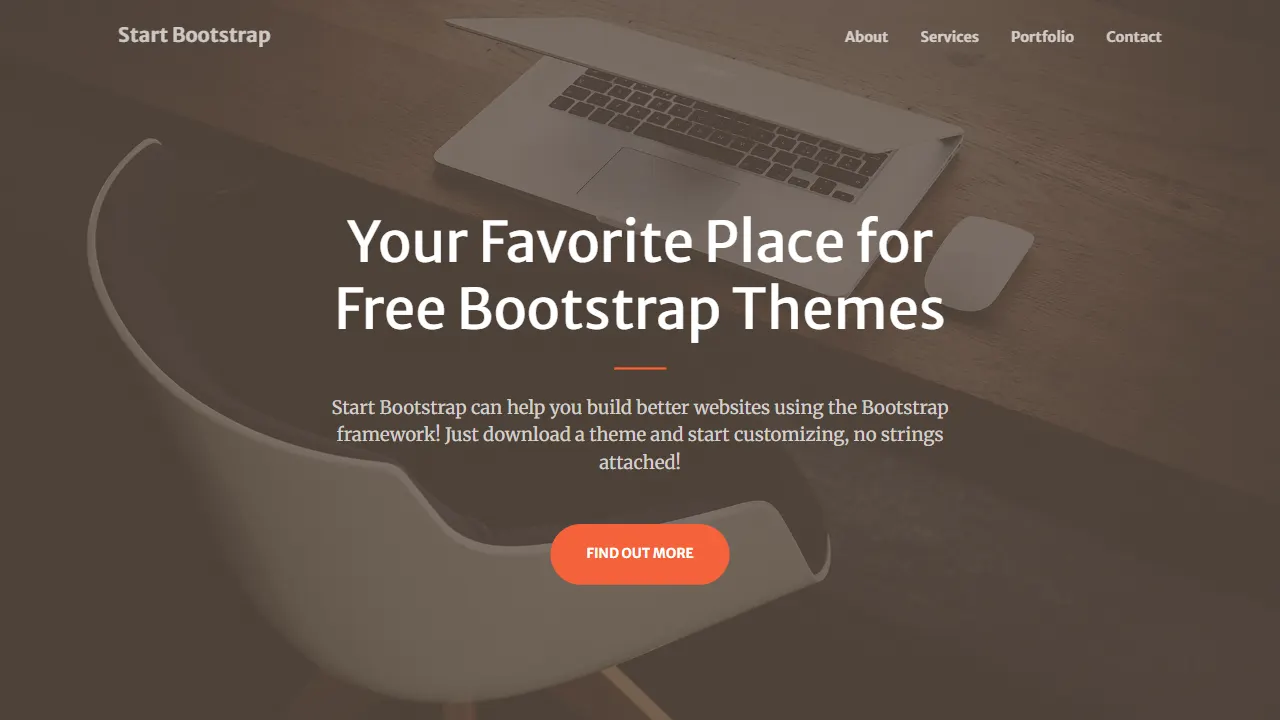
Creative
Creative 是 Start Bootstrap 团队维护的一款单页营销模板,定位明确:为创意机构或产品服务提供一个以作品展示和行动号召为核心的落地页。
HTML · 企业官网
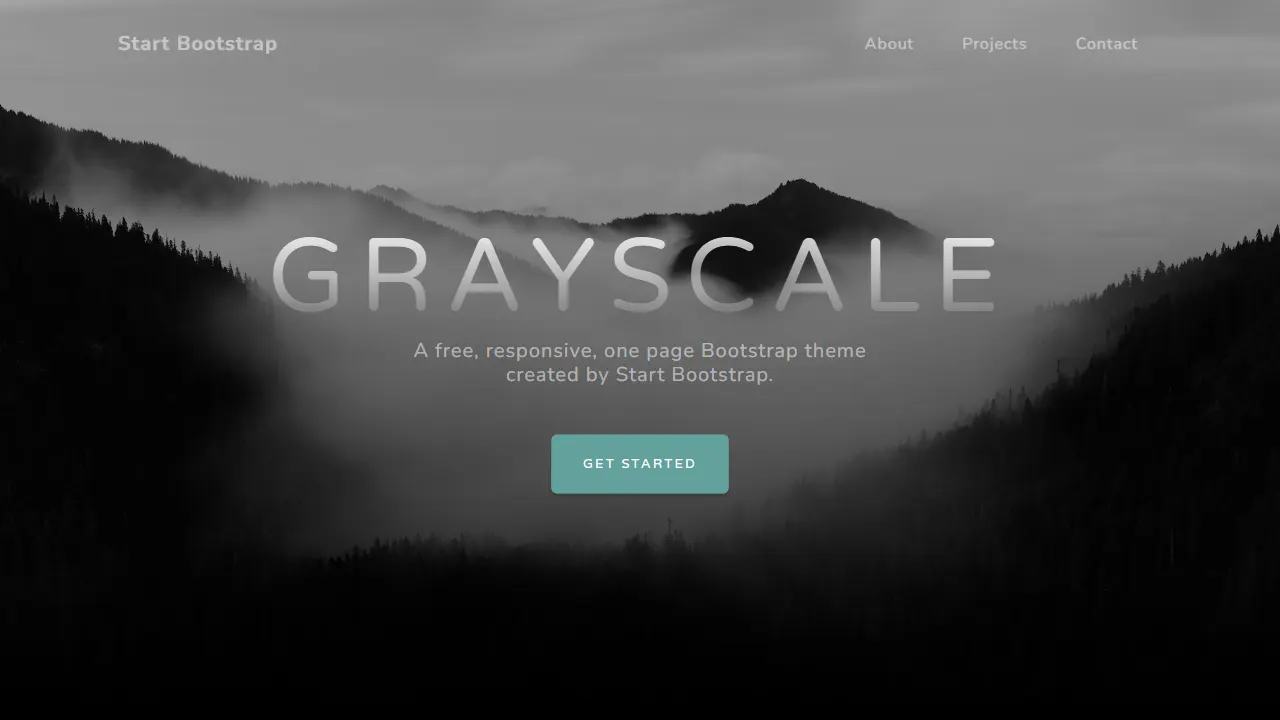
Grayscale
Grayscale 是 Start Bootstrap 出品的深色系单页 HTML 模板,基于 Bootstrap 构建。 它的视觉重心放在大尺寸首屏和清晰的内容分区上,整体氛围偏暗,适合摄影、活动或品牌叙事类网站。
HTML · 企业官网
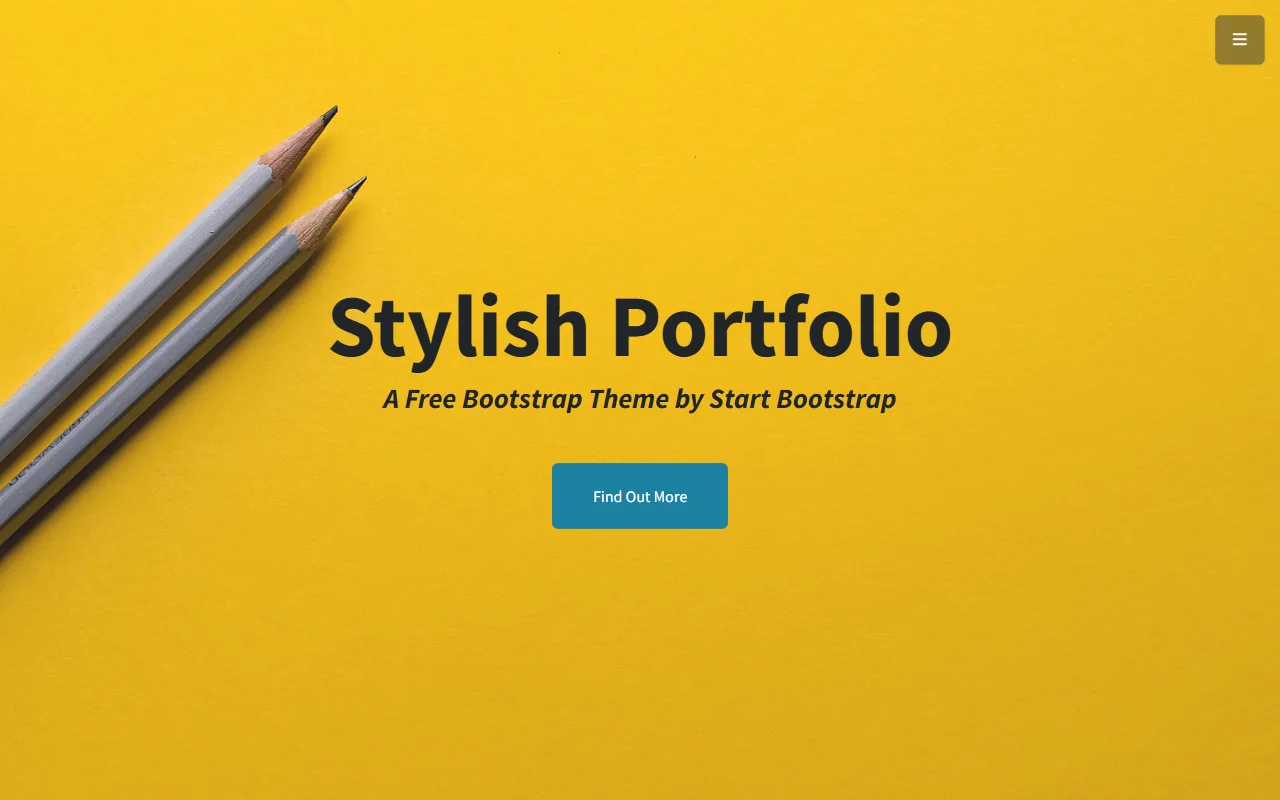
startbootstrap-stylish-portfolio
Stylish Portfolio 是 Start Bootstrap 维护的单页作品集主题,基于 Bootstrap 构建,采用多个内容区块加离屏导航菜单的结构。
HTML · 作品集