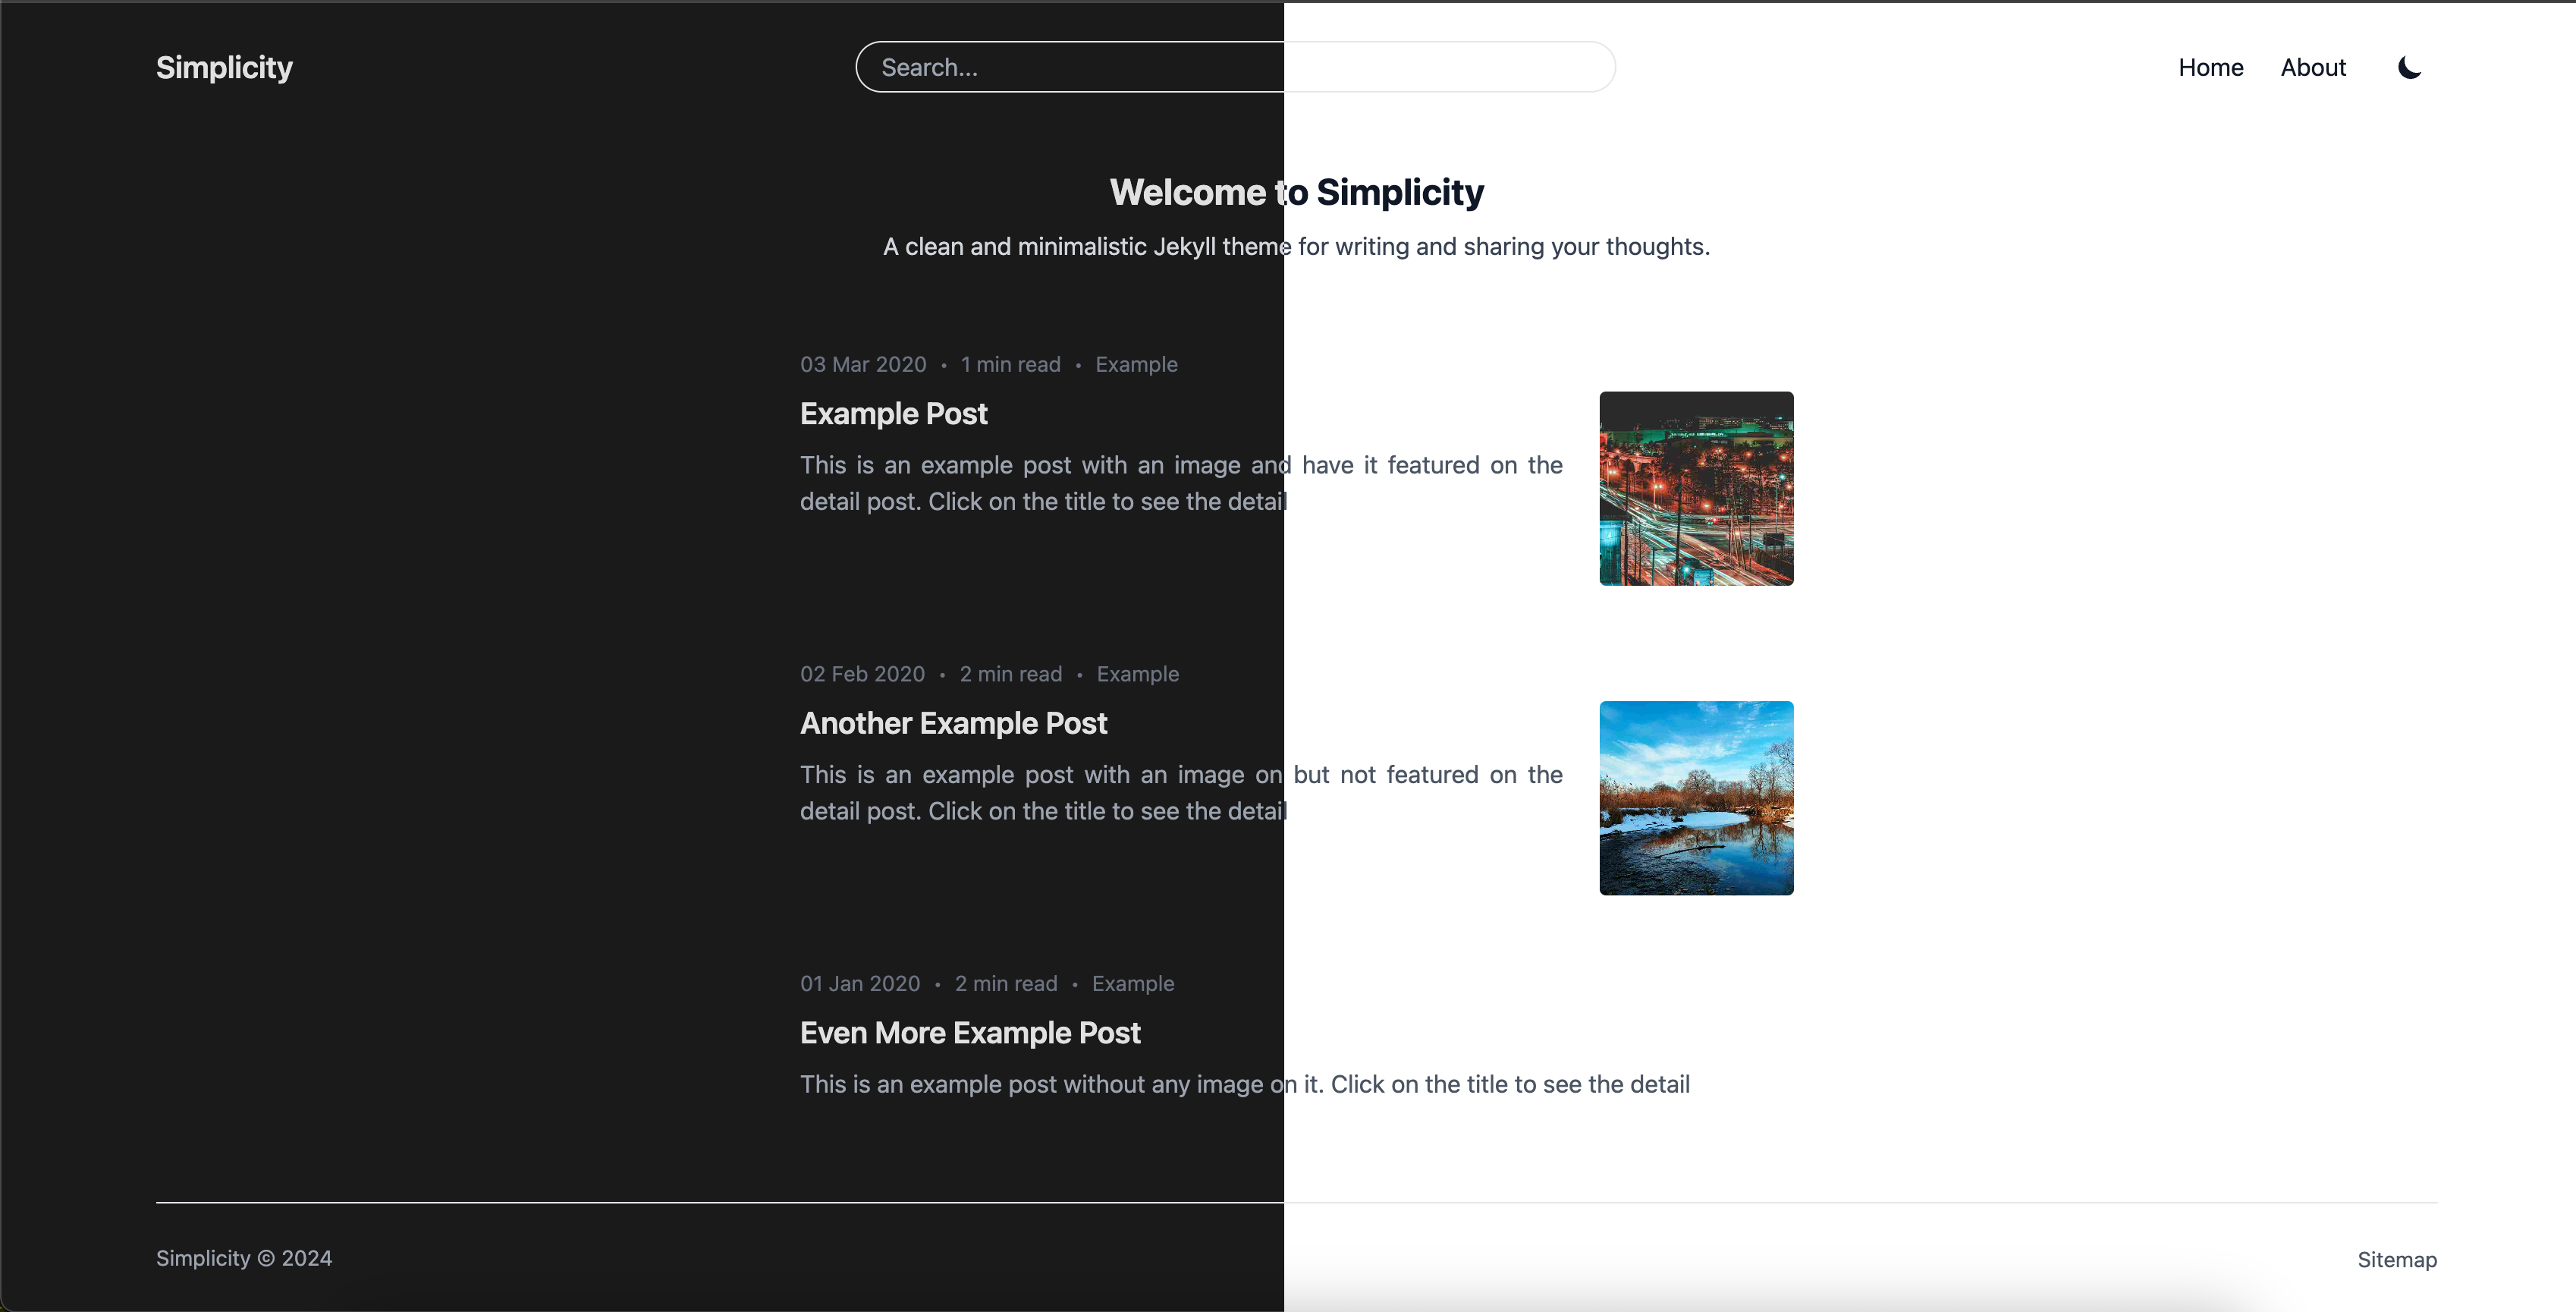
基于 Jekyll 构建,使用 Tailwind CSS 进行样式开发
Jekyll作品集博客
simplicity — Jekyll 作品集模板
作者 madeindra
Simplicity 是一个基于 Jekyll 与 Tailwind CSS 的极简主题,面向博客与个人作品集,支持暗色/亮色切换、文章搜索、分页与评论系统配置。
看看你的网站会是什么样
浏览真实页面截图,比较内容排版与手机效果。点击下方缩略图切换,放大查看整页细节。
目前有 1 张原始预览,可打开完整图片查看设计细节。
截图用于了解视觉与布局,交互效果请以实际项目为准。
采集于 2026-10-02查看来源
值得关注的模板亮点
从已有项目资料中,快速了解它的特点。
支持暗色与亮色主题切换
内置文章搜索功能
首页欢迎区、关于页面与文章分页均可在 _config.yml 中配置
每篇文章可单独设置分类、预览图、特色图、描述、关键词与评论开关
评论系统可在 Giscus 与 Disqus 之间选择
模板详细介绍
Simplicity 是一个 Jekyll 主题,定位为简洁、轻量的博客与个人站点外观。它使用 Tailwind CSS 构建样式,README 中列出的功能包括暗色/亮色主题切换、文章搜索、响应式布局,以及通过 _config.yml 进行配置。
在内容组织上,主题提供首页欢迎区(标题与副标题可配置)、关于页面(作者名、头像、社交链接与多段描述)、文章列表分页,以及每篇文章可单独设置的分类、预览图、特色图、描述、关键词与是否开启评论。页头可开关搜索、Home 与 About 链接,页脚可开关 sitemap 与 RSS feed 链接。
评论系统支持 Giscus 与 Disqus 两种选择。使用 Giscus 需要仓库公开、启用 Discussions 并安装 Giscus 应用;不满足这些条件时可改用 Disqus,只需在配置中填写 shortname。
部署方面,README 给出了通过 GitHub Actions 发布到 GitHub Pages 的步骤,包括使用模板创建仓库、在 Gemfile.lock 中加入 x86_64-linux 平台、创建 workflow 文件、开启仓库的读写权限,并在首次运行后从 gh-pages 分支启用 Pages。主题以 MIT 许可发布,代码可免费使用、修改、商用与分发,但演示图片、字体、图标等第三方素材需单独核对许可。
Jekyll作品集博客
适合你的项目吗?
适用场景
- 搭建以文章为主的个人博客并发布到 GitHub Pages
- 制作包含关于页面与社交链接的个人作品集站点
- 需要一个支持暗色模式与站内搜索的轻量 Jekyll 主题
- 希望通过 GitHub Discussions 提供无广告评论区的站点
适合人群
- 熟悉 Jekyll 与 YAML 配置、希望自行修改主题的用户
- 使用 GitHub Pages 托管静态站点的个人开发者或写作者
- 需要博客与个人介绍页面结合的个人站点
- 偏好 Tailwind CSS 样式体系的前端使用者
上手与定制指南
结合仓库当前版本的说明,按下面的资料检查内容、配置与运行要求。
- 1
克隆仓库后需分别执行 bundle install 与 npm install 安装依赖
- 2
本地预览命令为 bundle exec jekyll serve --config _config.yml,_config-dev.yml --livereload,默认地址 http://localhost:4000
- 3
站点标题、作者、永久链接、搜索与页头页脚开关、首页与关于页内容、社交账号、分页等均在 _config.yml 中设置
- 4
使用 Giscus 需仓库公开、启用 Discussions 并安装 Giscus 应用;否则可改用 Disqus 并填写 shortname
- 5
部署到 GitHub Pages 时需在 Gemfile.lock 中加入 x86_64-linux 平台,并按 README 创建 GitHub Actions workflow 与开启仓库读写权限
授权与来源资料
使用条件与限制
免费使用 · 保留许可声明本次收录的是公开仓库中采用 MIT 许可的免费版本;免费范围为该版本代码,不代表外部服务或第三方素材免费。
使用时需要遵守
- 允许免费使用、修改、商用和分发该版本代码。
- 分发代码副本或实质性部分时,保留原作者版权声明和完整 MIT 许可声明。
- 代码按现状提供;担保与责任限制以原许可证及适用法律为准。
额外费用与待核对事项
- 使用 Giscus 评论系统要求站点仓库为公开仓库,私有仓库无法满足该条件。
- 使用 Giscus 评论系统需在仓库中启用 Discussions 功能。
- 使用 Giscus 评论系统需在仓库上安装 Giscus 应用。
- 若改用 Disqus 评论系统,需注册 Disqus 账号并在 _config.yml 中填写 shortname。
- 演示图片、字体、图标及其他第三方素材需按各自许可核对,不能仅凭代码的 MIT 许可判断。
- 域名、托管、数据库、支付或 AI 等外部服务可能另外收费。
查看原文依据
Permission is hereby granted, free of charge
许可证原文
The repository is a public repository
README 原文
The discussion feature is enabled for the repository
README 原文
The Giscus app is installed on the repository
README 原文
https://github.com/madeindra/simplicity/blob/main/LICENSEhttps://github.com/madeindra/simplicity/blob/main/README.mdJust create an account and set your username on the `_config.yml`.
README 原文
DeepSeek 根据仓库许可证和 README 整理 ·2026-10-02。结果仅覆盖已读取资料,依赖、图片、字体及后续条款变更以各自原文为准。
项目核对记录与介绍依据
模板资料
- 来源平台
- GitHub
- 资料与维护参考分
- 资料一般 · 70 / 100
- 技术栈
- Jekyll
- 网站类型
- 作品集 · 博客
这个分数如何计算
本站按许可资料(最高30分)、演示链接(12分)、预览图(10分)、Star数(15分)、记录的维护时间(15分)、描述完整度(8分)、功能记录(5分)和分类资料(5分)计算。它不是代码、安全或性能测试,也不是 Google 评分;有链接不代表已实测可用。
这个项目需要核对什么
- 记录的仓库更新时间
- 2025-03-10
- 截图检查日期
- 2026-10-02
目前没有记录演示链接。请依据仓库说明在本地评估;仅凭截图无法确认交互行为。
目录记录的主要技术栈是 Jekyll。请通过依赖清单和锁文件核对实际版本与托管要求。这些说明基于收录资料,不代表代码审计或部署实测。
查看具体选型方法 →介绍的制作与核对状态
介绍由 AI 辅助整理目录与仓库资料。仓库作者不等于这篇介绍的审核者。
已完成服务器许可规则与 AI 来源核对;未经过人工编辑审核。
查看当时使用的来源资料
SHA-256: 7dd6c51266fc59b8d71a25046812a6affa6b07000822cdc9f5795bf077b9122f
2026-10-02T21:39:34.291Z
来源文件 / 仓库# Simplicity Jekyll Theme

Simplicity is a clean and minimalistic Jekyll theme designed for bloggers who value simplicity and functionality. Built with Tailwind CSS, the theme offers sleek design, responsiveness, and modern features such as dark/light theme toggling and post search.
## Features
- **Tailwind CSS**: Utilizes the power of Tailwind CSS for easy and flexible styling.
- **Dark/Light Theme Toggle**: Seamlessly switch between dark and light themes.
- **Post Search**: Built-in functionality for searching blog posts.
- **Responsive Design**: Fully responsive, adapting to all screen sizes and devices.
- **Easy Customization**: Straightforward options and structure for quick customization.
## Installation
To set up the Simplicity theme on your local machine, follow these steps:
1. **Clone the repository:**
```bash
git clone https://github.com/madeindra/simplicity.git
cd simplicity
```
2. Install dependencies
```bash
bundle install
npm install
```
3. Run the server
```bash
bundle exec jekyll serve --config _config.yml,_config-dev.yml --livereload
```
4. Open your browser and navigate to http://localhost:4000
## Configuration
You can customize various aspects of the theme by modifying the `_config.yml` file. Here is a detailed explanation of each configuration option:
### Site Settings
- **`url`**: The base URL for your site (e.g., `https://example.github.io`).
- **`title`**: The title of your site (e.g., `Simplicity`).
- **`author`**: The name of the site author (e.g., `John Doe`).
- **`permalink`**: The permalink structure for your posts (e.g., `/:title/`).
- **`description`**: A short description of your site.
- **`keywords`**: A list of keywords related to your site (e.g., `blog`).
### Header Settings
- **`search_enabled`**: Enable or disable the search feature (true/false).
- **`home_enabled`**: Enable or disable the Home link in the header (true/false).
- **`about_enabled`**: Enable or disable the About link in the header (true/false).
### Footer Settings
- **`sitemap_enabled`**: Enable or disable the sitemap link in the footer (true/false).
- **`feed_enabled`**: Enable or disable the rss feed link in the footer (true/false).
### Homepage Settings
Customize the content of your homepage:
- **`homepage.welcome.title`**: The title displayed in the welcome section.
- **`homepage.welcome.subtitle`**: The subtitle displayed in the welcome section.
### About Page Settings
Customize the content of your About page:
- **`about.author_name`**: The name of the author (e.g., `John Doe`).
- **`about.author_image`**: The path to the author's image (e.g., `/assets/images/author.jpg`).
- **`about.social_media_enabled`**: Enable or disable social media links (true/false).
- **`about.description`**: A list of paragraphs describing the author.
### Social Media Settings
Add your social media handles:
- **`social_media.email`**: Email address.
- **`social_media.linkedin`**: LinkedIn username.
- **`social_media.github`**: GitHub username.
- **`social_media.youtube`**: YouTube channel name.
- **`social_media.twitter`**: Twitter handle.
- **`social_media.instagram`**: Instagram username.
### Gisqus Settings
Configure Giscus for comments system:
- **`giscus`**: Enable giscus comments system instead of Disqus (true/false).
### Disqus Settings
Configure Disqus for comments:
- **`disqus.shortname`**: Your Disqus shortname.
### Per Post Settings
Available config for each posts:
- **`category`**: Category of the post.
- **`image`**: Image for post preview on homepage.
- **`feature_image`**: Show image as featured on top of the post page (true/false).
- **`description`**: Post description on homepage.
- **`keywords`**: Keywords for metadata of the post page.
- **`comments`**: Enable comments system on the page (true/false).
### Pagination Settings
Configure homepage's pagination:
- **`paginate`**: Number of post shown per page
- **`paginate_path`**: The link structure for pagination (e.g., `/page/:num/`).
## Github Pages
Follow these steps to deploy your Jekyll site using GitHub Actions.
1. **Create a New Repository with this Template**:
- Click on `Use this template` and click on `Create a new repository`
- Use this format for the repository name `username.github.io` with username being your Hub username
2. **Clone the Repository and Configure**:
- Clone your repository and make any necessary configurations:
```bash
git clone https://github.com/username/username.github.io
cd username.github.io
```
- Copy all contents of simplicity into the repository
- Configure `_config.yml` as needed
3. **Ensure `x86_64-linux` Platform in Gemfile.lock**:
- To ensure that the site can run in GitHub Actions, make sure the `Gemfile.lock` includes the `x86_64-linux` platform. Run the following command if necessary:
```bash
bundle lock --add-platform x86_64-linux
```
4. **Create a GitHub Actions Workflow**:
- Create a GitHub Actions workflow file located at `.github/workflows/gh-pages.yaml`:
```yaml
name: Build and deploy this site to GitHub Pages
on:
push:
branches:
- main
jobs:
github-pages:
runs-on: ubuntu-latest
steps:
- uses: actions/checkout@v3
- name: Setup Ruby
uses: ruby/setup-ruby@v1
with:
ruby-version: 3.1
bundler-cache: true
- name: Setup Node
uses: actions/setup-node@v4
with:
node-version: 20
- run: npm install
- name: Build site
uses: limjh16/jekyll-action-ts@v2
with:
enable_cache: true
- name: Deploy
uses: peaceiris/actions-gh-pages@v4
with:
github_token: ${{ secrets.GITHUB_TOKEN }}
publish_dir: ./_site
```
5. **Configure Repository Settings**:
- Open your repository settings.
- Navigate to the **Actions** tab and select **General**.
- In the **Workflow permissions** section, select **Read and write permissions**.
- Click **Save** to save your settings.
6. **Enable GitHub Pages**:
- After the first action run, a `gh-pages` branch will be created.
- Open your repository settings again.
- Navigate to the **Pages** section.
- Select **Deploy from a branch**.
- Set the source to `gh-pages`.
- Click **Save**.
7. **View Your Deployed Site**:
- Open your browser and navigate to:
```
https://{username}.github.io
```
Replace `username` with your GitHub username
And that's it! Your Jekyll site should now be live on GitHub Pages.
## Choosing Comments System
Giscus is an alternative comment system, it make uses of GitHub Discussions feature, and has not tracking or ads.
To use it instead of Discus, the page repository should fulfill these criterias:
- The repository is a public repository
- The discussion feature is enabled for the repository
- The Giscus app is installed on the repository
Follow installation guide on [Giscus page](https://giscus.app/) and enable the giscus config on the `_config.yml`.
If you can't fullfil the requirements above, you can opt-in to use [Disqus](https://disqus.com/). Just create an account and set your username on the `_config.yml`.
## Acknowledgements
Special thanks to [Giorgi Mezurnishvili](https://mzrn.sh/) for providing the starter template.看看同类模板
对比同技术栈与用途的模板,找到更适合的视觉与内容结构。
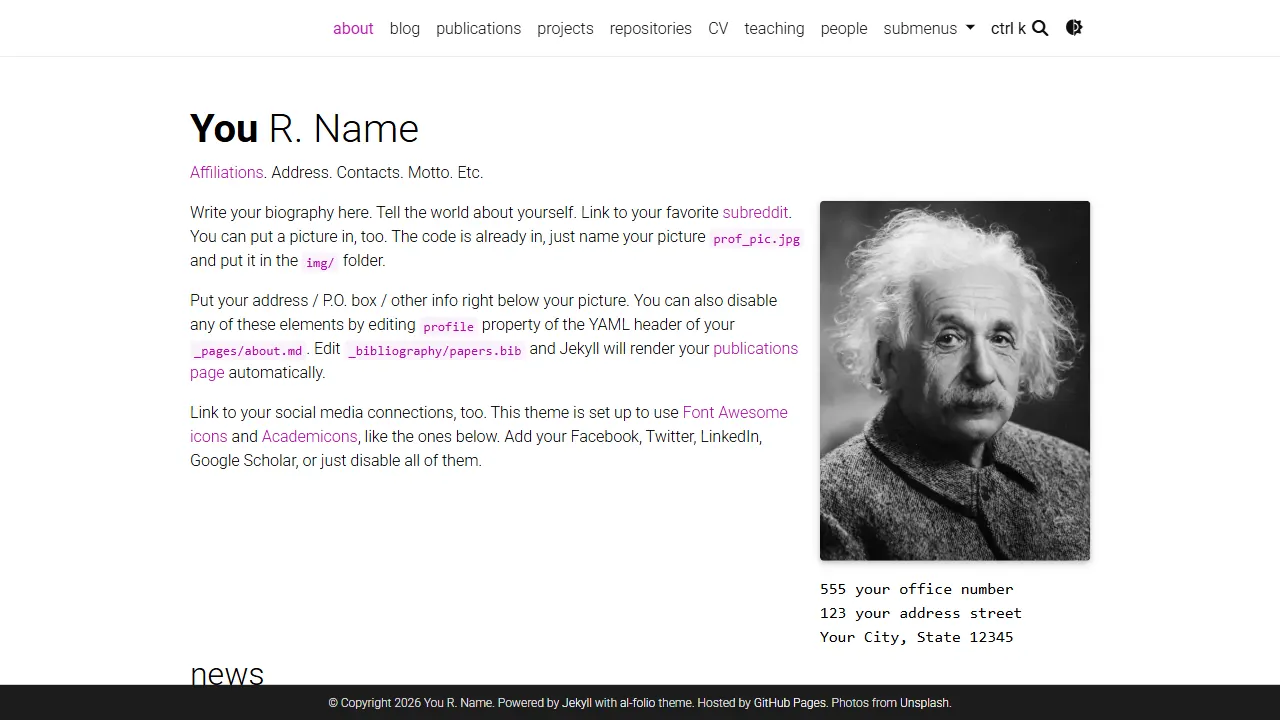
al-folio
al-folio 是一个面向学者与研究人员的 Jekyll 作品集主题,设计简洁、响应式,适合搭建个人学术主页。
Jekyll · 作品集
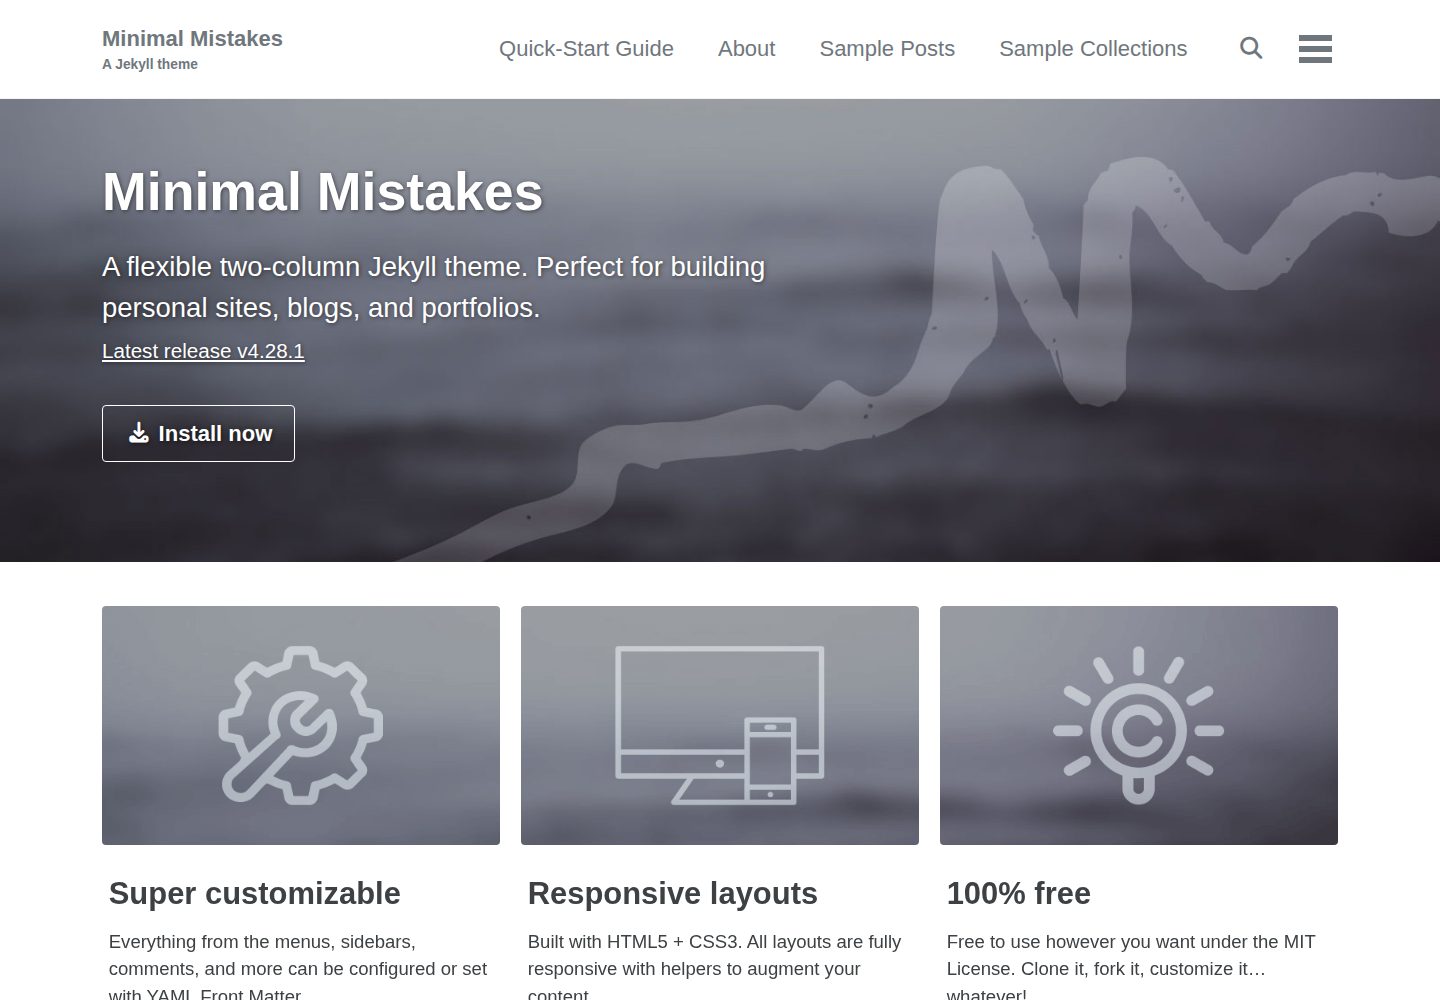
minimal-mistakes
:triangular_ruler: Jekyll theme for building a personal site, blog, project documentation, or portfolio.
Jekyll · 作品集
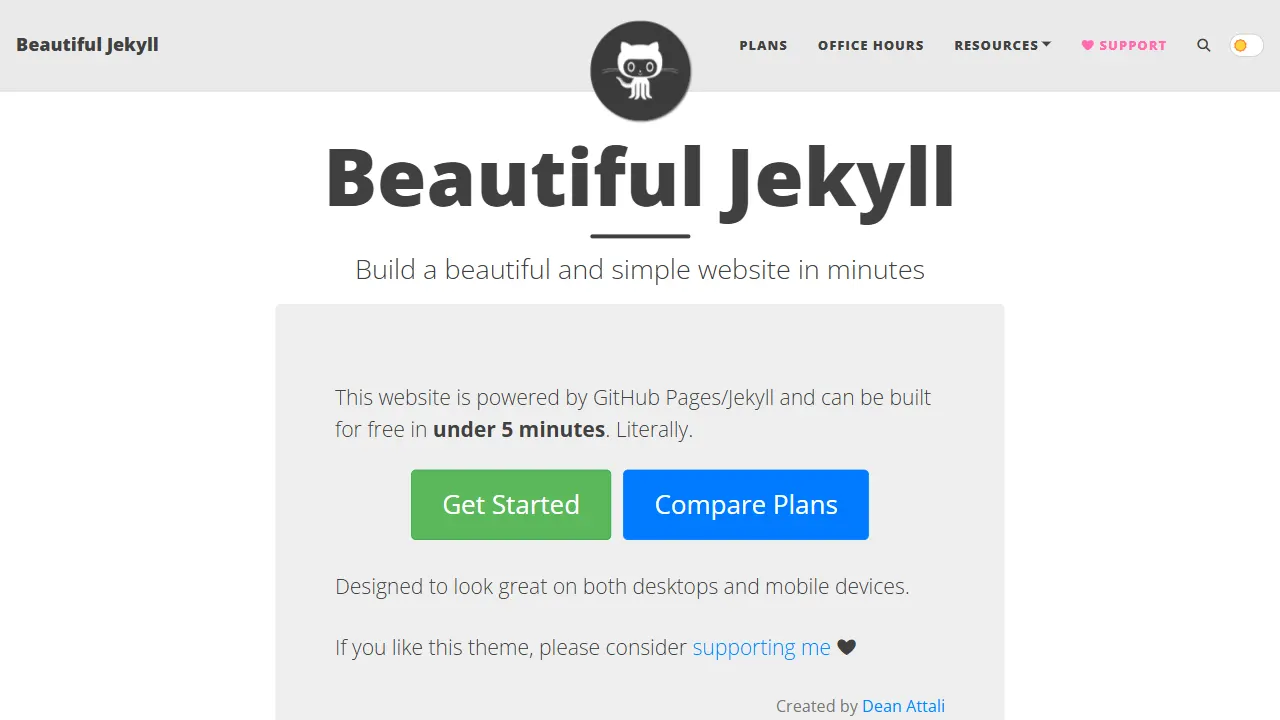
Beautiful Jekyll
Beautiful Jekyll 是一个在 Jekyll 生态中经过长期打磨的博客主题,由 Dean Attali 维护,自 2015 年起积累了超过 5 万用户。
Jekyll · 博客
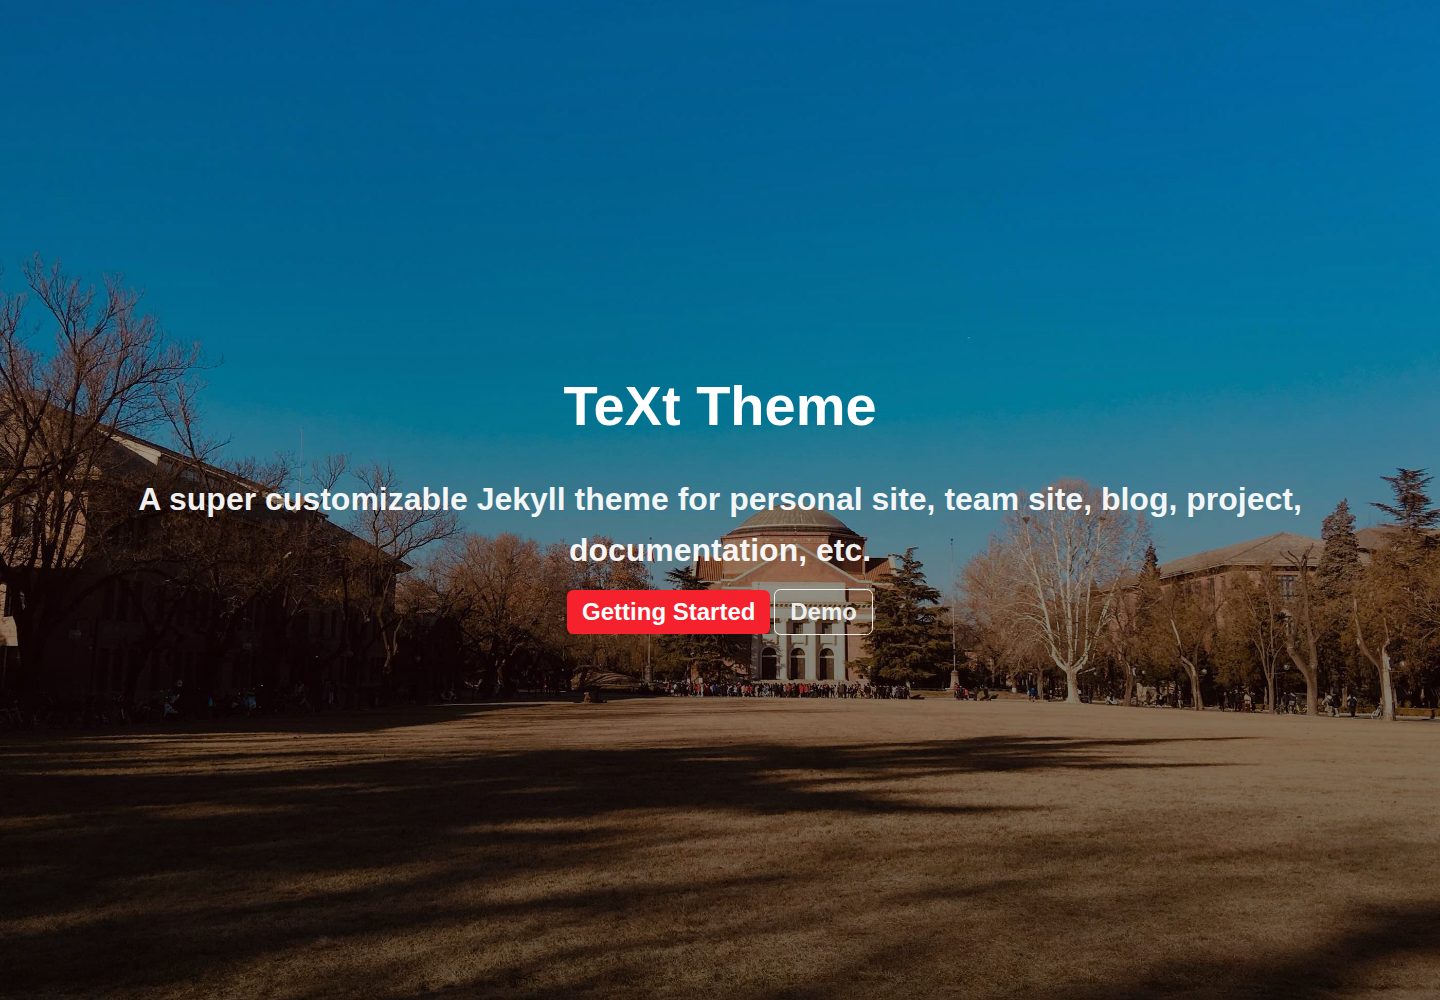
jekyll-TeXt-theme
💎 🐳 A super customizable Jekyll theme for personal site, team site, blog, project, documentation, etc.
Jekyll · 博客
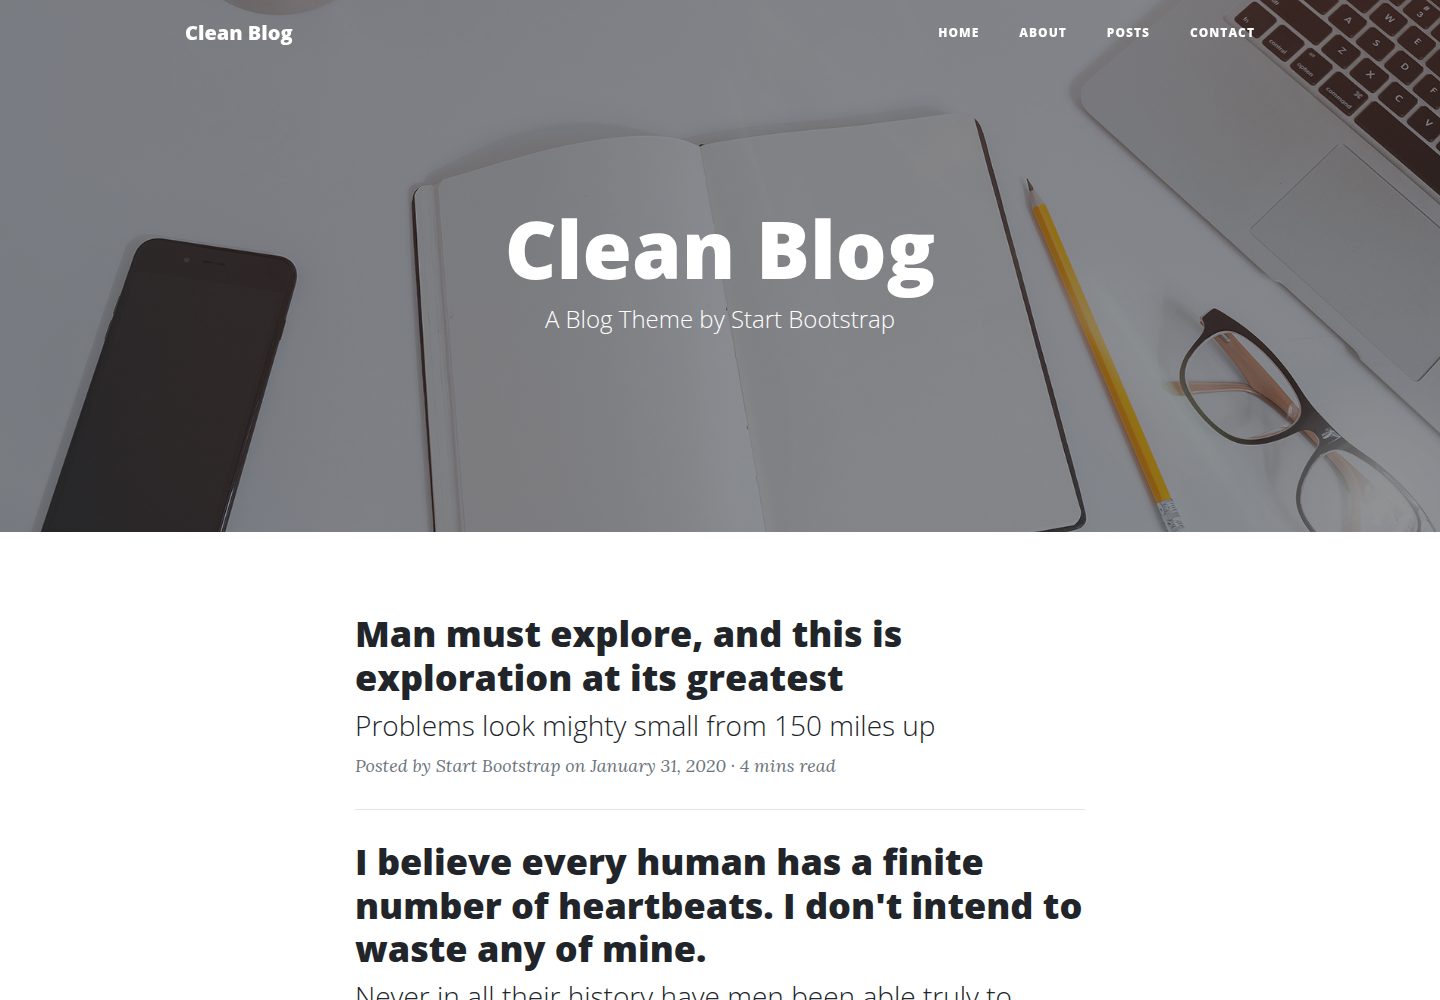
startbootstrap-clean-blog-jekyll
A Jekyll version of the Clean Blog theme by Start Bootstrap
Jekyll · 博客
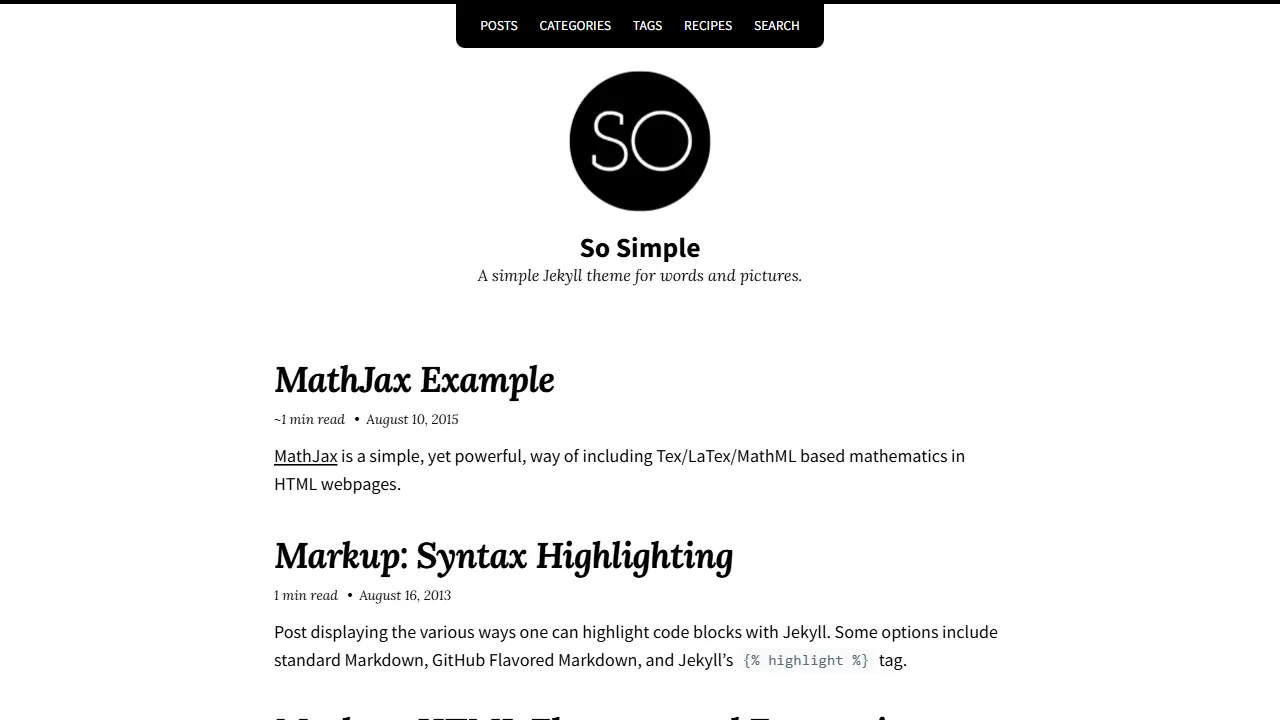
So Simple
So Simple 是 Michael Rose 开发的 Jekyll 主题,定位清晰:为文字和图片提供一个干净、可读性强的展示框架。
Jekyll · 博客