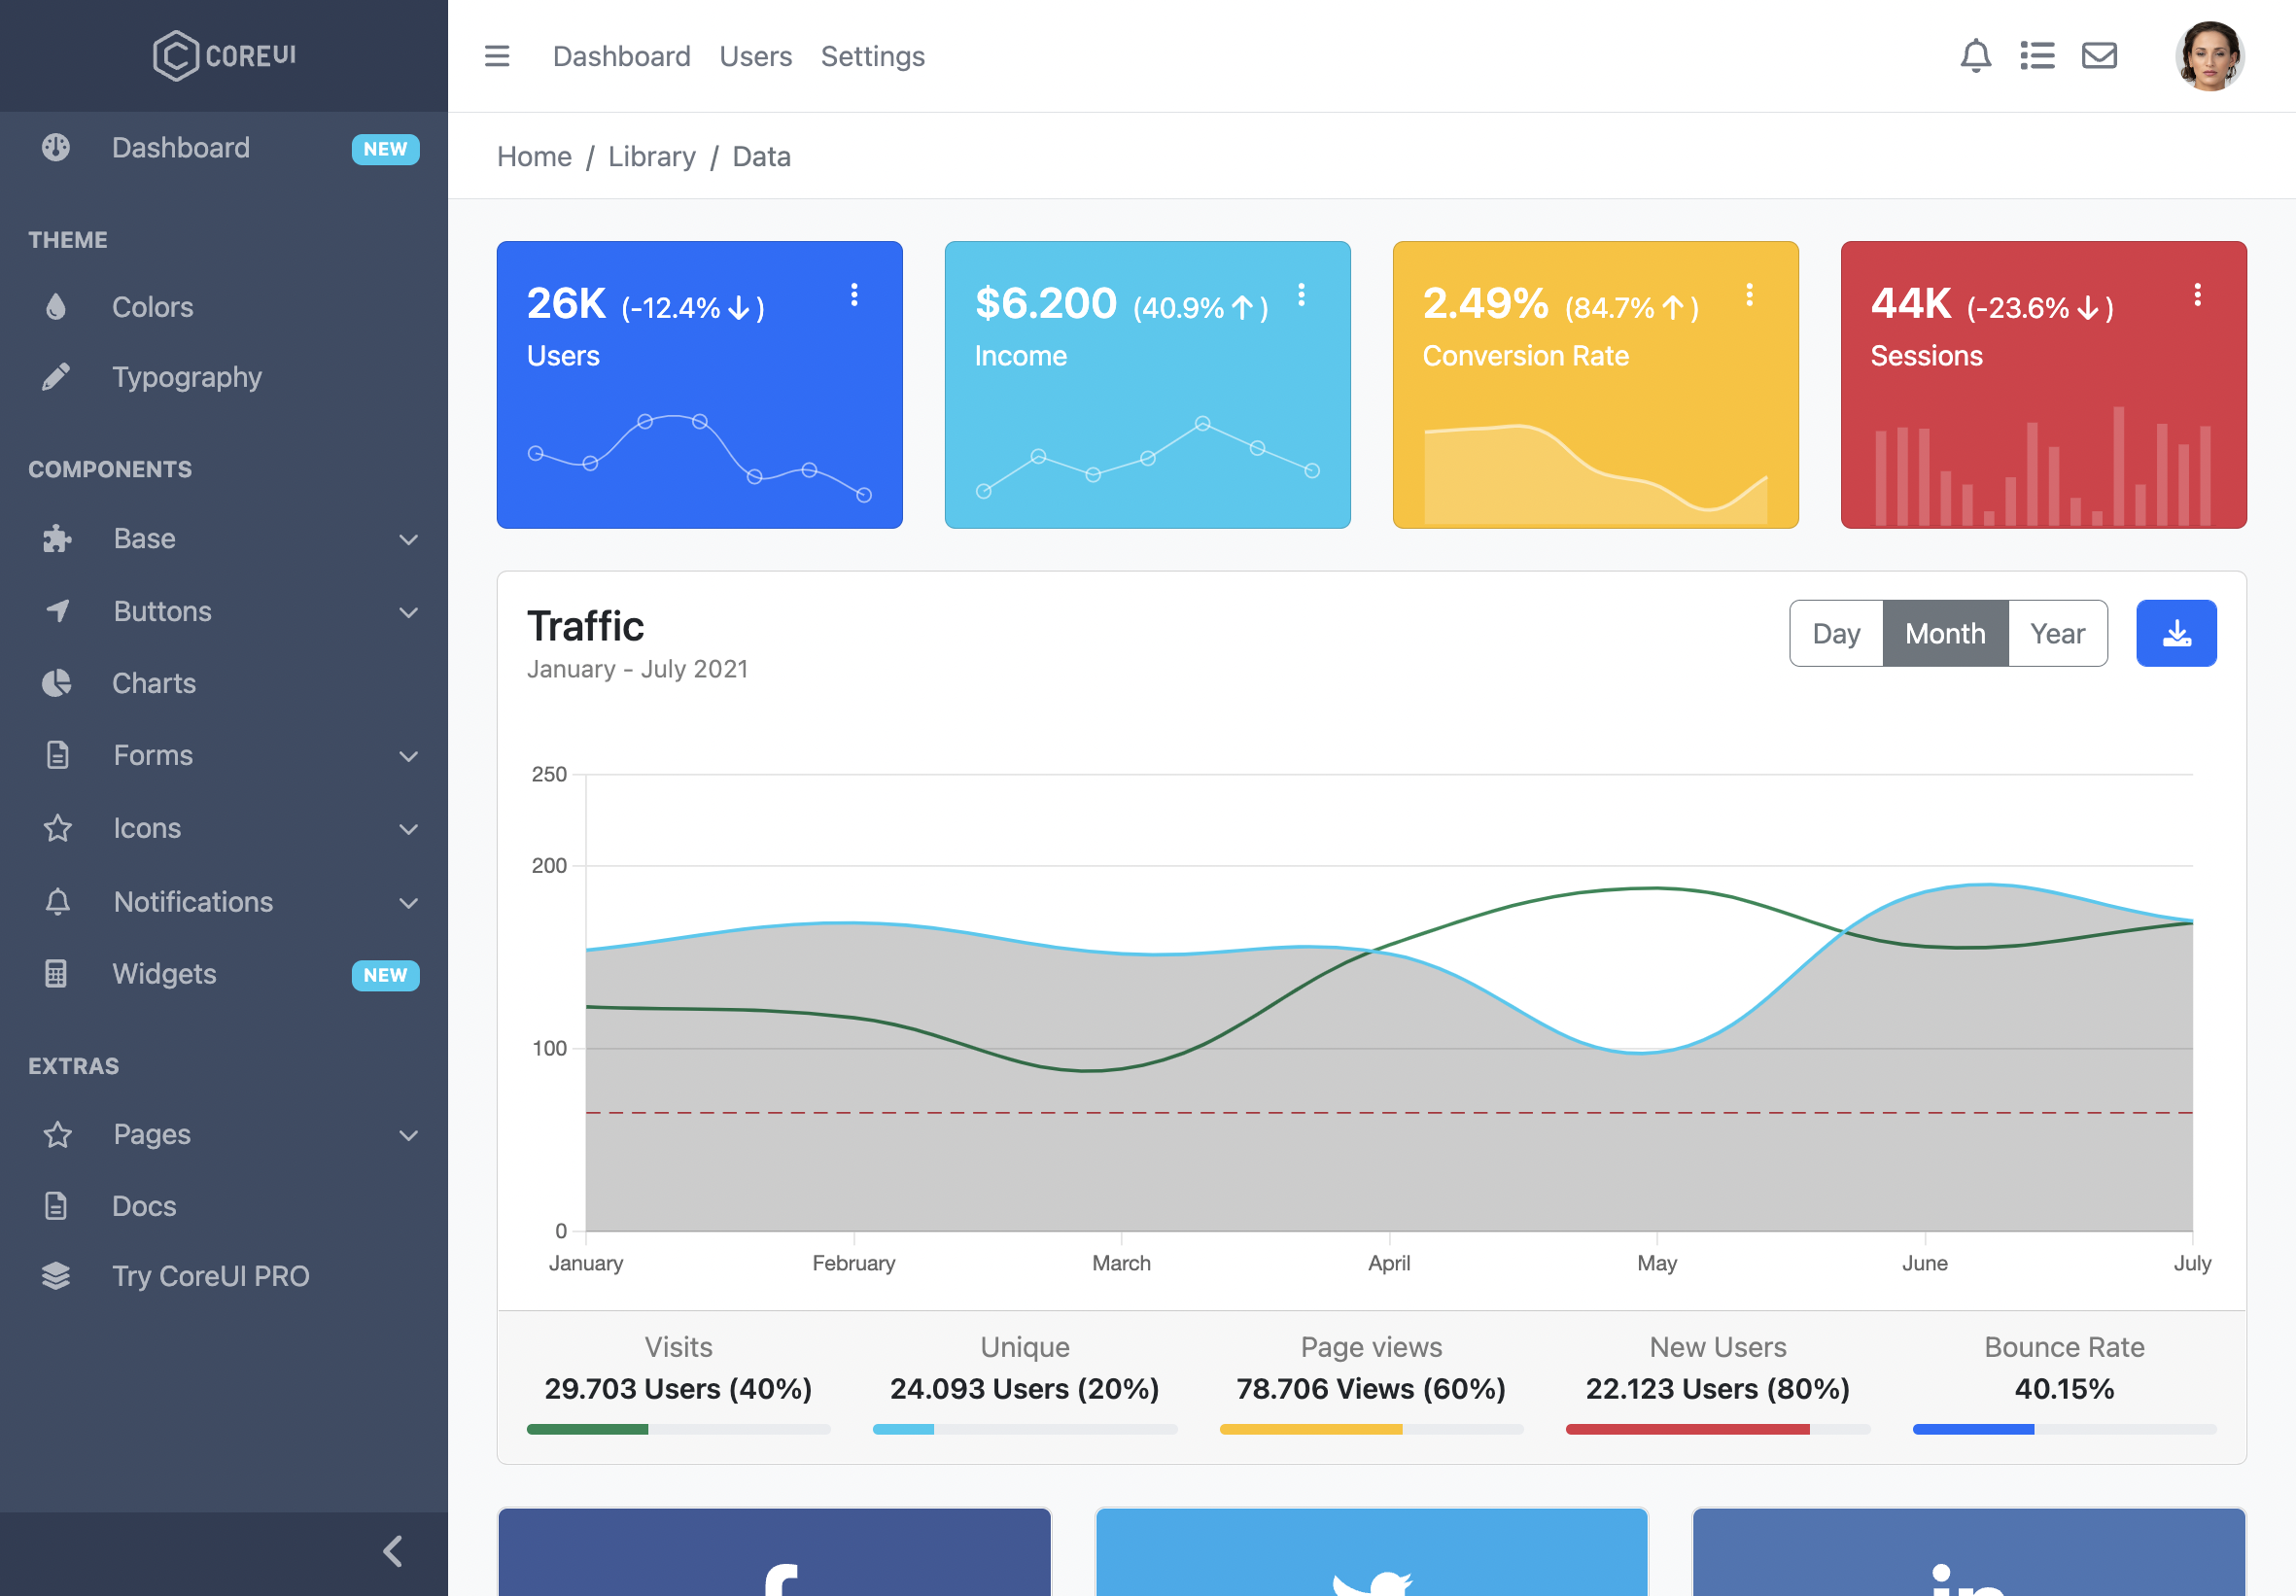
使用 Next.js 与 TypeScript 搭建的后台脚手架
Next.jsReact后台
nextjs-scaffolding-template — Next.js 后台模板
作者 mail4metablocks
基于 Next.js 与 TypeScript 的后台脚手架,采用 CoreUI 与 React Bootstrap 构建仪表盘、登录、注册和示例数据页面。
看看你的网站会是什么样
浏览真实页面截图,比较内容排版与手机效果。点击下方缩略图切换,放大查看整页细节。
目前有 1 张原始预览,可打开完整图片查看设计细节。
截图用于了解视觉与布局,交互效果请以实际项目为准。
采集于 2026-10-02查看来源
值得关注的模板亮点
从已有项目资料中,快速了解它的特点。
基于 CoreUI 与 React Bootstrap 的仪表盘布局
包含登录、注册与示例数据页面
集成 Redux、Redux Toolkit、Axios、Immer 与 SWR
使用 ESLint、typescript-eslint、airbnb 与 prettier 配置
采用 MIT 许可,可免费使用、修改、商用与分发
模板详细介绍
该模板由 create-next-app --typescript 初始化,是一个 Next.js 后台脚手架。界面层使用 React Bootstrap 与开源 Bootstrap 管理后台主题 CoreUI,已实现仪表盘、登录、注册以及一个示例数据页面(Pokemons)。项目使用 TypeScript 编写,并包含 Redux、Redux Toolkit、Axios、Immer、SWR、Font Awesome 与 ESLint 等依赖。
README 中说明了 Next.js 的预渲染、SSR、SSG、CSR 与 ISR 概念,并给出 getServerSideProps、getStaticProps 与 revalidate 的文档链接,但未说明模板本身是否已配置这些数据获取方式。示例页面与登录、注册页面均为静态演示,未提及真实认证、数据源或后端接口。
模板以 MIT 许可发布,可免费使用、修改、商用和分发该版本代码,分发时需保留版权声明与许可声明。演示图片、字体、图标等第三方素材需单独核对许可;域名、托管、数据库等外部服务可能产生费用。
Next.jsReact后台
适合你的项目吗?
适用场景
- 需要快速启动一个 Next.js 后台管理界面原型
- 希望在 React Bootstrap 与 CoreUI 基础上搭建仪表盘
- 需要登录、注册页面作为后台入口的起点
- 需要参考 Next.js 预渲染与数据获取方式的示例项目
适合人群
- 熟悉 Next.js 与 TypeScript 的前端开发者
- 需要后台管理界面基础结构的项目
- 接受 Bootstrap 风格数据界面的团队
- 希望以 MIT 许可使用和修改代码的开发者
上手与定制指南
结合仓库当前版本的说明,按下面的资料检查内容、配置与运行要求。
- 1
使用 pnpm install 安装依赖
- 2
使用 pnpm run dev 启动开发服务器,默认地址为 http://localhost:3000
- 3
页面入口为 pages/index.tsx,API 路由位于 pages/api 目录
- 4
登录、注册与示例页面为静态演示,未包含真实认证或数据接口
授权与来源资料
使用条件与限制
免费使用 · 保留许可声明本次收录的是公开仓库中采用 MIT 许可的免费版本;免费范围为该版本代码,不代表外部服务或第三方素材免费。
使用时需要遵守
- 允许免费使用、修改、商用和分发该版本代码。
- 分发代码副本或实质性部分时,保留原作者版权声明和完整 MIT 许可声明。
- 代码按现状提供;担保与责任限制以原许可证及适用法律为准。
额外费用与待核对事项
- 界面基于 CoreUI 开源 Bootstrap 管理后台主题构建;CoreUI 自身有独立的开源与商业版本,使用其品牌、素材或 Pro 版本时需遵守 CoreUI 的许可条款,与模板的 MIT 代码许可无关。
- 项目使用 Font Awesome 图标库;Font Awesome 免费版与 Pro 版许可不同,若使用 Pro 图标或品牌图标需另行购买或遵守其许可,模板 MIT 许可不覆盖这些图标素材。
- README 中的演示站点托管在 Vercel 上;自行部署时域名、托管、数据库等外部服务可能产生费用,需自行评估。
- 演示图片、字体、图标及其他第三方素材需按各自许可核对,不能仅凭代码的 MIT 许可判断。
- 域名、托管、数据库、支付或 AI 等外部服务可能另外收费。
查看原文依据
Permission is hereby granted, free of charge
许可证原文
A Next.JS boilerplate with the famous Open Source Boostrap Admin Template, [CoreUI](https://coreui.io/).
README 原文
[react-fontawesome](https://fontawesome.com/docs/web/use-with/react/)
README 原文
https://github.com/mail4metablocks/nextjs-scaffolding-template/blob/main/LICENSEhttps://github.com/mail4metablocks/nextjs-scaffolding-template/blob/main/README.mdhttps://nextjs-dashboard-olive.vercel.app
README 原文
DeepSeek 根据仓库许可证和 README 整理 ·2026-10-02。结果仅覆盖已读取资料,依赖、图片、字体及后续条款变更以各自原文为准。
项目核对记录与介绍依据
模板资料
- 来源平台
- GitHub
- 资料与维护参考分
- 资料一般 · 61 / 100
- 技术栈
- Next.js · React
- 网站类型
- 后台
这个分数如何计算
本站按许可资料(最高30分)、演示链接(12分)、预览图(10分)、Star数(15分)、记录的维护时间(15分)、描述完整度(8分)、功能记录(5分)和分类资料(5分)计算。它不是代码、安全或性能测试,也不是 Google 评分;有链接不代表已实测可用。
这个项目需要核对什么
- 记录的仓库更新时间
- 2022-12-25
- 截图检查日期
- 2026-10-02
目前没有记录演示链接。请依据仓库说明在本地评估;仅凭截图无法确认交互行为。
目录记录的主要技术栈是 Next.js。请通过依赖清单和锁文件核对实际版本与托管要求。这些说明基于收录资料,不代表代码审计或部署实测。
查看具体选型方法 →介绍的制作与核对状态
介绍由 AI 辅助整理目录与仓库资料。仓库作者不等于这篇介绍的审核者。
已完成服务器许可规则与 AI 来源核对;未经过人工编辑审核。
查看当时使用的来源资料
SHA-256: 46845a9673b60c1382455e95d46b7353688753e04232262cc3ce21baa5f8dbb9
2026-10-02T17:03:03.342Z
来源文件 / 仓库# nextjs-scaffolding-template This is a [Next.js](https://nextjs.org/) project bootstrapped with [`create-next-app --typescript`](https://github.com/vercel/next.js/tree/canary/packages/create-next-app). ## Next.JS Dashboard A Next.JS boilerplate with the famous Open Source Boostrap Admin Template, [CoreUI](https://coreui.io/). This dashboard is built with `Typescript` and implement some layouts, with [React Bootstrap](https://react-bootstrap.github.io/). ## Screenshot ### Dashboard https://nextjs-dashboard-olive.vercel.app [<img alt="Dashboard" width="400" src="https://user-images.githubusercontent.com/7660346/180629352-f92216e3-7cf4-4fba-92fa-089dd96b4478.png" />](https://nextjs-dashboard-olive.vercel.app) | Mobile (collapsed) | Mobile (expand) | |----------------------------------------------------------------------------------------------------------------------------------------------------------------------------------------------|----------------------------------------------------------------------------------------------------------------------------------------------------------------------------------------------| | [<img alt="Dashboard" height="278" src="https://user-images.githubusercontent.com/7660346/190973509-f681c230-54ba-4ee5-bd8c-7929ef24b6aa.png" />](https://nextjs-dashboard-olive.vercel.app) | [<img alt="Dashboard" height="278" src="https://user-images.githubusercontent.com/7660346/190973862-29c311ab-8867-4399-ad4d-01f2d073d7a2.png" />](https://nextjs-dashboard-olive.vercel.app) | ### Sample page https://nextjs-dashboard-olive.vercel.app/pokemons [<img alt="Sample page" width="400" src="https://user-images.githubusercontent.com/7660346/183112188-75ffbd15-e7ef-455f-994b-945df16e5846.png">](https://nextjs-dashboard-olive.vercel.app/pokemons) ### Login https://nextjs-dashboard-olive.vercel.app/login [<img alt="Login" width="400" src="https://user-images.githubusercontent.com/7660346/180629556-539b6157-b34f-4ecc-aed9-b34f94d5d2ef.png" />](https://nextjs-dashboard-olive.vercel.app/login) ### Register https://nextjs-dashboard-olive.vercel.app/register [<img alt="Register" width="400" src="https://user-images.githubusercontent.com/7660346/180629498-1b23eb9a-cfd4-4909-8c02-58eaf6b06ff5.png" />](https://nextjs-dashboard-olive.vercel.app/register) ## Getting Started First, setup the application: ```bash pnpm install ``` Then, run the development server: ```bash pnpm run dev ``` Open [http://localhost:3000](http://localhost:3000) with your browser to see the result. You can start editing the page by modifying `pages/index.tsx`. The page auto-updates as you edit the file. [API routes](https://nextjs.org/docs/api-routes/introduction) can be accessed on [http://localhost:3000/api/hello](http://localhost:3000/api/hello). This endpoint can be edited in `pages/api/hello.ts`. The `pages/api` directory is mapped to `/api/*`. Files in this directory are treated as [API routes](https://nextjs.org/docs/api-routes/introduction) instead of React pages. ## Learn More To learn more about Next.js, take a look at the following resources: - [Next.js Documentation](https://nextjs.org/docs) - learn about Next.js features and API. - [Learn Next.js](https://nextjs.org/learn) - an interactive Next.js tutorial. You can check out [the Next.js GitHub repository](https://github.com/vercel/next.js/) - your feedback and contributions are welcome! ## Next.JS Rendering ### Pre-rendering By default, Next.js pre-renders every page. This means that Next.js generates HTML for each page in advance, instead of having it all done by client-side JavaScript. Pre-rendering can result in better performance and SEO. ### SSR: Server-side rendering Next.js will pre-render this page on **each request** using the data returned by `getServerSideProps`. https://nextjs.org/docs/basic-features/data-fetching/get-server-side-props ### SSG: Static-site generation Next.js will pre-render this page at **build time** using the props returned by `getStaticProps`. * In development (next dev), getStaticProps will be called on every request. https://nextjs.org/docs/basic-features/data-fetching/get-static-props ### CSR: Client-side rendering If done at the page level, the data is fetched at runtime, and the content of the page is updated as the data changes. When used at the component level, the data is fetched at the time of the component mount, and the content of the component is updated as the data changes. It is **highly recommended** to use [SWR](https://swr.vercel.app/) if you are fetching data on the client-side. It handles caching, revalidation, focus tracking, refetching on intervals, and more. https://nextjs.org/docs/basic-features/data-fetching/client-side ### ISR: Incremental Static Regeneration Next.js allows you to create or update static pages **after you’ve built** your site. To use ISR, add the `revalidate` prop to `getStaticProps`. https://nextjs.org/docs/basic-features/data-fetching/incremental-static-regeneration ## Installed Packages 1. [Redux](https://redux.js.org/tutorials/fundamentals/part-1-overview) 1. [React redux](https://react-redux.js.org/introduction/getting-started) 2. [Redux toolkit](https://redux-toolkit.js.org/tutorials/quick-start) 2. [Axios](https://github.com/axios/axios) 3. [React-bootstrap](https://react-bootstrap.github.io/) 4. [Immer](https://github.com/immerjs/immer) 5. [react-fontawesome](https://fontawesome.com/docs/web/use-with/react/) 1. https://fontawesome.com/docs/web/use-with/react/use-with#next-js 2. https://fontawesome.com/docs/web/use-with/react/add-icons#dynamic-icon-importing 6. [SWR](https://swr.vercel.app/) 7. [Eslint](https://eslint.org/) 1. https://github.com/typescript-eslint/typescript-eslint 2. https://github.com/jsx-eslint/eslint-plugin-react 3. https://reactjs.org/docs/hooks-rules.html#eslint-plugin 4. https://www.npmjs.com/package/eslint-config-airbnb 5. https://www.npmjs.com/package/eslint-config-airbnb-typescript 6. https://github.com/prettier/eslint-config-prettier 8. https://react-typescript-cheatsheet.netlify.app/docs/basic/getting-started/function_components/
看看同类模板
对比同技术栈与用途的模板,找到更适合的视觉与内容结构。
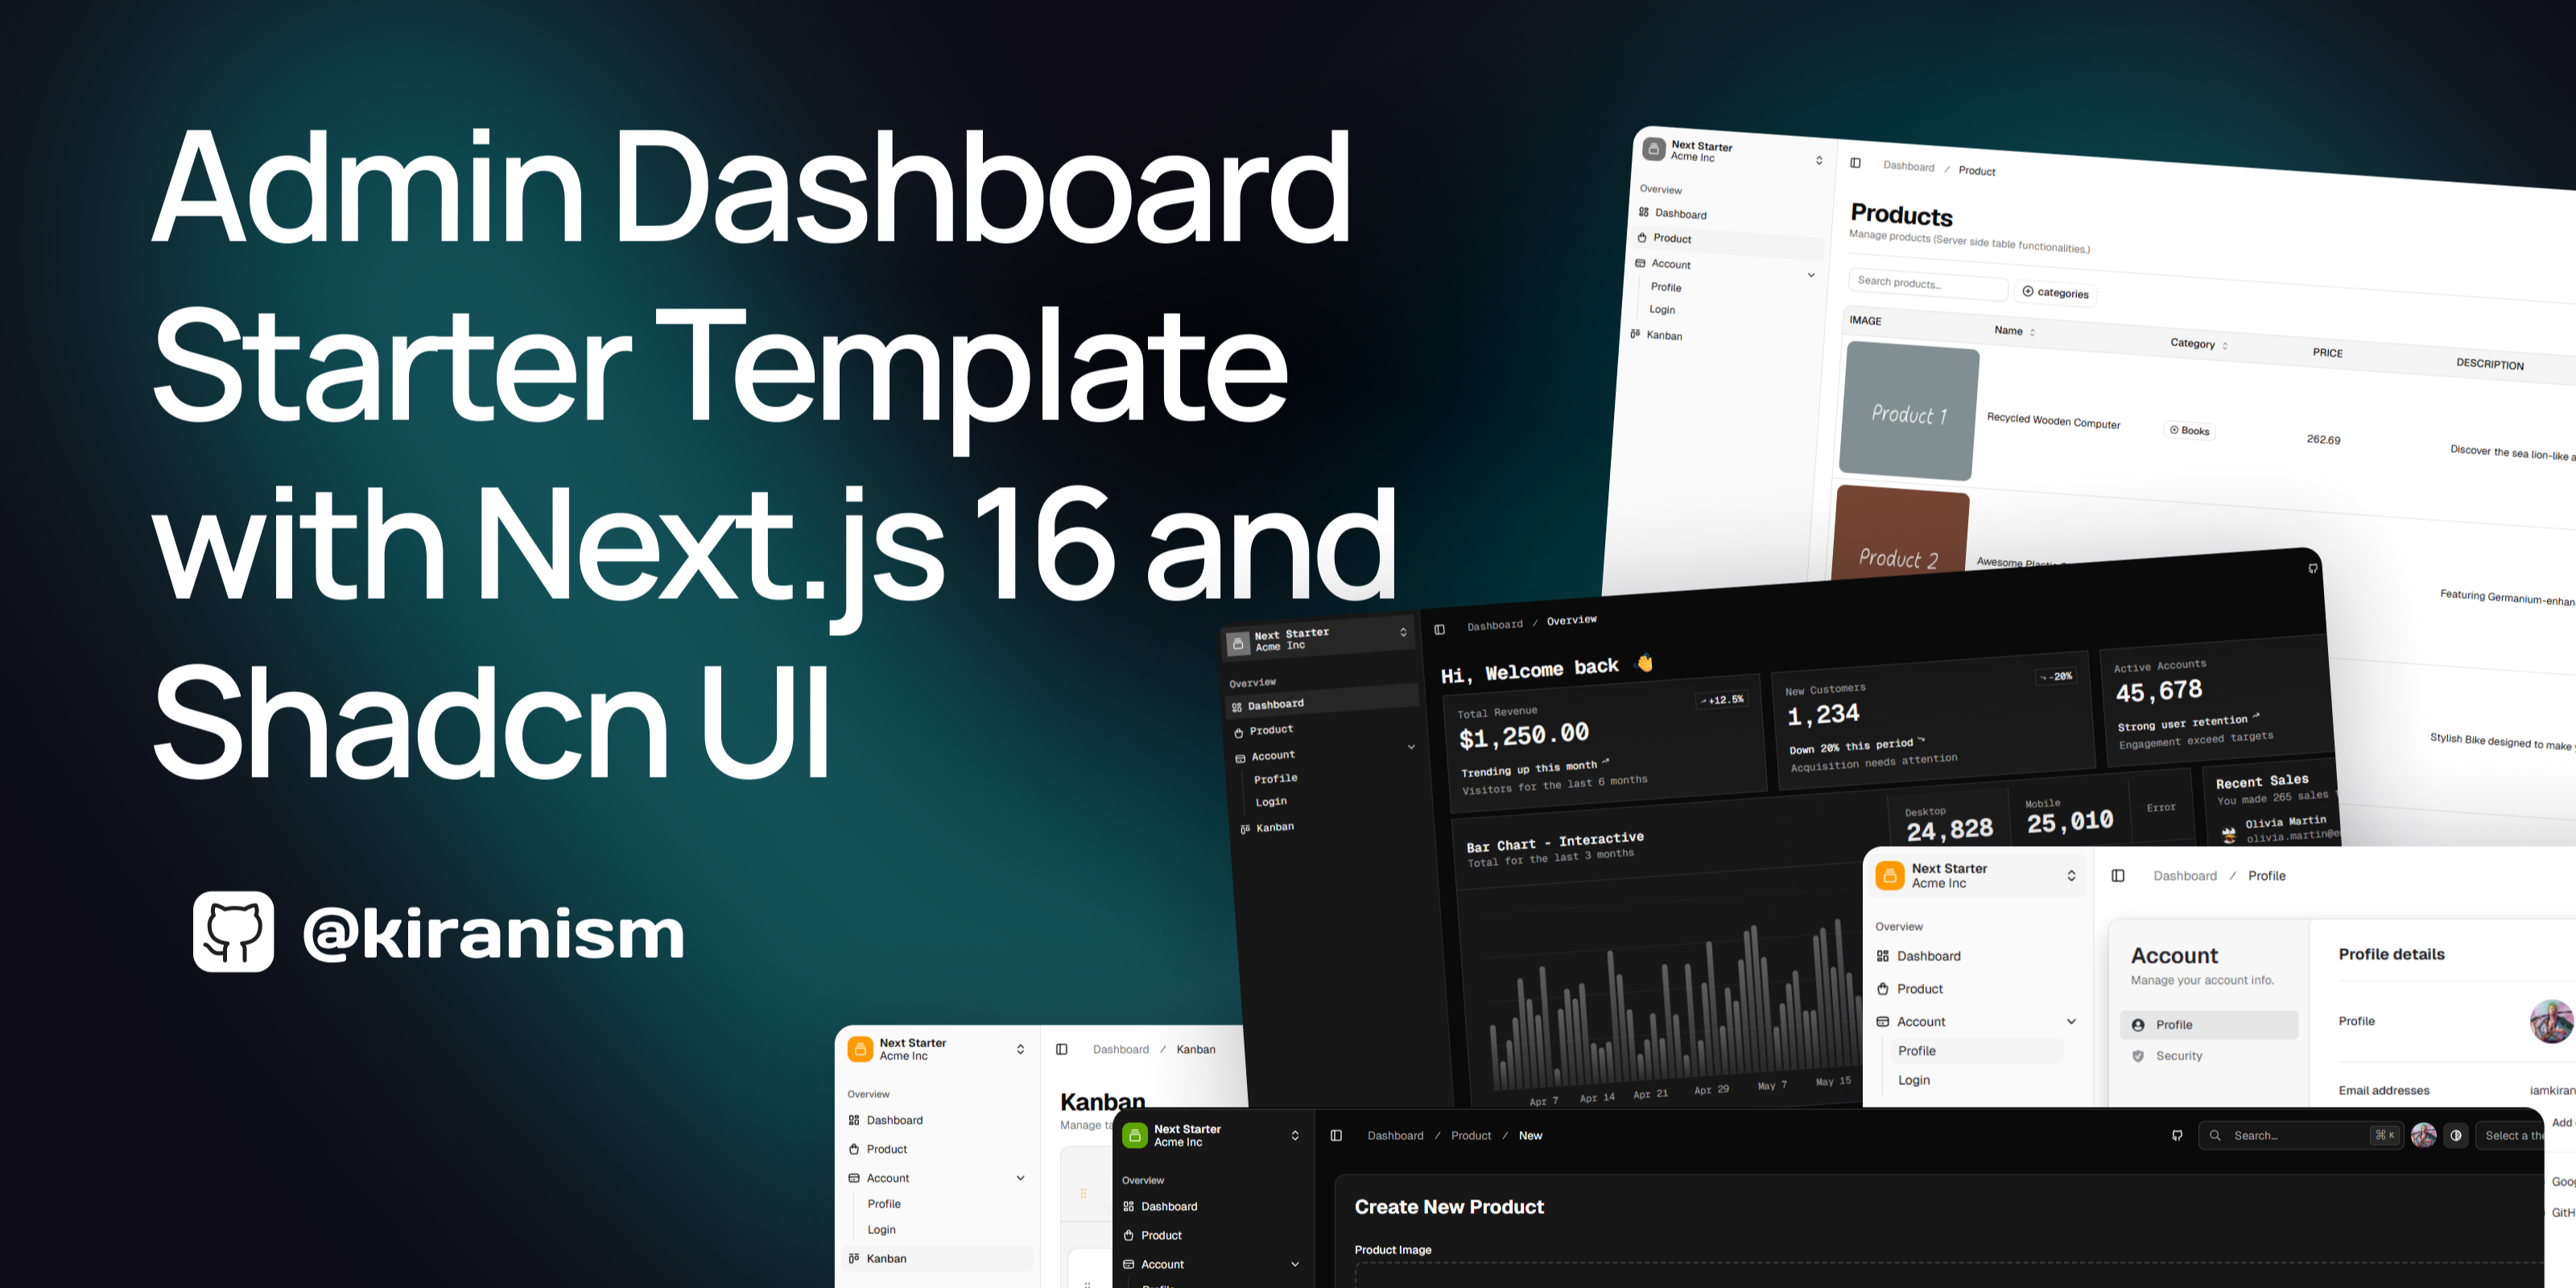
next-shadcn-dashboard-starter
Free, open source, AI-friendly admin dashboard template built with Next.js 16, shadcn/ui, Tailwind CSS, and Ty…
Next.js · 后台
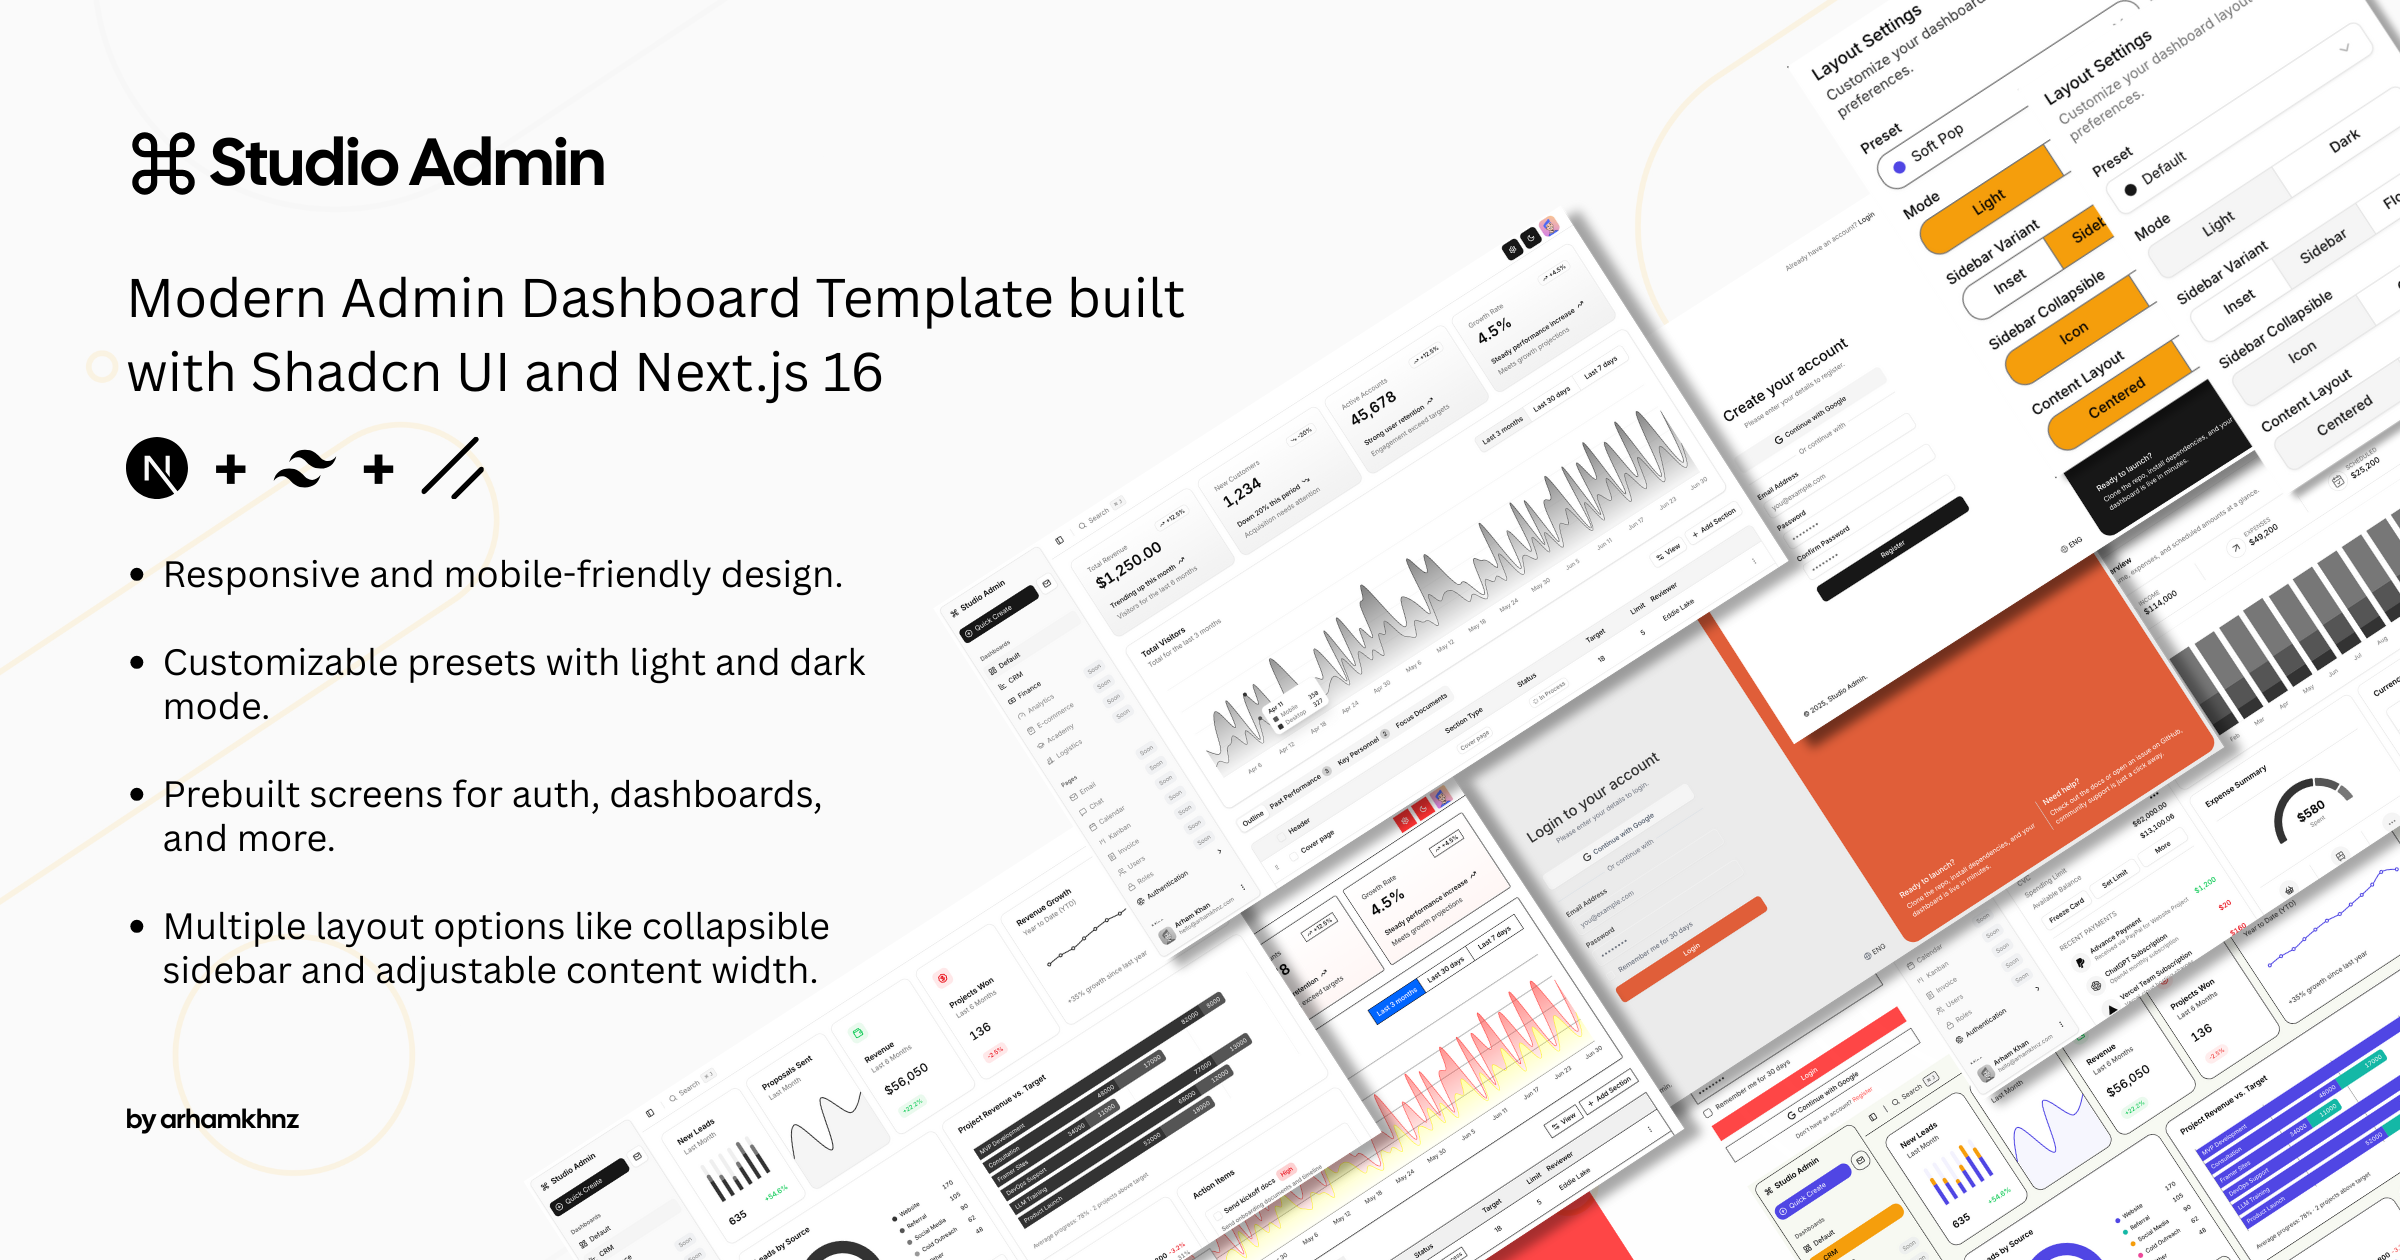
Studio Admin · Radix UI
Modern Admin Dashboard Template built with Shadcn UI and Next.js 16
Next.js · 后台
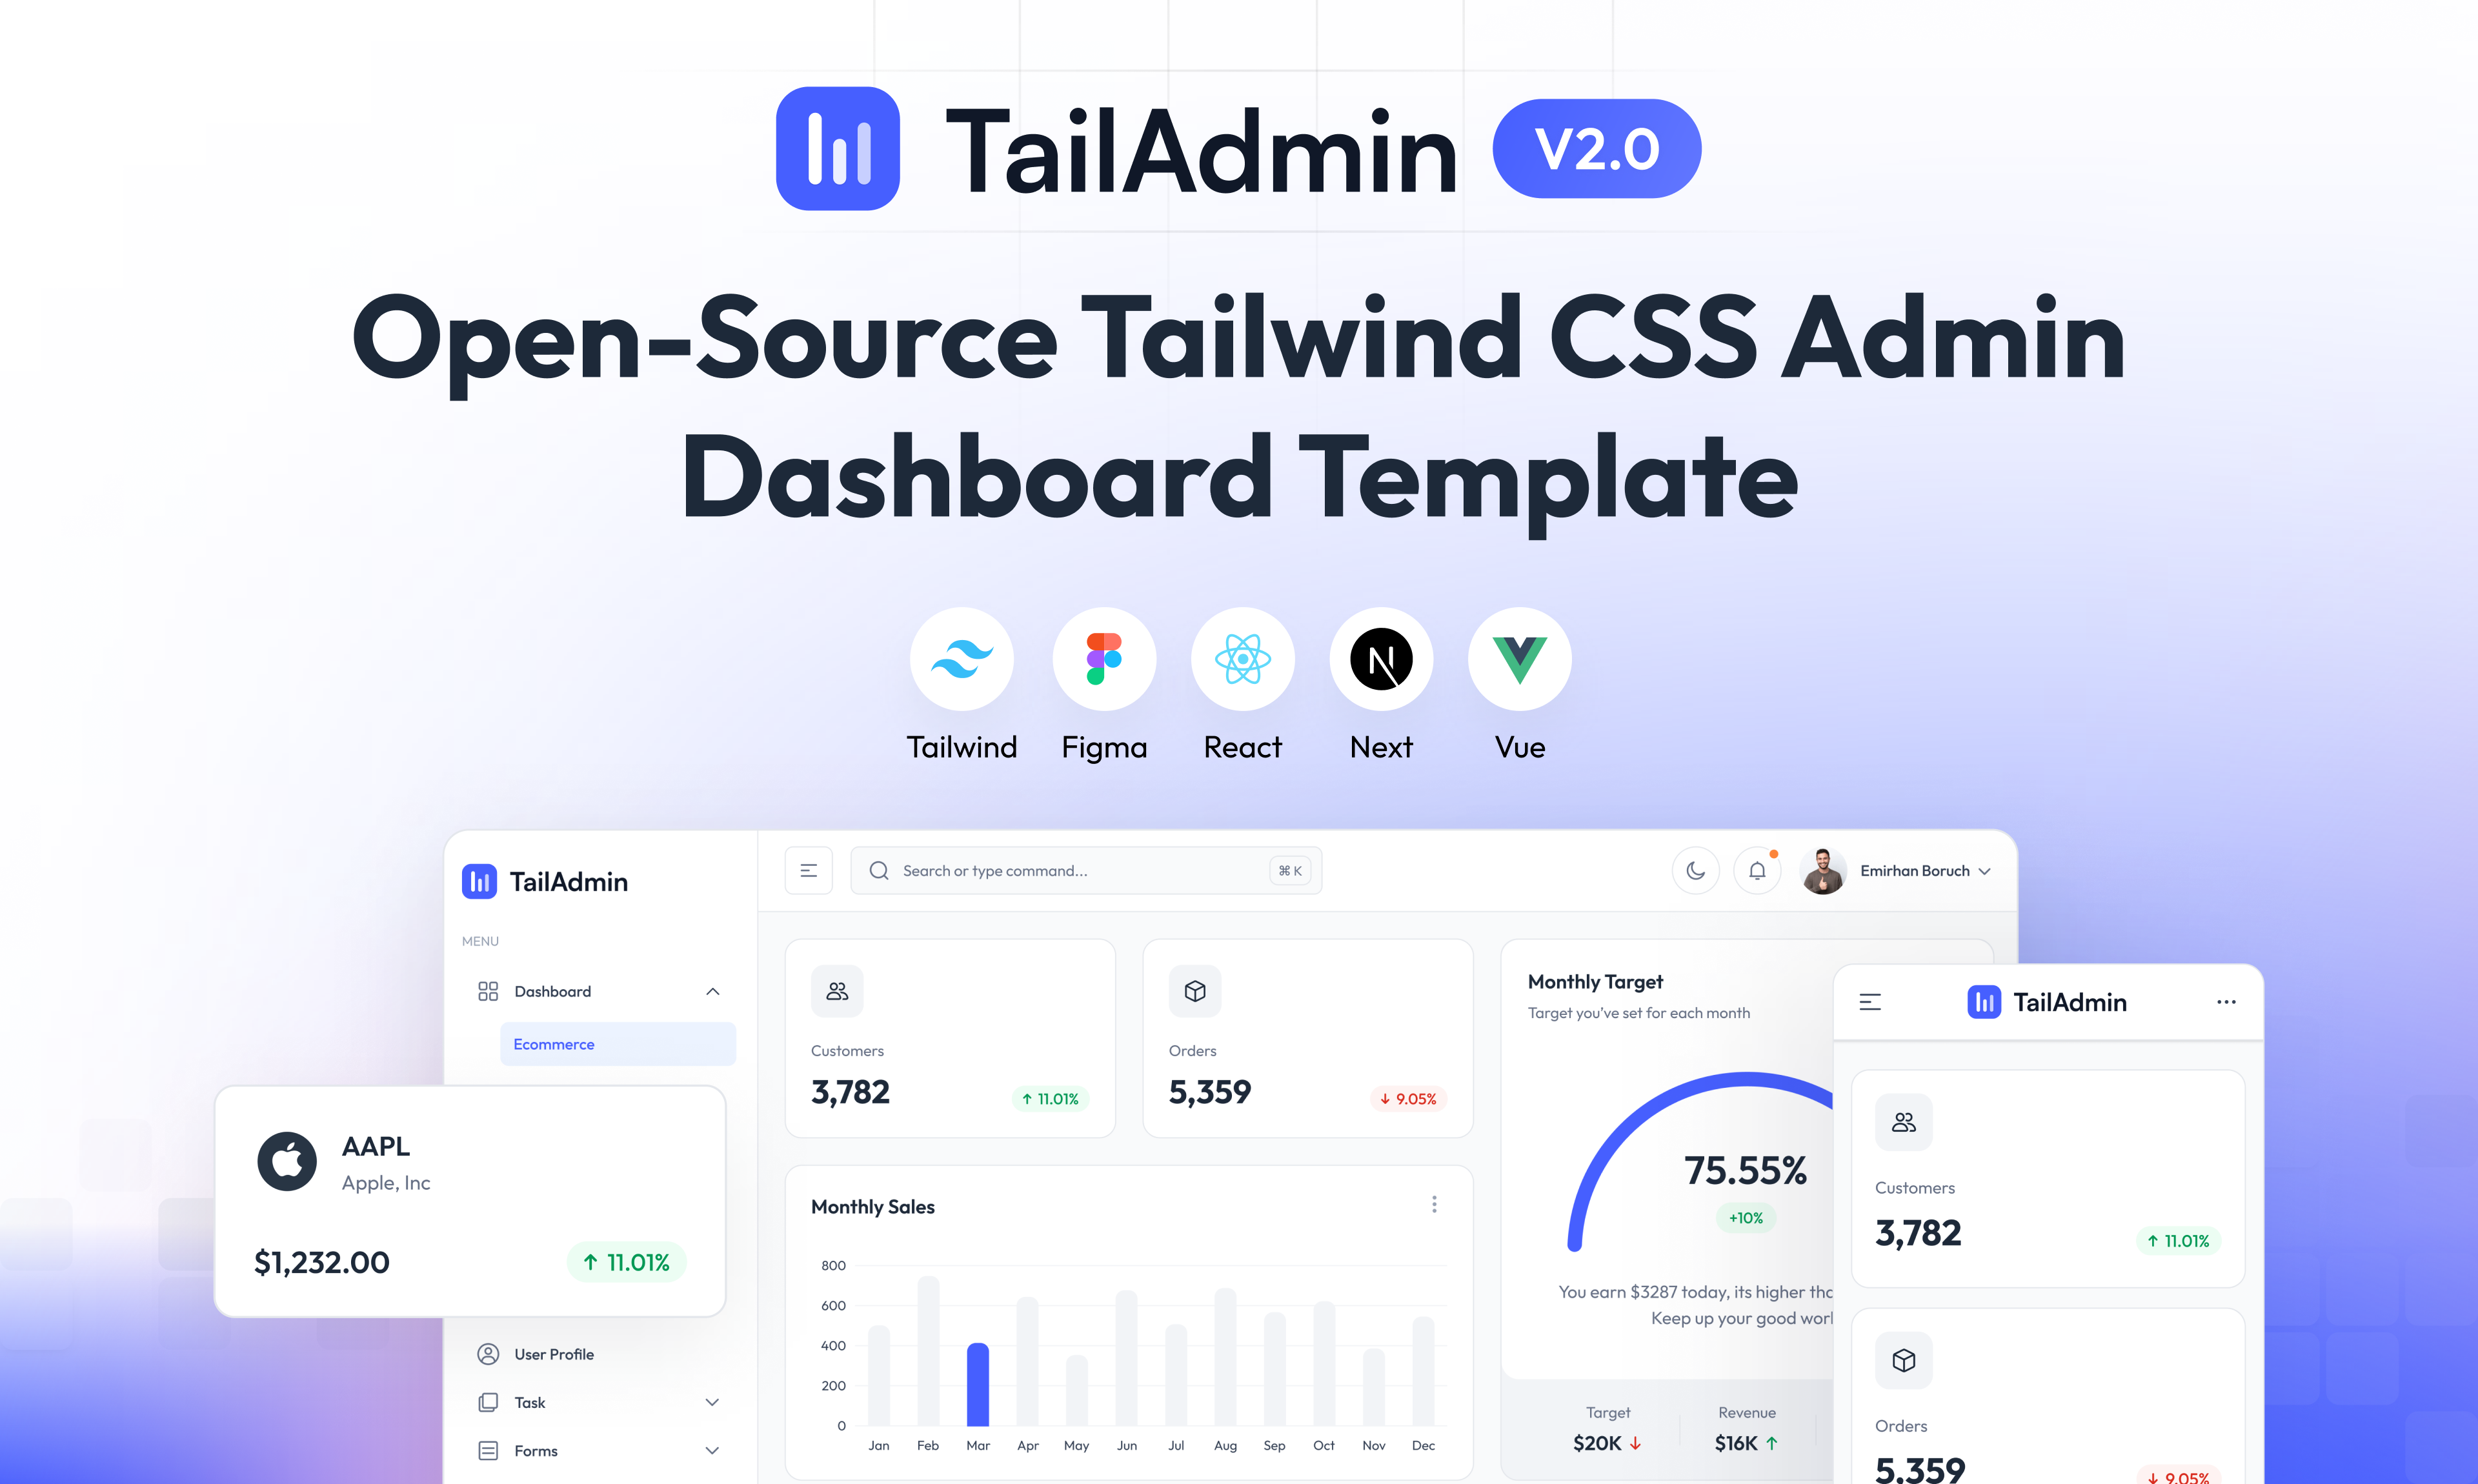
free-nextjs-admin-dashboard
TailAdmin is a Next.js and Tailwind CSS free, open-source admin dashboard template. Provides developers with t…
Next.js · 后台
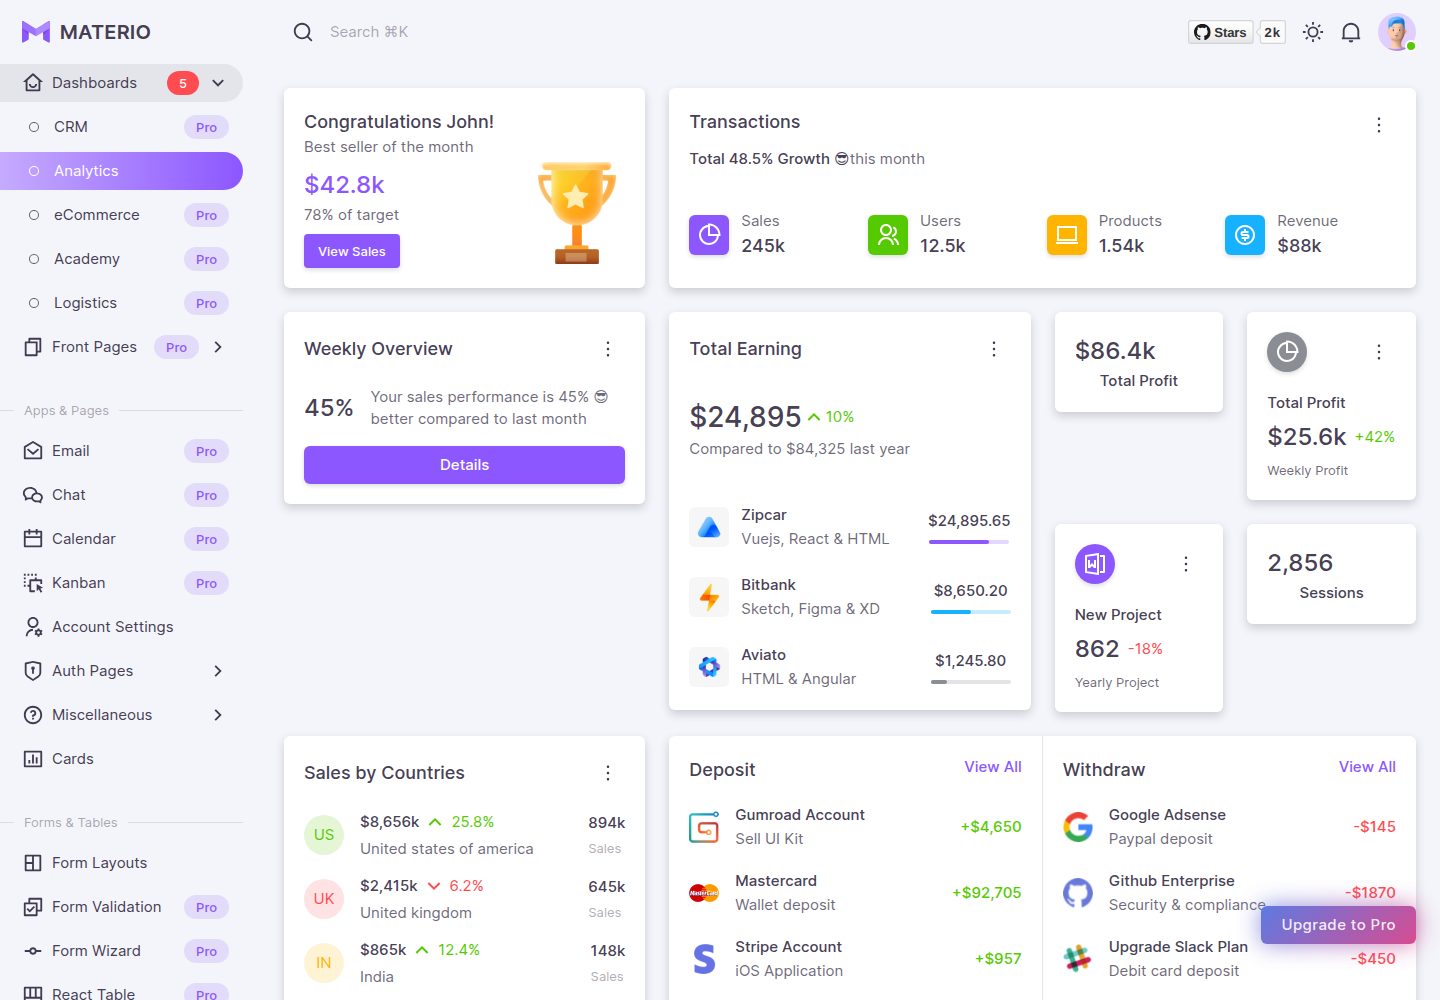
materio-mui-nextjs-admin-template-free
An enterprise-grade Next.js admin dashboard template. Made with developer experience first: Next.js v14 (App R…
Next.js · 后台
nextjs-postgres-nextauth-tailwindcss-template
Admin dashboard template.
Next.js · 后台
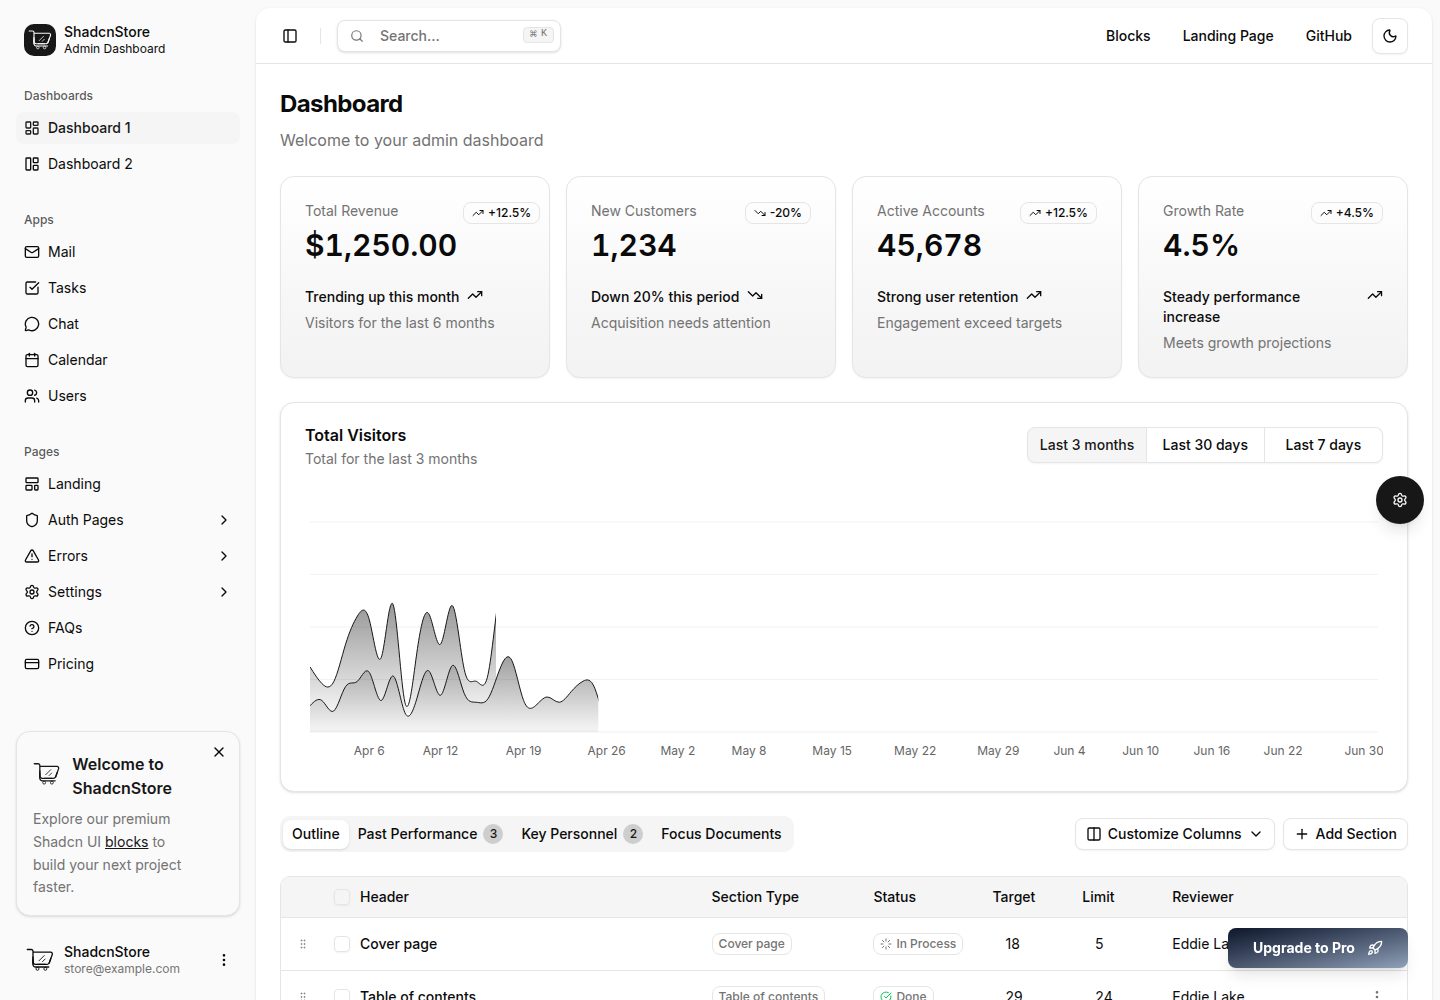
shadcn-dashboard-landing-template
Accelerate your development with a sleek, open-source admin dashboard and landing page built on Vite-React, Ne…
Next.js · 后台