基于 Astro 与 TailwindCSS 构建,样式层使用 DaisyUI 组件与主题
Astro作品集博客工具站
astrofy — Astro 作品集模板
作者 manuelernestog
Astrofy 是一个基于 Astro 与 TailwindCSS 的免费开源个人作品集网站模板,内置博客、CV、项目展示、商店与 RSS 订阅等页面。
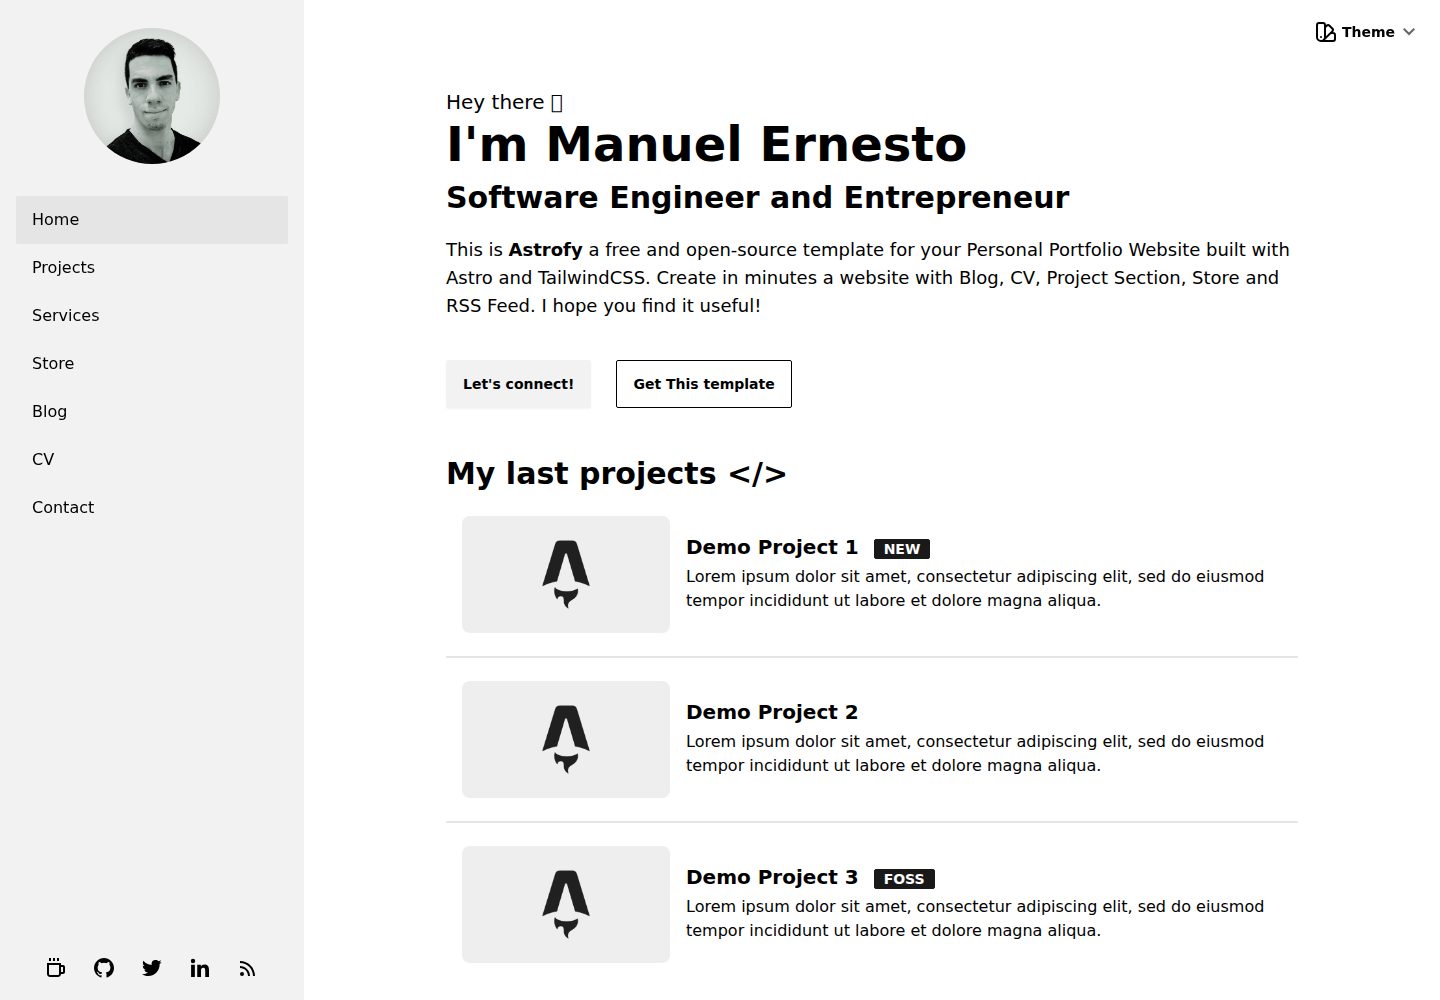
看看你的网站会是什么样
浏览真实页面截图,比较内容排版与手机效果。点击下方缩略图切换,放大查看整页细节。
全部页面与视图 3
截图用于了解视觉与布局,交互效果请以实际项目为准。
采集于 2026-09-30查看来源
值得关注的模板亮点
从已有项目资料中,快速了解它的特点。
内置博客、CV 时间线、项目展示、商店与 RSS 订阅等页面模块
博客与商店条目通过 Markdown 文件与 Astro 内容集合管理,schema 在 config.ts 中定义
全局站点标题、描述、slug 生成方式与过渡动画可在 src/config.ts 统一配置
主题通过 html 标签的 data-theme 属性切换,可使用 DaisyUI 内置主题或自定义主题
构建时自动生成站点地图,并提供 robots.txt 供手动更新站点 URL
模板详细介绍
Astrofy 是一个面向个人作品集场景的静态网站模板,使用 Astro 构建,样式层采用 TailwindCSS 与 DaisyUI。模板自带博客、CV 时间线、项目卡片、商店条目和 RSS 订阅等模块,内容以 Markdown 文件配合 Astro 内容集合管理,站点标题、描述、slug 生成方式与过渡动画等全局项集中在 src/config.ts 中配置。
使用上,博客文章放在 src/content/blog/,商店条目放在 src/content/store/,两者都在 config.ts 中定义内容集合与 schema;侧边栏的导航链接、头像、社交图标分别由 SideBarMenu、SideBar 与 SideBarFooter 组件维护,新增页面需在 BaseLayout 中设置 sideBarActiveItemID 以同步高亮状态。主题通过 BaseLayout.astro 中 html 标签的 data-theme 属性切换,可选 DaisyUI 提供的主题或自定义主题。
需要注意的限制:README 明确说明博客分页使用文件名中的动态路由参数实现,该格式目前与 SSR 部署配置不兼容,应使用默认的静态部署方式;站点地图在构建时自动生成,但需要手动更新 public 目录下的 robots.txt 中的站点 URL。模板代码采用 MIT 许可,可免费使用、修改、商用与分发,但演示图片、字体、图标等第三方素材需单独核对各自许可,域名、托管等外部服务也可能另行收费。
Astro作品集博客工具站
适合你的项目吗?
适用场景
- 搭建包含博客与项目展示的个人作品集网站
- 制作带时间线结构的在线 CV 页面
- 用 Markdown 条目维护并展示商品或作品清单的轻量商店页面
- 为静态站点输出 RSS 订阅源与站点地图
适合人群
- 希望用 Astro 与 TailwindCSS 快速起步个人站点的开发者
- 习惯用 Markdown 与内容集合管理博客和条目内容的用户
- 需要静态部署到 Vercel、Netlify、GitHub Pages 等托管平台的个人站点
- 接受 MIT 许可并会自行核对第三方素材授权与外部服务费用的使用者
上手与定制指南
结合仓库当前版本的说明,按下面的资料检查内容、配置与运行要求。
- 1
使用 pnpm install 安装依赖,pnpm run dev 启动本地开发服务器
- 2
在 src/config.ts 中修改 SITE_TITLE、SITE_DESCRIPTION、GENERATE_SLUG_FROM_TITLE 与 TRANSITION_API 等全局配置
- 3
博客文章放入 src/content/blog/,商店条目放入 src/content/store/,并按 README 给出的 frontmatter 格式填写字段
- 4
博客分页使用文件名中的动态路由参数,与 SSR 部署配置不兼容,请使用默认静态部署方式
- 5
构建后需手动更新 public/robots.txt 中的站点 URL 以匹配自动生成的站点地图
授权与来源资料
使用条件与限制
免费使用 · 保留许可声明本次收录的是公开仓库中采用 MIT 许可的免费版本;免费范围为该版本代码,不代表外部服务或第三方素材免费。
使用时需要遵守
- 允许免费使用、修改、商用和分发该版本代码。
- 分发代码副本或实质性部分时,保留原作者版权声明和完整 MIT 许可声明。
- 代码按现状提供;担保与责任限制以原许可证及适用法律为准。
额外费用与待核对事项
- 博客分页依赖文件名中的动态路由参数,目前与 SSR 部署配置不兼容,部署时须使用默认的静态部署方式,不能启用 SSR。
- 站点地图虽在构建时自动生成,但需手动更新 public 目录下 robots.txt 中的站点 URL,否则站点地图指向的地址不正确。
- 侧边栏社交图标来自第三方 BoxIcons 图标包,其授权与模板的 MIT 代码许可相互独立,使用前需自行核对该图标包的许可条款。
- 演示图片、字体、图标及其他第三方素材需按各自许可核对,不能仅凭代码的 MIT 许可判断。
- 域名、托管、数据库、支付或 AI 等外部服务可能另外收费。
查看原文依据
Permission is hereby granted, free of charge
许可证原文
The Blog pagination of this template is implemented using dynamic route parameters in its filename and for now this format is incompatible with SSR deploy configs, so please use the default static deploy options for your deployments.
README 原文
Please update the `robots.txt` file in the public folder with your site name URL for the Sitemap.
README 原文
https://github.com/manuelernestog/astrofy/blob/main/LICENSEhttps://github.com/manuelernestog/astrofy/blob/main/README.mdThe used social-icons are SVG form [BoxIcons](https://boxicons.com/) pack.
README 原文
DeepSeek 根据仓库许可证和 README 整理 ·2026-10-01。结果仅覆盖已读取资料,依赖、图片、字体及后续条款变更以各自原文为准。
项目核对记录与介绍依据
模板资料
- 来源平台
- GitHub
- 资料与维护参考分
- 资料较完整 · 85 / 100
- 技术栈
- Astro
- 网站类型
- 作品集 · 博客 · 工具站
这个分数如何计算
本站按许可资料(最高30分)、演示链接(12分)、预览图(10分)、Star数(15分)、记录的维护时间(15分)、描述完整度(8分)、功能记录(5分)和分类资料(5分)计算。它不是代码、安全或性能测试,也不是 Google 评分;有链接不代表已实测可用。
这个项目需要核对什么
- 记录的仓库更新时间
- 2024-07-04
- 截图检查日期
- 2026-10-01
已收录演示链接。请用你的内容与屏幕尺寸检查;有演示不代表表单、认证或支付已经可用。
目录记录的主要技术栈是 Astro。请通过依赖清单和锁文件核对实际版本与托管要求。这些说明基于收录资料,不代表代码审计或部署实测。
查看具体选型方法 →介绍的制作与核对状态
介绍由 AI 辅助整理目录与仓库资料。仓库作者不等于这篇介绍的审核者。
已完成服务器许可规则与 AI 来源核对;未经过人工编辑审核。
查看当时使用的来源资料
SHA-256: d70cf1bc64506f5e07601b44484632a41cb464a3f6fb56b7842a938bc6d3e7fb
2026-10-01T14:51:52.490Z
来源文件 / 仓库# Astrofy | Personal Portfolio Website Template

Astrofy is a free and open-source template for your Personal Portfolio Website built with Astro and TailwindCSS. Create in minutes a website with a Blog, CV, Project Section, Store, and RSS Feed.
## Demo
View a live demo of [Astrofy](https://astrofy-template.netlify.app/)
## Installation
Run the following command in your terminal
```bash
pnpm install
```
Once the packages are installed you are ready to run astro. Astro comes with a built-in development server that has everything you need for project development. The astro dev command will start the local development server so that you can see your new website in action for the very first time.
```bash
pnpm run dev
```
## Tech Stack
- [Astro](https://astro.build)
- [tailwindcss](https://tailwindcss.com/)
- [DaisyUI](https://daisyui.com/)
## Project Structure
```php
├── src/
│ ├── components/
│ │ ├── cv/
│ │ │ ├── TimeLine
│ │ ├── BaseHead.astro
│ │ ├── Card.astro
│ │ ├── Footer.astro
│ │ ├── Header.astro
│ │ └── HorizontalCard.astro
│ │ └── SideBar.astro
│ │ └── SideBarMenu.astro
│ │ └── SideBarFooter.astro
│ ├── content/
│ │ ├── blog/
│ │ │ ├── post1.md
│ │ │ ├── post2.md
│ │ │ └── post3.md
│ │ ├── store/
│ │ │ ├── item1.md
│ │ │ ├── item2.md
│ ├── layouts/
│ │ └── BaseLayout.astro
│ │ └── PostLayout.astro
│ └── pages/
│ │ ├── blog/
│ │ │ ├── [...page].astro
│ │ │ ├── [slug].astro
│ │ └── cv.astro
│ │ └── index.astro
│ │ └── projects.astro
│ │ └── rss.xml.js
│ ├── styles/
│ │ └── global.css
│ └── config.ts
├── public/
│ ├── favicon.svg
│ └── profile.webp
│ └── social_img.webp
├── astro.config.mjs
├── tailwind.config.cjs
├── package.json
└── tsconfig.json
```
### Site config
You can change global site configuration on '/src/config.ts' file:
- **SITE_TITLE**: Default pages title.
- **SITE_DESCRIPTION**: Default pages title.
- **GENERATE_SLUG_FROM_TITLE**: By default Astrofy will generate the blog slug pages base on the article name. Set this var to false if you want to use the Astro file base (Compatible with Astrofy older versions).
- **TRANSITION_API**: Enable and disable transition API
### Components usage
#### Layout Components
The `BaseHead`, `Footer`, `Header`, and `SideBar` components are already included in the layout system. To change the website content you can edit the content of these components.
##### SideBar
In the Sidebar you can change your profilePicture, links to all your website pages, and your social icons.
You can change your avatar shape using [mask classes](https://daisyui.com/components/mask/).
The used social-icons are SVG form [BoxIcons](https://boxicons.com/) pack. You can replace the icons in the `SideBarFooter` component
To add a new page in the sidebar go to the `SideBarMenu` component.
```
<li><a class="py-3 text-base" id="home" href="/">Home</a></li>
```
**Note**: In order to change the sidebar menu's active item, you need to setup the prop `sideBarActiveItemID` in the `BaseLayout` component of your new page and add that id to the link in the `SideBarMenu`
#### TimeLine
The timeline components are used to confirm the CV.
```html
<div class="time-line-container">
<TimeLineElement title="Element Title" subtitle="Subtitle">
Content that can contain
<div>divs</div>
and <span>anything else you want</span>.
</TimeLineElement>
...
</div>
```
#### Card & HorizontalCard
The cards are primarly used for the Project and the Blog components. They include a picture, a title, and a description.
```html
<HorizontalCard title="Card Title" img="imge_url" desc="Description" url="Link
URL" target="Optional link target (_blank default)" badge="Optional badge"
tags={['Array','of','tags']} />
```
#### HorizontalCard Shop Item
This component is already included in the Store layout of the template. In case you want to use it in another place these are the props.
```html
<HorizontalShopItem
title="Item Title"
img="imge_url"
desc="Item description"
pricing="current_price"
oldPricing="old_price"
checkoutUrl="external store checkout url"
badge="Optional badge"
url="item details url"
custom_link="Custom link url"
custom_link_label="Cutom link btn label"
target="Optional link target (_self default)"
/>
```
#### Adding a Custom Component
To add a custom component, you can create a .astro file in the components folder under the source folder.
Components must follow this template. The ```---``` represents the code fence and uses Javascript and can be used for imports.
The HTML component is the actual style of your new component.
```html
---
// Component Script (JavaScript)
---
<!-- Component Template (HTML + JS Expressions) -->
```
For more details, see the [astro components](https://docs.astro.build/en/core-concepts/astro-components/) documentation here.
### Layouts
Include `BaseLayout` in each page you add and `PostLayout` to your post pages.
The BaseLayout defines a general template for each new webpage you want to add. It imports constants SITE_TITLE and SITE_DESCRIPTION which can be modified in the ```../config``` folder. Data placed there can be imported anywhere using import.
### Content
You can add a [content collection](https://docs.astro.build/en/guides/content-collections/) in `/content/' folder, you will need add it at config.ts.
#### config.ts
Where you need to define your content collections, we define our content schemas too.
#### Blog
Add your `md` blog post in the `/content/blog/` folder.
##### Post format
Add code with this format in the top of each post file.
```
---
title: "Post Title"
description: "Description"
pubDate: "Post date format(Sep 10 2022)"
heroImage: "Post Hero Image URL"
---
```
### Pages
#### Blog
Blog uses Astro's content collection to query post's `md`.
##### [page].astro
The `[page].astro` is the route to work with the paginated post list. You can change there the number of items listed for each page and the pagination button labels.
##### [slug].astro
The `[slug].astro` is the base route for every blog post, you can customize the page layout or behaviour, by default uses `content/blog` for content collection and `PostLayout` as layout.
#### Shop
Add your `md` item in the `/pages/shop/` folder.
##### [page].astro
The `[page].astro` is the route to work with the paginated item list. You can change there the number of items listed for each page and the pagination button labels. The shop will render all `.md` files you include inside this folder.
##### Item format
Add code with this format at the top of each item file.
```js
---
title: "Demo Item 1"
description: "Item description"
heroImage: "Item img url"
details: true // show or hide details btn
custom_link_label: "Custom btn link label"
custom_link: "Custom btn link"
pubDate: "Sep 15 2022"
pricing: "$15"
oldPricing: "$25.5"
badge: "Featured"
checkoutUrl: "https://checkouturl.com/"
---
```
#### Static pages
The other pages included in the template are static pages. The `index` page belongs to the root page. You can add your pages directly in the `/pages` folder and then add a link to those pages in the `sidebar` component.
Feel free to modify the content included in the pages that the template contains or add the ones you need.
### Theming
To change the template theme change the `data-theme` attribute of the `<html>` tag in `BaseLayout.astro` file.
You can choose among 30 themes available or create your custom theme. See themes available [here](https://daisyui.com/docs/themes/).
## Sitemap
The Sitemap is generated automatically when you build your website in the root of the domain. Please update the `robots.txt` file in the public folder with your site name URL for the Sitemap.
## Deploy
You can deploy your site on your favourite static hosting service such as Vercel, Netlify, GitHub Pages, etc.
The configuration for the deployment varies depending on the platform where you are going to do it. See the [official Astro information](https://docs.astro.build/en/guides/deploy/) to deploy your website.
> **⚠️ CAUTION** </br>
> The Blog pagination of this template is implemented using dynamic route parameters in its filename and for now this format is incompatible with SSR deploy configs, so please use the default static deploy options for your deployments.
## Contributing
Suggestions and pull requests are welcomed! Feel free to open a discussion or an issue for a new feature request or bug.
One of the best ways to contribute is to grab a [bug report or feature suggestion](https://github.com/manuelernestog/astrofy/issues) that has been marked `accepted` and dig in.
Please be wary of working on issues _not_ marked as `accepted`. Just because someone has created an issue doesn't mean we'll accept a pull request for it.
## License
Astrofy is licensed under the MIT license — see the [LICENSE](https://github.com/manuelernestog/astrofy/blob/main/LICENSE) file for details.
## Contributors
<a href="https://github.com/manuelernestog/astrofy/graphs/contributors">
<img src="https://contrib.rocks/image?repo=manuelernestog/astrofy" />
</a>
Made with [contrib.rocks](https://contrib.rocks).
看看同类模板
对比同技术栈与用途的模板,找到更适合的视觉与内容结构。
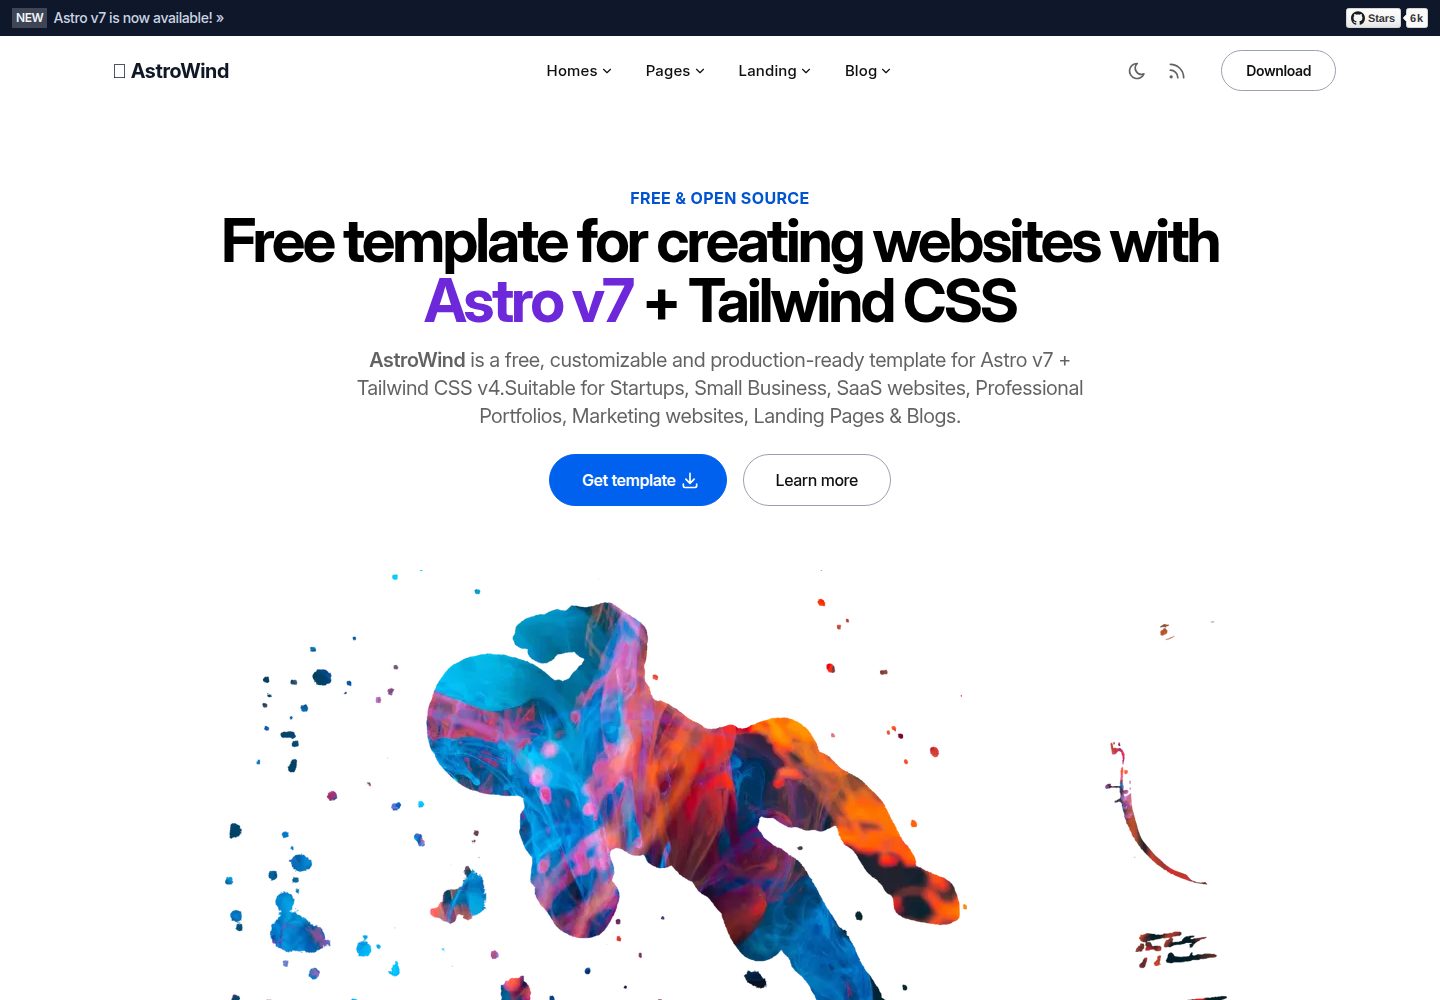
astrowind
⭕️ AstroWind: A free template using Astro v7 and Tailwind CSS v4. Astro starter theme.
Astro · 博客
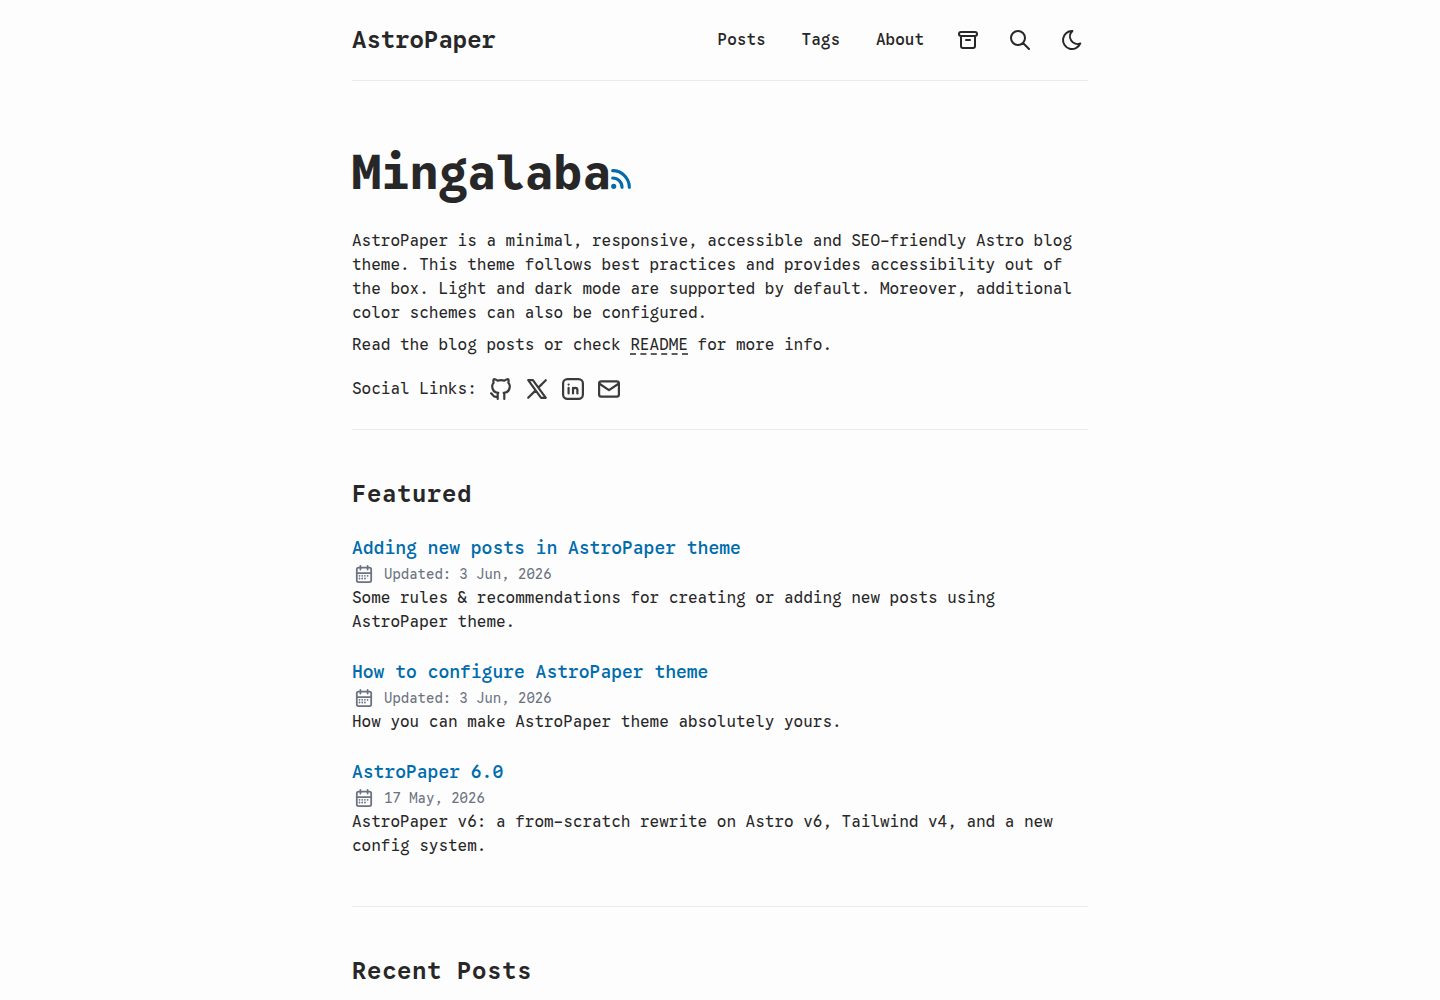
astro-paper
A minimal, accessible and SEO-friendly Astro blog theme.
Astro · 博客
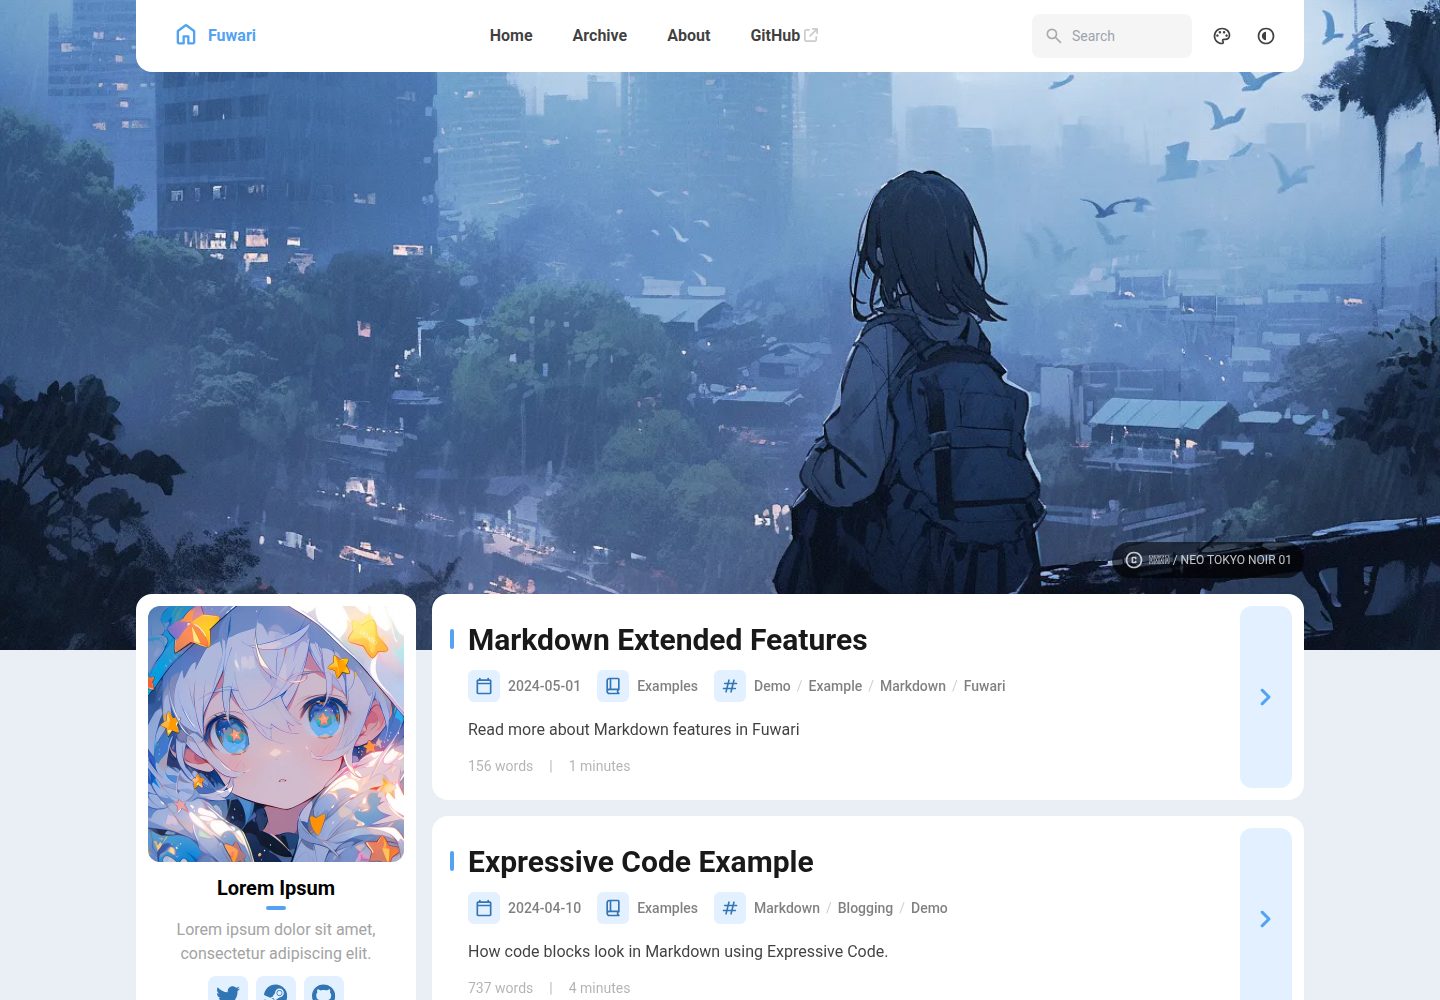
fuwari
✨A static blog template built with Astro.
Astro · 博客
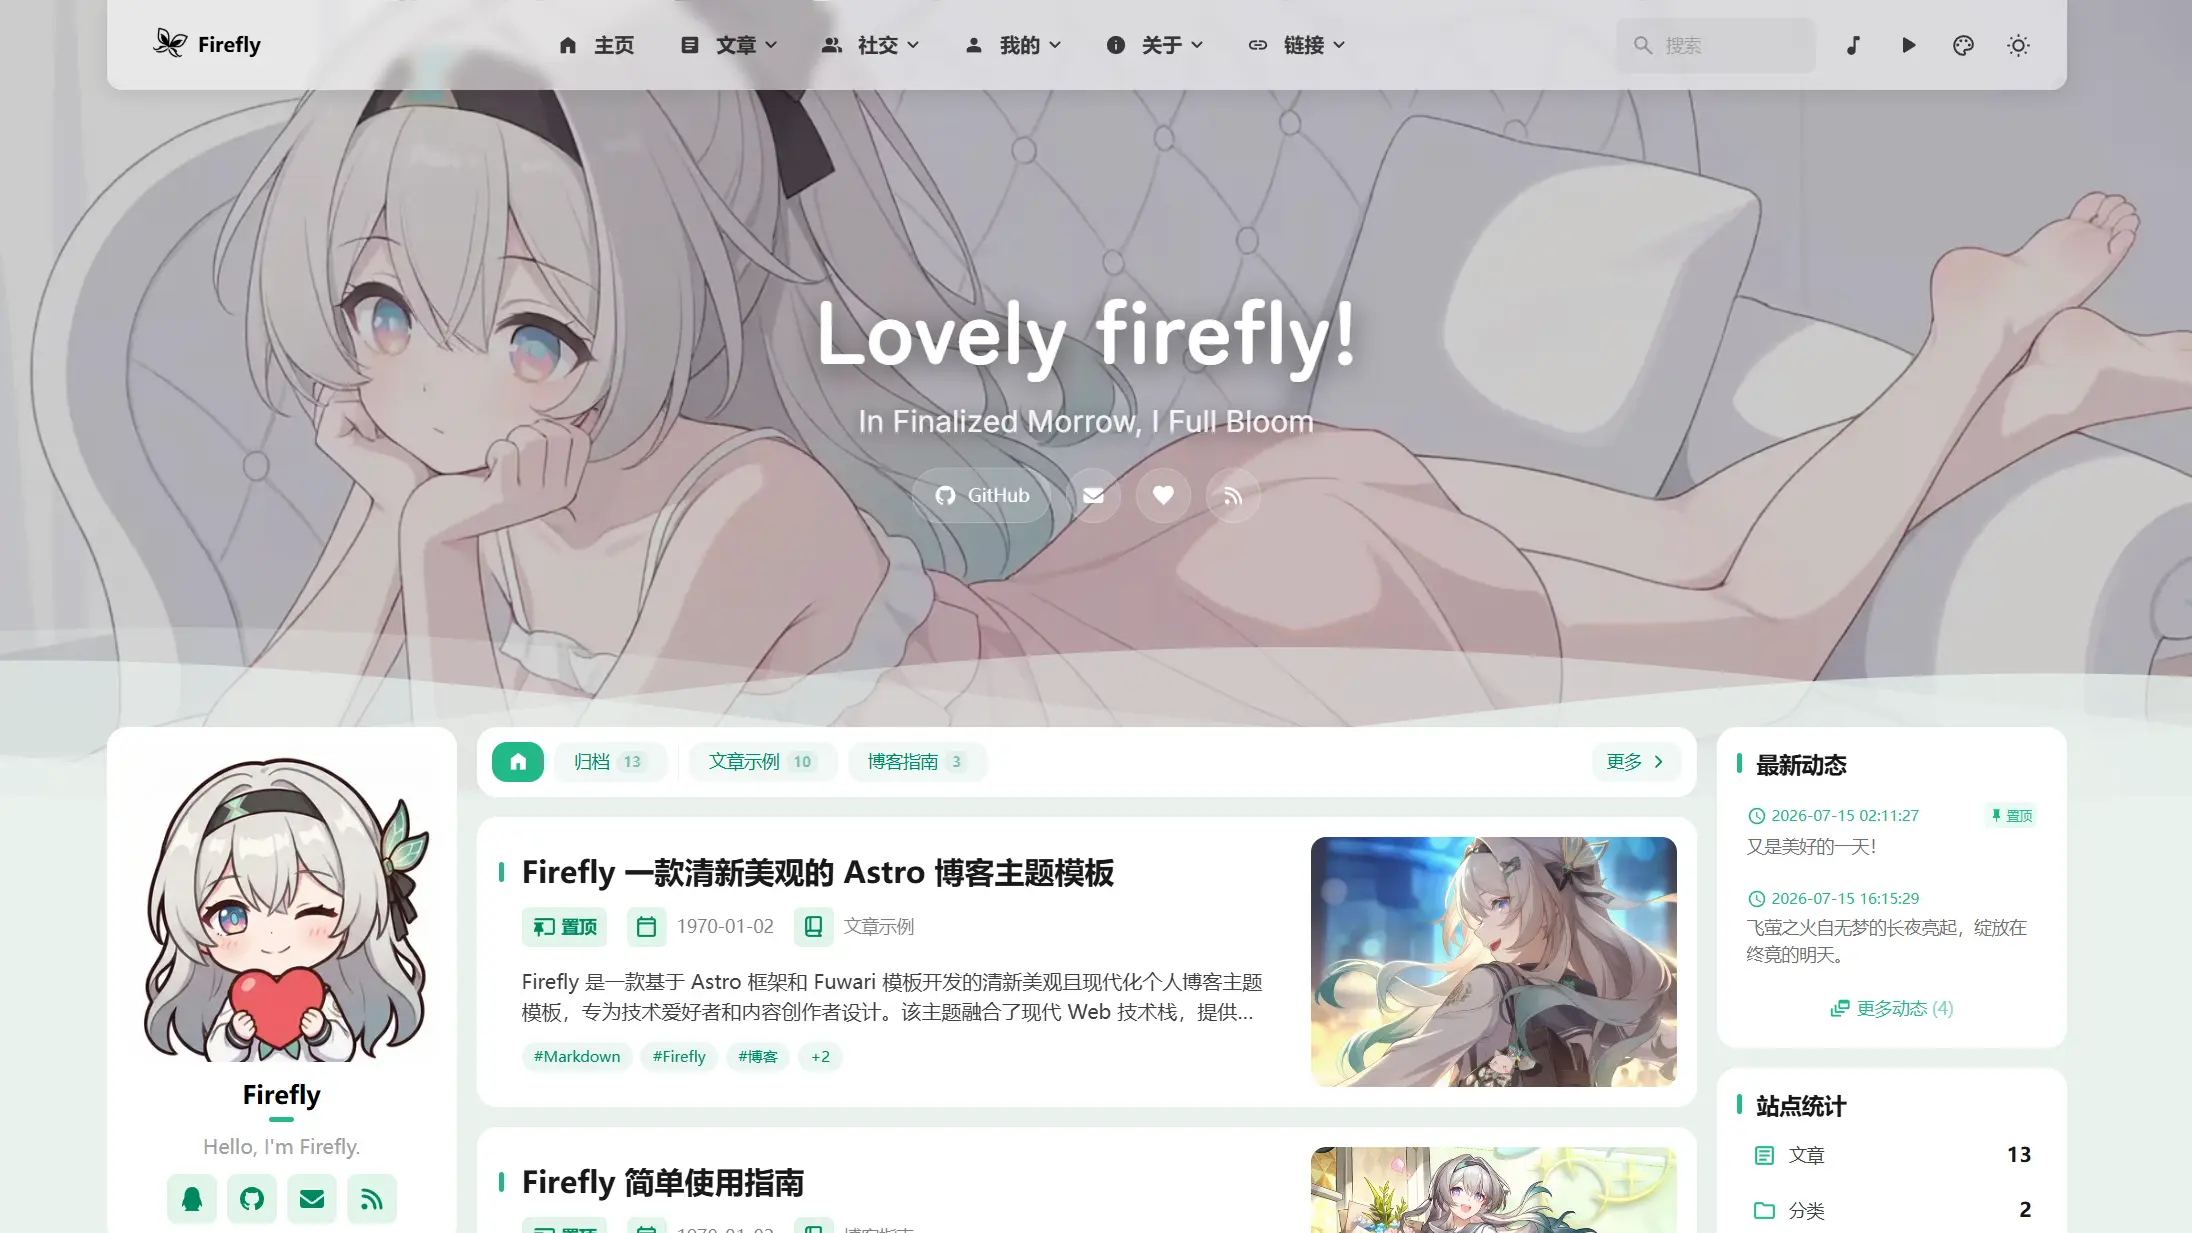
Firefly
Firefly 是一款基于 Astro 的静态博客主题,由 CuteLeaf 在 saicaca 的 Fuwari 模板基础上二次开发,主打清新美观的视觉风格。
Astro · 博客
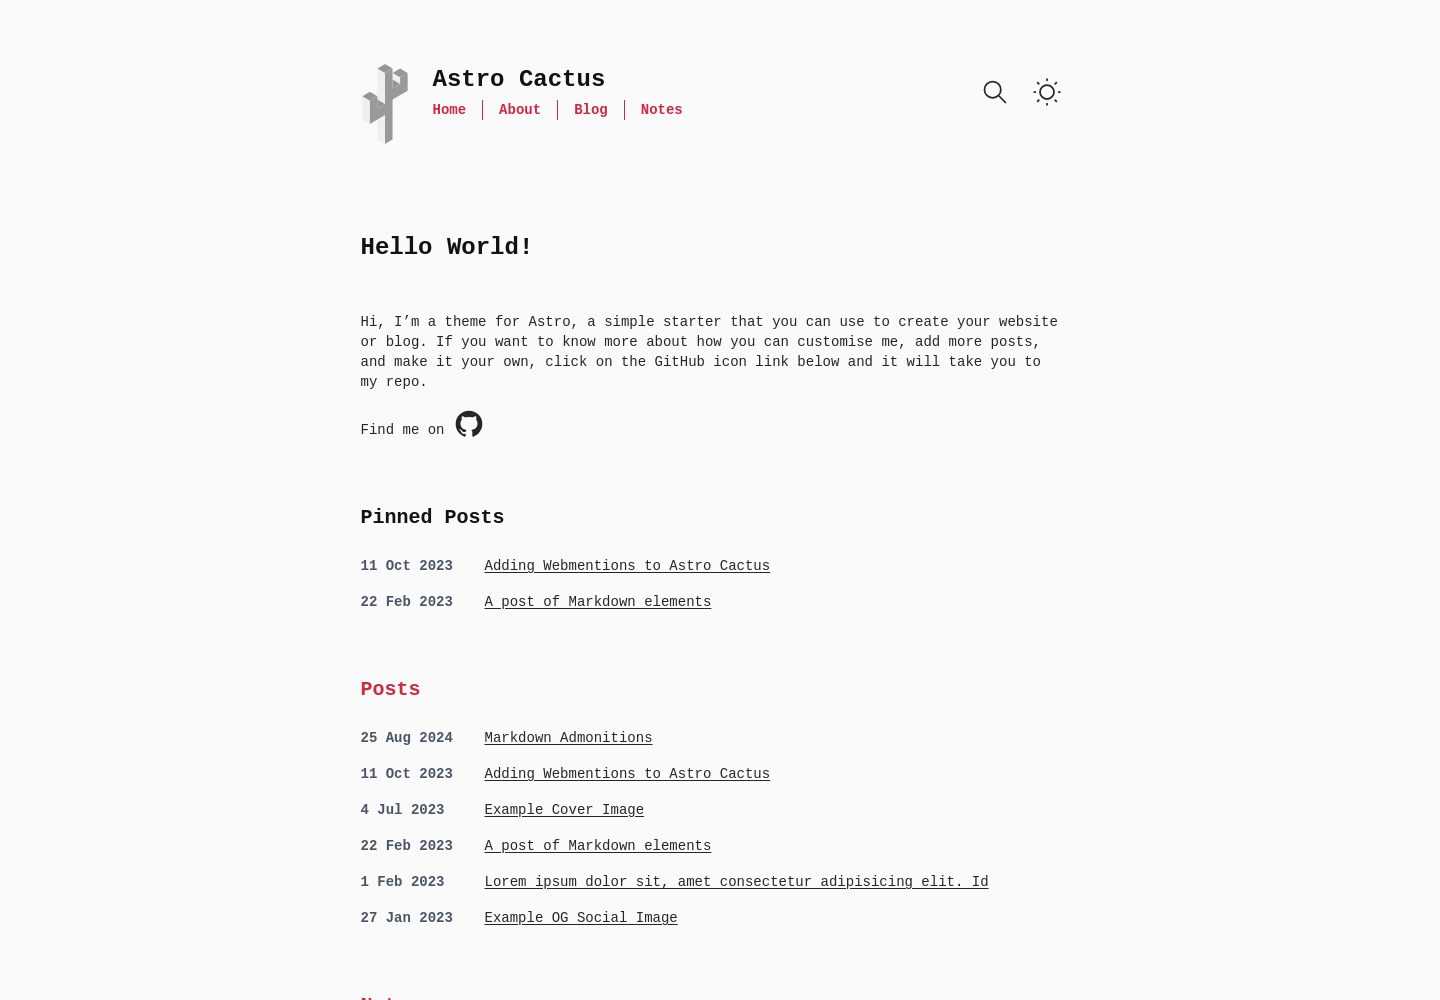
astro-theme-cactus
A simple Astro theme. Use it to create your blog or website.
Astro · 作品集
accessible-astro-starter
Accessible Astro Starter 是一个以无障碍为核心理念的 Astro 6 启动模板,由 incluud 团队维护。
Astro · 博客