基于 Next.js 与 Payload CMS 构建,内容通过后台管理
Next.jsReact企业官网
bases — Next.js 企业官网模板
作者 mikecebul
面向物质与心理健康咨询类小型企业的营销网站模板,基于 Next.js 与 Payload CMS,内置首页、服务、团队、关于我们和资源等页面。
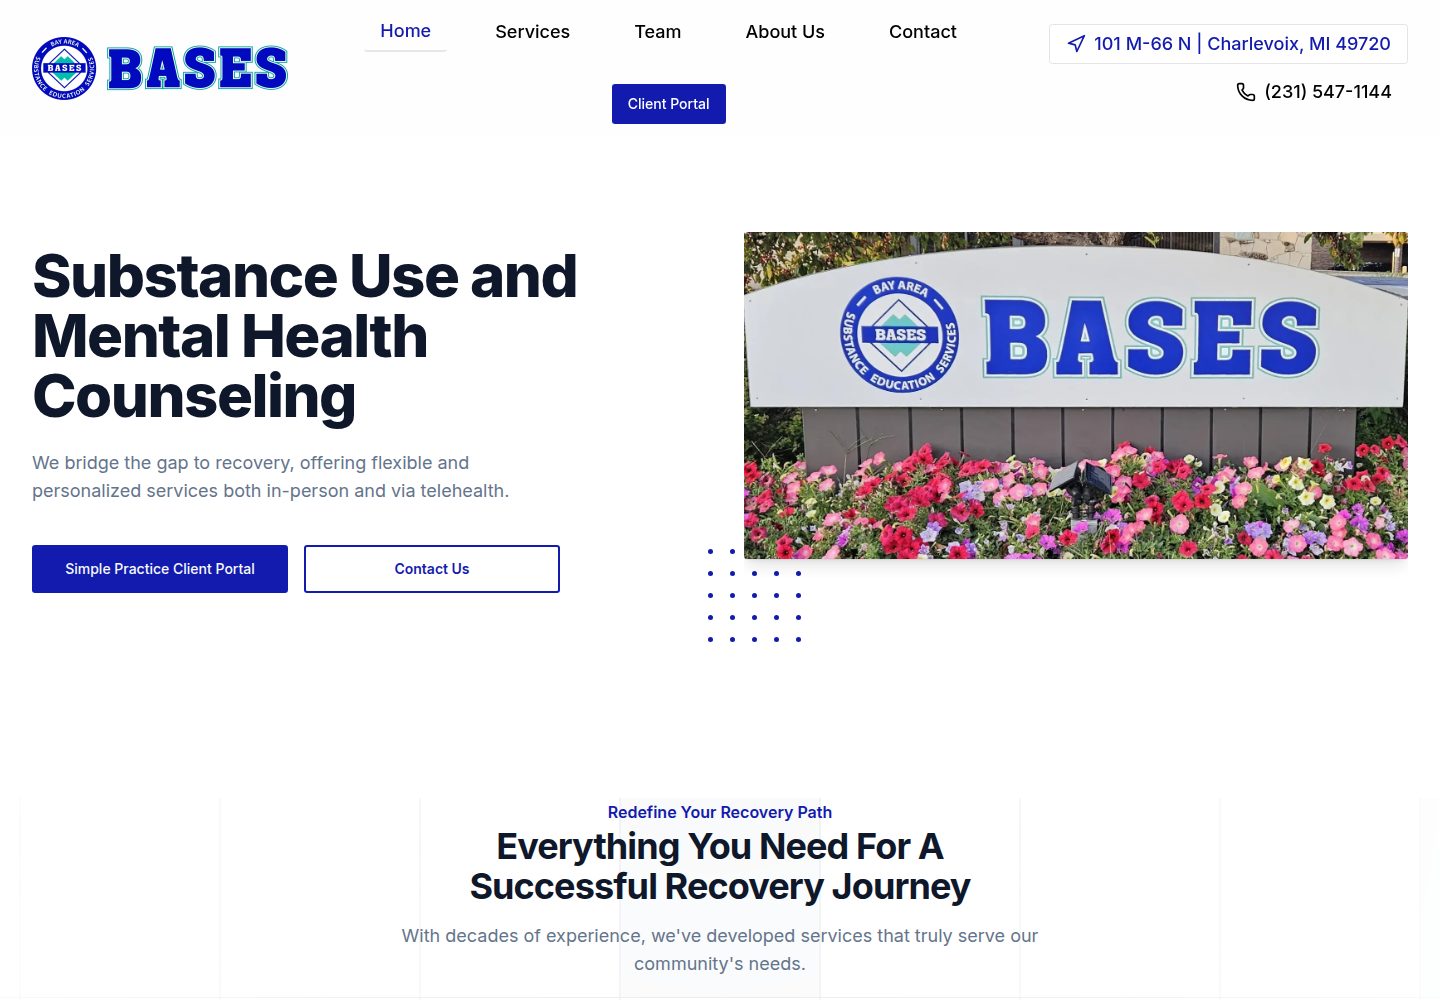
看看你的网站会是什么样
浏览真实页面截图,比较内容排版与手机效果。点击下方缩略图切换,放大查看整页细节。
全部页面与视图 3
截图用于了解视觉与布局,交互效果请以实际项目为准。
采集于 2026-10-02查看来源
值得关注的模板亮点
从已有项目资料中,快速了解它的特点。
内置首页、服务、团队、关于我们、资源五类页面结构
服务、团队成员、链接支持在集合为空时一键 Seed 填充示例数据
资源卡片配图可手动上传,或通过 Unsplash API 按关键词生成
图片可存本地文件系统或 S3 兼容存储(如 Cloudflare R2)
页脚可通过复选框加入公司信息和 Google 地图
模板详细介绍
该模板是一个小型企业营销网站,作者将其作为自己承接新项目时的基础起点,当前演示站点服务于物质与心理健康咨询业务。技术侧使用 Next.js 与 Payload CMS 构建,数据存储采用 MongoDB,图片可存到 Cloudflare R2 等 S3 兼容存储,动画使用 Framer Motion,界面组件基于 Shadcn/ui。
页面结构覆盖首页(服务介绍)、服务详情、团队(董事会与员工,URL 形如 /team/staff/[slug])、关于我们和资源(链接与视频集合)。内容通过 Payload 后台管理,服务、团队成员和链接都提供了一键 Seed 功能,仅在对应集合为空时显示。资源页面可通过 SEO 标签中的 hideFromSearchEngines 复选框对搜索引擎隐藏,卡片配图可选择手动上传或通过 Unsplash API 按逗号分隔的关键词生成随机图片。关于我们页面为富文本加副标题,并支持多图上传后在轮播中每 5 秒切换。导航可在页眉和页脚添加菜单项,页脚还支持通过复选框加入公司信息和 Google 地图。
模板没有内置联系表单或联系页面,作者说明其雇主更希望客户直接致电,因此移动端的主要行动号召是拨打电话。数据库方面,作者在 VPS 上以 Docker 容器运行 MongoDB,并使用 Dokploy 进行部署与自动备份;README 也给出了使用 mongorestore 进行手动备份恢复的命令示例。
Next.js企业官网
适合你的项目吗?
适用场景
- 为心理咨询、戒瘾辅导等小型服务机构搭建营销网站
- 需要后台可编辑内容、但不想从零搭建 CMS 的 Next.js 项目
- 希望以现成页面结构快速启动小型企业官网的开发者
- 需要将图片托管到 S3 兼容对象存储的部署场景
适合人群
- 小型企业官网项目,尤其是咨询与服务类机构
- 熟悉 Next.js 与 Payload CMS、愿意自行配置 MongoDB 和对象存储的开发者
- 需要内容团队通过后台维护服务、团队和资源页面的场景
上手与定制指南
结合仓库当前版本的说明,按下面的资料检查内容、配置与运行要求。
- 1
需要准备 MongoDB 数据库,并将连接字符串写入 MONGODB_URI
- 2
生产环境需配置 S3 兼容存储(如 Cloudflare R2)并设置 S3_ENABLED=true 及相关凭证
- 3
可选服务包括 Google Maps API、Resend 邮件和 Unsplash API,按需在 .env 中填写对应密钥
- 4
开发时可将 S3_ENABLED 设为 false,图片会保存到本地文件系统并被 gitignore 忽略
- 5
在 Vercel 免费计划上执行团队 Seed 可能耗时 20–30 秒,需将函数执行时长调整到至少 30 秒
授权与来源资料
使用条件与限制
免费使用 · 保留许可声明本次收录的是公开仓库中采用 MIT 许可的免费版本;免费范围为该版本代码,不代表外部服务或第三方素材免费。
使用时需要遵守
- 允许免费使用、修改、商用和分发该版本代码。
- 分发代码副本或实质性部分时,保留原作者版权声明和完整 MIT 许可声明。
- 代码按现状提供;担保与责任限制以原许可证及适用法律为准。
额外费用与待核对事项
- 使用该模板必须自行准备并运行 MongoDB 数据库,并将连接字符串填入 MONGODB_URI;没有数据库则无法运行。
- 生产环境需自行获取 S3 兼容对象存储(如 Cloudflare R2)的凭证并配置相关环境变量,属于外部服务成本与账号要求。
- 页脚 Google 地图功能为可选,需自建 Google Cloud 项目、启用 Maps JavaScript API 并提供密钥,可能产生外部服务费用。
- 邮件功能为可选,需注册 Resend 账号并配置 API 密钥,属于外部服务依赖。
- 资源卡片按关键词自动生成配图的功能为可选,需注册 Unsplash 开发者账号并提供访问密钥。
- 在 Vercel 免费计划上执行团队 Seed 可能耗时 20–30 秒,需将函数执行时长调整到至少 30 秒,否则可能超时失败。
- 演示图片、字体、图标及其他第三方素材需按各自许可核对,不能仅凭代码的 MIT 许可判断。
- 域名、托管、数据库、支付或 AI 等外部服务可能另外收费。
查看原文依据
Permission is hereby granted, free of charge
许可证原文
Create a new database - Add the connection string to `MONGODB_URI` in your `.env` file
README 原文
Set `S3_ENABLED=true` for production - Obtain credentials from your S3-compatible storage provider
README 原文
Create/select project in [Google Cloud Console](https://console.cloud.google.com/) - Enable Maps JavaScript API - Add key to `GOOGLE_MAPS_API_KEY`
README 原文
Get API key from [Resend](https://resend.com/) - Add to `RESEND_API_KEY`
README 原文
Register at [Unsplash Developers](https://unsplash.com/developers) - Add keys to `UNSPLASH_ACCESS_KEY` and `UNSPLASH_SECRET_KEY`
README 原文
https://github.com/mikecebul/bases/blob/main/LICENSEhttps://github.com/mikecebul/bases/blob/main/README.mdThis can take 20-30 seconds to complete on Vercel on the free plan, so increase your function length to at least 30 seconds.
README 原文
DeepSeek 根据仓库许可证和 README 整理 ·2026-10-02。结果仅覆盖已读取资料,依赖、图片、字体及后续条款变更以各自原文为准。
项目核对记录与介绍依据
模板资料
- 来源平台
- GitHub
- 资料与维护参考分
- 资料较完整 · 87 / 100
- 技术栈
- Next.js · React
- 网站类型
- 企业官网
这个分数如何计算
本站按许可资料(最高30分)、演示链接(12分)、预览图(10分)、Star数(15分)、记录的维护时间(15分)、描述完整度(8分)、功能记录(5分)和分类资料(5分)计算。它不是代码、安全或性能测试,也不是 Google 评分;有链接不代表已实测可用。
这个项目需要核对什么
- 记录的仓库更新时间
- 2026-03-17
- 截图检查日期
- 2026-10-02
已收录演示链接。请用你的内容与屏幕尺寸检查;有演示不代表表单、认证或支付已经可用。
目录记录的主要技术栈是 Next.js。请通过依赖清单和锁文件核对实际版本与托管要求。这些说明基于收录资料,不代表代码审计或部署实测。
查看具体选型方法 →介绍的制作与核对状态
介绍由 AI 辅助整理目录与仓库资料。仓库作者不等于这篇介绍的审核者。
已完成服务器许可规则与 AI 来源核对;未经过人工编辑审核。
查看当时使用的来源资料
SHA-256: f402fd28fc4f7d0ff2fe6873a5462e59de40e9623811d3741a88d087110f95ee
2026-10-02T19:54:19.650Z
来源文件 / 仓库# Boilerplate Template - Business Website for Substance and Mental Health Counseling This project was built with [PayloadCMS](https://payloadcms.com/) and [Next.js 15](https://nextjs.org/), focusing on providing substance and mental health counseling services. ## Table of Contents - [📄 Pages](#pages) - [✨ Features](#features) - [🚀 Getting Started](#getting-started) - [💻 Installation](#installation) - [🔧 Environment Setup](#environment-setup) - [🏃♂️ Running the Application](#running-the-application) - [🎨 Creating Content](#creating-content) - [💁♂️ Create Pages](#create-pages) - [🛠️ Create Services](#create-services) - [👥 Create Team Members](#create-team-members) - [📚 Create Resources](#create-resources) - [ℹ️ Create About Us](#create-about-us) - [🔗 Create Links](#create-links) - [🧭 Navigation](#navigation) - [🖼️ Images](#images) - [💾 Database](#database) - [🚀 Deployment](#deployment) - [📝 Notes](#notes) ## Pages - **Home**: Introduction to the services. - **Services**: Detailed information about the counseling services. - **Team**: Dynamic listing of board members and staff members. URLs follow the pattern "/team/staff/[slug]". - **About Us**: Information about the organization. - **Resources**: A collection of links and videos. ## Features - **Framework**: Next.js 15 (React 19) - **Admin Panel**: Payload CMS - **Database**: MongoDB - **Image Storage**: [Cloudflare R2](https://r2.cloudflarestorage.com/). - **Animations**: [Framer Motion v12](https://www.framer.com/motion/). - **Blocks**: Components built with [Shadcn/ui](https://ui.shadcn.com/). ## Getting Started ### Inspiration This project is designed to be my base boilerplate for any new small business websites. For my current job as a counsler, my boss wanted to utilize my tech skills to improve the business website. This is my third iteration since starting 5 years ago. One thing I found is the need to modify to meet specific business needs, that's where Payload comes in. Also, if I'm going to make money doing this I better have a solid starting point. I hope others find use out of it too. ### Installation 1. [Create a new repository with this template](https://github.com/new?template_name=payload-marketing-template&template_owner=mikecebul) 2. Run `pnpm install` to install dependencies. 3. Copy `.env.example` to `.env` and fill in the required details. ### Environment Setup Before running the application, you need to set up the following services: #### Required Services 1. **MongoDB Database** - Create a new database - Add the connection string to `MONGODB_URI` in your `.env` file 2. **S3 Compatible Storage (Cloudflare R2)** - Set `S3_ENABLED=true` for production - Obtain credentials from your S3-compatible storage provider - Fill in the S3-related environment variables #### Optional Services 1. **Google Maps API** - Create/select project in [Google Cloud Console](https://console.cloud.google.com/) - Enable Maps JavaScript API - Add key to `GOOGLE_MAPS_API_KEY` 2. **Resend Email** - Get API key from [Resend](https://resend.com/) - Add to `RESEND_API_KEY` - Set `RESEND_DEFAULT_EMAIL` 3. **Unsplash API** - Register at [Unsplash Developers](https://unsplash.com/developers) - Add keys to `UNSPLASH_ACCESS_KEY` and `UNSPLASH_SECRET_KEY` ### Running the Application 1. Run `pnpm run dev` to start the development server. 2. Open [http://localhost:3000](http://localhost:3000) with your browser to see the result. ## Creating Content ### Create Pages You'll most likely want to create the Home page first. When adding blocks you'll notice you need other pages to link to on your header's call to action. This template has blocks to make the following pages: - Home - Services - Team - About Us - Resources (Lists of Links/Videos) I didn't create a contact page/form as my boss prefers customers call, so that's the primary CTA on mobile. I may add a form later. ### Create Services This one is easy as you can simply click the "Seed Services" that is only shown when the there are no services in the database. This has a custom select field to select a matching icon. ### Create Team Members This one is also easy as you can simply click the "Seed Team" that is only shown when the there are no team members in the database. This can take 20-30 seconds to complete on Vercel on the free plan, so increase your function length to at least 30 seconds. This also has SEO fields for each team member. The layout of those pages uses the TeamMemberBlock automatically. ### Create Resources My boss uses the website to quickly grab videos for group trainings, and other resources. So, I hide the pages from webcrawlers with the 'hideFromSearchEngines' checkbox in the SEO tab. Also, he would like to add link cards, but would never be bothered to add an image, so I use Unsplash API to grab a random image for the card when you choose 'generate' instead of 'manual upload'. You simply add coma seperated keywords for the type of image you want to be generated. ### Create About Us This is basically just a RichText Field. I have a subtitle field to help match the theme of the website. Also, the is a hasMany upload field to add images that open in a slider which is setup to rotate every 5 seconds. Probably an easier way of doing this, but I originally planned for a slider. ### Create Links This one is pretty easy as you can simply click the "Seed Links" that is only shown when the there are no links in the database. This has a custom select field to select a matching icon. This uses the LinksBlock automatically. ### Navigation You add menu items to the header and footer. in the footer you can also add the company info and a google map by simply clicking a checkbox. The encypt and decrypt utilities are in the utilities folder as I was going to have a field for the API key, but later changed my mind. ## Images In development you simply use the S3_ENABLED=false in the .env file and all your images will be saved to the local file system, and marked in the gitignore. When you are ready to deploy, go to vercel and create a new project. In the project settings, go to the "Domains" tab and add your domain. Then, go to the "Environment Variables" tab and add the following: - S3_ENABLED=false - S3_ACCESS_KEY_ID= - S3_SECRET_ACCESS_KEY= - S3_REGION=auto - S3_ENDPOINT= - S3_BUCKET= - NEXT_PUBLIC_S3_HOSTNAME= - NEXT_PUBLIC_UPLOAD_PREFIX=media Cloudflare R2 is convient if you already use them for DNS as you simply click a button and you have a subdomain for your bucket. Love it. ## Database MongoDB is running in a Docker container alongside the application on my VPS. I use Dokploy on a Hetzner server. ### Database Backup & Restore Dokploy has features for automatic backups using crontab, how many to store so it deletes old ones (I set it to 90), and an easy way to restore if needed. #### Manual Database Management 1. Install MongoDB Database Tools for working with backups: ##### MacOS ```bash brew tap mongodb/brew brew install mongodb-database-tools ``` ##### Ubuntu ```bash sudo apt-get install mongodb-database-tools ``` #### Restoring from Backup 1. Download the backup file from S3 to your local machine's `.dumps` directory 2. To restore to a new database name: ```bash mongorestore --uri="YOUR_MONGODB_URI" \ --nsInclude="original-db-name.*" \ --nsFrom="original-db-name.*" \ --nsTo="new-db-name.*" \ --gzip \ --archive=".dumps/your-backup-file.gz" ``` 3. To drop and restore to the same database: ##### MongoDB Shell (mongosh): ```bash mongosh "YOUR_MONGODB_URI" use database-name db.dropDatabase() ``` ##### MongoDB Compass: ```bash 1. Connect to your database 2. Right-click on the database name 3. Select "Drop Database" 4. Confirm the deletion ``` ##### Then restore (notice we don't need nsFrom/nsTo when keeping the same name) ```bash mongorestore --uri="YOUR_MONGODB_URI" \ --nsInclude="database-name.\*" \ --gzip \ --archive=".dumps/your-backup-file.gz" ``` ## Deployment This project is deployed on a VPS (Virtual Private Server) with Hetzner using [Dokploy](https://dokploy.com/) as the Platform as a Service (PaaS) solution. The setup includes: ### Infrastructure - **VPS Provider**: Hetzner - **Container Management**: Docker - **PaaS**: Dokploy for simplified deployment and management - **Database**: Self-hosted MongoDB in Docker - **Backups**: Automatic backups to S3 storage ### Deployment Process 1. The application and MongoDB run in separate Docker containers 2. Dokploy manages container orchestration and deployment 3. Environment variables are managed through Dokploy's interface 4. Database backups should be performed regularly and uploaded to S3 ### Environment Variables Update your production `.env` file with MongoDB connection details: ```bash MONGODB_URI=mongodb://username:password@localhost:27017/database # ... other existing env vars ... ```
看看同类模板
对比同技术栈与用途的模板,找到更适合的视觉与内容结构。
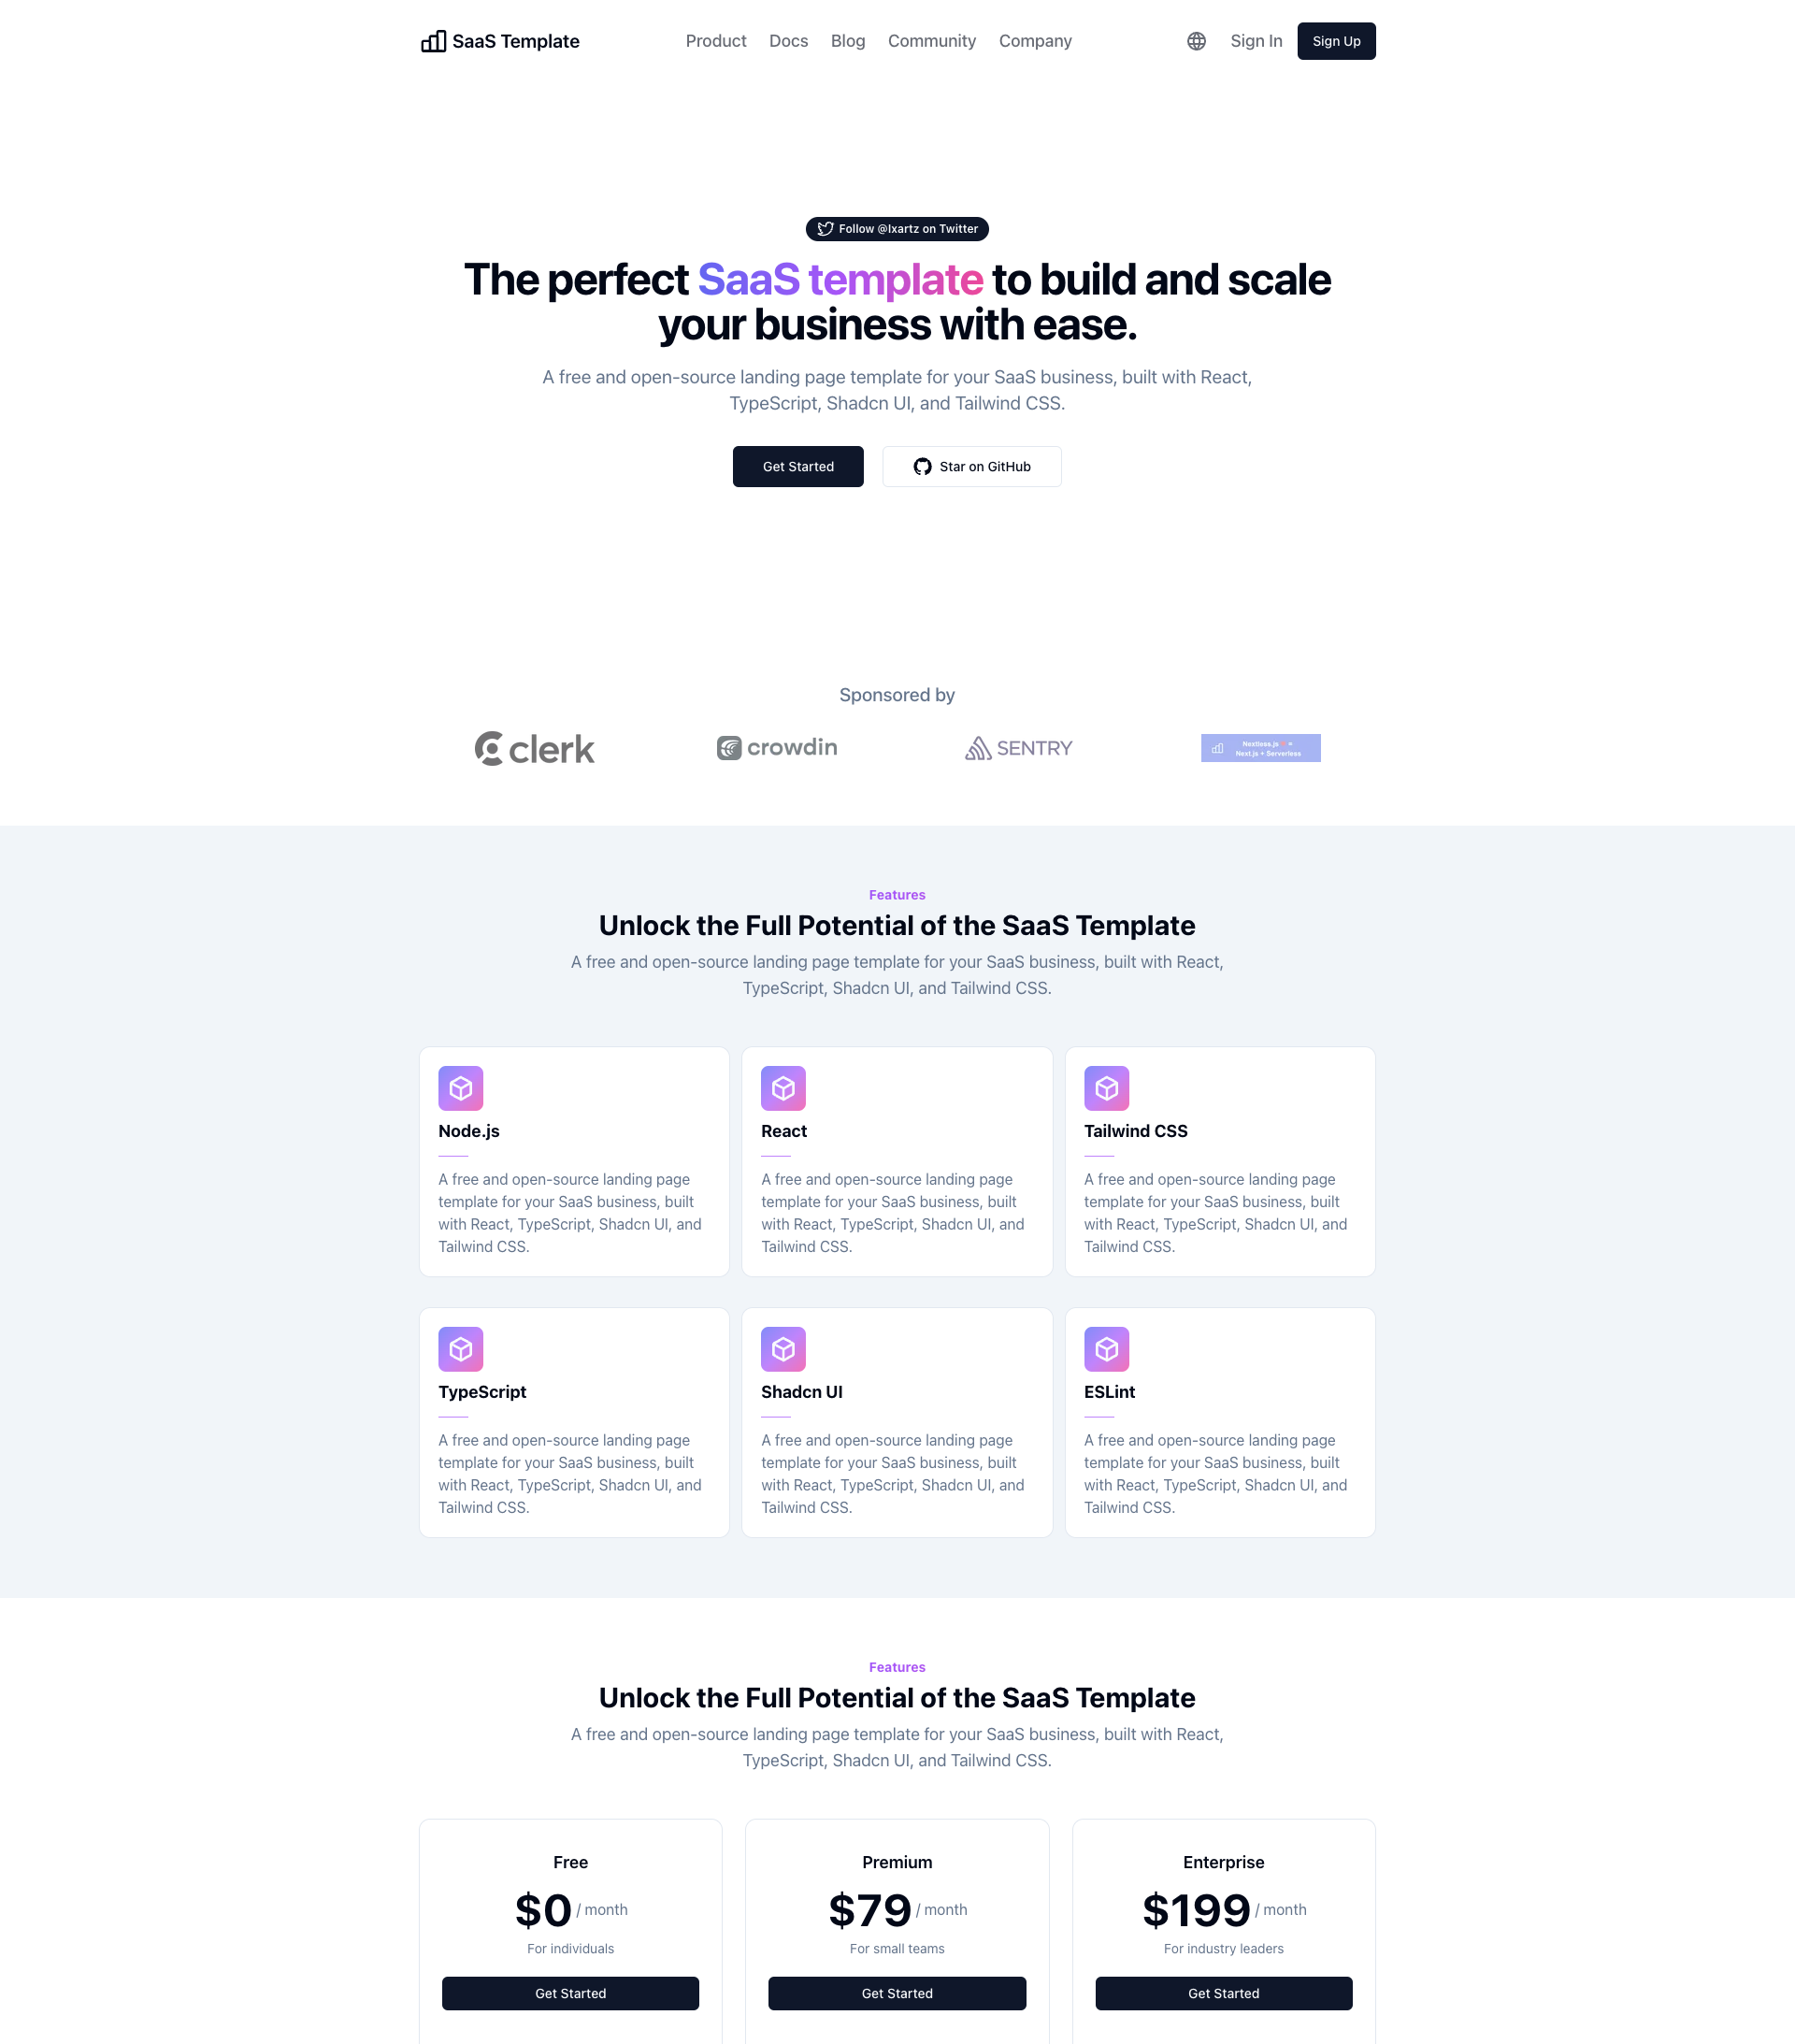
SaaS-Boilerplate
🚀🎉📚 SaaS Boilerplate built with Next.js + Tailwind CSS + Shadcn UI + TypeScript. ⚡️ Full-stack React applic…
Next.js · SaaS
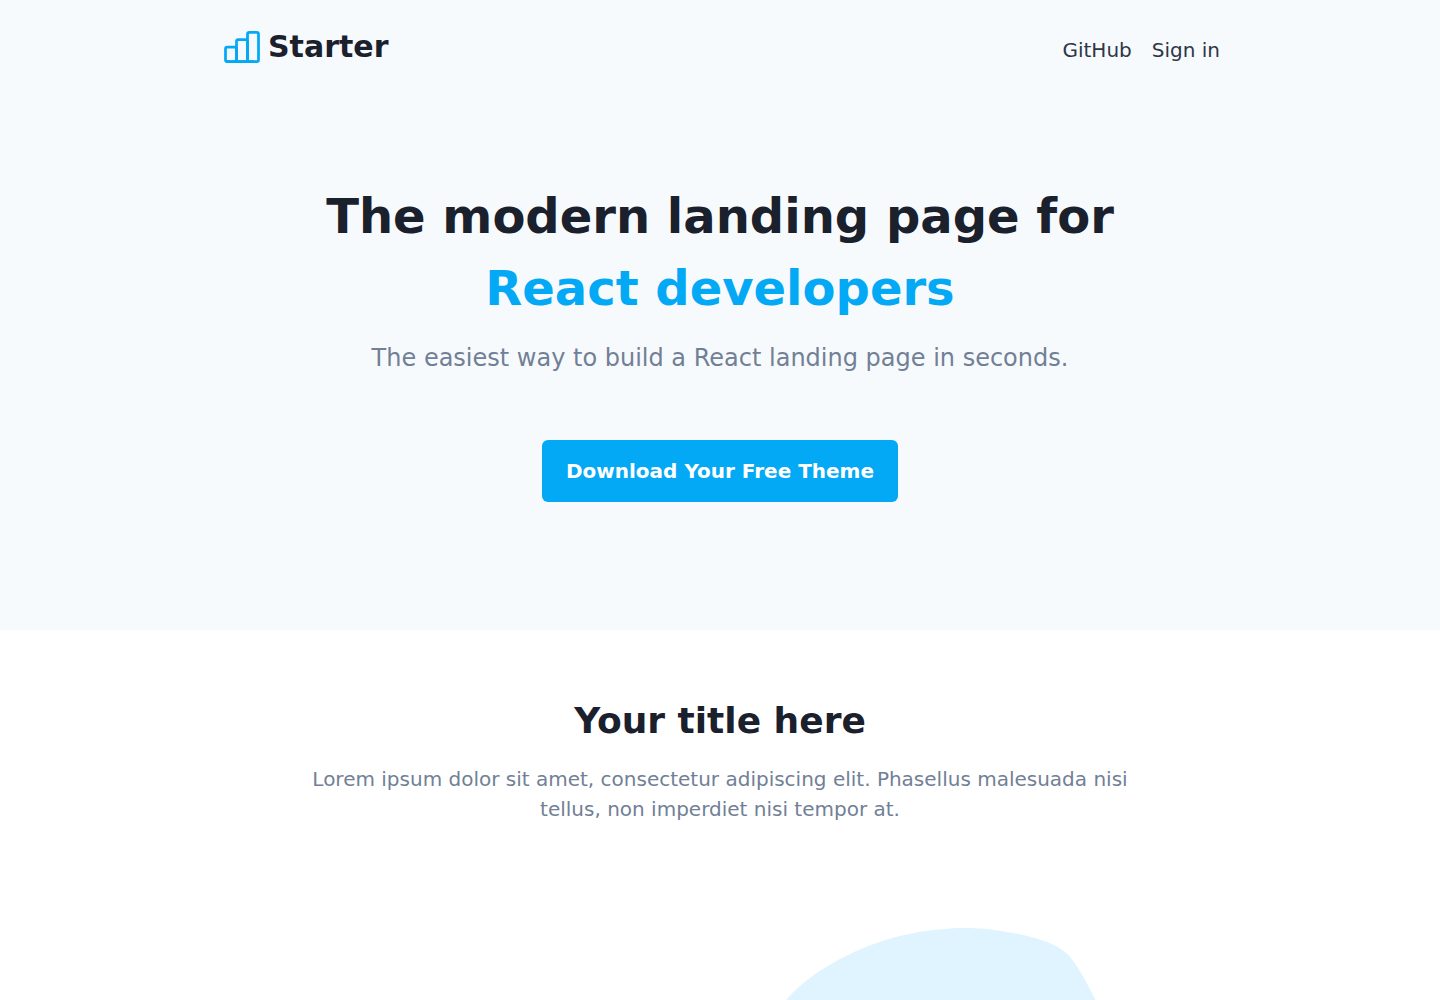
Next-JS-Landing-Page-Starter-Template
🚀 Free NextJS Landing Page Template written in Tailwind CSS 3 and TypeScript ⚡️ Made with developer experienc…
Next.js · 企业官网
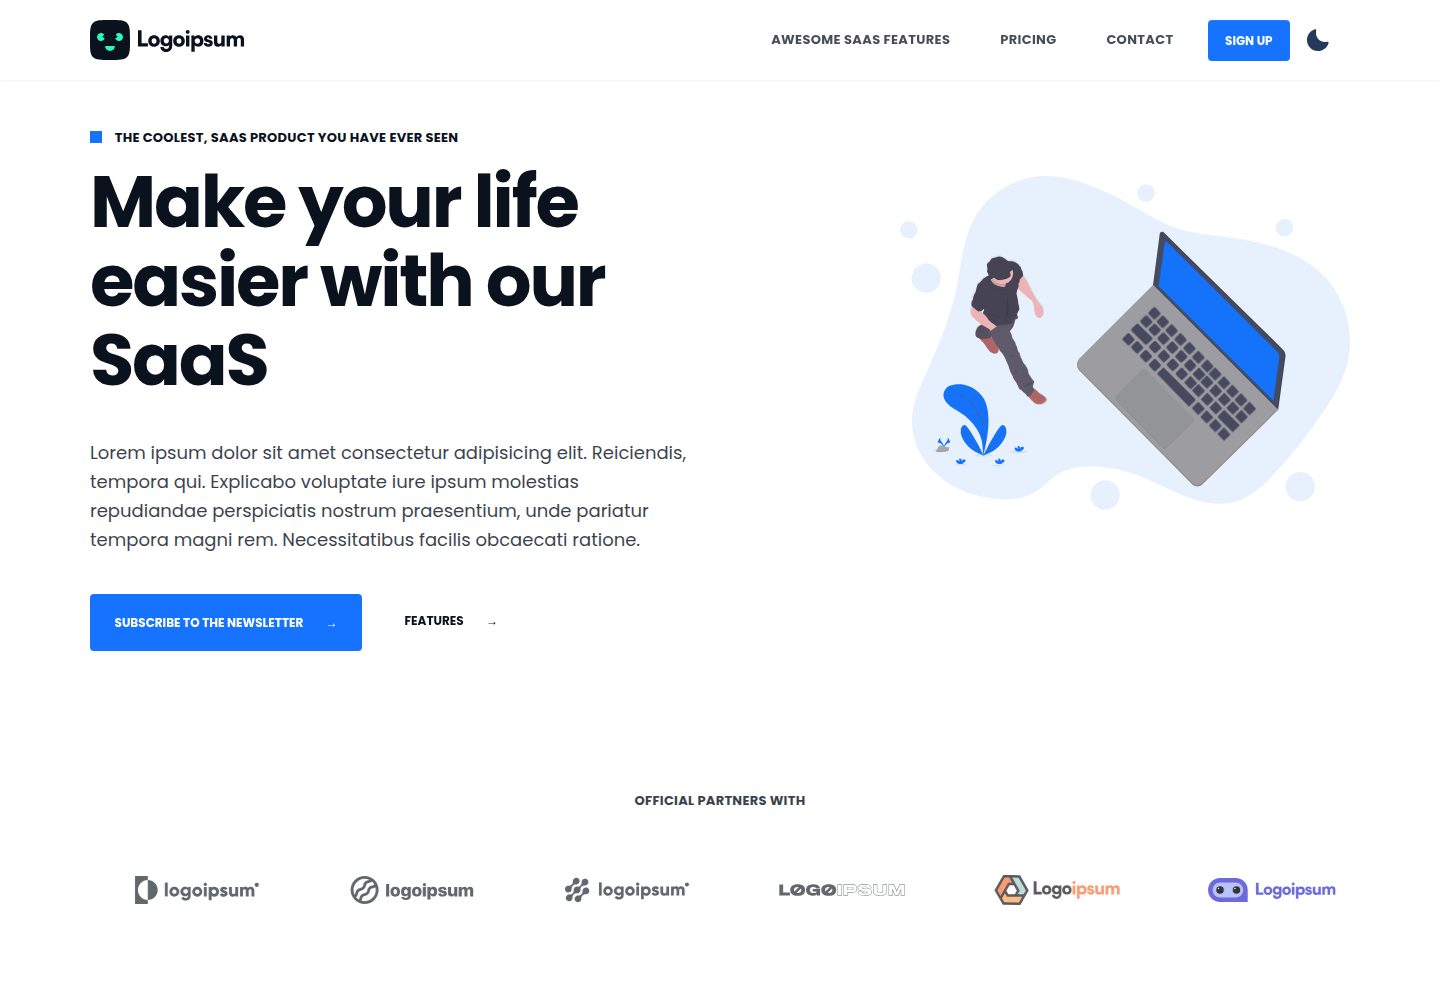
next-saas-starter
⚡️ Free Next.js responsive landing page template for SaaS products made using JAMStack architecture.
Next.js · SaaS
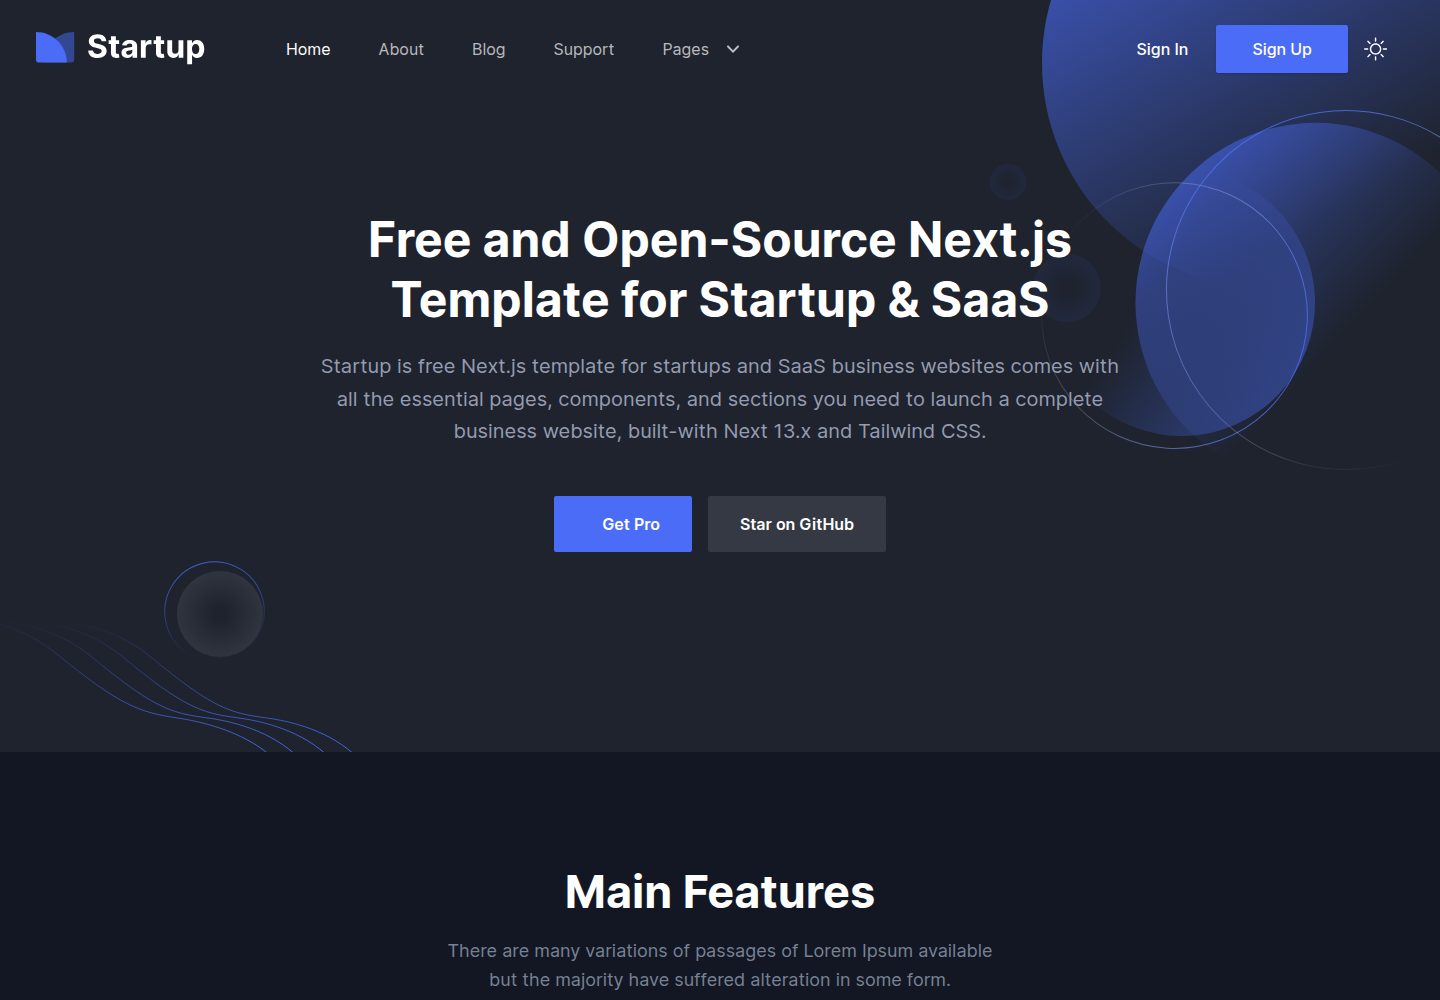
startup-nextjs
Startup is free Next.js template for SaaS startups comes with all the essential pages, components, and section…
Next.js · SaaS
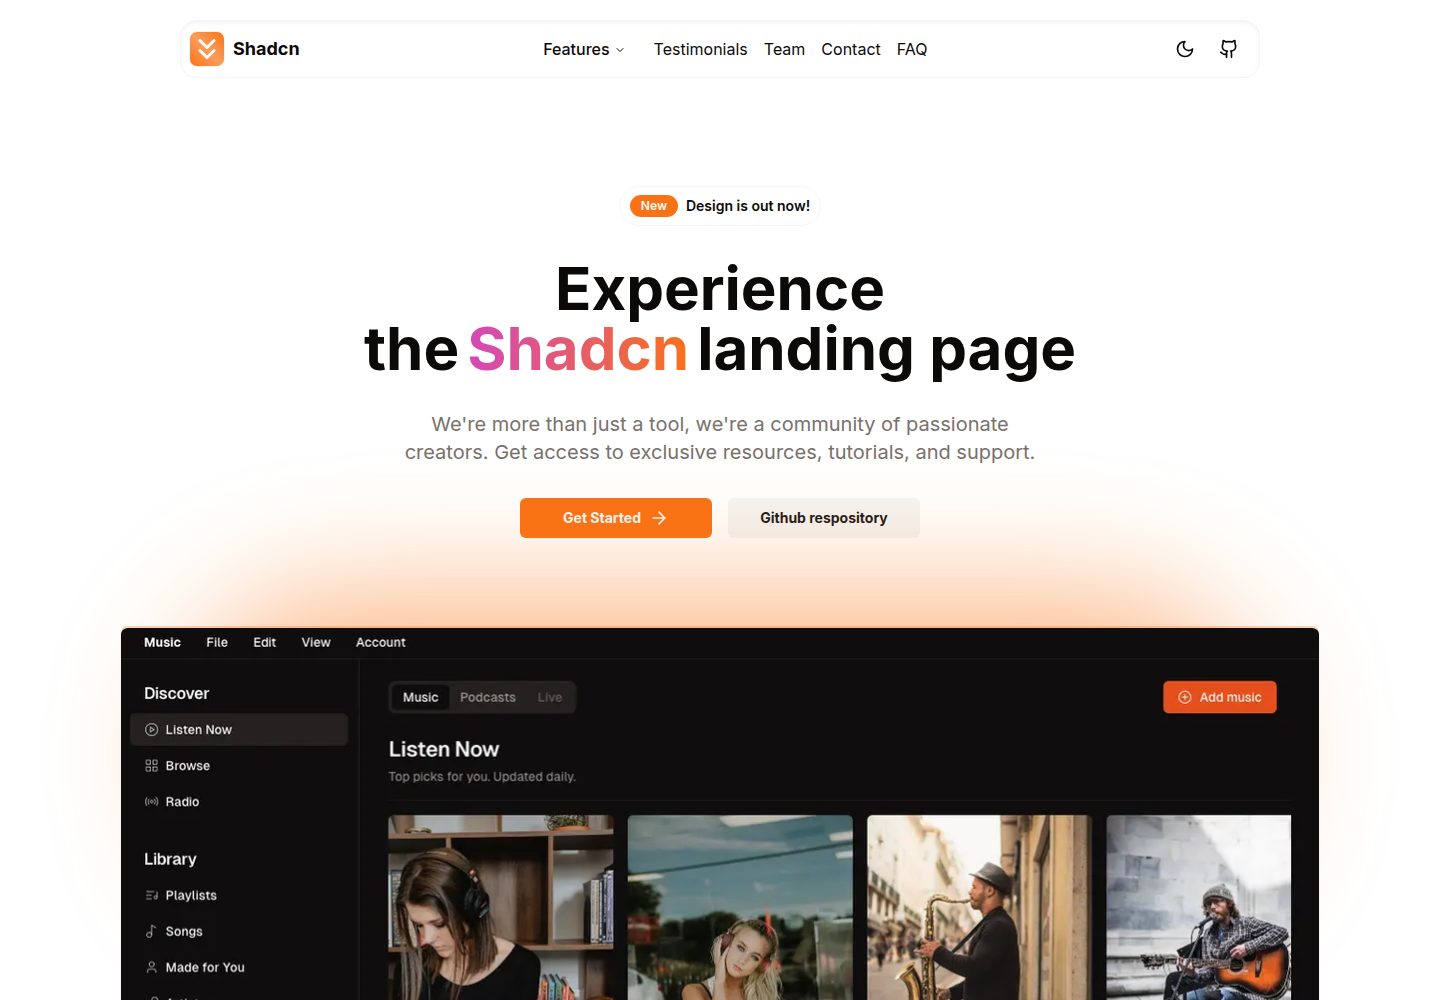
shadcn-landing-page
New design 🎉 Nextjs + Shadcn + TypeScript + Tailwind. Landing page template ease-to-use
Next.js · 企业官网
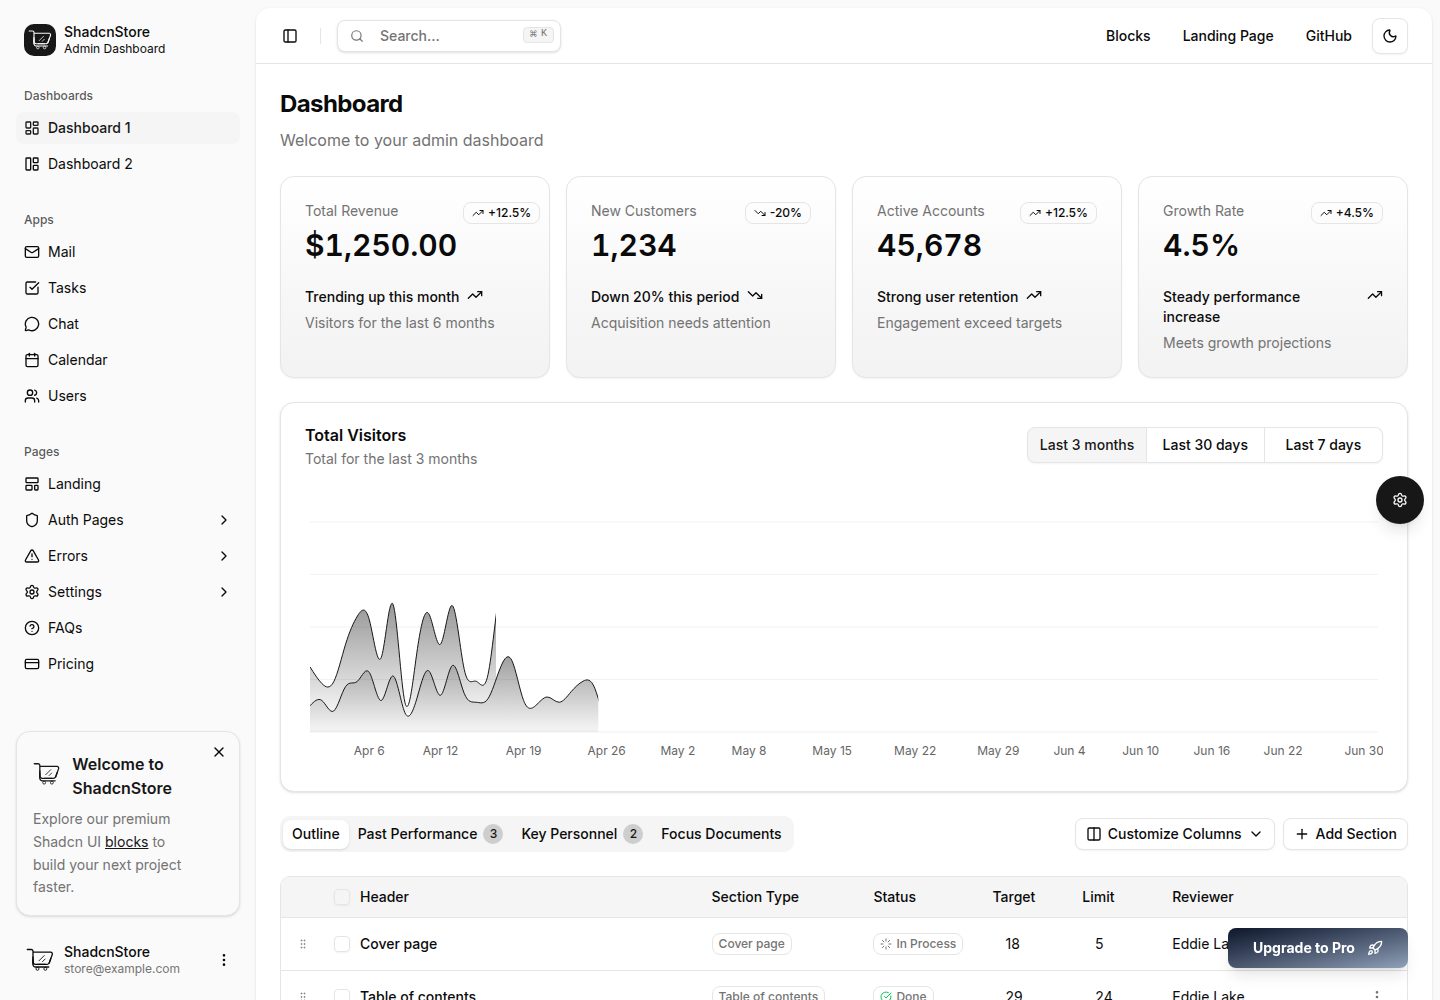
shadcn-dashboard-landing-template
Accelerate your development with a sleek, open-source admin dashboard and landing page built on Vite-React, Ne…
Next.js · 后台