
使用 Laravel Jetstream 实现用户与管理员双登录的多认证系统
Laravel后台企业官网启动器
Education-ERP-Laravel-8 — Laravel 后台模板
作者 mogrady-professional
基于 Laravel 的学校管理 ERP 启动项目,包含员工、学生费用与报表管理,并通过 Jetstream 实现用户与管理员双登录。
看看你的网站会是什么样
浏览真实页面截图,比较内容排版与手机效果。点击下方缩略图切换,放大查看整页细节。
目前有 1 张原始预览,可打开完整图片查看设计细节。
截图用于了解视觉与布局,交互效果请以实际项目为准。
采集于 2026-10-02查看来源
值得关注的模板亮点
从已有项目资料中,快速了解它的特点。
包含员工管理、学生费用管理和报表管理功能模块
提供本地运行、服务器部署和 Heroku 部署的说明
README 附带登录页、仪表盘、学生管理和报表的界面截图
采用 MIT 许可,允许免费使用、修改、商用和分发该版本代码
模板详细介绍
该项目是一个用 Laravel 编写的学校管理 ERP 系统,定位为端到端 CMS 的起步项目。README 说明其覆盖员工管理、学生费用管理和报表管理功能,并强调初始版本留有大量可扩展空间。认证部分使用 Laravel Jetstream 构建多认证体系,区分普通用户与管理员登录。
本地运行需要克隆项目、执行 composer install、在 phpMyAdmin 中创建 education_erp 数据库、运行 php artisan migrate:fresh,并把 env.example 重命名为 .env 后填入配置。README 特别指出需注册 Mailtrap 账号并填写邮件配置,以启用重置密码和账号确认功能;创建账号后还需在数据库中把该用户的 usertype 字段改为 Admin 才能访问管理功能。
部署方面,README 提供了服务器部署与 Heroku 部署两条路径。服务器部署需打包上传、导入 education_erp.sql、更新 .env 中的数据库配置,并在 AppServiceProvider 中处理默认字符串长度与生产环境强制 HTTPS。Heroku 部署需创建 Procfile、设置 APP_KEY 等配置变量,并使用 ClearDB MySQL 作为数据库。
Laravel后台企业官网启动器
适合你的项目吗?
适用场景
- 作为学校管理类 ERP 项目的起步代码库进行二次开发
- 用于学习 Laravel Jetstream 多认证体系的实现方式
- 在本地或 Heroku 上搭建演示环境以评估其管理后台结构
- 参考其员工、学生费用与报表模块的数据管理设计
适合人群
- 需要学校管理后台起步模板的 Laravel 开发者
- 希望研究 Jetstream 用户与管理员双登录实现的开发者
- 计划在现有基础上扩展 ERP 功能的个人或小团队
上手与定制指南
结合仓库当前版本的说明,按下面的资料检查内容、配置与运行要求。
- 1
克隆项目后执行 composer install 安装依赖
- 2
在 phpMyAdmin 中创建 education_erp 数据库,并运行 php artisan migrate:fresh 迁移表结构
- 3
将 env.example 重命名为 .env 并填写配置,其中 Mailtrap 账号为重置密码和账号确认功能的必需步骤
- 4
创建账号后需在数据库中把该用户的 usertype 字段设为 Admin 才能使用管理功能
- 5
部署到服务器时需导入 education_erp.sql 并更新 .env 中的数据库配置;Heroku 部署需创建 Procfile 并设置 APP_KEY 等配置变量
授权与来源资料
使用条件与限制
免费使用 · 保留许可声明本次收录的是公开仓库中采用 MIT 许可的免费版本;免费范围为该版本代码,不代表外部服务或第三方素材免费。
使用时需要遵守
- 允许免费使用、修改、商用和分发该版本代码。
- 分发代码副本或实质性部分时,保留原作者版权声明和完整 MIT 许可声明。
- 代码按现状提供;担保与责任限制以原许可证及适用法律为准。
额外费用与待核对事项
- 本地运行必须注册 Mailtrap 账号并填写其邮件配置,否则无法使用重置密码和账号确认功能;这属于外部服务依赖,需自行注册并承担相应服务成本。
- 运行前需自行准备 MySQL 数据库(如通过 phpMyAdmin 创建 education_erp),项目本身不附带数据库服务。
- 注册账号后必须手动进入数据库把 usertype 字段改为 Admin,才能访问管理员功能,无法仅通过界面完成权限提升。
- Heroku 部署依赖 ClearDB MySQL 附加组件,属于第三方外部服务,可能产生额外费用或配额限制。
- 演示图片、字体、图标及其他第三方素材需按各自许可核对,不能仅凭代码的 MIT 许可判断。
- 域名、托管、数据库、支付或 AI 等外部服务可能另外收费。
查看原文依据
Permission is hereby granted, free of charge
许可证原文
Set up a [mailtrap account](https://mailtrap.io/) to enable reset password, and confirm account functionality. **Required Step**.
README 原文
Create the `education_erp` database within phpMyAdmin Panel
README 原文
Go into the phpMyAdmin panel and assign a usertype of `Admin` to your user record.
README 原文
https://github.com/mogrady-professional/Education-ERP-Laravel-8/blob/master/LICENSEhttps://github.com/mogrady-professional/Education-ERP-Laravel-8/blob/master/README.mdSelect `ClearDB MySQL`
README 原文
DeepSeek 根据仓库许可证和 README 整理 ·2026-10-02。结果仅覆盖已读取资料,依赖、图片、字体及后续条款变更以各自原文为准。
项目核对记录与介绍依据
模板资料
- 来源平台
- GitHub
- 资料与维护参考分
- 资料较完整 · 77 / 100
- 技术栈
- Laravel
- 网站类型
- 后台 · 企业官网 · 启动器
这个分数如何计算
本站按许可资料(最高30分)、演示链接(12分)、预览图(10分)、Star数(15分)、记录的维护时间(15分)、描述完整度(8分)、功能记录(5分)和分类资料(5分)计算。它不是代码、安全或性能测试,也不是 Google 评分;有链接不代表已实测可用。
这个项目需要核对什么
- 记录的仓库更新时间
- 2022-06-26
- 截图检查日期
- 2026-10-02
已收录演示链接。请用你的内容与屏幕尺寸检查;有演示不代表表单、认证或支付已经可用。
目录记录的主要技术栈是 Laravel。请通过依赖清单和锁文件核对实际版本与托管要求。这些说明基于收录资料,不代表代码审计或部署实测。
查看具体选型方法 →介绍的制作与核对状态
介绍由 AI 辅助整理目录与仓库资料。仓库作者不等于这篇介绍的审核者。
已完成服务器许可规则与 AI 来源核对;未经过人工编辑审核。
查看当时使用的来源资料
SHA-256: da7dec9a04fa79c803f1b139d4c95b113fdcc943a8bb2257603299858334c7f2
2026-10-02T18:54:55.460Z
来源文件 / 仓库<h1 align="center">Education ERP System - Laravel 8 CMS Project</h1>
<p align="center"><a href="https://laravel.com" target="_blank"><img src="https://raw.githubusercontent.com/laravel/art/master/logo-lockup/5%20SVG/2%20CMYK/1%20Full%20Color/laravel-logolockup-cmyk-red.svg" width="400"></a></p>
<p align="center"><img src="images/login.PNG" height="auto" width="100%"></p>
<p align="center"><img src="images/dash.PNG" height="auto" width="100%"></p>
<p align="center"><img src="images/sm.PNG" height="auto" width="100%"></p>
<p align="center"><img src="images/report.PNG" height="auto" width="100%"></p>
---
# Introduction
Education is an ERP System offering a complete school management system with staff, student expenses and report management functionality. The Application is built in Laravel 8 and is a complete end-to-end CMS (Content Management System) and is highly customizable. The initial project is a starter project with lots of room for improvement in terms of features and functionality that can be built upon. Multi authentication system built using Laravel Jetstream with User and Admin logins.
# Link to Project
> Hosted on Heroku on a ClearDB MySQL Database, using JetBrains DataGrip to connect to the database.
- [https://education-erp.herokuapp.com/](https://education-erp.herokuapp.com/)
# Developer Notes
Prior to deploying the application the following considerations need apply.
- Configuration Caching
- To give your application a speed boost, you should cache all of your configuration files into a single file using the config:cache Artisan command. This will combine all of the configuration options for your application into a single file which can be quickly loaded by the framework. [See here](https://laravel.com/docs/9.x/configuration#configuration-caching)
- Run:
- `php artisan config:cache`
- Application cache
- The application cache is the primary cache in Laravel. It stores everything that you manually cache in your application. You can clear only specific elements of the cache if you use tags or different cache stores. The easiest way to clear the Laravel cache is via artisan:
- Run:
- `php artisan cache:clear`
- View cache
- Another part of the application that has a cache is the view cache. The view cache stores rendered Blade templates to speed up your application. You can manually render all views to increase the performance by using the artisan command for it:
- Run:
- `php artisan view:clear`
# Instructions to run project locally
1. Download/Clone Project
2. Run `composer install` within the project directory to install dependencies for the project (ensure composer is installed on your system)
3. Create the `education_erp` database within phpMyAdmin Panel
4. Run `php artisan migrate:fresh` to migrate the database
5. Rename `env.example` to `.env` (sample environment variables for Laravel) and populate with your details:
1. Set up a [mailtrap account](https://mailtrap.io/) to enable reset password, and confirm account functionality. **Required Step**.
2. Populate the file with the details from your mailtrap account.
6. Run `php artisan serve` to starting a Laravel development server on http://127.0.0.1:8000
7. Create an account
1. Go into the phpMyAdmin panel and assign a usertype of `Admin` to your user record.
# Routes
- Login to Dashboard `http://127.0.0.1:8000`
# Deploying on a Server
- Compress the project folder by adding to a .zip directory for uploading to the server and extracting.
- Create a MySQL database with your hosting provider and import the `education_erp.sql` file to create the tables and populate the data.
- Update the database configuration in the `.env` file (e.g. database name, username, password etc.)
- Errors?
- `Specified key was too long?`:
- `HTTPS Errors?`
Update the following in `AppServiceProvider.php` the code should be self explainatory.
```php
<?php
namespace App\Providers;
use Illuminate\Support\ServiceProvider;
use Illuminate\Support\Facades\Schema;
use Illuminate\Support\Facades\URL;
class AppServiceProvider extends ServiceProvider
{
/**
* Register any application services.
*
* @return void
*/
public function register()
{
//
Schema::defaultStringLength(191);
}
/**
* Bootstrap any application services.
*
* @return void
*/
public function boot()
{
//
if(config('app.env') === 'production') {
URL::forceScheme('https');
}
}
}
```
# Deploying on Heroku
> Credentials for this project are redacted for security reasons. Step-by-step instructions below.
- [Heroku - Getting Started with Laravel](https://devcenter.heroku.com/articles/getting-started-with-laravel)
## Prepare Git
- `git init`
- `git add .`
- `git commit -m "new laravel project"`
## Create a Procfile
This is required to tell Heroku where to serve the project from. i.e. with Laravel this must be from the public folder.
- `echo "web: vendor/bin/heroku-php-apache2 public/" > Procfile`
- `git add .`
- `git commit -m "Procfile for Heroku"`
## Create Application
- `heroku create`
- Set a Laravel encryption key
- `php artisan key:generate --show`
- `heroku config:set APP_KEY=<your_app_key_goes_here>`
- Deploy
- `git push heroku master`
## Set up Database
- Configure Add-ons
- Select `ClearDB MySQL`
- This will generate a MySQL database and generate credentials (connection string with database name, username, password) in Config Vars (`CLEARDB_DATABASE_URL`)
## Config Vars
| Key | Value |
| -------------------- | -------------------------- |
| APP_KEY | \<your_app_key_goes_here> |
| CLEARDB_DATABASE_URL | \<automatically_generated> |
| APP_DEBUG | False |
| DB_CONNECTION | mysql |
| DB_DATABASE | \<database_name_goes_here> |
| DB_HOST | \<host_goes_here> |
| DB_PASSWORD | \<password_goes_here> |
| DB_PORT | 3306 |
| DB_USERNAME | \<username_goes_here> |
| APP_ENV | production |
## Migrate the Tables
- Settings
- Run Console
- `php artisan migrate:fresh`
## Connect to the Database
Use a tool such as [DataGrip](https://www.jetbrains.com/help/datagrip/meet-the-product.html) by JetBrains to connect to the Database remotely.
- Create a user through the Admin Panel Login
- Update the record in the database and add `Admin` to the `usertype` field in the record to access admin features.
## Enforcing HTTPS for Production
- Within `AppServiceProvider.php` inside the `boot` function add the following
```php
use Illuminate\Support\Facades\URL;
public function boot()
{
//
if(config('app.env') === 'production') {
URL::forceScheme('https');
}
}
```
## Setting the Default String Length
If errors occur, add the following to the `register` function within the same file:
```php
use Illuminate\Support\Facades\Schema;
public function register()
{
//
Schema::defaultStringLength(191);
}
```
看看同类模板
对比同技术栈与用途的模板,找到更适合的视觉与内容结构。
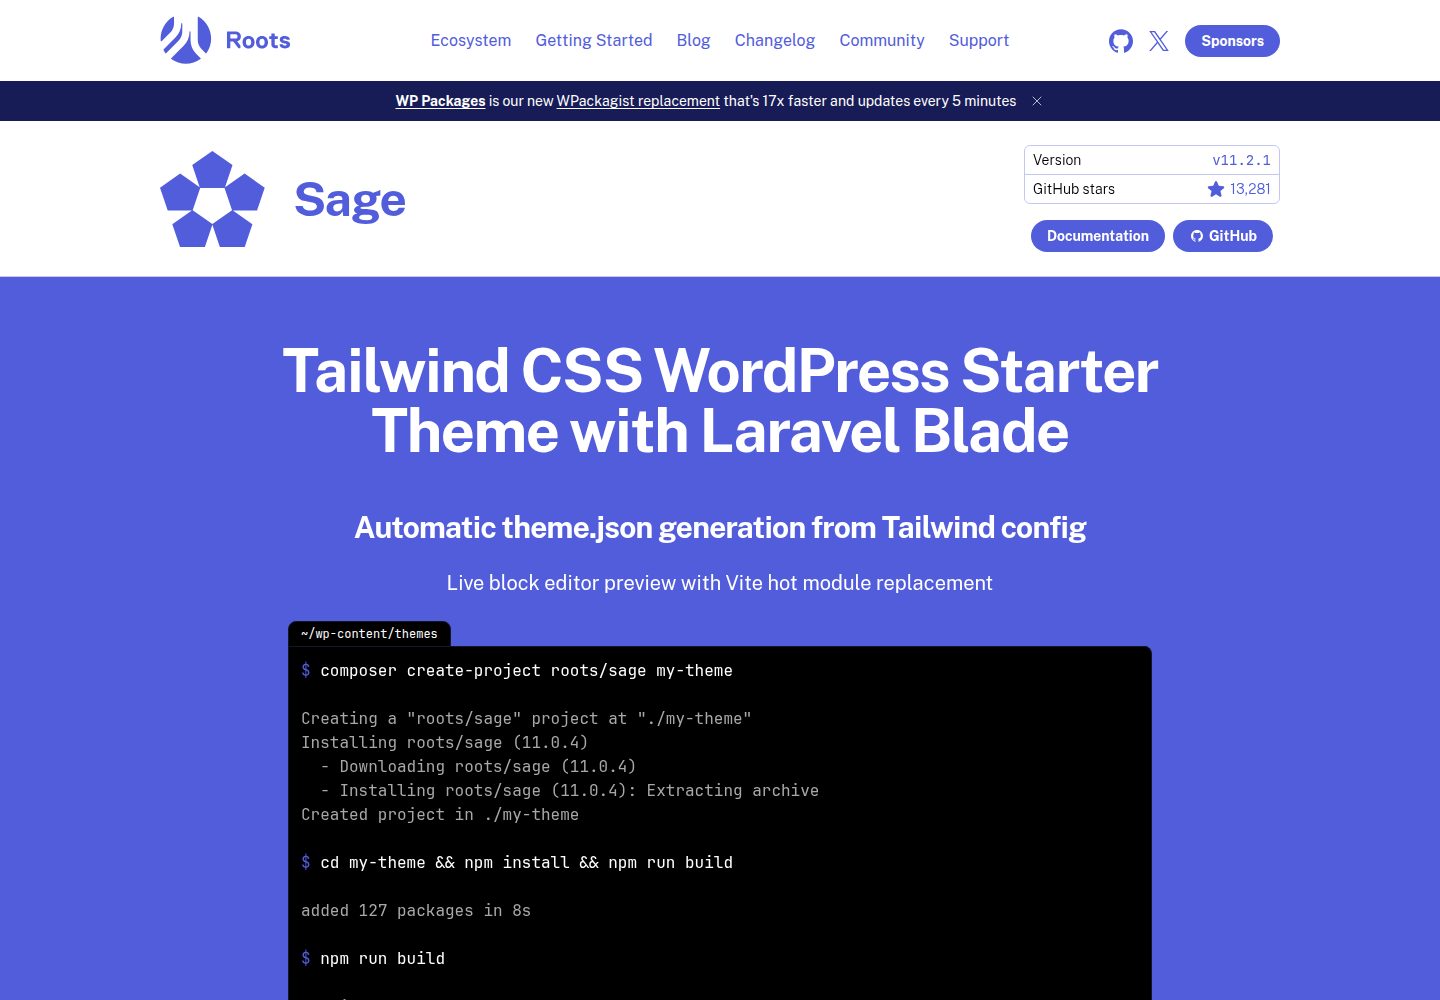
sage
WordPress starter theme with Laravel Blade components and templates, Tailwind CSS, and block editor support
Laravel · 启动器
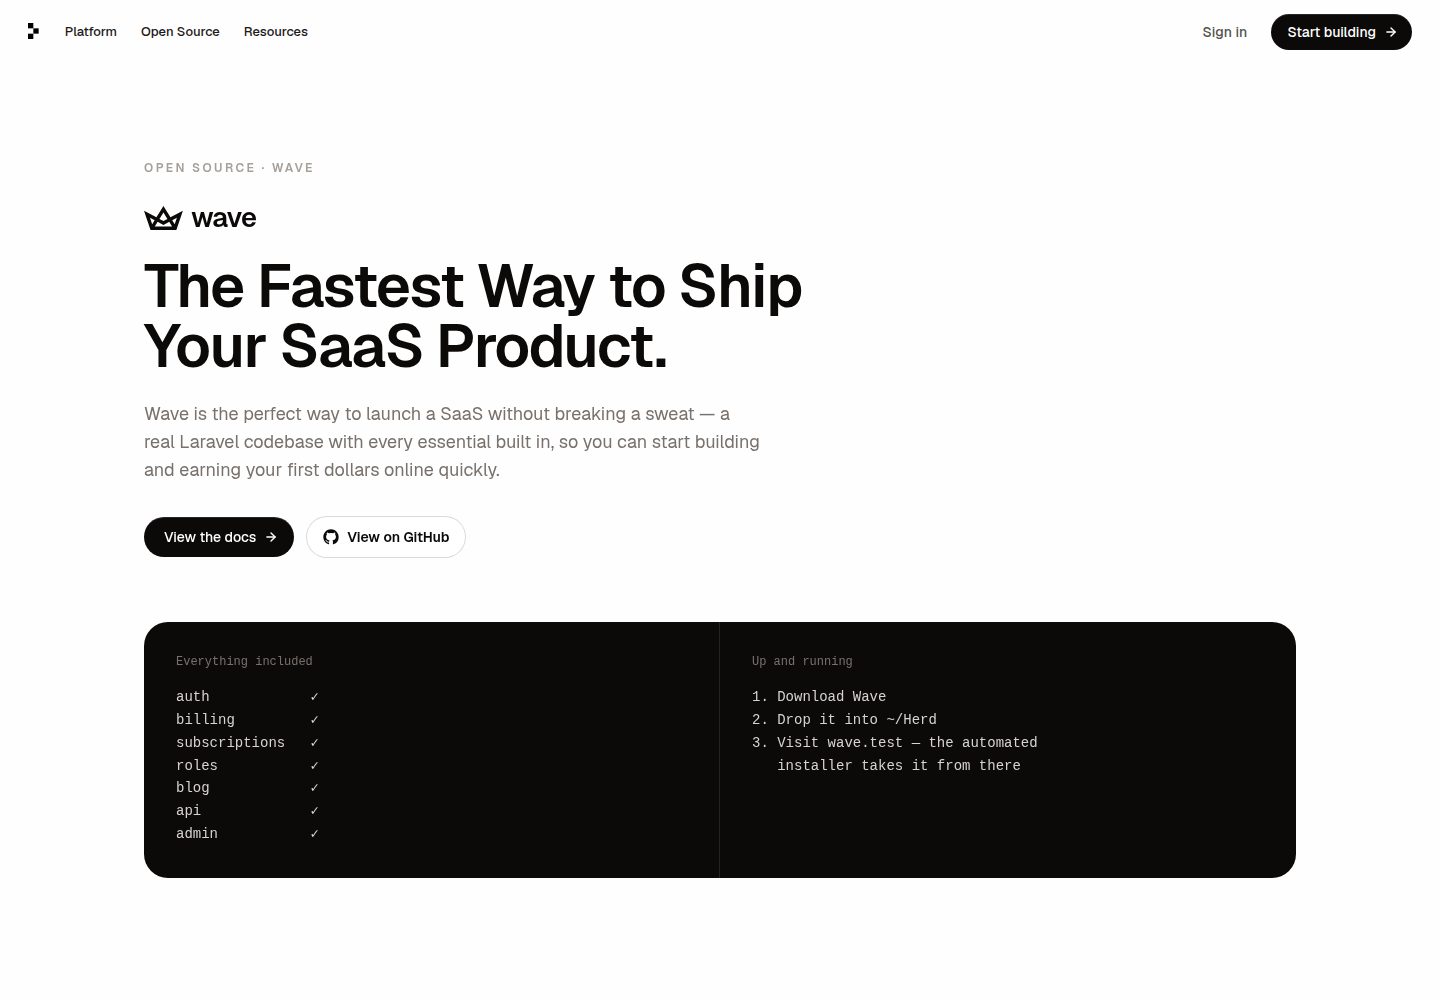
wave
Wave - The Software as a Service Starter Kit, designed to help you build the SAAS of your dreams 🚀 💰
Laravel · SaaS
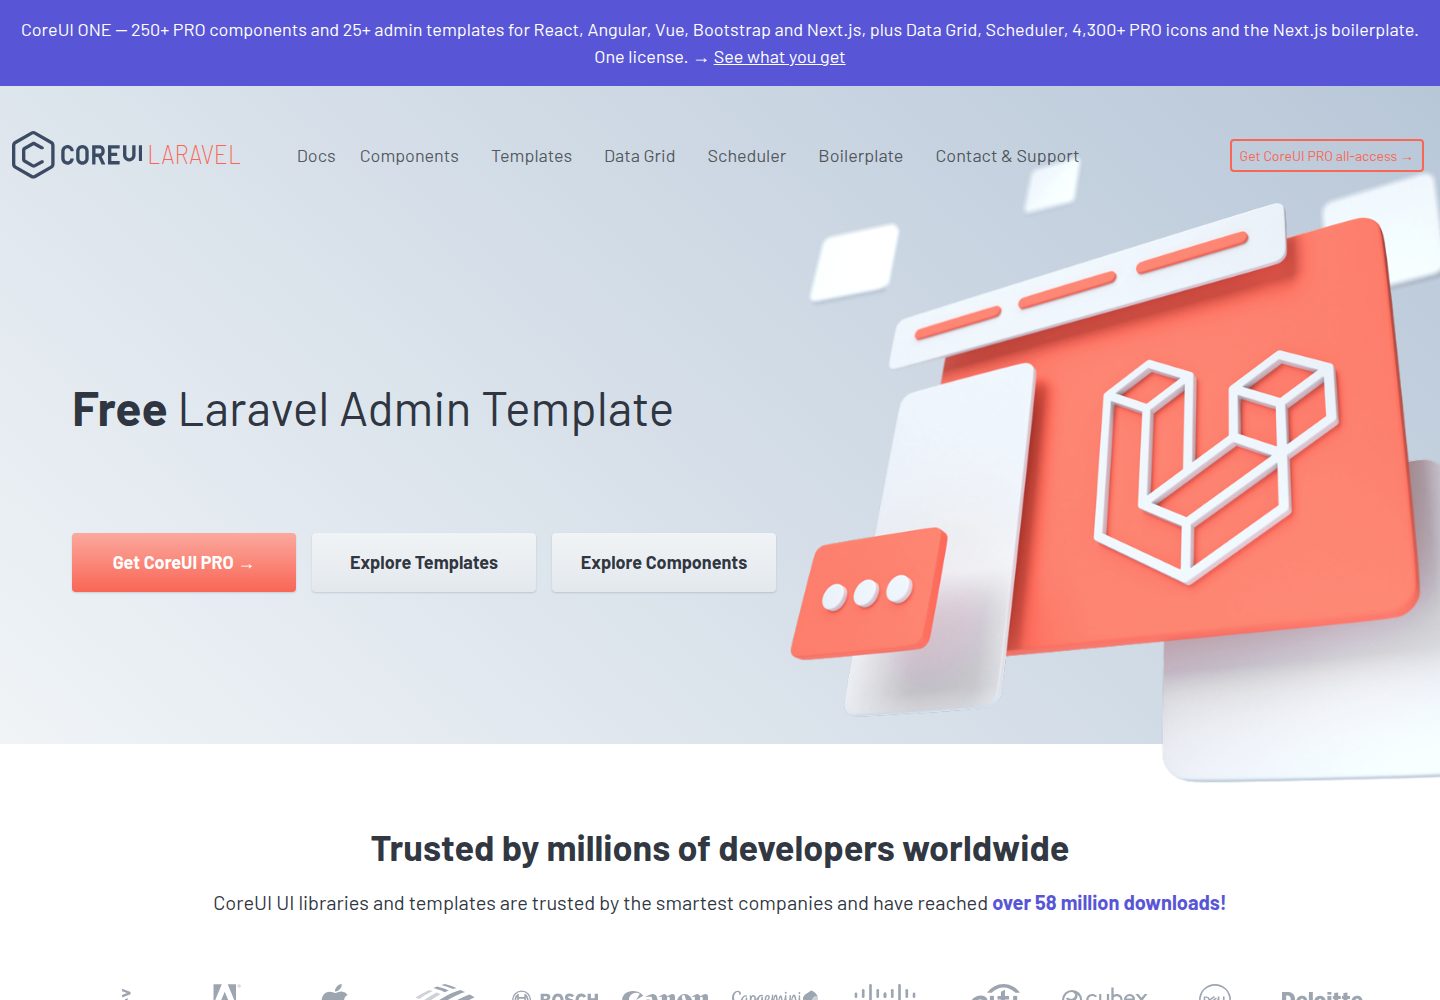
coreui-free-laravel-admin-template
CoreUI Free Laravel Bootstrap Admin Template
Laravel · 后台
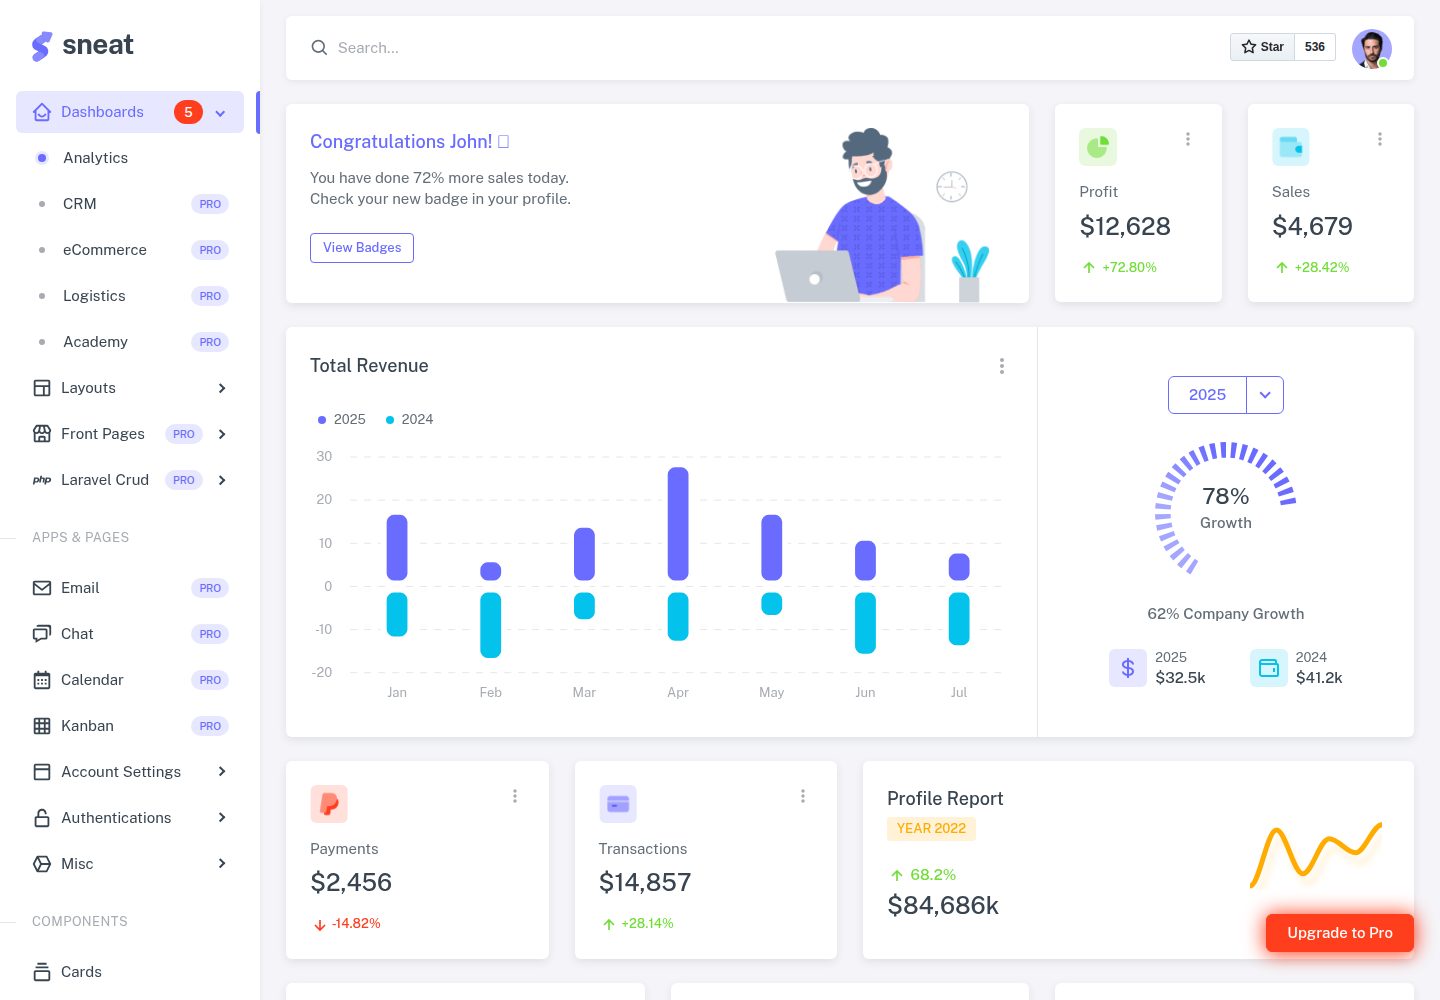
sneat-bootstrap-html-laravel-admin-template-free
Most Powerful & Comprehensive Free Bootstrap 5 HTML Laravel Admin Dashboard Template built for developers!
Laravel · 后台
filament-starter
A beautiful starting point for your next TALL stack project using Filament. ⚡
Laravel · 启动器
electrik
Laravel SaaS starter kit: auth, teams, Stripe billing, and Slate 3 — Composer package for Laravel 12
Laravel · SaaS