
单页布局配合平滑滚动,头部为 particles.js 粒子动画背景
Jekyll作品集
jekyll-theme-minimal-resume — Jekyll 作品集模板
作者 murraco
基于 Jekyll 的单页极简简历主题,内容由 _config.yml 与 YAML 数据文件驱动,适合开发者搭建个人简历页。
看看你的网站会是什么样
浏览真实页面截图,比较内容排版与手机效果。点击下方缩略图切换,放大查看整页细节。
目前有 1 张原始预览,可打开完整图片查看设计细节。
截图用于了解视觉与布局,交互效果请以实际项目为准。
采集于 2026-10-01查看来源
值得关注的模板亮点
从已有项目资料中,快速了解它的特点。
站点信息与技能栏分别由 _config.yml 和 _data/expertise.yml 驱动,无需改大段 HTML
Sass 按区块拆分,颜色与断点集中在 src/styles/_vars.scss 便于调整
自托管 Font Awesome 与 Devicon 字体,页面不请求第三方资源
包含 Docker Compose 预览配置,可在不安装 Ruby 和 Node 的情况下查看效果
输出为纯静态文件,可部署到 GitHub Pages、Netlify 或任意静态托管
模板详细介绍
这是一个用 Jekyll 构建的单页简历主题,页面结构为平滑滚动的单页布局,顶部是带 particles.js 粒子动画的头部区域,展示姓名、头衔与社交链接,下方依次是 About 与可选的统计条。内容不写死在 HTML 里,站点与个人信息放在 _config.yml,"What I Do" 三栏技能区由 _data/expertise.yml 渲染,统计条由 _data/stats.yml 渲染(默认关闭)。样式用 Sass 编写,按区块拆分为 _header、_about、_stats、_footer 等 partial,颜色与断点集中在 src/styles/_vars.scss;前端不依赖框架和 jQuery,锚点滚动由 sweet-scroll 处理,图标使用自托管的 Font Awesome 与 Devicon,页面不发起第三方请求。构建流程是 Gulp 先把 src/ 下的 Sass 与 JavaScript 编译到 assets/,再交给 Jekyll 输出静态站点;assets/ 是生成目录且已提交,便于 GitHub Pages 直接托管。主题通过 github-pages gem 使用 Jekyll 3.10,本地构建结果与 GitHub Pages 一致。仓库没有自动化测试,改动后需用 npm run build 构建并打开 _site/ 下的页面自行验证。
Jekyll作品集
适合你的项目吗?
适用场景
- 开发者搭建个人在线简历或作品集首页
- 用 YAML 数据文件维护技能栏与统计信息,避免直接编辑 HTML
- 通过 Docker 快速预览主题效果而不在本地安装 Ruby 与 Node
- 部署到 GitHub Pages 或 Netlify 作为静态站点
适合人群
- 熟悉 Jekyll 或愿意使用静态站点生成器的开发者
- 需要单页极简简历、不想要多页面结构的个人用户
- 希望用数据文件而非 HTML 维护内容的站点维护者
- 需要纯静态输出并自行选择托管平台的用户
上手与定制指南
结合仓库当前版本的说明,按下面的资料检查内容、配置与运行要求。
- 1
本地开发需 Ruby 3.3.6(由 .ruby-version 固定)、Bundler 与 Node.js 20 或更新版本
- 2
先执行 bundle install 与 npm install,再用 npm run build 构建,npm run serve 启动带实时刷新的预览
- 3
assets/ 是 Gulp 生成目录,应修改 src/ 下的源文件并重新构建,否则改动会被覆盖
- 4
部署前需在 _config.yml 中正确填写 url 与 baseurl,否则 Open Graph 与 JSON-LD 的绝对图片地址无法解析
- 5
仓库没有自动化测试,改动后需构建并打开 _site/ 下的页面手动验证
授权与来源资料
使用条件与限制
免费使用 · 保留许可声明本次收录的是公开仓库中采用 MIT 许可的免费版本;免费范围为该版本代码,不代表外部服务或第三方素材免费。
使用时需要遵守
- 允许免费使用、修改、商用和分发该版本代码。
- 分发代码副本或实质性部分时,保留原作者版权声明和完整 MIT 许可声明。
- 代码按现状提供;担保与责任限制以原许可证及适用法律为准。
额外费用与待核对事项
- README 中的支持段落仅为自愿捐赠请求,不构成使用限制,也不影响 MIT 许可下的免费使用。
- 主题本身不需要 API 密钥或 .env 文件,所有自定义均通过 _config.yml 与 HTML include 完成。
- Docker 预览方式需要本地安装 Docker 与 Docker Compose V2;不使用 Docker 时可改用 Ruby/Node 本地构建。
- 演示图片、字体、图标及其他第三方素材需按各自许可核对,不能仅凭代码的 MIT 许可判断。
- 域名、托管、数据库、支付或 AI 等外部服务可能另外收费。
查看原文依据
Permission is hereby granted, free of charge
许可证原文
If this project helped you, consider buying me a coffee
README 原文
This theme does not require API keys or `.env` files.
README 原文
https://github.com/murraco/jekyll-theme-minimal-resume/blob/master/LICENSEhttps://github.com/murraco/jekyll-theme-minimal-resume/blob/master/README.mdRequirements: [Docker](https://docs.docker.com/get-docker/) and [Docker Compose V2]
README 原文
DeepSeek 根据仓库许可证和 README 整理 ·2026-10-01。结果仅覆盖已读取资料,依赖、图片、字体及后续条款变更以各自原文为准。
项目核对记录与介绍依据
模板资料
- 来源平台
- GitHub
- 资料与维护参考分
- 资料较完整 · 91 / 100
- 技术栈
- Jekyll
- 网站类型
- 作品集
这个分数如何计算
本站按许可资料(最高30分)、演示链接(12分)、预览图(10分)、Star数(15分)、记录的维护时间(15分)、描述完整度(8分)、功能记录(5分)和分类资料(5分)计算。它不是代码、安全或性能测试,也不是 Google 评分;有链接不代表已实测可用。
这个项目需要核对什么
- 记录的仓库更新时间
- 2026-08-24
- 截图检查日期
- 2026-10-01
已收录演示链接。请用你的内容与屏幕尺寸检查;有演示不代表表单、认证或支付已经可用。
目录记录的主要技术栈是 Jekyll。请通过依赖清单和锁文件核对实际版本与托管要求。这些说明基于收录资料,不代表代码审计或部署实测。
查看具体选型方法 →介绍的制作与核对状态
介绍由 AI 辅助整理目录与仓库资料。仓库作者不等于这篇介绍的审核者。
已完成服务器许可规则与 AI 来源核对;未经过人工编辑审核。
查看当时使用的来源资料
SHA-256: 028e08fd944d9fe5224a855b83cb88ccdff29aea2bc6f07f63e3be922c44b95a
2026-10-01T04:18:16.207Z
来源文件 / 仓库# Minimal Resume -- Jekyll Theme
A clean, single-page resume theme built with Jekyll. Designed for developers who want a professional minimal resume without the bloat.
[Live Demo](https://jekyll-theme-minimal-resume.netlify.app) -- [Report a Bug](https://github.com/murraco/jekyll-theme-minimal-resume/issues)
[](https://app.netlify.com/sites/jekyll-theme-minimal-resume/deploys)
[](https://jekyll-theme-minimal-resume.netlify.app)
## Features
- Single-page layout with smooth scrolling
- Particle.js animated header
- Data-driven expertise section (no HTML editing needed)
- Responsive design (mobile-first)
- Social/SEO meta tags and JSON-LD structured data
- Sass-based styling with simple color customization
- Docker support for quick preview
- Deploys to GitHub Pages, Netlify, or any static host
## Stack
- **Site generator:** Jekyll 3.10 via the `github-pages` gem, so what builds locally is what GitHub Pages builds. Content comes from `_config.yml` and YAML data files, not hardcoded HTML.
- **Styling:** Sass, one partial per section (`_header`, `_about`, `_stats`, `_footer`), with colors and breakpoints in `src/styles/_vars.scss`.
- **Build:** Gulp compiles Sass and JavaScript from `src/` into `assets/`, then hands off to Jekyll. `npm run serve` watches both and reloads the browser.
- **Front-end:** no framework and no jQuery. particles.js draws the animated hero background, sweet-scroll handles anchor scrolling.
- **Icons:** Font Awesome for social links, Devicon for the technology logos in the expertise grid. Both are self-hosted from `assets/fonts`, so the page makes no third-party requests.
- **Deployment:** plain static output. Netlify, GitHub Pages, or any static host. Docker Compose is included for a preview with no Ruby or Node installed.
## File structure
```
jekyll-theme-minimal-resume/
│
├── _config.yml # site and user settings (name, title, bio, social handles)
├── index.html # entry page; layout does the work
│
├── _data/
│ ├── expertise.yml # "What I Do" panels: titles, copy, Devicon icon names
│ └── stats.yml # optional stat band (disabled by default in the layout)
│
├── _includes/
│ ├── head.html # meta tags, Open Graph, JSON-LD structured data
│ ├── header.html # hero: name, title, social icons
│ ├── about.html # renders _data/expertise.yml
│ ├── stats.html # renders _data/stats.yml
│ └── footer.html # footer and script tags
│
├── _layouts/
│ └── default.html # assembles the includes
│
├── src/ # sources; edit these, not assets/
│ ├── styles/ # Sass partials + main.scss
│ ├── js/app.js # particles.js and sweet-scroll config
│ └── fonts/ # Font Awesome and Devicon webfonts
│
├── assets/ # Gulp output; committed so GitHub Pages can serve it
├── gulpfile.js # sass, js, fonts, and jekyll tasks
└── docker-compose.yml # preview stack (see docker-compose.dev.yml for live edits)
```
> `assets/` is generated. Edit `src/` and run `npm run build`, otherwise your changes are overwritten on the next build.
## Quick start
1. Install Ruby 3.3.6 (pinned in `.ruby-version`), [Bundler](https://bundler.io/), and Node.js 20 or newer.
2. Fork this repository and clone your fork.
3. Copy or edit `_config.yml` to personalize your site (see [Settings](#settings)).
## Development (local)
Styles and scripts are built from `src/` into `assets/` with **Gulp**; Jekyll then copies them into `_site`.
1. **Ruby dependencies:** the repo pins **Ruby 3.3.6** in `.ruby-version` so Bundler can resolve `github-pages`. With rbenv or asdf, `rbenv install` / `asdf install` picks it up automatically, then:
```bash
bundle install
```
`Gemfile.lock` is committed and the Docker image installs from it too, so local builds, container builds, and GitHub Pages all resolve the same gem versions. If `bundle` complains it cannot find the bundler version the lockfile was built with, install it (`gem install bundler:2.5.22`) or run `bundle update --bundler`. Running against your system Ruby instead of the pinned one is the usual cause.
2. **Node dependencies**:
```bash
npm install
```
3. **One-off build** (compile Sass/JS, then Jekyll):
```bash
npm run build
```
4. **Live reload** (Gulp compiles `src/` into `assets/`; `jekyll serve --livereload` serves the
site and refreshes the browser):
```bash
npm run serve
```
Or preview without the asset watcher after a build:
```bash
npm run build && bundle exec jekyll serve
```
## Docker
Requirements: [Docker](https://docs.docker.com/get-docker/) and [Docker Compose V2](https://docs.docker.com/compose/install/) (`docker compose`).
### Quick preview (site built inside the image)
Use this to try the theme without installing Ruby or Node on your machine.
```bash
docker compose up --build
```
Open [http://localhost:4000](http://localhost:4000). The site is baked into the image, so restart the container to pick up changes, or use the [local workflow with `npm run serve`](#development-local) for live reload.
- **Build only** (output stays in the container, no HTTP server):
```bash
docker compose run --rm site bundle exec jekyll build
```
To write `_site` on the host:
```bash
docker compose run --rm -v "$(pwd)/_site:/out" site \
sh -c "bundle exec jekyll build --destination /out"
```
### Development with the repo bind-mounted
Edits to `_config.yml`, `_includes/`, `src/`, etc. apply after you **restart** the container (the entrypoint runs `bundle install`, `npm ci`, and `npm run build` again). Named volumes cache gems and `node_modules` so the host tree does not need local `node_modules`.
```bash
docker compose -f docker-compose.yml -f docker-compose.dev.yml up --build
```
Stop with `Ctrl+C` or `docker compose down`. Volumes `jekyll_bundle` and `jekyll_node_modules` persist until you remove them (e.g. `docker volume rm`).
### Optional environment variables (development)
| Variable | Default | Description |
|---------------|---------|--------------------------|
| `JEKYLL_PORT` | `4000` | HTTP port for Jekyll |
Example:
```bash
JEKYLL_PORT=8080 docker compose -f docker-compose.yml -f docker-compose.dev.yml up
```
If you change the port, map it in `docker-compose.yml` as well (e.g. `"8080:8080"`).
### Environment variables
This theme does not require API keys or `.env` files. All customization is done via `_config.yml` and HTML includes.
## Settings
Fill in the following in `_config.yml` to customize your site.
### Site settings
```yml
description: A short description for meta tags
baseurl: "" # subpath of your site, e.g. /blog/
url: "https://your-domain.example" # full site URL including protocol (needed for canonical URLs, Open Graph, and JSON-LD)
lang: en # document language (<html lang="...">)
social_image: /assets/favicon.png # Open Graph / Twitter preview image (path from site root)
og_locale: en_US # optional; og:locale meta tag
theme_color: "#1a222c" # optional; mobile browser chrome color
```
### User settings
```yml
username: Your Name
user_description: Short bio shown on the page
user_title: Your headline
email: [email protected]
linkedin_username: yourprofile
github_username: yourprofile
```
> Set `url` and `baseurl` correctly before you deploy (GitHub Pages, Netlify, etc.). Social preview tags (`og:image`, etc.) need a valid `url` so absolute image URLs resolve.
### Expertise section (skills columns)
The three columns under "What I Do" are driven by **`_data/expertise.yml`**: the section heading, plus a title, body copy, optional highlight caption, and Devicon class names per column (see [Devicon](https://devicon.dev/) for available icons bundled in the theme CSS). Edit that file instead of large HTML blocks.
After changing `_data/expertise.yml`, rebuild with Jekyll (or `npm run build` / `npm run serve`).
### Color and particle customization
- **Colors:** edit Sass variables under `src/styles/` (for example `src/styles/_vars.scss`).
- **Particles:** edit the configuration in `src/js/app.js` (see [particles.js](https://github.com/VincentGarreau/particles.js/) for options). After changes, run `npm run build` or `npm run serve` so `assets/js/main.js` is regenerated.
### Content
Edit `_includes/header.html` and `_includes/footer.html` for social links and layout. Use **`_data/expertise.yml`** for the expertise grid (see above). Add more pages via `index.html` or new files in the project root. Example link markup:
```html
<a aria-label="My Github" target="_blank" rel="noopener noreferrer" href="https://github.com/youruser">
<i class="icon fa fa-github-alt" aria-hidden="true"></i>
</a>
```
## Testing
There are no automated tests in this repository; verify changes with `npm run build` and by opening the generated site under `_site/`.
## Author
**Mauricio Urraco** -- Software Engineer with 10+ years of experience.
- [GitHub](https://github.com/murraco)
- [LinkedIn](https://www.linkedin.com/in/murraco)
## Credits
- [Nathan Randecker](https://github.com/nrandecker)
## Contribution
- Report issues
- Open pull request with improvements
- Spread the word
- Reach out to me directly at <[email protected]>
## License
Released under the [MIT License](LICENSE).
## Support
If this project helped you, consider buying me a coffee ☕️
[](https://ko-fi.com/murraco)
看看同类模板
对比同技术栈与用途的模板,找到更适合的视觉与内容结构。
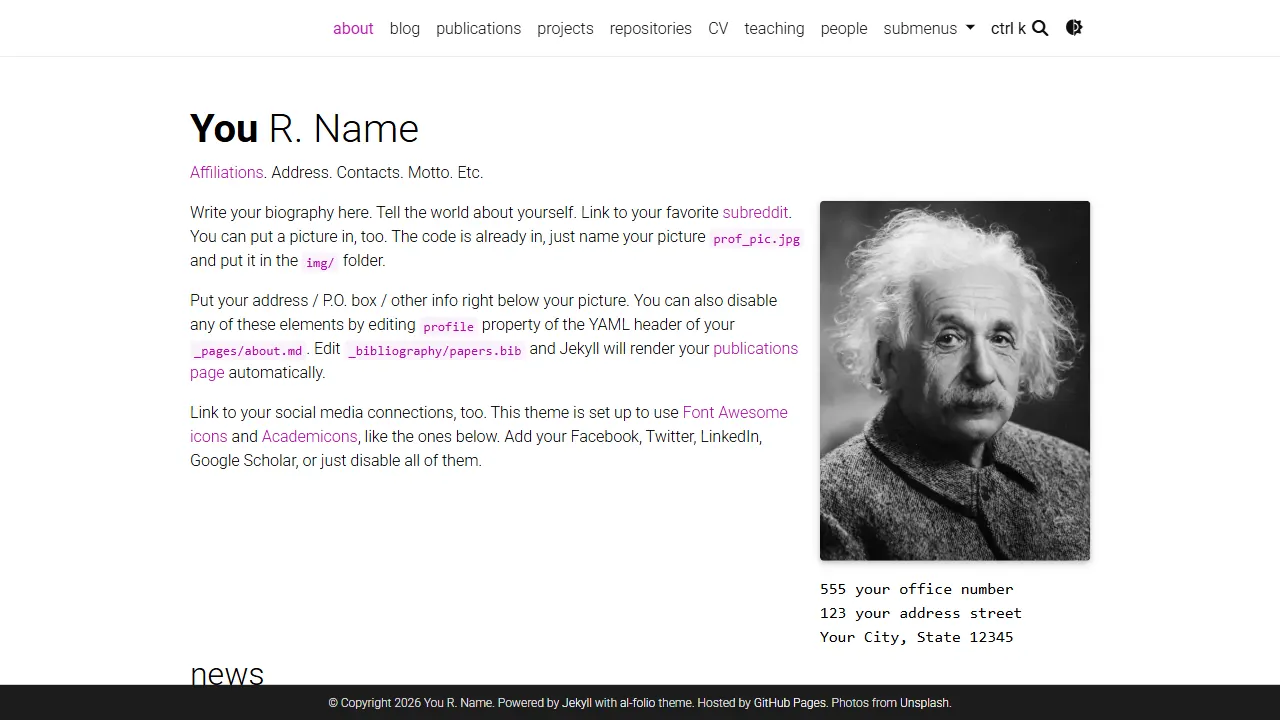
al-folio
al-folio 是一个面向学者与研究人员的 Jekyll 作品集主题,设计简洁、响应式,适合搭建个人学术主页。
Jekyll · 作品集
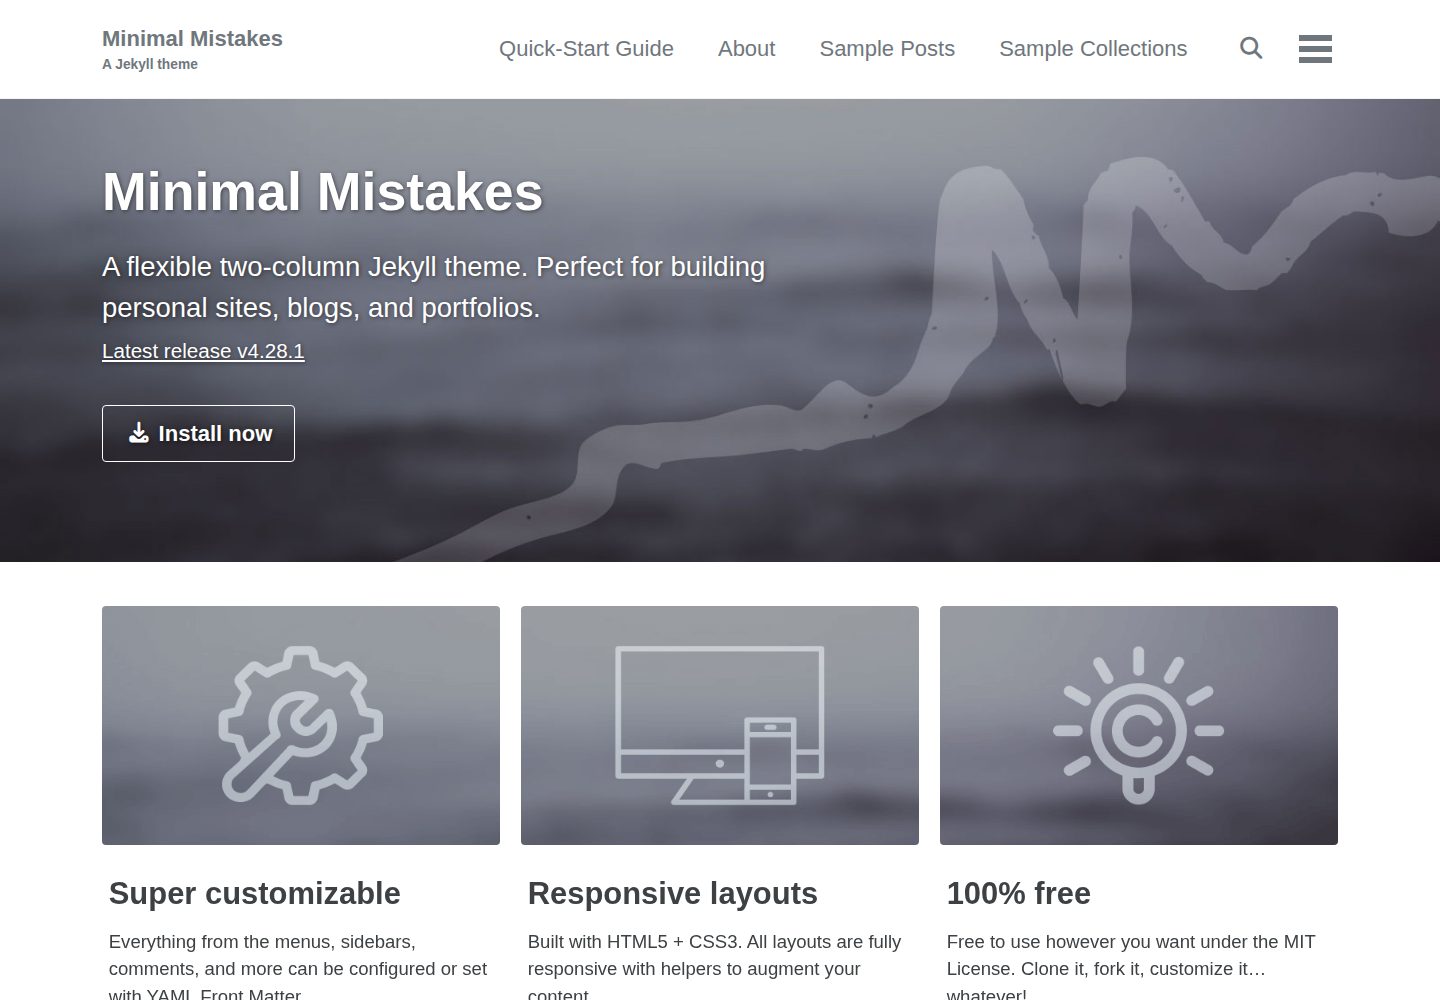
minimal-mistakes
:triangular_ruler: Jekyll theme for building a personal site, blog, project documentation, or portfolio.
Jekyll · 作品集
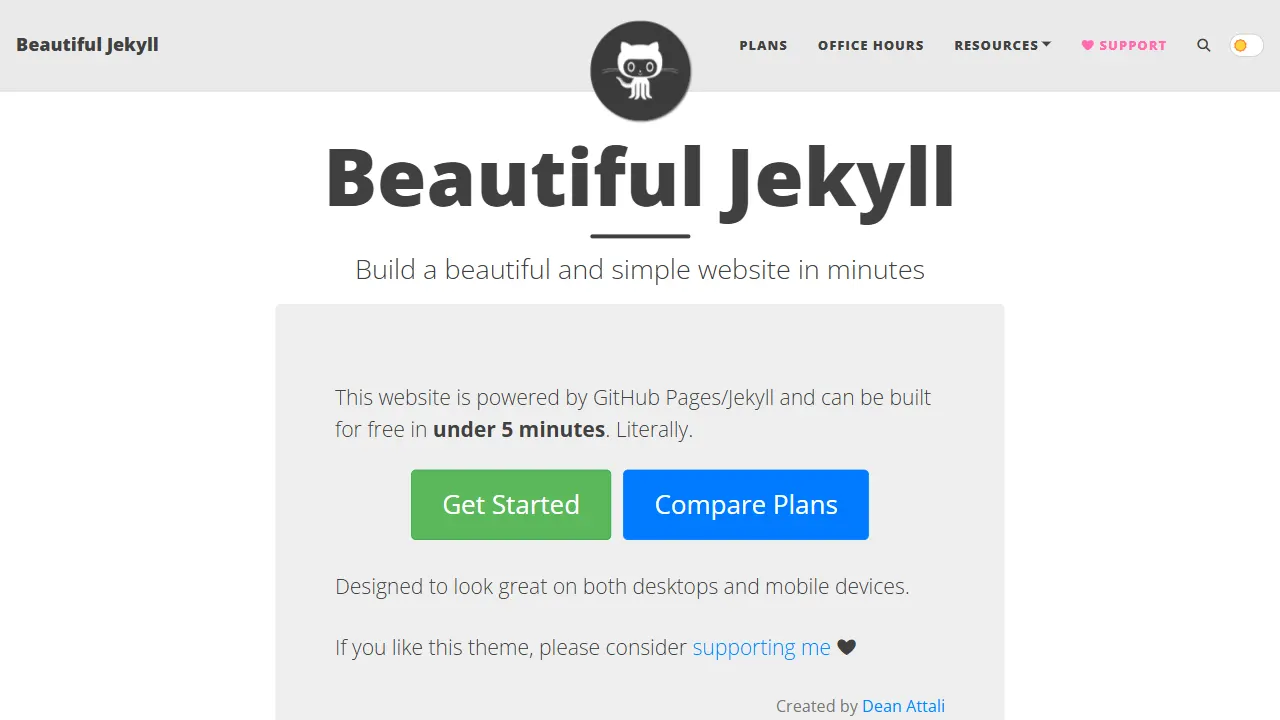
Beautiful Jekyll
Beautiful Jekyll 是一个在 Jekyll 生态中经过长期打磨的博客主题,由 Dean Attali 维护,自 2015 年起积累了超过 5 万用户。
Jekyll · 博客
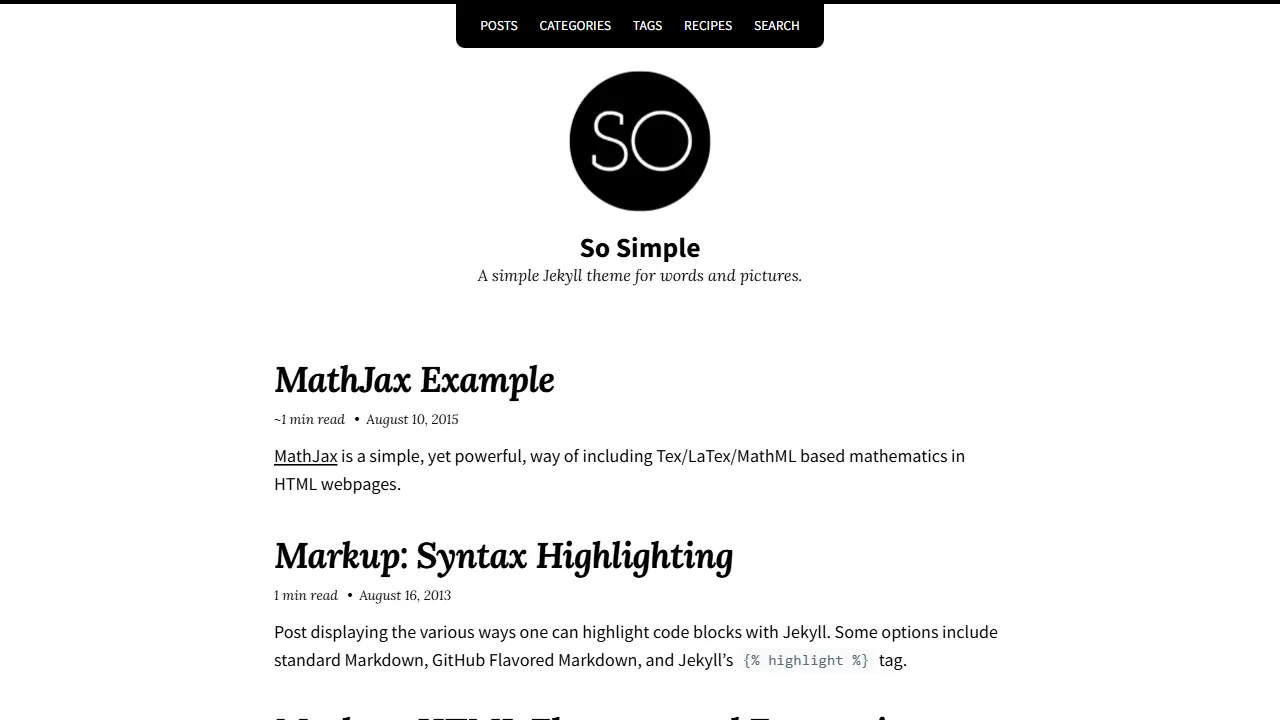
So Simple
So Simple 是 Michael Rose 开发的 Jekyll 主题,定位清晰:为文字和图片提供一个干净、可读性强的展示框架。
Jekyll · 博客
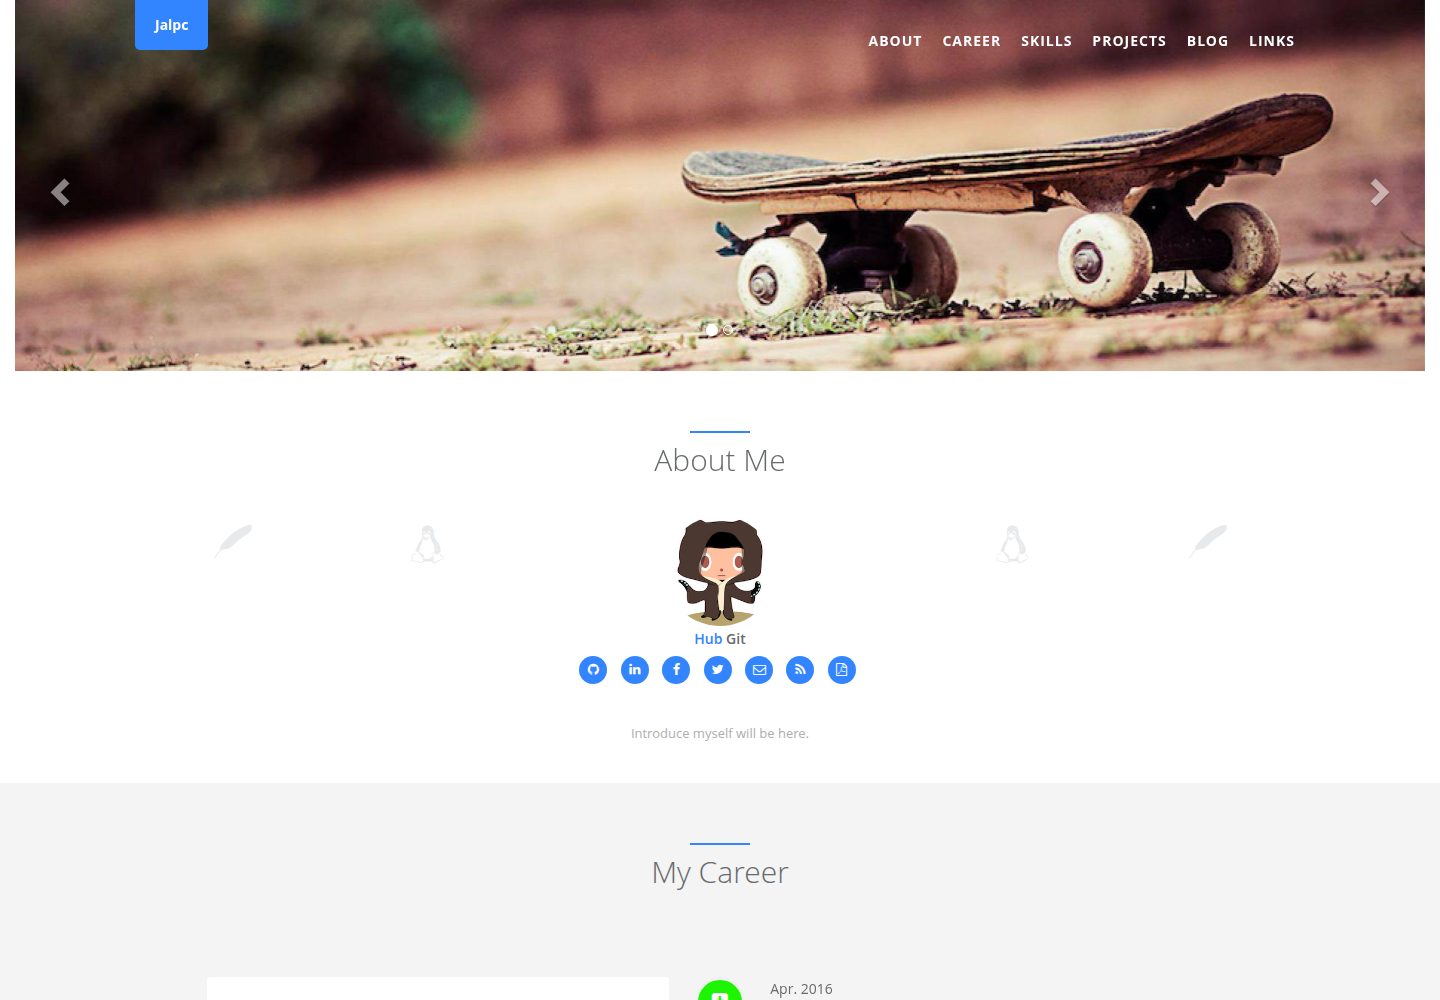
Jalpc
🍎Jalpc -- A flexible Jekyll theme, 3 steps to build your website.
Jekyll · 作品集
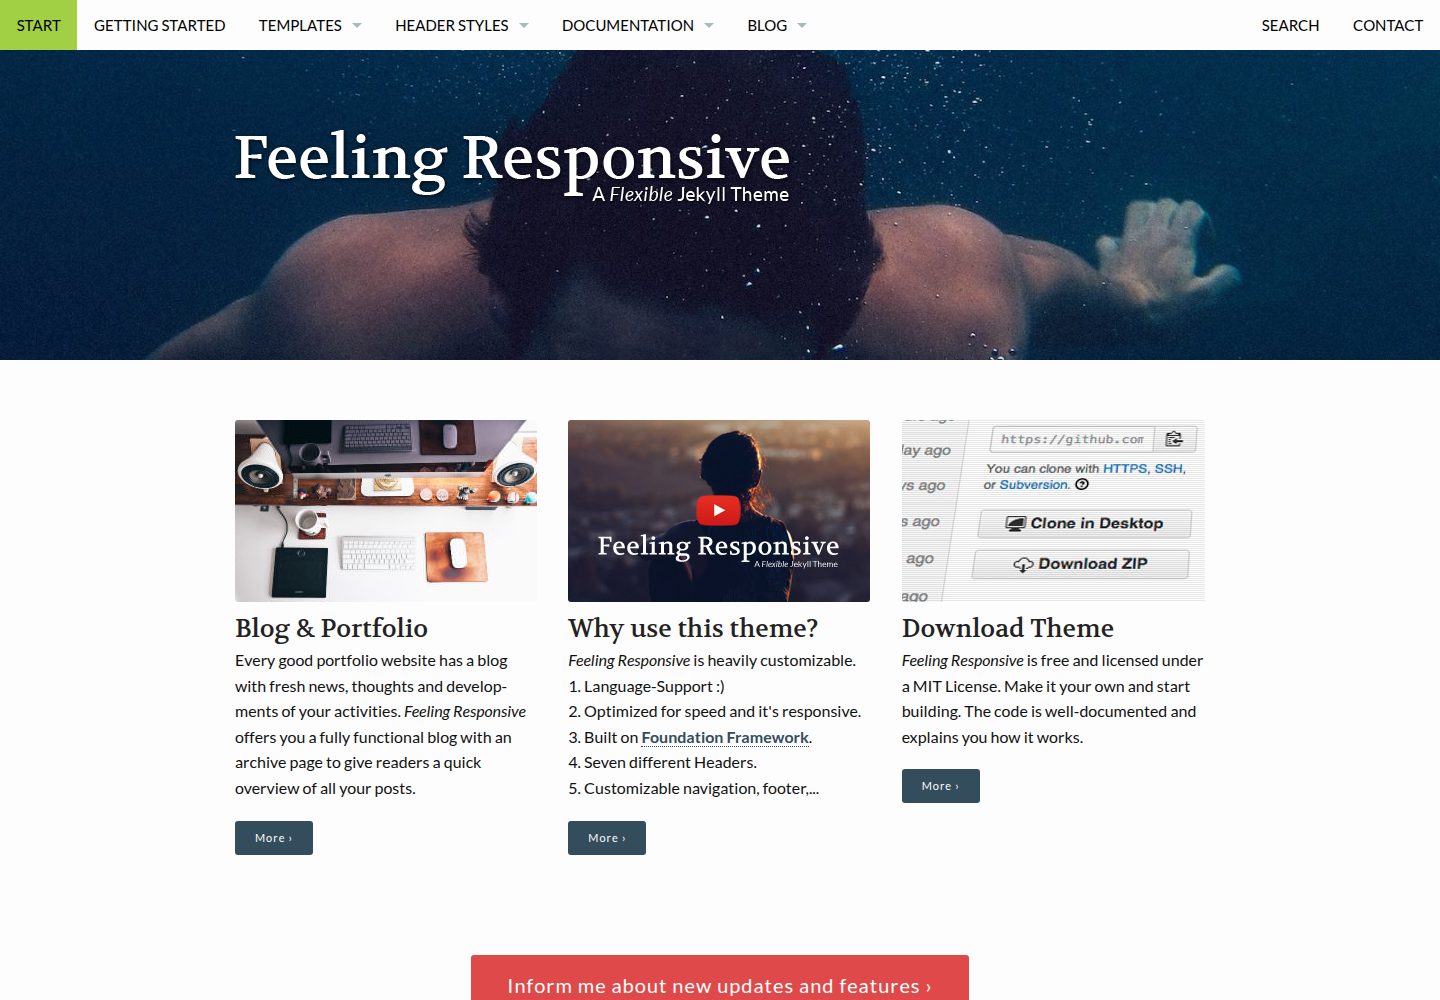
feeling-responsive
»Feeling Responsive« is a free flexible theme for Jekyll built on Foundation framework. You can use it for you…
Jekyll · 作品集