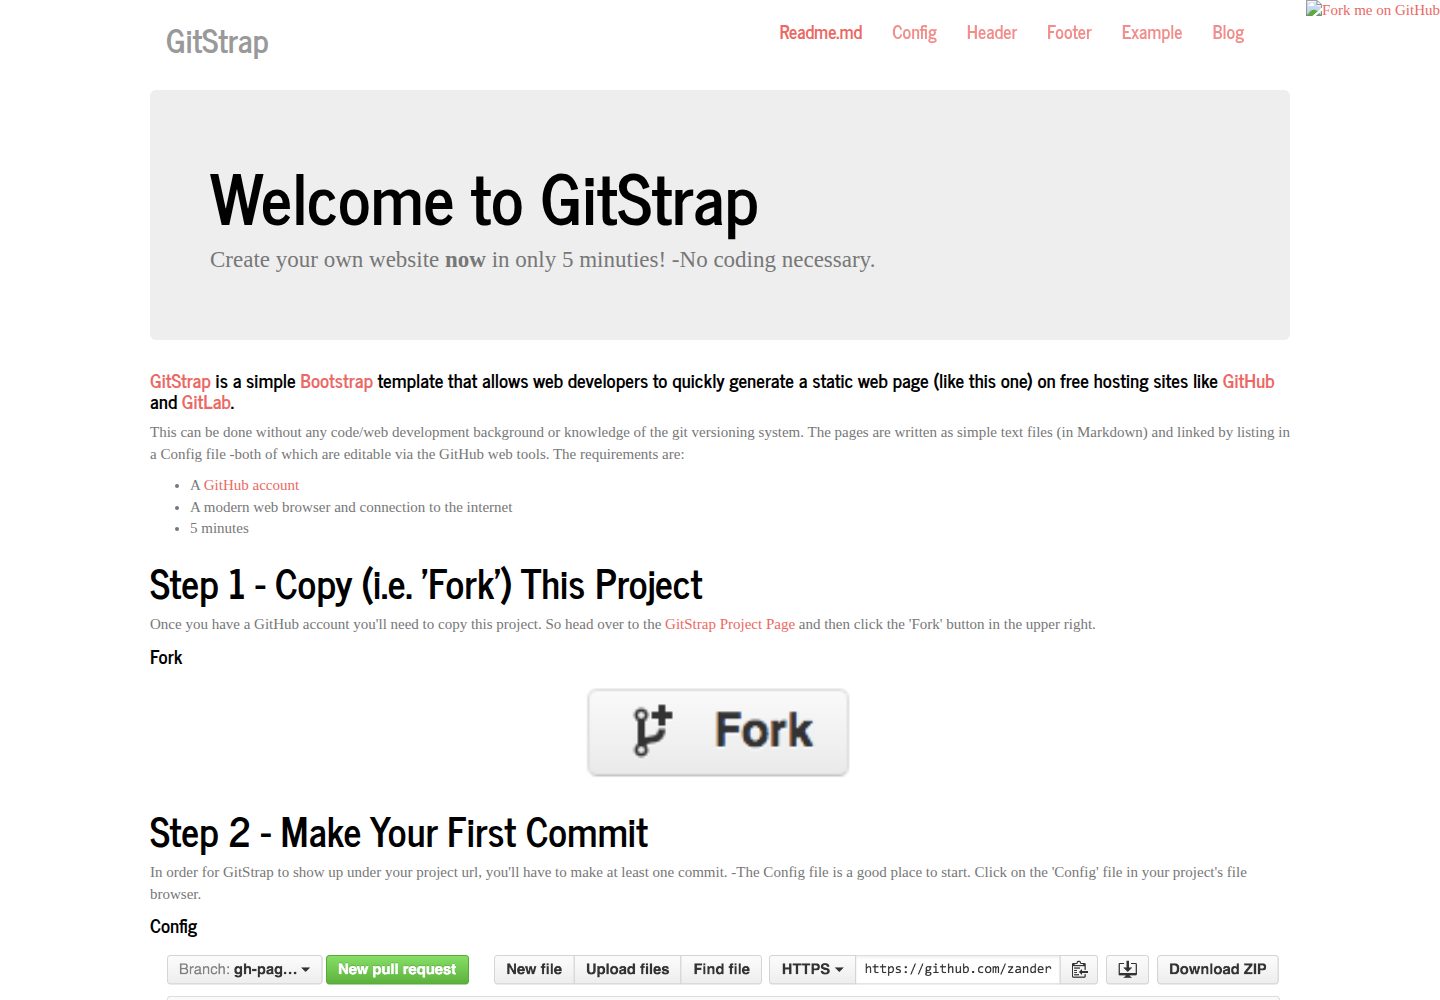
基于 Bootstrap 的静态网站模板,使用 JavaScript 在浏览器端渲染 Markdown
HTML工具站
GitStrap — HTML 工具站模板
作者 nckz
GitStrap 是一个基于 Bootstrap 的静态网站模板,通过 Markdown 文本文件和 Config 配置文件生成页面,可在 GitHub Pages 等免费托管上发布,适合没有代码基础的用户。
看看你的网站会是什么样
浏览真实页面截图,比较内容排版与手机效果。点击下方缩略图切换,放大查看整页细节。
全部页面与视图 2
截图用于了解视觉与布局,交互效果请以实际项目为准。
采集于 2026-10-03查看来源
值得关注的模板亮点
从已有项目资料中,快速了解它的特点。
页面内容为 Markdown 文本文件,站点导航和标题由 Config 配置文件管理
全部编辑操作可在 GitHub 网页界面完成,无需本地开发环境或 Git 命令行
可部署在 GitHub Pages、GitLab 等免费托管服务上
图片支持通过 Markdown 语法指定宽度、高度和自动缩放
采用 MIT 许可,允许免费使用、修改、商用和分发
模板详细介绍
GitStrap 是一个简单的 Bootstrap 主题静态网站生成模板,使用 JavaScript 在浏览器端把 Markdown 文本渲染为网页。页面内容以 Markdown 文件编写,导航与站点标题等通过一个名为 Config 的配置文件集中管理,两者都可以直接在 GitHub 网页界面中编辑,不需要本地开发环境或 Git 命令行知识。
使用流程是:先 Fork 仓库,在 GitHub 网页上编辑 Config 文件并提交一次修改,然后访问 https://<用户名>.github.io/GitStrap/ 查看生成的示例站点。之后可以通过“New file”“Upload files”和编辑按钮添加或修改内容;新增页面文件后,需要在 Config 的“Pages / Navigation”部分把该文件加入页面列表,否则不会出现在导航中。
内容格式为 Markdown,图片通过“Upload file”上传到 images 文件夹,并使用类似  的语法插入,其中可指定宽度、高度和自动缩放。仓库采用 MIT 许可,代码可免费使用、修改、商用和分发,但演示图片、字体、图标等第三方素材需要单独核对许可。
HTML工具站
适合你的项目吗?
适用场景
- 在 GitHub Pages 上快速搭建个人静态站点或项目介绍页
- 不熟悉 Git 和前端开发,希望通过网页界面维护网站内容
- 用 Markdown 编写文档并自动生成带导航的网页
- 在免费托管平台上发布轻量级静态页面
适合人群
- 没有代码或 Web 开发背景、希望用 Markdown 发布网页的用户
- 需要免费静态托管且能接受 GitHub 网页编辑流程的个人或小团队
- 想用 Bootstrap 主题快速搭建文档或展示页的开发者
上手与定制指南
结合仓库当前版本的说明,按下面的资料检查内容、配置与运行要求。
- 1
需要一个 GitHub 账号,并 Fork 该仓库到自己的账号下
- 2
至少提交一次修改(例如编辑 Config 文件)后,站点才会出现在 https://<用户名>.github.io/GitStrap/
- 3
新增页面文件后,必须在 Config 文件的“Pages / Navigation”部分添加对应条目
- 4
图片需上传到 images 文件夹,并使用 Markdown 图片语法引用
- 5
演示图片、字体、图标等第三方素材的许可需单独核对,MIT 许可仅覆盖代码
授权与来源资料
使用条件与限制
免费使用 · 保留许可声明本次收录的是公开仓库中采用 MIT 许可的免费版本;免费范围为该版本代码,不代表外部服务或第三方素材免费。
使用时需要遵守
- 允许免费使用、修改、商用和分发该版本代码。
- 分发代码副本或实质性部分时,保留原作者版权声明和完整 MIT 许可声明。
- 代码按现状提供;担保与责任限制以原许可证及适用法律为准。
额外费用与待核对事项
- 使用该模板需要注册并拥有一个 GitHub 账号,所有编辑与发布流程均依赖 GitHub 网页界面完成。
- 必须至少提交一次修改(例如编辑 Config 文件),站点才会出现在你的 GitHub Pages 地址下。
- 新增页面文件后,必须在 Config 文件的“Pages / Navigation”部分手动添加对应条目,否则该页面不会出现在导航中。
- 演示图片、字体、图标及其他第三方素材需按各自许可核对,不能仅凭代码的 MIT 许可判断。
- 域名、托管、数据库、支付或 AI 等外部服务可能另外收费。
查看原文依据
Permission is hereby granted, free of charge
许可证原文
A [GitHub account](https://github.com/join?source=header-home)
README 原文
In order for GitStrap to show up under your project url, you'll have to make at least one commit.
README 原文
https://github.com/nckz/GitStrap/blob/gh-pages/LICENSEhttps://github.com/nckz/GitStrap/blob/gh-pages/Readme.mdmake sure to add that file to the list of pages under the "Pages / Navigation" heading in the '[Config](?page=Config#pagesandnav)' file.
README 原文
DeepSeek 根据仓库许可证和 README 整理 ·2026-10-03。结果仅覆盖已读取资料,依赖、图片、字体及后续条款变更以各自原文为准。
项目核对记录与介绍依据
模板资料
- 来源平台
- GitHub
- 资料与维护参考分
- 资料一般 · 68 / 100
- 技术栈
- HTML
- 网站类型
- 工具站
这个分数如何计算
本站按许可资料(最高30分)、演示链接(12分)、预览图(10分)、Star数(15分)、记录的维护时间(15分)、描述完整度(8分)、功能记录(5分)和分类资料(5分)计算。它不是代码、安全或性能测试,也不是 Google 评分;有链接不代表已实测可用。
这个项目需要核对什么
- 记录的仓库更新时间
- 2016-07-08
- 截图检查日期
- 2026-10-03
已收录演示链接。请用你的内容与屏幕尺寸检查;有演示不代表表单、认证或支付已经可用。
目录记录的主要技术栈是 HTML。请通过依赖清单和锁文件核对实际版本与托管要求。这些说明基于收录资料,不代表代码审计或部署实测。
查看具体选型方法 →介绍的制作与核对状态
介绍由 AI 辅助整理目录与仓库资料。仓库作者不等于这篇介绍的审核者。
已完成服务器许可规则与 AI 来源核对;未经过人工编辑审核。
查看当时使用的来源资料
SHA-256: e0b000b6f64d02d8a9d7f3665b81683a10b7a7d1be552a9d187e4e79fb8de9cb
2026-10-03T04:55:30.313Z
来源文件 / 仓库#### [GitStrap](#) is a simple [Bootstrap](http://getbootstrap.com/) template that allows web developers to quickly generate a static web page (like this one) on free hosting sites like [GitHub](http://github.com) and [GitLab](http://gitlab.com).
This can be done without any code/web development background or knowledge of
the git versioning system. The pages are written as simple text files (in
Markdown) and linked by listing in a Config file -both of which are editable
via the GitHub web tools. The requirements are:
* A [GitHub account](https://github.com/join?source=header-home)
* A modern web browser and connection to the internet
* 5 minutes
# Step 1 - Copy (i.e. 'Fork') This Project
Once you have a GitHub account you'll need to copy this project. So head over
to the [GitStrap Project Page](https://github.com/nckz/GitStrap) and then
click the 'Fork' button in the upper right.
#### Fork

# Step 2 - Make Your First Commit
In order for GitStrap to show up under your project url, you'll have to make at
least one commit. -The Config file is a good place to start. Click on the
'Config' file in your project's file browser.
#### Config

Then click the edit button (the pencil icon) in the upper right hand corner.
#### Edit

Rename the website by modifying the "Site Title" option. When you're finished
Scroll to the bottom of the page and submit your changes by clicking the
"Commit changes" button.
#### Commit

# Step 3 - Check Your GitHub URL
Point your browser to the following address (replacing the `<username>` with your
GitHub username):
https://<username>.github.io/GitStrap/
At this point you should see the sample GitStrap webpage with this 'Readme.md'
file displayed.
# Step 4 - Add Your Own Content
You can now start to add your own content via the "New file", "Upload files" and
'edit' (pencil button) capabilities within the GitHub website.
#### New File, Upload Files

You can start by modifying the text in any of the existing documents:
'Readme.md', 'Header', 'Footer', and 'Example'. If you create a new page file
using the "New file" button, make sure to add that file to the list of pages
under the "Pages / Navigation" heading in the
'[Config](?page=Config#pagesandnav)' file.
## Markdown
Your text content should be written in the Markdown format. Markdown is a
simple way of formatting text without requiring any knowledge of html or css.
For a quick intro to Markdown you can start
[here](https://github.com/adam-p/markdown-here/wiki/Markdown-Cheatsheet)
and
[here](https://daringfireball.net/projects/markdown/).
## Images
Use the "Upload file" button to add images. For organization sake, upload your
new images to the existing 'images' folder. Images can then be added to your
site pages with the following Markdown tag:
#### ``
Where the '`100%`' means *scale the image to fit the width of the page*. The
'`x`' separates the image width and height parameters and the '`*`' means auto
scale the height. The '`centerImage`' tag is optional and centers the image on
the page horizontally. The '`images/img_03.jpg`' refers to an image file
('img_03.jpg') stored in the 'images' folder.

Other options may look like these:
```
 simple, assumes units are in px
 sets the height to "auto"
 image with width of 80% and height of 5em
```
For more information on markdown syntax visit the
[Showdown project page](https://github.com/showdownjs/showdown).
看看同类模板
对比同技术栈与用途的模板,找到更适合的视觉与内容结构。
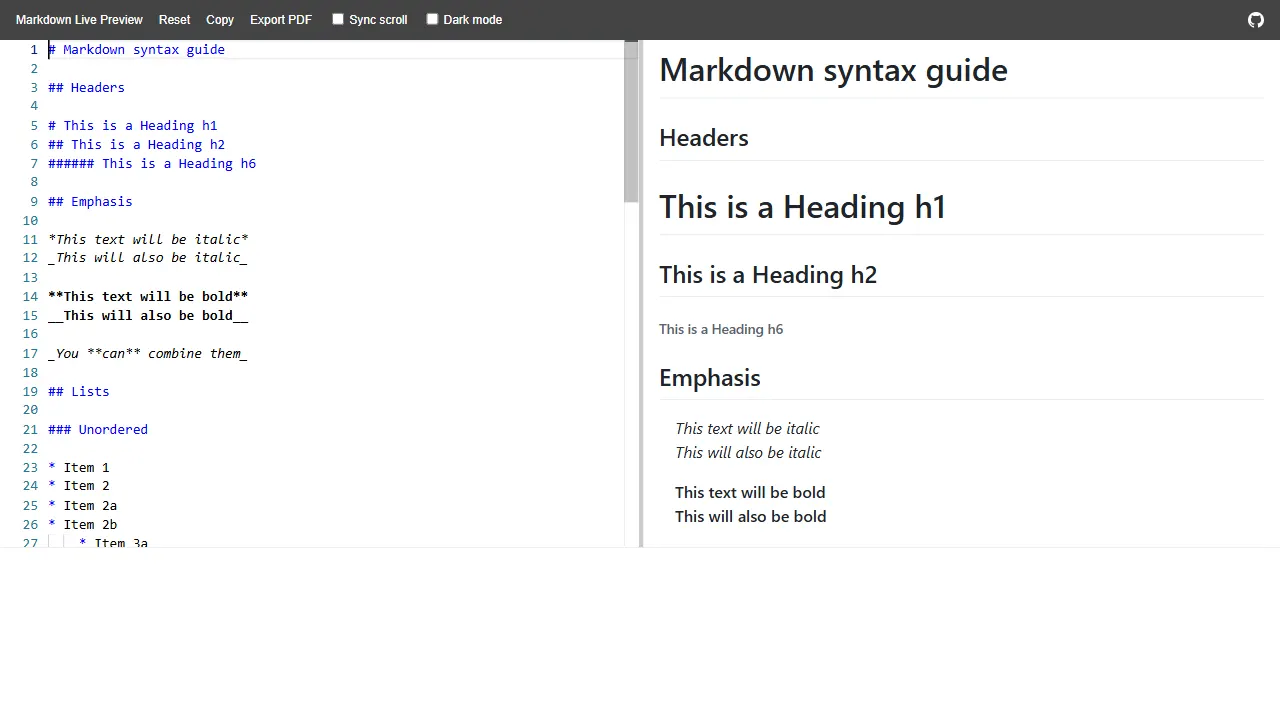
markdown live preview
markdown live preview 是一个开源的 Markdown 实时预览工具,核心功能是在浏览器中即时渲染 Markdown 文本。
HTML · 工具站
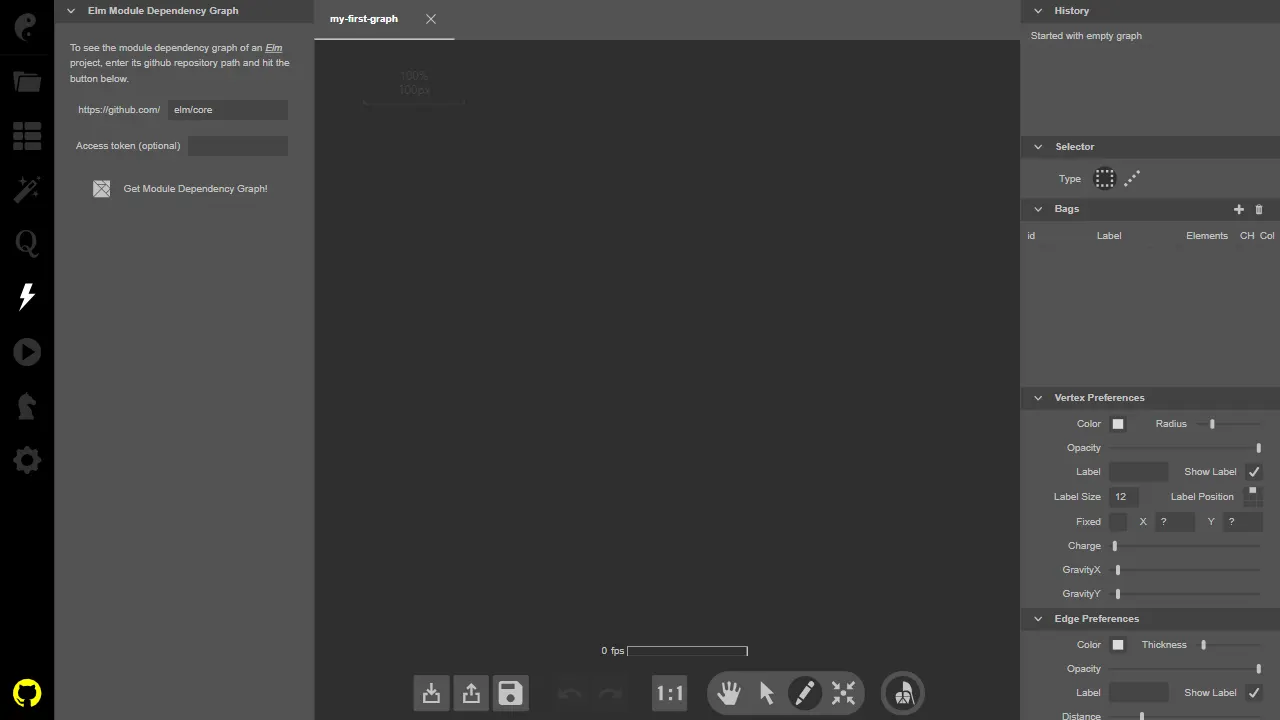
kite
Kite 是一个用 Elm 编写的开源图论可视化工具,项目自带在线演示,可直接在浏览器中体验。 它的核心功能是让用户通过交互方式创建、编辑和探索图结构,适合用于教学演示、算法可视化或作为自定义图分析工具的前端基础。
HTML · 工具站
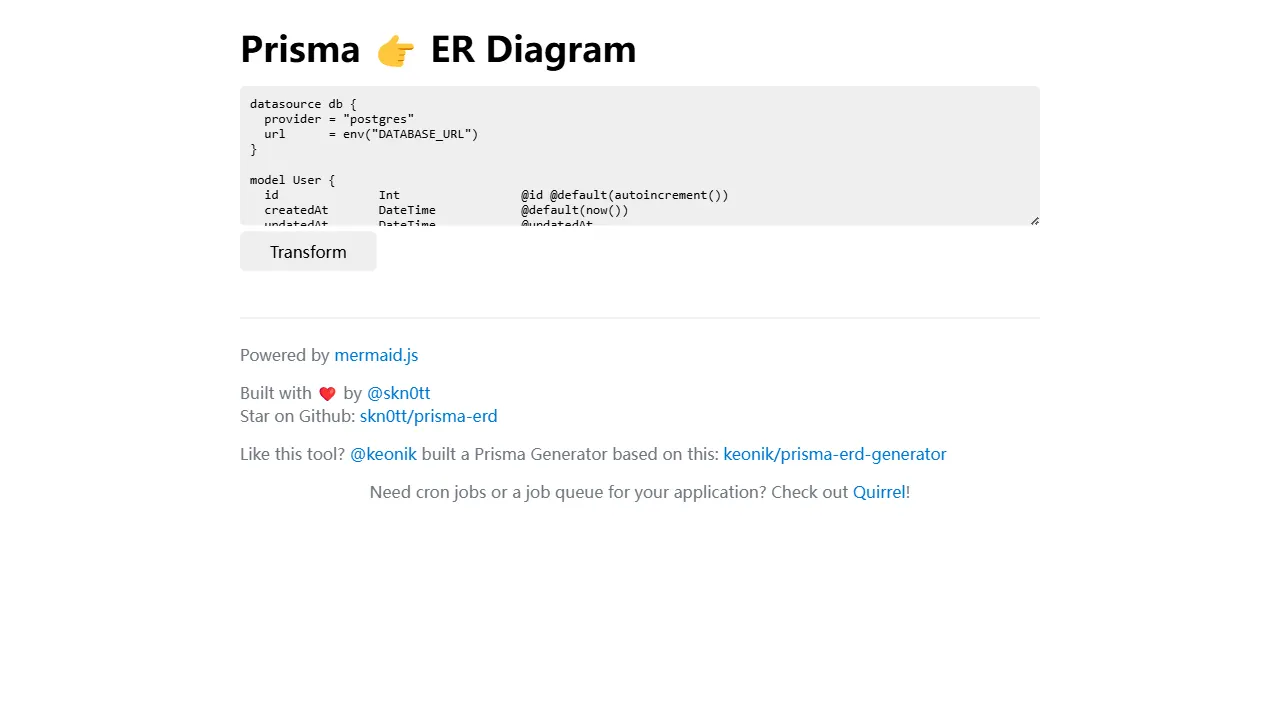
prisma erd
Prisma ERD 是一个专注于将 Prisma schema 文件转换为实体关系图的在线工具。 它的核心功能是解析 Prisma 数据模型,并以图形化方式展示表之间的关系,帮助开发者直观理解数据库结构。
HTML · 工具站
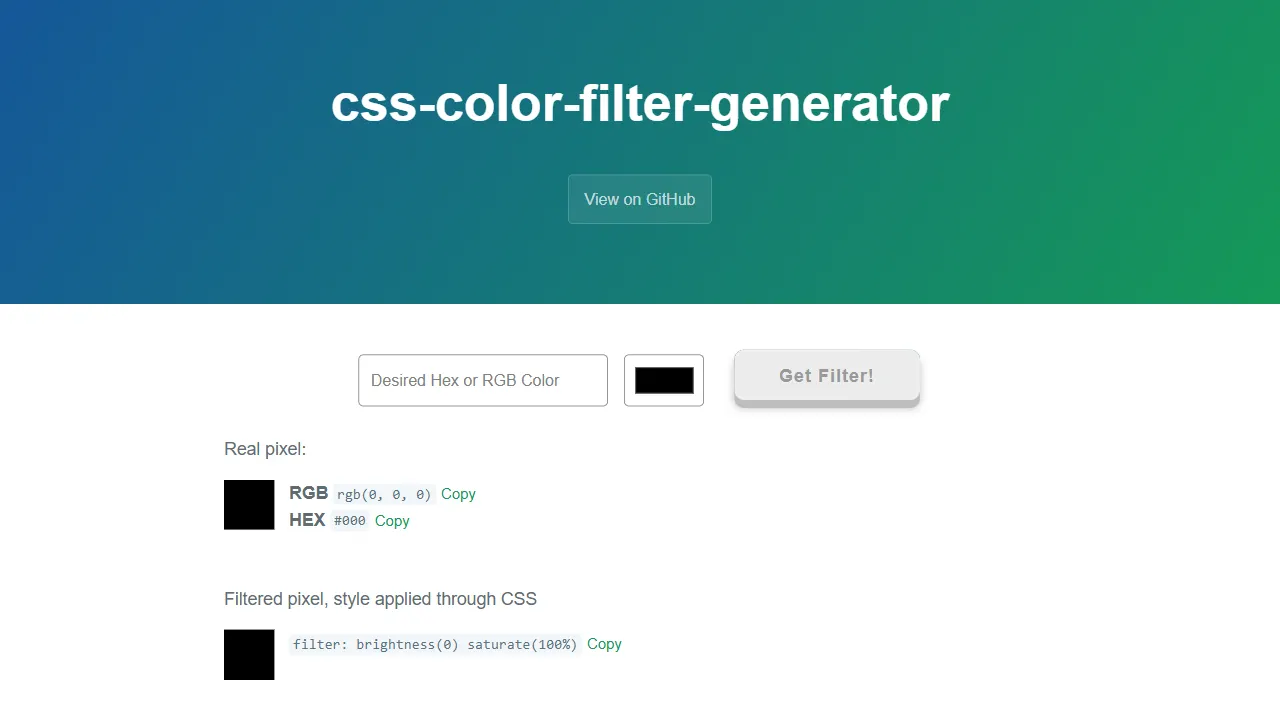
css color filter generator
css color filter generator 是一个专注于颜色转换的实用工具站,核心功能是让用户输入目标颜色,自动生成对应的 CSS filter 组合,以便在图片或图标上实现近似着色。
HTML · 工具站
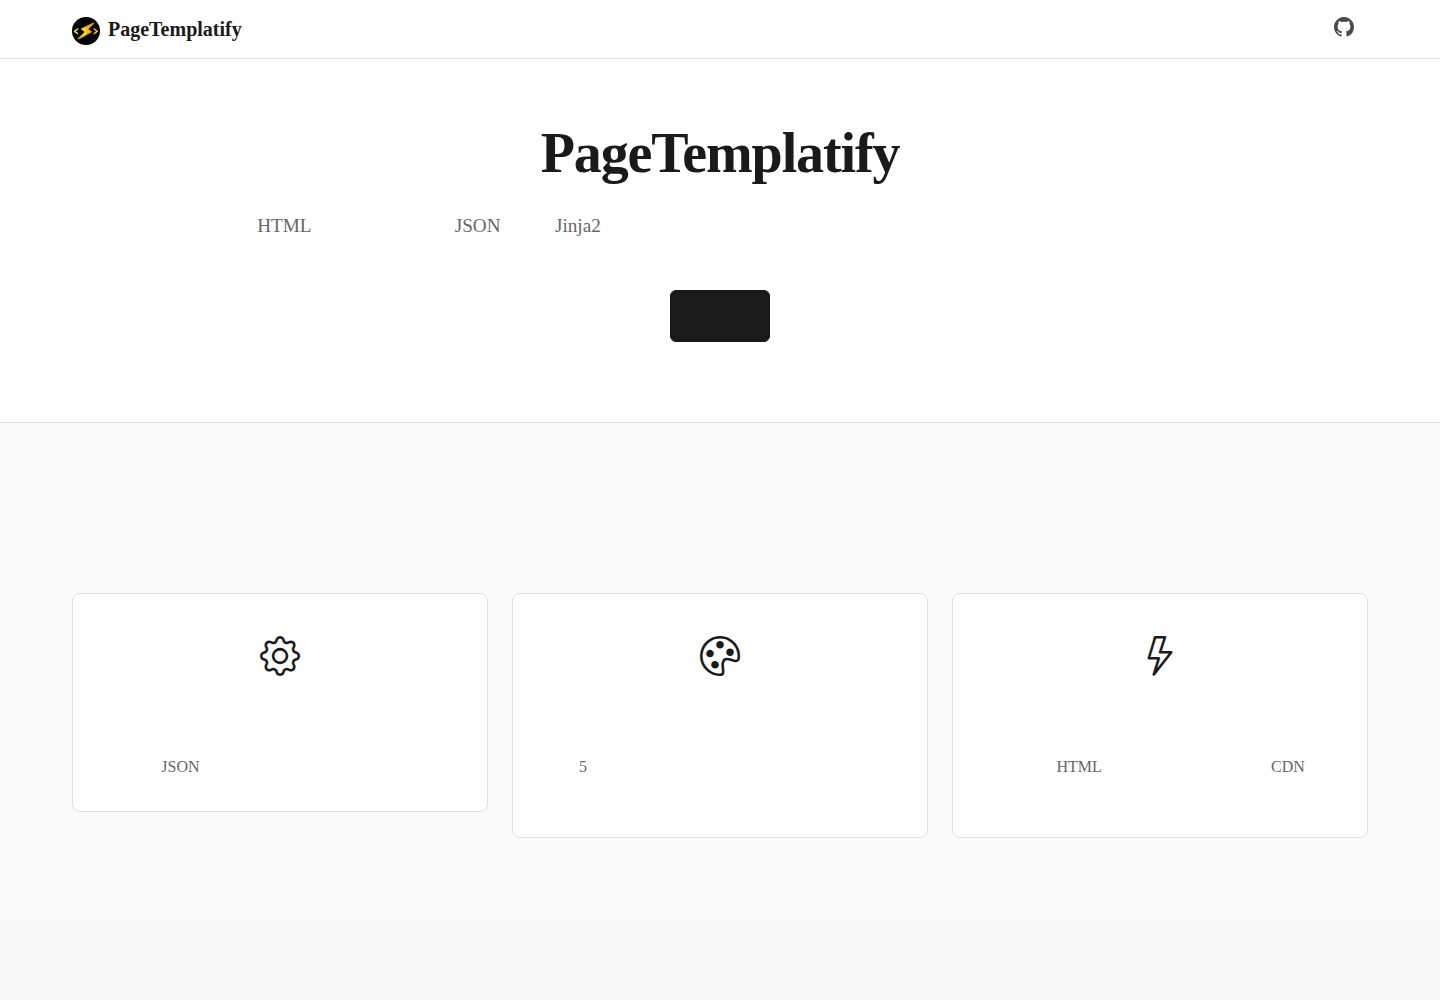
PageTemplatify
面向企业官网与备案用途的多模板静态网页生成器 | A multi-template static site generator for landing pages & ICP-ready sites
HTML · 工具站
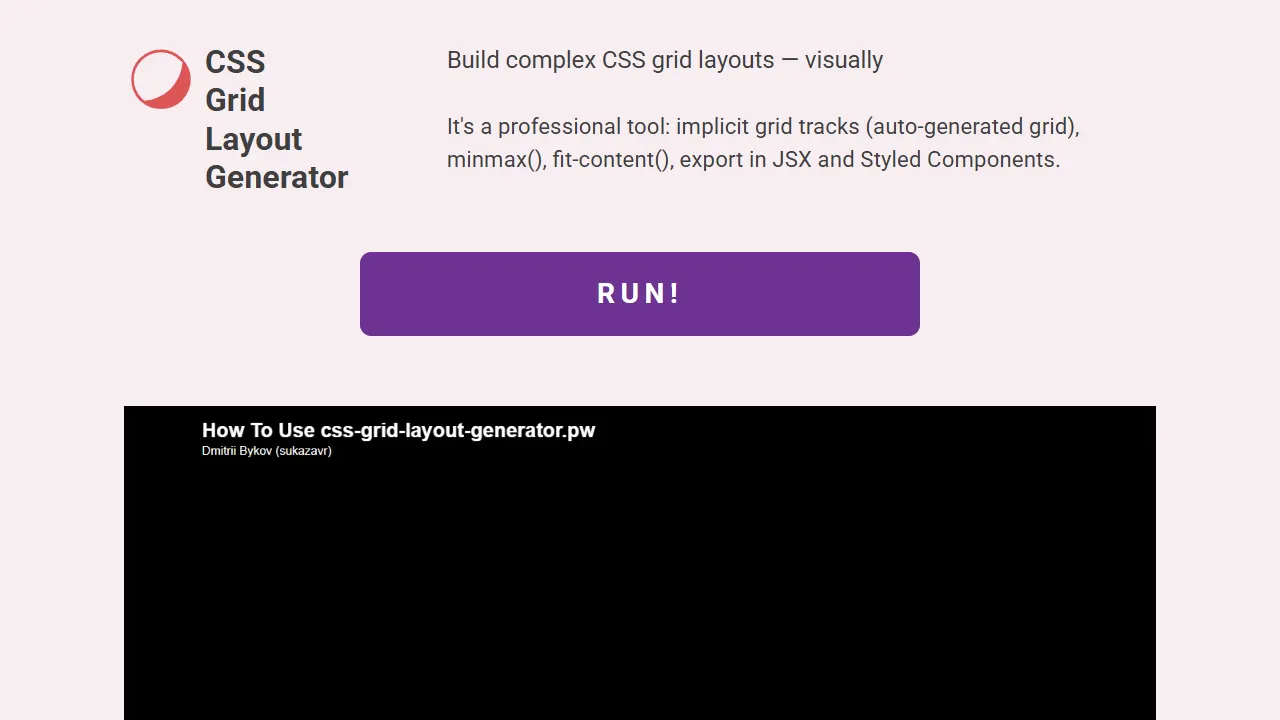
css grid layout generator
CSS Grid Layout Generator 是一个开源的可视化工具站,核心用途是让用户通过图形界面快速构建复杂的 CSS Grid 布局,并导出对应的 HTML 与 CSS 代码。
HTML · 工具站