使用 Supabase 完成用户管理与认证
Next.jsReactSaaS启动器
nextjs-saas-starter — Next.js SaaS模板
作者 nozma-knows
基于 Next.js 的 SaaS 订阅启动模板,集成 Supabase 认证与数据库、Stripe Checkout 与客户门户,并支持通过 Stripe webhook 同步定价方案和订阅状态。
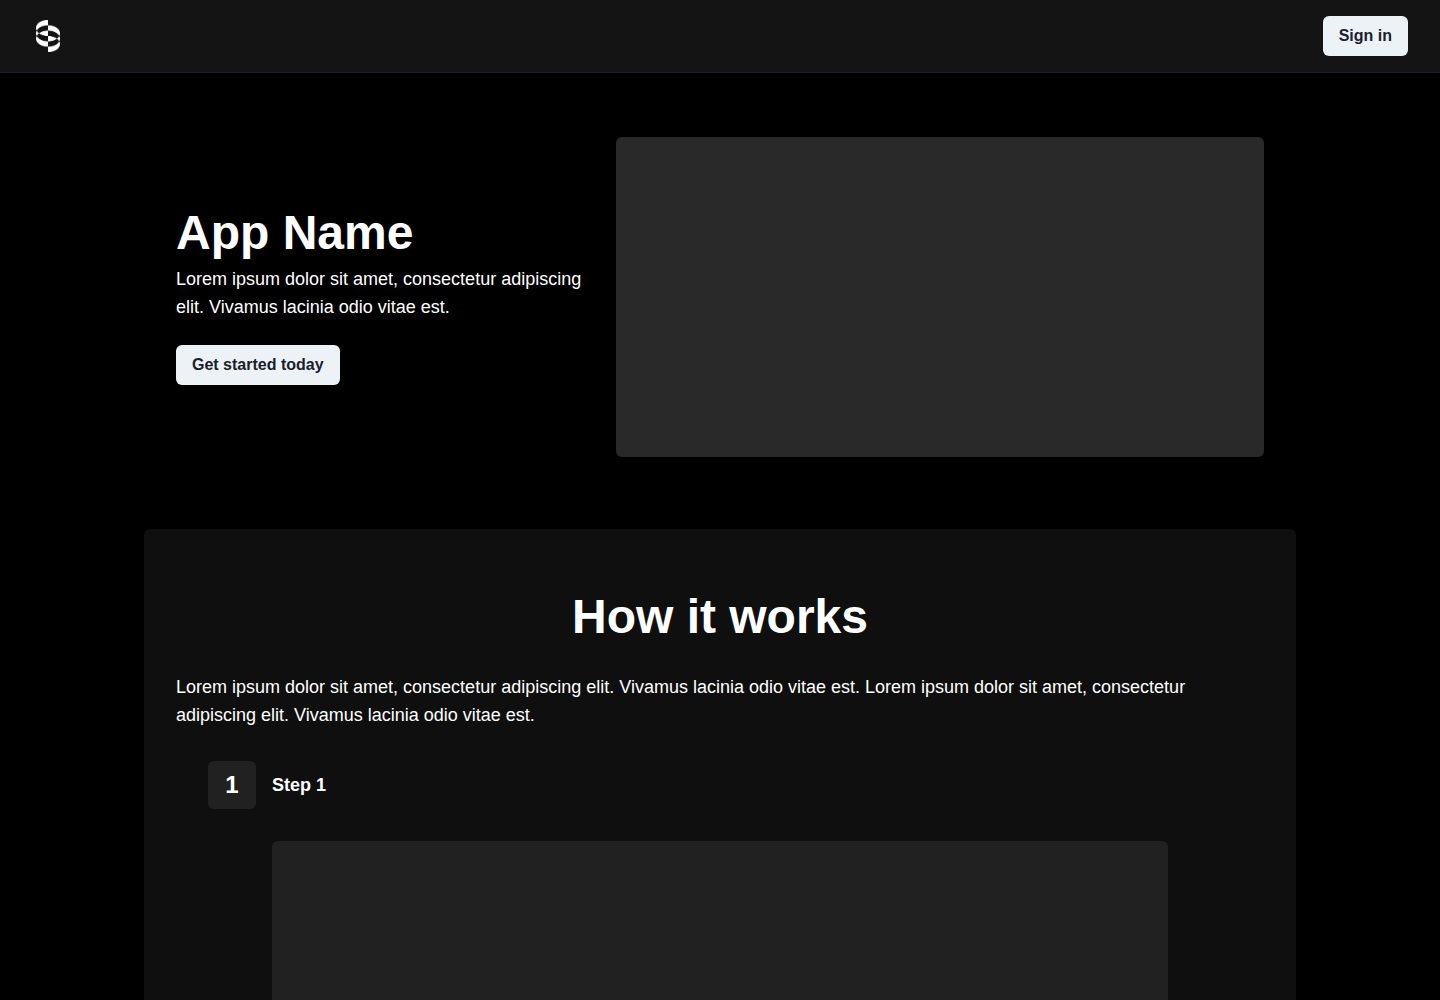
看看你的网站会是什么样
浏览真实页面截图,比较内容排版与手机效果。点击下方缩略图切换,放大查看整页细节。
全部页面与视图 2
截图用于了解视觉与布局,交互效果请以实际项目为准。
采集于 2026-10-02查看来源
值得关注的模板亮点
从已有项目资料中,快速了解它的特点。
基于 Supabase 的 PostgreSQL 提供数据访问与管理能力
集成 Stripe Checkout 与 Stripe 客户门户
通过 Stripe webhook 自动同步定价方案与订阅状态
提供 Vercel 部署按钮,可自动创建仓库并引导创建 Supabase 项目
附带 SQL 迁移文件用于初始化数据库结构
模板详细介绍
该模板用于快速搭建带订阅付费能力的 SaaS 项目,技术栈以 Next.js 为核心,配合 Vercel 部署、Supabase 提供用户认证与 PostgreSQL 数据访问、Stripe 处理结账与订阅管理。项目基于 Vercel 的 nextjs-subscription-payments 仓库改造,README 中标注其关联 Sync Labs。
功能范围集中在账户与计费:用户管理与认证由 Supabase Auth 承担;数据访问与管理基于 Supabase 的 PostgreSQL;支付侧接入 Stripe Checkout 和 Stripe 客户门户,并通过 Stripe webhook 自动把定价方案与订阅状态同步到 Supabase 数据库。
使用限制方面,README 说明 Stripe Checkout 目前仅支持按固定周期收取预设金额的定价,更复杂的方案(如不同定价层级或按席位计费)尚不支持。可靠性上,模板将已完成的 Stripe 交易镜像到 Supabase 数据库;若 Supabase 不可用,Stripe 交易仍会成功,但数据库不会更新,应用会向 Stripe 返回错误码,Stripe 默认会在最长三天内重试,直到数据库更新成功。长时间中断时可能需要自行实现数据库与 Stripe 的对账流程。
Next.jsSaaS启动器
适合你的项目吗?
适用场景
- 需要带订阅付费能力的 SaaS 项目起步
- 希望用 Supabase 管理用户认证与订阅相关数据的项目
- 需要 Stripe Checkout 与客户门户处理订阅和账单的场景
- 通过 Vercel 部署并希望自动完成 Supabase 初始配置的项目
适合人群
- 熟悉 Next.js 并计划在 Vercel 上部署的开发者
- 愿意使用 Supabase 作为认证与数据库后端的团队
- 需要以 Stripe 订阅模式收费的 SaaS 产品
- 希望基于现成模板快速验证订阅流程的个人或小团队
上手与定制指南
结合仓库当前版本的说明,按下面的资料检查内容、配置与运行要求。
- 1
按 README 顺序执行部署步骤,顺序会影响配置能否生效。
- 2
使用 Vercel 部署按钮时会自动创建新仓库并引导创建 Supabase 项目,由 Supabase Vercel 集成写入环境变量并运行 SQL 迁移;自动设置失败时可手动创建 Supabase 项目并从 SQL 编辑器选择 Stripe Subscriptions 模板。
- 3
在 Supabase 的 auth > URL configuration 中把生产 URL 设为 site url,并在 Vercel 中添加 Production 环境变量 NEXT_PUBLIC_SITE_URL,注意不要勾选 preview 和 development。
- 4
在 Stripe 测试模式下创建 webhook,端点 URL 为生产部署地址加 /api/webhooks,选择接收全部事件,并把签名密钥配置为 STRIPE_WEBHOOK_SECRET;新增环境变量后需重新部署且不要启用构建缓存。
- 5
本地开发需用 Vercel CLI 拉取环境变量并手动设置 SUPABASE_SERVICE_ROLE_KEY,同时用 Stripe CLI 转发 webhook 到 localhost:3000/api/webhooks,webhook 转发与开发服务器需在两个终端同时运行。
授权与来源资料
使用条件与限制
免费使用 · 保留许可声明本次收录的是公开仓库中采用 MIT 许可的免费版本;免费范围为该版本代码,不代表外部服务或第三方素材免费。
使用时需要遵守
- 允许免费使用、修改、商用和分发该版本代码。
- 分发代码副本或实质性部分时,保留原作者版权声明和完整 MIT 许可声明。
- 代码按现状提供;担保与责任限制以原许可证及适用法律为准。
额外费用与待核对事项
- Stripe Checkout 目前仅支持按固定周期收取预设金额的定价;更复杂的方案(如不同定价层级或按席位计费)尚不支持。
- 若 Supabase 数据库不可用,Stripe 交易仍会成功,但数据库不会更新,应用会向 Stripe 返回错误码;需依赖 Stripe 重试机制。
- Stripe 默认最多重试三天,直到数据库更新成功;若中断超过三天,需自行实现对账流程。
- 长时间中断时,可能需要自行实现 Supabase 数据库与 Stripe 的自动对账流程。
- 本地开发需手动从 Supabase 控制台设置 SUPABASE_SERVICE_ROLE_KEY 环境变量。
- 使用该模板需注册 Stripe 账户并配置 API 密钥、webhook 及客户门户。
- 需创建 Supabase 账户与项目;自动设置失败时需手动配置。
- 演示图片、字体、图标及其他第三方素材需按各自许可核对,不能仅凭代码的 MIT 许可判断。
- 域名、托管、数据库、支付或 AI 等外部服务可能另外收费。
查看原文依据
Permission is hereby granted, free of charge
许可证原文
Stripe Checkout currently supports pricing that bills a predefined amount at a specific interval. More complex plans (e.g., different pricing tiers or seats) are not yet supported.
README 原文
if the Supabase database is unavailable, the Stripe transaction will still succeed, but the Supabase database will not be updated, and the application will pass an error code back to Stripe
README 原文
Stripe will retry sending its response to the webhook for up to three days, or until the database update succeeds
README 原文
You may want to implement a process to automatically reconcile the Supabase database with Stripe in case of a prolonged outage.
README 原文
you will need to set the `SUPABASE_SERVICE_ROLE_KEY` manually from your [Supabase dashboard](https://app.supabase.io/)
README 原文
If you don't already have a Stripe account, create one now.
README 原文
https://github.com/nozma-knows/nextjs-saas-starter/blob/main/LICENSEhttps://github.com/nozma-knows/nextjs-saas-starter/blob/main/README.mdShould the automatic setup fail, please [create a Supabase account](https://app.supabase.com/projects), and a new project if needed.
README 原文
DeepSeek 根据仓库许可证和 README 整理 ·2026-10-02。结果仅覆盖已读取资料,依赖、图片、字体及后续条款变更以各自原文为准。
项目核对记录与介绍依据
模板资料
- 来源平台
- GitHub
- 资料与维护参考分
- 资料一般 · 62 / 100
- 技术栈
- Next.js · React
- 网站类型
- SaaS · 启动器
这个分数如何计算
本站按许可资料(最高30分)、演示链接(12分)、预览图(10分)、Star数(15分)、记录的维护时间(15分)、描述完整度(8分)、功能记录(5分)和分类资料(5分)计算。它不是代码、安全或性能测试,也不是 Google 评分;有链接不代表已实测可用。
这个项目需要核对什么
- 记录的仓库更新时间
- 2023-11-03
- 截图检查日期
- 2026-10-02
已收录演示链接。请用你的内容与屏幕尺寸检查;有演示不代表表单、认证或支付已经可用。
目录记录的主要技术栈是 Next.js。请通过依赖清单和锁文件核对实际版本与托管要求。这些说明基于收录资料,不代表代码审计或部署实测。
查看具体选型方法 →介绍的制作与核对状态
介绍由 AI 辅助整理目录与仓库资料。仓库作者不等于这篇介绍的审核者。
已完成服务器许可规则与 AI 来源核对;未经过人工编辑审核。
查看当时使用的来源资料
SHA-256: f9278b3cfb69fcb70dab709ca365dfecfa357fddc45149a7616a48825cac4e9a
2026-10-02T14:06:16.091Z
来源文件 / 仓库# [Sync Labs](https://synclabs.so) - Next.js SaaS Starter Project This is a starter project for quickly releasing Open-Source SaaS projects using: - [Sync Labs](https://synclabs.so) - [Next.js](https://nextjs.org) - [Vercel](https://vercel.com) - [Supabase](https://supabase.io) - [Stripe](https://stripe.com) This project is based off of `Vercel's` [nextjs-subscription-payments](https://github.com/vercel/nextjs-subscription-payments) repo ## Features - User management and authentication with [Supabase](https://supabase.io/docs/guides/auth) - Data access & management tooling on top of PostgreSQL with [Supabase](https://supabase.io/docs/guides/database) - Integration with [Stripe Checkout](https://stripe.com/docs/payments/checkout) and the [Stripe customer portal](https://stripe.com/docs/billing/subscriptions/customer-portal) - Automatic syncing of pricing plans and subscription statuses via [Stripe webhooks](https://stripe.com/docs/webhooks) ## Demo - https://nextjs-saas-starter-ashy.vercel.app/ [](https://subscription-payments.vercel.app/) ## Architecture  ## Step-by-step setup When deploying this template, the sequence of steps is important. Follow the steps below in order to get up and running. ### Initiate Deployment #### Vercel Deploy Button [](https://vercel.com/new/clone?repository-url=https%3A%2F%2Fgithub.com%2Fnozma-knows%2Fnextjs-saas-starter&env=NEXT_PUBLIC_STRIPE_PUBLISHABLE_KEY,STRIPE_SECRET_KEY&envDescription=Enter%20your%20Stripe%20API%20keys&envLink=https%3A%2F%2Fdashboard.stripe.com%2Fapikeys&project-name=nextjs-saas-starter&repository-name=nextjs-saas-starter&integration-ids=oac_VqOgBHqhEoFTPzGkPd7L0iH6&external-id=https%3A%2F%2Fgithub.com%2Fnozma-knows%2Fnextjs-saas-starter%2Ftree%2Fmain) The Vercel Deployment will create a new repository with this template on your GitHub account and guide you through the creation of a new Supabase project. The [Supabase Vercel Deploy Integration](https://vercel.com/integrations/supabase-v2) will set up the necessary Supabase environment variables and run the [SQL migrations](./supabase/migrations/20230530034630_init.sql) to set up the Database schema on your account. You can inspect the created tables in your project's [Table editor](https://app.supabase.com/project/_/editor). Should the automatic setup fail, please [create a Supabase account](https://app.supabase.com/projects), and a new project if needed. In your project, navigate to the [SQL editor](https://app.supabase.com/project/_/sql) and select the "Stripe Subscriptions" starter template from the Quick start section. ### Configure Auth In your Supabase project, navigate to [auth > URL configuration](https://app.supabase.com/project/_/auth/url-configuration) and set your main production URL (e.g. https://your-deployment-url.vercel.app) as the site url. Next, in your Vercel deployment settings, add a new **Production** environment variable called `NEXT_PUBLIC_SITE_URL` and set it to the same URL. Make sure to deselect preview and development environments to make sure that preview branches and local development work correctly. ### Configure Stripe Next, we'll need to configure [Stripe](https://stripe.com/) to handle test payments. If you don't already have a Stripe account, create one now. For the following steps, make sure you have the ["Test Mode" toggle](https://stripe.com/docs/testing) switched on. #### Create a webhook We need to create a webhook in the `Developers` section of Stripe. Pictured in the architecture diagram above, this webhook is the piece that connects Stripe to your Vercel Serverless Functions. 1. Click the "Add Endpoint" button on the [test Endpoints page](https://dashboard.stripe.com/test/webhooks). 1. Enter your production deployment URL followed by `/api/webhooks` for the endpoint URL. (e.g. `https://your-deployment-url.vercel.app/api/webhooks`) 1. Click `Select events` under the `Select events to listen to` heading. 1. Click `Select all events` in the `Select events to send` section. 1. Copy `Signing secret` as we'll need that in the next step. 1. In addition to the `NEXT_PUBLIC_STRIPE_PUBLISHABLE_KEY` and the `STRIPE_SECRET_KEY` we've set earlier during deployment, we need to add the webhook secret as `STRIPE_WEBHOOK_SECRET` env var. #### Redeploy with new env vars For the newly set environment variables to take effect and everything to work together correctly, we need to redeploy our app in Vercel. In your Vercel Dashboard, navigate to deployments, click the overflow menu button and select "Redeploy" (do NOT enable the "Use existing Build Cache" option). Once Vercel has rebuilt and redeployed your app, you're ready to set up your products and prices. #### Create product and pricing information Your application's webhook listens for product updates on Stripe and automatically propagates them to your Supabase database. So with your webhook listener running, you can now create your product and pricing information in the [Stripe Dashboard](https://dashboard.stripe.com/test/products). Stripe Checkout currently supports pricing that bills a predefined amount at a specific interval. More complex plans (e.g., different pricing tiers or seats) are not yet supported. For example, you can create business models with different pricing tiers, e.g.: - Product 1: Starter - Price 1: 10 USD per month - Description: Perfect for individuals or small teams just starting. - Product 2: Creator - Price 1: 20 USD per month - Description: Ideal for content creators and freelancers looking for high-quality results. - Product 3: Developer - Price 1: 40 USD per month - Optimized for professional developers and large teams requiring top-notch quality. **Important:** Make sure that you've configured your Stripe webhook correctly and redeployed with all needed environment variables. #### Configure the Stripe customer portal 1. Set your custom branding in the [settings](https://dashboard.stripe.com/settings/branding) 1. Configure the Customer Portal [settings](https://dashboard.stripe.com/test/settings/billing/portal) 1. Toggle on "Allow customers to update their payment methods" 1. Toggle on "Allow customers to update subscriptions" 1. Toggle on "Allow customers to cancel subscriptions" 1. Add the products and prices that you want 1. Set up the required business information and links ### You're all set! You're now ready to earn recurring revenue from your SaaS product! 🥳 ## Develop locally If you haven't already done so, clone your Github repository to your local machine. Next, use the [Vercel CLI](https://vercel.com/download) to link your project: ```bash vercel login vercel link ``` ### Setting up the env vars locally Use the Vercel CLI to download the development env vars: ```bash vercel env pull .env.local ``` Running this command will create a new `.env.local` file in your project folder. For security purposes, you will need to set the `SUPABASE_SERVICE_ROLE_KEY` manually from your [Supabase dashboard](https://app.supabase.io/) (`Settings > API`). ### Use the Stripe CLI to test webhooks [Install the Stripe CLI](https://stripe.com/docs/stripe-cli) and [link your Stripe account](https://stripe.com/docs/stripe-cli#login-account). Next, start local webhook forwarding: ```bash stripe listen --forward-to=localhost:3000/api/webhooks ``` Running this Stripe command will print a webhook secret (such as, `whsec_***`) to the console. Set `STRIPE_WEBHOOK_SECRET` to this value in your `.env.local` file. ### Install dependencies and run the Next.js client In a separate terminal, run the following commands to install dependencies and start the development server: ```bash yarn yarn dev ``` Note that webhook forwarding and the development server must be running concurrently in two separate terminals for the application to work correctly. Finally, navigate to [http://localhost:3000](http://localhost:3000) in your browser to see the application rendered. ## Going live ### Archive testing products Archive all test mode Stripe products before going live. Before creating your live mode products, make sure to follow the steps below to set up your live mode env vars and webhooks. ### Configure production environment variables To run the project in live mode and process payments with Stripe, switch Stripe from "test mode" to "production mode." Your Stripe API keys will be different in production mode, and you will have to create a separate production mode webhook. Copy these values and paste them into Vercel, replacing the test mode values. ### Redeploy Afterward, you will need to rebuild your production deployment for the changes to take effect. Within your project Dashboard, navigate to the "Deployments" tab, select the most recent deployment, click the overflow menu button (next to the "Visit" button) and select "Redeploy" (do NOT enable the "Use existing Build Cache" option). To verify you are running in production mode, test checking out with the [Stripe test card](https://stripe.com/docs/testing). The test card should not work. ## A note on reliability This template mirrors completed Stripe transactions to the Supabase database. This means that if the Supabase database is unavailable, the Stripe transaction will still succeed, but the Supabase database will not be updated, and the application will pass an error code back to Stripe. [By default](https://stripe.com/docs/webhooks/best-practices), Stripe will retry sending its response to the webhook for up to three days, or until the database update succeeds. This means that the Stripe transaction will eventually be reflected in the Supabase database as long as the database comes back online within three days. You may want to implement a process to automatically reconcile the Supabase database with Stripe in case of a prolonged outage.
看看同类模板
对比同技术栈与用途的模板,找到更适合的视觉与内容结构。
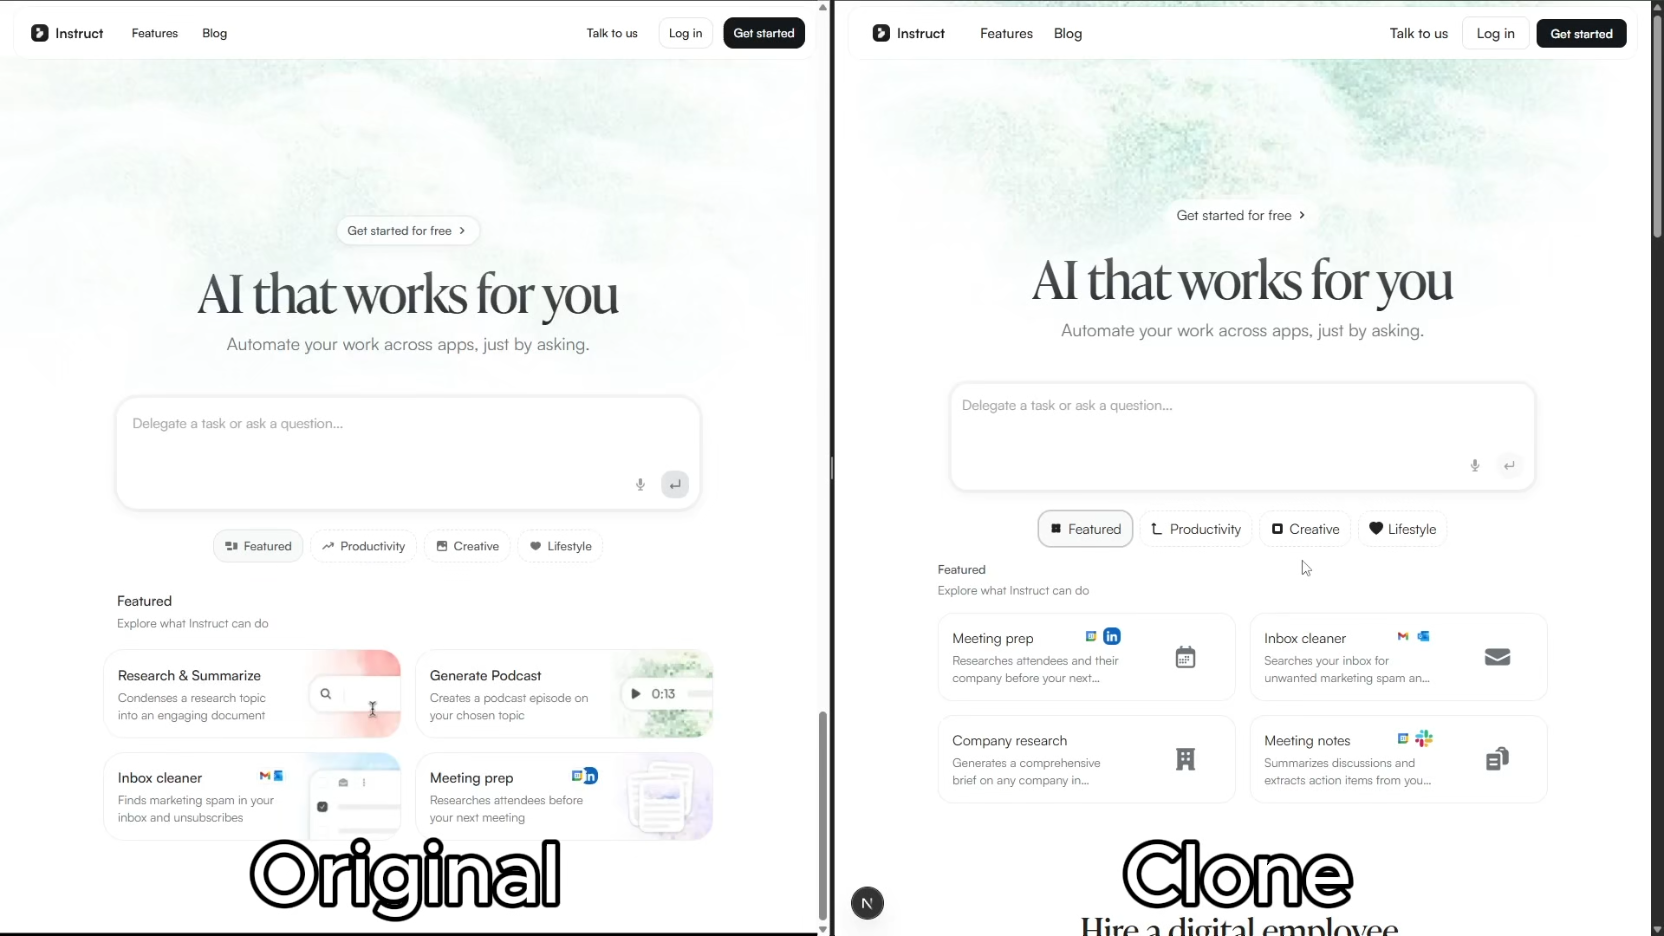
ai-website-cloner-template
Clone any website with one command using AI coding agents
Next.js · 启动器

Next.js SaaS Starter
Next.js SaaS Starter 是 Next.js 官方维护的 SaaS 起点模板,定位介于学习资源和可直接部署的脚手架之间。
Next.js · SaaS

Next.js Commerce
Next.js Commerce 是 Vercel 团队维护的电商启动模板,基于 Next.js App Router 构建,采用服务端渲染、React Server Components、Server Actions …
Next.js · 电商

Next-js-Boilerplate
Next-js-Boilerplate 是一个面向 Next.js 16、Tailwind CSS 4 和 TypeScript 的启动器,核心定位是开发者体验优先。
Next.js · 启动器

tailwind-nextjs-starter-blog
tailwind-nextjs-starter-blog 是一个面向个人技术博客的 Next.js 与 Tailwind CSS 启动模板,其 v2 版本基于 App Router 与 React Server Comp…
Next.js · 博客

next-forge
Production-grade Turborepo template for Next.js apps.
Next.js · 启动器