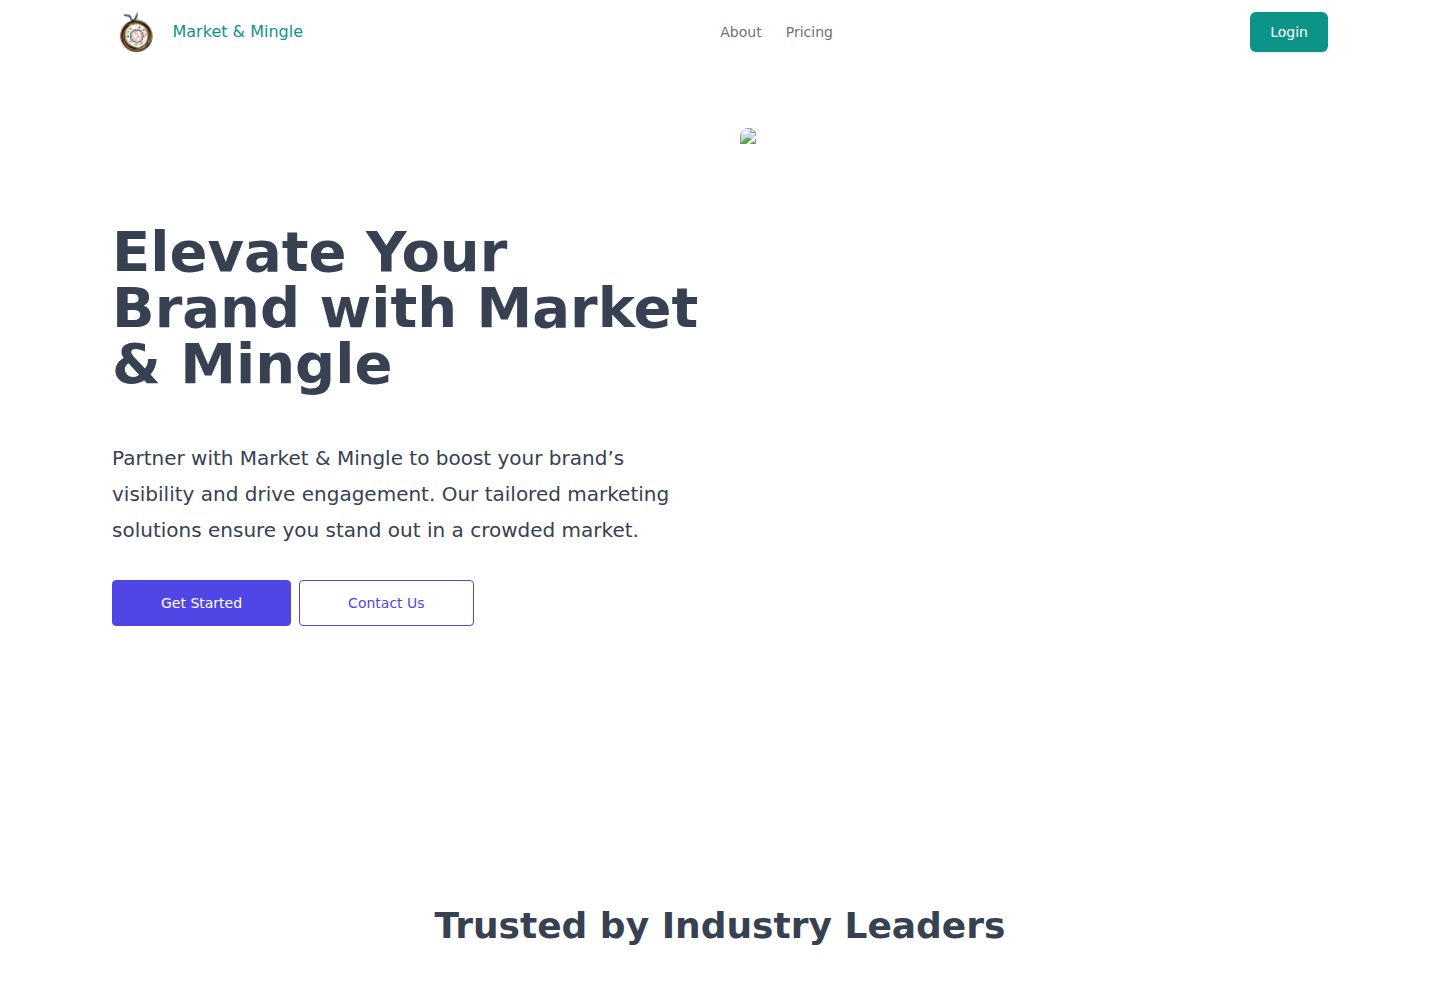
后台页面构建器:在 Pages 集合中用布局与预置区块组合页面,也可自定义区块
Next.jsReact启动器
payloadcms-website-template — Next.js 启动器模板
作者 OpenOceanHQ
基于 Payload CMS 3.0 与 Next.js 的多页面网站模板,通过后台的布局与区块系统搭建页面,内置表单构建与提交管理。
看看你的网站会是什么样
浏览真实页面截图,比较内容排版与手机效果。点击下方缩略图切换,放大查看整页细节。
全部页面与视图 3
截图用于了解视觉与布局,交互效果请以实际项目为准。
采集于 2026-10-03查看来源
值得关注的模板亮点
从已有项目资料中,快速了解它的特点。
表单构建插件:创建表单并作为区块插入页面,提交内容在后台面板中查看
集合划分清晰:Users、Media、Pages 分别处理用户、媒体与页面内容
支持 Docker 本地启动,也可通过 Vercel 按钮部署
使用 payload.config.ts 集中配置,并提供类型生成命令维护 payload-types.ts
模板详细介绍
这是一个以 Payload CMS 3.0 为内容管理后台、Next.js 为前端框架的多页面网站模板。它的核心是后台的页面构建器:在 Pages 集合中通过布局与预置区块组合出页面,也可以自行编写区块。模板附带表单构建插件,创建的表单可作为区块插入页面,提交结果会进入后台面板查看。
项目结构上,src 目录区分了 app(Payload 后台、API 路由与区块、字段)、collections(Users、Media、Pages)、common(区块与组件)以及 utilities,payload.config.ts 集中管理应用配置,新增集合或全局配置后需运行类型生成命令更新 payload-types.ts。集合方面,Users 在首次登录时自动将用户设为 admin,Media 用于上传图片,Pages 用于管理页面。
使用限制:本地运行需要配置 MongoDB 连接串与 Payload 密钥两个环境变量,并依赖 npm 或 Docker 启动;生产环境需先构建后台再以 Node 服务运行。模板采用 MIT 许可,但演示图片、字体、图标等第三方素材需单独核对许可,数据库、托管等外部服务可能产生费用。
Next.jsReact启动器
适合你的项目吗?
适用场景
- 需要内容编辑人员通过后台拖拽区块搭建多页网站的项目
- 希望在页面中嵌入表单并集中管理提交数据的站点
- 以 Payload CMS 作为后端、Next.js 作为前端的网站起步开发
- 需要本地 Docker 环境或 Vercel 快速部署的演示与原型
适合人群
- 熟悉 Next.js 与 React、希望使用 Payload CMS 搭建网站的开发团队
- 需要可复用页面区块与表单管理能力的网站项目
- 接受 MongoDB 作为数据库并自行配置环境变量的使用者
上手与定制指南
结合仓库当前版本的说明,按下面的资料检查内容、配置与运行要求。
- 1
在项目根目录配置 MONGO_DATABASE_URI 与 PAYLOAD_SECRET 两个环境变量
- 2
本地运行可执行 yarn && yarn dev,或使用 docker-compose up
- 3
访问 http://localhost:3000/admin 并通过表单创建首个管理员用户
- 4
新增集合或全局配置后运行 yarn generate:types 生成类型文件
- 5
生产环境先运行 yarn build 生成后台构建产物,再运行 yarn serve 提供服务
授权与来源资料
使用条件与限制
免费使用 · 保留许可声明本次收录的是公开仓库中采用 MIT 许可的免费版本;免费范围为该版本代码,不代表外部服务或第三方素材免费。
使用时需要遵守
- 允许免费使用、修改、商用和分发该版本代码。
- 分发代码副本或实质性部分时,保留原作者版权声明和完整 MIT 许可声明。
- 代码按现状提供;担保与责任限制以原许可证及适用法律为准。
额外费用与待核对事项
- 本地运行需自行配置 MongoDB 连接串与 Payload 密钥两个环境变量,缺少则无法启动。
- README 推荐使用 Payload Cloud 一键托管部署,该外部托管服务可能产生费用,需自行评估。
- 使用前必须在项目根目录设置环境变量,属于运行前置条件。
- 演示图片、字体、图标及其他第三方素材需按各自许可核对,不能仅凭代码的 MIT 许可判断。
- 域名、托管、数据库、支付或 AI 等外部服务可能另外收费。
查看原文依据
Permission is hereby granted, free of charge
许可证原文
MONGO_DATABASE_URI=<your-database-url> PAYLOAD_SECRET=<your-payload-secret>
README 原文
The easiest way to deploy your project is to use [Payload Cloud](https://payloadcms.com/new/import)
README 原文
https://github.com/OpenOceanHQ/payloadcms-website-template/blob/main/LICENSEhttps://github.com/OpenOceanHQ/payloadcms-website-template/blob/main/README.mdsetup environment variables in your project's root directory
README 原文
DeepSeek 根据仓库许可证和 README 整理 ·2026-10-03。结果仅覆盖已读取资料,依赖、图片、字体及后续条款变更以各自原文为准。
项目核对记录与介绍依据
模板资料
- 来源平台
- GitHub
- 资料与维护参考分
- 资料较完整 · 77 / 100
- 技术栈
- Next.js · React
- 网站类型
- 启动器
这个分数如何计算
本站按许可资料(最高30分)、演示链接(12分)、预览图(10分)、Star数(15分)、记录的维护时间(15分)、描述完整度(8分)、功能记录(5分)和分类资料(5分)计算。它不是代码、安全或性能测试,也不是 Google 评分;有链接不代表已实测可用。
这个项目需要核对什么
- 记录的仓库更新时间
- 2024-06-26
- 截图检查日期
- 2026-10-03
已收录演示链接。请用你的内容与屏幕尺寸检查;有演示不代表表单、认证或支付已经可用。
目录记录的主要技术栈是 Next.js。请通过依赖清单和锁文件核对实际版本与托管要求。这些说明基于收录资料,不代表代码审计或部署实测。
查看具体选型方法 →介绍的制作与核对状态
介绍由 AI 辅助整理目录与仓库资料。仓库作者不等于这篇介绍的审核者。
已完成服务器许可规则与 AI 来源核对;未经过人工编辑审核。
查看当时使用的来源资料
SHA-256: 348968b171ac2eae26791d91a43ab213b680342a90ae847eb33d71476081c155
2026-10-03T04:53:29.694Z
来源文件 / 仓库<a name="readme-top"></a>
<!-- PROJECT SHIELDS -->
<!--
*** I'm using markdown "reference style" links for readability.
*** Reference links are enclosed in brackets [ ] instead of parentheses ( ).
*** See the bottom of this document for the declaration of the reference variables
*** for contributors-url, forks-url, etc. This is an optional, concise syntax you may use.
*** https://www.markdownguide.org/basic-syntax/#reference-style-links
-->
[![Contributors][contributors-shield]][contributors-url]
[![Forks][forks-shield]][forks-url]
[![Stargazers][stars-shield]][stars-url]
[![Issues][issues-shield]][issues-url]
[![MIT License][license-shield]][license-url]
[![LinkedIn][twitter-shield]][twitter-url]
[![LinkedIn][linkedin-shield]][linkedin-url]
<!-- PROJECT LOGO -->
<br />
<div align="center">
<!-- <a href="https://github.com/OpenOceanHQ/payloadcms-website-template">
<img src="public/images/logo.png" alt="Logo" width="80" height="80">
</a> -->
<h3 align="center">Payload CMS website template</h3>
<p align="center">
A website builder template built with Payloadcms 3.0
<br />
[**View Tutorial »**](./Tutorial.md)
<br />
<br />
<a href="https://payloadcms-template.vercel.app">View Demo</a>
·
<a href="https://github.com/OpenOceanHQ/payloadcms-website-template/issues/new?labels=bug&template=bug-report---.md">Report Bug</a>
·
<a href="https://github.com/OpenOceanHQ/payloadcms-website-template/issues/new?labels=enhancement&template=feature-request---.md">Request Feature</a>
·
<a href="mailto:[email protected]">Contact Us</a>
</p>
</div>
<!-- TABLE OF CONTENTS -->
<details>
<summary>Table of Contents</summary>
<ol>
<li>
<a href="#about-the-project">About The Project</a>
<ul>
<li><a href="#built-with">Built With</a></li>
</ul>
</li>
<li>
<a href="#getting-started">Getting Started</a>
<ul>
<li><a href="#prerequisites">Prerequisites</a></li>
<li><a href="#installation">Installation</a></li>
<li><a href="#docker">Docker</a></li>
<li><a href="#production">Production</a></li>
<li><a href="#deployment">Deployment</a></li>
</ul>
</li>
<li><a href="#usage">Usage</a></li>
<li><a href="#structure">Structure</a></li>
<li><a href="#contributing">Contributing</a></li>
<li><a href="#license">License</a></li>
<li><a href="#contact">Contact</a></li>
</ol>
</details>
<!-- ABOUT THE PROJECT -->
## About The Project
Build your website with ease using our website builder template. Our block-based system makes making your website as easy as dragging and dropping a couple of blocks!
<br />
<img src="public/images/blocks.png">
<p align="right">(<a href="#readme-top">back to top</a>)</p>
### Built With
- [![Next][Next.js]][Next-url]
- [![React][React.js]][React-url]
- [![Tailwindcss][Tailwindcss]][tailwindcss-url]
- [![Payload][payload-cms]][payload-url]
<p align="right">(<a href="#readme-top">back to top</a>)</p>
<!-- GETTING STARTED -->
## Getting Started
To get a local copy of our template up and running follow these simple steps.
### Prerequisites
- npm
```sh
npm install npm@latest -g
```
- setup environment variables in your project's root directory
```sh
MONGO_DATABASE_URI=<your-database-url>
PAYLOAD_SECRET=<your-payload-secret>
```
### Deploy to vercel
[](https://vercel.com/new/clone?repository-url=https%3A%2F%2Fgithub.com%2FOpenOceanHQ%2Fpayloadcms-website-template&env=MONGO_DATABASE_URI,PAYLOAD_SECRET&project-name=payload-website&repository-name=payload-website)
### Installation
To spin up the project locally, follow these steps:
1. First clone the repo
2. Then `cd YOUR_PROJECT_REPO`
3. Next `yarn && yarn dev` (or `docker-compose up`, see [Docker](#docker))
4. Now `open http://localhost:3000/admin` to access the admin panel
5. Create your first admin user using the form on the page
That's it! Changes made in `./src` will be reflected in your app.
<p align="right">(<a href="#readme-top">back to top</a>)</p>
### Docker
Alternatively, you can use [Docker](https://www.docker.com) to spin up this project locally. To do so, follow these steps:
1. Follow [steps 1 and 2 from above](#development), the docker-compose file will automatically use the `.env` file in your project root
2. Next run `docker-compose up`
3. Follow [steps 4 and 5 from above](#development) to login and create your first admin user
That's it! The Docker instance will help you get up and running quickly while also standardizing the development environment across your teams.
## Production
To run Payload in production, you need to build and serve the Admin panel. To do so, follow these steps:
1. First invoke the `payload build` script by running `yarn build` or `npm run build` in your project root. This creates a `./build` directory with a production-ready admin bundle.
2. Then run `yarn serve` or `npm run serve` to run Node in production and serve Payload from the `./build` directory.
### Deployment
The easiest way to deploy your project is to use [Payload Cloud](https://payloadcms.com/new/import), a one-click hosting solution to deploy production-ready instances of your Payload apps directly from your GitHub repo. You can also deploy your app manually, check out the [deployment documentation](https://payloadcms.com/docs/production/deployment) for full details.
<!-- USAGE EXAMPLES -->
## Usage
Manage your backend with the admin dashboard
![Admin Dashboard Screen Shot][admin-dashboard-screenshot]
Build pages from your dashboard with layout and blocks from the pages collection.
<br />
<table>
<tr>
<td><img src="public/images/page-builder-dashboard.jpeg" alt="Dashboard" style="width: 100%;"></td>
<td><img src="public/images/page-builder-frontend.jpeg" alt="Frontend" style="width: 100%;"></td>
</tr>
</table>
<br />
Build your page with our pre-built blocks or create your own!
<br />
<img src="public/images/blocks.png">
<br />
We leverage the powerful Form builder plugin to give you the best form creation and submission experience!
<br />
Simply create your form and add it as a block in your page. Form submissions will be sent straight to your dashboard!
<table>
<tr>
<td><img src="public/images/forms.png" alt="Forms" style="width: 100%;"></td>
<td><img src="public/images/form-submissions.png" alt="Form Submissions" style="width: 100%;"></td>
</tr>
</table>
<br />
What your forms will look like
<div>
<img src="public/images/form-preview.png" style="width: 100;">
</div>
<!-- _For more examples, please refer to the [Documentation](https://example.com)_ -->
<p align="right">(<a href="#readme-top">back to top</a>)</p>
<!-- FILE STRUCTURE -->
## Structure
<!-- file structure with collections, globals and brief explanation -->
This is the typical file structure of the project.
```plaintext
src
├── access
├── app
│ ├── (app)
│ ├── (payload)
│ │ ├── admin
│ │ ├── api
│ │ ├── Blocks
│ │ └── fields
│ ├── globals
│ └── my-route
├── collections
│ ├── Media
│ ├── Pages
│ └── Users
├── common
│ ├── Blocks
│ └── Components
├── utilities
│── payload-types.ts
└── payload.config.ts
```
payload.config.ts is the configuration file for the payload application. You can control the configuration for the entire application from here.
Whenever you create a collection or globals schema, you have to add it to the config file and generate types for it using the command:
```bash
yarn generate:types
```
This will generate payload-types.ts file in your root directory.
- The app directory inside your /src folder contains all the backend files for payload collections, globals and your api end points.
- Collections and Globals are schemas that are defined which will be converted into a database collection of your choice.
- You can configure things like access control, fields shown in admin panel, custom hooks and so on from your collection configuration file.
- Globals are similar to collections, but they contain app-wide data that your site or app might rely on like header and footer settings.
**Collections:**
- Users - This collection will be automatically generated when you setup the application. First time login will automatically make you an **admin** user.
- Media - This collection lets you upload photos that you can use anywhere in your application.
- Pages - The pages collection will let you add and manage your pages. You can build your page with blocks that are pre-built by us or you can make your own blocks!
<p align="right">(<a href="#readme-top">back to top</a>)</p>
<!-- CONTRIBUTING -->
## Contributing
Contributions are what make the open source community such an amazing place to learn, inspire, and create. Any contributions you make are **greatly appreciated**.
See the [open issues](https://github.com/OpenOceanHQ/payloadcms-website-template/issues) for a full list of proposed features (and known issues).
If you have a suggestion that would make this better, please fork the repo and create a pull request. You can also simply open an issue with the tag "enhancement".
Don't forget to give the project a star! Thanks again!
1. Fork the Project
2. Create your Feature Branch (`git checkout -b feature/AmazingFeature`)
3. Commit your Changes (`git commit -m 'Add some AmazingFeature'`)
4. Push to the Branch (`git push origin feature/AmazingFeature`)
5. Open a Pull Request
<p align="right">(<a href="#readme-top">back to top</a>)</p>
<!-- LICENSE -->
## License
Distributed under the MIT License. See `LICENSE.txt` for more information.
<p align="right">(<a href="#readme-top">back to top</a>)</p>
<!-- CONTACT -->
## Contact
Open Ocean Technologies - [@cornerrrhq](https://x.com/cornerrrhq) - [email protected]
Project Link: [https://github.com/OpenOceanHQ/payloadcms-website-template](https://github.com/OpenOceanHQ/payloadcms-website-template)
<p align="right">(<a href="#readme-top">back to top</a>)</p>
<!-- MARKDOWN LINKS & IMAGES -->
<!-- https://www.markdownguide.org/basic-syntax/#reference-style-links -->
[contributors-shield]: https://img.shields.io/github/contributors/OpenOceanHQ/payloadcms-website-template.svg?style=for-the-badge
[contributors-url]: https://github.com/OpenOceanHQ/payloadcms-website-template/graphs/contributors
[forks-shield]: https://img.shields.io/github/forks/OpenOceanHQ/payloadcms-website-template.svg?style=for-the-badge
[forks-url]: https://github.com/OpenOceanHQ/payloadcms-website-template/network/members
[stars-shield]: https://img.shields.io/github/stars/OpenOceanHQ/payloadcms-website-template.svg?style=for-the-badge
[stars-url]: https://github.com/OpenOceanHQ/payloadcms-website-template/stargazers
[issues-shield]: https://img.shields.io/github/issues/OpenOceanHQ/payloadcms-website-template.svg?style=for-the-badge
[issues-url]: https://github.com/OpenOceanHQ/payloadcms-website-template/issues
[license-shield]: https://img.shields.io/github/license/OpenOceanHQ/payloadcms-website-template.svg?style=for-the-badge
[license-url]: https://github.com/OpenOceanHQ/payloadcms-website-template/blob/master/LICENSE.txt
[linkedin-shield]: https://img.shields.io/badge/-LinkedIn-black.svg?style=for-the-badge&logo=linkedin&colorB=555
[linkedin-url]: https://www.linkedin.com/company/cornerrr
[twitter-shield]: https://img.shields.io/badge/X-000000?style=for-the-badge&logo=x&logoColor=white
[twitter-url]: https://x.com/cornerrrhq
[product-screenshot]: public/images/screenshot.png
[admin-dashboard-screenshot]: public/images/admin-dashboard.png
[Next.js]: https://img.shields.io/badge/next.js-000000?style=for-the-badge&logo=nextdotjs&logoColor=white
[Next-url]: https://nextjs.org/
[payload-url]: https://payloadcms.com/
[payload-cms]: public/images/payload.svg
[React.js]: https://img.shields.io/badge/React-20232A?style=for-the-badge&logo=react&logoColor=61DAFB
[React-url]: https://reactjs.org/
[tailwindcss]: https://img.shields.io/badge/Tailwind_CSS-38B2AC?style=for-the-badge&logo=tailwind-css&logoColor=white
[tailwindcss-url]: https://tailwindcss.com/
看看同类模板
对比同技术栈与用途的模板,找到更适合的视觉与内容结构。
ai-website-cloner-template
Clone any website with one command using AI coding agents
Next.js · 启动器

Next.js SaaS Starter
Next.js SaaS Starter 是 Next.js 官方维护的 SaaS 起点模板,定位介于学习资源和可直接部署的脚手架之间。
Next.js · SaaS

Next.js Commerce
Next.js Commerce 是 Vercel 团队维护的电商启动模板,基于 Next.js App Router 构建,采用服务端渲染、React Server Components、Server Actions …
Next.js · 电商

Next-js-Boilerplate
Next-js-Boilerplate 是一个面向 Next.js 16、Tailwind CSS 4 和 TypeScript 的启动器,核心定位是开发者体验优先。
Next.js · 启动器

tailwind-nextjs-starter-blog
tailwind-nextjs-starter-blog 是一个面向个人技术博客的 Next.js 与 Tailwind CSS 启动模板,其 v2 版本基于 App Router 与 React Server Comp…
Next.js · 博客

next-forge
Production-grade Turborepo template for Next.js apps.
Next.js · 启动器