
Back-end page builder: compose pages in the Pages collection using layouts and preset blocks, or define custom blocks
Next.jsReactStarter
payloadcms-website-template — Next.js Starter Template
By OpenOceanHQ
A multi-page website template built on Payload CMS 3.0 and Next.js, with pages assembled through a back-end layout and block system, plus built-in form building and submission management.
Explore the design
Compare the page layouts and mobile experience. Open any screenshot for a closer look.
Desktop homepage1 / 3
Desktop captureTop of page
Actual screenshot captured by the server browser.
All pages & views 3
Screenshots show visual appearance; interactive behavior may differ.
Recorded 2026-10-03View source
What stands out
A quick read of the recorded project description.
Form builder plugin: create forms and insert them into pages as blocks, with submissions viewed in the back-end dashboard
Clear collection separation: Users, Media, and Pages handle users, media, and page content respectively
Supports local startup with Docker, and can also be deployed via the Vercel button
Centralized configuration via payload.config.ts, with a type generation command to maintain payload-types.ts
Template Details
This is a multi-page website template that uses Payload CMS 3.0 as the content management back end and Next.js as the front-end framework. Its core is the back-end page builder: within the Pages collection, pages are composed from layouts and preset blocks, and custom blocks can also be written. The template includes a form builder plugin; created forms can be inserted into pages as blocks, and submissions can be viewed in the back-end dashboard.
In terms of project structure, the src directory separates app (Payload admin, API routes, blocks, and fields), collections (Users, Media, Pages), common (blocks and components), and utilities. payload.config.ts centralizes application configuration; after adding a collection or global configuration, the type generation command must be run to update payload-types.ts. Regarding collections, Users automatically sets a user as admin on first login, Media is used for image uploads, and Pages is used to manage pages.
Usage limitations: local operation requires configuring two environment variables, a MongoDB connection string and a Payload secret, and depends on npm or Docker to start; in production, the back end must be built first and then run as a Node service. The template uses the MIT license, but third-party assets such as demo images, fonts, and icons require separate license verification, and external services such as databases and hosting may incur costs.
Next.jsReactStarter
Is it right for your project?
Use Cases
- Projects where content editors need to assemble multi-page websites by dragging blocks in the back end
- Sites that need to embed forms in pages and centrally manage submission data
- Initial development of websites using Payload CMS as the back end and Next.js as the front end
- Demos and prototypes that require a local Docker environment or rapid deployment via Vercel
Suitable For
- Development teams familiar with Next.js and React who want to build websites with Payload CMS
- Website projects that need reusable page blocks and form management capabilities
- Users who accept MongoDB as the database and will configure environment variables themselves
Getting started & customization
Use these recorded setup notes alongside the repository instructions for your chosen version.
- 1
Configure the two environment variables MONGO_DATABASE_URI and PAYLOAD_SECRET in the project root directory
- 2
For local operation, run yarn && yarn dev, or use docker-compose up
- 3
Visit http://localhost:3000/admin and create the first admin user through the form
- 4
After adding a collection or global configuration, run yarn generate:types to generate type files
- 5
In production, first run yarn build to generate the back-end build output, then run yarn serve to provide the service
License & source material
Usage conditions & limitations
Free to use · keep license noticeThis entry covers the free version in a public repository under the MIT license; the free scope is the code of that version and does not mean external services or third-party assets are free.
Must comply with when using
- The code of this version may be used, modified, used commercially, and distributed free of charge.
- When distributing copies or substantial portions of the code, retain the original author's copyright notice and the full MIT license notice.
- The code is provided as is; warranties and limitations of liability are governed by the original license and applicable law.
Additional costs & items to verify
- Local operation requires configuring the two environment variables for the MongoDB connection string and Payload secret; without them, it cannot start.
- The README recommends one-click managed deployment with Payload Cloud; this external hosting service may incur costs and must be evaluated independently.
- Environment variables must be set in the project root directory before use, which is a prerequisite for running.
- Demo images, fonts, icons, and other third-party assets must be checked against their respective licenses; the code's MIT license alone cannot be used to judge them.
- External services such as domains, hosting, databases, payments, or AI may charge separately.
View Original Text Basis
Permission is hereby granted, free of charge
Original License Text
MONGO_DATABASE_URI=<your-database-url> PAYLOAD_SECRET=<your-payload-secret>
Original README
The easiest way to deploy your project is to use [Payload Cloud](https://payloadcms.com/new/import)
Original README
https://github.com/OpenOceanHQ/payloadcms-website-template/blob/main/LICENSEhttps://github.com/OpenOceanHQ/payloadcms-website-template/blob/main/README.mdsetup environment variables in your project's root directory
Original README
Compiled by DeepSeek based on repository license and README ·2026-10-03. Results only cover the materials read; dependencies, images, fonts, and subsequent term changes are subject to their respective original texts.
Project checks & description sources
Template Information
- Source platforms
- GitHub
- Documentation and maintenance reference score
- More documented · 77 / 100
- Technologies
- Next.js · React
- Website type
- Starter
How this score is calculated
Our heuristic uses license records (up to 30), a demo link (12), a preview (10), stars (15), recorded maintenance (15), description completeness (8), feature records (5) and classification data (5). It is not a code, security or performance test, or a Google score. A link does not establish tested functionality.
What to verify for this project
- Repository update recorded
- 2024-06-26
- Screenshot last checked
- 2026-10-03
A demo link is listed. Check it with your own content and viewport sizes; its presence does not confirm that forms, authentication or payments work.
The catalog identifies Next.js as the primary stack. Check the actual dependency manifest and lockfile for versions and hosting requirements. These notes use recorded metadata, not a code audit or a deployment test.
Use a selection guide →How this description was prepared
AI-assisted description based on catalog records and repository material. Repository authors are not automatically the reviewers of this description.
Automatically checked against source and license rules; no manual editorial review.
Inspect the recorded source material
SHA-256: 348968b171ac2eae26791d91a43ab213b680342a90ae847eb33d71476081c155
2026-10-03T04:53:29.694Z
Source file / repository<a name="readme-top"></a>
<!-- PROJECT SHIELDS -->
<!--
*** I'm using markdown "reference style" links for readability.
*** Reference links are enclosed in brackets [ ] instead of parentheses ( ).
*** See the bottom of this document for the declaration of the reference variables
*** for contributors-url, forks-url, etc. This is an optional, concise syntax you may use.
*** https://www.markdownguide.org/basic-syntax/#reference-style-links
-->
[![Contributors][contributors-shield]][contributors-url]
[![Forks][forks-shield]][forks-url]
[![Stargazers][stars-shield]][stars-url]
[![Issues][issues-shield]][issues-url]
[![MIT License][license-shield]][license-url]
[![LinkedIn][twitter-shield]][twitter-url]
[![LinkedIn][linkedin-shield]][linkedin-url]
<!-- PROJECT LOGO -->
<br />
<div align="center">
<!-- <a href="https://github.com/OpenOceanHQ/payloadcms-website-template">
<img src="public/images/logo.png" alt="Logo" width="80" height="80">
</a> -->
<h3 align="center">Payload CMS website template</h3>
<p align="center">
A website builder template built with Payloadcms 3.0
<br />
[**View Tutorial »**](./Tutorial.md)
<br />
<br />
<a href="https://payloadcms-template.vercel.app">View Demo</a>
·
<a href="https://github.com/OpenOceanHQ/payloadcms-website-template/issues/new?labels=bug&template=bug-report---.md">Report Bug</a>
·
<a href="https://github.com/OpenOceanHQ/payloadcms-website-template/issues/new?labels=enhancement&template=feature-request---.md">Request Feature</a>
·
<a href="mailto:[email protected]">Contact Us</a>
</p>
</div>
<!-- TABLE OF CONTENTS -->
<details>
<summary>Table of Contents</summary>
<ol>
<li>
<a href="#about-the-project">About The Project</a>
<ul>
<li><a href="#built-with">Built With</a></li>
</ul>
</li>
<li>
<a href="#getting-started">Getting Started</a>
<ul>
<li><a href="#prerequisites">Prerequisites</a></li>
<li><a href="#installation">Installation</a></li>
<li><a href="#docker">Docker</a></li>
<li><a href="#production">Production</a></li>
<li><a href="#deployment">Deployment</a></li>
</ul>
</li>
<li><a href="#usage">Usage</a></li>
<li><a href="#structure">Structure</a></li>
<li><a href="#contributing">Contributing</a></li>
<li><a href="#license">License</a></li>
<li><a href="#contact">Contact</a></li>
</ol>
</details>
<!-- ABOUT THE PROJECT -->
## About The Project
Build your website with ease using our website builder template. Our block-based system makes making your website as easy as dragging and dropping a couple of blocks!
<br />
<img src="public/images/blocks.png">
<p align="right">(<a href="#readme-top">back to top</a>)</p>
### Built With
- [![Next][Next.js]][Next-url]
- [![React][React.js]][React-url]
- [![Tailwindcss][Tailwindcss]][tailwindcss-url]
- [![Payload][payload-cms]][payload-url]
<p align="right">(<a href="#readme-top">back to top</a>)</p>
<!-- GETTING STARTED -->
## Getting Started
To get a local copy of our template up and running follow these simple steps.
### Prerequisites
- npm
```sh
npm install npm@latest -g
```
- setup environment variables in your project's root directory
```sh
MONGO_DATABASE_URI=<your-database-url>
PAYLOAD_SECRET=<your-payload-secret>
```
### Deploy to vercel
[](https://vercel.com/new/clone?repository-url=https%3A%2F%2Fgithub.com%2FOpenOceanHQ%2Fpayloadcms-website-template&env=MONGO_DATABASE_URI,PAYLOAD_SECRET&project-name=payload-website&repository-name=payload-website)
### Installation
To spin up the project locally, follow these steps:
1. First clone the repo
2. Then `cd YOUR_PROJECT_REPO`
3. Next `yarn && yarn dev` (or `docker-compose up`, see [Docker](#docker))
4. Now `open http://localhost:3000/admin` to access the admin panel
5. Create your first admin user using the form on the page
That's it! Changes made in `./src` will be reflected in your app.
<p align="right">(<a href="#readme-top">back to top</a>)</p>
### Docker
Alternatively, you can use [Docker](https://www.docker.com) to spin up this project locally. To do so, follow these steps:
1. Follow [steps 1 and 2 from above](#development), the docker-compose file will automatically use the `.env` file in your project root
2. Next run `docker-compose up`
3. Follow [steps 4 and 5 from above](#development) to login and create your first admin user
That's it! The Docker instance will help you get up and running quickly while also standardizing the development environment across your teams.
## Production
To run Payload in production, you need to build and serve the Admin panel. To do so, follow these steps:
1. First invoke the `payload build` script by running `yarn build` or `npm run build` in your project root. This creates a `./build` directory with a production-ready admin bundle.
2. Then run `yarn serve` or `npm run serve` to run Node in production and serve Payload from the `./build` directory.
### Deployment
The easiest way to deploy your project is to use [Payload Cloud](https://payloadcms.com/new/import), a one-click hosting solution to deploy production-ready instances of your Payload apps directly from your GitHub repo. You can also deploy your app manually, check out the [deployment documentation](https://payloadcms.com/docs/production/deployment) for full details.
<!-- USAGE EXAMPLES -->
## Usage
Manage your backend with the admin dashboard
![Admin Dashboard Screen Shot][admin-dashboard-screenshot]
Build pages from your dashboard with layout and blocks from the pages collection.
<br />
<table>
<tr>
<td><img src="public/images/page-builder-dashboard.jpeg" alt="Dashboard" style="width: 100%;"></td>
<td><img src="public/images/page-builder-frontend.jpeg" alt="Frontend" style="width: 100%;"></td>
</tr>
</table>
<br />
Build your page with our pre-built blocks or create your own!
<br />
<img src="public/images/blocks.png">
<br />
We leverage the powerful Form builder plugin to give you the best form creation and submission experience!
<br />
Simply create your form and add it as a block in your page. Form submissions will be sent straight to your dashboard!
<table>
<tr>
<td><img src="public/images/forms.png" alt="Forms" style="width: 100%;"></td>
<td><img src="public/images/form-submissions.png" alt="Form Submissions" style="width: 100%;"></td>
</tr>
</table>
<br />
What your forms will look like
<div>
<img src="public/images/form-preview.png" style="width: 100;">
</div>
<!-- _For more examples, please refer to the [Documentation](https://example.com)_ -->
<p align="right">(<a href="#readme-top">back to top</a>)</p>
<!-- FILE STRUCTURE -->
## Structure
<!-- file structure with collections, globals and brief explanation -->
This is the typical file structure of the project.
```plaintext
src
├── access
├── app
│ ├── (app)
│ ├── (payload)
│ │ ├── admin
│ │ ├── api
│ │ ├── Blocks
│ │ └── fields
│ ├── globals
│ └── my-route
├── collections
│ ├── Media
│ ├── Pages
│ └── Users
├── common
│ ├── Blocks
│ └── Components
├── utilities
│── payload-types.ts
└── payload.config.ts
```
payload.config.ts is the configuration file for the payload application. You can control the configuration for the entire application from here.
Whenever you create a collection or globals schema, you have to add it to the config file and generate types for it using the command:
```bash
yarn generate:types
```
This will generate payload-types.ts file in your root directory.
- The app directory inside your /src folder contains all the backend files for payload collections, globals and your api end points.
- Collections and Globals are schemas that are defined which will be converted into a database collection of your choice.
- You can configure things like access control, fields shown in admin panel, custom hooks and so on from your collection configuration file.
- Globals are similar to collections, but they contain app-wide data that your site or app might rely on like header and footer settings.
**Collections:**
- Users - This collection will be automatically generated when you setup the application. First time login will automatically make you an **admin** user.
- Media - This collection lets you upload photos that you can use anywhere in your application.
- Pages - The pages collection will let you add and manage your pages. You can build your page with blocks that are pre-built by us or you can make your own blocks!
<p align="right">(<a href="#readme-top">back to top</a>)</p>
<!-- CONTRIBUTING -->
## Contributing
Contributions are what make the open source community such an amazing place to learn, inspire, and create. Any contributions you make are **greatly appreciated**.
See the [open issues](https://github.com/OpenOceanHQ/payloadcms-website-template/issues) for a full list of proposed features (and known issues).
If you have a suggestion that would make this better, please fork the repo and create a pull request. You can also simply open an issue with the tag "enhancement".
Don't forget to give the project a star! Thanks again!
1. Fork the Project
2. Create your Feature Branch (`git checkout -b feature/AmazingFeature`)
3. Commit your Changes (`git commit -m 'Add some AmazingFeature'`)
4. Push to the Branch (`git push origin feature/AmazingFeature`)
5. Open a Pull Request
<p align="right">(<a href="#readme-top">back to top</a>)</p>
<!-- LICENSE -->
## License
Distributed under the MIT License. See `LICENSE.txt` for more information.
<p align="right">(<a href="#readme-top">back to top</a>)</p>
<!-- CONTACT -->
## Contact
Open Ocean Technologies - [@cornerrrhq](https://x.com/cornerrrhq) - [email protected]
Project Link: [https://github.com/OpenOceanHQ/payloadcms-website-template](https://github.com/OpenOceanHQ/payloadcms-website-template)
<p align="right">(<a href="#readme-top">back to top</a>)</p>
<!-- MARKDOWN LINKS & IMAGES -->
<!-- https://www.markdownguide.org/basic-syntax/#reference-style-links -->
[contributors-shield]: https://img.shields.io/github/contributors/OpenOceanHQ/payloadcms-website-template.svg?style=for-the-badge
[contributors-url]: https://github.com/OpenOceanHQ/payloadcms-website-template/graphs/contributors
[forks-shield]: https://img.shields.io/github/forks/OpenOceanHQ/payloadcms-website-template.svg?style=for-the-badge
[forks-url]: https://github.com/OpenOceanHQ/payloadcms-website-template/network/members
[stars-shield]: https://img.shields.io/github/stars/OpenOceanHQ/payloadcms-website-template.svg?style=for-the-badge
[stars-url]: https://github.com/OpenOceanHQ/payloadcms-website-template/stargazers
[issues-shield]: https://img.shields.io/github/issues/OpenOceanHQ/payloadcms-website-template.svg?style=for-the-badge
[issues-url]: https://github.com/OpenOceanHQ/payloadcms-website-template/issues
[license-shield]: https://img.shields.io/github/license/OpenOceanHQ/payloadcms-website-template.svg?style=for-the-badge
[license-url]: https://github.com/OpenOceanHQ/payloadcms-website-template/blob/master/LICENSE.txt
[linkedin-shield]: https://img.shields.io/badge/-LinkedIn-black.svg?style=for-the-badge&logo=linkedin&colorB=555
[linkedin-url]: https://www.linkedin.com/company/cornerrr
[twitter-shield]: https://img.shields.io/badge/X-000000?style=for-the-badge&logo=x&logoColor=white
[twitter-url]: https://x.com/cornerrrhq
[product-screenshot]: public/images/screenshot.png
[admin-dashboard-screenshot]: public/images/admin-dashboard.png
[Next.js]: https://img.shields.io/badge/next.js-000000?style=for-the-badge&logo=nextdotjs&logoColor=white
[Next-url]: https://nextjs.org/
[payload-url]: https://payloadcms.com/
[payload-cms]: public/images/payload.svg
[React.js]: https://img.shields.io/badge/React-20232A?style=for-the-badge&logo=react&logoColor=61DAFB
[React-url]: https://reactjs.org/
[tailwindcss]: https://img.shields.io/badge/Tailwind_CSS-38B2AC?style=for-the-badge&logo=tailwind-css&logoColor=white
[tailwindcss-url]: https://tailwindcss.com/
Explore similar templates
Compare previews and descriptions within the same stack and category.

Next.js SaaS Starter
The official Next.js SaaS starter template, integrating email/password authentication, Stripe Checkout subscriptions, a dashboard with user/team CRUD, basic Owner/Member RBAC, and activity logging.
Next.js · SaaS

Next.js Commerce
Vercel's officially maintained Next.js App Router ecommerce starter with deep Shopify integration, offering a complete product catalog, cart, and checkout flow. Core logic is modular for swapping backends, and community provider versions exist for BigCommerce, Medusa, and Saleor.
Next.js · E-commerce

Next-js-Boilerplate
A developer-first Next.js 16 starter with Tailwind CSS 4 and TypeScript, supporting both App Router and Page Router.
Next.js · Starter

tailwind-nextjs-starter-blog
A Next.js and Tailwind CSS blog starter template using Contentlayer for Markdown/MDX, with built-in SEO, code highlighting, and tags. It targets personal technical blogs and migration from Jekyll/Hugo to React, and supports one-click Vercel deployment.
Next.js · Blog

next-forge
next-forge is a Turborepo-based Next.js template maintained by Vercel, positioned as a starting point for SaaS products.
Next.js · Starter
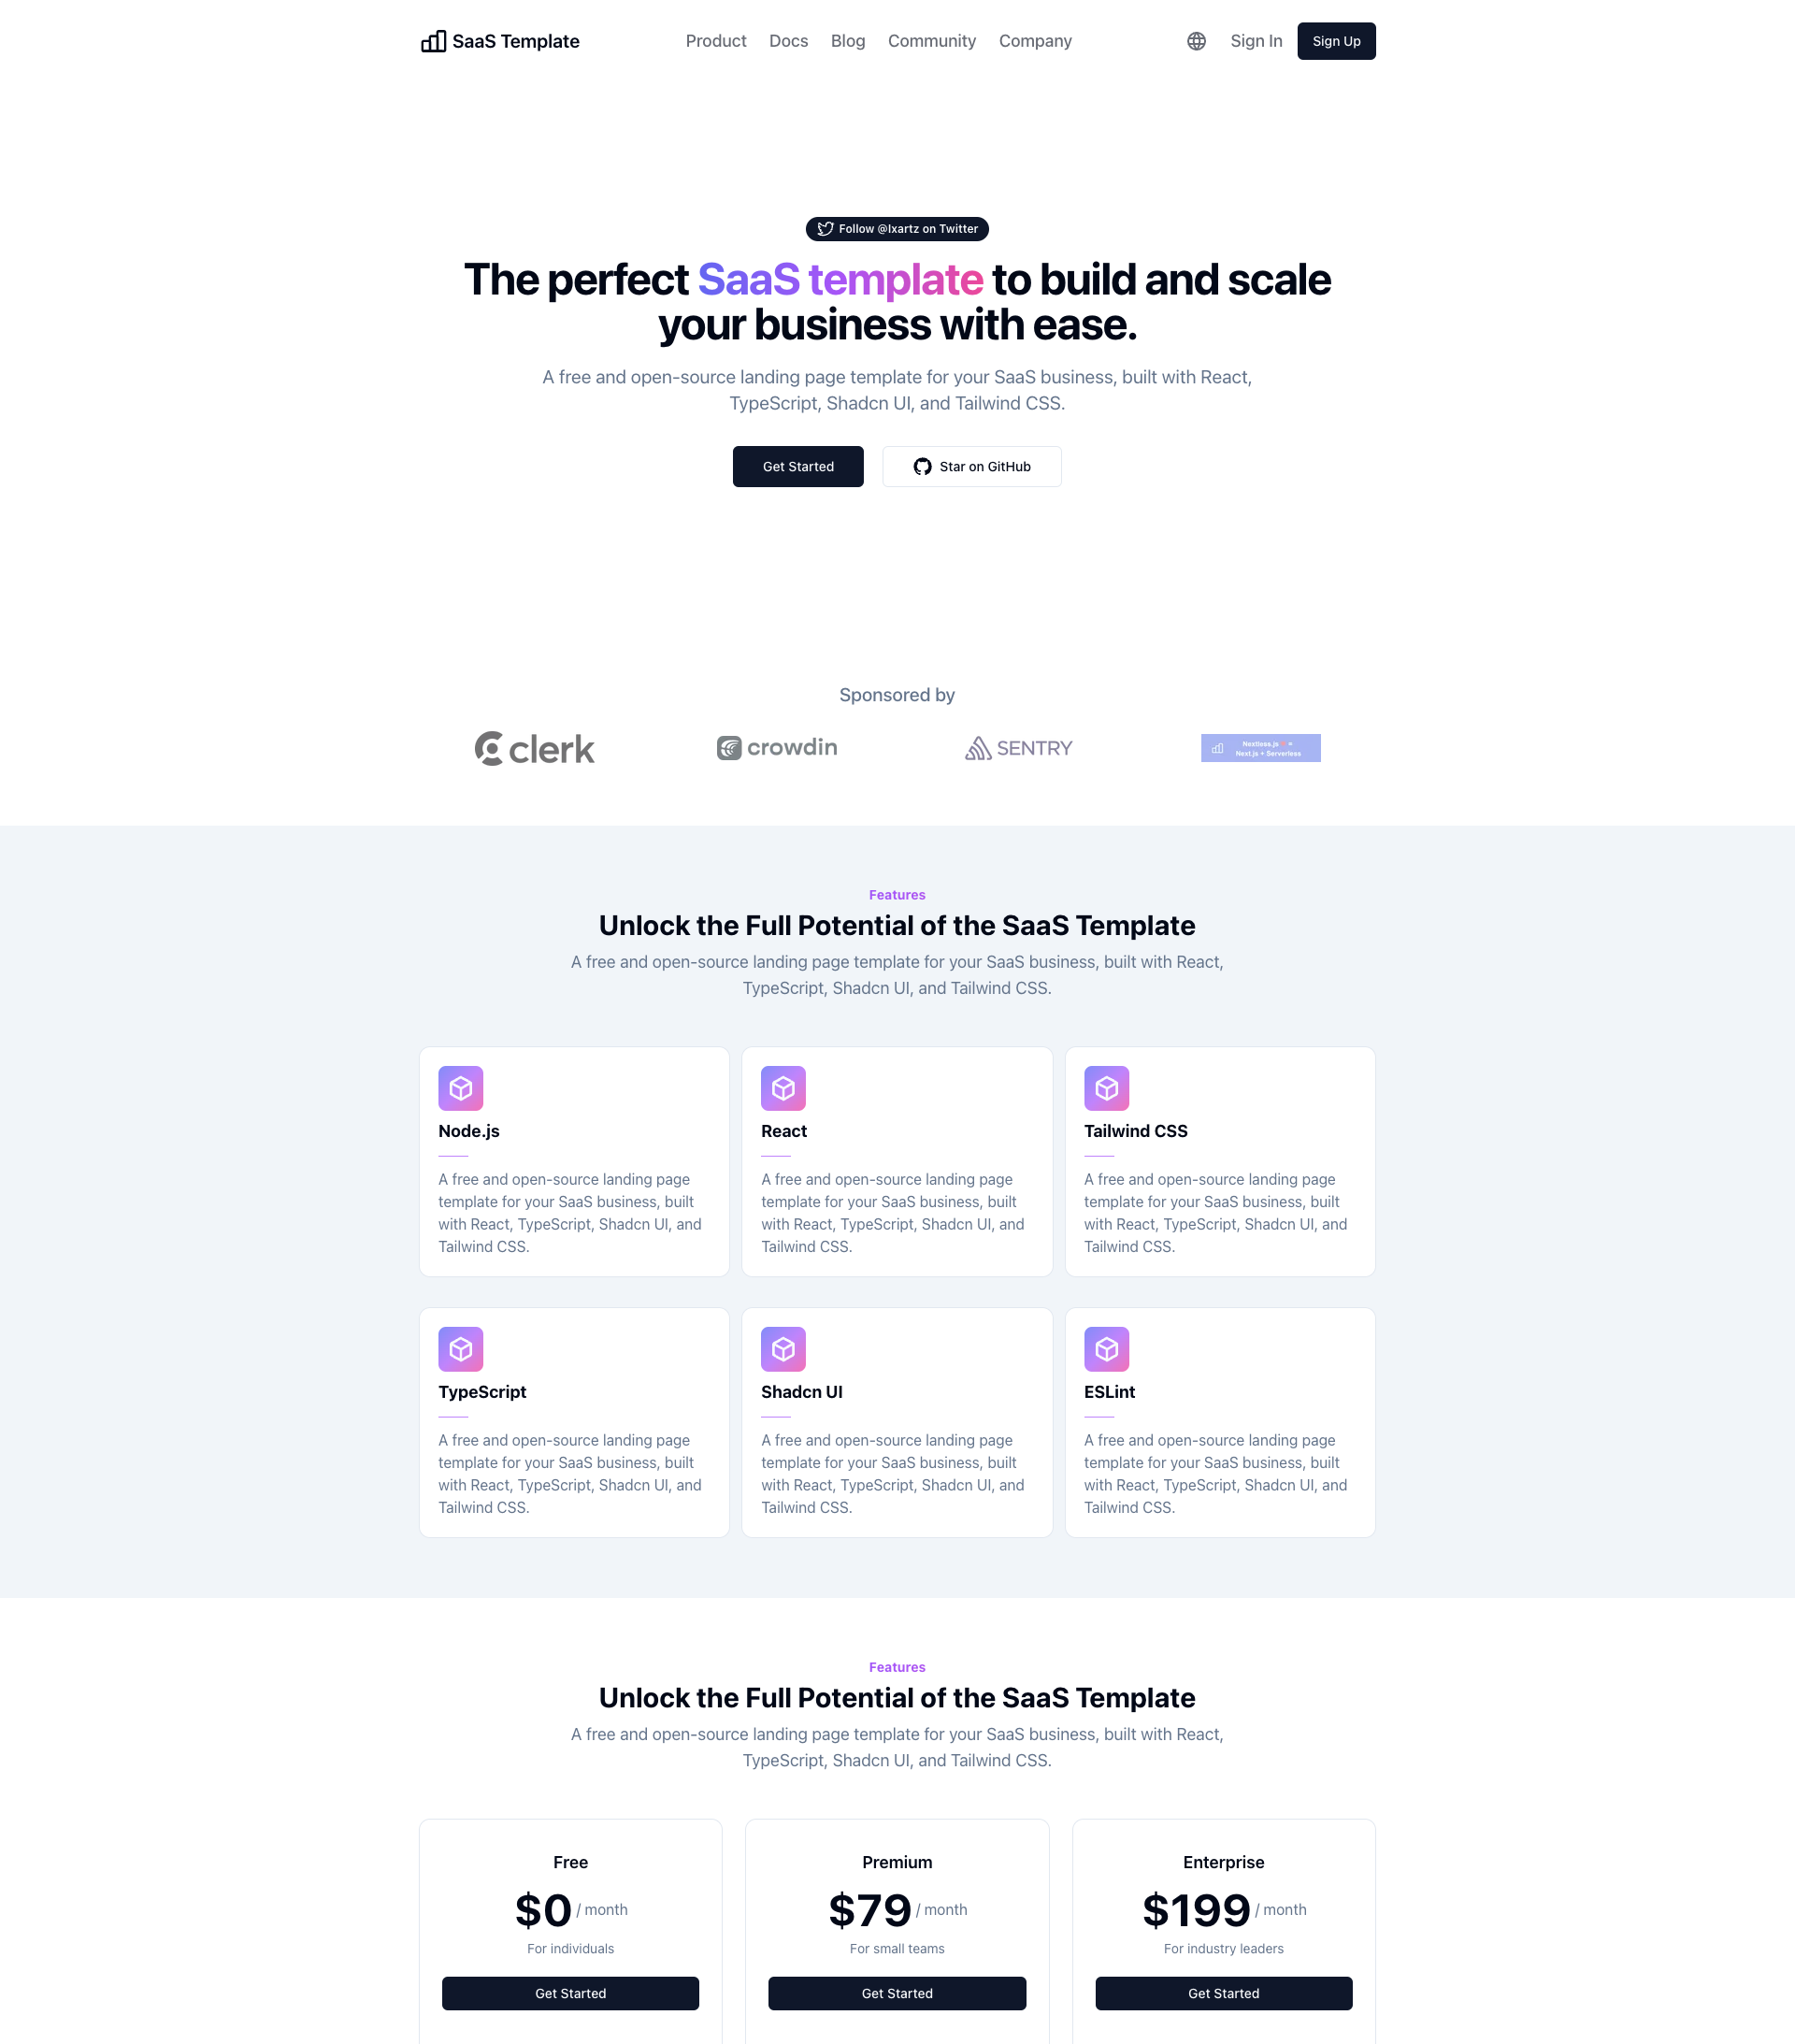
SaaS-Boilerplate
SaaS-Boilerplate is an open-source SaaS starter template built with Next.js App Router, React 19, TypeScript, Tailwind CSS, and Shadcn UI.
Next.js · SaaS