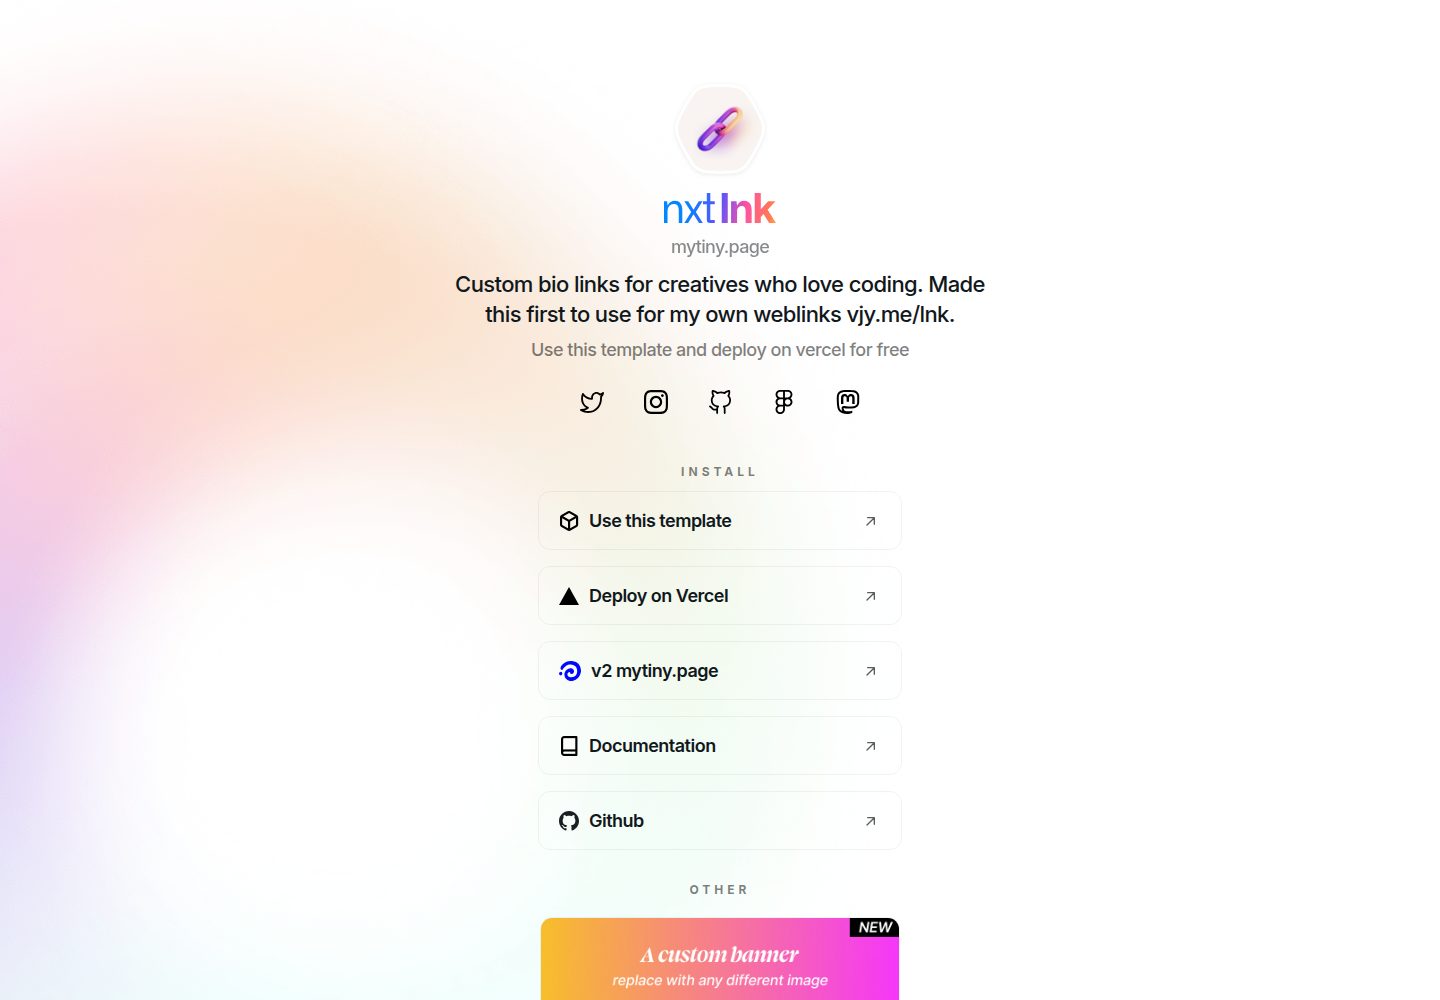
基于 Next.js,通过 BioData.js 与 LinksData.js 两个数据文件维护个人信息和链接
Next.jsReact作品集
nxt-lnk — Next.js 作品集模板
作者 realvjy
nxt-lnk 是一个基于 Next.js 的 bio 链接页面模板,用 BioData.js 与 LinksData.js 管理个人信息和链接,可自托管到 Vercel 或 Netlify 并绑定自定义域名。
看看你的网站会是什么样
浏览真实页面截图,比较内容排版与手机效果。点击下方缩略图切换,放大查看整页细节。
全部页面与视图 2
截图用于了解视觉与布局,交互效果请以实际项目为准。
采集于 2026-09-30查看来源
值得关注的模板亮点
从已有项目资料中,快速了解它的特点。
链接按 type 分组渲染,social 类型显示为图标行,其余类型按区块展示
每个链接可用 on 字段单独启用或禁用,头像支持六边形与椭圆形切换
使用 styled-components 编写样式,前端区块集中在 components/WebLinks.js
内置 next-seo 配置,并说明通过 Vercel 环境变量接入 Google Analytics
支持部署到 Vercel 或 Netlify,并可绑定自定义域名
模板详细介绍
nxt-lnk 是一个用 Next.js 编写的个人 bio 链接页面模板,定位为 Linktree 等链接聚合平台的自托管替代方案,适合喜欢写代码的创作者。页面内容通过 data/BioData.js 和 data/LinksData.js 两个数据文件维护,不需要深入改动组件即可更新姓名、用户名、头像、描述、副描述以及各类链接。链接按 type 字段分组,social 类型会以图标单行排列在描述下方,其他类型则按区块渲染,每个链接可通过 on 字段单独启用或禁用。
模板使用 styled-components 处理样式,前端区块集中在 components/WebLinks.js,新增或调整区块需要同时修改 LinksData.js 中的 type 与 WebLinks.js 中对应的过滤和渲染代码。头像支持六边形(nftAvatar: true)和椭圆形两种显示方式,标题默认读取 title.svg,Featured 横幅由 newProduct 与 newProductUrl 控制。模板会根据系统配置自动切换深色模式。
部署方面,README 提供了 Vercel 与 Netlify 的一键部署入口,也可以用 create-next-app 以该仓库为模板初始化项目,本地通过 npm run dev 或 yarn dev 启动。SEO 使用 next-seo,需要修改 next-seo.config.js 并填写 preview.jpg 的完整地址;Google Analytics 通过 Vercel 环境变量配置 GA 4 代码;自定义域名和 favicon 分别按托管平台文档和 public 目录放置 favicon.ico 完成。
需要注意,使用该模板更新信息需要基本的代码理解,新增社交图标还要在 public 目录补充对应的 svg 文件,并可能改动 WebLinks.js。README 中提到的 v2 mytiny.page builder 属于作者的另一项服务,不在本仓库代码范围内。
Next.js作品集
适合你的项目吗?
适用场景
- 创作者搭建自托管的 bio 链接聚合页,替代 Linktree 等第三方平台
- 把个人社交账号、作品、NFT 等链接集中在一个页面展示
- 以该仓库为模板初始化 Next.js 项目,再按需修改数据文件与组件
- 部署到 Vercel 或 Netlify 并绑定自己的域名作为个人入口页
适合人群
- 具备基本 Next.js 与 React 知识、愿意直接编辑代码文件的创作者
- 希望自行托管链接页面并绑定独立域名的个人用户
- 需要按社交、项目等类型分组展示链接的开发者
上手与定制指南
结合仓库当前版本的说明,按下面的资料检查内容、配置与运行要求。
- 1
可用 create-next-app 以该仓库为模板初始化项目,或使用 README 中的 Vercel、Netlify 部署入口
- 2
本地运行 npm run dev 或 yarn dev,默认在 http://localhost:3000 查看
- 3
主要编辑 data/BioData.js 与 data/LinksData.js,图片和图标放在 public 目录
- 4
新增社交图标需在 public 添加对应 svg 文件,并可能需要在 components/WebLinks.js 中调整对应区块
- 5
SEO 需修改 next-seo.config.js 并填写 preview.jpg 的完整地址,favicon.ico 放入 public 目录
授权与来源资料
使用条件与限制
免费使用 · 保留许可声明本次收录的是公开仓库中采用 MIT 许可的免费版本;免费范围为该版本代码,不代表外部服务或第三方素材免费。
使用时需要遵守
- 允许免费使用、修改、商用和分发该版本代码。
- 分发代码副本或实质性部分时,保留原作者版权声明和完整 MIT 许可声明。
- 代码按现状提供;担保与责任限制以原许可证及适用法律为准。
额外费用与待核对事项
- 使用该模板需要具备基本的代码理解能力,并非零代码工具;需自行编辑数据文件与组件代码。
- 启用 Google Analytics 需自行注册 Google Analytics 账号获取 GA4 代码,并在 Vercel 项目环境变量中配置,属于外部服务依赖。
- 自定义域名依赖 Vercel 或 Netlify 托管平台,需按平台文档操作,可能涉及平台账号及域名费用。
- 新增社交图标需自行在 public 目录添加对应 svg 文件,并可能修改 components/WebLinks.js 代码,非纯配置操作。
- SEO 功能需手动修改 next-seo.config.js 并填写 preview.jpg 的完整外链地址。
- 演示图片、字体、图标及其他第三方素材需按各自许可核对,不能仅凭代码的 MIT 许可判断。
- 域名、托管、数据库、支付或 AI 等外部服务可能另外收费。
查看原文依据
Permission is hereby granted, free of charge
许可证原文
`nxt-lnk` template used to create your custom bio link and self-host on Vercel or Netlify using your own domain. Need little understanding of code :) ☕
README 原文
In Vercel, you can set this by going to your project, then Settings and finally [Environments Variables](https://vercel.com/docs/concepts/projects/environment-variables). To get GA 4 code `G-ZXX0000XXX` follow [these steps]
README 原文
Vercel/Netlify give you option to add any domain to the deployed project
README 原文
Update all info and make sure to add a `newiconname.svg` file in [public](#images) folder. Then you have to add new section to frontend `components/WebLinks.js`
README 原文
https://github.com/realvjy/nxt-lnk/blob/main/LICENSE.mdhttps://github.com/realvjy/nxt-lnk/blob/main/README.mdAlready added `next-seo`. All you have to do is `update next-seo.config.js` file. Make sure to add direct link of `preview.jpg`file
README 原文
DeepSeek 根据仓库许可证和 README 整理 ·2026-09-30。结果仅覆盖已读取资料,依赖、图片、字体及后续条款变更以各自原文为准。
项目核对记录与介绍依据
模板资料
- 来源平台
- GitHub
- 资料与维护参考分
- 资料较完整 · 91 / 100
- 技术栈
- Next.js · React
- 网站类型
- 作品集
这个分数如何计算
本站按许可资料(最高30分)、演示链接(12分)、预览图(10分)、Star数(15分)、记录的维护时间(15分)、描述完整度(8分)、功能记录(5分)和分类资料(5分)计算。它不是代码、安全或性能测试,也不是 Google 评分;有链接不代表已实测可用。
这个项目需要核对什么
- 记录的仓库更新时间
- 2026-04-15
- 截图检查日期
- 2026-09-30
已收录演示链接。请用你的内容与屏幕尺寸检查;有演示不代表表单、认证或支付已经可用。
目录记录的主要技术栈是 Next.js。请通过依赖清单和锁文件核对实际版本与托管要求。这些说明基于收录资料,不代表代码审计或部署实测。
查看具体选型方法 →介绍的制作与核对状态
介绍由 AI 辅助整理目录与仓库资料。仓库作者不等于这篇介绍的审核者。
已完成服务器许可规则与 AI 来源核对;未经过人工编辑审核。
查看当时使用的来源资料
SHA-256: a42ba7e3cd2ef09597e7494bb0657d30ca4e59541c52675fd3b4b1774fe1abe5
2026-09-30T08:15:43.739Z
来源文件 / 仓库### v2 [mytiny.page](https://beta.mytiny.page) builder is here. Explore and go live in minutes
----
# My Tiny Page (Formely Nxt Lnk)
**Custom bio links for creatives who love coding. Made this first to use for my own weblinks vjy.me/lnk**
A perfect custom alternative for linktree, bio and other shortner platform. Check live version here [nxtlnk.xyz](https://nxtlnk.xyz)
Pull requests are always welcome. In case you want inspiration or new features on what to add, check out the issues for feature requests.
Coffee fuels coding ☕️
**Table of Contents**
- [Usage](#usage)
- [Quick Start](#quick-start)
- [Manual Setup](#manual-setup)
- [Getting Started](#getting-started)
- [Images](#images)
- [Update Bio](#update-bio)
- [Add/Update](#update-bio)
- [Enable/Disable](#update-bio)
- [Featured Banner](#update-bio)
- [Update Links](#update-links)
- [Enable/Disable](#update-links)
- [Add/Update](#update-links)
- [Frontend](#frontend)
- [SEO](#seo)
- [Google Analytics](#google-analytics)
- [Custom Domain](#custom-domain)
- [Favicon](#favicon)
- [Contributors](#contributors)
## Usage
`nxt-lnk` template used to create your custom bio link and self-host on Vercel or Netlify using your own domain. Need little understanding of code :) ☕
Usually, you don't need to worry a lot about coding if you're just updating information in `BioData.js` and `LinkData.js`. To deep dive know more [Next.js](https://nextjs.org/docs) and [React](https://reactjs.org/docs/getting-started.html) official documentaion.
For customization used [styled components](https://styled-components.com/). If you want to customize styling you can [learn more here](https://styled-components.com/docs).
**Template auto support dark-mode depending on system cofig.**
## Quick Start
[Deploy with Vercel](https://vercel.com/import/git?s=https://github.com/realvjy/nxt-lnk) [Deploy to Netlify](https://app.netlify.com/start/deploy?repository=https://github.com/realvjy/nxt-lnk)
## Manual Setup
Run the following command to create a new project with this template:
```bash
yarn create next-app your-app-name -e https://github.com/realvjy/nxt-lnk
# or
npx create-next-app your-app-name -e https://github.com/realvjy/nxt-lnk
```
## Getting Started
Use any editor to work on editing. I use [vscode](https://code.visualstudio.com/)
First, run the development server:
```bash
npm run dev
# or
yarn dev
```
Open [http://localhost:3000](http://localhost:3000) with your browser to see the result.
**Important files to edit or update info**
`data/BioData.js` All basic info update here
`data/LinksData.js` Contain all the links
`Components/WebLinks.js` UI and stylesheet
`Components/icons/index.js` Contain all SVG icon compo
You can start editing the page by modifying `data/BioData.js` and `data/LinksData.js`. The page auto-updates as you edit the file.
## Images
All images stored inside `public` folder of the project.
## Update Bio
**Example from** `BioData.js` :
```jsx
const bioData = [
{
name: 'vijay verma',
username: '@realvjy',
url: 'https://vjy.me',
titleImg: true,
avatar: '/avatar.png',
nftAvatar: true,
description: 'A short description/bio about you goes here',
subdesc: 'This is secondary description. If you do not need, you can remove it',
newProductUrl: 'https://vjy.me/lnk',
newProduct: true,
},
];
export default bioData;
```
**Avatar**
Just replace `avatar.png`. 200x200px will be good.
**Hex/NFT avatar view**
`nftAvatar: true` enable hex shape on avatar image.
`nftAvatar: false` made it in oval shape.
**Title**
By default `titleImg: true` and it look for `title.svg`. Replace svg with logo **logo**. Make sure to use `title.svg` name.
**Featured banner**
`newProductUrl` and `newProduct` used for getting featured banner. You can replace the image `newproduct.png` with any design you like.
`newProduct: true` show banner. Default is `true` make it false to hide.
## Update Links
**Example from** `LinksData.js` :
```jsx
const webLinks = [
// All social profile
{
title: 'Twitter',
url: 'https://twitter.com/realvjy',
type: 'social',
icon: '/twitter.svg',
on: true
},
...
...
{
title: 'Instagram',
url: 'https://instagram.com/realvjy',
type: 'social',
icon: '/insta.svg',
on: true
}
];
export default webLinks;
```
**Enable/Disable Social Media**
Find `type: social` and change `on:true|false`
| Title | on (default) |
| ------------- | ------------ |
| `Twitter` | `true` |
| `Instagram` | `true` |
| `Dribbble` | `false` |
| `Medium` | `false` |
| `Github` | `true` |
| `Youtube` | `false` |
| `Behance` | `true` |
| `Figma` | `true` |
| `Linkedin` | `false` |
| `Mastodon` | `false` |
| `Hive Social` | `false` |
| `Post.news` | `false` |
Setting `on: true` show the social icon.
The social media icons are arranged in a single row at the top of the page below description. If you want to use as list, chagne type to `type: 'other'`
**Add new Social Media link**
create a new block by copying this
```jsx
{
title: 'Social Name',
url: 'https://link.com/whateverurl',
type: 'social',
icon: '/newiconname.svg',
on: true
}
```
Update all info and make sure to add a `newiconname.svg` file in [public](#images) folder.
Then you have to add new section to frontend `components/WebLinks.js`
## Frontend
All frontend customization done inside `components/WebLinks.js`. If you wante to update and add new section just look this file and update according to your need.
**Update section**
Look for Section codes. Like if you want to change `install` type to `featured` Update the `type: 'featured'` in `LinkData.js` then update all `install` related code in `WebLinks.js` to `featured`
```js
// Collect all links filter by type - social, project, nft and other etc=
// get data for install section
const install = allLinks.filter((el) => {
return el.type === "install" && el.on
});
...
...
{/* Featured Section */ }
<LinkSection>
<h3>{install[0].type}</h3>
{
install.map((i) => {
return (
<Link href={i.url} passHref key={i.title}>
<LinkBox>
<LinkTitle><img src={i.icon} style={{ filter: 'var(--img)' }} /> {i.title}</LinkTitle> <NewUp />
</LinkBox>
</Link>
)
})
}
</LinkSection>
{/* End Featured Section */ }
```
**Add New section**
Add new section with specific `type` in `Linkdata.js`. Then copy `LinkSection` Code to create new section in `WebLinks.js` file. Make sure to create get data of that section as well.
## SEO
Already added `next-seo`. All you have to do is `update next-seo.config.js` file. Make sure to add direct link of `preview.jpg`file, like - `https://vjy.me/preview.jpg`.
## Google Analytics
In Vercel, you can set this by going to your project, then Settings and finally [Environments Variables](https://vercel.com/docs/concepts/projects/environment-variables). To get GA 4 code `G-ZXX0000XXX` follow [these steps](https://support.google.com/analytics/answer/9304153?hl=en)
## Custom Domain
By default vercel give you a subdomain with your project name like - [nxtlnk.vercel.app](https:nxtlnk.vercel.app). But you can add own domain.
Vercel/Netlify give you option to add any domain to the deployed project like [vjy.me/lnk](https://vjy.me/lnk) or [nxtlnk.xyz](https://nxtlnk.xyz). All you have to do is follow official [Vercel documentaion](https://vercel.com/docs/concepts/projects/domains/add-a-domain) or [Netlify Documentaion](https://www.netlify.com/blog/2021/12/20/how-to-add-custom-domains-to-netlify-sites/)
## Favicon
Create a `favicon.ico` file and place inside `public` folder. I use [favicon.io](https://favicon.io/favicon-converter/)
## Contributors
Created by [realvjy](https://twitter.com/realvjy). You are always welcome to share your feedback on twitter or any social media platform.
If you want to contribute. Just create a pull request.
看看同类模板
对比同技术栈与用途的模板,找到更适合的视觉与内容结构。
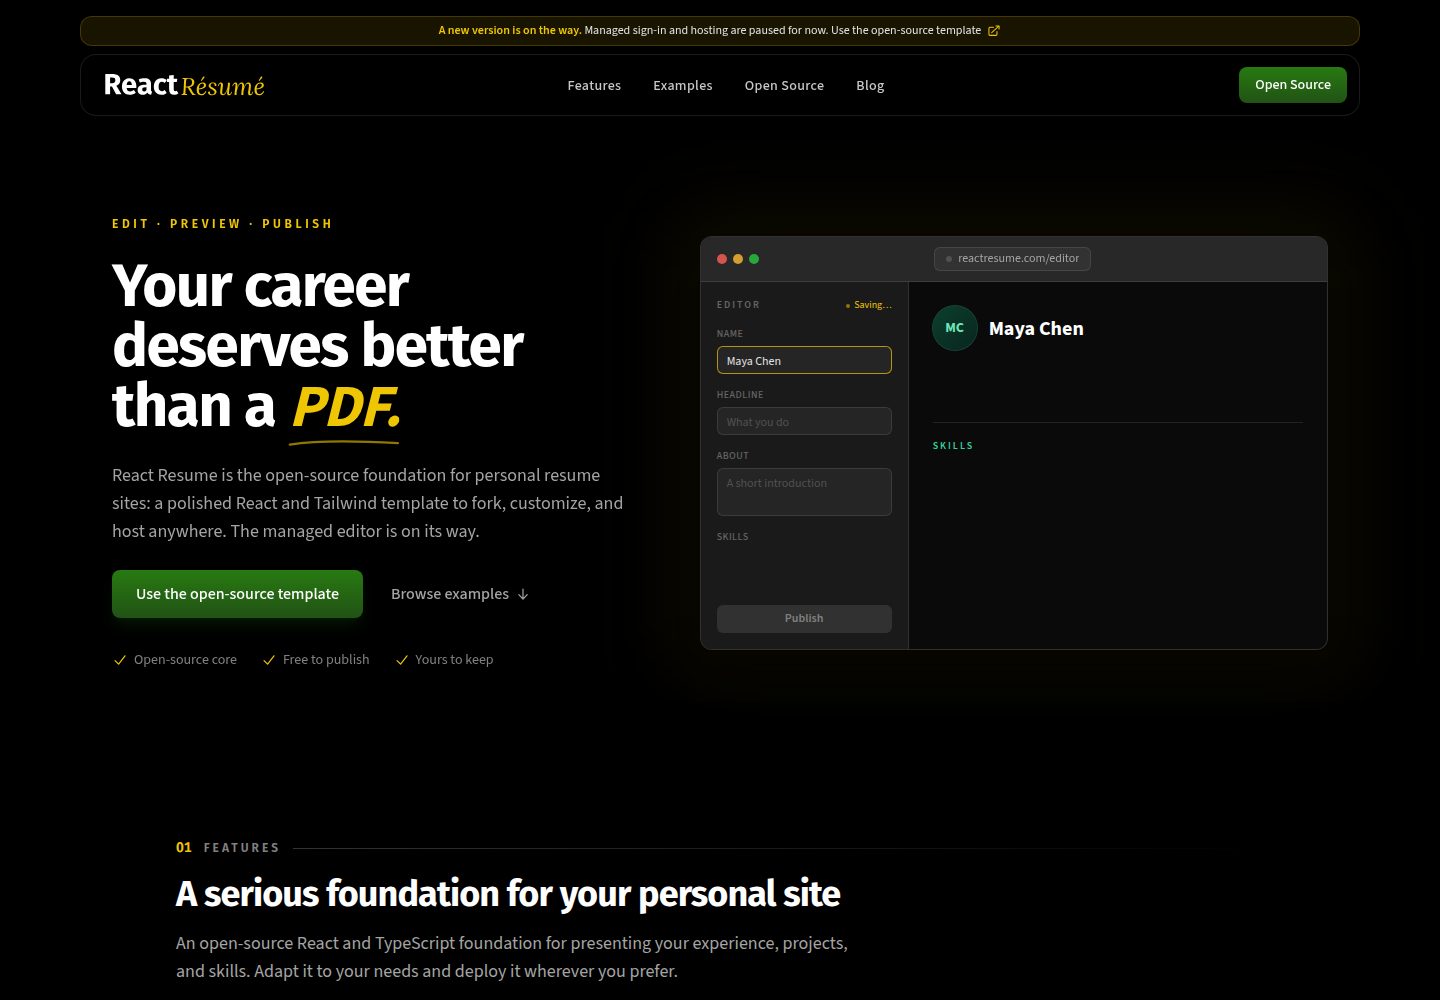
react-resume-template
A personal resume website template built with React.js, Typescript, Next.js, and styled with Tailwind css
Next.js · 作品集
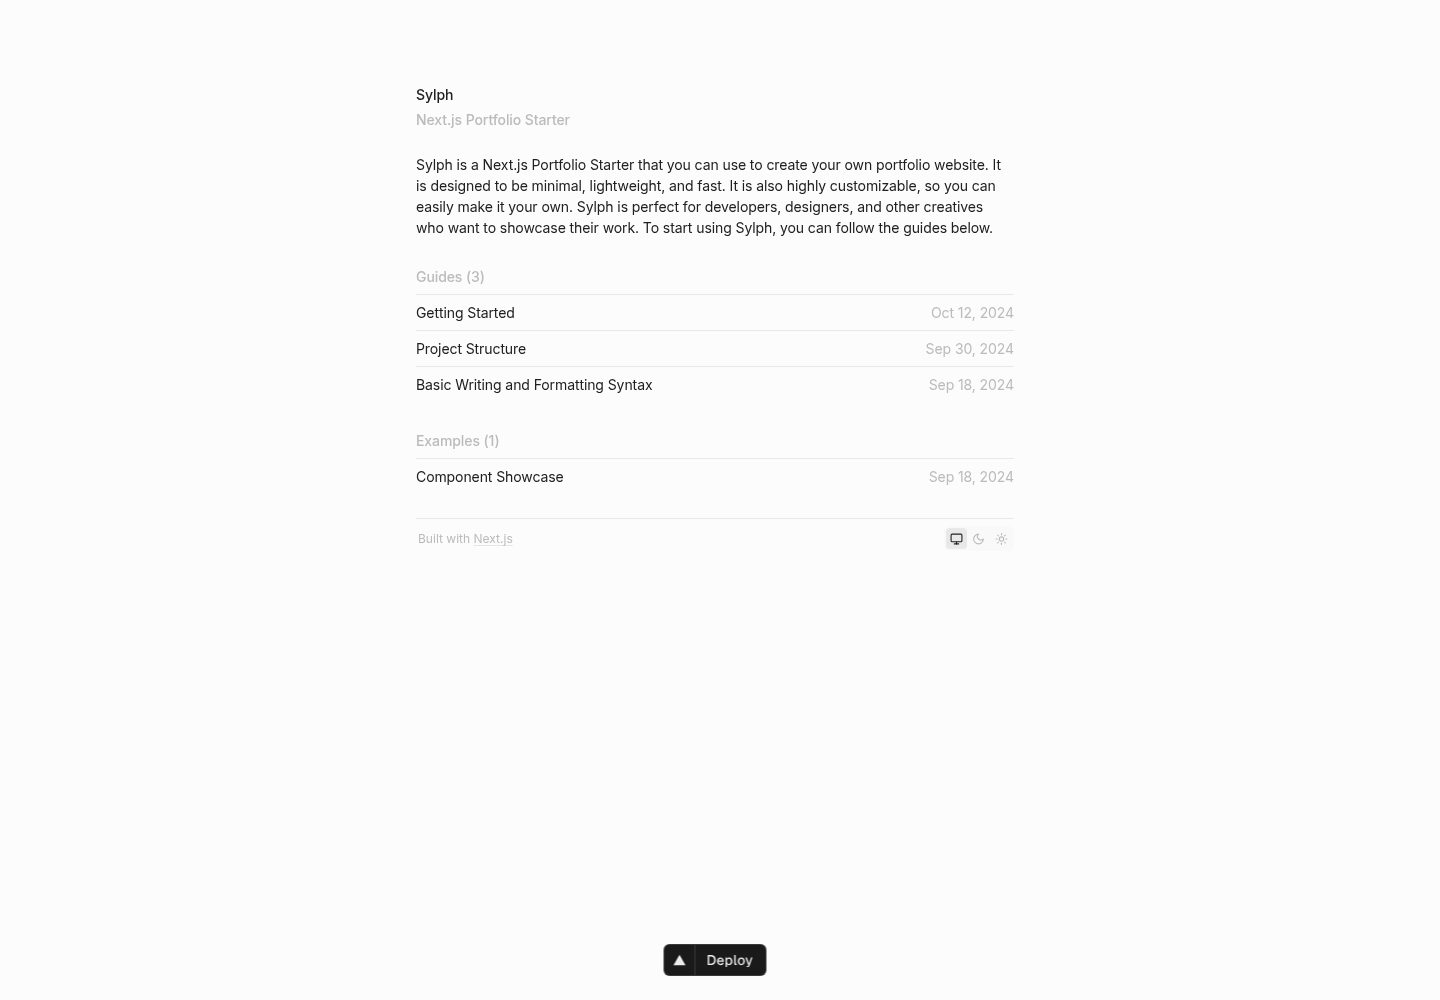
sylph
A minimal portfolio template.
Next.js · 作品集
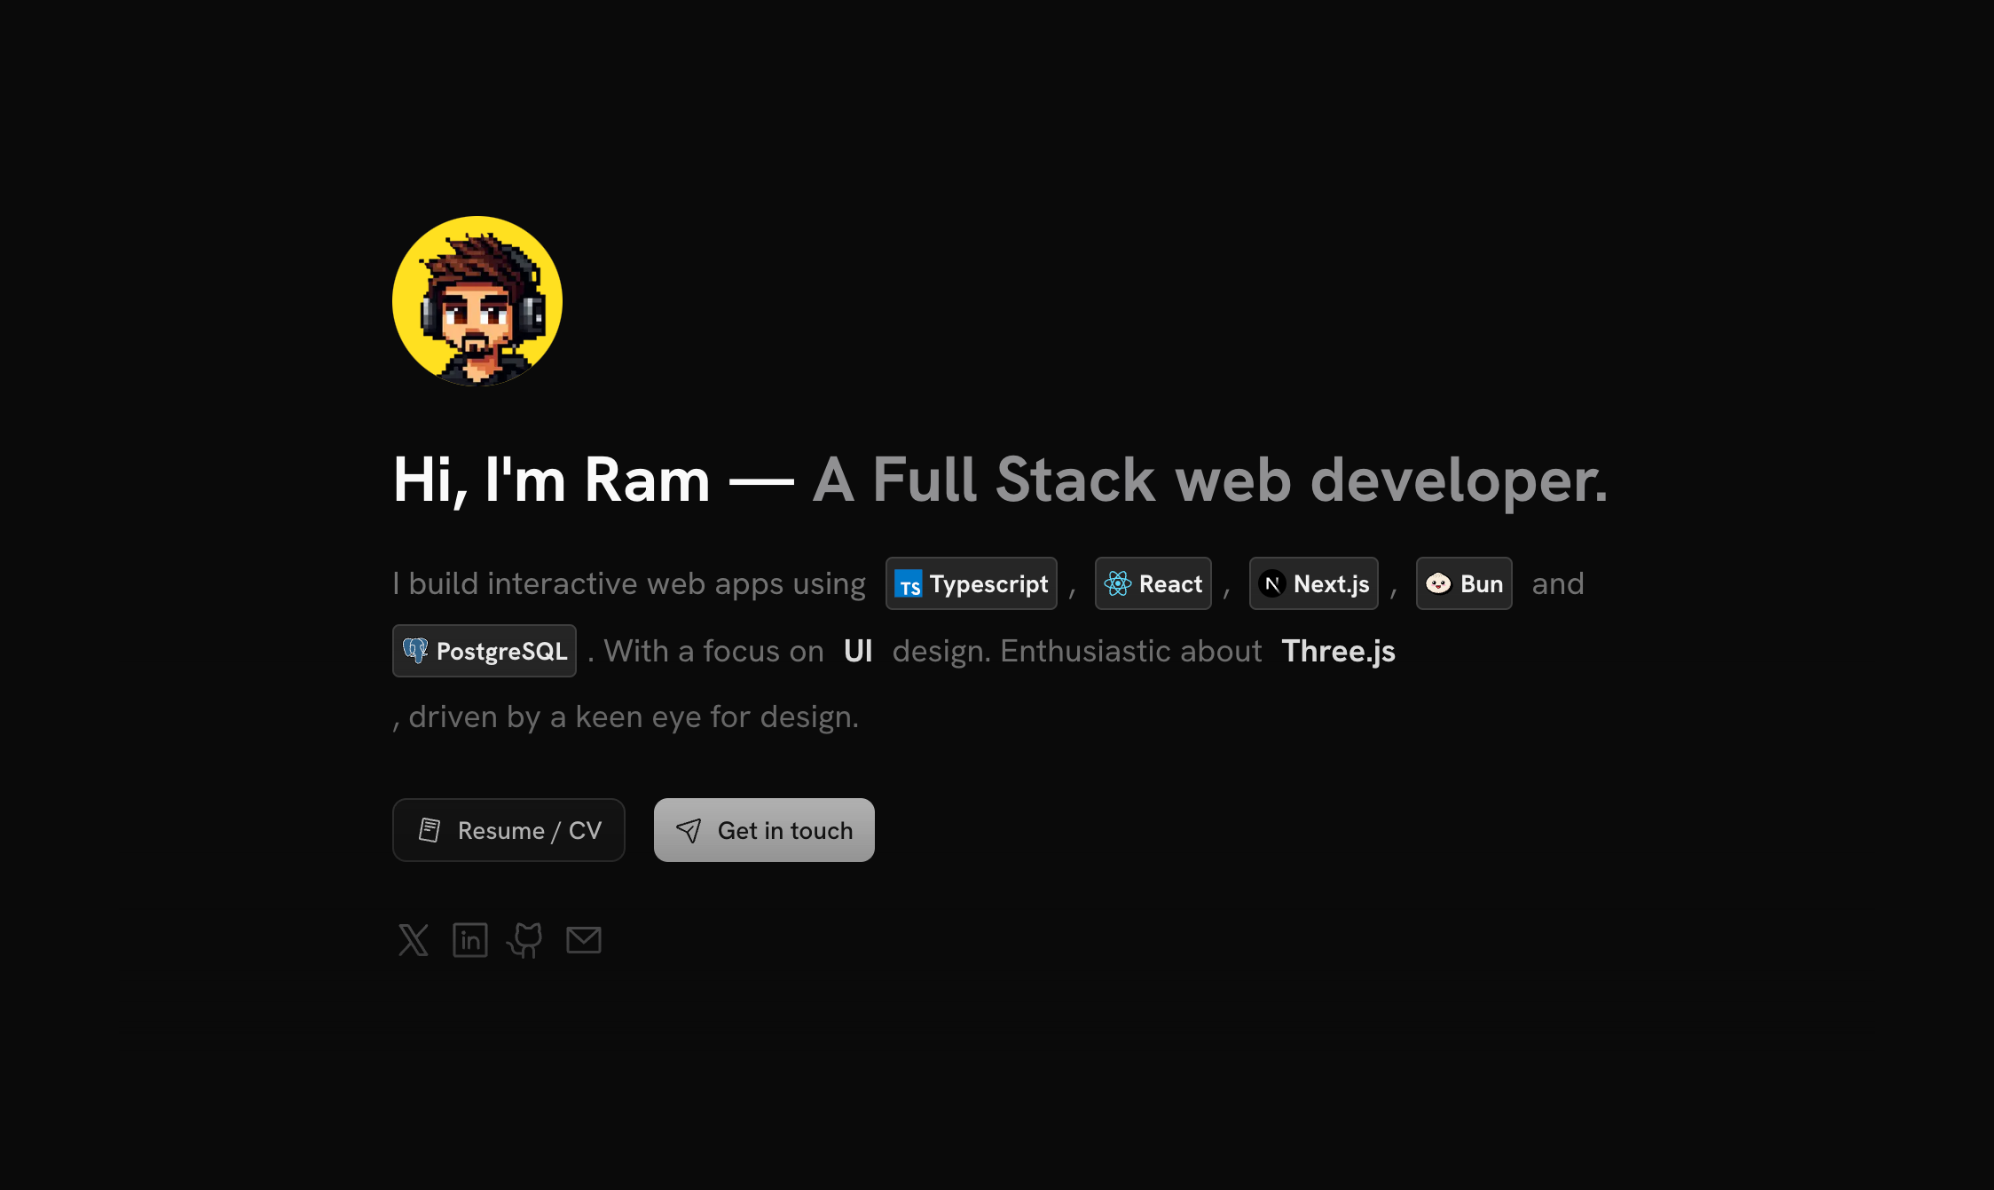
sleek-portfolio
sleek-portfolio 是一个面向开发者个人品牌展示的现代作品集模板,基于 Next.js 15、TypeScript、Tailwind CSS 和 Shadcn UI 构建。
Next.js · 作品集
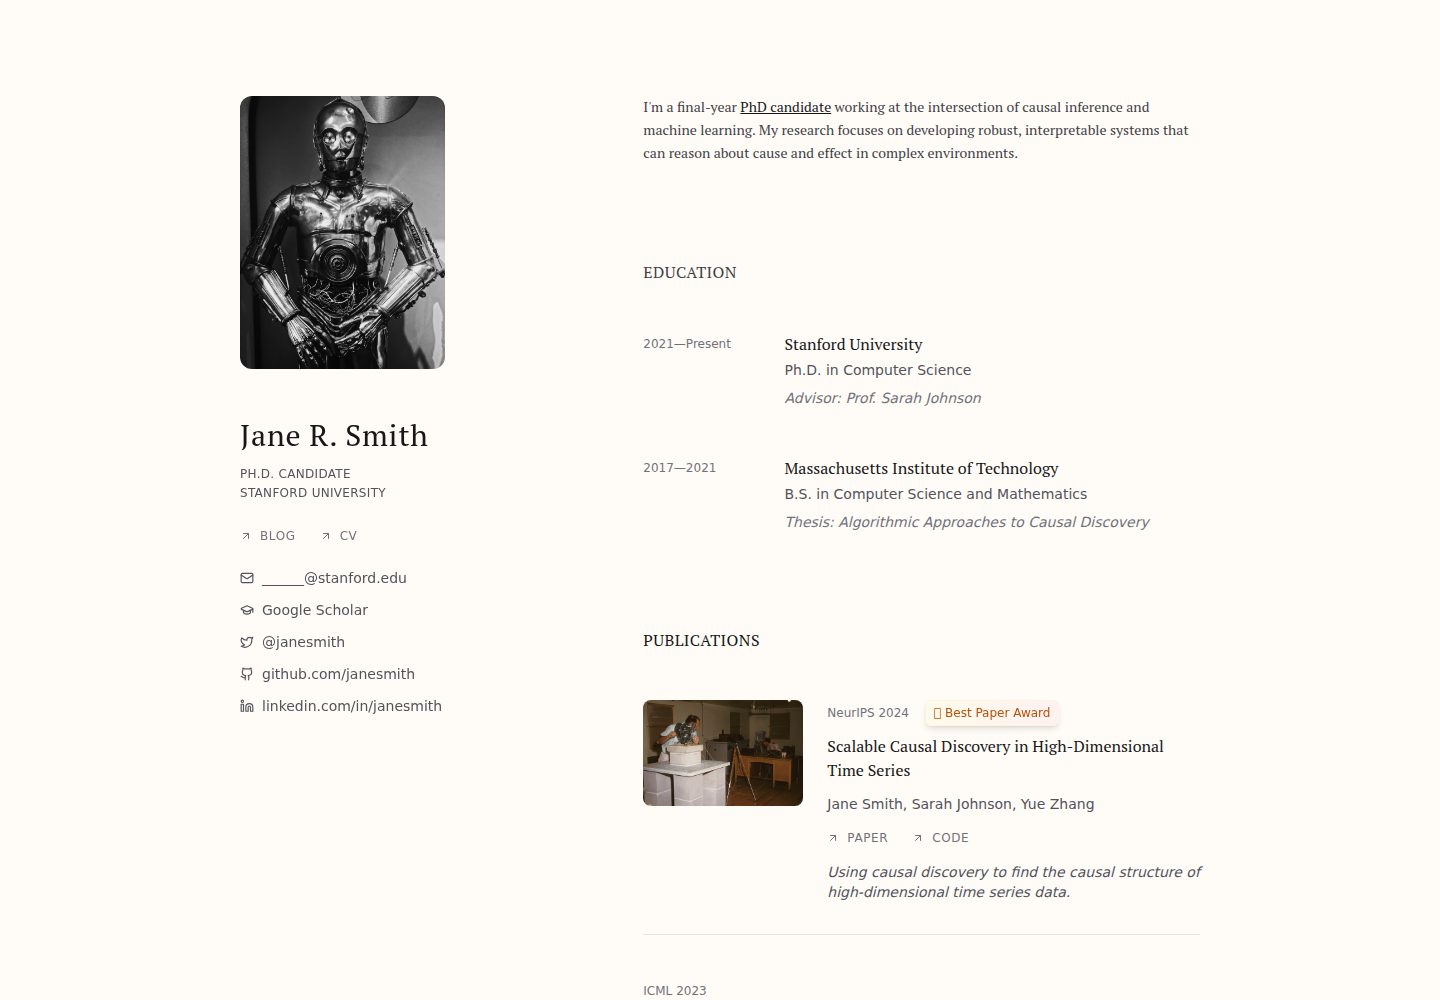
research-website-template
React + Next.js template for research websites (for PhD students, researchers, etc)
Next.js · 作品集
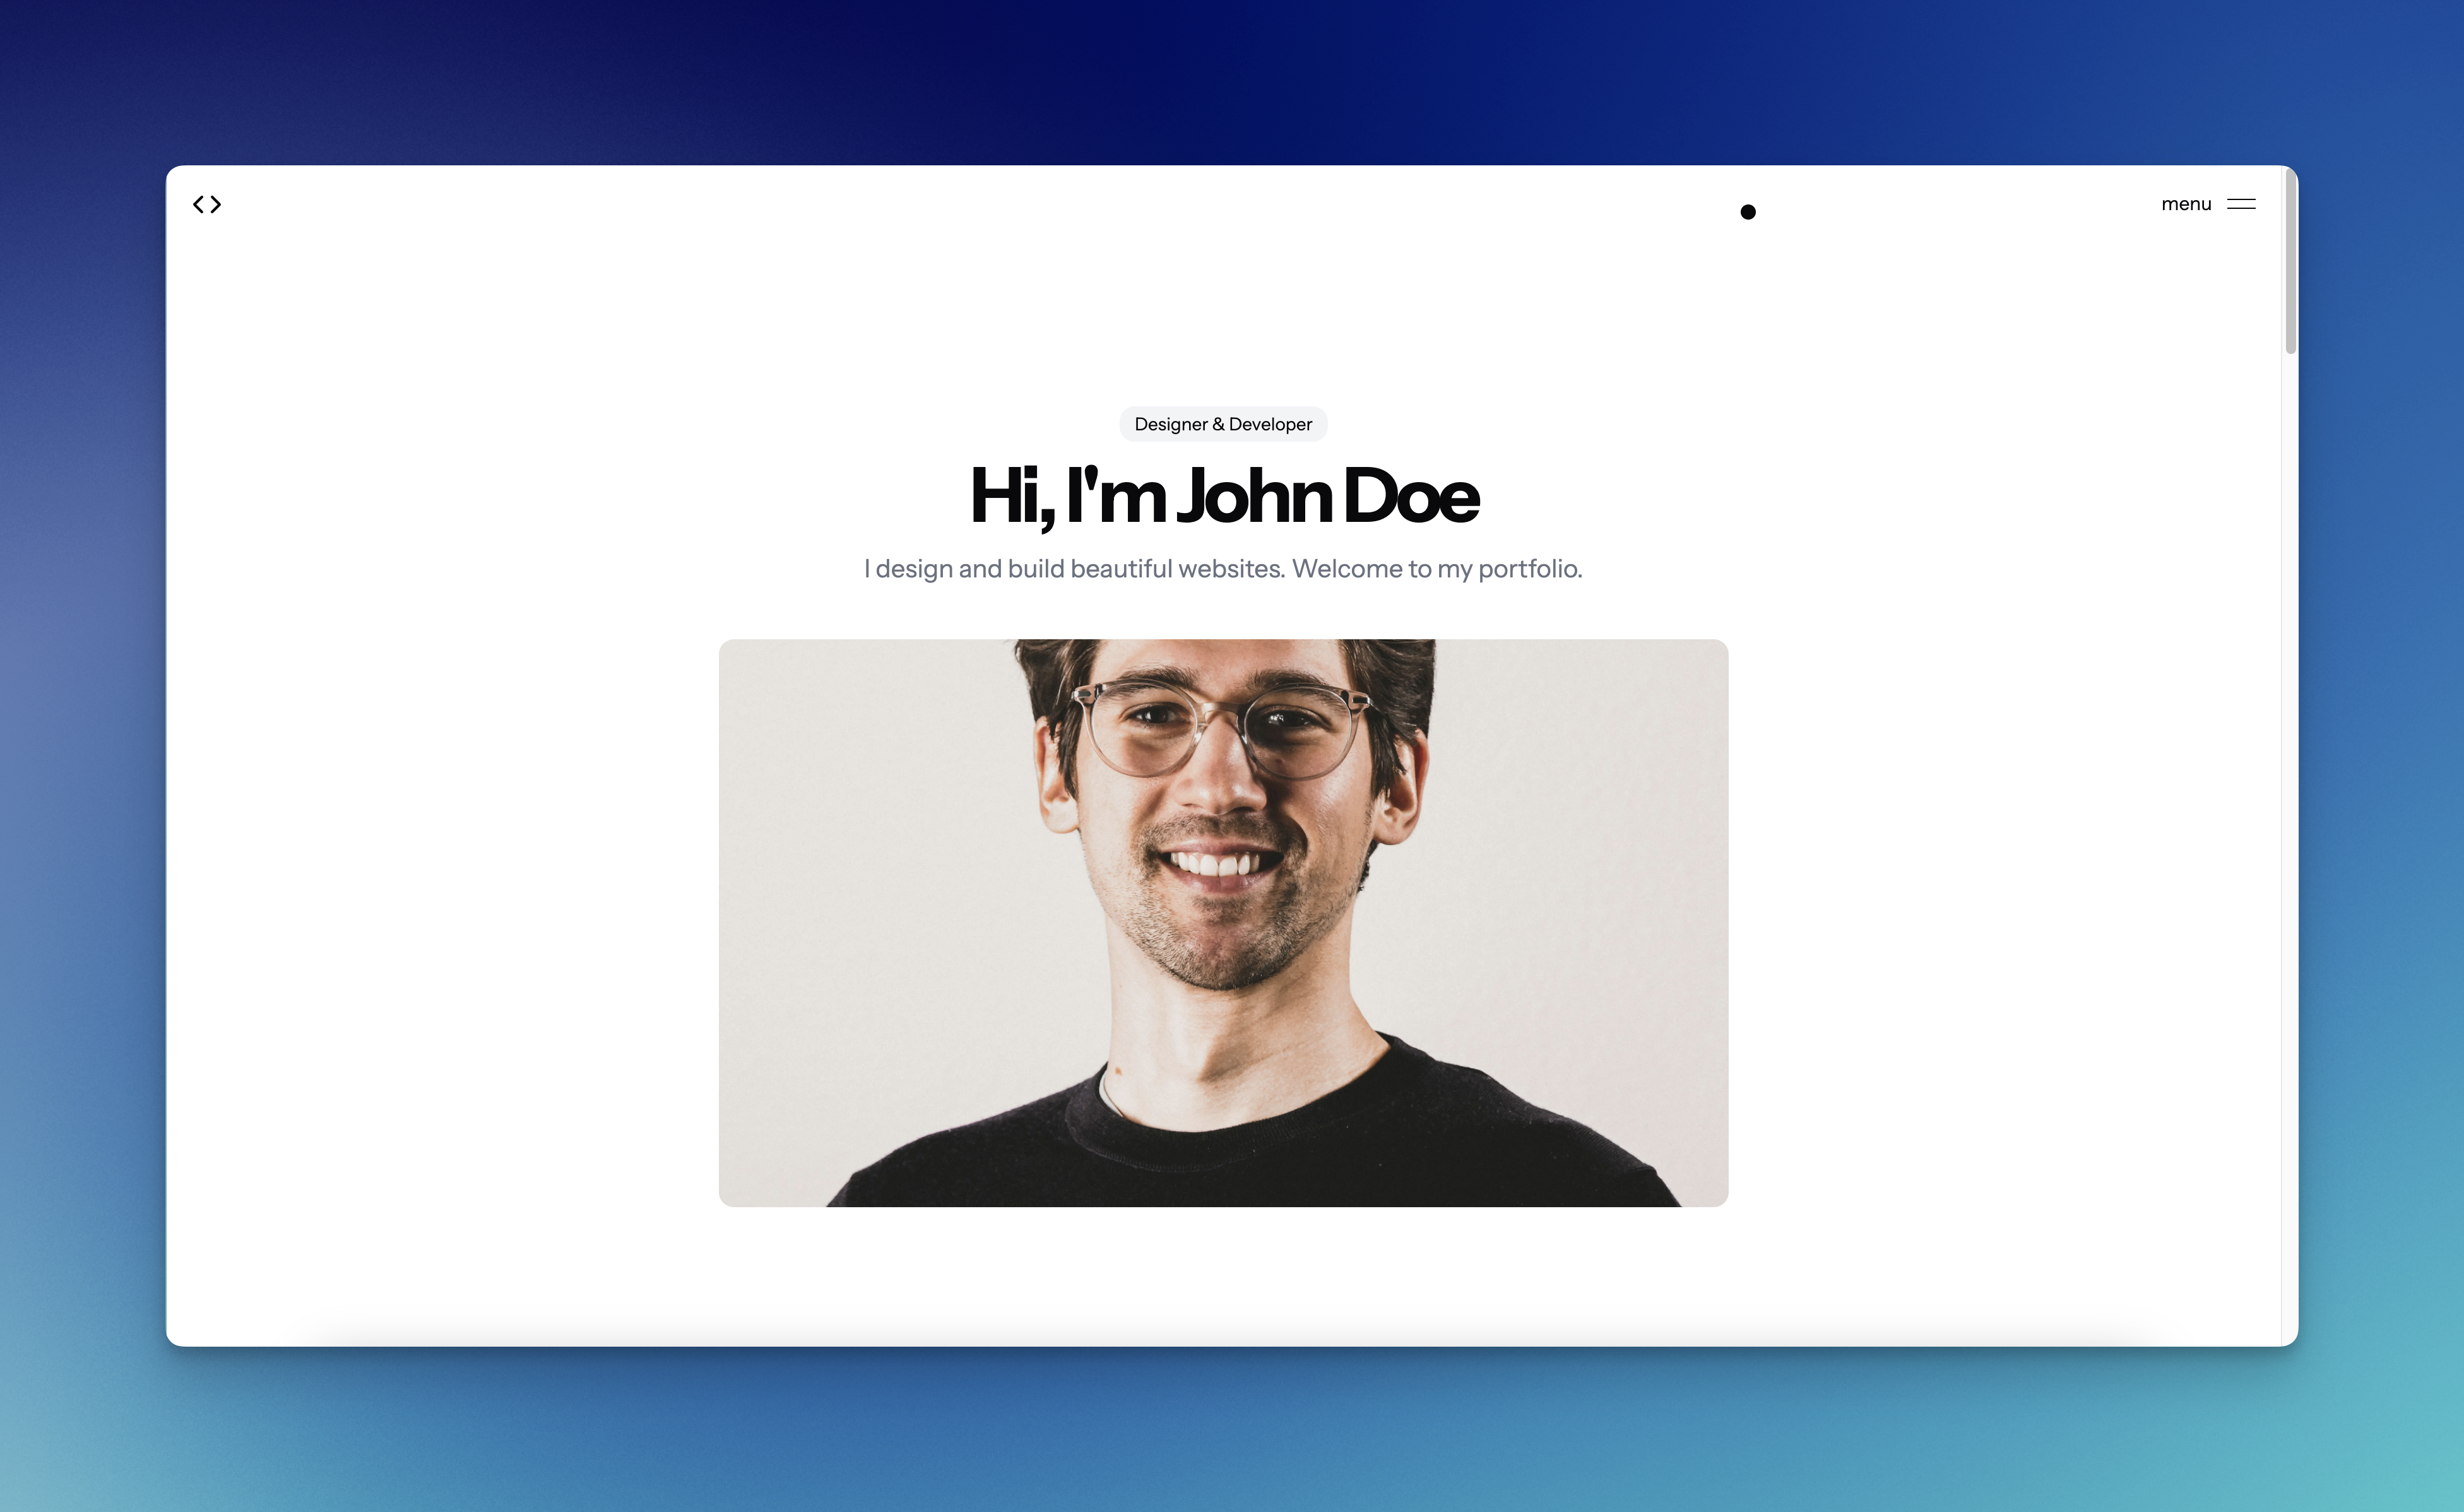
shadcn-portfolio
shadcn-portfolio 是一个面向开发者的作品集模板,技术栈为 Next.js 15、shadcn/ui、Tailwind CSS 和 Framer Motion。
Next.js · 作品集
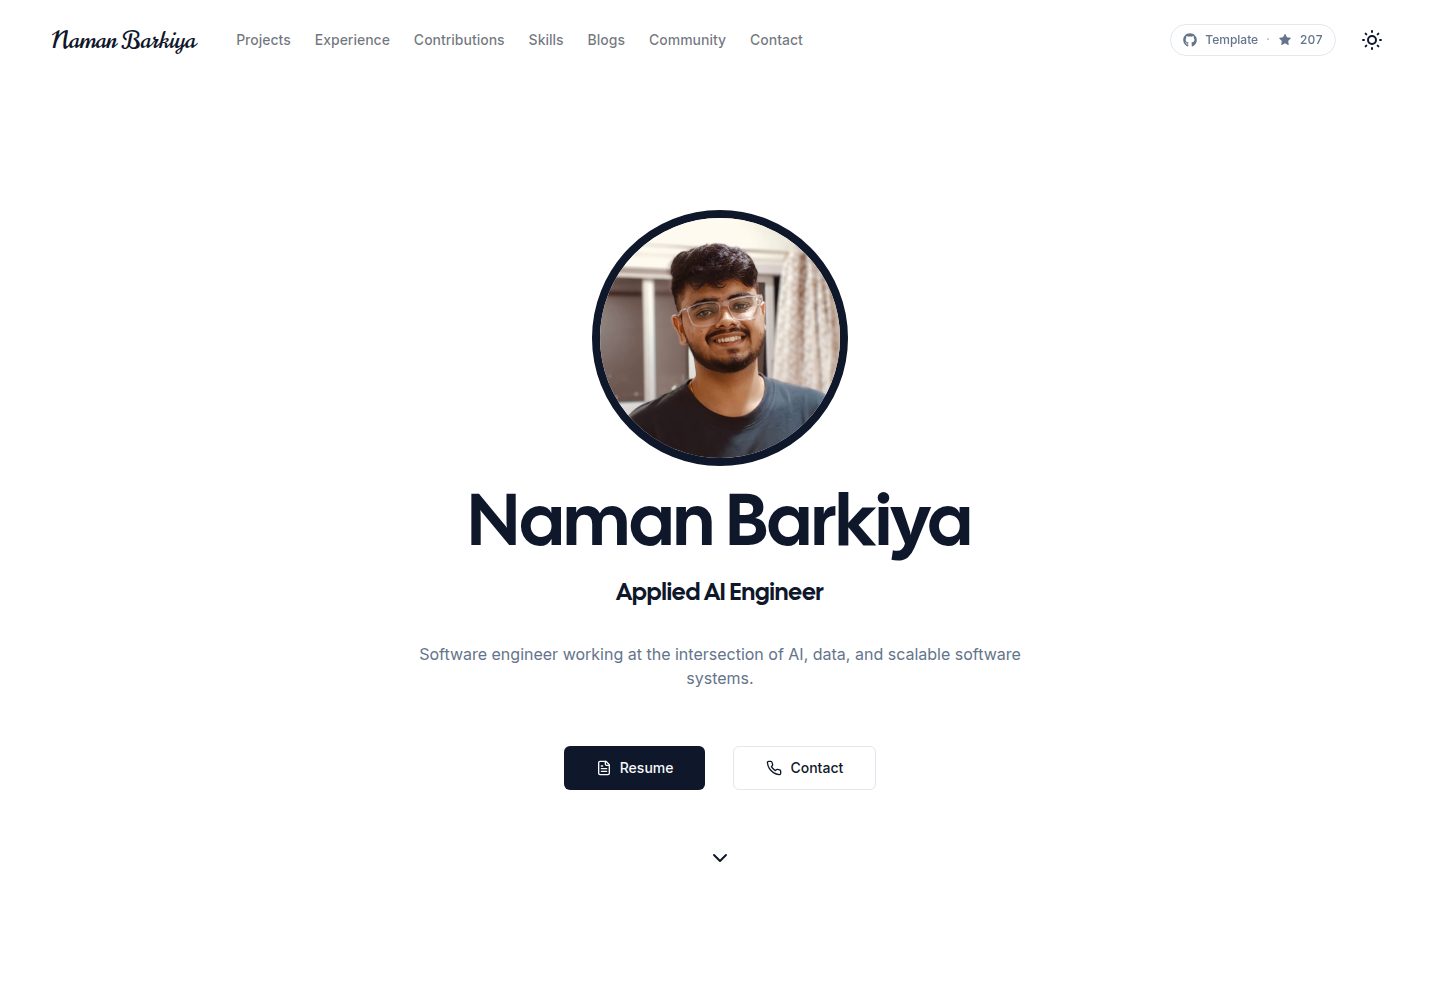
minimal-next-portfolio
Modern and easy-to-use Next.js 16 portfolio template. Simple object-driven structure to make this template you…
Next.js · 作品集