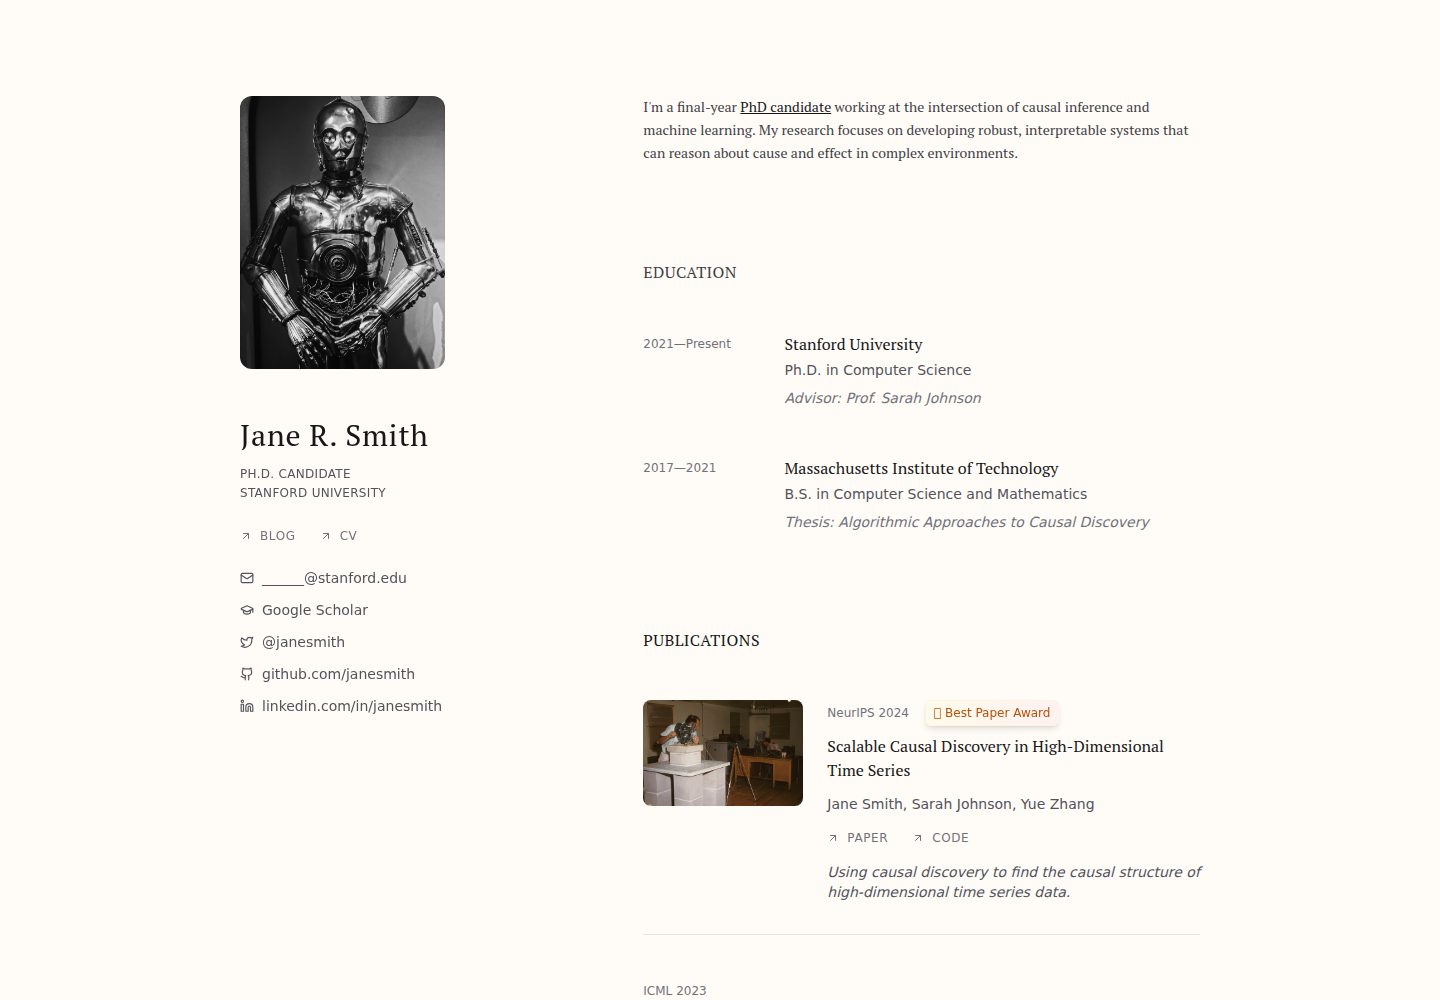
内容集中在 src/data 目录,用对象数组定义论文、项目等数据
Next.jsReact作品集
research-website-template — Next.js 作品集模板
作者 tovacinni
面向研究人员与博士生的 React + Next.js 学术主页模板,通过编辑 src/data 下的数据文件生成论文、项目等内容区块。
看看你的网站会是什么样
浏览真实页面截图,比较内容排版与手机效果。点击下方缩略图切换,放大查看整页细节。
全部页面与视图 2
截图用于了解视觉与布局,交互效果请以实际项目为准。
采集于 2026-10-02查看来源
值得关注的模板亮点
从已有项目资料中,快速了解它的特点。
数据接口中带 ? 的字段为可选,填写后自动生成对应 UI 组件
可在 src/data/section-order.ts 调整页面区块顺序
需要完全自定义时可直接编辑 src/components 下的 React 组件
基于 React 与 Next.js,提供 GitHub Pages 与 Vercel 两种部署说明
MIT 许可,允许免费使用、修改、商用和分发代码
模板详细介绍
这是一个用 React 与 Next.js 构建的研究型个人网站模板,作者定位为面向博士生、研究人员等学术用户,也说明实际上任何人都可以使用。模板的核心思路是把页面内容与展示逻辑分离:所有可定制内容集中在 src/data 目录下,以对象数组的形式定义,页面组件读取这些数组自动生成对应区块。
以论文为例,src/data/publication.ts 导出 publicationData 数组,每个对象包含 year、conference、title、authors 等字段,可选字段包括 paperUrl、codeUrl、bibtex、tldr、imageUrl、award;接口中带 ? 的字段为可选,填写后会自动生成对应的 UI 组件。区块顺序可在 src/data/section-order.ts 中调整,需要完全自定义时可直接修改 src/components 下的 React 组件。
模板的动机是替代以 HTML + CSS 为主的传统学术主页模板(如 Jon Barron 模板),作者认为后者虽然简单完整但重复代码多、长期维护困难。本模板以更少代码、更易维护为目标。仓库采用 MIT 许可,可免费使用、修改、商用和分发,但演示图片、字体、图标等第三方素材需单独核对许可,域名、托管等外部服务可能另行收费。
Next.jsReact作品集
适合你的项目吗?
适用场景
- 博士生或研究人员搭建展示论文与学术成果的个人主页
- 需要按年份、会议、作者等字段维护论文列表的学术站点
- 希望通过修改数据文件而非重写 HTML 来更新网站内容
- 把仓库部署到 GitHub Pages 或 Vercel 作为个人学术主页
适合人群
- 有基本前端经验、能编辑 TypeScript 数据文件的研究人员
- 希望用 React 组件结构替代重复 HTML 的学术主页维护者
- 需要按数据驱动方式管理论文、项目等内容的个人站点作者
上手与定制指南
结合仓库当前版本的说明,按下面的资料检查内容、配置与运行要求。
- 1
需先安装 Node.js 与 npm,并用 node --version、npm --version 验证
- 2
Fork 或克隆仓库后,在仓库目录执行 npm install 安装依赖
- 3
执行 npm run dev 启动开发服务器,浏览器访问 http://localhost:3000 查看
- 4
部署到 GitHub Pages 时,仓库名需为 [your-github-username].github.io,并在 Settings → Pages 将 Source 设为 GitHub Actions
- 5
部署到自有域名可使用 Vercel:推送代码到 Git 仓库后导入,Vercel 会自动识别 Next.js 并配置构建
授权与来源资料
使用条件与限制
免费使用 · 保留许可声明本次收录的是公开仓库中采用 MIT 许可的免费版本;免费范围为该版本代码,不代表外部服务或第三方素材免费。
使用时需要遵守
- 允许免费使用、修改、商用和分发该版本代码。
- 分发代码副本或实质性部分时,保留原作者版权声明和完整 MIT 许可声明。
- 代码按现状提供;担保与责任限制以原许可证及适用法律为准。
额外费用与待核对事项
- 部署到自有域名时,README 推荐使用 Vercel 平台,需要注册 Vercel 账号并依赖该外部托管服务;托管可能产生费用,属于外部服务成本,并非代码许可限制。
- 使用该模板需先自行安装 Node.js 与 npm 运行环境,属于外部工具依赖,并非代码许可限制。
- 演示图片、字体、图标及其他第三方素材需按各自许可核对,不能仅凭代码的 MIT 许可判断。
- 域名、托管、数据库、支付或 AI 等外部服务可能另外收费。
查看原文依据
Permission is hereby granted, free of charge
许可证原文
The easiest way to deploy your Next.js app is to use the [Vercel Platform](https://vercel.com/) from the creators of Next.js.
README 原文
https://github.com/tovacinni/research-website-template/blob/main/LICENSEhttps://github.com/tovacinni/research-website-template/blob/main/README.mdFirst, install Node.js and npm through the [Node.js official website](https://nodejs.org/).
README 原文
DeepSeek 根据仓库许可证和 README 整理 ·2026-10-02。结果仅覆盖已读取资料,依赖、图片、字体及后续条款变更以各自原文为准。
项目核对记录与介绍依据
模板资料
- 来源平台
- GitHub
- 资料与维护参考分
- 资料较完整 · 90 / 100
- 技术栈
- Next.js · React
- 网站类型
- 作品集
这个分数如何计算
本站按许可资料(最高30分)、演示链接(12分)、预览图(10分)、Star数(15分)、记录的维护时间(15分)、描述完整度(8分)、功能记录(5分)和分类资料(5分)计算。它不是代码、安全或性能测试,也不是 Google 评分;有链接不代表已实测可用。
这个项目需要核对什么
- 记录的仓库更新时间
- 2025-01-12
- 截图检查日期
- 2026-10-02
已收录演示链接。请用你的内容与屏幕尺寸检查;有演示不代表表单、认证或支付已经可用。
目录记录的主要技术栈是 Next.js。请通过依赖清单和锁文件核对实际版本与托管要求。这些说明基于收录资料,不代表代码审计或部署实测。
查看具体选型方法 →介绍的制作与核对状态
介绍由 AI 辅助整理目录与仓库资料。仓库作者不等于这篇介绍的审核者。
已完成服务器许可规则与 AI 来源核对;未经过人工编辑审核。
查看当时使用的来源资料
SHA-256: ee1f7bd893a2608898fddd5ab0617803d1b5f5c39dc7d2050ae46b8c62611cb7
2026-10-02T07:45:31.165Z
来源文件 / 仓库# research-website-template
This is a React + Next.js template meant for research websites. See a [demo of the template here](https://tovacinni.github.io/research-website-template/). My own [personal website](https://tovacinni.github.io) is also built with the same template.
In practice it could probably be used by anyone.
It is meant to be customizeable, all through modifying the `src/data` - which have arrays of objects that are used to generate the website.
For example, `src/data/publication.ts` contains an array like:
```typescript
export const publicationData: Publication[] = [
{
year: "2023",
conference: "International Conference on Machine Learning (ICML)",
title: "Robust Causal Discovery Under Distribution Shift",
authors: "Jane Smith, Xue Chen, Sarah Johnson",
paperUrl: "https://arxiv.org/abs/2302.13095",
codeUrl: "https://github.com/jsmith/robust-causal-discovery",
},
];
```
To update your website, you can simply add objects to the array.
The schemas are defined in the same files, and many fields are optional for flexibility:
```typescript
export interface Publication {
year: string;
conference: string;
title: string;
authors: string;
paperUrl?: string;
codeUrl?: string;
bibtex?: string;
tldr?: string;
imageUrl?: string;
award?: string;
}
```
Any field with a `?` at the end is optional. Filling them in will create the UI components corresponding to them automatically.
You can also change the order of the sections in `src/data/section-order.ts`, and if you want full customization you can just edit the React components in `src/components`.
This project was birthed from annoyance over HTML + CSS templates- such as the very popular [Jon Barron template](https://github.com/jonbarron/website). The Jon Barron template is amazing because it is simple & complete which is why it's so popular- but over time, maintenance becomes difficult from the amount of duplicate code it creates (the Jon Barron index is now over 4000 lines of code). This is meant to be a much more minimal (to maintain) alternative (and was a good way to spend a few hours to build over holiday weekend).
## Prerequisites
First, install Node.js and npm through the [Node.js official website](https://nodejs.org/).
Verify installation by running:
```bash
node --version
npm --version
```
## Installation
1. Fork the repository
2. Clone the repository
```bash
git clone [your-repository-url]
cd [repository-name]
```
3. Install dependencies
Inside the repository, run:
```bash
npm install
```
## Running the Application
1. To start the development server, run (in the repository directory):
```bash
npm run dev
```
2. Open [http://localhost:3000](http://localhost:3000) with your browser to see the result.
## Deploying onto GitHub Pages
1. Fork or clone this repo and push to your own repository at `[your-github-username].github.io`.
2. In your repository settings, ensure the repository name matches `[your-github-username].github.io` if you want it to be your main GitHub Pages site.
3. Push your changes to the main branch.
4. Go to the GitHub page for your repository and go to `Settings` then `Pages`. If you set Source to be `GitHub Actions`, it should suggest you a build script for Next.js.
5. Commit the build script and see things building.
Your site should now be live at `https://[your-github-username].github.io/`.
## Deploying to your own domain
The easiest way to deploy your Next.js app is to use the [Vercel Platform](https://vercel.com/) from the creators of Next.js.
1. Create a [Vercel account](https://vercel.com/signup) if you haven't already
2. Push your code to a Git repository (GitHub, GitLab, or Bitbucket)
3. Import your repository on Vercel
4. Vercel will automatically detect Next.js and configure the build settings
5. Click "Deploy"
## Contributing
Feel free to drop a pull request whenever!
看看同类模板
对比同技术栈与用途的模板,找到更适合的视觉与内容结构。
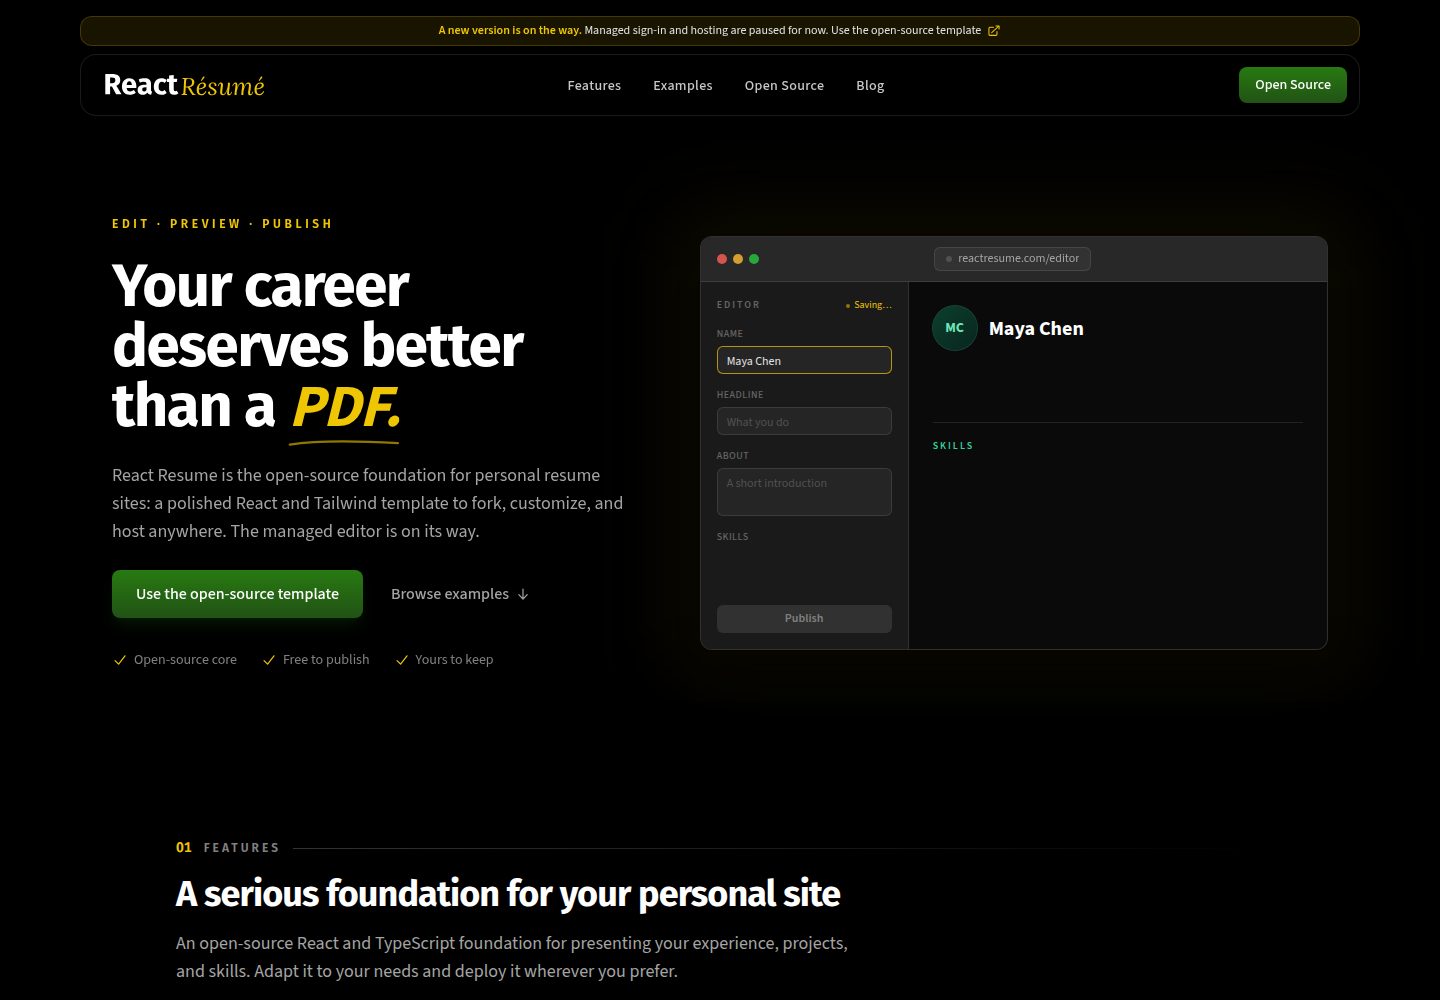
react-resume-template
A personal resume website template built with React.js, Typescript, Next.js, and styled with Tailwind css
Next.js · 作品集
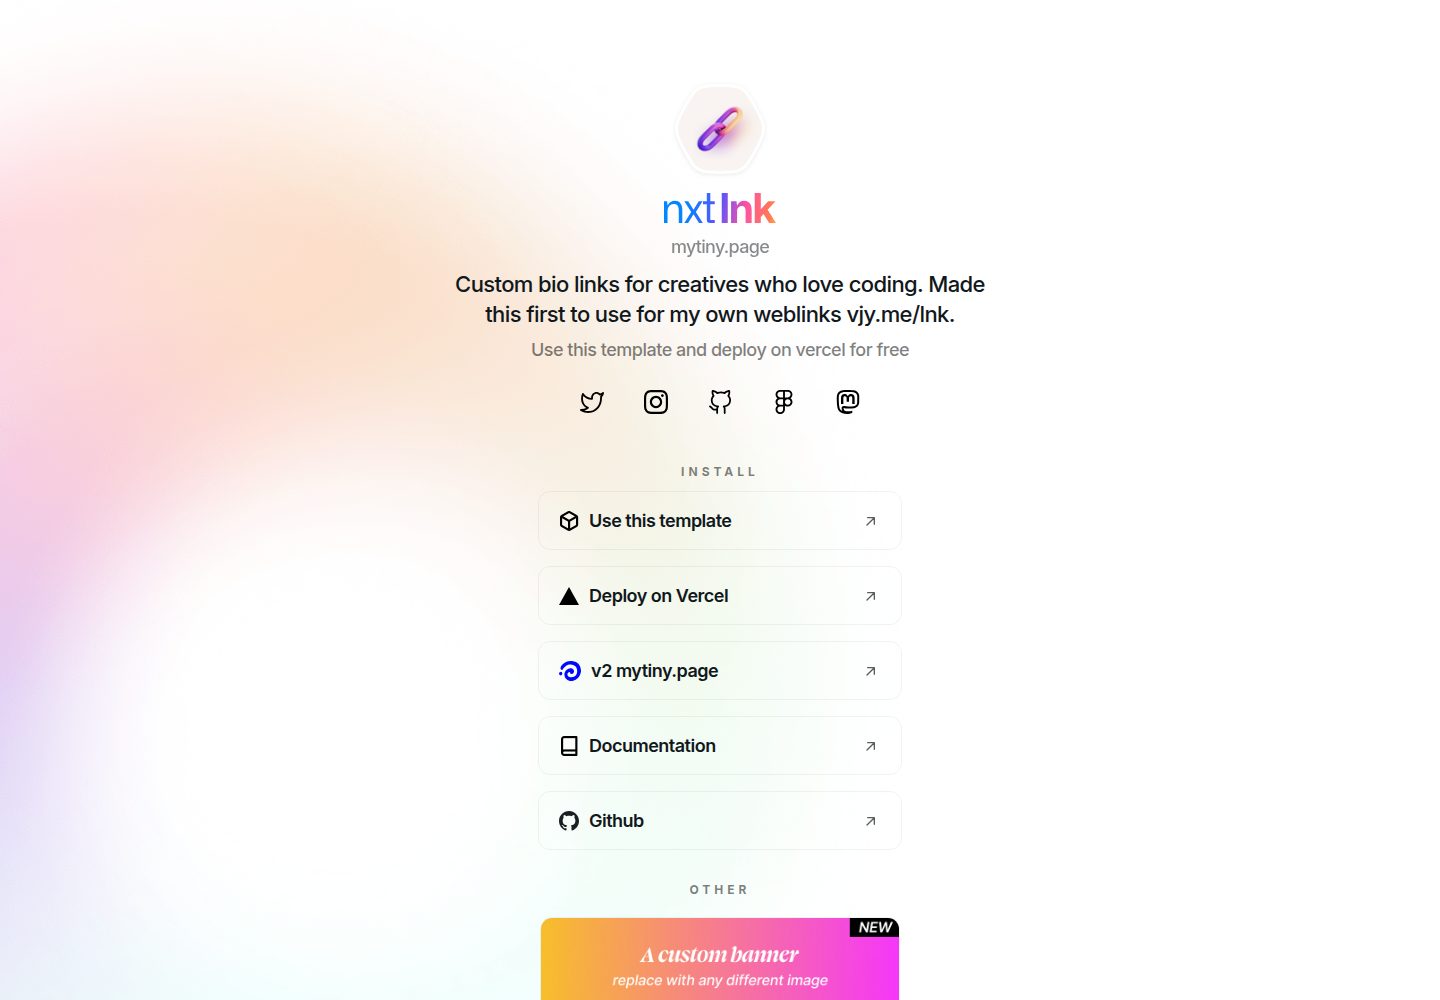
nxt-lnk
Custom bio links for creatives who love coding. A perfect custom alternative for linktree, bio and other short…
Next.js · 作品集
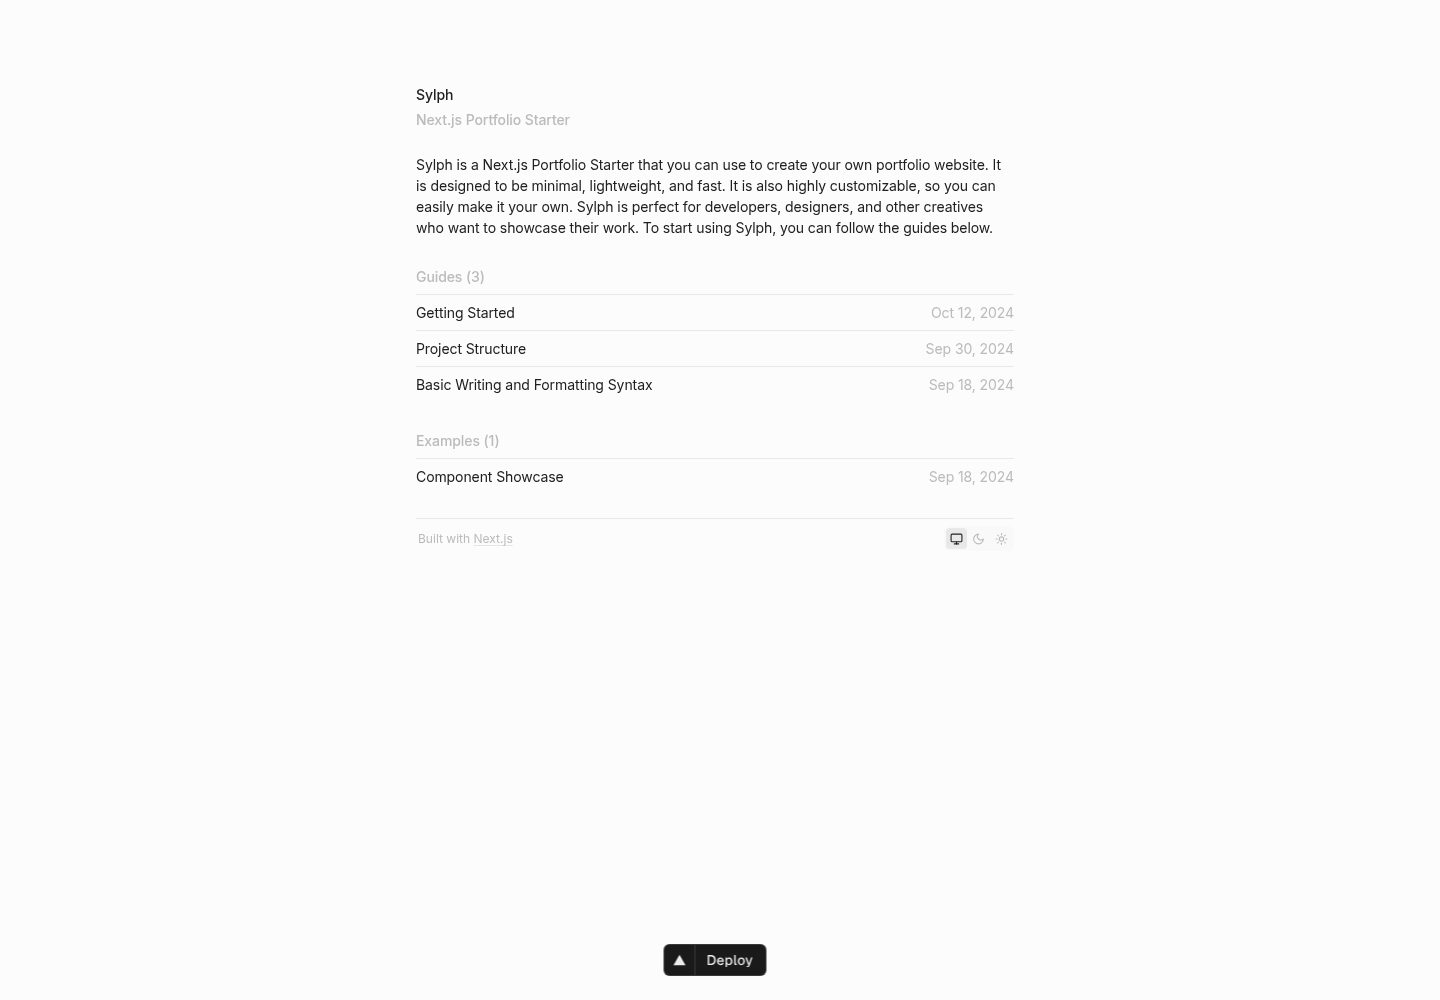
sylph
A minimal portfolio template.
Next.js · 作品集
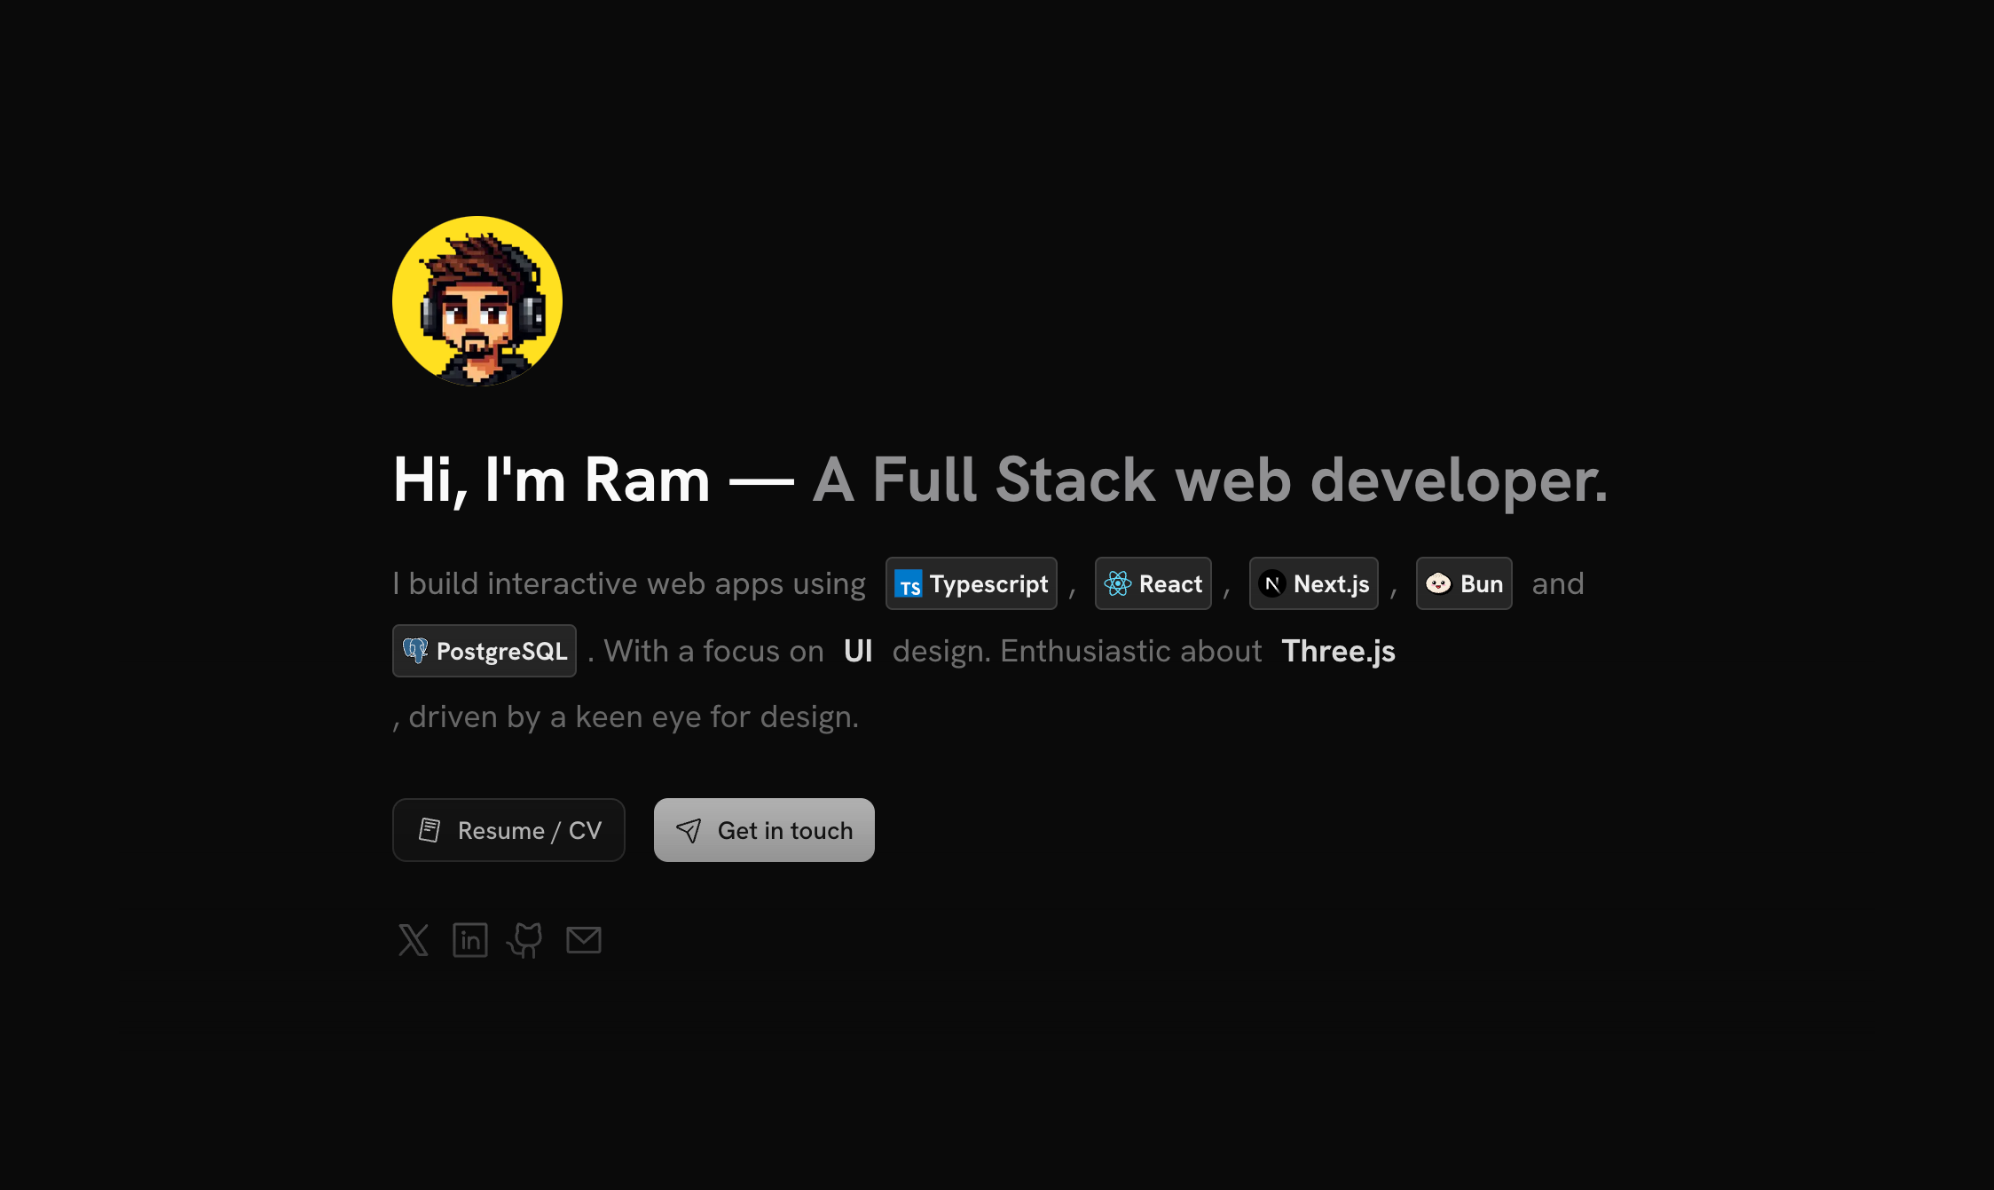
sleek-portfolio
sleek-portfolio 是一个面向开发者个人品牌展示的现代作品集模板,基于 Next.js 15、TypeScript、Tailwind CSS 和 Shadcn UI 构建。
Next.js · 作品集
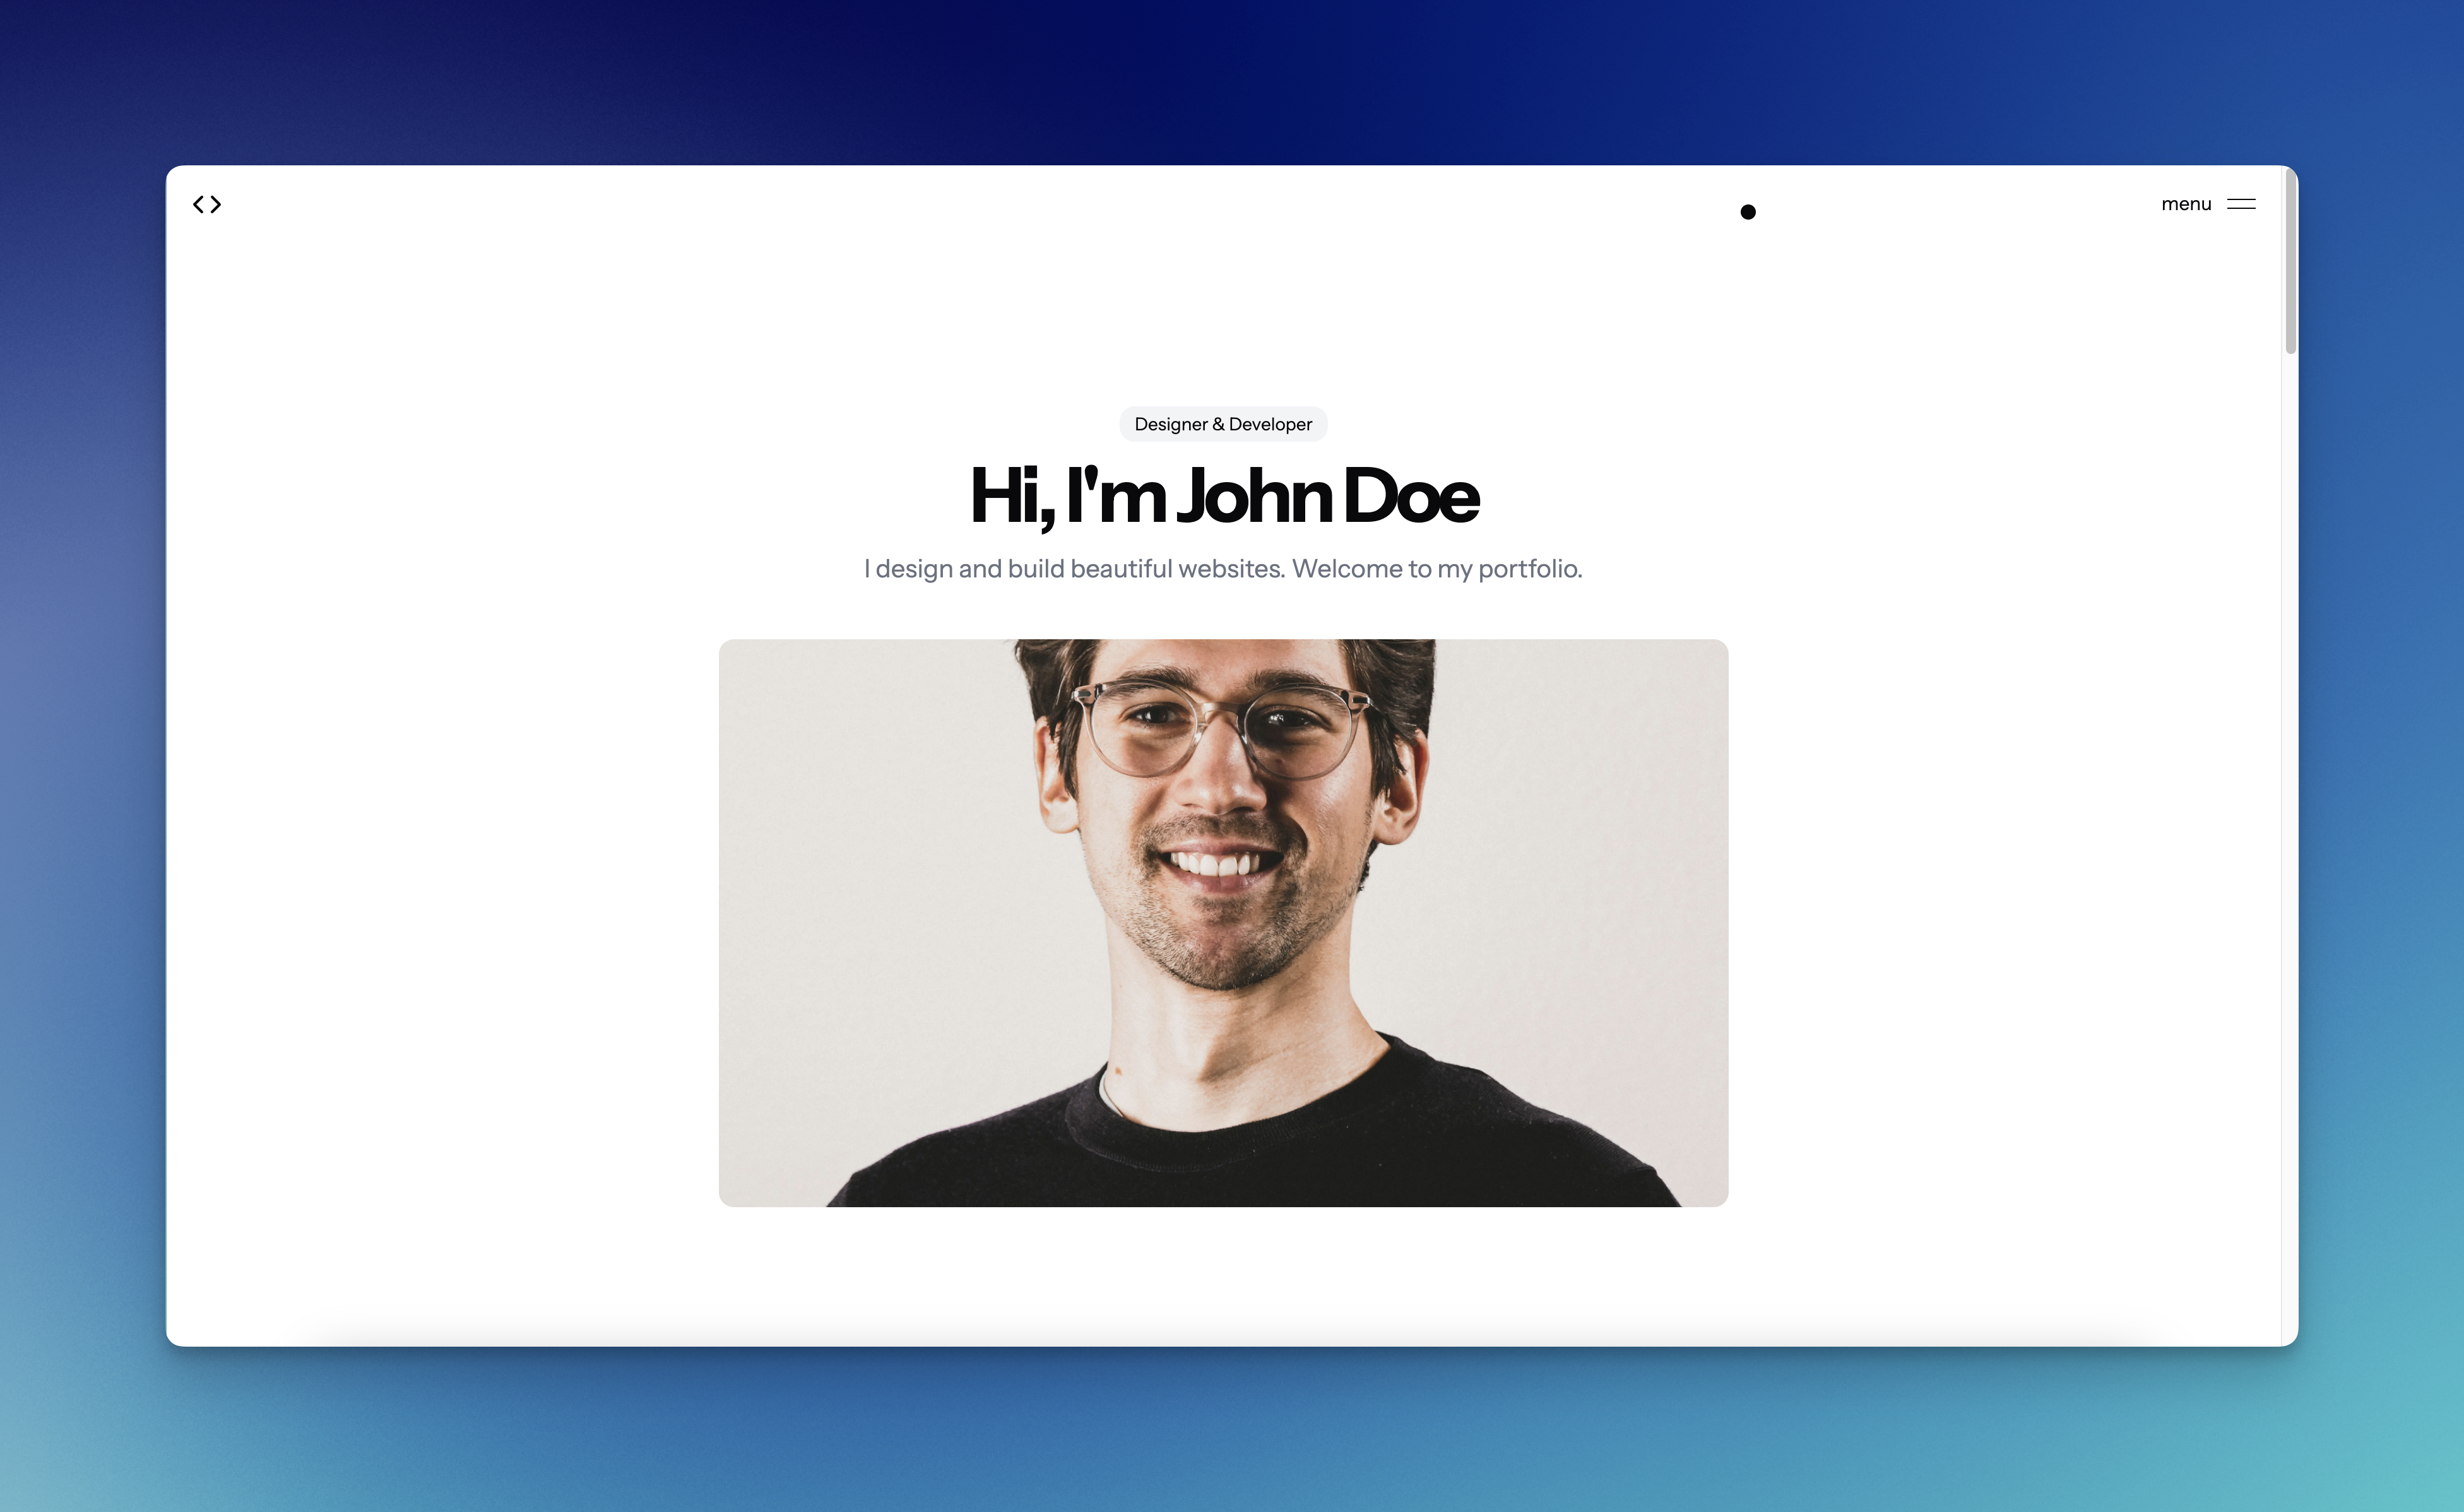
shadcn-portfolio
shadcn-portfolio 是一个面向开发者的作品集模板,技术栈为 Next.js 15、shadcn/ui、Tailwind CSS 和 Framer Motion。
Next.js · 作品集
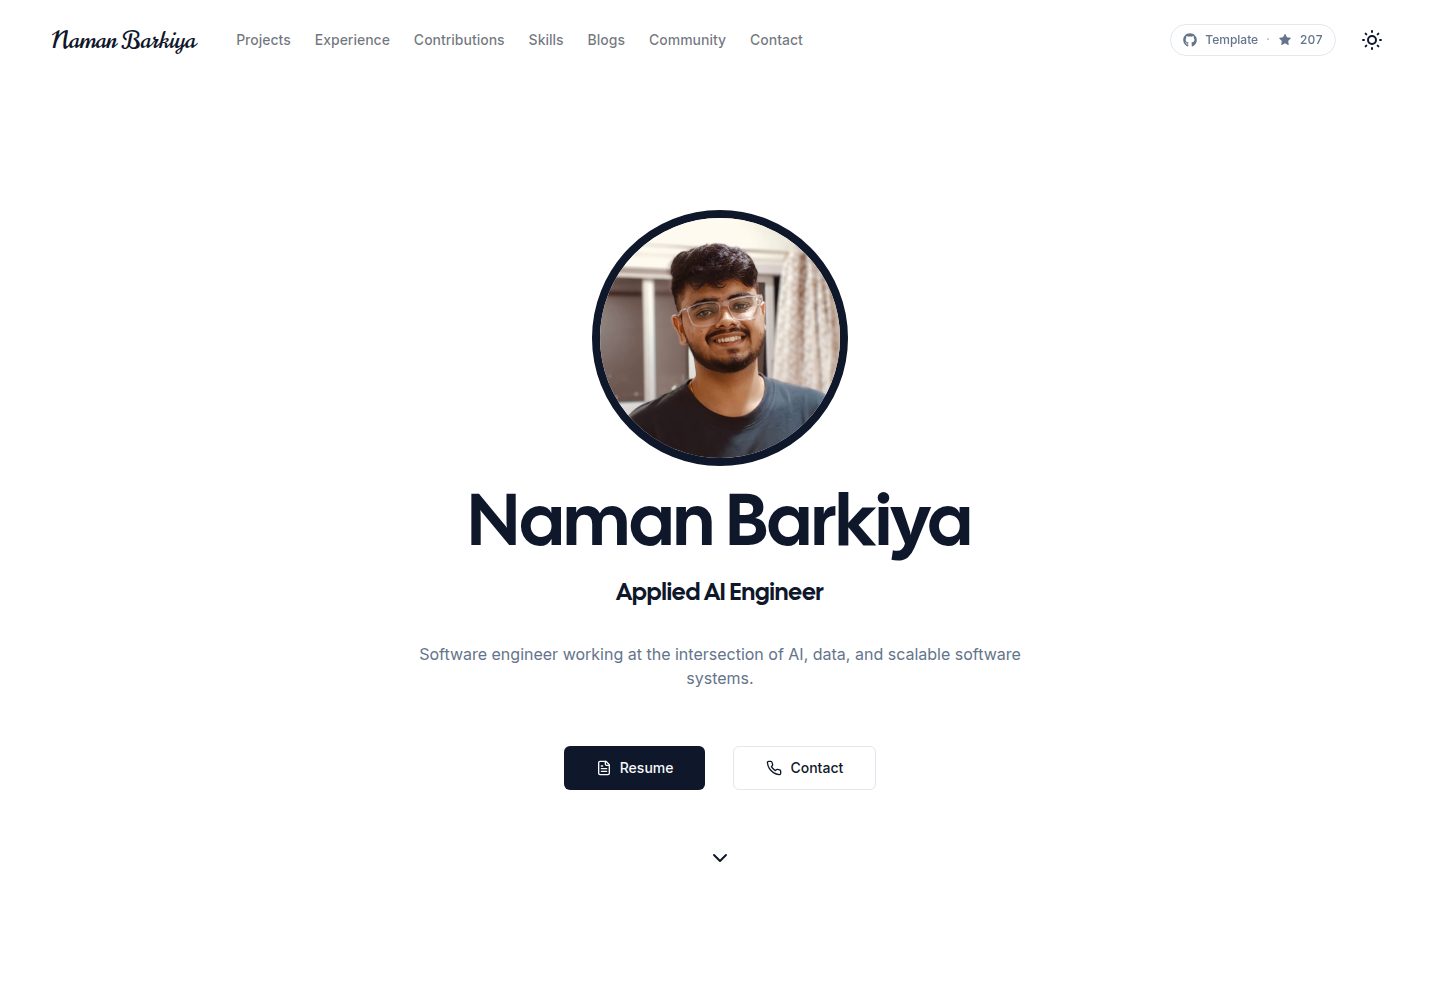
minimal-next-portfolio
Modern and easy-to-use Next.js 16 portfolio template. Simple object-driven structure to make this template you…
Next.js · 作品集