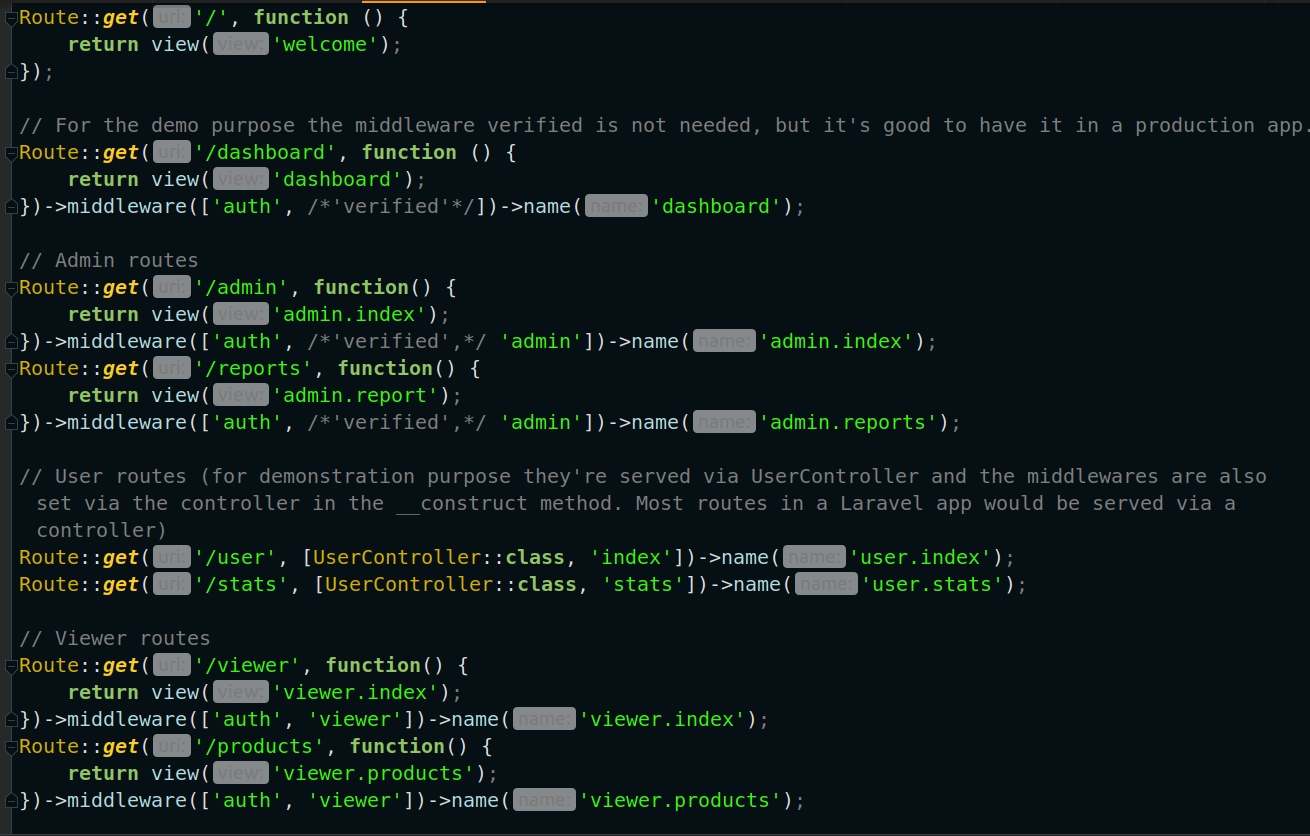
Adds a role field in the users table migration, with values admin, user, and viewer
LaravelAdmin dashboardStarter
laravel10-multiauthentication-starter-pack — Laravel Admin dashboard Template
By AndrejWeb
A Laravel-based multi-role authentication demo project that distinguishes the visible content for admin, user, and viewer through a role field, middleware, and Blade directives.
Explore the design
Compare the page layouts and mobile experience. Open any screenshot for a closer look.
Author preview
Author-provided previewTop of page
Preview provided in the project README.
One original preview is available. Open the full image to inspect the design.
Screenshots show visual appearance; interactive behavior may differ.
Recorded 2026-10-13View source
What stands out
A quick read of the recorded project description.
The User model provides three role check methods: isAdmin, isUser, and isViewer
Provides separate middleware for each user type, registered with aliases in the Kernel and bound to routes
Registers ifAdmin, ifUser, and ifViewer directives through a BladeServiceProvider to render navigation and page content by role
Unauthorized access is redirected to the home page
UserSeeder preloads three sample accounts so you can log in directly and experience different roles
Template Details
This is a Laravel demo application that shows how the same set of pages can present different content by user type. The project adds a role field in the users table migration, with suggested values admin, user, and viewer; the User model provides three check methods: isAdmin, isUser, and isViewer. Access control is implemented by three middleware classes: AdminMiddleware, UserMiddleware, and ViewerMiddleware, which are registered with aliases in the Kernel and then bound to routes in routes/web.php; requests that fail validation are redirected to the home page. At the view layer, a BladeServiceProvider registers three custom directives: ifAdmin, ifUser, and ifViewer, rendering the corresponding menus and sections by role in the navigation and page content. The project includes a UserSeeder that inserts three sample accounts into the users table, making it easy to log in separately and experience the authorization scope of each role. The startup process given in the README includes installing the Breeze authentication scaffold, running migrations and seeding, starting the frontend development server and the local service. It is demo starter code and does not describe production deployment, finer-grained permission extension, or third-party asset licensing.
LaravelBackendStarter
Is it right for your project?
Use Cases
- Learning how to implement access control based on a role field in Laravel
- Building a starter structure for multi-role login and content differentiation for a backend or admin interface
- Demonstrating how middleware and Blade custom directives work together to render by role
- Using it as a teaching or prototype project to verify that different user types see different menus and pages
Suitable For
- Developers currently learning Laravel authentication and authorization mechanisms
- Teams that need a multi-role demo prototype for teaching or internal explanation
- Projects that want to reference a role field plus middleware approach to implement role isolation
Getting started & customization
Use these recorded setup notes alongside the repository instructions for your chosen version.
- 1
Copy or rename .env.example to .env and fill in the database connection information
- 2
Run composer install, php artisan breeze:install, php artisan migrate, npm install, and npm run dev in sequence
- 3
In another terminal, run php artisan db:seed to insert sample users, then run php artisan serve to start the local service
- 4
The email and password of the sample accounts can be found in app/database/seeders/UserSeeder.php
- 5
Third-party assets such as demo images must be checked separately under their respective licenses; the code's MIT license does not cover these assets
License & source material
Usage conditions & limitations
Free to use · keep license noticeThis entry covers the free version under the MIT license in a public repository; the free scope is the code of that version and does not mean that external services or third-party assets are free.
Must comply with when using
- You may use, modify, commercially use, and distribute the code of this version for free.
- When distributing copies or substantial portions of the code, retain the original author's copyright notice and the full MIT license notice.
- The code is provided as is; warranties and limitations of liability are governed by the original license and applicable law.
Additional costs & items to verify
- Demo images, fonts, icons, and other third-party assets must be checked under their respective licenses and cannot be judged solely by the code's MIT license.
- External services such as domains, hosting, databases, payments, or AI may incur additional charges.
- The project describes itself as a demo application, used only to show that three user types see different content, and is not a complete product ready for production use.
- You must configure the database connection information yourself before use, requiring a local or external database service.
- The sample accounts depend on running db:seed to populate them; the account emails and passwords must be found in UserSeeder.php.
- By default it runs locally at localhost:8000, which is a local development demo environment.
View Original Text Basis
Permission is hereby granted, free of charge
Original License Text
This is a demo app which demonstrates different content being shown for 3 user types: admin, user and viewer.
Original README
Copy / rename `.env.example` to `.env`. Enter your database credentials in `.env`
Original README
Open another terminal and run the db:seed command, so you have 3 users added in the table `users` via the seeder `UserSeeder.php`
Original README
https://github.com/AndrejWeb/laravel10-multiauthentication-starter-pack/blob/main/LICENSEhttps://github.com/AndrejWeb/laravel10-multiauthentication-starter-pack/blob/main/README.mdNow the application should be running at `http://localhost:8000`
Original README
Compiled by DeepSeek based on repository license and README ·2026-10-13. Results only cover the materials read; dependencies, images, fonts, and subsequent term changes are subject to their respective original texts.
Project checks & description sources
Template Information
- Source platforms
- GitHub
- Documentation and maintenance reference score
- Partly documented · 61 / 100
- Technologies
- Laravel
- Website type
- Admin dashboard · Starter
How this score is calculated
Our heuristic uses license records (up to 30), a demo link (12), a preview (10), stars (15), recorded maintenance (15), description completeness (8), feature records (5) and classification data (5). It is not a code, security or performance test, or a Google score. A link does not establish tested functionality.
What to verify for this project
- Repository update recorded
- 2023-10-25
- Screenshot last checked
- 2026-10-13
No demo link is recorded. Use the repository instructions to evaluate the project locally; the screenshot alone cannot establish interactive behavior.
The catalog identifies Laravel as the primary stack. Check the actual dependency manifest and lockfile for versions and hosting requirements. These notes use recorded metadata, not a code audit or a deployment test.
Use a selection guide →How this description was prepared
AI-assisted description based on catalog records and repository material. Repository authors are not automatically the reviewers of this description.
Review declaration: [email protected] · 2026-10-13
Inspect the recorded source material
SHA-256: 0d5b18685dc8d7a493b5debac3676268d8d45d00ad87856616a376ade3d75941
2026-10-13T10:04:07.167Z
Source file / repository<p align="center"><a href="https://laravel.com" target="_blank"><img src="https://raw.githubusercontent.com/laravel/art/master/logo-lockup/5%20SVG/2%20CMYK/1%20Full%20Color/laravel-logolockup-cmyk-red.svg" width="400" alt="Laravel Logo"></a></p>
# Laravel 10 Multiauthentication Starter Pack
This is a demo app which demonstrates different content being shown for 3 user types: admin, user and viewer. Depending on the user type, the user can access the authorized content. Admins can see admin intended content, users can see user intended content and viewers can see viewer intended content.
### How it's done?
In the migration `create_users_table`, a new field called `role` is added
`$table->string('role');`
Suggested values for this column in the database table are: `admin`, `user`, `viewer`
In the model `User` there are 3 functions `isAdmin`, `isUser`, `isViewer` which check the user type. Here's the code for `isAdmin`
```
public function isAdmin()
{
return $this->role === 'admin';
}
```
There are middlewares for each user type - `AdminMiddleware`, `UserMiddleware`, `ViewerMiddleware`. Their code is similar. Here's the code for `AdminMiddleware`
```
public function handle(Request $request, Closure $next): Response
{
if (auth()->check() && auth()->user()->isAdmin()) {
return $next($request);
}
return redirect('/');
}
```
The middlewares are given alias names in `app\Http\Kernel.php` in the array `protected $middlewareAliases`. Then the middlewares are assigned to routes in `routes\web.php`
In order to render the appropriate menu items for each user and user specific page content, 3 custom Blade directive are created - `ifAdmin`, `ifUser`, `ifViewer`. Check out `app\Providers\BladeServiceProvider.php` file for this and `resources\views\layouts\navigation.blade.php` how they are used.
### How to use the app
Download / clone the repository.
Copy / rename `.env.example` to `.env`. Enter your database credentials in `.env`
Run these commands in terminal in the app's root directory:
1) `composer install`
2) `php artisan breeze:install`
3) `php artisan migrate`
4) `npm install`
5) `npm run dev`
Open another terminal and run the db:seed command, so you have 3 users added in the table `users` via the seeder `UserSeeder.php` located in `app\database\seeders\UserSeeder.php`. In this file you can see the users email and password. Use them to login later.
6) `php artisan db:seed`
7) `php artisan serve`
Now the application should be running at `http://localhost:8000`
Login as each user type to see the user intended content. Try to access route which you are not authorized to view and you will be redirected to home page.
### Screenshots
<img src="https://i.imgur.com/PDdvT68.jpg" />
<img src="https://i.imgur.com/jELTO4P.jpg" />
<img src="https://i.imgur.com/9YyKnTn.jpg" />
<img src="https://i.imgur.com/B1bKHGz.jpg" />
<img src="https://i.imgur.com/YD9mL8B.jpg" />
<img src="https://i.imgur.com/W6q3r9k.jpg" />
Explore similar templates
Compare previews and descriptions within the same stack and category.
sage
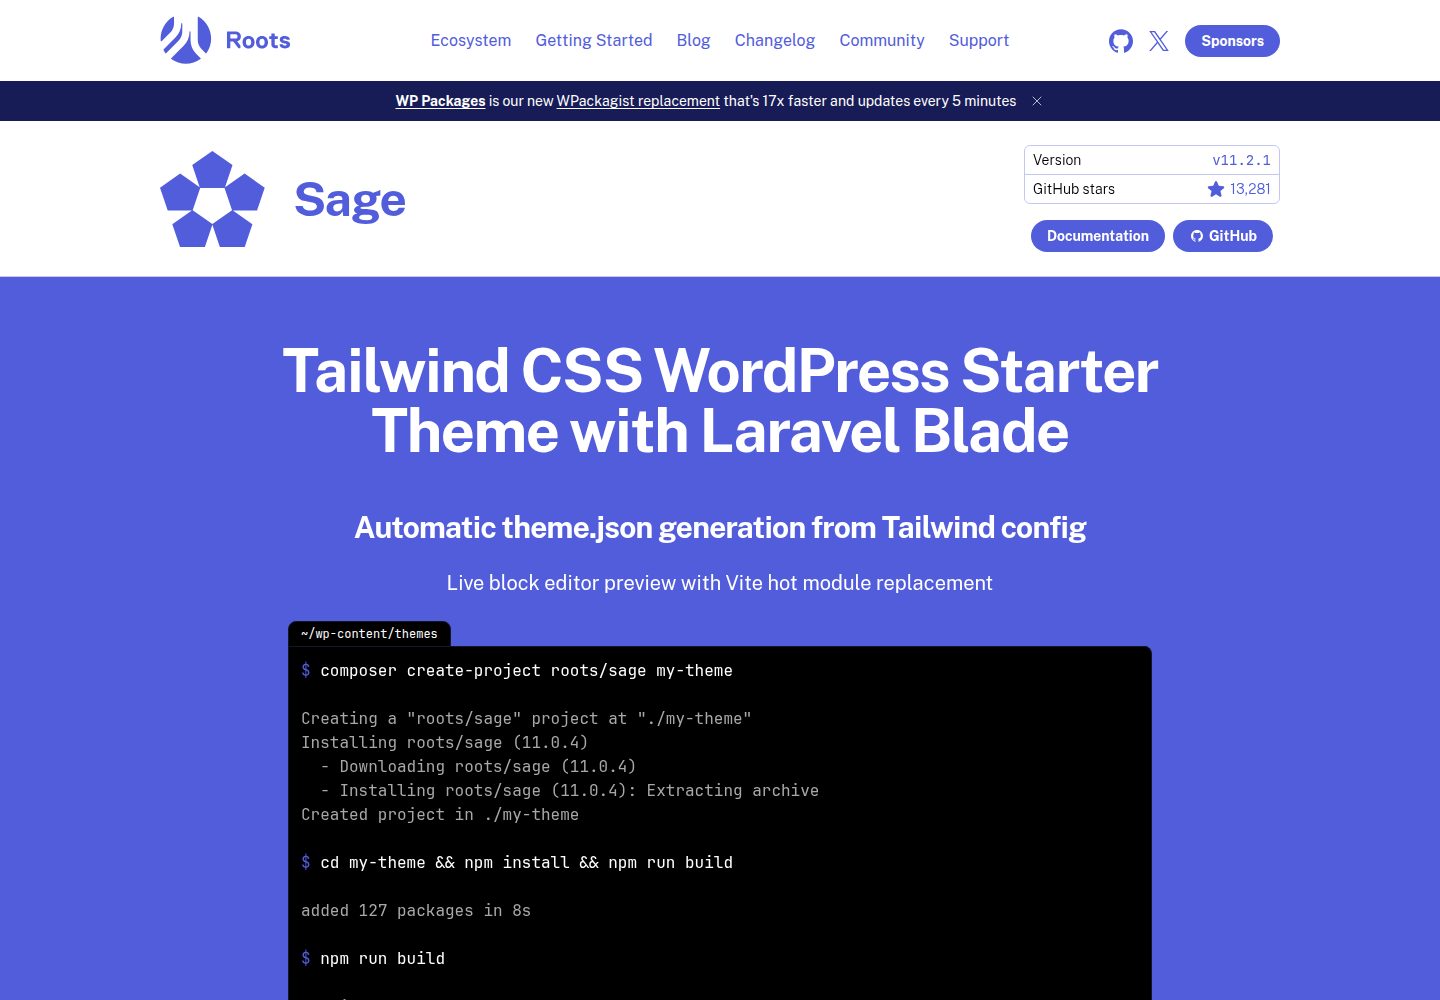
Sage is a WordPress starter theme maintained by Roots, using Laravel Blade components and templates, Vite builds, Tailwind CSS, and built-in block editor support.
Laravel · Starter
wave
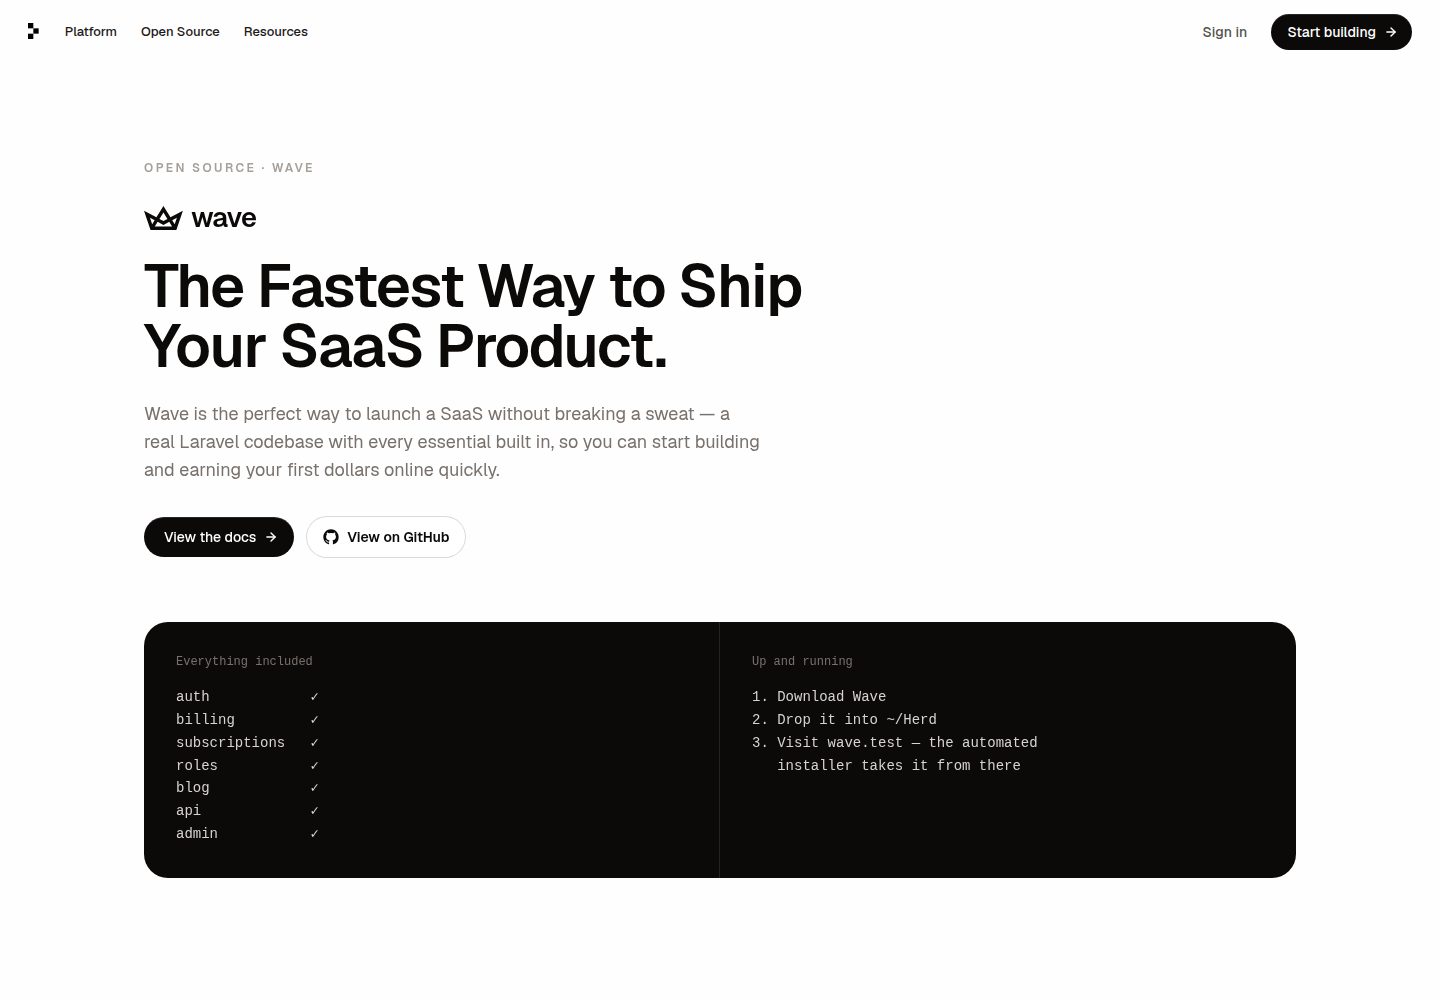
Wave is an open-source SaaS starter kit built on Laravel and released under the MIT license.
Laravel · SaaS
coreui-free-laravel-admin-template
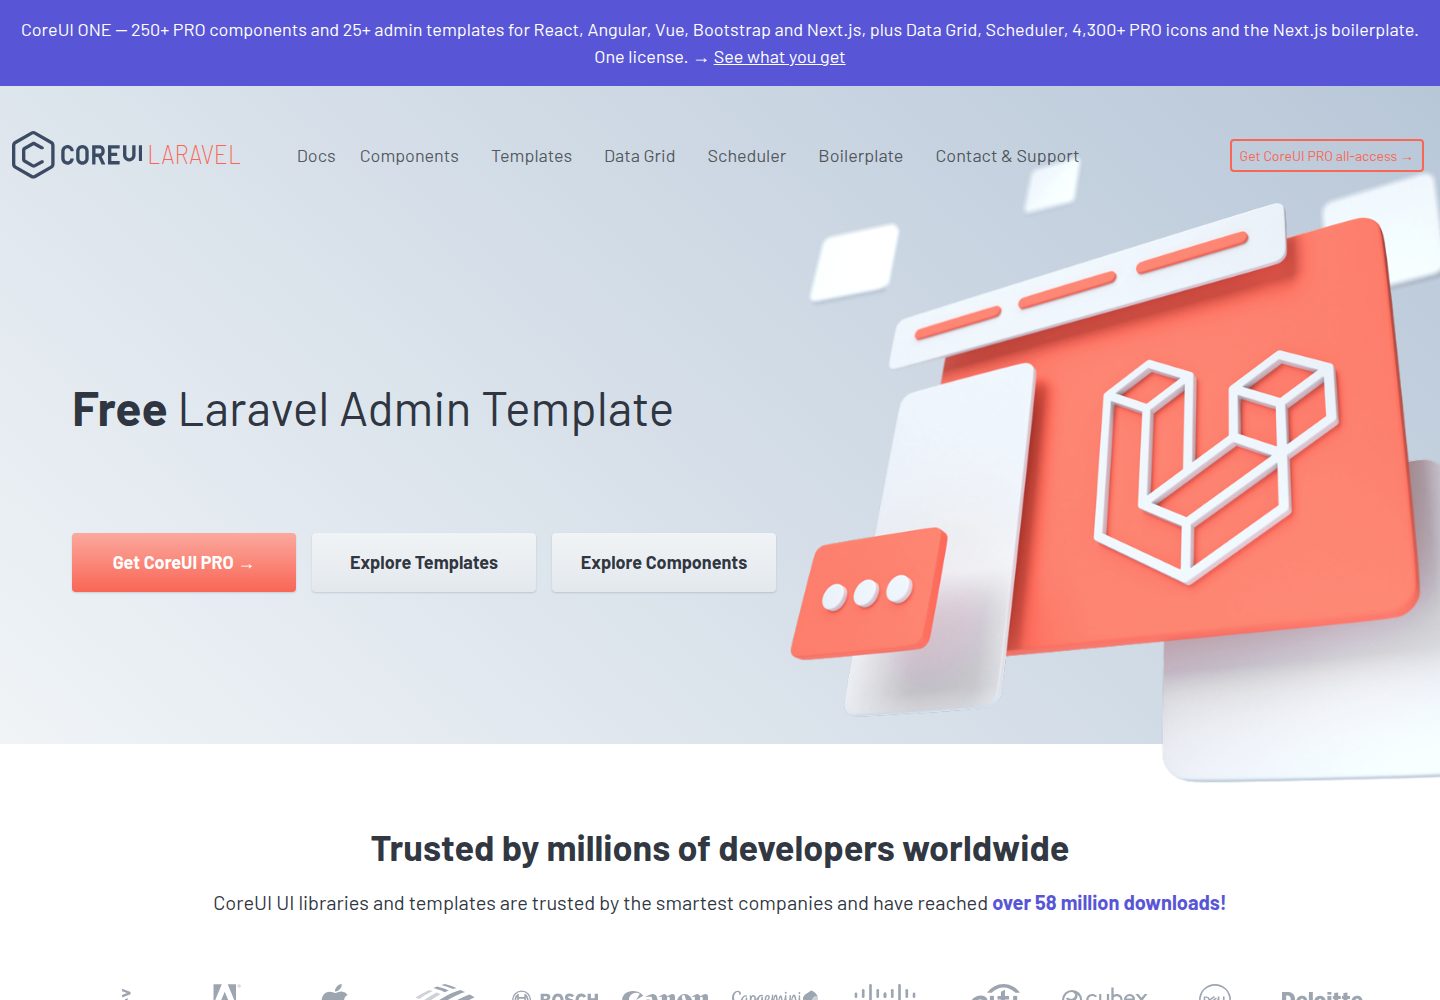
A free MIT-licensed Laravel admin template using CoreUI Bootstrap styles, with a sample login account and management examples for users, menus, roles, media, BREAD, and email templates.
Laravel · Admin dashboard
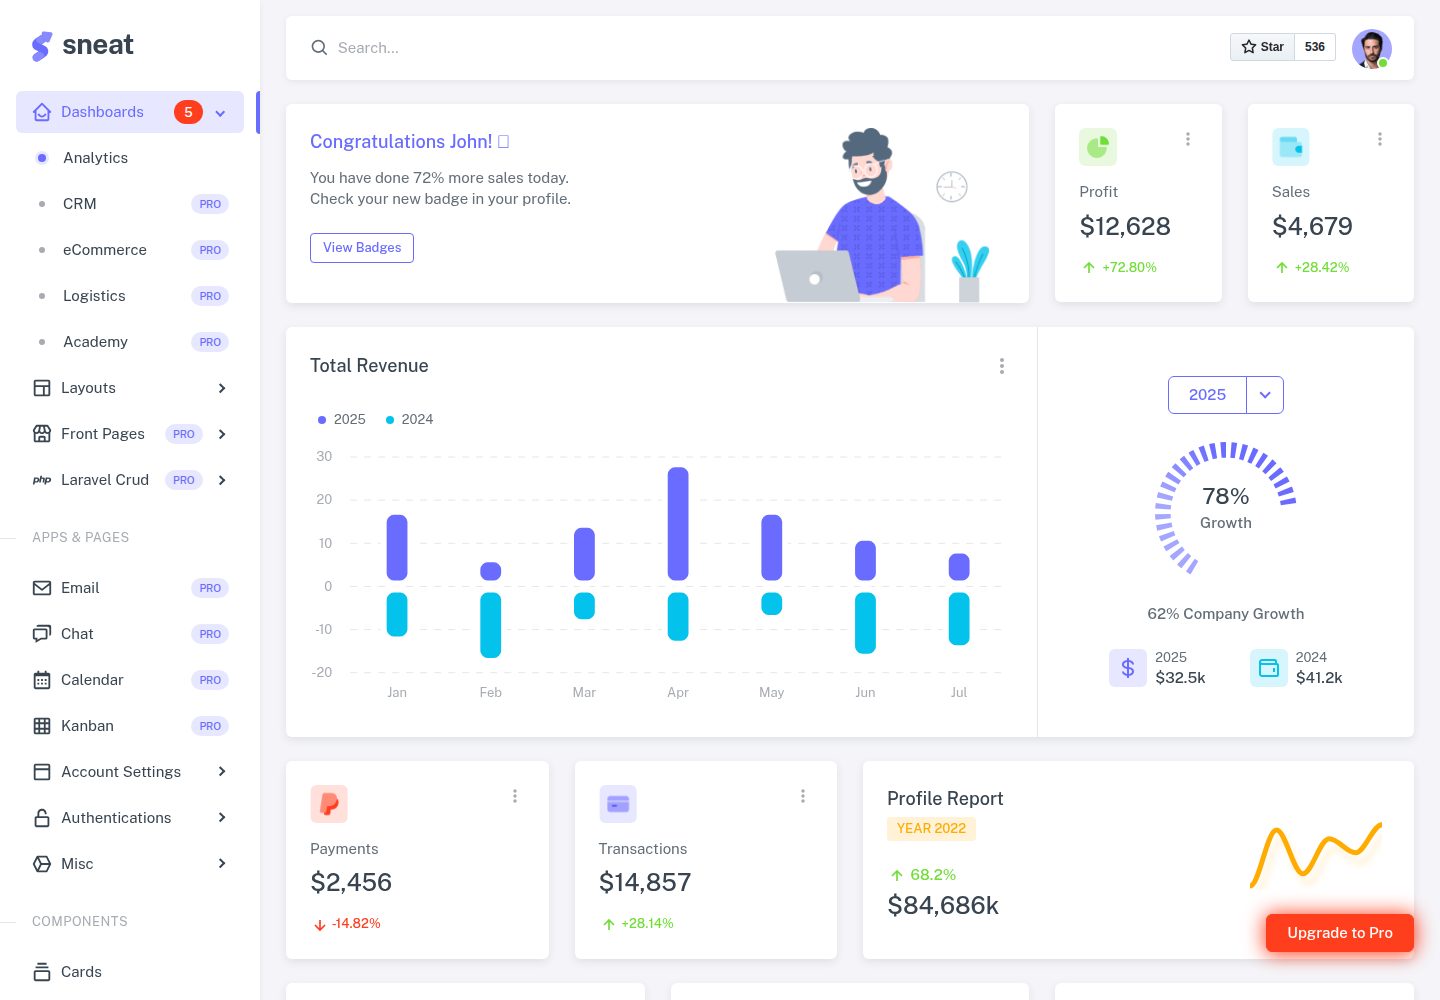
sneat-bootstrap-html-laravel-admin-template-free
Sneat Free is a Laravel admin template with a Bootstrap 5 frontend, MIT-licensed, offering a dashboard, multiple layouts, authentication pages, forms, and tables.
Laravel · Admin dashboard
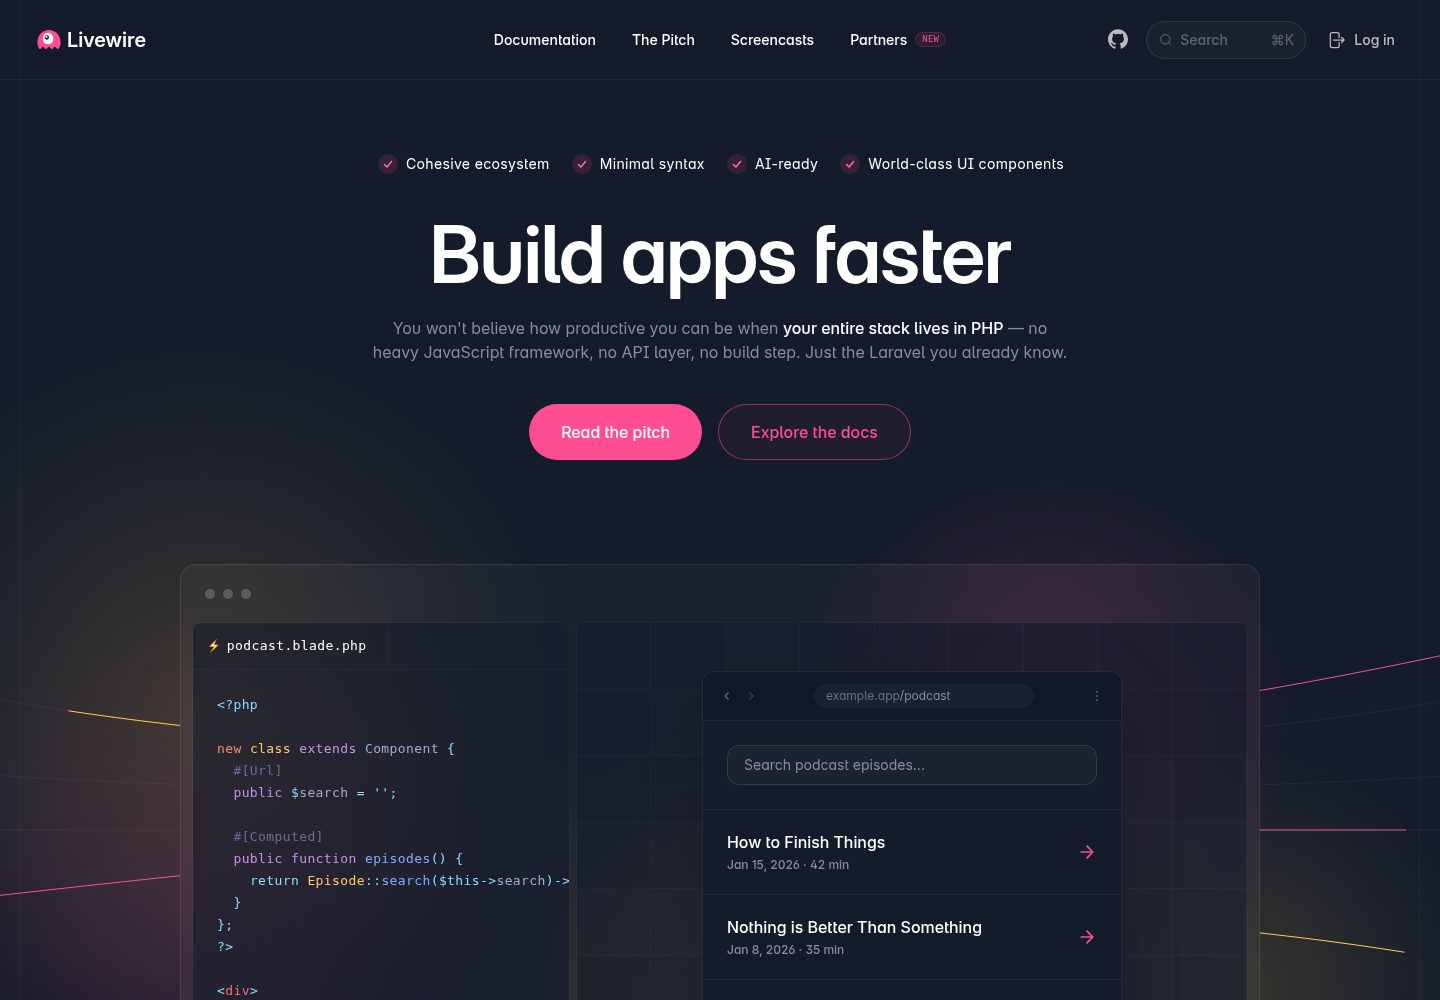
filament-starter
A Laravel TALL stack starter template maintained by Log1x, with a preconfigured Filament admin panel and plugins including Curator, Gravatar, Exceptions, Jobs Monitor, Breezy, Peek, and Logger.
Laravel · Starter
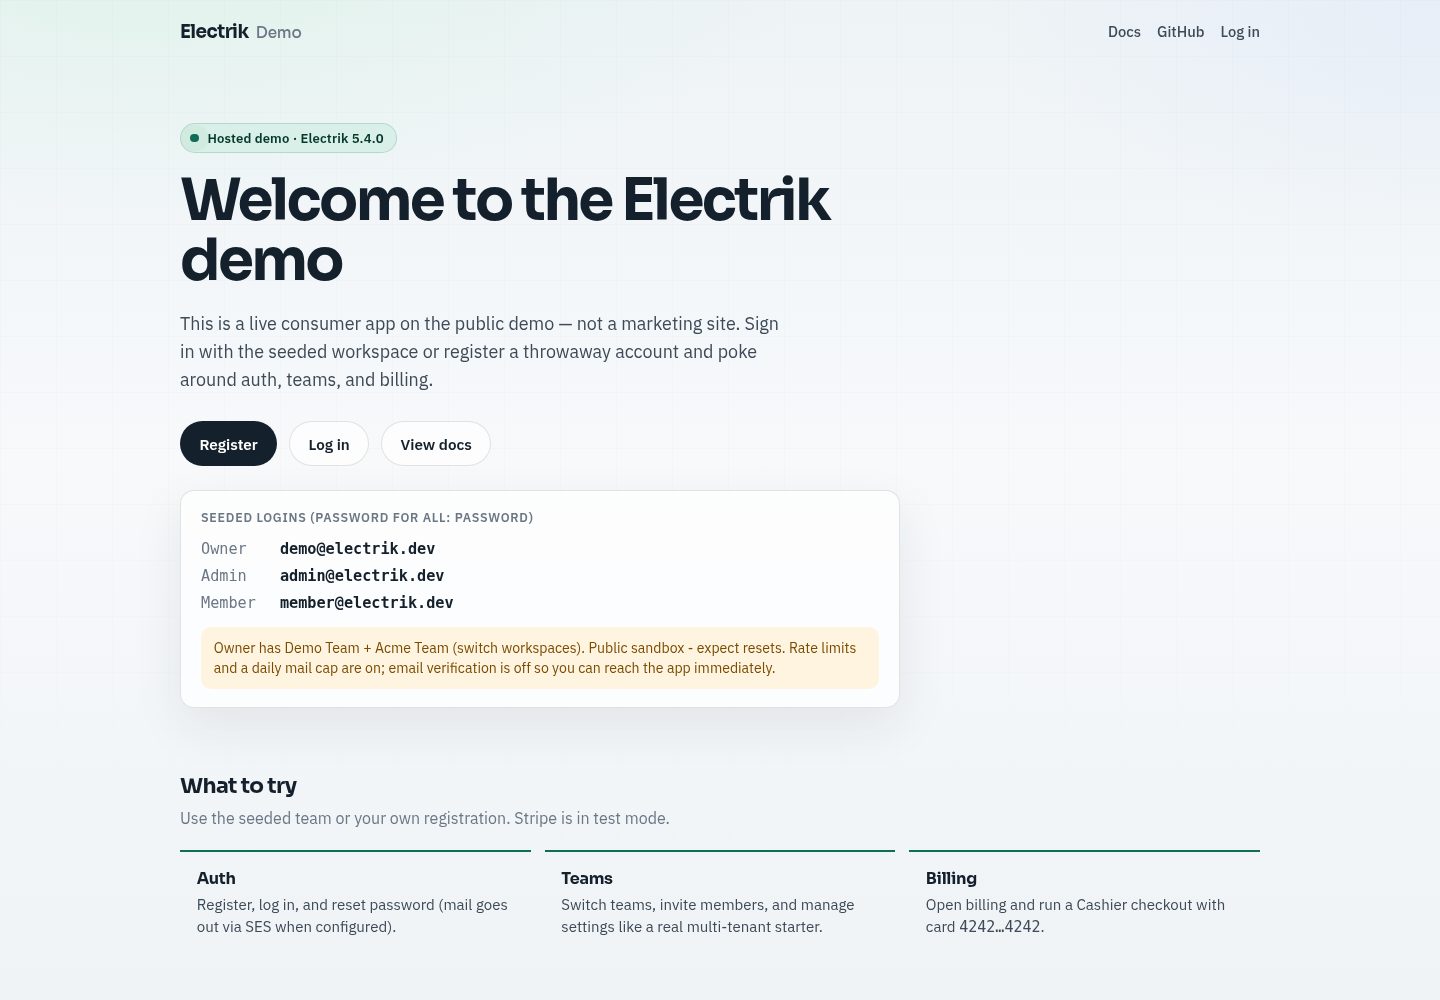
electrik
Electrik is a Laravel SaaS starter kit installed as a Composer package, with authentication, teams, Stripe subscription billing, and the Slate 3 interface under the Electrik\ namespace rather than copied into App\.
Laravel · SaaS