Built with Next.js, with UI components based on Chakra UI
Next.jsReactPortfolio
nextjs-portfolio-template — Next.js Portfolio Template
By AsavariA
An open-source personal portfolio website template built with Next.js and Chakra UI, where personal information, projects, and blog content are entered through centralized configuration files.
Explore the design
Compare the page layouts and mobile experience. Open any screenshot for a closer look.
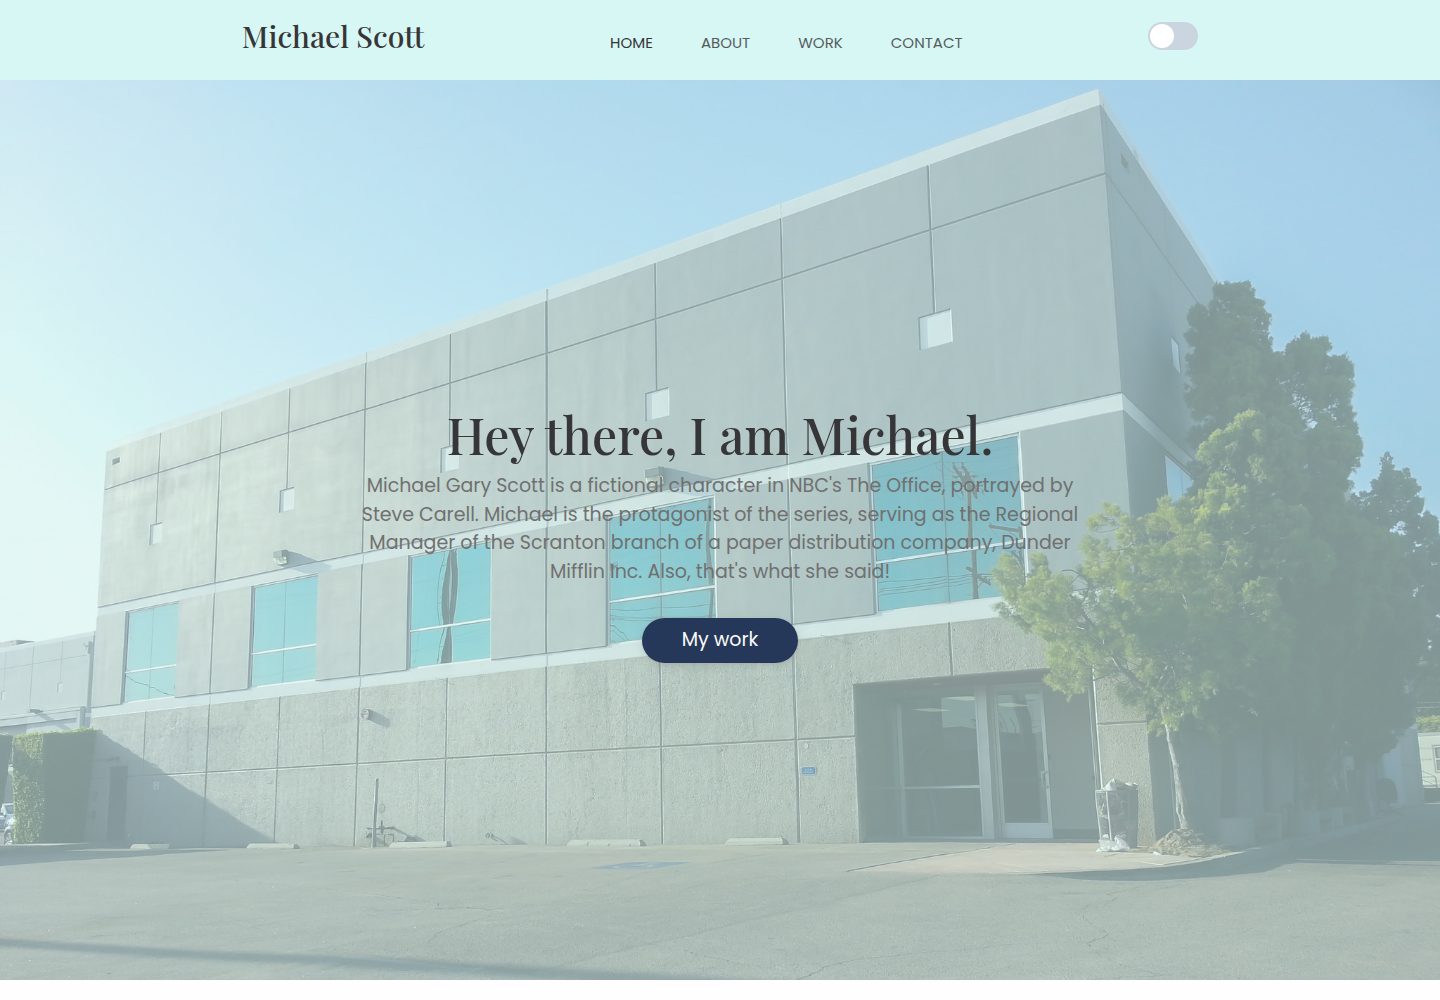
Desktop homepage1 / 2
Desktop captureTop of page
Actual screenshot captured by the server browser.
All pages & views 2
Screenshots show visual appearance; interactive behavior may differ.
Recorded 2026-10-02View source
What stands out
A quick read of the recorded project description.
Content is centralized in configuration files under the Constants directory, such as userinfo.js, projects.js, and blogs.js
Includes landing page, Work, Capabilities, Education, About, Projects, Work Experience, Blogs, Contact, and Socials sections
Blog supports three sources: custom content, Medium, and DevTo
Theme colors can be adjusted in theme.js
Contact form sends email via a Google account and .env environment variables
Template Details
This is a personal portfolio website template for developers, built with Next.js and using UI components from Chakra UI. The template centralizes most content in configuration files under the Constants directory; users fill them in according to the comments to generate pages without building the structure from scratch.
The pages include landing page greeting, Work, Capabilities, Education, About, Projects, Work Experience, Blogs, Contact me, and Socials sections. The blog section supports three sources: custom content, Medium, and DevTo. You need to select the corresponding export in blogs.js and uncomment the relevant useEffect in Work.js. Theme colors are adjusted in theme.js, and the fields must remain complete.
Only three external images are required: background.jpg and about.jpg in the styles directory, and favicon.jpg in the public directory, with fixed filenames and formats. The contact form relies on a separate Google account; you need to fill in the sender email, password, and recipient email in .env, and enable less secure apps access for that account. When the project is on GitHub, .env should be excluded.
The template is released under the MIT license and can be used, modified, and distributed for free, but third-party assets such as demo images, fonts, and icons require separate license verification, and external services such as hosting and email may incur costs.
Next.jsPortfolio
Is it right for your project?
Use Cases
- Developers need a personal portfolio website where they can directly fill in content
- Wants to aggregate articles from Medium or DevTo onto a personal site for display
- Wants to modify colors and copy based on an MIT-licensed template
Suitable For
- Developers with front-end basics who can modify configuration files according to comments
- Personal sites that need to showcase projects, experience, and blogs
- Users who accept using a Google account to handle contact form emails
Getting started & customization
Use these recorded setup notes alongside the repository instructions for your chosen version.
- 1
After cloning the repository, run npm install to install dependencies, and npm run dev to preview locally on port 3000
- 2
Fill in fields such as logoText, contact, socials, greeting, capabilities, about, education, experience, blogs, headings, and ctas in Constants/userinfo.js
- 3
Enter project content in Constants/projects.js in JSON format and import images
- 4
Images must be placed with fixed names: styles/background.jpg, styles/about.jpg, public/favicon.jpg
- 5
For the contact form, rename test.env to .env and fill in PASSWORD, SENDER, and TO, and add the file to gitignore
License & source material
Usage conditions & limitations
Free to use · keep license noticeThis entry covers the free version under the MIT license in the public repository; the free scope is the code of this version and does not mean external services or third-party assets are free.
Must comply with when using
- Allows free use, modification, commercial use, and distribution of this version's code.
- When distributing copies or substantial portions of the code, retain the original author's copyright notice and the full MIT license notice.
- The code is provided as is; warranties and limitations of liability are governed by the original license and applicable law.
Additional costs & items to verify
- The contact form feature requires users to additionally register a dedicated Google account to send form data; it is not usable as a purely static template.
- Requires enabling 'less secure apps access' in the Google account, which is an external service configuration requirement.
- Private credentials such as the sender email password must be filled in .env, and environment variable security must be managed by the user.
- Using Medium blog aggregation requires providing a Medium username and depends on that external platform.
- Using DevTo blog aggregation requires providing DevTo account information and depends on that external platform.
- Demo images, fonts, icons, and other third-party assets must be checked against their respective licenses and cannot be judged solely by the code's MIT license.
- External services such as domain, hosting, database, payment, or AI may incur additional charges.
View Original Text Basis
Permission is hereby granted, free of charge
Original License Text
you will need to create a **new google account** which will send you the form data
Original README
go to [this link](https://myaccount.google.com/lesssecureapps). **Allow** the access.
Original README
PASSWORD = <sender-mail-password> //password of newly created account
Original README
If your choice is **Medium blogs**, then uncomment the medium blogs export down below and fill in your **medium username**.
Original README
https://github.com/AsavariA/nextjs-portfolio-template/blob/master/LICENSEhttps://github.com/AsavariA/nextjs-portfolio-template/blob/master/README.mdFollow the steps from 4 - 8 but with DevTo details if your choice is DevTo blogs.
Original README
Compiled by DeepSeek based on repository license and README ·2026-10-02. Results only cover the materials read; dependencies, images, fonts, and subsequent term changes are subject to their respective original texts.
Project checks & description sources
Template Information
- Source platforms
- GitHub
- Documentation and maintenance reference score
- Partly documented · 72 / 100
- Technologies
- Next.js · React
- Website type
- Portfolio
How this score is calculated
Our heuristic uses license records (up to 30), a demo link (12), a preview (10), stars (15), recorded maintenance (15), description completeness (8), feature records (5) and classification data (5). It is not a code, security or performance test, or a Google score. A link does not establish tested functionality.
What to verify for this project
- Repository update recorded
- 2024-01-09
- Screenshot last checked
- 2026-10-02
A demo link is listed. Check it with your own content and viewport sizes; its presence does not confirm that forms, authentication or payments work.
The catalog identifies Next.js as the primary stack. Check the actual dependency manifest and lockfile for versions and hosting requirements. These notes use recorded metadata, not a code audit or a deployment test.
Use a selection guide →How this description was prepared
AI-assisted description based on catalog records and repository material. Repository authors are not automatically the reviewers of this description.
Automatically checked against source and license rules; no manual editorial review.
Inspect the recorded source material
SHA-256: 03d0596d518469d81593aab4e7252737d6ae24cca452417dc2786e1ebe02199c
2026-10-02T16:06:36.012Z
Source file / repository<!-- PROJECT LOGO -->
<br />
<p align="center">
<h1 align="center">NextJS Portfolio Template</h1>
<p align="center">
Portfolio website template!
<br />
<a href="https://michaelscott-nextjstemp.vercel.app/">View Demo</a>
·
<a href="https://github.com/AsavariA/nextjs-portfolio-template/issues">Report Bug</a>
·
<a href="https://github.com/AsavariA/nextjs-portfolio-template/issues">Request Feature</a>
</p>
</p>
<!-- TABLE OF CONTENTS -->
<details open="open">
<summary><h2 style="display: inline-block">Table of Contents</h2></summary>
<ol>
<li>
<a href="#about-the-project">About The Project</a>
<ul>
<li><a href="#sections-available">Sections Available</a></li>
<li><a href="#built-with">Built With</a></li>
<li><a href="#demos">Demos</a></li>
</ul>
</li>
<li>
<a href="#getting-started">Getting Started</a>
<ul>
<li><a href="#prerequisites">Prerequisites</a></li>
<li><a href="#installation">Installation</a></li>
</ul>
</li>
<li>
<a href="#usage">Usage</a>
<ul>
<li><a href="#user-info">User Info</a></li>
<li><a href="#blogs">Blogs</a></li>
<li><a href="#setting-up-images">Setting up Images</a></li>
<li><a href="#setting-up-themes">Setting up Themes</a></li>
<li><a href="#setting-up-contact-form">Setting up Contact Form</a></li>
</ul>
</li>
<li><a href="#deployment">Deployment</a></li>
<li><a href="#contributing">Contributing</a></li>
<li><a href="#license">License</a></li>
</ol>
</details>
<!-- ABOUT THE PROJECT -->
## About The Project
Making a Portfolio website from scratch can be a tedious process. This repository solves that problem. How? Well, it is a easy-to-use portfolio template! You can use it by following a few simple instructions given below. Feel free to suggest changes and features too!
### Sections Available
✔️ Landing Page - greeting\
✔️ Work section\
✔️ Capabilities\
✔️ Education\
✔️ About \
✔️ Projects\
✔️ Work Experience\
✔️ Blogs - Custom, Medium and DevTo support\
✔️ Contact me\
✔️ Socials
### Built With
🔧 [NextJS](https://nextjs.org/)\
🔧 [Chakra UI](https://chakra-ui.com/)
### Demos
To view a demo, [click here](https://michaelscott-nextjstemp.vercel.app/)\
To view a live example, [click here](https://asavariambavane.vercel.app/)
<!-- GETTING STARTED -->
## Getting Started
To get a local copy up and running follow these simple steps.
### Prerequisites
npm - Latest version of npm works the best with this project. Run the following command to install it.
```sh
npm -v //checks npm version
npm install npm@latest -g //installs latest npm version
```
### Installation
1. Clone the repo
```sh
git clone https://github.com/AsavariA/nextjs-portfolio-template.git
```
2. Install NPM packages
```sh
npm install
```
<!-- USAGE EXAMPLES -->
## Usage
These are instructions to use the project once you have cloned it. Follow them step by step for the best experience. Comments are mentioned in the files as guides.
### User Info
Go to the file ***userinfo.js*** inside the ***Constants*** folder. Fill up this file like you are filling up a form.
1. logoText
2. contact - email, phone(leave blank if not willing to use), countrycode
3. socials - follow the json format
4. greeting - title, subtitle
5. capabilities - follow the json format
6. about - content, resume link ( can be drive link etc )
7. education - follow the json format
8. experience - follow the json format
9. blogs - if you want this section in your website, set it true, otherwise false. If true, follow the instructions in <a href="#blogs">blog section</a>
10. projects - go to **Constants > projects.js** and follow the json format. Import images as mentioned in the imports.
11. headings - you can customise all the headings in the template with this.
12. ctas - you can customise all the ctaTexts in the template with this.
### Blogs
This instruction set is only applicable if blogs are set to visible. The blogs section provides 3 kinds of support. **Custom blogs**, importing **medium blogs**, or importing **devto blogs**.
1. Go to **Constants > blogs.js**
2. You will be able to see 3 different exports. Choose the one you want and comment out the others.
3. If your choice is **Custom blogs**, fill in the details as shown in json format.
4. If your choice is **Medium blogs**, then uncomment the medium blogs export down below and fill in your **medium username**.
5. Now move to **Components > Work.js**.
6. You will see three commented out sections each with a useEffect and heading ***MEDIUM BLOGS SUPPORT***
7. Uncomment the useEffect in the section you want and comment the other two out.
8. You are set to import your medium blogs now!
9. Follow the steps from 4 - 8 but with DevTo details if your choice is DevTo blogs.
### Setting up Images
There are only 3 images you need to set up externally. These images have to have a particular name and format and location.
<ol>
<li>
Landing Page Background Image
<ul>
<li>name - background</li>
<li>type - .jpg</li>
<li>filename - background.jpg</li>
<li>location - root > styles</li>
</ul>
</li>
<li>
About Section Background Image
<ul>
<li>name - about</li>
<li>type - .jpg</li>
<li>filename - about.jpg</li>
<li>location - root > styles</li>
</ul>
</li>
<li>
Favicon Image
<ul>
<li>name - favicon</li>
<li>type - .jpg</li>
<li>filename - favicon.jpg</li>
<li>location - root > public</li>
</ul>
</li>
</ol>
### Setting up Themes
Go to the file ***theme.js*** inside the folder ***Constants***.
You can change the colors as per your wish or leave the theme as it is. Make sure to keep all the fields intact because skipping any field can lead to errors.
### Setting up Contact Form
For this step, you will need to create a **new google account** which will send you the form data. Need for a new account - well, it is advisable to use this new account only for this purpose so as to **prevent giving this template access** to your personal emails ( which are on your original email account ). \
Once you have made your account, make sure you have selected that account and go to [this link](https://myaccount.google.com/lesssecureapps). **Allow** the access.\
Now go to the **test.env** file. Rename this file to only **.env**\
*If your project is on github, please make sure to exclude this file from github ( put it in gitignore ) since it contains private / environmental variables.*
```
//type in all data without the < and > signs.
PASSWORD = <sender-mail-password> //password of newly created account
SENDER = <sender-mail> //email address of newly created account
TO = <reciever-mail> //email address of your personal account (which will be reciever of data in this case)
```
**Contact form is now set up!**
### Deployment
To check if your website is running the way you wish, run the following command to start it locally on localhost:3000\
`npm run dev`
To deploy your portfolio, you can use any of the following ways.
- Vercel - this is the most advisable platform to deploy your nextjs applications because they are the building company and provide the best support for all nextjs websites.
- Netlify - Use the exclusive nextjs support on netlify to deploy your site.
Both of these can be used directly through github and therefore any new changes and updates to your project repository will be updated immediately in the deployment. There are other ways and platforms to deploy your portfolio too.
<!-- CONTRIBUTING -->
## Contributing
Contributions are what make the open source community such an amazing place to be learn, inspire, and create. Any contributions you make are **greatly appreciated**.
1. Fork the Project
2. Create your Feature Branch (`git checkout -b feature/AmazingFeature`)
3. Commit your Changes (`git commit -m 'Add some AmazingFeature'`)
4. Push to the Branch (`git push origin feature/AmazingFeature`)
5. Open a Pull Request
<!-- LICENSE -->
## License
Distributed under the MIT License.
Explore similar templates
Compare previews and descriptions within the same stack and category.
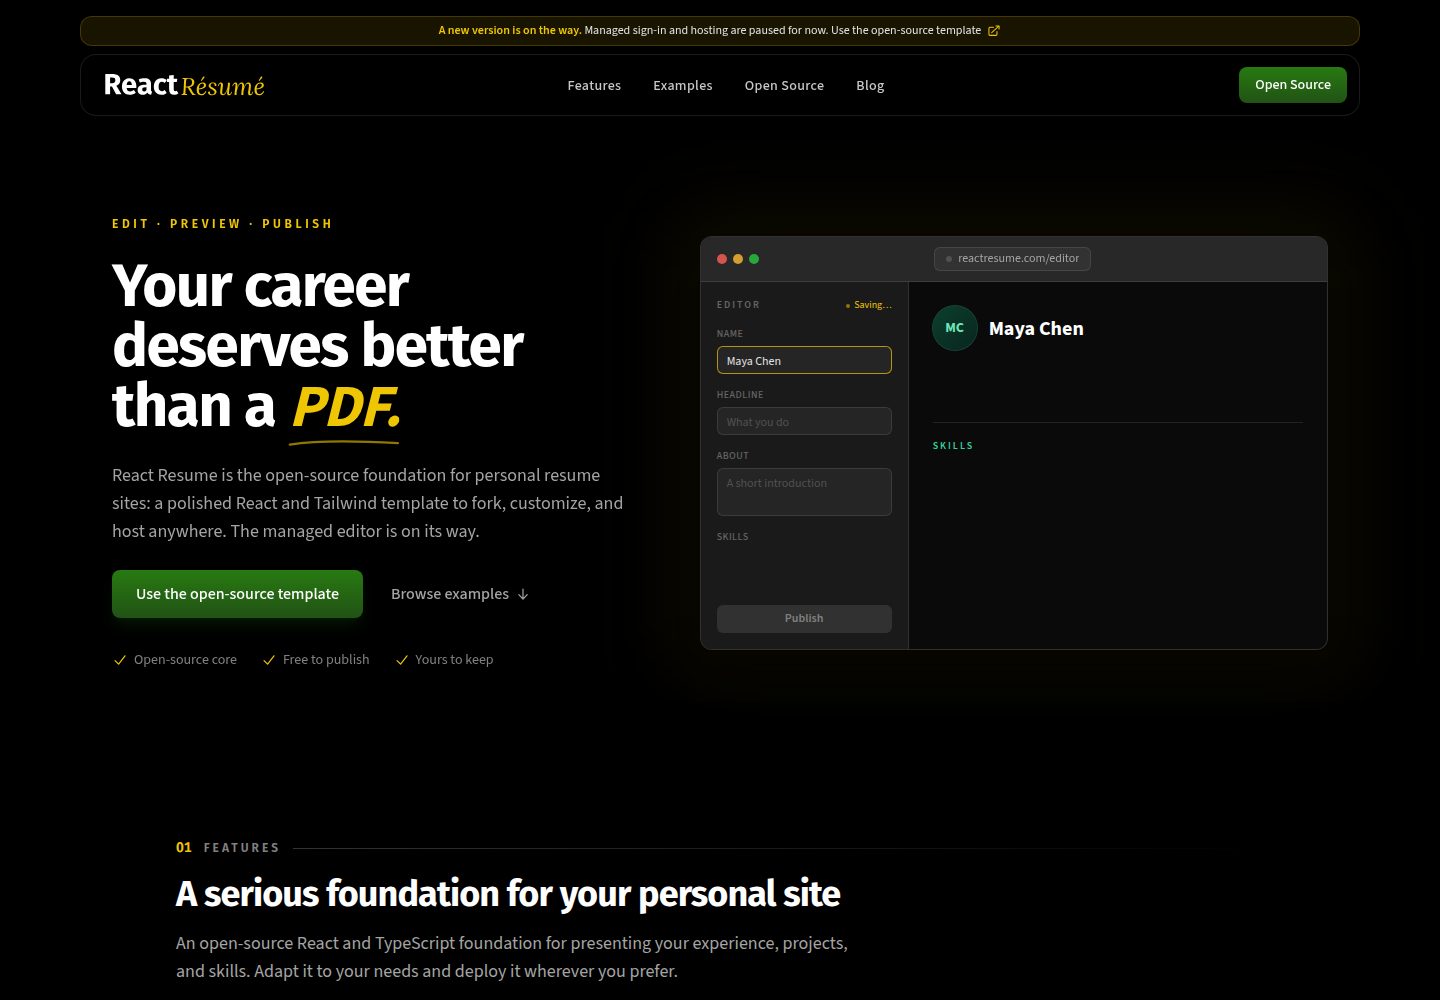
react-resume-template
A personal resume website template for software developers, built with Next.js, React, and TypeScript and styled with Tailwind CSS. Site content is driven by a single data file at /src/data/data.tsx, with types in dataDef.ts and images in src/images/.
Next.js · Portfolio
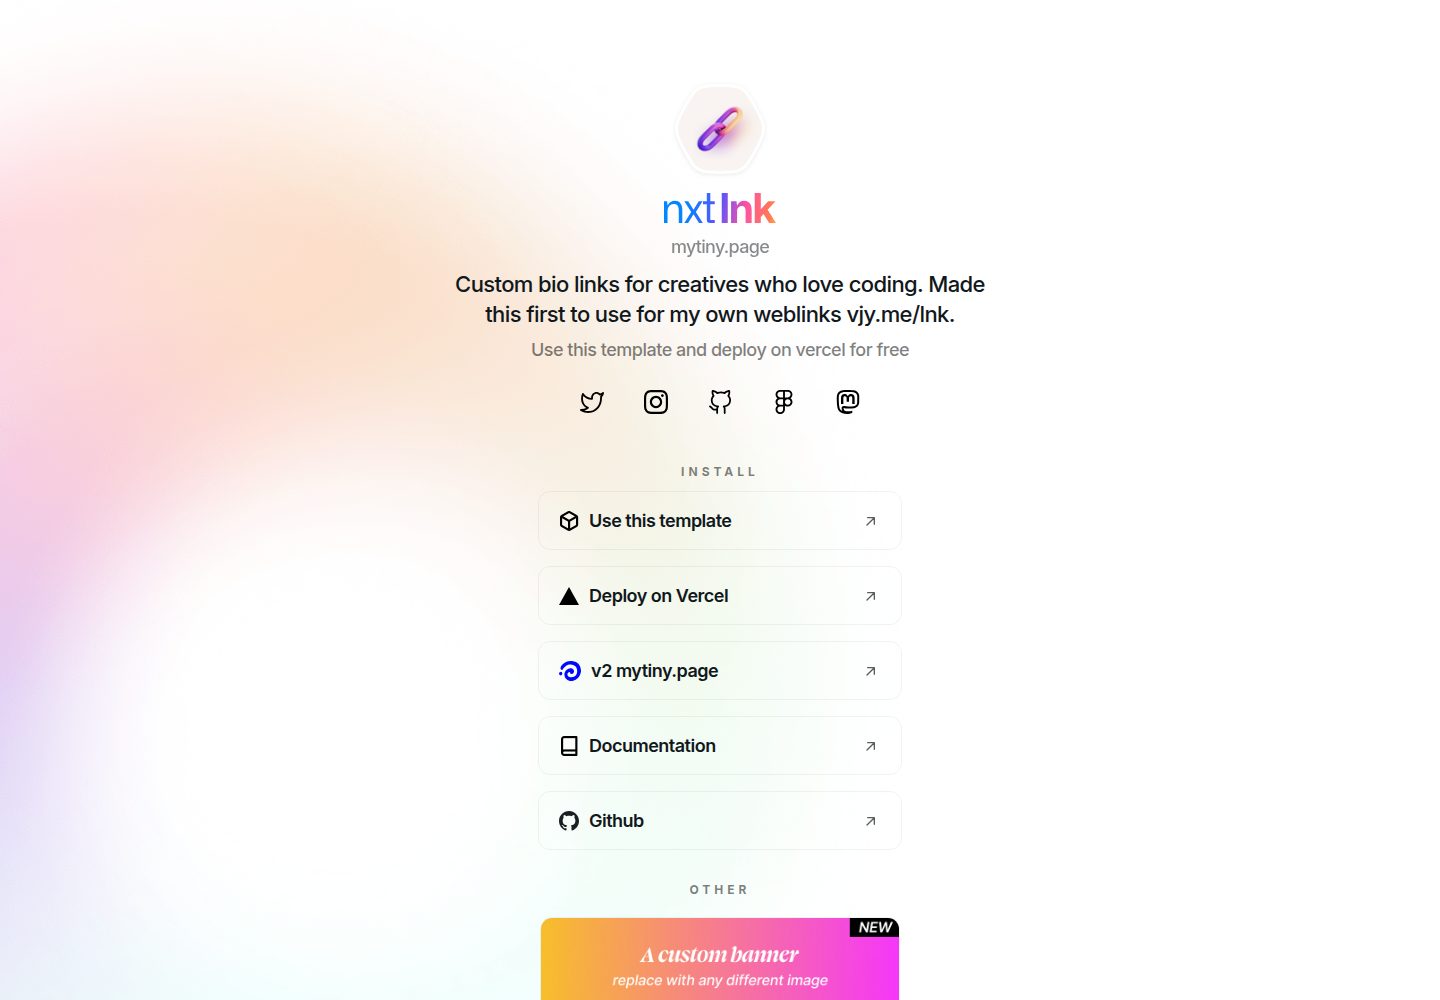
nxt-lnk
nxt-lnk is a Next.js-based bio link page template that manages personal information and links via BioData.js and LinksData.js, positioned as a self-hosted alternative to Linktree. It groups links by type, supports enabling/disabling individual links, and offers hexagonal or oval avatars.
Next.js · Portfolio
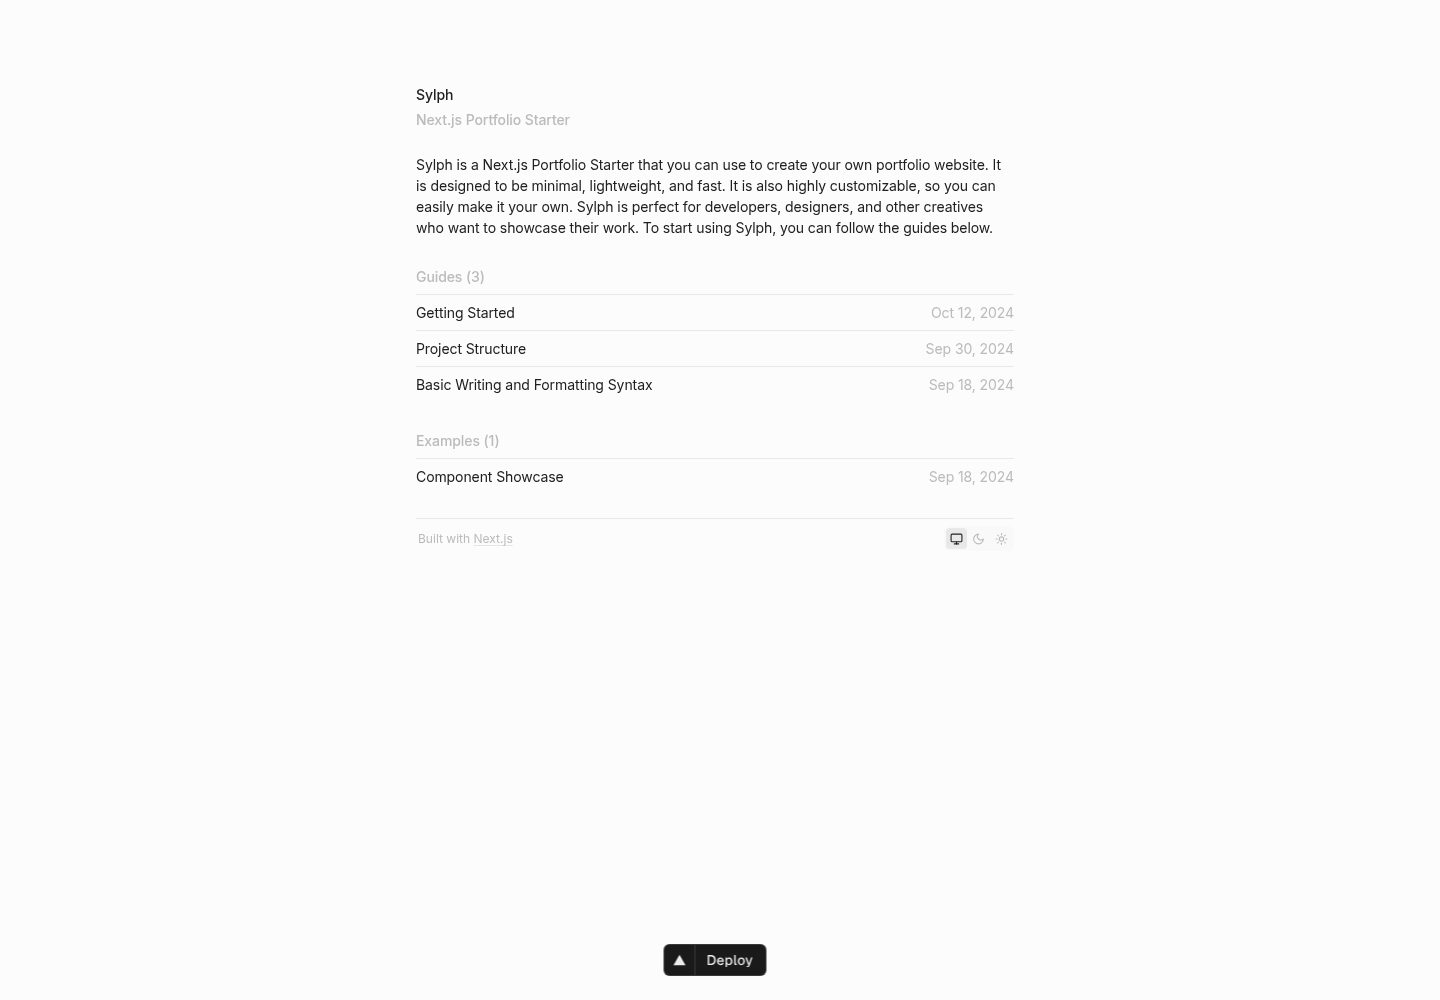
sylph
Sylph is a minimal portfolio and blog template built on Next.js, supporting MDX/Markdown writing, light/dark themes, and automatic OG image generation. It includes sitemap, robots.txt, metadata, and syntax highlighting, with automatic blog timestamps.
Next.js · Portfolio
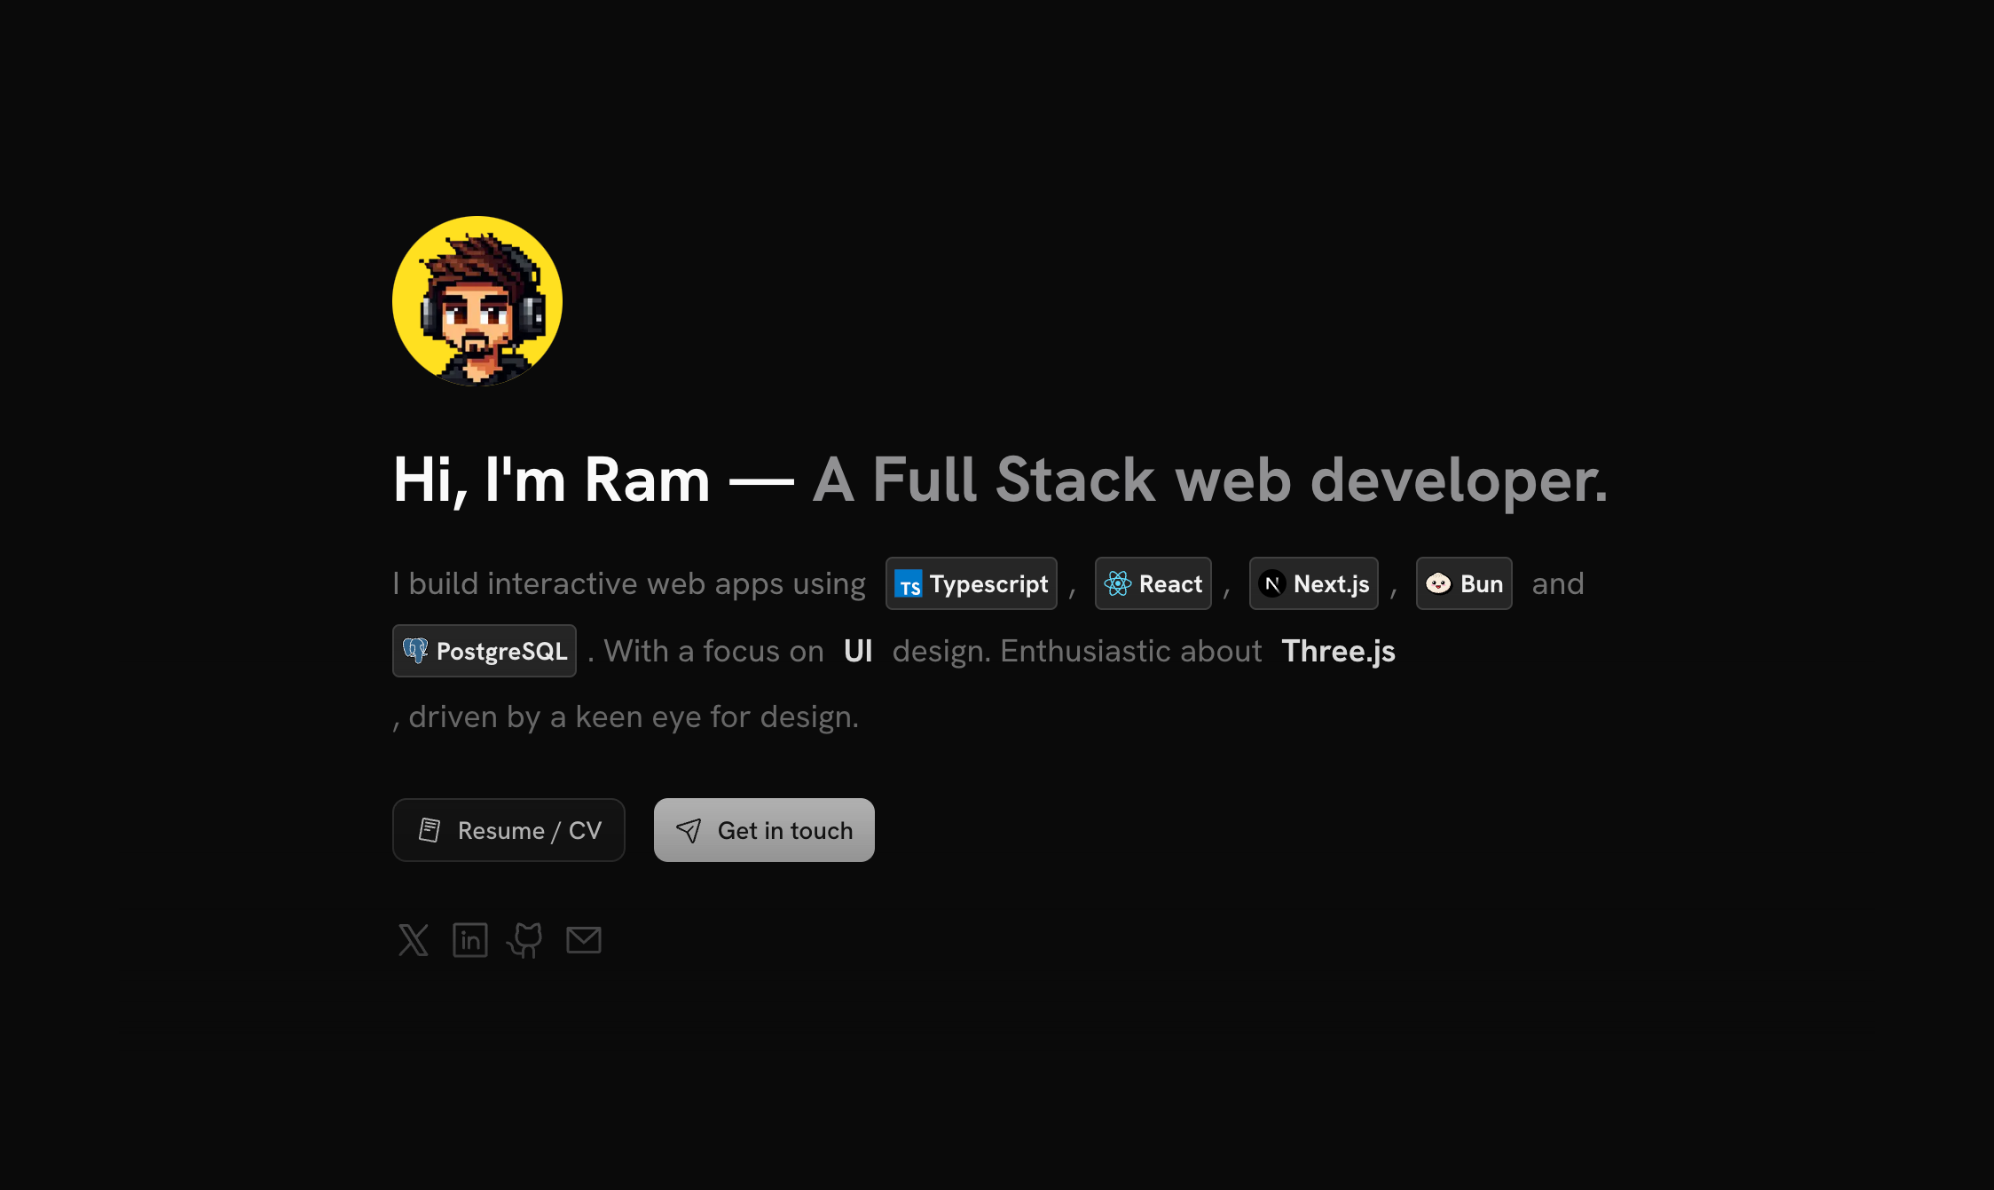
sleek-portfolio
A modern, responsive portfolio template built with Next.js 15, TypeScript, Tailwind CSS, and Shadcn UI. It includes an MDX blog, project showcase, work experience timeline, and a contact form that receives messages via Telegram Bot.
Next.js · Portfolio
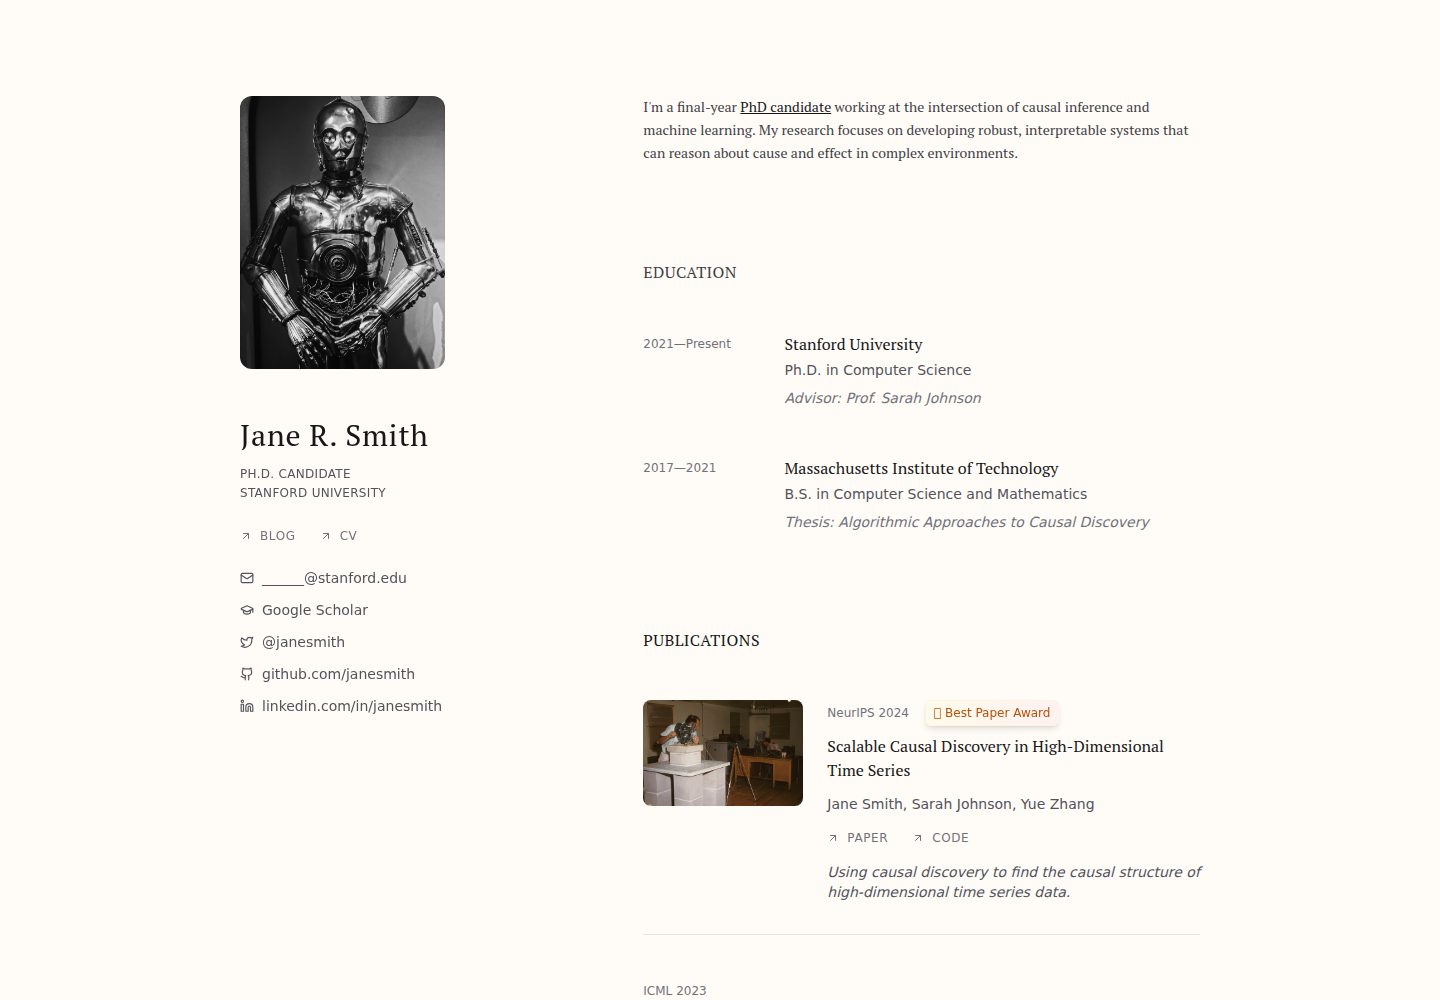
research-website-template
A React + Next.js template for research personal websites, aimed at PhD students and researchers. It centralizes publications, projects, and other content in src/data as arrays of objects, with optional fields automatically generating UI components.
Next.js · Portfolio
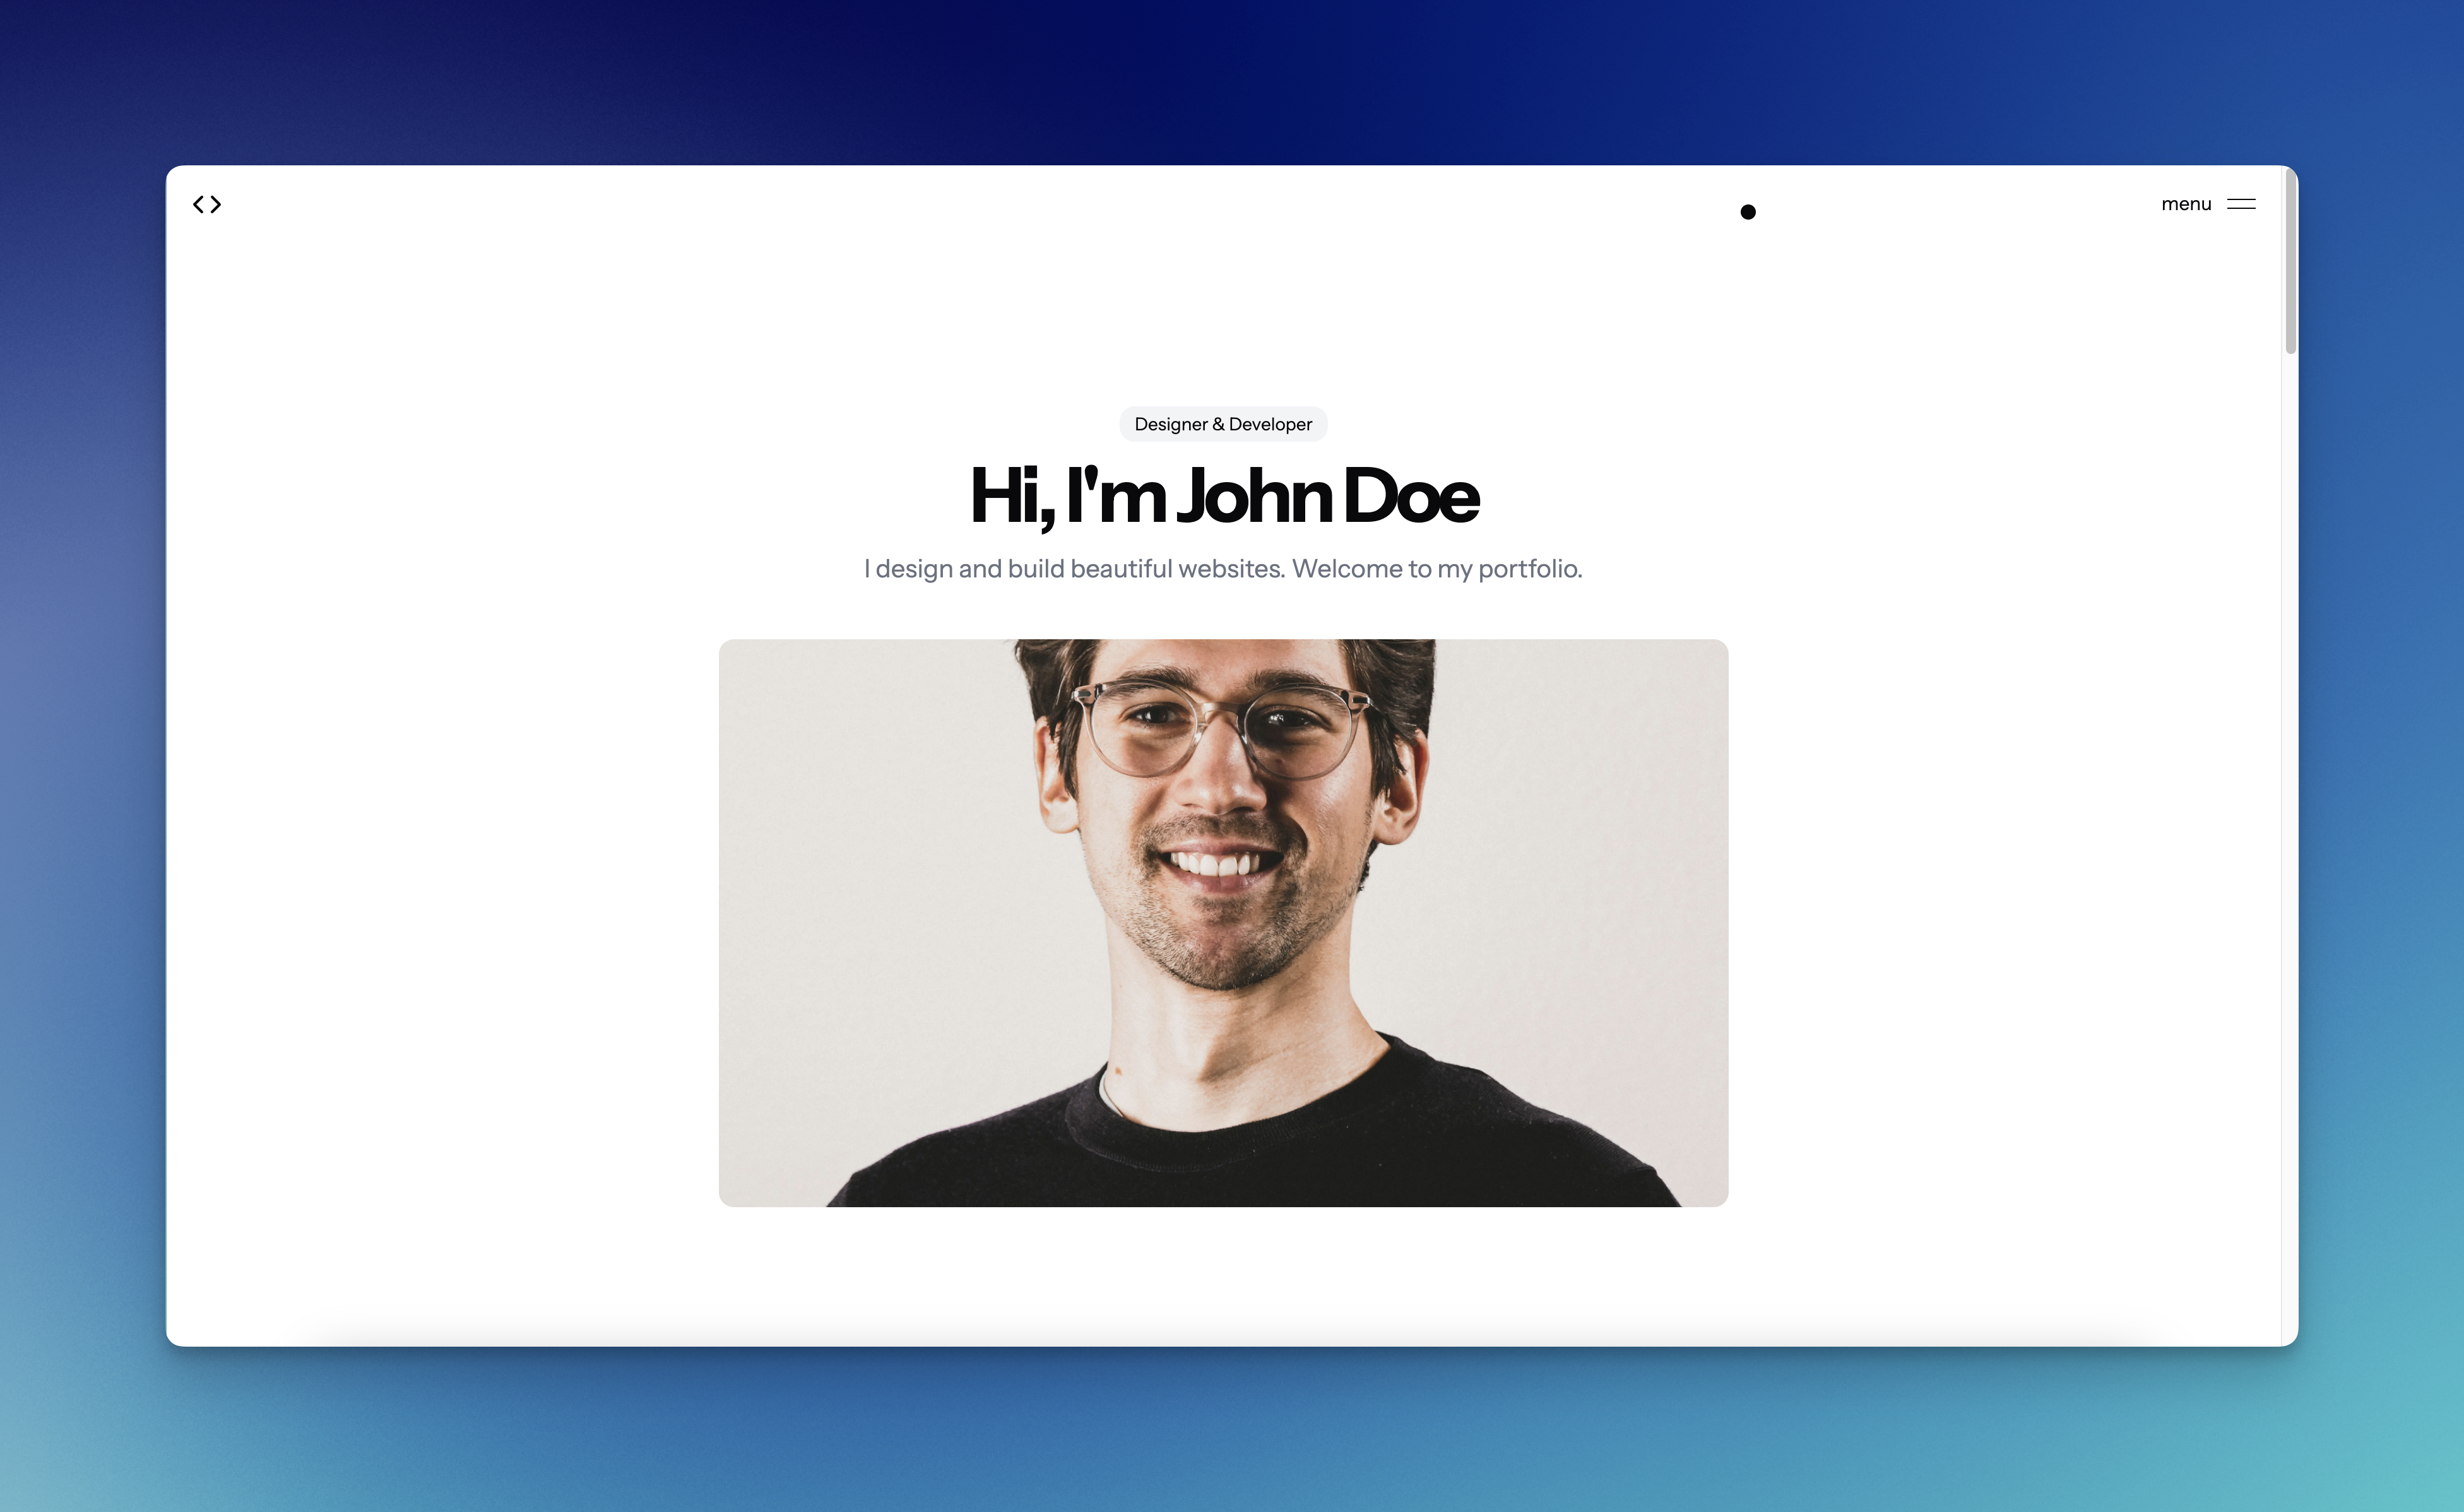
shadcn-portfolio
A developer portfolio template built with Next.js 15, shadcn/ui, Tailwind CSS, and Framer Motion, featuring an MDX blog, light and dark modes, responsive design, and SEO meta tags.
Next.js · Portfolio