使用 Next.js 构建,界面组件基于 Chakra UI
Next.jsReact作品集
nextjs-portfolio-template — Next.js 作品集模板
作者 AsavariA
基于 Next.js 与 Chakra UI 的开源个人作品集网站模板,通过集中式配置文件填写个人信息、项目与博客内容。
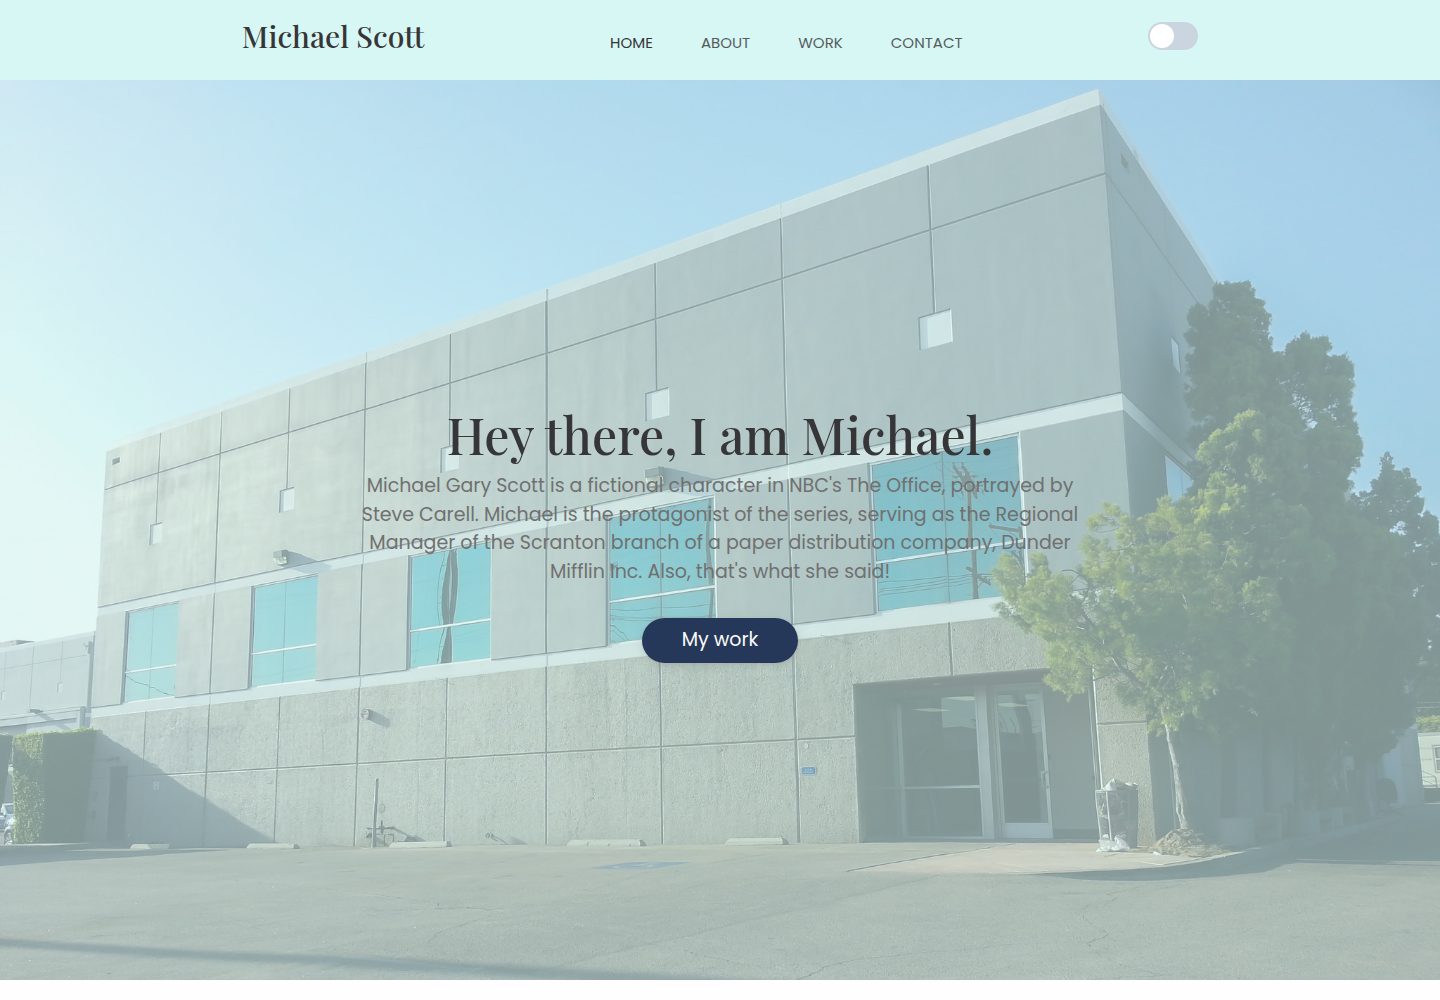
看看你的网站会是什么样
浏览真实页面截图,比较内容排版与手机效果。点击下方缩略图切换,放大查看整页细节。
全部页面与视图 2
截图用于了解视觉与布局,交互效果请以实际项目为准。
采集于 2026-10-02查看来源
值得关注的模板亮点
从已有项目资料中,快速了解它的特点。
内容集中在 Constants 目录的 userinfo.js、projects.js、blogs.js 等配置文件
包含落地页、Work、Capabilities、Education、About、Projects、Work Experience、Blogs、Contact、Socials 等区块
博客支持自定义内容、Medium 与 DevTo 三种来源
主题颜色可在 theme.js 中调整
联系表单通过 Google 账号与 .env 环境变量发送邮件
模板详细介绍
这是一个面向开发者的个人作品集网站模板,使用 Next.js 构建,界面组件来自 Chakra UI。模板把大部分内容集中到 Constants 目录下的配置文件里,使用者按注释填写即可生成页面,无需从零搭建结构。
页面包含落地页问候、Work、Capabilities、Education、About、Projects、Work Experience、Blogs、Contact me 与 Socials 等区块。博客部分支持三种来源:自定义内容、Medium 与 DevTo,需要在 blogs.js 中选择对应导出,并在 Work.js 中取消相应 useEffect 的注释。主题颜色在 theme.js 中调整,字段需保持完整。
需要外部准备的图片只有三张:styles 目录下的 background.jpg 与 about.jpg,以及 public 目录下的 favicon.jpg,文件名与格式固定。联系表单依赖一个单独的 Google 账号,需在 .env 中填写发件邮箱、密码与收件邮箱,并开启该账号的 less secure apps 访问;项目在 GitHub 上时应将 .env 排除。
模板以 MIT 许可发布,可免费使用、修改与分发,但演示图片、字体、图标等第三方素材需单独核对许可,托管与邮件等外部服务也可能产生费用。
Next.js作品集
适合你的项目吗?
适用场景
- 开发者需要一个可直接填写内容的个人作品集网站
- 希望把 Medium 或 DevTo 上的文章聚合到个人站点展示
- 想以 MIT 许可的模板为基础修改配色与文案
适合人群
- 有前端基础、能按注释修改配置文件的开发者
- 需要展示项目、经历与博客的个人站点
- 接受使用 Google 账号处理联系表单邮件的使用者
上手与定制指南
结合仓库当前版本的说明,按下面的资料检查内容、配置与运行要求。
- 1
克隆仓库后运行 npm install 安装依赖,npm run dev 在本地 3000 端口预览
- 2
在 Constants/userinfo.js 填写 logoText、contact、socials、greeting、capabilities、about、education、experience、blogs、headings、ctas 等字段
- 3
项目内容在 Constants/projects.js 中按 JSON 格式填写并导入图片
- 4
图片需按固定命名放置:styles/background.jpg、styles/about.jpg、public/favicon.jpg
- 5
联系表单需将 test.env 重命名为 .env 并填写 PASSWORD、SENDER、TO,同时把该文件加入 gitignore
授权与来源资料
使用条件与限制
免费使用 · 保留许可声明本次收录的是公开仓库中采用 MIT 许可的免费版本;免费范围为该版本代码,不代表外部服务或第三方素材免费。
使用时需要遵守
- 允许免费使用、修改、商用和分发该版本代码。
- 分发代码副本或实质性部分时,保留原作者版权声明和完整 MIT 许可声明。
- 代码按现状提供;担保与责任限制以原许可证及适用法律为准。
额外费用与待核对事项
- 联系表单功能要求用户额外注册一个专用 Google 账号来发送表单数据,并非纯静态模板即可使用。
- 需在 Google 账号中开启“不够安全的应用访问”权限,属于外部服务配置要求。
- 必须在 .env 中填写发件邮箱密码等私密凭据,且需自行管理环境变量安全。
- 使用 Medium 博客聚合需提供 Medium 用户名,依赖该外部平台。
- 使用 DevTo 博客聚合需提供 DevTo 账号信息,依赖该外部平台。
- 演示图片、字体、图标及其他第三方素材需按各自许可核对,不能仅凭代码的 MIT 许可判断。
- 域名、托管、数据库、支付或 AI 等外部服务可能另外收费。
查看原文依据
Permission is hereby granted, free of charge
许可证原文
you will need to create a **new google account** which will send you the form data
README 原文
go to [this link](https://myaccount.google.com/lesssecureapps). **Allow** the access.
README 原文
PASSWORD = <sender-mail-password> //password of newly created account
README 原文
If your choice is **Medium blogs**, then uncomment the medium blogs export down below and fill in your **medium username**.
README 原文
https://github.com/AsavariA/nextjs-portfolio-template/blob/master/LICENSEhttps://github.com/AsavariA/nextjs-portfolio-template/blob/master/README.mdFollow the steps from 4 - 8 but with DevTo details if your choice is DevTo blogs.
README 原文
DeepSeek 根据仓库许可证和 README 整理 ·2026-10-02。结果仅覆盖已读取资料,依赖、图片、字体及后续条款变更以各自原文为准。
项目核对记录与介绍依据
模板资料
- 来源平台
- GitHub
- 资料与维护参考分
- 资料一般 · 72 / 100
- 技术栈
- Next.js · React
- 网站类型
- 作品集
这个分数如何计算
本站按许可资料(最高30分)、演示链接(12分)、预览图(10分)、Star数(15分)、记录的维护时间(15分)、描述完整度(8分)、功能记录(5分)和分类资料(5分)计算。它不是代码、安全或性能测试,也不是 Google 评分;有链接不代表已实测可用。
这个项目需要核对什么
- 记录的仓库更新时间
- 2024-01-09
- 截图检查日期
- 2026-10-02
已收录演示链接。请用你的内容与屏幕尺寸检查;有演示不代表表单、认证或支付已经可用。
目录记录的主要技术栈是 Next.js。请通过依赖清单和锁文件核对实际版本与托管要求。这些说明基于收录资料,不代表代码审计或部署实测。
查看具体选型方法 →介绍的制作与核对状态
介绍由 AI 辅助整理目录与仓库资料。仓库作者不等于这篇介绍的审核者。
已完成服务器许可规则与 AI 来源核对;未经过人工编辑审核。
查看当时使用的来源资料
SHA-256: 03d0596d518469d81593aab4e7252737d6ae24cca452417dc2786e1ebe02199c
2026-10-02T16:06:36.012Z
来源文件 / 仓库<!-- PROJECT LOGO -->
<br />
<p align="center">
<h1 align="center">NextJS Portfolio Template</h1>
<p align="center">
Portfolio website template!
<br />
<a href="https://michaelscott-nextjstemp.vercel.app/">View Demo</a>
·
<a href="https://github.com/AsavariA/nextjs-portfolio-template/issues">Report Bug</a>
·
<a href="https://github.com/AsavariA/nextjs-portfolio-template/issues">Request Feature</a>
</p>
</p>
<!-- TABLE OF CONTENTS -->
<details open="open">
<summary><h2 style="display: inline-block">Table of Contents</h2></summary>
<ol>
<li>
<a href="#about-the-project">About The Project</a>
<ul>
<li><a href="#sections-available">Sections Available</a></li>
<li><a href="#built-with">Built With</a></li>
<li><a href="#demos">Demos</a></li>
</ul>
</li>
<li>
<a href="#getting-started">Getting Started</a>
<ul>
<li><a href="#prerequisites">Prerequisites</a></li>
<li><a href="#installation">Installation</a></li>
</ul>
</li>
<li>
<a href="#usage">Usage</a>
<ul>
<li><a href="#user-info">User Info</a></li>
<li><a href="#blogs">Blogs</a></li>
<li><a href="#setting-up-images">Setting up Images</a></li>
<li><a href="#setting-up-themes">Setting up Themes</a></li>
<li><a href="#setting-up-contact-form">Setting up Contact Form</a></li>
</ul>
</li>
<li><a href="#deployment">Deployment</a></li>
<li><a href="#contributing">Contributing</a></li>
<li><a href="#license">License</a></li>
</ol>
</details>
<!-- ABOUT THE PROJECT -->
## About The Project
Making a Portfolio website from scratch can be a tedious process. This repository solves that problem. How? Well, it is a easy-to-use portfolio template! You can use it by following a few simple instructions given below. Feel free to suggest changes and features too!
### Sections Available
✔️ Landing Page - greeting\
✔️ Work section\
✔️ Capabilities\
✔️ Education\
✔️ About \
✔️ Projects\
✔️ Work Experience\
✔️ Blogs - Custom, Medium and DevTo support\
✔️ Contact me\
✔️ Socials
### Built With
🔧 [NextJS](https://nextjs.org/)\
🔧 [Chakra UI](https://chakra-ui.com/)
### Demos
To view a demo, [click here](https://michaelscott-nextjstemp.vercel.app/)\
To view a live example, [click here](https://asavariambavane.vercel.app/)
<!-- GETTING STARTED -->
## Getting Started
To get a local copy up and running follow these simple steps.
### Prerequisites
npm - Latest version of npm works the best with this project. Run the following command to install it.
```sh
npm -v //checks npm version
npm install npm@latest -g //installs latest npm version
```
### Installation
1. Clone the repo
```sh
git clone https://github.com/AsavariA/nextjs-portfolio-template.git
```
2. Install NPM packages
```sh
npm install
```
<!-- USAGE EXAMPLES -->
## Usage
These are instructions to use the project once you have cloned it. Follow them step by step for the best experience. Comments are mentioned in the files as guides.
### User Info
Go to the file ***userinfo.js*** inside the ***Constants*** folder. Fill up this file like you are filling up a form.
1. logoText
2. contact - email, phone(leave blank if not willing to use), countrycode
3. socials - follow the json format
4. greeting - title, subtitle
5. capabilities - follow the json format
6. about - content, resume link ( can be drive link etc )
7. education - follow the json format
8. experience - follow the json format
9. blogs - if you want this section in your website, set it true, otherwise false. If true, follow the instructions in <a href="#blogs">blog section</a>
10. projects - go to **Constants > projects.js** and follow the json format. Import images as mentioned in the imports.
11. headings - you can customise all the headings in the template with this.
12. ctas - you can customise all the ctaTexts in the template with this.
### Blogs
This instruction set is only applicable if blogs are set to visible. The blogs section provides 3 kinds of support. **Custom blogs**, importing **medium blogs**, or importing **devto blogs**.
1. Go to **Constants > blogs.js**
2. You will be able to see 3 different exports. Choose the one you want and comment out the others.
3. If your choice is **Custom blogs**, fill in the details as shown in json format.
4. If your choice is **Medium blogs**, then uncomment the medium blogs export down below and fill in your **medium username**.
5. Now move to **Components > Work.js**.
6. You will see three commented out sections each with a useEffect and heading ***MEDIUM BLOGS SUPPORT***
7. Uncomment the useEffect in the section you want and comment the other two out.
8. You are set to import your medium blogs now!
9. Follow the steps from 4 - 8 but with DevTo details if your choice is DevTo blogs.
### Setting up Images
There are only 3 images you need to set up externally. These images have to have a particular name and format and location.
<ol>
<li>
Landing Page Background Image
<ul>
<li>name - background</li>
<li>type - .jpg</li>
<li>filename - background.jpg</li>
<li>location - root > styles</li>
</ul>
</li>
<li>
About Section Background Image
<ul>
<li>name - about</li>
<li>type - .jpg</li>
<li>filename - about.jpg</li>
<li>location - root > styles</li>
</ul>
</li>
<li>
Favicon Image
<ul>
<li>name - favicon</li>
<li>type - .jpg</li>
<li>filename - favicon.jpg</li>
<li>location - root > public</li>
</ul>
</li>
</ol>
### Setting up Themes
Go to the file ***theme.js*** inside the folder ***Constants***.
You can change the colors as per your wish or leave the theme as it is. Make sure to keep all the fields intact because skipping any field can lead to errors.
### Setting up Contact Form
For this step, you will need to create a **new google account** which will send you the form data. Need for a new account - well, it is advisable to use this new account only for this purpose so as to **prevent giving this template access** to your personal emails ( which are on your original email account ). \
Once you have made your account, make sure you have selected that account and go to [this link](https://myaccount.google.com/lesssecureapps). **Allow** the access.\
Now go to the **test.env** file. Rename this file to only **.env**\
*If your project is on github, please make sure to exclude this file from github ( put it in gitignore ) since it contains private / environmental variables.*
```
//type in all data without the < and > signs.
PASSWORD = <sender-mail-password> //password of newly created account
SENDER = <sender-mail> //email address of newly created account
TO = <reciever-mail> //email address of your personal account (which will be reciever of data in this case)
```
**Contact form is now set up!**
### Deployment
To check if your website is running the way you wish, run the following command to start it locally on localhost:3000\
`npm run dev`
To deploy your portfolio, you can use any of the following ways.
- Vercel - this is the most advisable platform to deploy your nextjs applications because they are the building company and provide the best support for all nextjs websites.
- Netlify - Use the exclusive nextjs support on netlify to deploy your site.
Both of these can be used directly through github and therefore any new changes and updates to your project repository will be updated immediately in the deployment. There are other ways and platforms to deploy your portfolio too.
<!-- CONTRIBUTING -->
## Contributing
Contributions are what make the open source community such an amazing place to be learn, inspire, and create. Any contributions you make are **greatly appreciated**.
1. Fork the Project
2. Create your Feature Branch (`git checkout -b feature/AmazingFeature`)
3. Commit your Changes (`git commit -m 'Add some AmazingFeature'`)
4. Push to the Branch (`git push origin feature/AmazingFeature`)
5. Open a Pull Request
<!-- LICENSE -->
## License
Distributed under the MIT License.
看看同类模板
对比同技术栈与用途的模板,找到更适合的视觉与内容结构。
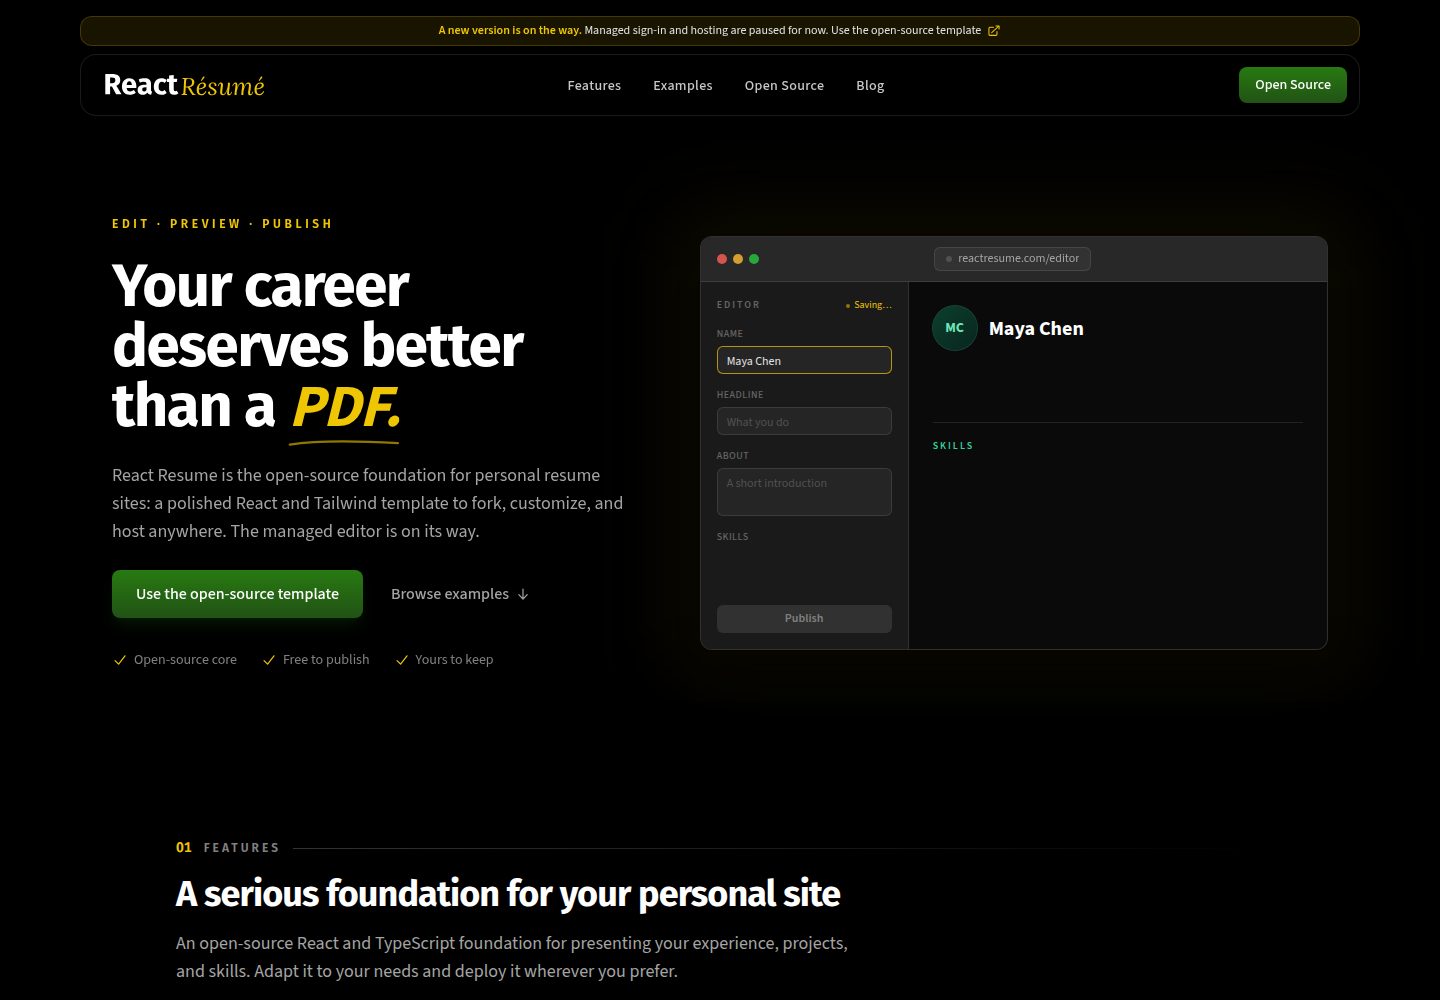
react-resume-template
A personal resume website template built with React.js, Typescript, Next.js, and styled with Tailwind css
Next.js · 作品集
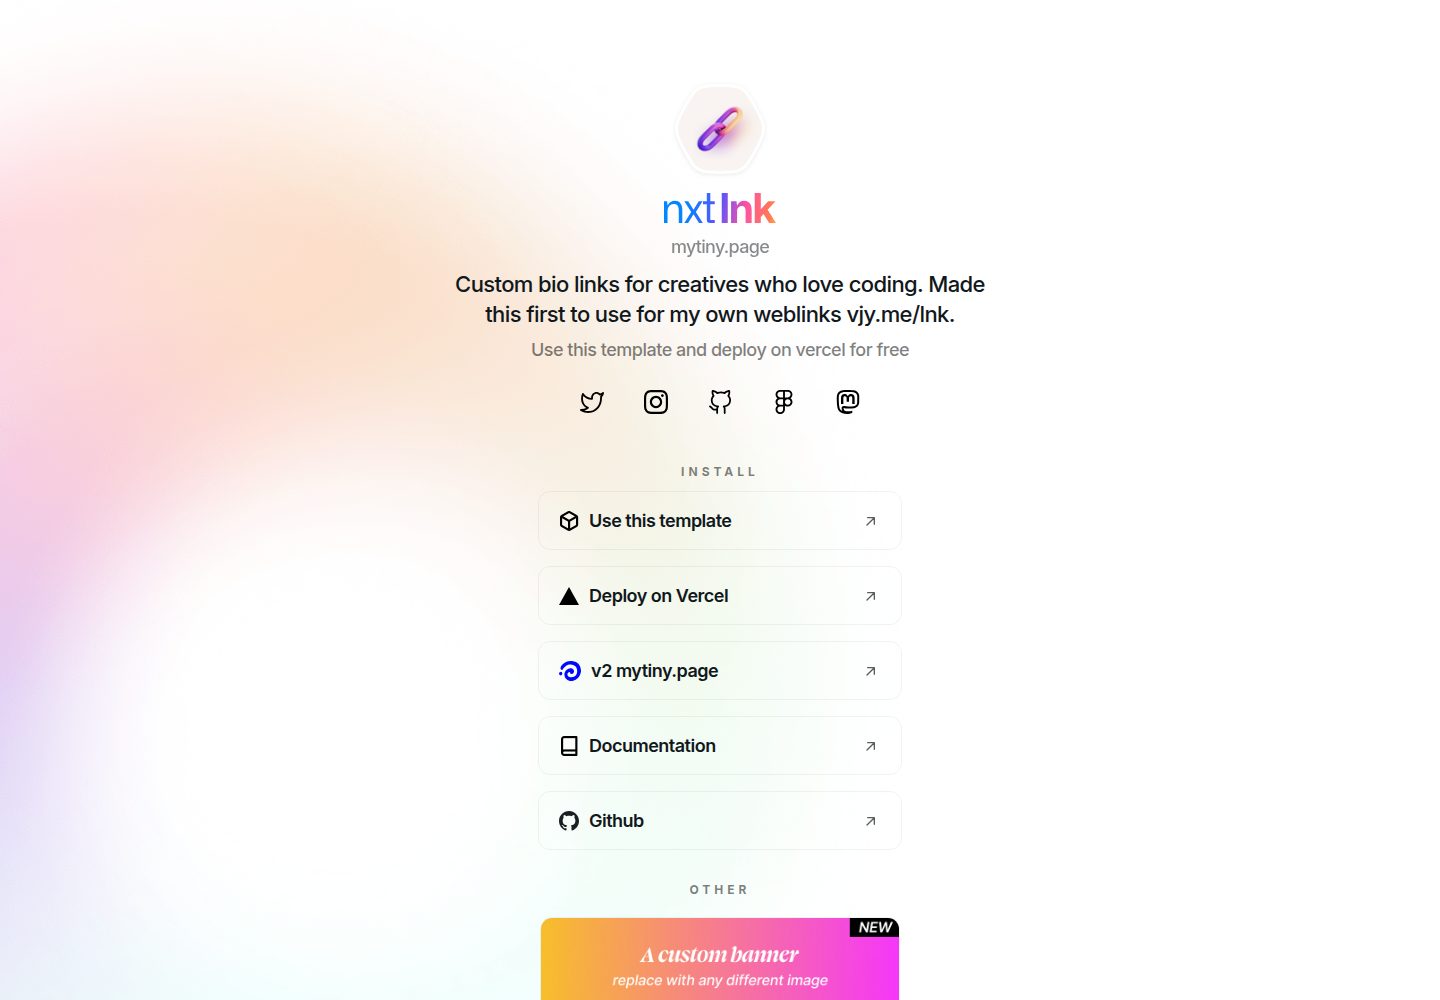
nxt-lnk
Custom bio links for creatives who love coding. A perfect custom alternative for linktree, bio and other short…
Next.js · 作品集
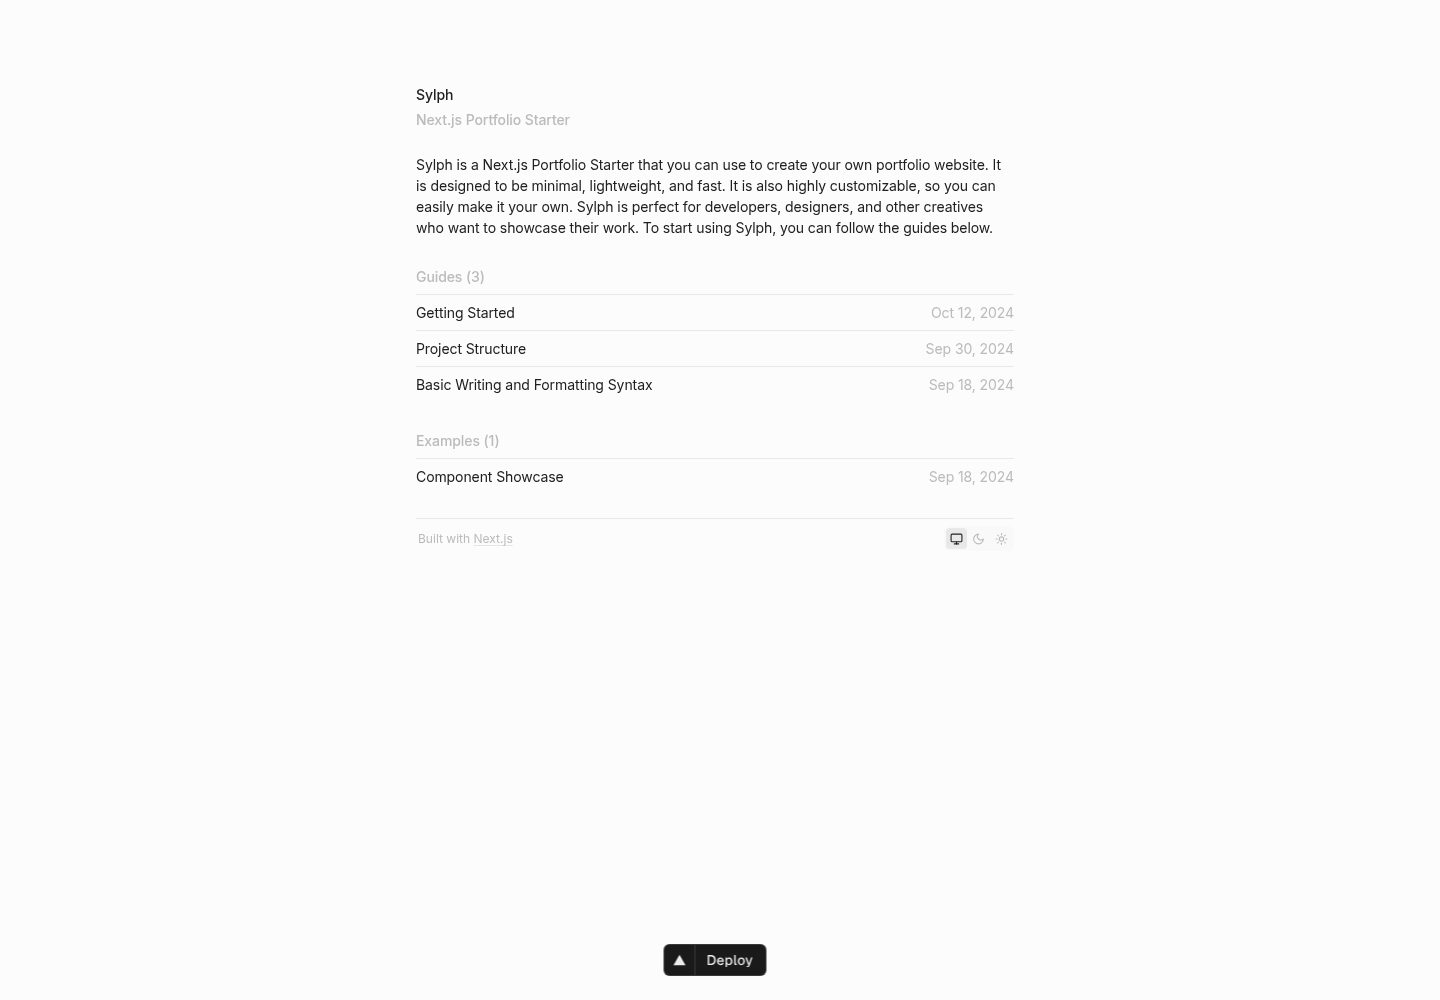
sylph
A minimal portfolio template.
Next.js · 作品集
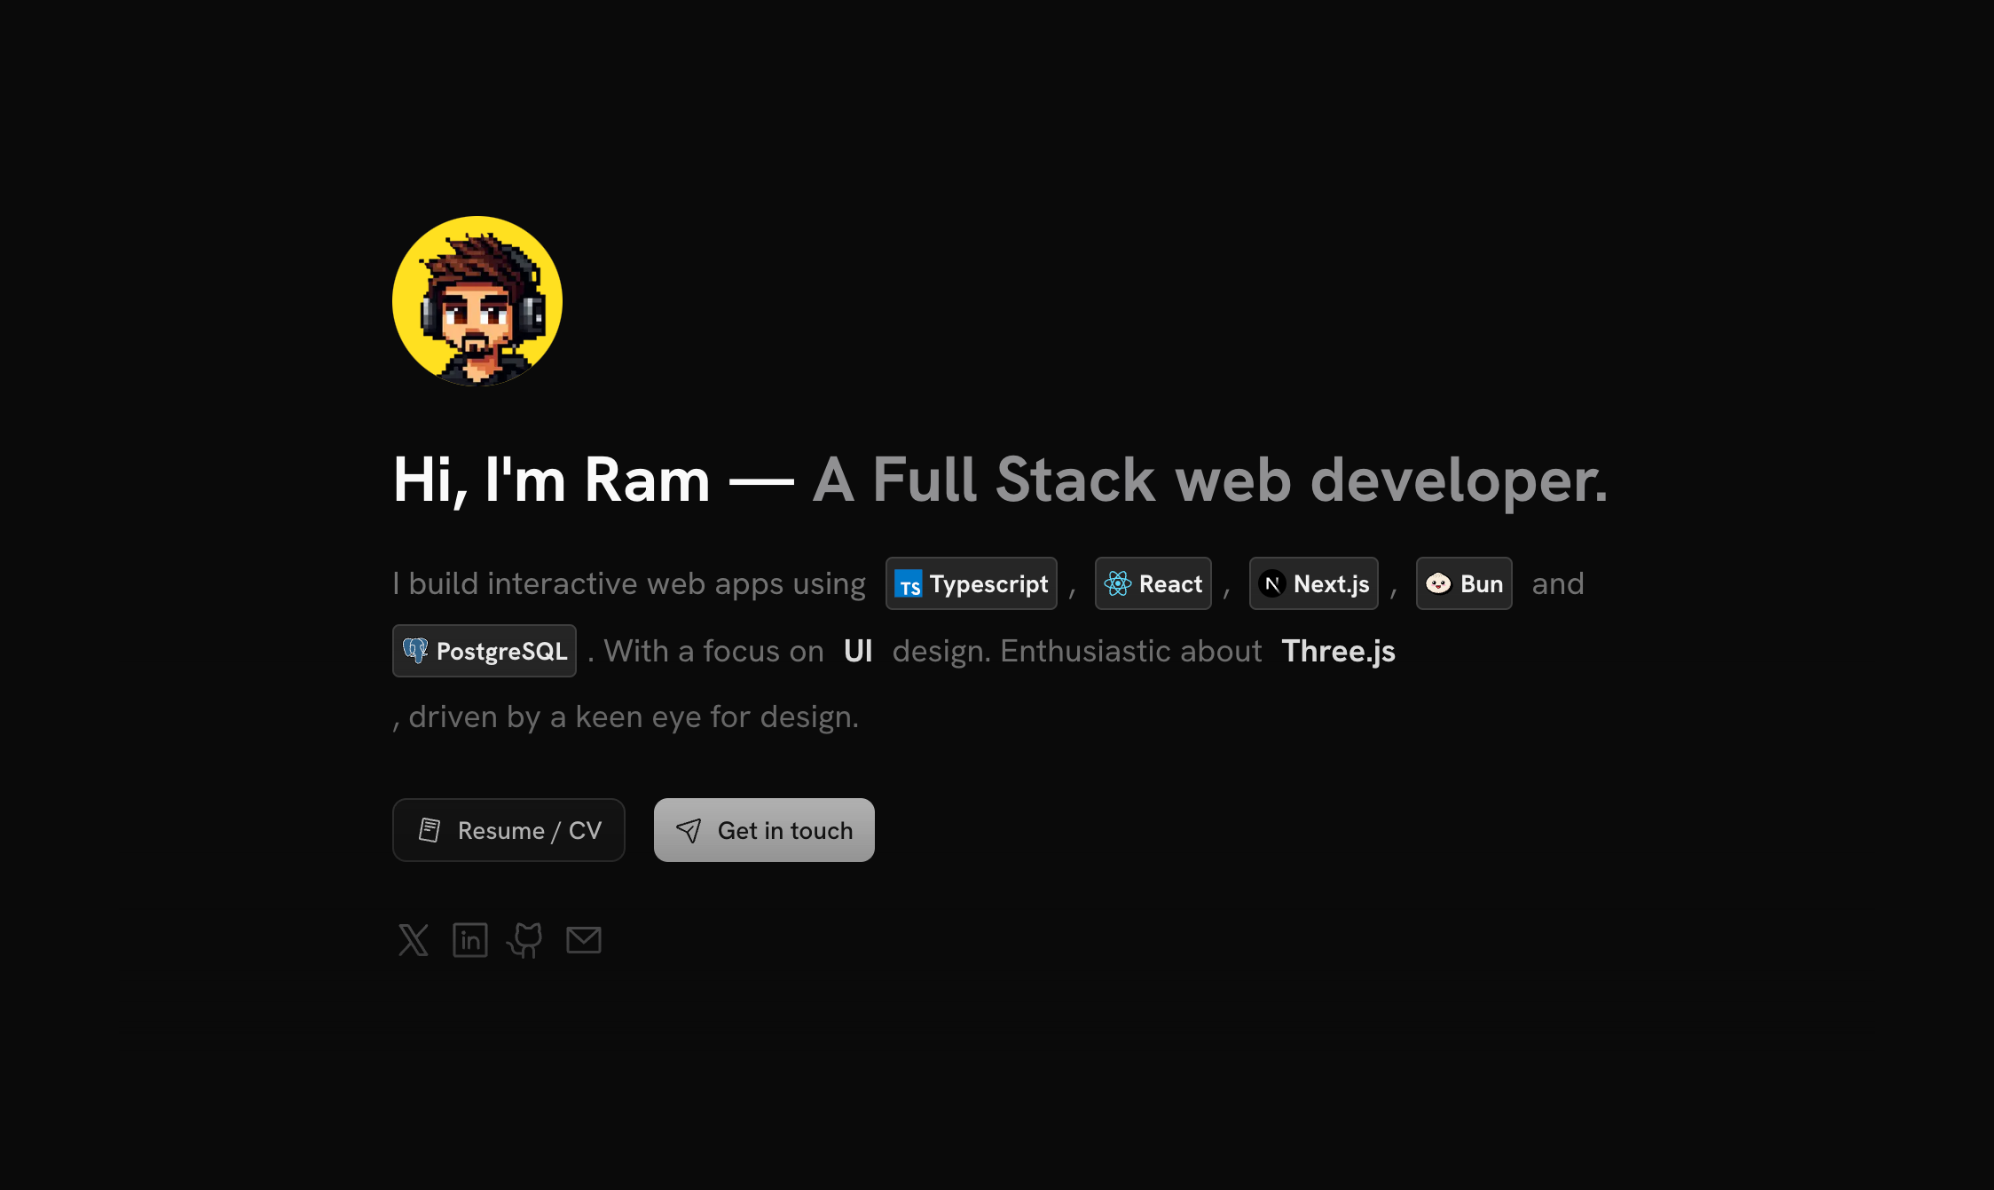
sleek-portfolio
sleek-portfolio 是一个面向开发者个人品牌展示的现代作品集模板,基于 Next.js 15、TypeScript、Tailwind CSS 和 Shadcn UI 构建。
Next.js · 作品集
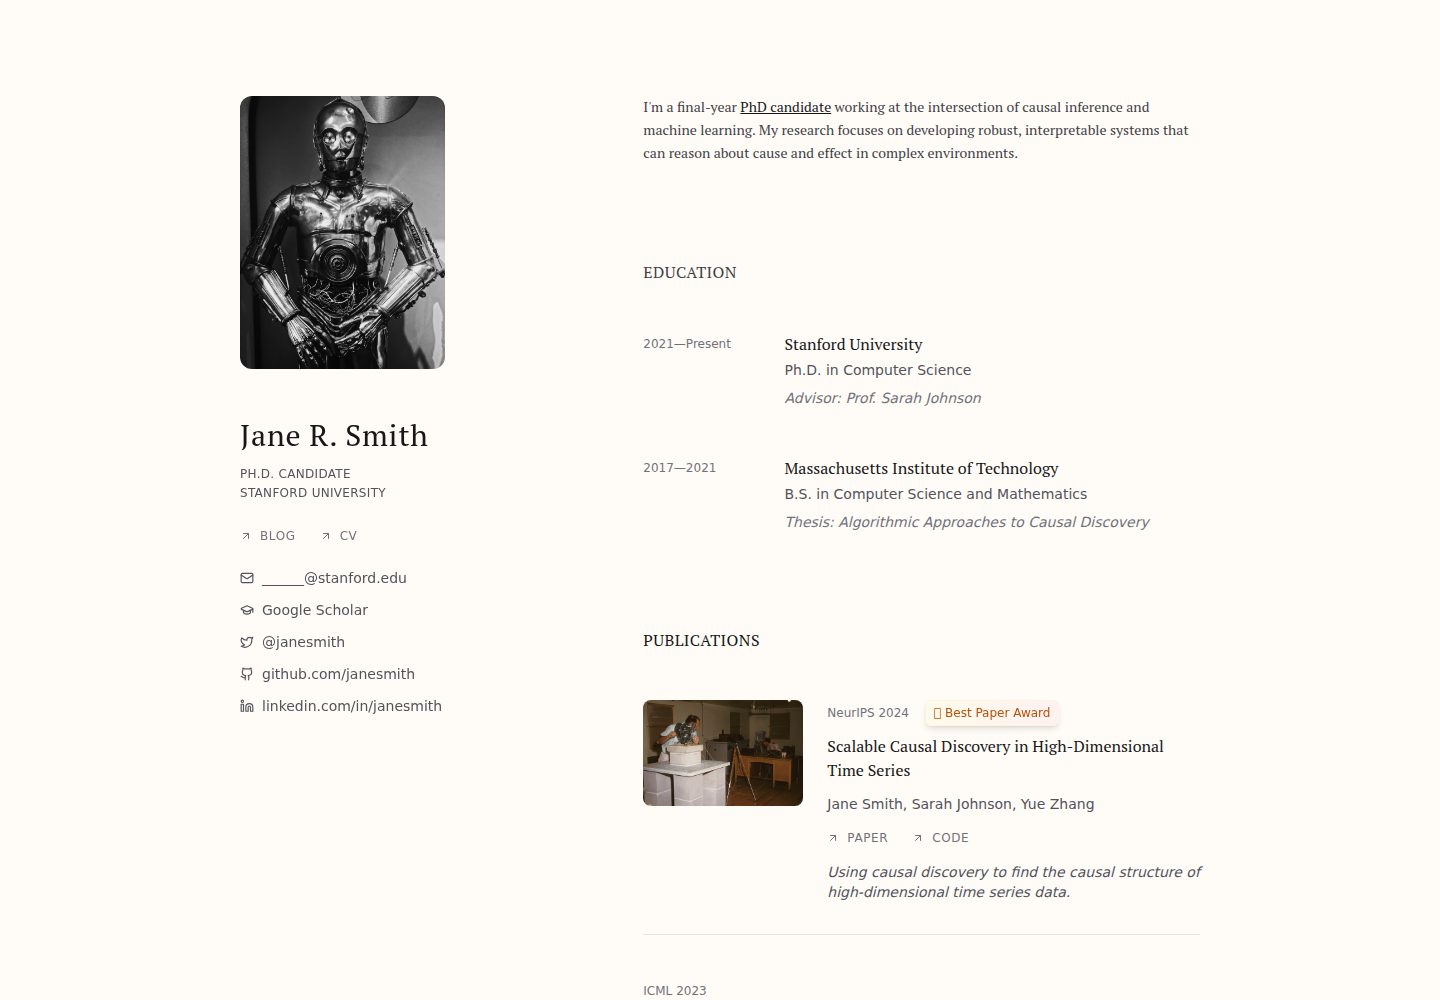
research-website-template
React + Next.js template for research websites (for PhD students, researchers, etc)
Next.js · 作品集
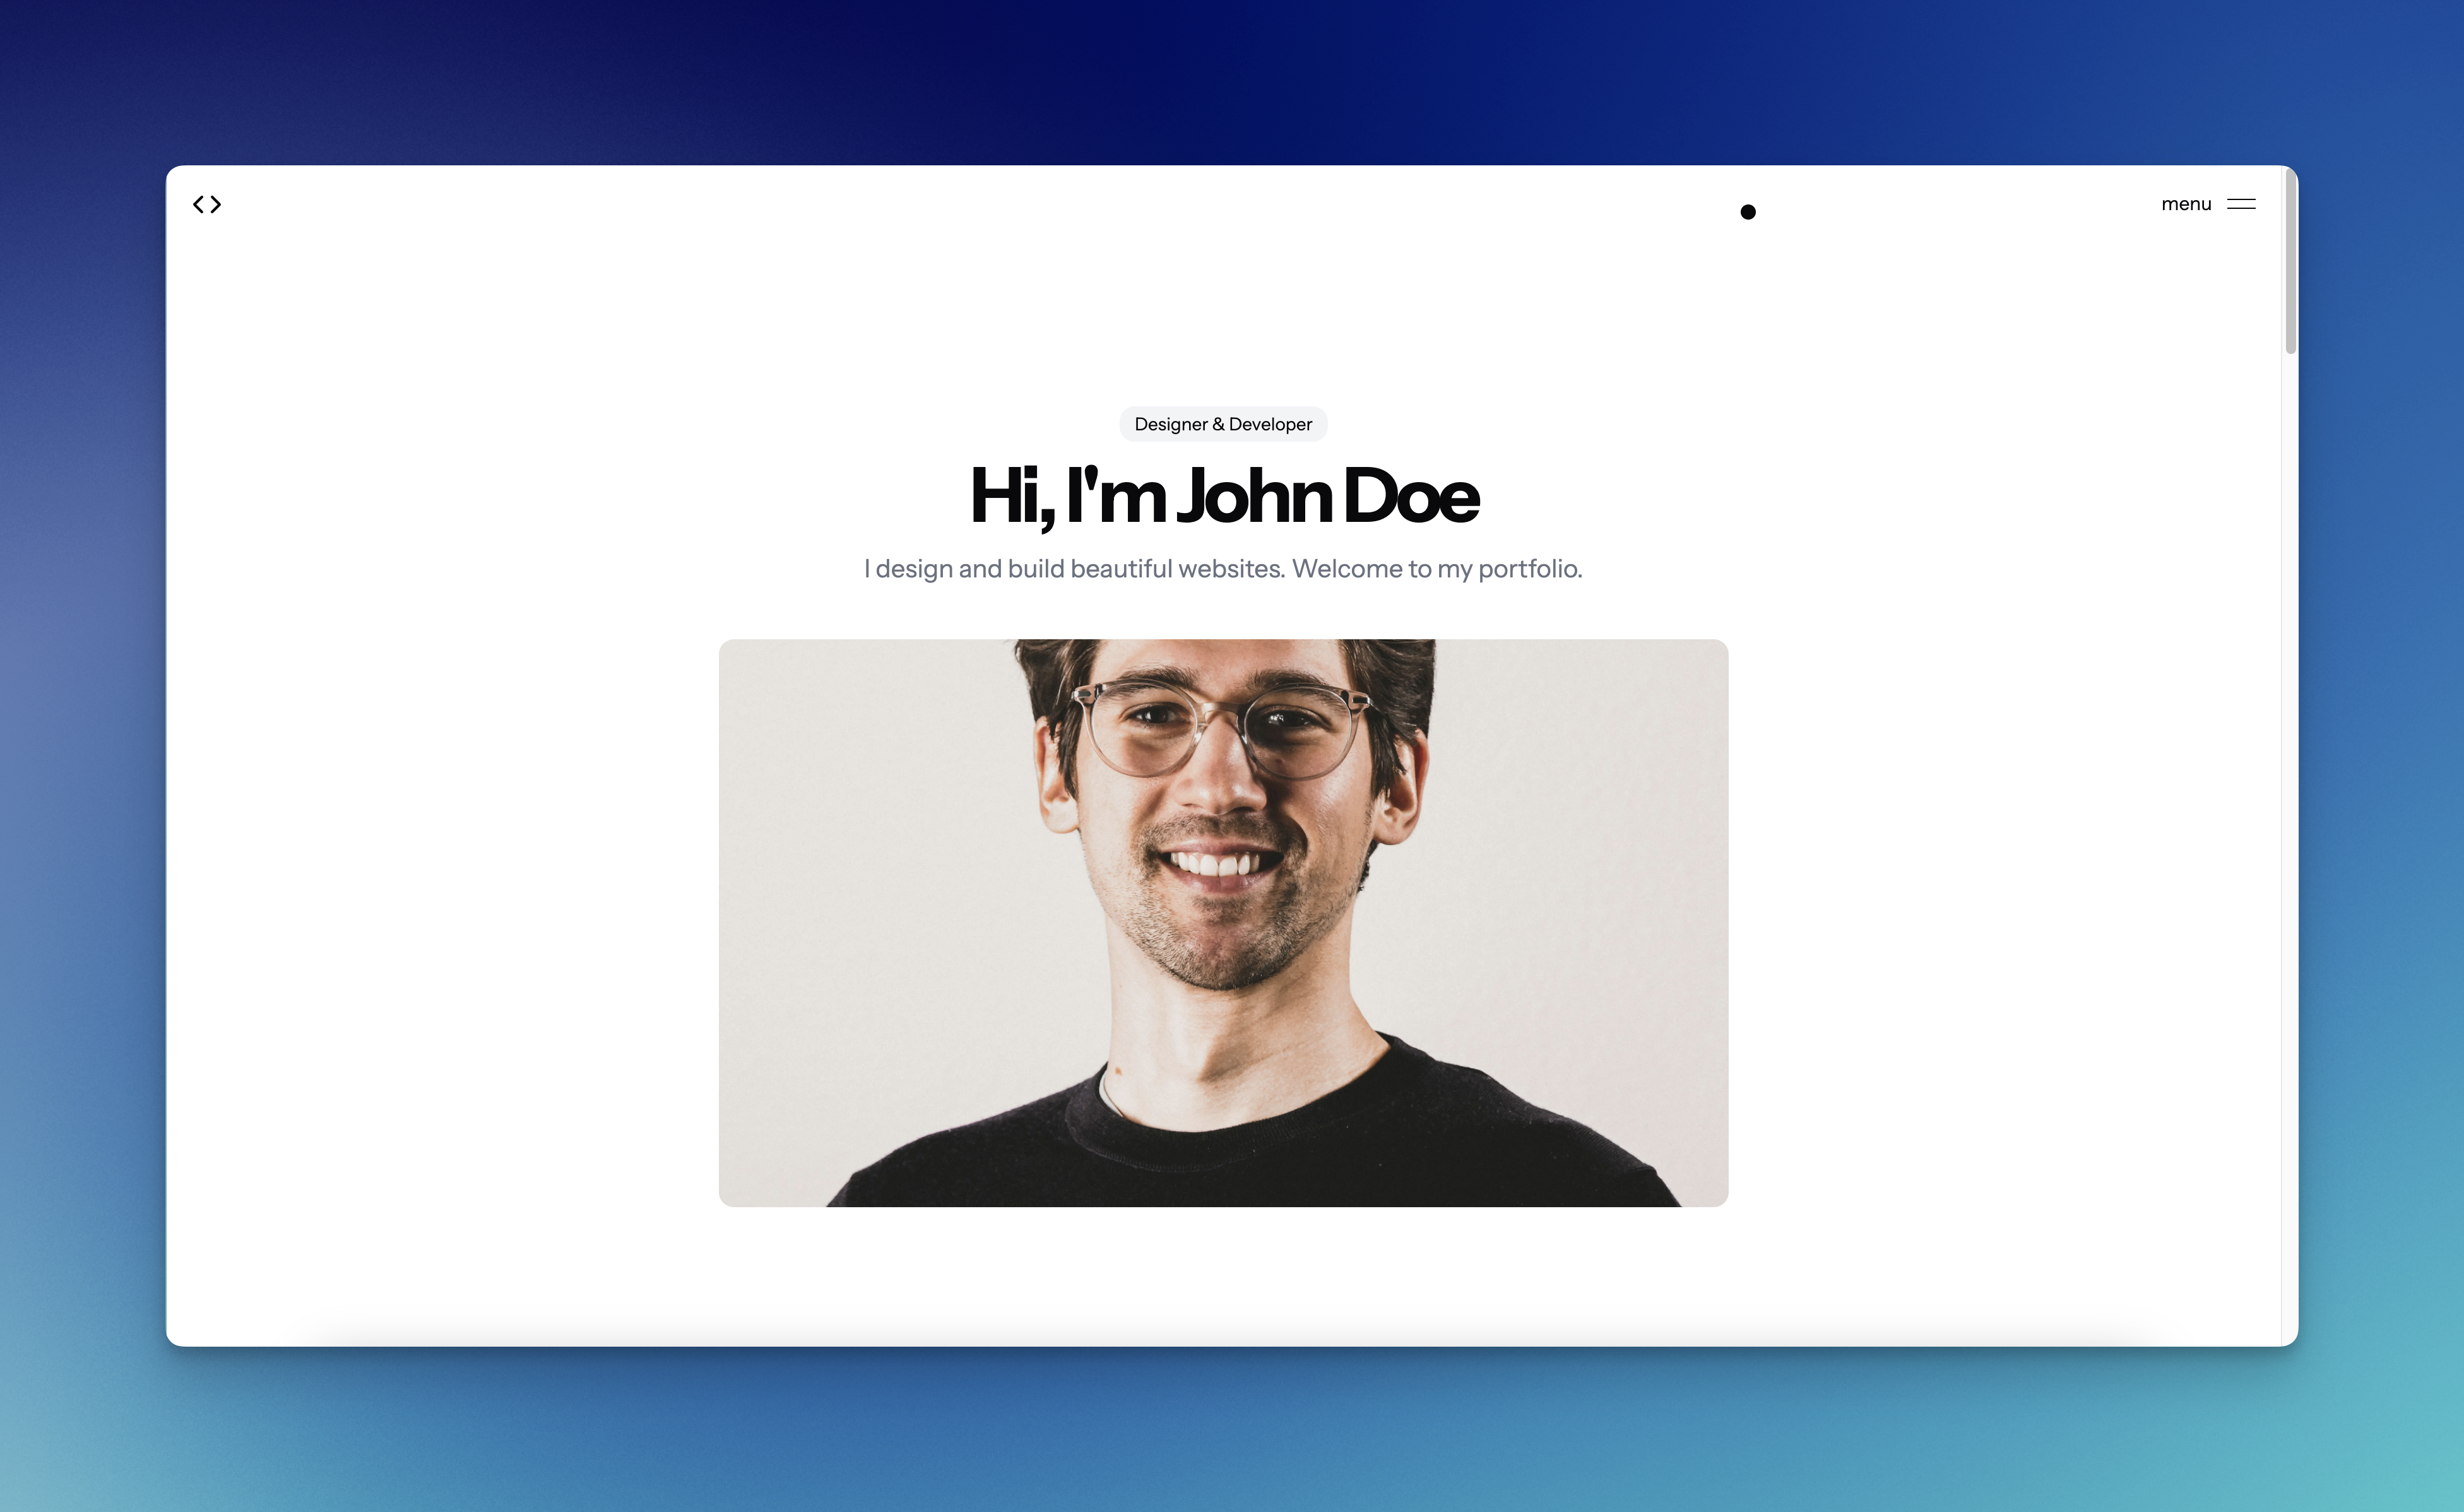
shadcn-portfolio
shadcn-portfolio 是一个面向开发者的作品集模板,技术栈为 Next.js 15、shadcn/ui、Tailwind CSS 和 Framer Motion。
Next.js · 作品集