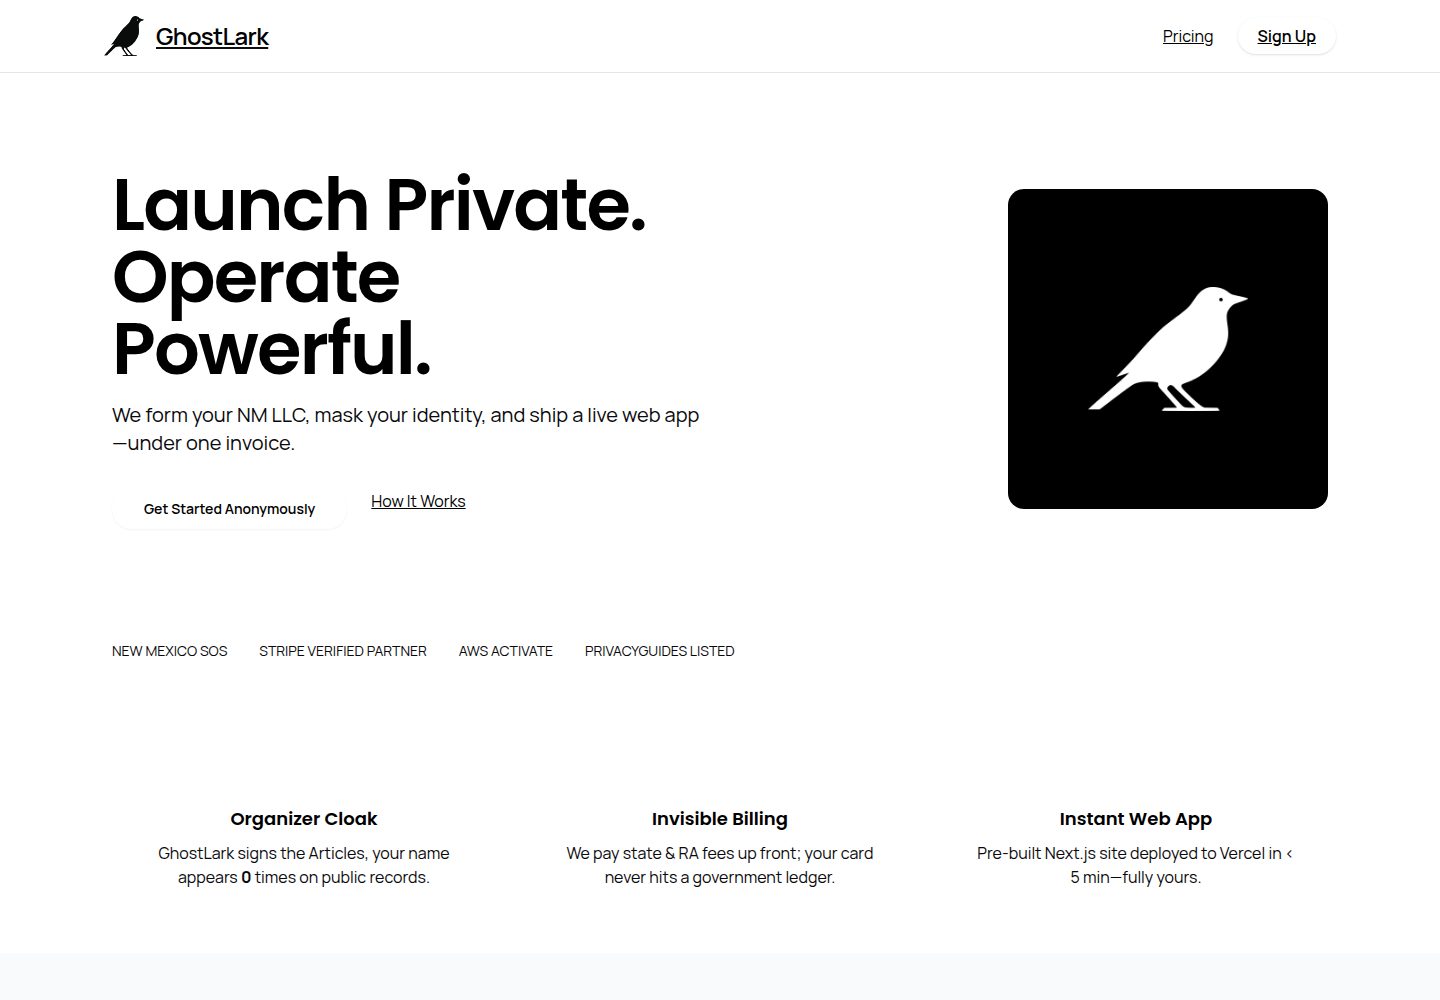
Fork of nextjs/saas-starter, free starter code under the MIT license
Next.jsReactSaaSStarter
ghostlark-frontend — Next.js SaaS Template
By bankszach
GhostLark frontend is a fork of nextjs/saas-starter, a Next.js-based SaaS starter template that includes a marketing page, Stripe subscription checkout, a logged-in dashboard, and basic team permissions.
Explore the design
Compare the page layouts and mobile experience. Open any screenshot for a closer look.
Desktop homepage1 / 2
Desktop captureTop of page
Actual screenshot captured by the server browser.
All pages & views 2
Screenshots show visual appearance; interactive behavior may differ.
Recorded 2026-10-02View source
What stands out
A quick read of the recorded project description.
Marketing landing page, pricing page connected to Stripe Checkout, and logged-in dashboard
Email and password authentication, JWT stored in a cookie, global and local middleware protecting routes
Built-in basic RBAC with Owner and Member roles
Subscription management via Stripe Customer Portal, plus an activity log of user events
Database uses Postgres with Drizzle ORM, UI based on shadcn/ui
Template Details
GhostLark frontend is bankszach's fork of nextjs/saas-starter. The repository uses the MIT license and is positioned as a starter template for building SaaS applications. It provides a marketing landing page (with an animated terminal element), a pricing page connected to Stripe Checkout, a dashboard page after login, and interfaces for CRUD operations on users and teams. For permissions, it includes basic RBAC with Owner and Member roles, and subscription management is handled through the Stripe Customer Portal. Authentication uses email and password, with JWT stored in a cookie; global middleware protects logged-in routes, and local middleware is used to protect Server Actions or validate Zod schemas. The project also includes an activity log system that records user events. The tech stack is Next.js, the database is Postgres, the ORM is Drizzle, payments are Stripe, and the UI library is shadcn/ui. The README states that the template is intentionally kept minimal and is intended as a learning resource, and that more complete paid versions exist in the community; this listing covers the free code in the public repository and does not include paid upgrades. Third-party assets such as demo images, fonts, and icons need to be checked separately for licensing, and external services such as domains, hosting, databases, payments, or AI may incur additional charges.
Next.jsSaaSStarter
Is it right for your project?
Use Cases
- Building the frontend skeleton of a SaaS product with subscription payments
- Learning how authentication, middleware, and Server Actions work together in Next.js
- Quickly preparing user and team CRUD interfaces for a team-oriented application
- Local verification of Stripe test payments and subscription change webhooks
Suitable For
- Next.js developers who want to start from an existing template
- SaaS projects that need Stripe subscriptions and basic team permissions
- Individuals or teams using the template as a learning reference rather than for direct production launch
Getting started & customization
Use these recorded setup notes alongside the repository instructions for your chosen version.
- 1
After cloning the repository, install dependencies with pnpm install
- 2
Log in to the Stripe CLI and run pnpm db:setup to generate the .env file
- 3
Run pnpm db:migrate and pnpm db:seed; the seed data includes [email protected] / admin123
- 4
Run pnpm dev to start the development server and visit http://localhost:3000
- 5
For local payment testing, use test card number 4242 4242 4242 4242 with any future expiry date and three-digit CVC
License & source material
Usage conditions & limitations
Free to use · keep license noticeThis listing covers the free version under the MIT license in the public repository; the free scope is the code in this version and does not mean that external services or third-party assets are free.
Must comply with when using
- You are allowed to use, modify, commercialize, and distribute the code of this version for free.
- When distributing copies or substantial portions of the code, retain the original author's copyright notice and the full MIT license notice.
- The code is provided as is; warranties and limitations of liability are governed by the original license and applicable law.
Additional costs & items to verify
- Running locally requires registering and logging in to a Stripe account and using the Stripe CLI to complete payment-related configuration.
- You need to run pnpm db:setup to generate the .env environment variable file and configure connection information such as the database yourself.
- Before going live, you must create a production webhook in the Stripe dashboard and configure the callback URL.
- The deployment process depends on the Vercel platform, and hosting services may incur additional charges.
- The README explicitly states that more complete paid versions exist in the community; this repository only provides minimal free code for learning.
- The project materials mention optional paid versions or features; this listing only covers the public free code and does not include paid upgrades.
- Demo images, fonts, icons, and other third-party assets must be checked against their respective licenses and cannot be judged solely by the code's MIT license.
- External services such as domains, hosting, databases, payments, or AI may incur additional charges.
View Original Text Basis
Permission is hereby granted, free of charge
Original License Text
log in to your Stripe account
Original README
Use the included setup script to create your `.env` file
Original README
Set the endpoint URL to your production API route
Original README
Connect your repository to [Vercel](https://vercel.com/) and deploy it.
Original README
https://github.com/bankszach/ghostlark-frontend/blob/main/LICENSEhttps://github.com/bankszach/ghostlark-frontend/blob/main/README.mdthere are other paid versions in the community which are more full-featured
Original README
Compiled by DeepSeek based on repository license and README ·2026-10-02. Results only cover the materials read; dependencies, images, fonts, and subsequent term changes are subject to their respective original texts.
Project checks & description sources
Template Information
- Source platforms
- GitHub
- Documentation and maintenance reference score
- More documented · 79 / 100
- Technologies
- Next.js · React
- Website type
- SaaS · Starter
How this score is calculated
Our heuristic uses license records (up to 30), a demo link (12), a preview (10), stars (15), recorded maintenance (15), description completeness (8), feature records (5) and classification data (5). It is not a code, security or performance test, or a Google score. A link does not establish tested functionality.
What to verify for this project
- Repository update recorded
- 2025-07-28
- Screenshot last checked
- 2026-10-02
A demo link is listed. Check it with your own content and viewport sizes; its presence does not confirm that forms, authentication or payments work.
The catalog identifies Next.js as the primary stack. Check the actual dependency manifest and lockfile for versions and hosting requirements. These notes use recorded metadata, not a code audit or a deployment test.
Use a selection guide →How this description was prepared
AI-assisted description based on catalog records and repository material. Repository authors are not automatically the reviewers of this description.
Automatically checked against source and license rules; no manual editorial review.
Inspect the recorded source material
SHA-256: fa5ca24285adf44bb5061de1904b6651d9d294598ae5f495c2fbe31dd317aca7
2026-10-02T14:03:51.599Z
Source file / repository# Next.js SaaS Starter This is a starter template for building a SaaS application using **Next.js** with support for authentication, Stripe integration for payments, and a dashboard for logged-in users. **Demo: [https://next-saas-start.vercel.app/](https://next-saas-start.vercel.app/)** ## Features - Marketing landing page (`/`) with animated Terminal element - Pricing page (`/pricing`) which connects to Stripe Checkout - Dashboard pages with CRUD operations on users/teams - Basic RBAC with Owner and Member roles - Subscription management with Stripe Customer Portal - Email/password authentication with JWTs stored to cookies - Global middleware to protect logged-in routes - Local middleware to protect Server Actions or validate Zod schemas - Activity logging system for any user events ## Tech Stack - **Framework**: [Next.js](https://nextjs.org/) - **Database**: [Postgres](https://www.postgresql.org/) - **ORM**: [Drizzle](https://orm.drizzle.team/) - **Payments**: [Stripe](https://stripe.com/) - **UI Library**: [shadcn/ui](https://ui.shadcn.com/) ## Getting Started ```bash git clone https://github.com/nextjs/saas-starter cd saas-starter pnpm install ``` ## Running Locally [Install](https://docs.stripe.com/stripe-cli) and log in to your Stripe account: ```bash stripe login ``` Use the included setup script to create your `.env` file: ```bash pnpm db:setup ``` Run the database migrations and seed the database with a default user and team: ```bash pnpm db:migrate pnpm db:seed ``` This will create the following user and team: - User: `[email protected]` - Password: `admin123` You can also create new users through the `/sign-up` route. Finally, run the Next.js development server: ```bash pnpm dev ``` Open [http://localhost:3000](http://localhost:3000) in your browser to see the app in action. You can listen for Stripe webhooks locally through their CLI to handle subscription change events: ```bash stripe listen --forward-to localhost:3000/api/stripe/webhook ``` ## Testing Payments To test Stripe payments, use the following test card details: - Card Number: `4242 4242 4242 4242` - Expiration: Any future date - CVC: Any 3-digit number ## Going to Production When you're ready to deploy your SaaS application to production, follow these steps: ### Set up a production Stripe webhook 1. Go to the Stripe Dashboard and create a new webhook for your production environment. 2. Set the endpoint URL to your production API route (e.g., `https://yourdomain.com/api/stripe/webhook`). 3. Select the events you want to listen for (e.g., `checkout.session.completed`, `customer.subscription.updated`). ### Deploy to Vercel 1. Push your code to a GitHub repository. 2. Connect your repository to [Vercel](https://vercel.com/) and deploy it. 3. Follow the Vercel deployment process, which will guide you through setting up your project. ### Add environment variables In your Vercel project settings (or during deployment), add all the necessary environment variables. Make sure to update the values for the production environment, including: 1. `BASE_URL`: Set this to your production domain. 2. `STRIPE_SECRET_KEY`: Use your Stripe secret key for the production environment. 3. `STRIPE_WEBHOOK_SECRET`: Use the webhook secret from the production webhook you created in step 1. 4. `POSTGRES_URL`: Set this to your production database URL. 5. `AUTH_SECRET`: Set this to a random string. `openssl rand -base64 32` will generate one. ## Other Templates While this template is intentionally minimal and to be used as a learning resource, there are other paid versions in the community which are more full-featured: - https://achromatic.dev - https://shipfa.st - https://makerkit.dev - https://zerotoshipped.com - https://turbostarter.dev
Explore similar templates
Compare previews and descriptions within the same stack and category.

Next.js SaaS Starter
The official Next.js SaaS starter template, integrating email/password authentication, Stripe Checkout subscriptions, a dashboard with user/team CRUD, basic Owner/Member RBAC, and activity logging.
Next.js · SaaS

Next.js Commerce
Vercel's officially maintained Next.js App Router ecommerce starter with deep Shopify integration, offering a complete product catalog, cart, and checkout flow. Core logic is modular for swapping backends, and community provider versions exist for BigCommerce, Medusa, and Saleor.
Next.js · E-commerce

Next-js-Boilerplate
A developer-first Next.js 16 starter with Tailwind CSS 4 and TypeScript, supporting both App Router and Page Router.
Next.js · Starter

tailwind-nextjs-starter-blog
A Next.js and Tailwind CSS blog starter template using Contentlayer for Markdown/MDX, with built-in SEO, code highlighting, and tags. It targets personal technical blogs and migration from Jekyll/Hugo to React, and supports one-click Vercel deployment.
Next.js · Blog

next-forge
next-forge is a Turborepo-based Next.js template maintained by Vercel, positioned as a starting point for SaaS products.
Next.js · Starter
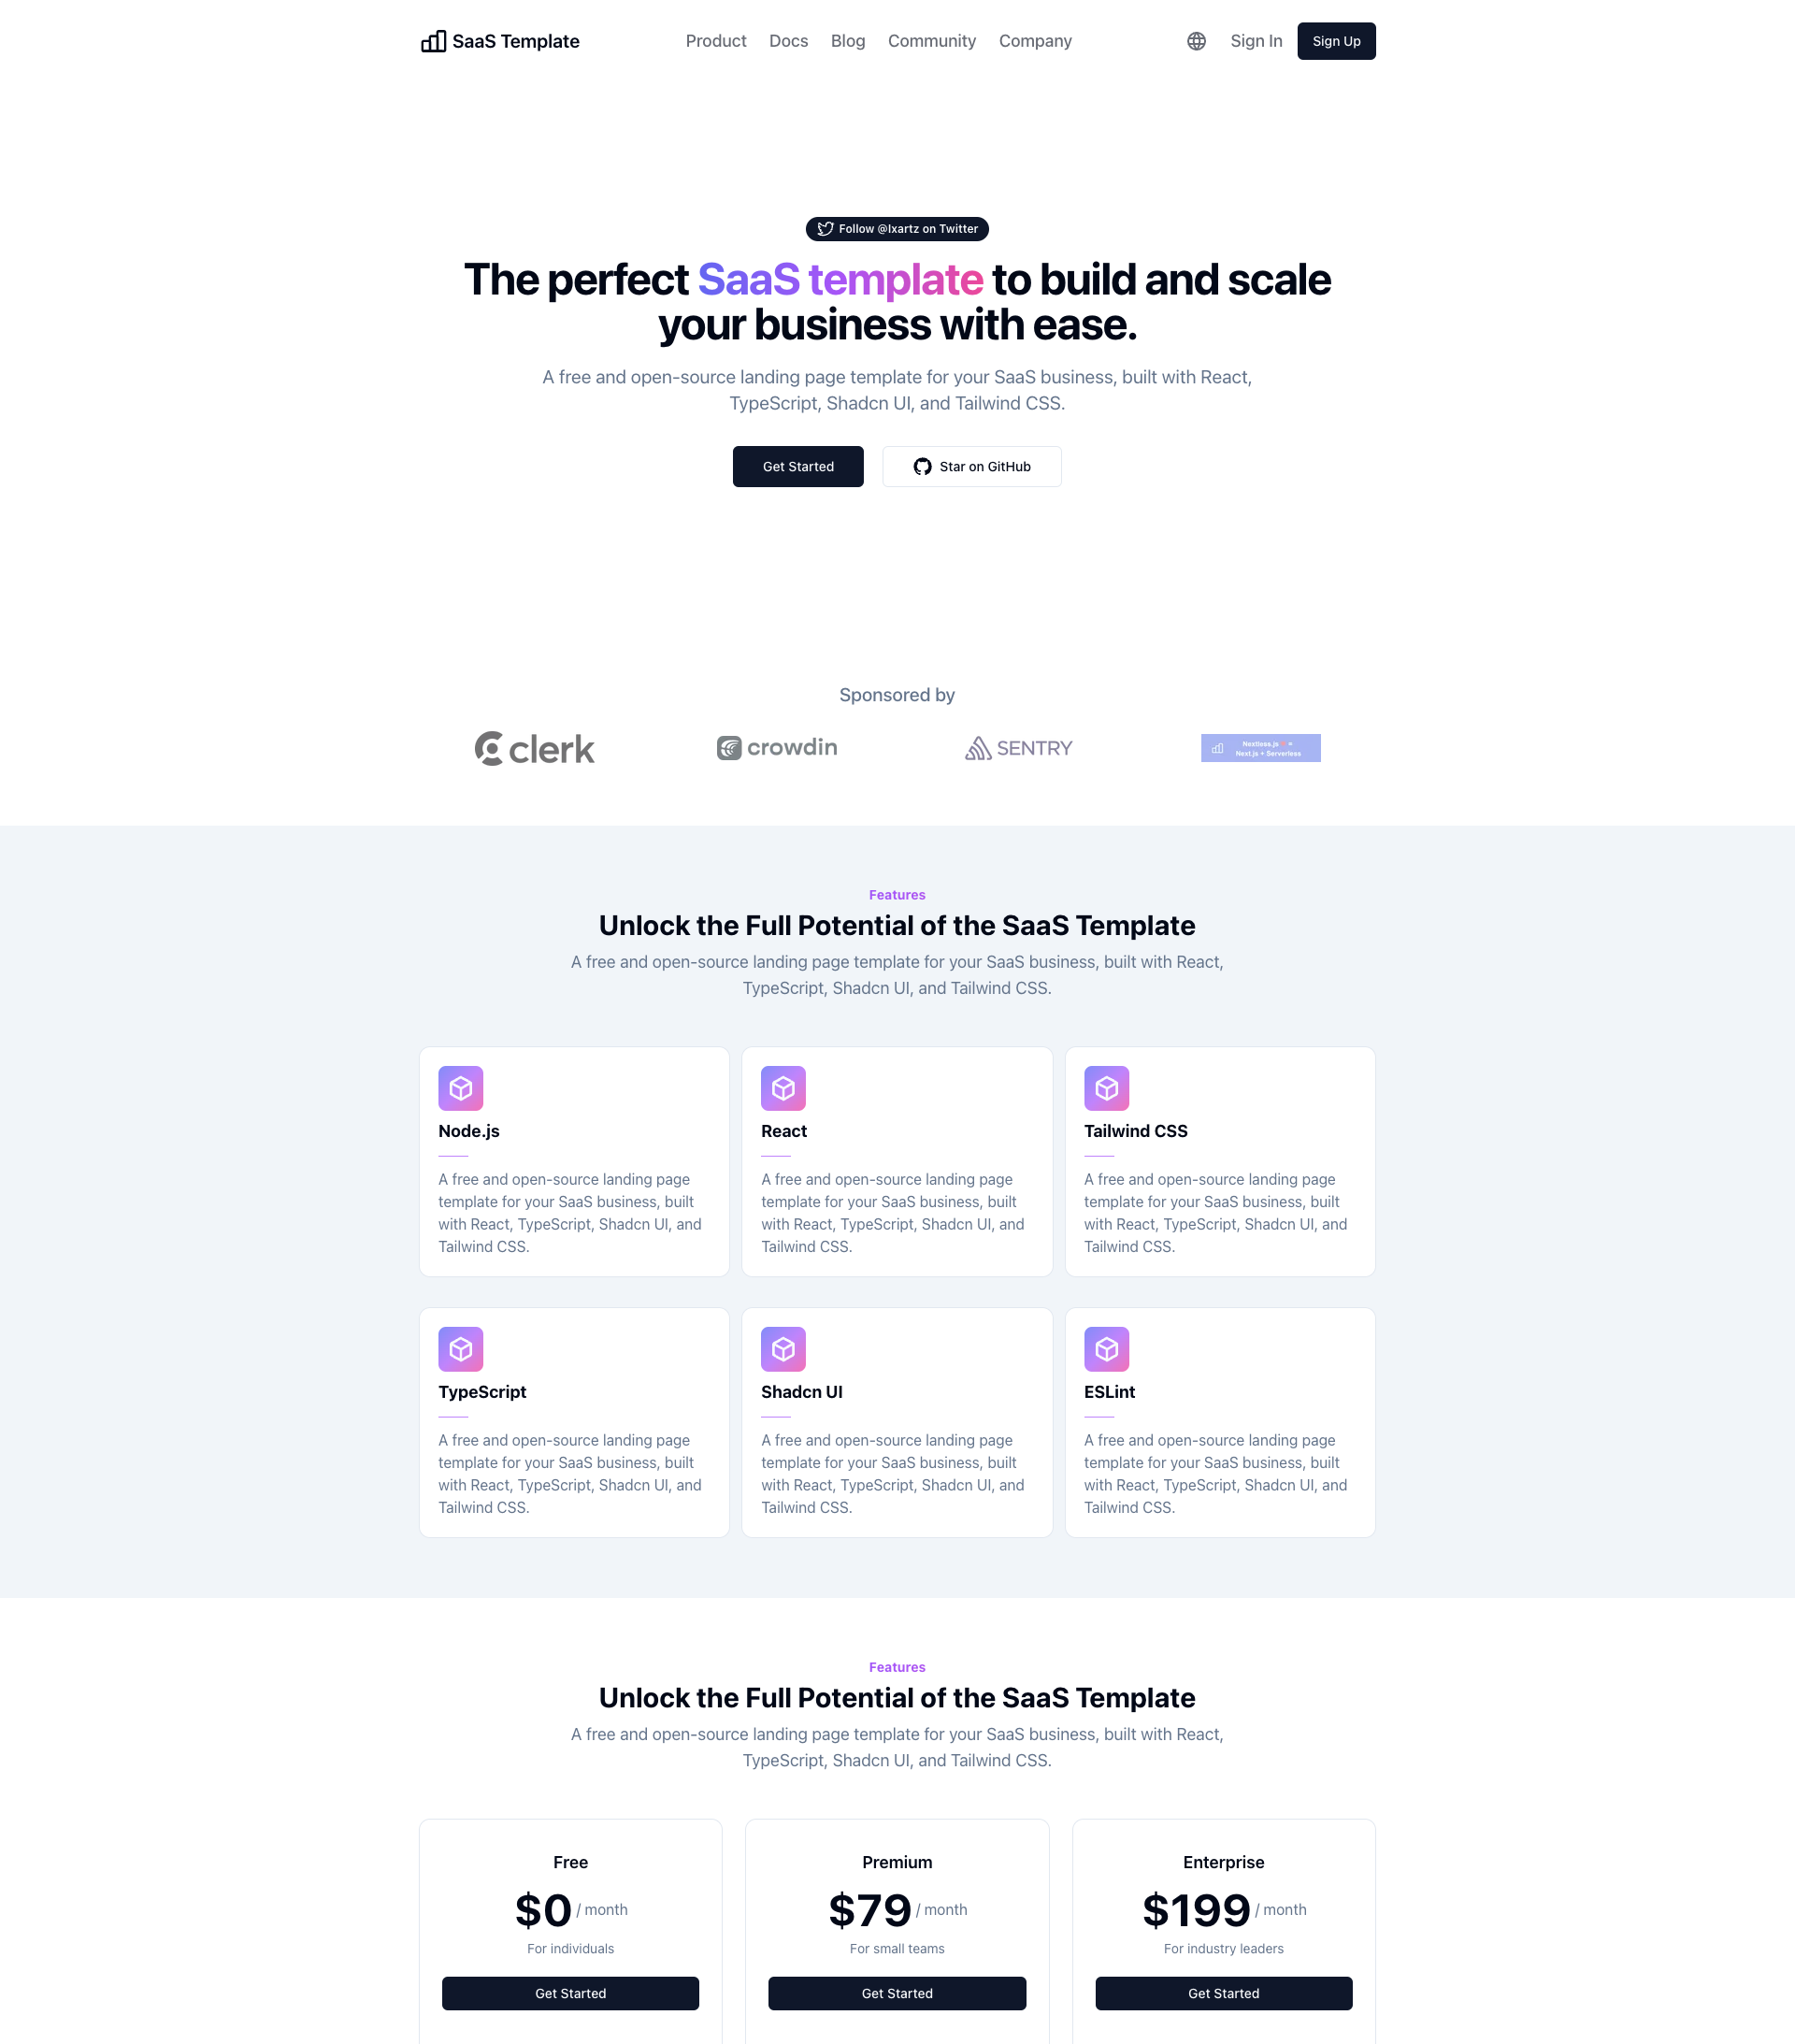
SaaS-Boilerplate
SaaS-Boilerplate is an open-source SaaS starter template built with Next.js App Router, React 19, TypeScript, Tailwind CSS, and Shadcn UI.
Next.js · SaaS