Astro project structure with clear separation of pages, components, layouts, and styles
AstroE-commerceStarter
midwestagtech — Astro Ecommerce Template
By beaconcreektech
A lightweight Astro-based ecommerce starter theme for building headless storefronts connected to Shopify.
Explore the design
Compare the page layouts and mobile experience. Open any screenshot for a closer look.
Desktop homepage1 / 3
Desktop captureTop of page
Actual screenshot captured by the server browser.
All pages & views 3
Screenshots show visual appearance; interactive behavior may differ.
Recorded 2026-10-02View source
What stands out
A quick read of the recorded project description.
Components are written in Svelte by default, but can be replaced with React, Vue, Solid, or other frameworks
Connects to the Storefront API via the Shopify Headless channel; credentials and API version are centralized in utils/config.ts
Interface uses free components from Tailwind UI
Cart state is kept separately in src/stores/cart.ts, and Shopify logic is centralized in src/utils/shopify.ts
README provides troubleshooting for 401 errors and empty checkout sidebar
Template Details
This is an ecommerce starter theme built with Astro, aimed at building headless storefronts connected to Shopify. By default, interactive components are written in Svelte, but thanks to Astro's integration capabilities, you can switch to React, Vue, Solid, or other frameworks; the interface design uses free components from Tailwind UI.
The project obtains public and private access tokens for the Storefront API through the Shopify Headless channel. Credentials are read centrally from /utils/config.ts, and the API version is also adjusted in that file. The README's getting-started flow is: create .env based on .env.example and fill in the store address and tokens, install dependencies, then run the dev command. Reading product listings and inventory requires at least the unauthenticated_read_product_listings and unauthenticated_read_product_inventory Storefront API access scopes; additional permissions must be added manually.
In terms of directory structure, pages are in src/pages/, components in src/components/, layouts in src/layouts/, cart state in src/stores/cart.ts, Shopify-related logic in src/utils/shopify.ts, global styles in src/styles/global.css, and static assets in public/. The README also lists common troubleshooting points: a 401 usually indicates incorrect permission scopes or API type configuration; confirm you are using the Storefront API rather than the Admin API, and add at least one test product; if the checkout sidebar does not appear or is empty after adding to cart, add an image to the test product.
The repository is released under the MIT license. The free scope is limited to this code itself; third-party assets such as demo images, fonts, and icons, as well as external services like hosting and domains, must be verified and paid for separately.
AstroEcommerceStarter
Is it right for your project?
Use Cases
- Build a headless frontend display and cart for an existing Shopify store
- Use as a starting point for an Astro ecommerce project, replacing the frontend framework and components as needed
- Learn how to integrate Astro with the Shopify Storefront API
Suitable For
- Developers using Shopify who want to build their own headless storefront
- Frontend teams familiar with Astro or willing to follow the README to configure environment variables
- Individuals or small projects needing an ecommerce starter template with freely modifiable code
Getting started & customization
Use these recorded setup notes alongside the repository instructions for your chosen version.
- 1
Create .env based on .env.example and fill in the Shopify store address and public and private access tokens
- 2
Add a Headless channel in the Shopify admin and create a Storefront, then copy the access token
- 3
Enable at least the unauthenticated_read_product_listings and unauthenticated_read_product_inventory permissions for the Storefront API
- 4
Ensure you are using the Storefront API rather than the Admin API, and add at least one test product with an image
- 5
Install dependencies with npm, yarn, or pnpm, then run the dev command to start the local development server
License & source material
Usage conditions & limitations
Free to use · keep license noticeThis entry covers the free version under the MIT license in the public repository; the free scope is the code of this version and does not imply that external services or third-party assets are free.
Must comply with when using
- Free use, modification, commercial use, and distribution of this version's code are permitted.
- When distributing copies or substantial portions of the code, retain the original author's copyright notice and the full MIT license notice.
- The code is provided as is; warranties and limitations of liability are governed by the original license and applicable law.
Additional costs & items to verify
- Using this template requires a Shopify store and configuration of the store address and public and private access tokens; this is an external service dependency, not a purely static template.
- You need to install the Headless channel in the Shopify admin and create a Storefront to obtain access tokens; this is an external platform account requirement.
- The Storefront API requires at least product listing and inventory read permissions; insufficient permissions will cause 401 errors.
- You must use the Storefront API rather than the Admin API; the endpoints and permission scopes differ, and misconfiguration will prevent data retrieval.
- Test products must have images; otherwise the checkout sidebar will not appear or will be empty after adding to cart.
- Demo images, fonts, icons, and other third-party assets must be checked against their respective licenses; the code's MIT license alone is not sufficient.
- External services such as domains, hosting, databases, payments, or AI may incur additional charges.
View Original Text Basis
Permission is hereby granted, free of charge
Original License Text
Create a `.env` file based on `.env.example` with your Shopify store url and your public and private access tokens
Original README
Add the [Shopify Headless channel](https://apps.shopify.com/headless) to your store
Original README
`unauthenticated_read_product_listings` and `unauthenticated_read_product_inventory` access should be fine to get you started.
Original README
Also make sure you are using the `Storefront API` and not the `Admin API` as the endpoints and scopes are different.
Original README
https://github.com/beaconcreektech/midwestagtech/blob/main/LICENSEhttps://github.com/beaconcreektech/midwestagtech/blob/main/README.mdyou need to add an image to your test product.
Original README
Compiled by DeepSeek based on repository license and README ·2026-10-02. Results only cover the materials read; dependencies, images, fonts, and subsequent term changes are subject to their respective original texts.
Project checks & description sources
Template Information
- Source platforms
- GitHub
- Documentation and maintenance reference score
- More documented · 85 / 100
- Technologies
- Astro
- Website type
- E-commerce · Starter
How this score is calculated
Our heuristic uses license records (up to 30), a demo link (12), a preview (10), stars (15), recorded maintenance (15), description completeness (8), feature records (5) and classification data (5). It is not a code, security or performance test, or a Google score. A link does not establish tested functionality.
What to verify for this project
- Repository update recorded
- 2026-09-24
- Screenshot last checked
- 2026-10-02
A demo link is listed. Check it with your own content and viewport sizes; its presence does not confirm that forms, authentication or payments work.
The catalog identifies Astro as the primary stack. Check the actual dependency manifest and lockfile for versions and hosting requirements. These notes use recorded metadata, not a code audit or a deployment test.
Use a selection guide →How this description was prepared
AI-assisted description based on catalog records and repository material. Repository authors are not automatically the reviewers of this description.
Automatically checked against source and license rules; no manual editorial review.
Inspect the recorded source material
SHA-256: b6ad741125014f4dab8b0c8a0b2db65116efa7656b2ac2d69a100ad8bbf15b2d
2026-10-02T07:31:38.808Z
Source file / repository# Astro starter theme to build a headless ecommerce website with Shopify The theme is built with Svelte but you can use any framework you like (React, Vue, Solid etc.) thanks to Astro. Tailwind UI free components are used for the design.  ## 🧑🚀 Where to start 1. Create a `.env` file based on `.env.example` with your Shopify store url and your public and private access tokens 2. The credentials are used inside the `/utils/config.ts` file, you can update the API version there 3. Run `npm install` or `yarn` or `pnpm install` 4. Run `npm run dev` or `yarn run dev` or `pnpm run dev` ## Shopify Configuration Guide - Create a new account or use an existing one. https://accounts.shopify.com/store-login - Add the [Shopify Headless channel](https://apps.shopify.com/headless) to your store - Click on `Add Storefront` - Copy/Paste your `public` and `private` access tokens to your .env file - Next, check Storefront API access scopes - `unauthenticated_read_product_listings` and `unauthenticated_read_product_inventory` access should be fine to get you started. - Add more scopes if you require additional permissions. ### Shopify Troubleshooting - If you encounter an error like `error code 401` you likely didn't set this up correctly. Revisit your scopes and be sure add at least one test product. Also make sure you are using the `Storefront API` and not the `Admin API` as the endpoints and scopes are different. - If you do not see a checkout sidebar, or if it is empty after adding a product, you need to add an image to your test product. ## 🚀 Project Structure Inside the project, you'll see the following folders and files: ``` / ├── public/ ├── src/ │ └── components/ │ └── Header.astro │ └── layouts/ │ └── BaseLayout.astro │ └── pages/ │ └── index.astro │ └── stores/ │ └── cart.ts │ └── styles/ │ └── global.css │ └── utils/ │ └── shopify.ts └── package.json ``` Astro looks for `.astro` or `.md` files in the `src/pages/` directory. Each page is exposed as a route based on its file name. There's nothing special about `src/components/`, but that's where we like to put any Astro/React/Vue/Svelte/Preact components. Any static assets, like images, can be placed in the `public/` directory. ## 🧞 Commands All commands are run from the root of the project, from a terminal: | Command | Action | | :--------------------- | :----------------------------------------------- | | `npm install` | Installs dependencies | | `npm run dev` | Starts local dev server at `localhost:3000` | | `npm run build` | Build your production site to `./dist/` | | `npm run preview` | Preview your build locally, before deploying | | `npm run astro ...` | Run CLI commands like `astro add`, `astro check` | | `npm run astro --help` | Get help using the Astro CLI | ## ⚡️ Lighthouse 
Explore similar templates
Compare previews and descriptions within the same stack and category.
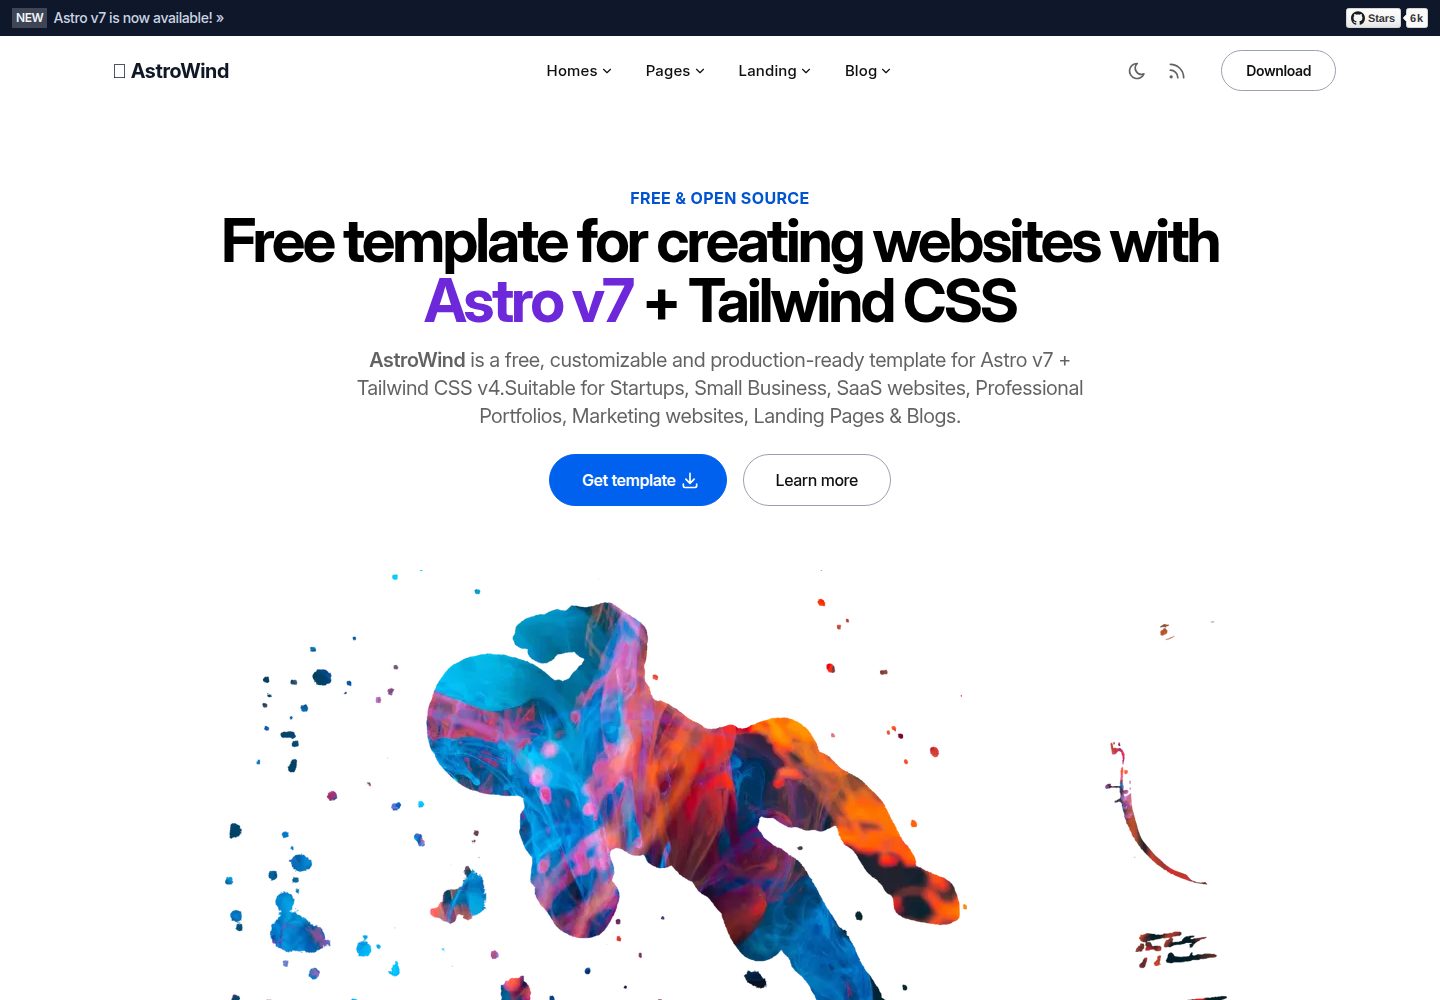
astrowind
AstroWind is a free, open-source Astro starter theme using Astro and Tailwind CSS, released under the MIT license.
Astro · Blog
accessible-astro-starter
An accessibility-focused Astro 6 starter template with WCAG 2.2 AA practices, Tailwind CSS 4, TypeScript, Prettier, ESLint, form validation, blog and portfolio examples, and preference toggles for dark mode, high contrast, and reduced motion.
Astro · Blog
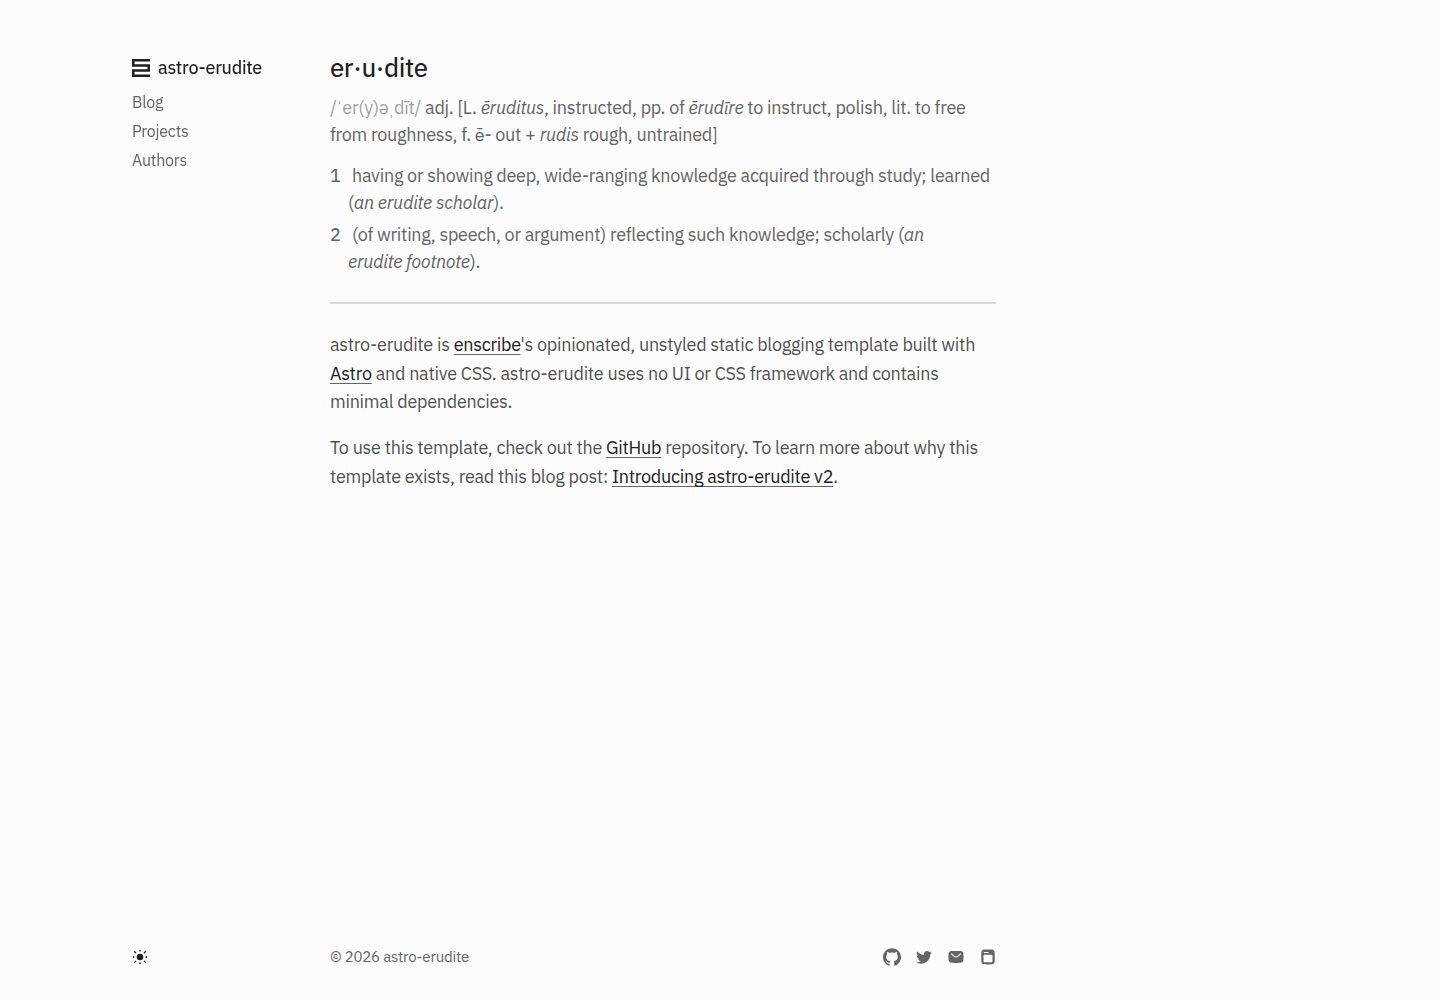
astro-erudite
astro-erudite is an opinionated, unstyled static blog template built with Astro and native CSS, with no UI or CSS framework and minimal dependencies.
Astro · Portfolio

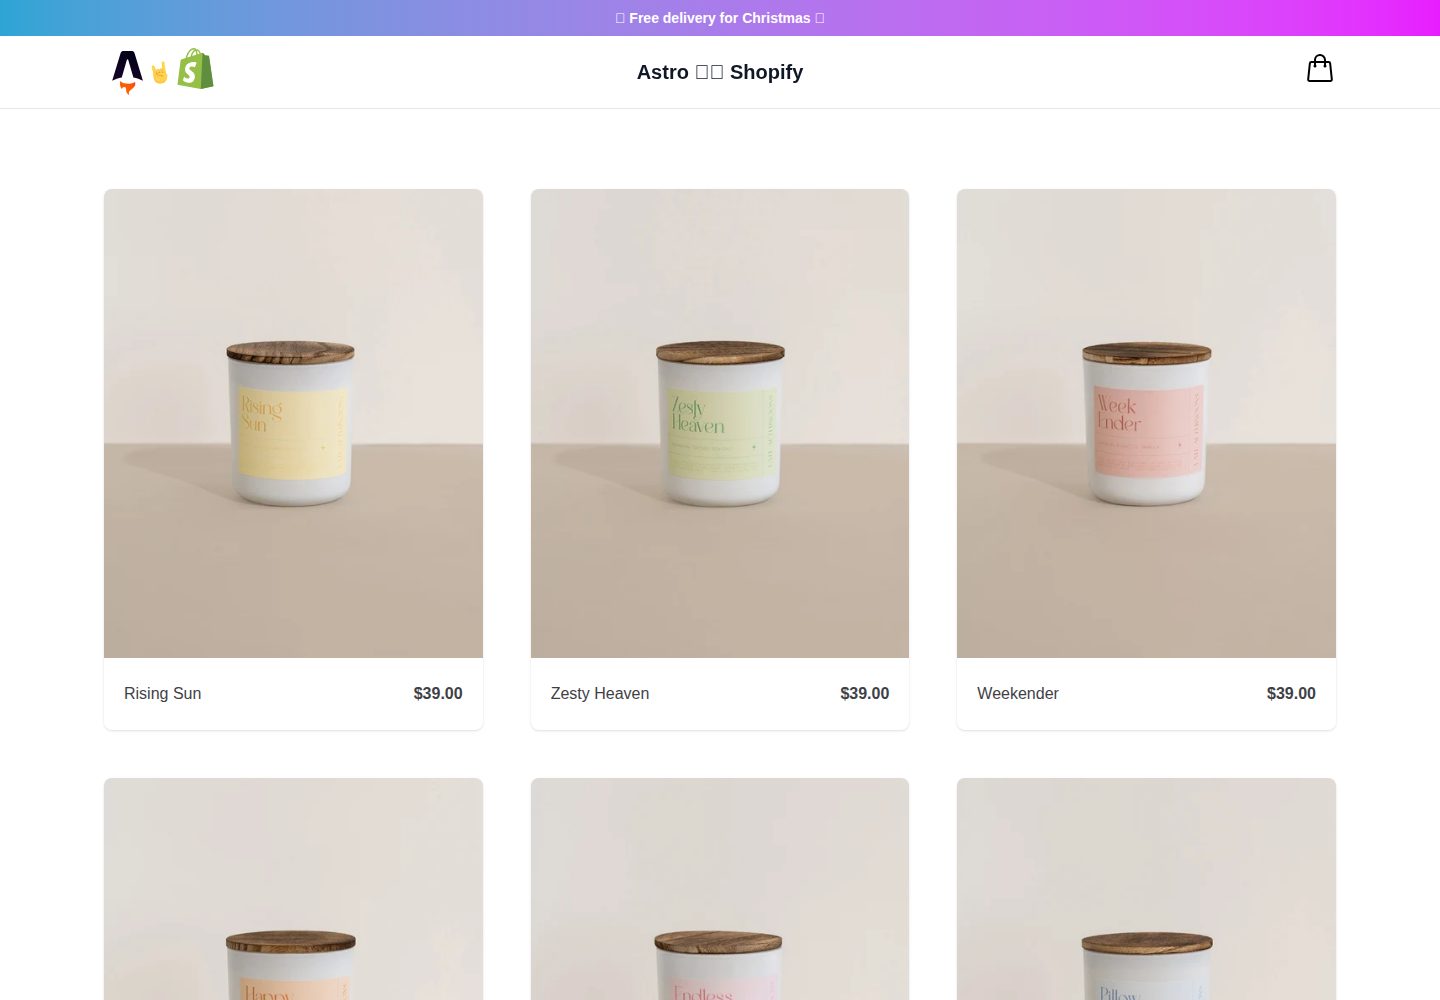
astro-shopify
A lightweight Shopify headless ecommerce starter template built with Astro and Svelte, integrating the Shopify Storefront API for product and inventory data, with built-in cart state management and basic add-to-cart and checkout flow.
Astro · E-commerce
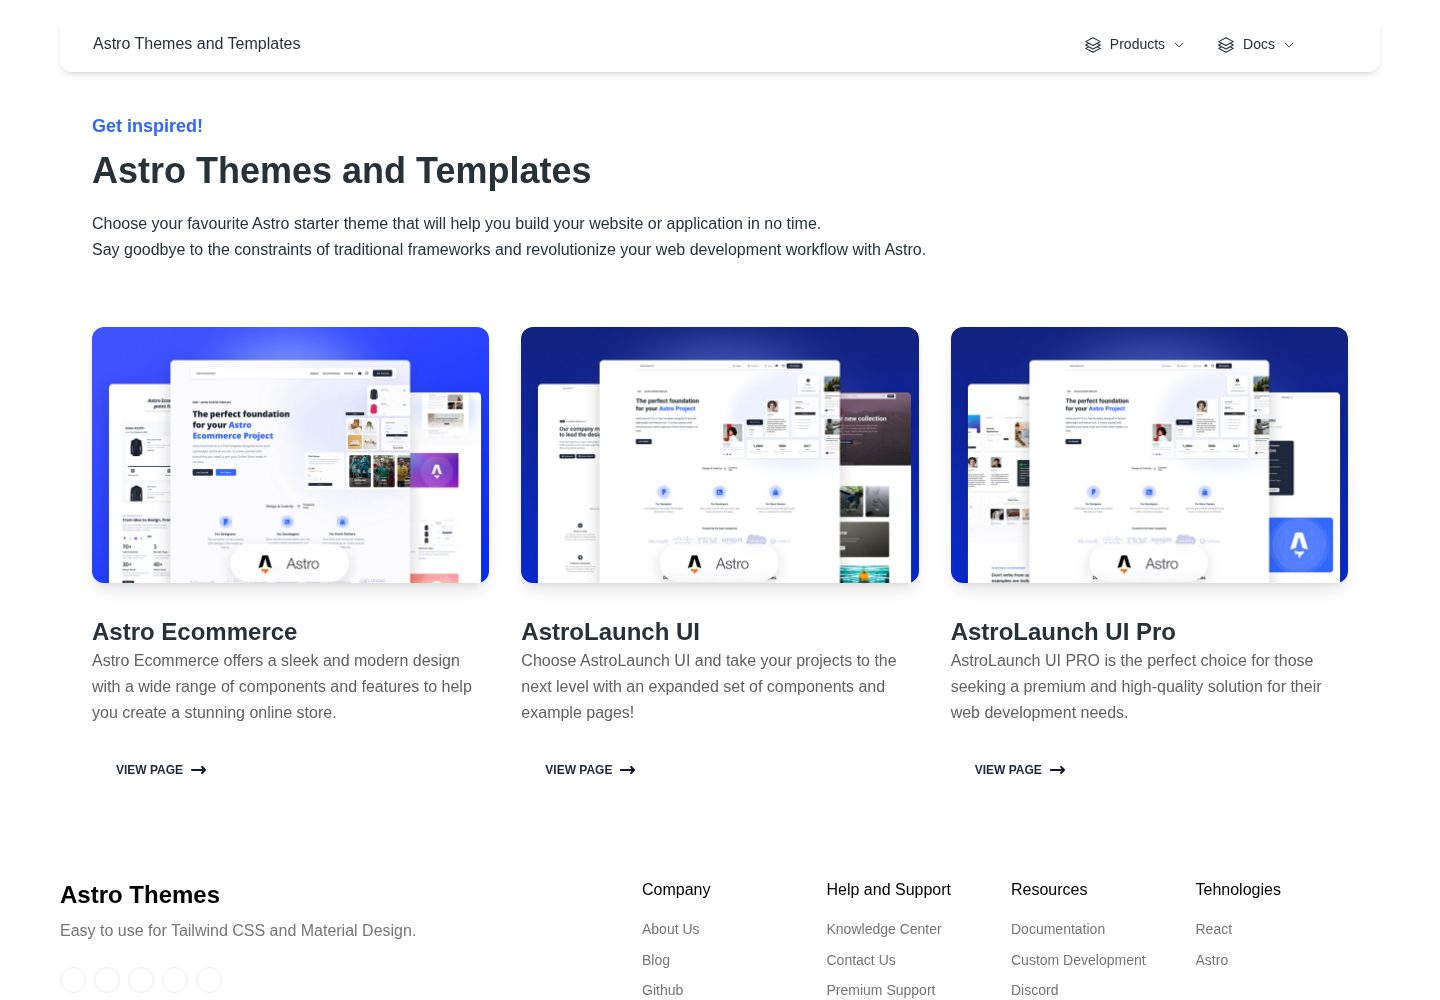
astro-ecommerce
Astro Ecommerce is a Creative Tim e-commerce Astro starter template under the MIT license, with 70+ coded elements, 30+ blocks, and landing, product, and shopping cart example pages.
Astro · E-commerce
brutal
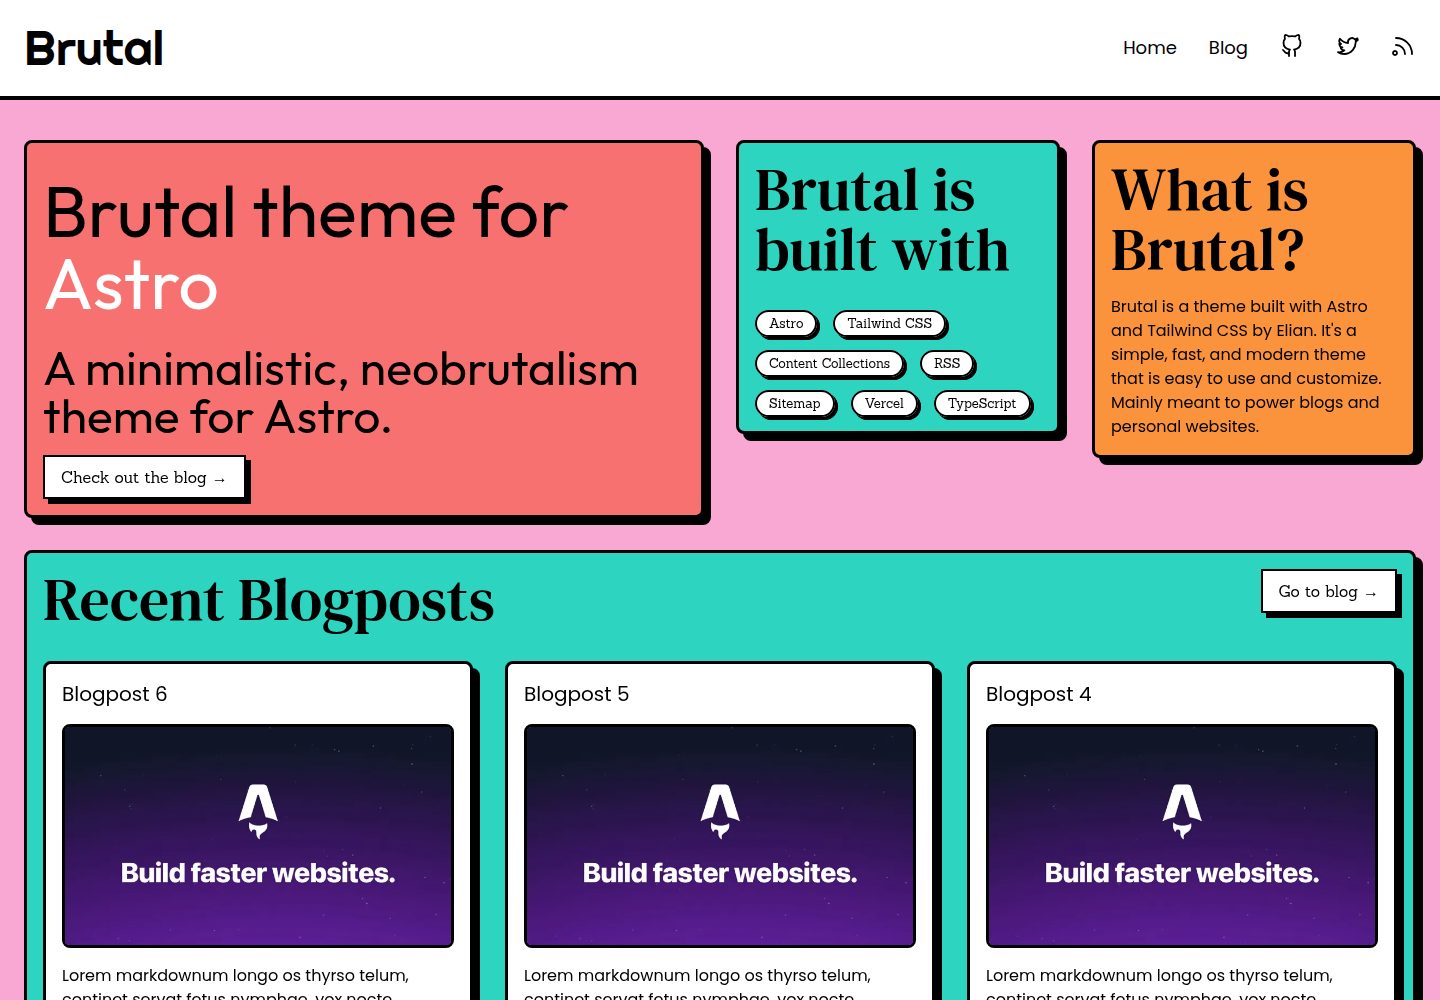
Brutal is a neobrutalism Astro starter theme from ElianCodes, derived from the author's personal site and generalized. It includes a Markdown blog collection, build-time RSS and sitemap, image optimization, Tailwind CSS styling, and Biome checks, with no JavaScript by default.
Astro · Starter