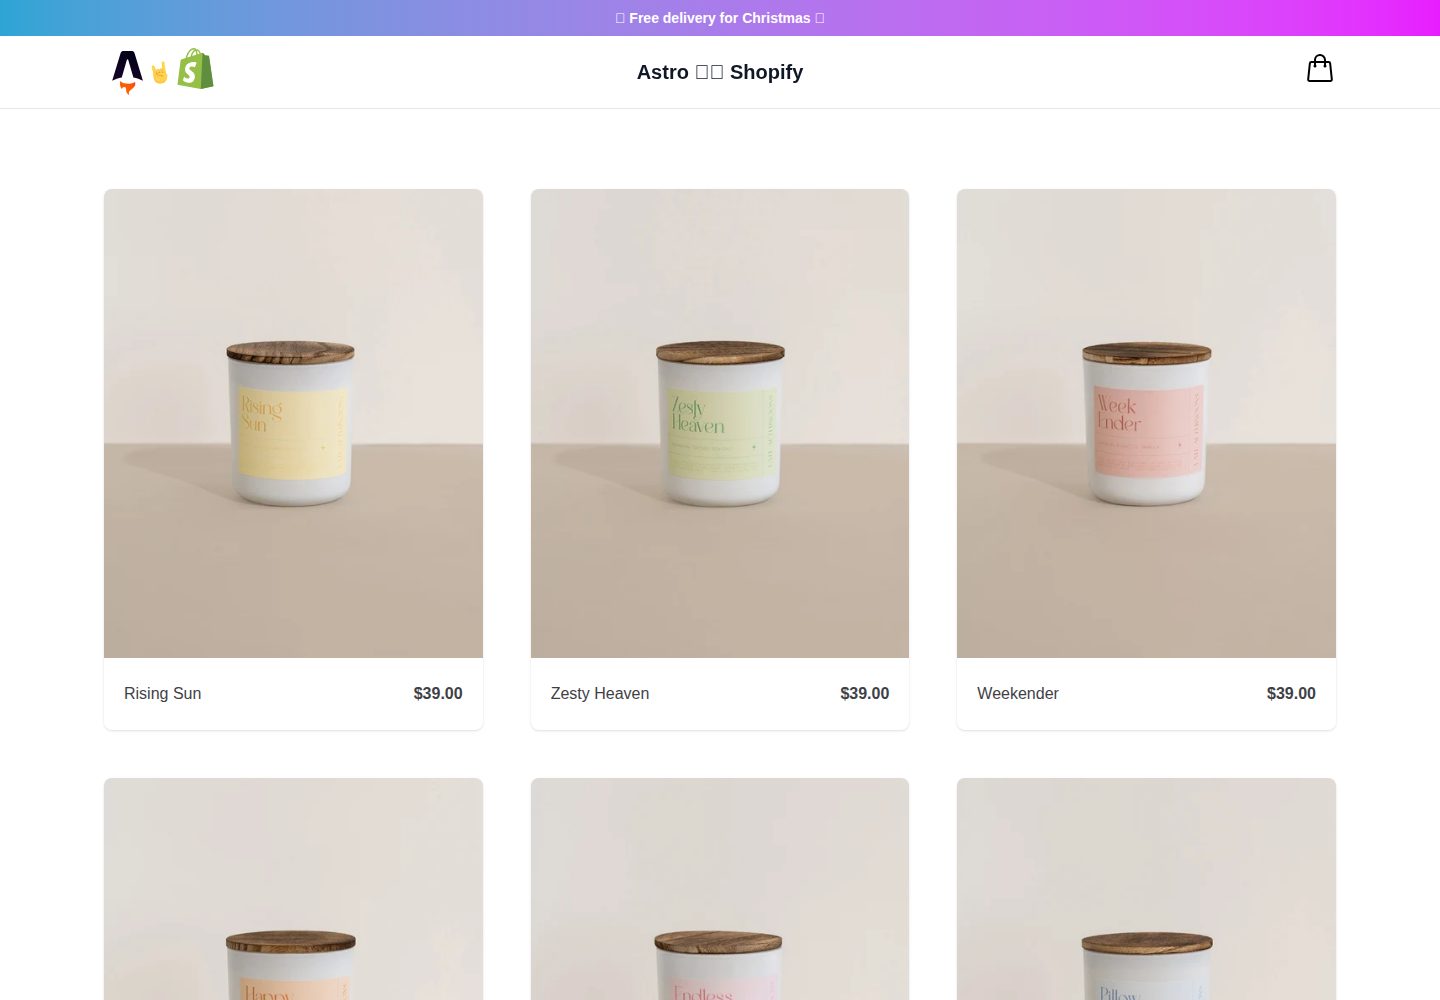
Astro 项目结构,页面、组件、布局与样式目录划分清晰
Astro电商启动器
midwestagtech — Astro 电商模板
作者 beaconcreektech
基于 Astro 的轻量级电商启动主题,用于构建连接 Shopify 的无头商店前端。
看看你的网站会是什么样
浏览真实页面截图,比较内容排版与手机效果。点击下方缩略图切换,放大查看整页细节。
全部页面与视图 3
截图用于了解视觉与布局,交互效果请以实际项目为准。
采集于 2026-10-02查看来源
值得关注的模板亮点
从已有项目资料中,快速了解它的特点。
默认用 Svelte 编写组件,也可替换为 React、Vue、Solid 等框架
通过 Shopify Headless 渠道接入 Storefront API,凭据与 API 版本集中在 utils/config.ts
界面采用 Tailwind UI 免费组件
购物车状态独立放在 src/stores/cart.ts,Shopify 逻辑集中在 src/utils/shopify.ts
README 提供 401 报错与结账侧栏为空的排错说明
模板详细介绍
这是一个用 Astro 构建的电商启动主题,目标场景是搭建连接 Shopify 的无头(headless)商店前端。主题默认使用 Svelte 编写交互组件,但借助 Astro 的集成能力,也可以改用 React、Vue、Solid 等框架;界面设计采用 Tailwind UI 的免费组件。
项目通过 Shopify Headless 渠道获取 Storefront API 的公开与私有访问令牌,凭据集中放在 /utils/config.ts 中读取,API 版本也在该文件里调整。README 给出的起步流程是:参照 .env.example 创建 .env 并填入店铺地址与令牌,安装依赖后运行开发命令。商品列表与库存读取至少需要 unauthenticated_read_product_listings 和 unauthenticated_read_product_inventory 两个 Storefront API 访问范围,更多权限需自行追加。
目录结构上,页面放在 src/pages/,组件放在 src/components/,布局在 src/layouts/,购物车状态在 src/stores/cart.ts,Shopify 相关逻辑在 src/utils/shopify.ts,全局样式在 src/styles/global.css,静态资源放在 public/。README 还列出常见排错点:出现 401 通常是权限范围或接口类型配置有误,需确认使用 Storefront API 而非 Admin API,并至少添加一个测试商品;若结账侧栏不显示或加购后为空,需要给测试商品添加图片。
该仓库以 MIT 许可发布,免费范围仅限这份代码本身,演示图片、字体、图标等第三方素材以及托管、域名等外部服务需另行核对与承担。
Astro电商启动器
适合你的项目吗?
适用场景
- 为已有 Shopify 店铺搭建无头前端展示与购物车
- 作为 Astro 电商项目的起点,按需替换前端框架与组件
- 学习 Astro 与 Shopify Storefront API 的对接方式
适合人群
- 使用 Shopify 并希望自建无头店面的开发者
- 熟悉 Astro 或愿意按 README 步骤配置环境变量的前端团队
- 需要可自由修改代码的电商启动模板的个人或小型项目
上手与定制指南
结合仓库当前版本的说明,按下面的资料检查内容、配置与运行要求。
- 1
参照 .env.example 创建 .env,填入 Shopify 店铺地址以及公开、私有访问令牌
- 2
在 Shopify 后台添加 Headless 渠道并创建 Storefront,复制访问令牌
- 3
Storefront API 至少开启 unauthenticated_read_product_listings 与 unauthenticated_read_product_inventory 权限
- 4
确保使用 Storefront API 而非 Admin API,并至少添加一个带图片的测试商品
- 5
使用 npm、yarn 或 pnpm 安装依赖后运行 dev 命令启动本地开发服务器
授权与来源资料
使用条件与限制
免费使用 · 保留许可声明本次收录的是公开仓库中采用 MIT 许可的免费版本;免费范围为该版本代码,不代表外部服务或第三方素材免费。
使用时需要遵守
- 允许免费使用、修改、商用和分发该版本代码。
- 分发代码副本或实质性部分时,保留原作者版权声明和完整 MIT 许可声明。
- 代码按现状提供;担保与责任限制以原许可证及适用法律为准。
额外费用与待核对事项
- 使用该模板必须拥有 Shopify 店铺并配置店铺地址与公开、私有访问令牌,属于外部服务依赖,非纯静态模板。
- 需在 Shopify 后台安装 Headless 渠道并创建 Storefront,才能获取访问令牌,属于外部平台账号要求。
- Storefront API 至少需开启商品列表与库存读取权限,权限不足会导致 401 错误。
- 必须使用 Storefront API 而非 Admin API,两者端点与权限范围不同,配置错误将无法取数。
- 测试商品必须带有图片,否则结账侧栏不显示或加购后为空。
- 演示图片、字体、图标及其他第三方素材需按各自许可核对,不能仅凭代码的 MIT 许可判断。
- 域名、托管、数据库、支付或 AI 等外部服务可能另外收费。
查看原文依据
Permission is hereby granted, free of charge
许可证原文
Create a `.env` file based on `.env.example` with your Shopify store url and your public and private access tokens
README 原文
Add the [Shopify Headless channel](https://apps.shopify.com/headless) to your store
README 原文
`unauthenticated_read_product_listings` and `unauthenticated_read_product_inventory` access should be fine to get you started.
README 原文
Also make sure you are using the `Storefront API` and not the `Admin API` as the endpoints and scopes are different.
README 原文
https://github.com/beaconcreektech/midwestagtech/blob/main/LICENSEhttps://github.com/beaconcreektech/midwestagtech/blob/main/README.mdyou need to add an image to your test product.
README 原文
DeepSeek 根据仓库许可证和 README 整理 ·2026-10-02。结果仅覆盖已读取资料,依赖、图片、字体及后续条款变更以各自原文为准。
项目核对记录与介绍依据
模板资料
- 来源平台
- GitHub
- 资料与维护参考分
- 资料较完整 · 85 / 100
- 技术栈
- Astro
- 网站类型
- 电商 · 启动器
这个分数如何计算
本站按许可资料(最高30分)、演示链接(12分)、预览图(10分)、Star数(15分)、记录的维护时间(15分)、描述完整度(8分)、功能记录(5分)和分类资料(5分)计算。它不是代码、安全或性能测试,也不是 Google 评分;有链接不代表已实测可用。
这个项目需要核对什么
- 记录的仓库更新时间
- 2026-09-24
- 截图检查日期
- 2026-10-02
已收录演示链接。请用你的内容与屏幕尺寸检查;有演示不代表表单、认证或支付已经可用。
目录记录的主要技术栈是 Astro。请通过依赖清单和锁文件核对实际版本与托管要求。这些说明基于收录资料,不代表代码审计或部署实测。
查看具体选型方法 →介绍的制作与核对状态
介绍由 AI 辅助整理目录与仓库资料。仓库作者不等于这篇介绍的审核者。
已完成服务器许可规则与 AI 来源核对;未经过人工编辑审核。
查看当时使用的来源资料
SHA-256: b6ad741125014f4dab8b0c8a0b2db65116efa7656b2ac2d69a100ad8bbf15b2d
2026-10-02T07:31:38.808Z
来源文件 / 仓库# Astro starter theme to build a headless ecommerce website with Shopify The theme is built with Svelte but you can use any framework you like (React, Vue, Solid etc.) thanks to Astro. Tailwind UI free components are used for the design.  ## 🧑🚀 Where to start 1. Create a `.env` file based on `.env.example` with your Shopify store url and your public and private access tokens 2. The credentials are used inside the `/utils/config.ts` file, you can update the API version there 3. Run `npm install` or `yarn` or `pnpm install` 4. Run `npm run dev` or `yarn run dev` or `pnpm run dev` ## Shopify Configuration Guide - Create a new account or use an existing one. https://accounts.shopify.com/store-login - Add the [Shopify Headless channel](https://apps.shopify.com/headless) to your store - Click on `Add Storefront` - Copy/Paste your `public` and `private` access tokens to your .env file - Next, check Storefront API access scopes - `unauthenticated_read_product_listings` and `unauthenticated_read_product_inventory` access should be fine to get you started. - Add more scopes if you require additional permissions. ### Shopify Troubleshooting - If you encounter an error like `error code 401` you likely didn't set this up correctly. Revisit your scopes and be sure add at least one test product. Also make sure you are using the `Storefront API` and not the `Admin API` as the endpoints and scopes are different. - If you do not see a checkout sidebar, or if it is empty after adding a product, you need to add an image to your test product. ## 🚀 Project Structure Inside the project, you'll see the following folders and files: ``` / ├── public/ ├── src/ │ └── components/ │ └── Header.astro │ └── layouts/ │ └── BaseLayout.astro │ └── pages/ │ └── index.astro │ └── stores/ │ └── cart.ts │ └── styles/ │ └── global.css │ └── utils/ │ └── shopify.ts └── package.json ``` Astro looks for `.astro` or `.md` files in the `src/pages/` directory. Each page is exposed as a route based on its file name. There's nothing special about `src/components/`, but that's where we like to put any Astro/React/Vue/Svelte/Preact components. Any static assets, like images, can be placed in the `public/` directory. ## 🧞 Commands All commands are run from the root of the project, from a terminal: | Command | Action | | :--------------------- | :----------------------------------------------- | | `npm install` | Installs dependencies | | `npm run dev` | Starts local dev server at `localhost:3000` | | `npm run build` | Build your production site to `./dist/` | | `npm run preview` | Preview your build locally, before deploying | | `npm run astro ...` | Run CLI commands like `astro add`, `astro check` | | `npm run astro --help` | Get help using the Astro CLI | ## ⚡️ Lighthouse 
看看同类模板
对比同技术栈与用途的模板,找到更适合的视觉与内容结构。
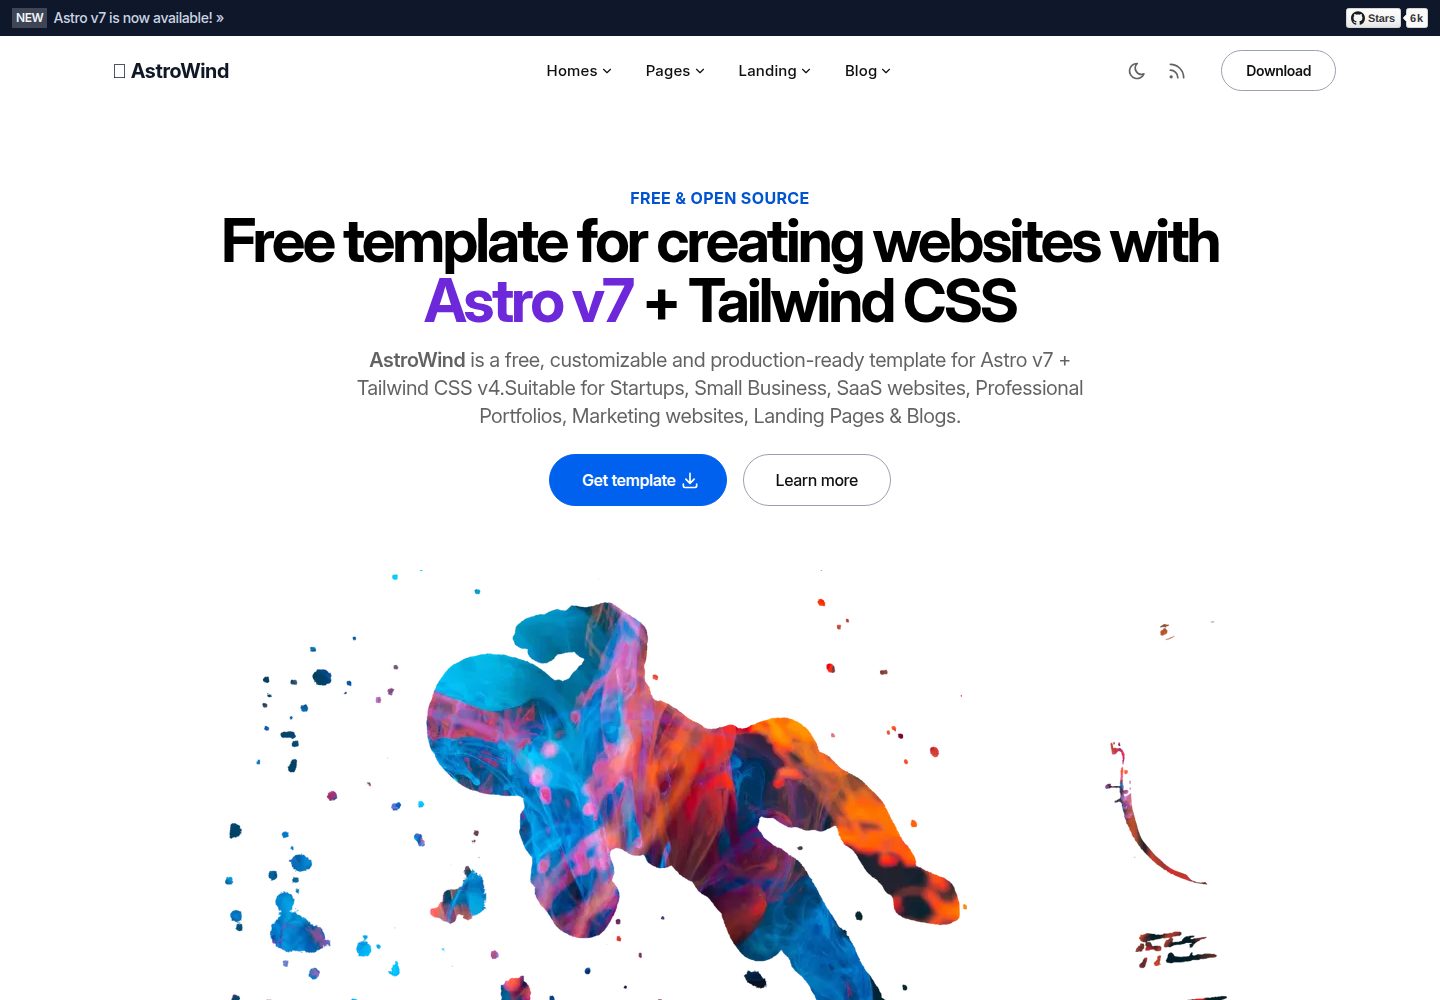
astrowind
⭕️ AstroWind: A free template using Astro v7 and Tailwind CSS v4. Astro starter theme.
Astro · 博客
accessible-astro-starter
Accessible Astro Starter 是一个以无障碍为核心理念的 Astro 6 启动模板,由 incluud 团队维护。
Astro · 博客
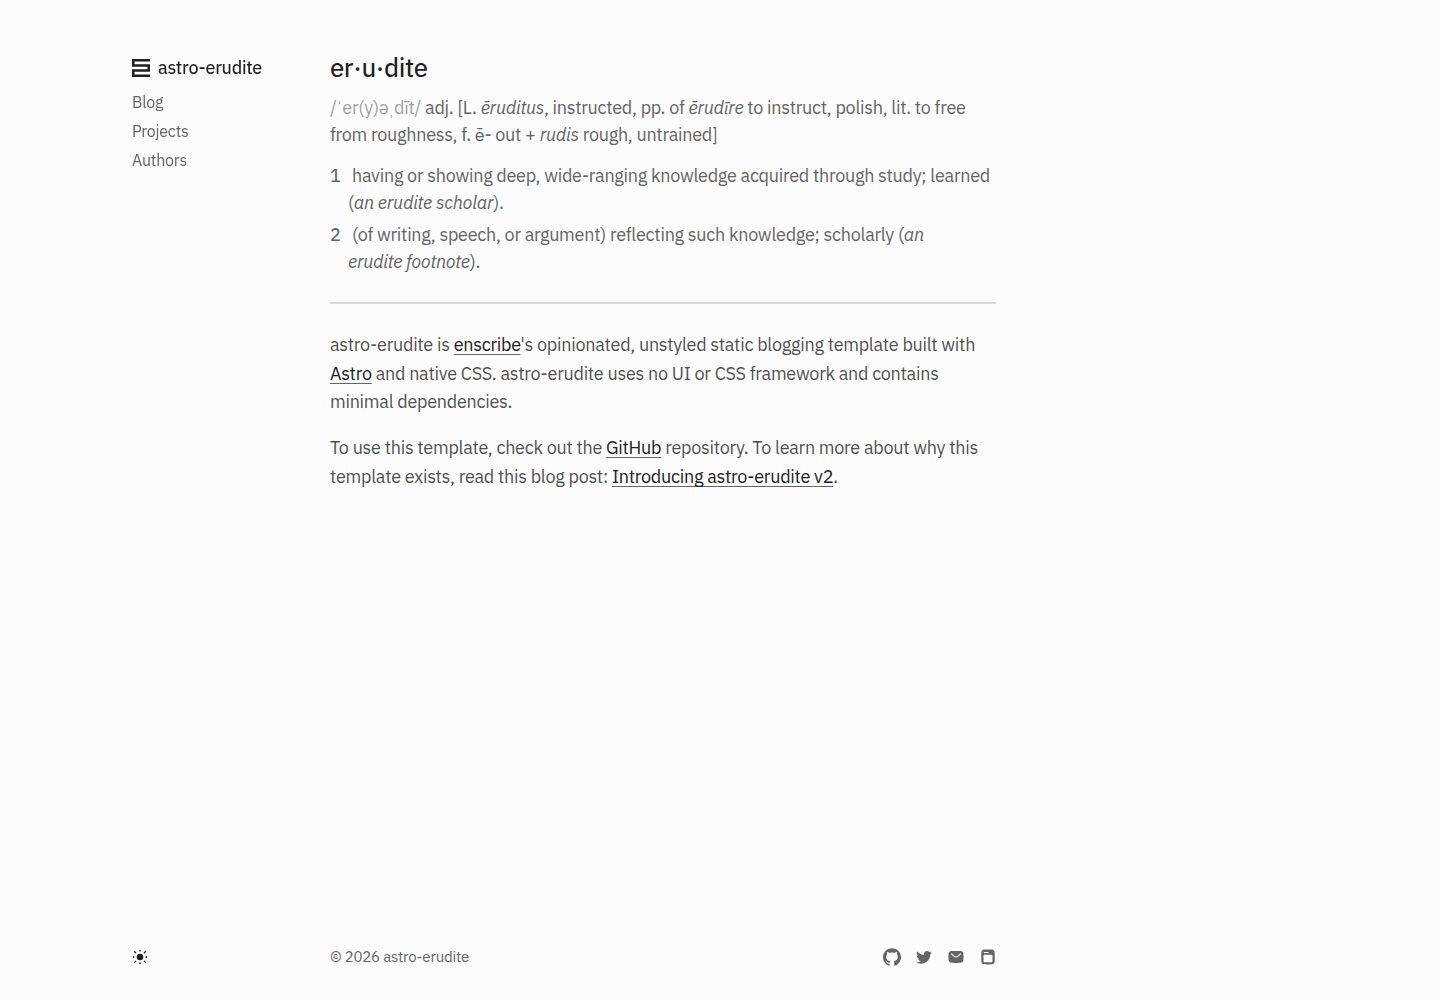
astro-erudite
An opinionated, unstyled static blogging template built with Astro and native CSS.
Astro · 作品集

astro-shopify
astro-shopify 是一个面向开发者的轻量级电商启动模板,用于构建基于 Shopify 的无头店面。
Astro · 电商
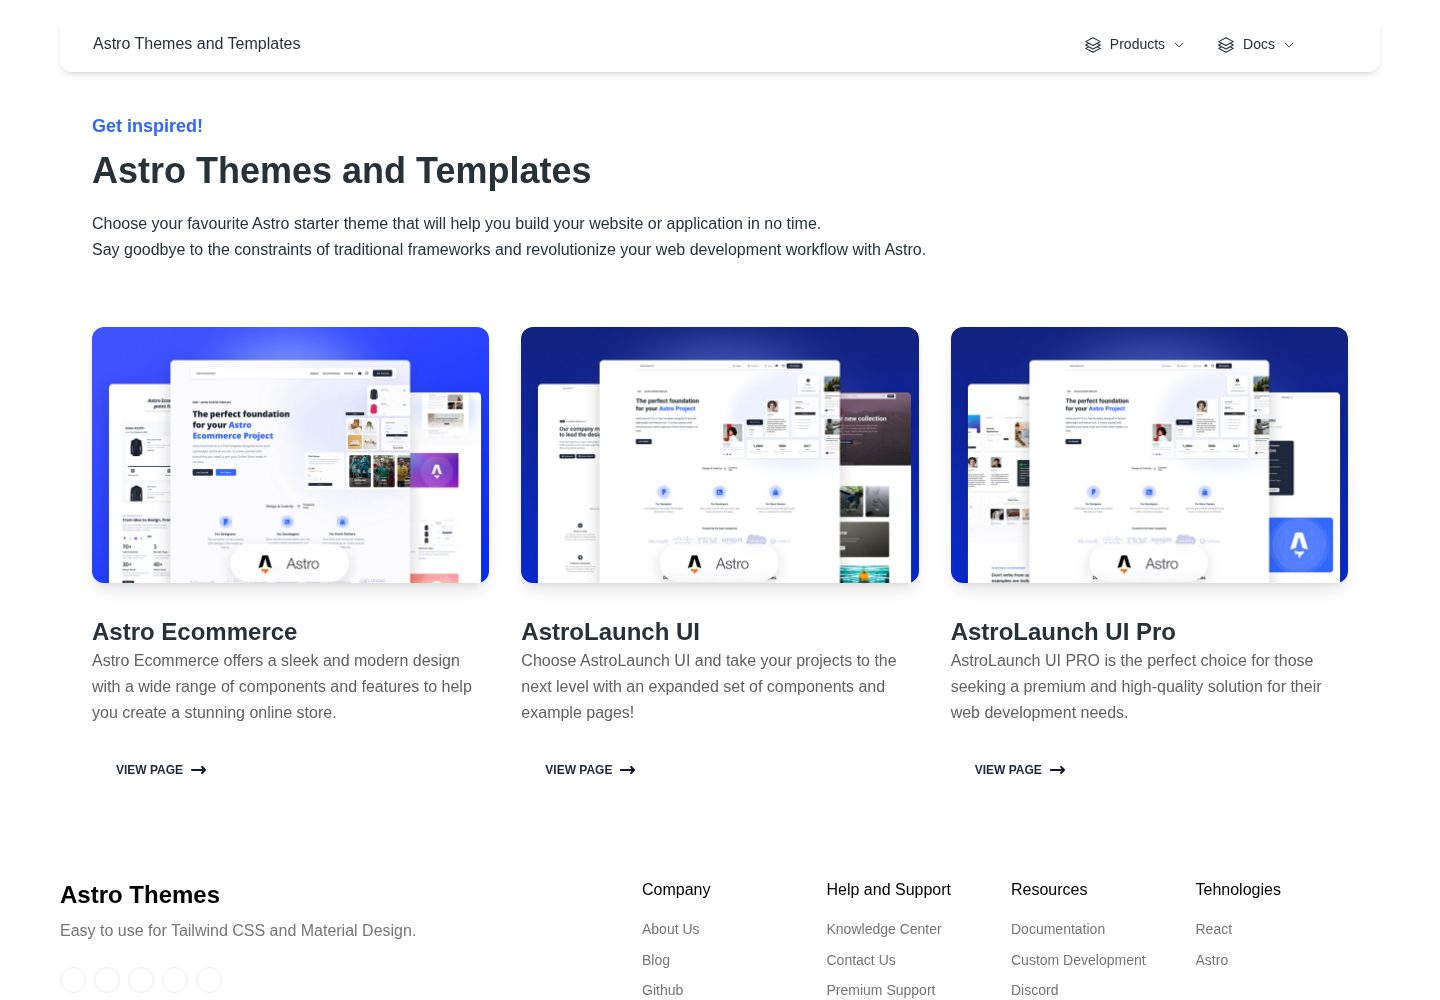
astro-ecommerce
Astro Ecommerce - Ready to use components
Astro · 电商
brutal
A neobrutalism Astro starter theme
Astro · 启动器