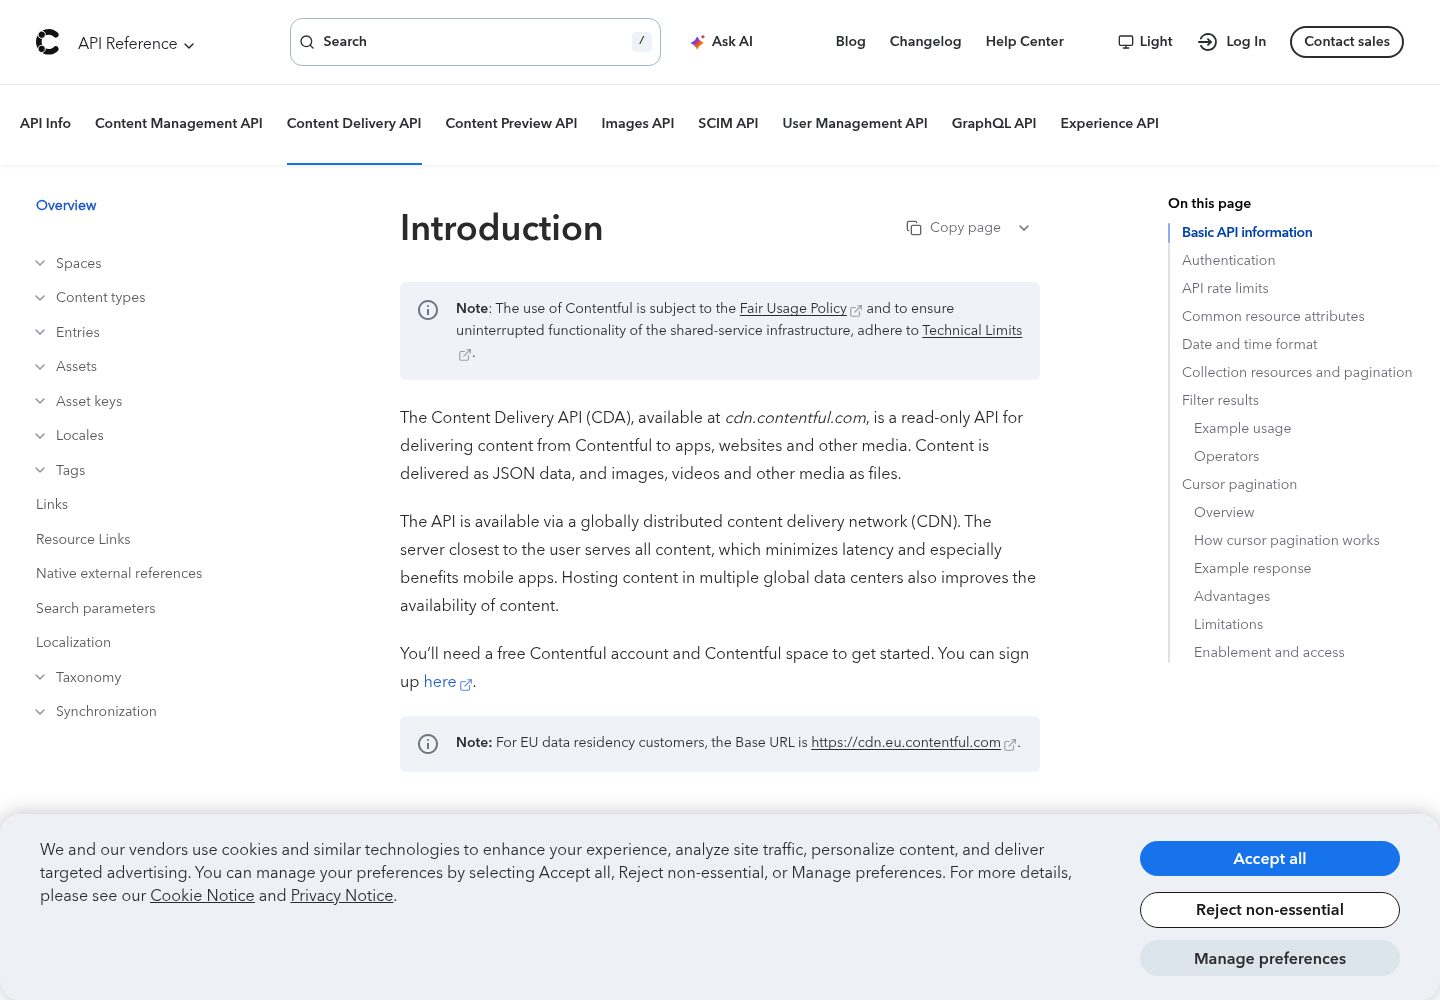
Blog frontend based on Next.js and React with pre-designed pages and components
Next.jsReactBlogStarter
template-blog-webapp-nextjs — Next.js Blog Template
By contentful
Contentful's official blog starter template, built on Next.js and React, fetches content via the Contentful GraphQL API, and includes built-in content modeling, localization, SEO, and incremental static regeneration configurations.
Explore the design
Compare the page layouts and mobile experience. Open any screenshot for a closer look.
Desktop homepage1 / 3
Desktop captureTop of page
Actual screenshot captured by the server browser.
All pages & views 3
Screenshots show visual appearance; interactive behavior may differ.
Recorded 2026-10-02View source
What stands out
A quick read of the recorded project description.
Content fetched via Contentful GraphQL API using graphql-request
Type-safe SDK generated from .graphql files using graphql-codegen
Supports content modeling, localization, and SEO-related configurations
Integrates Content Preview and Draft Mode for previewing unpublished content
Uses TypeScript and configures Husky commit hooks and lint-staged
Template Details
This is a blog starter template maintained by Contentful, with the repository name template-blog-webapp-nextjs, using Next.js and React. The template is built around Contentful's content infrastructure: content is modeled and managed in Contentful, the frontend reads data through Contentful's GraphQL API, and uses graphql-request to make requests. The project includes pre-designed pages and components covering common blog structures such as the homepage and article pages, and also provides integration code for Content Preview and Draft Mode.
In terms of developer experience, the template uses TypeScript and generates types and SDK via graphql-codegen based on .graphql files in the lib/graphql directory. The generated output is located in src/lib/__generated and should be committed to the repository. The repository configures Husky pre-commit and pre-push hooks, running TypeScript compilation checks and lint-staged (ESLint, Prettier) before commits.
Before use, note: the README states that the Starter Templates experience is currently only for new users, requiring account creation through Contentful's signup link and selecting this template for installation. Running the template requires configuring three environment variables: Contentful Space ID, Content Delivery API token, and Content Preview API token. The template can be deployed to a hosting platform of your choice, with official deployment entries for Vercel and Netlify. The code is under the MIT license, but third-party assets such as demo images, fonts, icons, and costs for external services like Contentful need to be verified separately.
Next.jsReactBlogStarter
Is it right for your project?
Use Cases
- Building a blog site using Contentful as the content source
- Needing content preview and draft mode to review unpublished articles
- Desiring type-safe data access through GraphQL and code generation
- Deploying the blog to hosting platforms like Vercel or Netlify
Suitable For
- Teams already using or planning to use Contentful for content management
- Developers familiar with Next.js, React, and TypeScript
- Blog projects requiring localization and basic SEO configuration
- Developers wanting to quickly start a content-driven blog with a starter template
Getting started & customization
Use these recorded setup notes alongside the repository instructions for your chosen version.
- 1
The README states that the Starter Templates experience is currently only for new users, requiring account creation through Contentful's signup link and selecting this template for installation
- 2
Rename .env.example to .env and fill in Contentful Space ID, Content Delivery API token, and Content Preview API token
- 3
Install dependencies with yarn, start the development server with yarn dev, running by default at http://localhost:3000
- 4
After modifying .graphql files, run yarn graphql-codegen:generate to regenerate schema, types, and SDK; generated files are in src/lib/__generated and should be committed to the repository
- 5
When deploying to Vercel or Netlify, configure the above environment variables on the hosting platform; content preview also requires setting CONTENTFUL_PREVIEW_SECRET and configuring the preview URL in Contentful
License & source material
Usage conditions & limitations
Free to use · keep license noticeThis entry covers the free version under the MIT license from the public repository; the free scope is the code of this version and does not imply that external services or third-party assets are free.
Must comply with when using
- Free use, modification, commercial use, and distribution of this version's code are permitted.
- When distributing copies or substantial portions of the code, retain the original author's copyright notice and the full MIT license notice.
- The code is provided as-is; warranties and limitations of liability are governed by the original license and applicable law.
Additional costs & items to verify
- The starter template experience is currently only for new users, requiring creation of a new account through Contentful's signup link and selecting this template for installation; existing account users may not be able to use this installation method.
- Running the template requires configuring Contentful's Space ID, Content Delivery API token, and Content Preview API token, i.e., it depends on Contentful external services and an account.
- Using the content preview feature requires setting the CONTENTFUL_PREVIEW_SECRET environment variable yourself and configuring the preview URL in Contentful.
- Demo images, fonts, icons, and other third-party assets must be verified under their respective licenses and cannot be judged solely by the code's MIT license.
- External services such as domain, hosting, database, payment, or AI may incur additional charges.
View Original Text Basis
Permission is hereby granted, free of charge
Original License Text
The Starter Templates experience is currently only available to new users.
Original README
In order to authenticate the requests to the Contentful APIs, the following values are necessary:
Original README
https://github.com/contentful/template-blog-webapp-nextjs/blob/main/LICENSEhttps://github.com/contentful/template-blog-webapp-nextjs/blob/main/README.mdSet a unique value for `process.env.CONTENTFUL_PREVIEW_SECRET` in your environment variables.
Original README
Compiled by DeepSeek based on repository license and README ·2026-10-02. Results only cover the materials read; dependencies, images, fonts, and subsequent term changes are subject to their respective original texts.
Project checks & description sources
Template Information
- Source platforms
- GitHub
- Documentation and maintenance reference score
- More documented · 88 / 100
- Technologies
- Next.js · React
- Website type
- Blog · Starter
How this score is calculated
Our heuristic uses license records (up to 30), a demo link (12), a preview (10), stars (15), recorded maintenance (15), description completeness (8), feature records (5) and classification data (5). It is not a code, security or performance test, or a Google score. A link does not establish tested functionality.
What to verify for this project
- Repository update recorded
- 2026-09-30
- Screenshot last checked
- 2026-10-02
A demo link is listed. Check it with your own content and viewport sizes; its presence does not confirm that forms, authentication or payments work.
The catalog identifies Next.js as the primary stack. Check the actual dependency manifest and lockfile for versions and hosting requirements. These notes use recorded metadata, not a code audit or a deployment test.
Use a selection guide →How this description was prepared
AI-assisted description based on catalog records and repository material. Repository authors are not automatically the reviewers of this description.
Automatically checked against source and license rules; no manual editorial review.
Inspect the recorded source material
SHA-256: 66cdcd7d9ea7586ae64bb87d353106c4f94a1c32e9d0fb6c6f75ac5154c89c9e
2026-10-02T09:29:05.087Z
Source file / repository# Contentful Blog Starter Template
A Blog Starter Template powered by Next.js & Contentful, pre-designed with optimized & adjustable pages, components, and data management.

$~$
## What is Contentful?
[Contentful](https://www.contentful.com/) provides content infrastructure for digital teams to power websites, apps, and devices. Unlike a CMS, Contentful was built to integrate with the modern software stack. It offers a central hub for structured content, powerful management, and delivery APIs, and a customizable web app that enables developers and content creators to ship their products faster.
$~$
## DISCLAIMER ⚠️
The Starter Templates experience is currently only available to new users.
To benefit from this experience, please follow this link to create a new
account and select the template to install: [https://www.contentful.com/starter-templates/nextjs-blog/sign-up/?action=create_starter_template](https://www.contentful.com/starter-templates/nextjs-blog/sign-up/?action=create_starter_template&utm_source=github.com&utm_medium=referral&utm_campaign=template-blog-webapp-nextjs).
Alternatively, to immediately start the auto installation of this template after creating a new account,
please follow this link:
[https://www.contentful.com/starter-templates/nextjs-blog/sign-up/?action=create_starter_template&template_name=blog](https://www.contentful.com/starter-templates/nextjs-blog/sign-up/?action=create_starter_template&template_name=blog&utm_source=github.com&utm_medium=referral&utm_campaign=template-blog-webapp-nextjs).
$~$
## Begin your journey with Contentful and the Blog Starter Template
Follow this [guide](https://github.com/contentful/template-blog-webapp-nextjs/blob/main/docs/tutorials/contentful-and-the-starter-template.md/?utm_source=github.com-guide&utm_medium=referral&utm_campaign=template-blog-webapp-nextjs) to understand the relationship between
Contentful and the Starter Template source code through guided steps:
- Entry editing, and updates preview in the Starter Template application (online/locally)
- Content type editing in the Contentful web app, as well as in the Starter Template's code
$~$
## Features
- Composable content through powerful & flexible content modeling.
- Localization ready.
- SEO ready.
- Incremental Static Regeneration with Next.js[^1].
- Generation of GraphQL[^2] typed code (schema, and types), in sync with the content types through graphql-codegen[^3].
- Enhanced Developer Experience with TypeScript[^4].
$~$
## Getting started
To get started, read the following guidelines.
- [Environment variables](./README.md#environment-variables)
- [Dependencies](./README.md#dependencies)
- [Development](./README.md#development)
- [Contentful API & GraphQL](./README.md#contentful-api--graphql)
- [Deployment](./README.md#deployment)
$~$
### Environment variables
In order to authenticate the requests to the Contentful APIs, the following values are necessary:
- Your space ID: [https://www.contentful.com/help/find-space-id/](https://www.contentful.com/help/find-space-id/)
- Contentful Delivery API token: [https://www.contentful.com/developers/docs/references/content-delivery-api/](https://www.contentful.com/developers/docs/references/content-delivery-api/)
- Contentful Preview API token: [https://www.contentful.com/developers/docs/references/content-preview-api/](https://www.contentful.com/developers/docs/references/content-preview-api/)
Rename the `.env.example` file to `.env` and add the necessary values.
$~$
### Dependencies
To install the necessary dependencies, run:
```bash
yarn
```
### Run the Starter Template in development mode
```bash
yarn dev
```
The Starter Template should be up and running on `http://localhost:3000`.
All necessary dependencies are installed under `node_modules` and any necessary tools can be accessed via npm scripts.
$~$
## Development
### Husky & git hooks
This repository makes use of [Husky](https://github.com/typicode/husky) to enforce commit hooks.
The config for both the `pre-commit` and `pre-push` hooks can be found in the `.husky` folder, located in the root of the project.
---
#### Pre-commit
Before allowing a commit, we require a successful result from the TypeScript compiler (`tsc`) and our `lint-staged` script will be run.
This ensures all ESLint and Prettier rules are enforced on the files that are staged to be committed.
The `tsc` command is run separately from the `lint-staged` step because we require the Typescript compiler to sample _all_ files.
This is important to ensure that no deviating types were introduced by the [codegen](./README.md#graphql--code-generation) for example.
---
#### Pre-push
The same two tasks are run for pre-push and for pre-commit.
---
#### Overriding the Husky git hooks
In case of wanting to bypass the `pre-commit` or `pre-push` hooks, pass a `--noVerify` flag to your Git commands.
⚠️ Make sure you only use this if you know why you're using it. ⚠️
$~$
### Contentful API & GraphQL
This project makes use of Contentful's [GraphQL API](https://www.contentful.com/developers/docs/references/graphql/).
API calls made to the Contentful GraphQL endpoint are made through `graphql-request`.
The types are generated from the `.graphql` files located in the `/lib/graphql/` directory:
1. `lib/graphql/[fileName].graphql` is detected by the [codegen](./README.md#graphql--code-generation)
2. `lib/__generated/sdk.ts` is generated
3. Within the generated file, their types and a new `getSdk` function are generated
4. The `getSdk` function can now be imported and used within the `getStaticProps` in the pages files
$~$
### GraphQL & code generation
We use `graphql-codegen` to generate a type-safe API client, utilizing [GraphQLClient](https://the-guild.dev/graphql/codegen/plugins/typescript/typescript-graphql-request) as the "client".
---
#### Commands
In order to (re-)generate the GraphQL schema, types and sdk, please use either of the following commands:
- `yarn graphql-codegen:generate` generates a schema, types and code to fetch data from the Contentful APIs
- `yarn graphql-codegen:watch` similar to the `generate` command, but it runs as a watch task which will rerun the steps when changes are made in the `.graphql` files
The first steps of the codegen generate files that contain the GraphQL schema and matching TypeScript types. All these files are located in the `src/lib/graphql` folder.
They're generated to the `src/lib/__generated` folder and ought to be committed once altered/added to the repository.
The TS types for these files are generated in the same location, in a `__generated` folder and like the other files ought to be committed.
---
#### Configuration
The configuration for the codegen can be found in `codegen.ts`, located in the root of the project.
$~$
---
$~$
## Deployment
The Starter Template can be deployed to your hosting provider of choice.
We offer integrations with Vercel and Netlify to speed up the process by clicking one of the deploy buttons below. The GitHub repository and
the necessary environment variables keys are pre-configured in the hosting provider space.
| Vercel | Netlify |
| -------------------------------------------------------------------------------------------------------------------------------------------------------------------------------------------------------------------------------------------------------------------------------------------------------------------------------------------------------------------------------------------------------------------- | -------------------------------------------------------------------------------------------------------------------------------------------------------------------------------------------------------------------------------------------------------------------------------- |
| [](https://vercel.com/new/clone?repository-url=https%3A%2F%2Fgithub.com%2Fcontentful%2Ftemplate-blog-webapp-nextjs&env=CONTENTFUL_SPACE_ID,CONTENTFUL_ACCESS_TOKEN,CONTENTFUL_PREVIEW_ACCESS_TOKEN&envDescription=API%20Keys%20needed%20for%20the%20application&envLink=https%3A%2F%2Fgithub.com%2Fcontentful%2Ftemplate-blog-webapp-nextjs%23environment-variables) | [](https://app.netlify.com/start/deploy?repository=https%3A%2F%2Fgithub.com%2Fcontentful%2Ftemplate-blog-webapp-nextjs#CONTENTFUL_SPACE_ID=&CONTENTFUL_ACCESS_TOKEN=&CONTENTFUL_PREVIEW_ACCESS_TOKEN=) |
| [Environment variables docs](https://vercel.com/docs/concepts/projects/environment-variables) | [Environment variables docs](https://docs.netlify.com/environment-variables/overview/) |
Make sure to add the necessary [environment variables values](./README.md#environment-variables) to the hosting provider
environment variables.
---
## Content preview
Once you have the Starter Template deployed on your hosting provider, you can update the Content preview URL in your space settings.
You can follow our guide to learn how to do
so: [https://www.contentful.com/help/setup-content-preview](https://www.contentful.com/help/setup-content-preview/?utm_source=github.com-preview-guide&utm_medium=referral&utm_campaign=template-marketing-webapp-nextjs).
For the live preview the basic field tagging for the inspector mode and live updates are already implemented.
For custom components, you can find the instructions at our [guide](https://www.contentful.com/developers/docs/tutorials/general/live-preview/).
### Adjustments in code
1. Set a unique value for `process.env.CONTENTFUL_PREVIEW_SECRET` in your environment variables. This value should be kept secret and only known to the API route and the CMS.
2. Configure the entry preview URLs in Contentful to match the draft API route's URL structure. This can be done in the Contentful web interface under "Settings" for each content type. For more information see: https://www.contentful.com/help/setup-content-preview/#preview-content-in-your-online-environment
3. The draft mode API route is already written in the app and can be found in `src/app/api/enable-draft/route.ts`. This route checks for a valid secret and slug before redirecting to the corresponding page\*.
_\*The `slug` field is optional; When not passed we redirect the page to the root of the domain._
### Adjustments in Contentful
1. Next, you will need to configure your Contentful space to use the correct preview URLs. To do this, go to the "Settings" section of your space, and click on the "Content Preview" tab. From here, you can configure the preview URLs for each of your content models.
2. Edit all content models that need a preview url. We usually expect that to only be the models prefixed with `📄 page -`.
3. Add a new URL with the following format: `https://<your-site>/api/enable-draft?path=%2F{locale}%2F{entry.fields.slug}&x-contentful-preview-secret=<token>`. Make sure to replace `<your-site>` with the URL of your Next.js site, and `<token>` with the value of `process.env.CONTENTFUL_PREVIEW_SECRET`.
4. Now, when you view an unpublished entry in Contentful, you should see a "Preview" button that will take you to the preview URL for that entry. Clicking this button should show you a preview of the entry on your Next.js site, using the draft API route that we set up earlier.
$~$
---
$~$
## Support
If you have a problem with this Starter Template, post a message in our [Contentful Community Slack](https://www.contentful.com/slack/).
Can't find your answer there? You can file a feedback issue through [this template](https://github.com/contentful/template-blog-webapp-nextjs/tree/main/.github/ISSUE_TEMPLATE/feedback.md).
If you have other problems with Contentful not related to the Starter Template, you can contact the [Customer Support](https://support.contentful.com/).
$~$
## Contributing
See [CONTRIBUTING.md](./CONTRIBUTING.md).
$~$
## License
MIT License, see [LICENSE](./LICENSE).
$~$
<!-- FOOTNOTES -->
[^1]: [Next.js docs](https://nextjs.org/docs/basic-features/data-fetching/get-static-props)
[^2]: [GraphQL docs](https://graphql.org/learn/)
[^3]: [graphql-codegen](https://www.the-guild.dev/graphql/codegen)
[^4]: [TypeScript](https://www.typescriptlang.org/)
[^note]: [React docs](https://reactjs.org/docs/getting-started.html)
Explore similar templates
Compare previews and descriptions within the same stack and category.

Next.js SaaS Starter
The official Next.js SaaS starter template, integrating email/password authentication, Stripe Checkout subscriptions, a dashboard with user/team CRUD, basic Owner/Member RBAC, and activity logging.
Next.js · SaaS

Next.js Commerce
Vercel's officially maintained Next.js App Router ecommerce starter with deep Shopify integration, offering a complete product catalog, cart, and checkout flow. Core logic is modular for swapping backends, and community provider versions exist for BigCommerce, Medusa, and Saleor.
Next.js · E-commerce

Next-js-Boilerplate
A developer-first Next.js 16 starter with Tailwind CSS 4 and TypeScript, supporting both App Router and Page Router.
Next.js · Starter

tailwind-nextjs-starter-blog
A Next.js and Tailwind CSS blog starter template using Contentlayer for Markdown/MDX, with built-in SEO, code highlighting, and tags. It targets personal technical blogs and migration from Jekyll/Hugo to React, and supports one-click Vercel deployment.
Next.js · Blog

next-forge
next-forge is a Turborepo-based Next.js template maintained by Vercel, positioned as a starting point for SaaS products.
Next.js · Starter
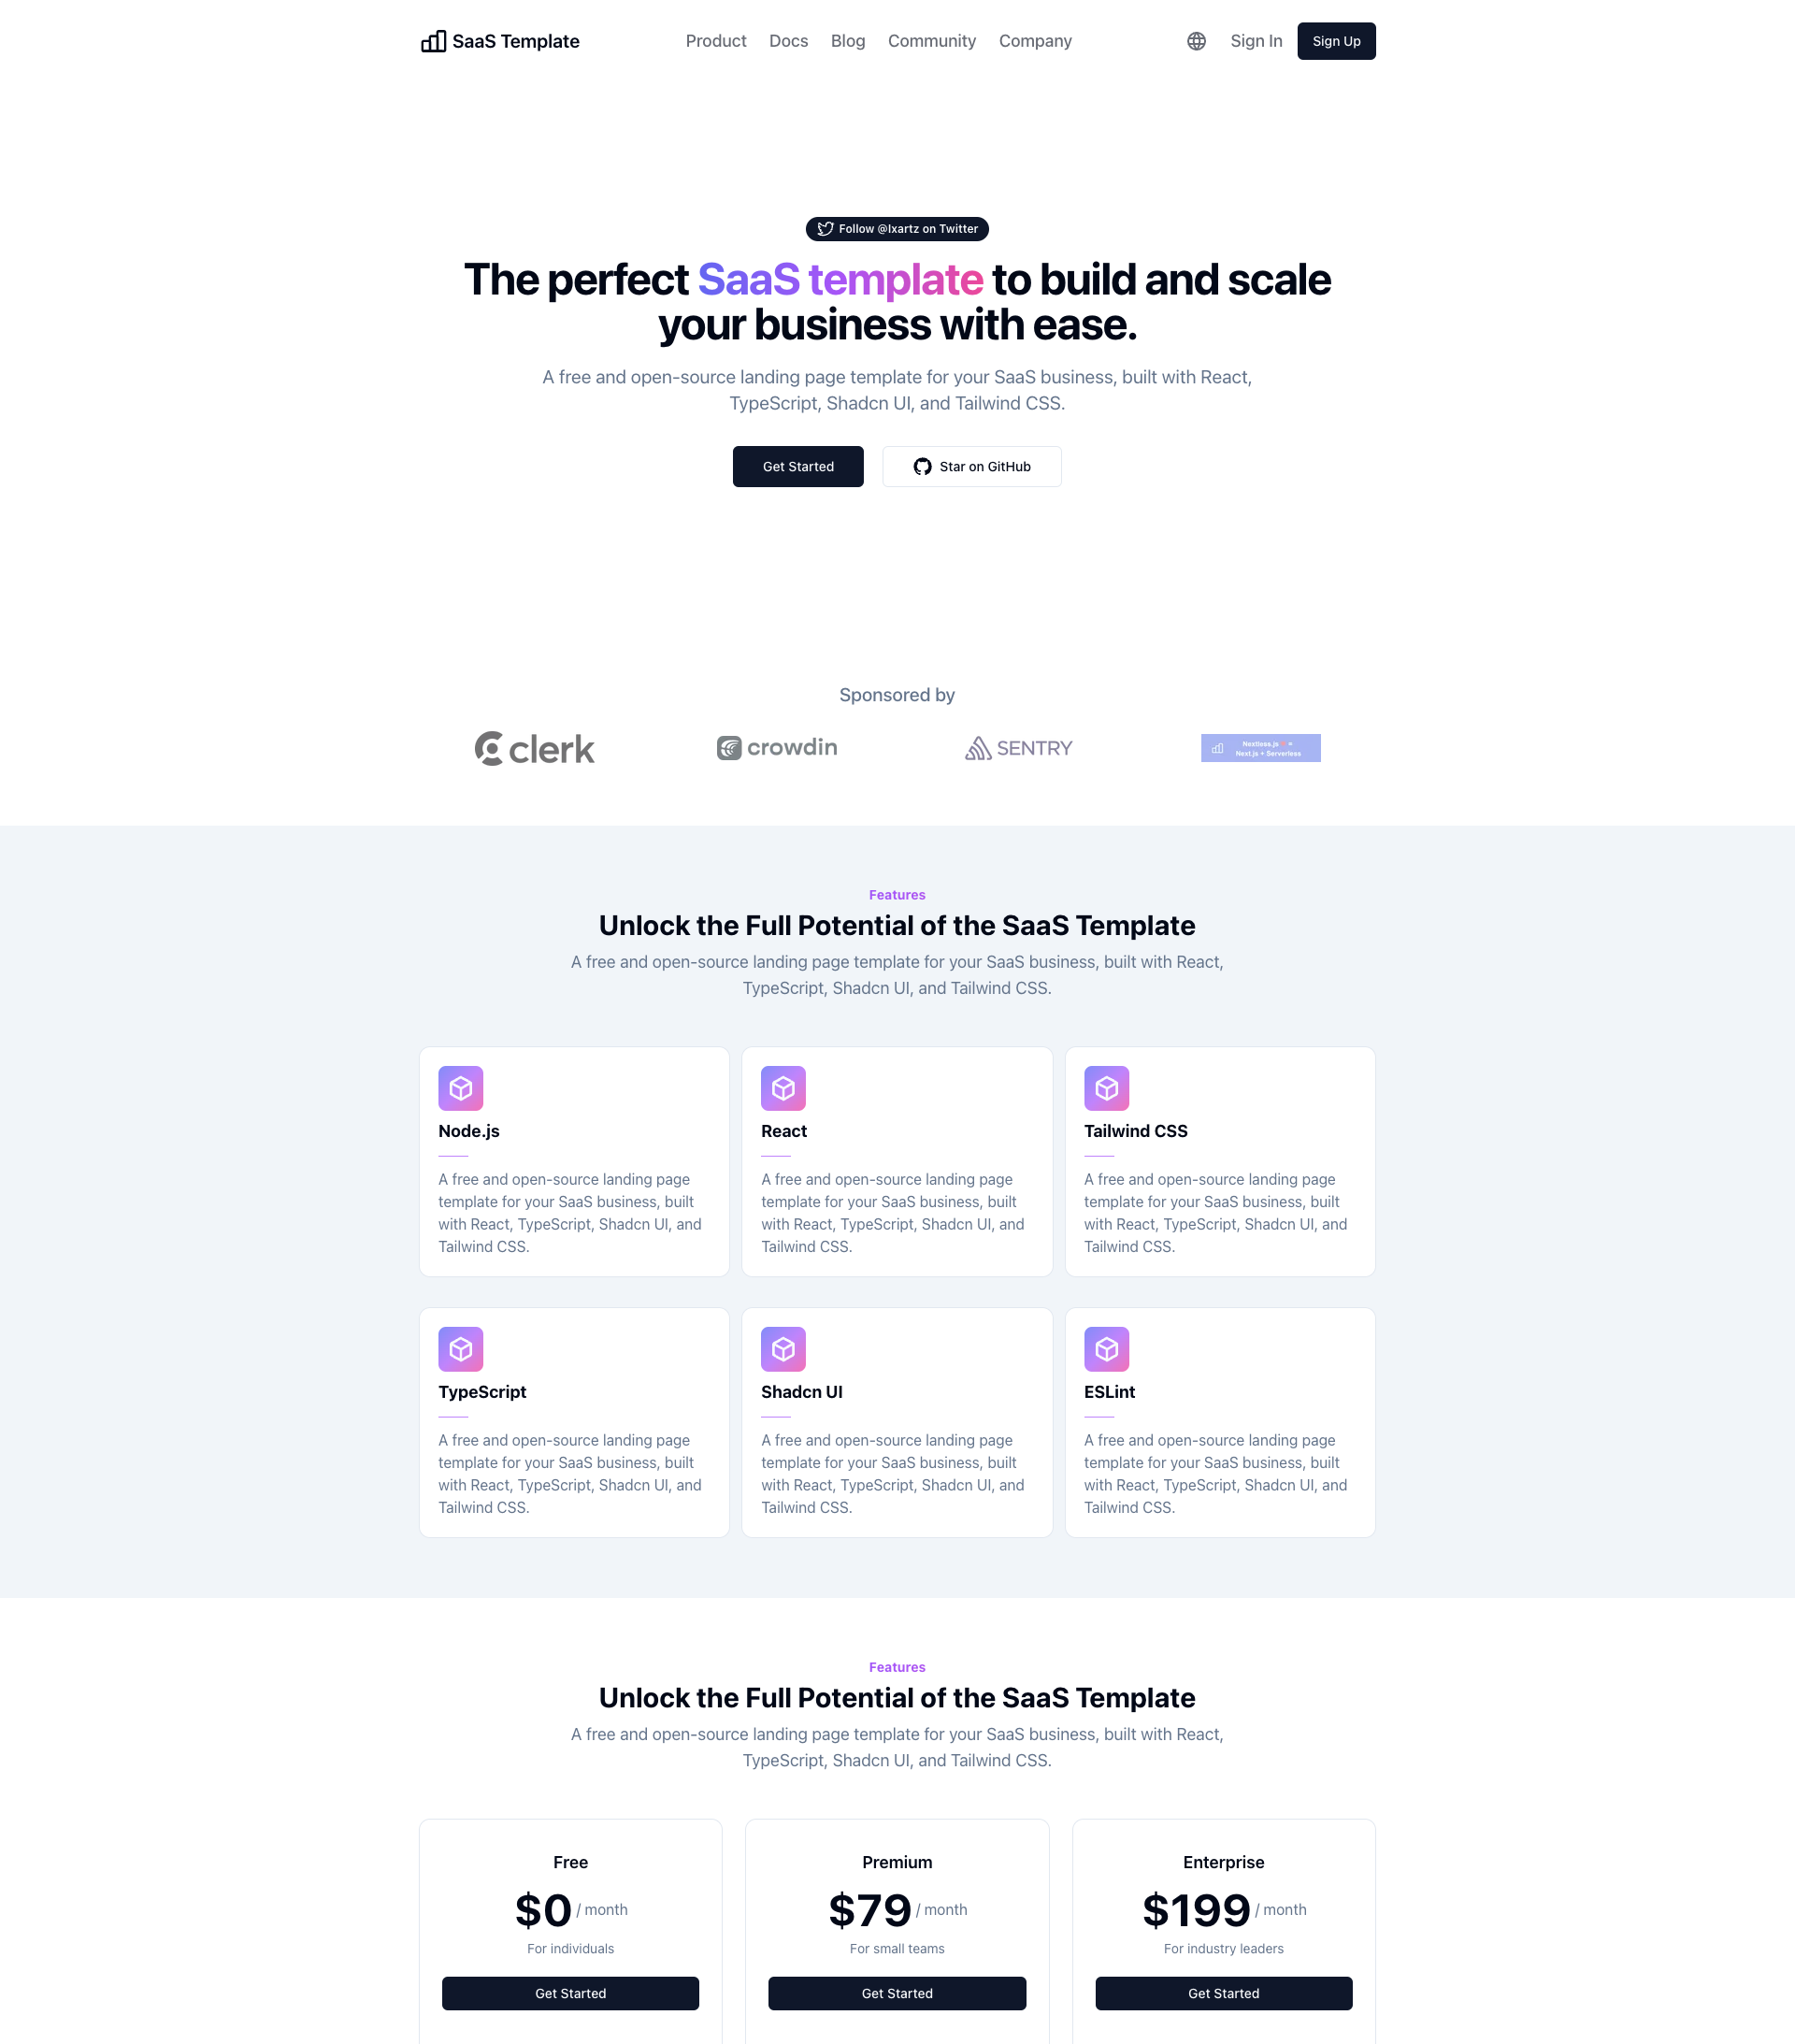
SaaS-Boilerplate
SaaS-Boilerplate is an open-source SaaS starter template built with Next.js App Router, React 19, TypeScript, Tailwind CSS, and Shadcn UI.
Next.js · SaaS