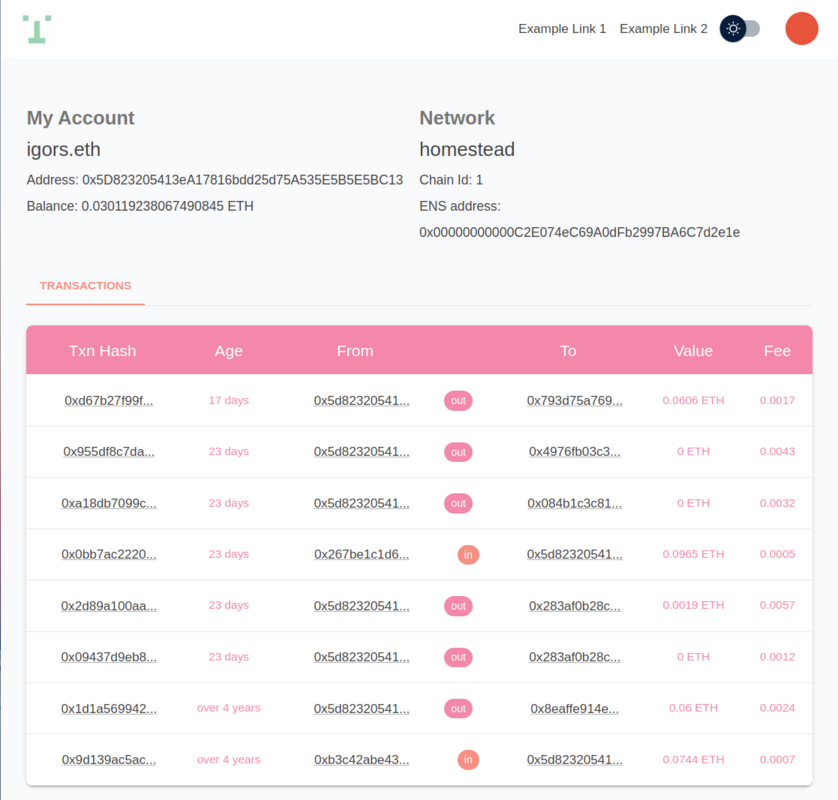
Integrates web3modal to support EIP-1193 wallet connections such as MetaMask, Coinbase Wallet, and Wallet Connect
Next.jsReactStarter
web3-starter-kit — Next.js Starter Template
By eth-salt-lake
A Web3 decentralized application frontend starter template based on Next.js and React, integrating wallet connection, Material-UI theming, and an Etherscan transaction query API.
Explore the design
Compare the page layouts and mobile experience. Open any screenshot for a closer look.
Author preview
Author-provided previewTop of page
Preview provided in the project README.
One original preview is available. Open the full image to inspect the design.
Screenshots show visual appearance; interactive behavior may differ.
Recorded 2026-10-04View source
What stands out
A quick read of the recorded project description.
Provides an API endpoint to fetch a user's latest transactions from Etherscan
Configures frontend network parameters and API keys separately via config.ts and .env files
Uses redux-toolkit for state management and ethers.js's Web3Provider for on-chain interactions
Offers convenient Web3 hook methods such as connect, connectTo, disconnect, and wallet
Uses Material-UI for styling customization, with support for light and dark default themes
Template Details
This is a starter template for decentralized application frontends, building interfaces with Next.js, React, TypeScript, and Material-UI, and providing wallet connection capabilities through web3modal. The README describes its positioning as boilerplate code for new projects, a teaching resource, and a flexible starting point that is easy to customize.
Functionally, the template supports wallet connections for EIP-1193 providers such as MetaMask, Coinbase Wallet, and Wallet Connect, and caches the currently connected wallet. It also provides an API endpoint to fetch a user's latest transactions from Etherscan (or a similar service). State management uses redux-toolkit, and on-chain interactions are based on ethers.js's Web3Provider.
Configuration is split into two parts: on the API side, the application name, Etherscan API Key, and endpoint address are set via .env.local and .env.production; on the frontend side, the Etherscan base link, network token symbol, default network ID, application name, and default theme (light/dark) are set via config.ts in the root directory. The README includes a table of common chain IDs and explains the difference between the connect and connectTo hook methods: the former connects to any chain, while the latter requires the user to switch to or add a specified network.
Note that the styling customization section in the README is marked as TDB and does not specify where to make changes; the clone command example points to the dao-app repository address, which does not match the current repository name. The template is released under the MIT license, but third-party assets such as demo images, fonts, and icons require separate license verification, and external services such as domains and hosting may incur costs.
Next.jsReactStarter
Is it right for your project?
Use Cases
- Quickly starting a new decentralized application frontend project as boilerplate code
- Learning how Next.js, React, and Web3 libraries work together
- Building a dApp interface prototype with wallet connection and transaction history display
- Serving as a Web3 frontend example for teaching or demonstration purposes
Suitable For
- Developers who need a Web3 frontend starter template
- Teams looking to understand wallet connection and Etherscan API integration
- Frontend projects using the Next.js, React, and TypeScript stack
- dApp projects that need customizable network and theme configuration
Getting started & customization
Use these recorded setup notes alongside the repository instructions for your chosen version.
- 1
After cloning the repository, run cp env.local.example .env.local to prepare environment variables
- 2
Fill in APP_NAME, ETHERSCAN_API_KEY, and ETHERSCAN_API_ENDPOINT in the .env file
- 3
Set the default network ID, token symbol, application name, and theme in config.ts in the root directory
- 4
Run npm install to install dependencies, then npm run dev to start the development server, which runs at http://localhost:3000 by default
- 5
For production builds, use npm run build and npm run start; the README mentions deployment to Vercel
License & source material
Usage conditions & limitations
Free to use · keep license noticeThis entry covers the free version under the MIT license in the public repository; the free scope is the code of this version and does not mean external services or third-party assets are free.
Must comply with when using
- Free use, modification, commercial use, and distribution of this version's code are permitted.
- When distributing copies or substantial portions of the code, retain the original author's copyright notice and the full MIT license notice.
- The code is provided as is; warranties and limitations of liability are governed by the original license and applicable law.
Additional costs & items to verify
- Using the transaction query feature requires applying for an Etherscan (or similar service) API Key and configuring ETHERSCAN_API_KEY in the .env file; otherwise, the user's latest transaction data cannot be fetched.
- The ETHERSCAN_API_ENDPOINT must be configured according to Etherscan documentation; if switching to an L2 chain such as Polygon, it must be replaced with the corresponding block explorer endpoint, and external service availability and quotas are subject to their terms.
- The README recommends deploying with Vercel, which is a third-party hosting service that may incur costs or be subject to its terms of service, and is not part of the free code license of the template itself.
- Demo images, fonts, icons, and other third-party assets must be checked against their respective licenses and cannot be judged solely by the code's MIT license.
- External services such as domains, hosting, databases, payments, or AI may incur additional charges.
View Original Text Basis
Permission is hereby granted, free of charge
Original License Text
To request information directly from `etherscan` (or etherscan like service) you need an API key.
Original README
Check the documentation for an endpoint [here](https://docs.etherscan.io/getting-started/endpoint-urls).
Original README
https://github.com/eth-salt-lake/web3-starter-kit/blob/main/LICENSEhttps://github.com/eth-salt-lake/web3-starter-kit/blob/main/README.mdThe easiest way to deploy your Next.js app is to use the [Vercel Platform]
Original README
Compiled by DeepSeek based on repository license and README ·2026-10-04. Results only cover the materials read; dependencies, images, fonts, and subsequent term changes are subject to their respective original texts.
Project checks & description sources
Template Information
- Source platforms
- GitHub
- Documentation and maintenance reference score
- Partly documented · 65 / 100
- Technologies
- Next.js · React
- Website type
- Starter
How this score is calculated
Our heuristic uses license records (up to 30), a demo link (12), a preview (10), stars (15), recorded maintenance (15), description completeness (8), feature records (5) and classification data (5). It is not a code, security or performance test, or a Google score. A link does not establish tested functionality.
What to verify for this project
- Repository update recorded
- 2022-12-03
- Screenshot last checked
- 2026-10-04
No demo link is recorded. Use the repository instructions to evaluate the project locally; the screenshot alone cannot establish interactive behavior.
The catalog identifies Next.js as the primary stack. Check the actual dependency manifest and lockfile for versions and hosting requirements. These notes use recorded metadata, not a code audit or a deployment test.
Use a selection guide →How this description was prepared
AI-assisted description based on catalog records and repository material. Repository authors are not automatically the reviewers of this description.
Review declaration: [email protected] · 2026-10-04
Inspect the recorded source material
SHA-256: 09baa7b93b6b2d9a79bde4796e0f6f442bb61df4d2691c46bd0aa1c4d3d0ebec
2026-10-04T00:25:02.845Z
Source file / repository# Web3 Starter Kit
Web3 Starter Kit is flexible production grade **Web3** boilerplate with [Next.js 12](https://nextjs.org/blog/next-12), [React.js](https://reactjs.org/), [Material-UI](https://mui.com/), [Typescript](https://www.typescriptlang.org/) and [web3modal](https://github.com/Web3Modal/web3modal).
It's a user interface for your decentralized application.
Includes wallet connection for most popular javascript [EIP-1193](https://eips.ethereum.org/EIPS/eip-1193) providers:
- [MetaMask](https://metamask.io/)
- [Coinbase Wallet](https://www.coinbase.com/wallet)
- [Wallet Connect](https://walletconnect.com/)
- Retrieval of users **latest transactions** from etherscan
Web3 Starter Kit is meant:
- to be used as **boilerplate** to quickly deploy new project
- to be used as **educational** resource
- to be **flexible** accomodating **easy customization**
# Why
Finding out which web3 libraries work together is still a difficult job. Web3 Started Kit aims to boild down the complexity to simple configuration.
## Preview

# Quick start
## Running locally in development mode
1. `git clone https://github.com/eth-salt-lake/dao-app.git` clones the Web3 Starter Kit repository
2. `cd dao-app && git checkout main` checks out the desired branch
3. `cp env.local.example .env.local` prepares environment variables for development
4. `npm install` installs dependencies
5. `npm run dev` runs development server
That's it. The project should run on your local computer `http://localhost:3000`
# Features
- based om latest [Next.js](https://nextjs.org/)
- styling customization with [material design]((https://mui.com/))
- Wallet connections and current connected wallet caching with [web3-react (beta)](https://github.com/NoahZinsmeister/web3-react)
- state management with [redux-toolkit](https://github.com/reduxjs/redux-toolkit)
- [dotenv](https://github.com/motdotla/dotenv), and more...
# Guides
The Web3 app has 2 configurations.
1. One for the API, which is used to communicate with etherscan to retrieve users latest transactions. (environment files: `.env.local`, `.env.production`)
2. One for the Frontend part which is used to configure to which wallets and which blockchains you'd like your users to interact with. (file: `config.ts`)
## API Configuration
In development create in the root folder file `.env.local`, for production `.env.production`:
```
.env.local
.env.production
```
Contents:
```
APP_NAME=My Web3 Project Name
ETHERSCAN_API_KEY=mykey
ETHERSCAN_API_ENDPOINT=https://api-testnet.polygonscan.com/api
```
`APP_NAME`
Custom app name
`ETHERSCAN_API_KEY`
To request information directly from `etherscan` (or etherscan like service) you need an API key. For example for [etherscan.io](https://etherscan.io) go to: `https://etherscan.io/myapikey` and create one.
`ETHERSCAN_API_ENDPOINT`
Check the documentation for an endpoint [here](https://docs.etherscan.io/getting-started/endpoint-urls). Or if you'd like to connect to L2 chain like [Polygon](https://polygon.technology/) then check the endpoints [here](https://docs.polygonscan.com/getting-started/endpoint-urls).
## Frontend Configuration
```
root
|_config.ts
```
Contents:
```
export const ETHERSCAN_URL = 'https://etherscan.io/';
export const NETWORK_COIN_SYMBOL = 'ETH';
export const DEFAULT_NETWORK_ID = 1; // check folder web/chain.ts for more network IDs
export const APP_NAME = "Web3 Started Kit"
export const DEFAULT_APP_THEME = 'light'; // light, dark
```
`ETHERSCAN_URL`
Base URl from the transactions table to etherscan for more details.
`NETWORK_COIN_SYMBOL`
Display value for selected chains currency
`APP_NAME`
Custom app name.
`DEFAULT_APP_THEME`
`light` or `dark`.
`DEFAULT_NETWORK_ID`
The selected network Web3 will communicate with.
Helper chain table:
| Chain ID | Network |
|----------|---------|
| 1 | Mainnet |
| 3 | Ropsten |
| 4 | Rinkeby |
| 5 | Goerli |
| 10 | Optimism |
| 42 | Kovan |
| 56 | BSC |
| 137 | Polygon |
| 42161 | Arbitrum One |
| 43114 | Avalanche |
| 80001 | Polygoin Mumbai |
## Usage - Web3 convenience methods
TO access Web3 method use our `web3 hook`:
```javascript
const { connect, connectTo, disconnect, wallet } = useWeb3();
```
### `connect` and `connectTo`
The `connect` and `connectTo` are shortcuts to instantiate [web3modal](https://github.com/Web3Modal/web3modal) connection wizard. Most of the times this will be users first needed step to interact with your dApp.
`connect` allows user to connect to any blockchain.
`connecTo` will ask user to switch or add the blockchain network you'd like user to connect to. connectTo required 1 parameter which you can find in `blockchains.ts` file.
For further customization of web3modal please visit [web3modal GitHub](https://github.com/Web3Modal/web3modal#usage).
### `disconnect`
Disconnects users wallet.
### `wallet`
wallet holds connected wallets information. The structure is defined in folder `types`:
```javascript
export interface MyWallet {
address?: string;
ensName?: string;
avatar?: string;
}
```
### `provider`
Web3 Starter Kit is built on top of [ethers.js v5](https://docs.ethers.io/v5/). Ethers.js allows various interactions with Blockchains, such as sending transactions and interacting with your deployed contracts.
Provider is an instance of `ethers.providers.Web3Provider` with an established connection to desired blockchain (see `Frontend configuration`).
For full documentation on ethers.js please visit their [documentation page](https://docs.ethers.io/v5/api/).
## API Endpoints
Endpoint for getting users latest transactions.
```
|-- pages/api/transactions/[walletaddress].ts
```
## Styling with Material Design
TDB (Where to modify it)
##
---
# Building and deploying in production
If you wanted to run this site in production, you should install modules then build the site with `npm run build` and run it with `npm run start`:
```
npm install
npm run build
npm run start
```
## Deploy on Vercel
The easiest way to deploy your Next.js app is to use the [Vercel Platform](https://vercel.com/new?utm_medium=default-template&filter=next.js&utm_source=create-next-app&utm_campaign=create-next-app-readme) from the creators of Next.js.
Check out our [Next.js deployment documentation](https://nextjs.org/docs/deployment) for more details.
Explore similar templates
Compare previews and descriptions within the same stack and category.

Next.js SaaS Starter
The official Next.js SaaS starter template, integrating email/password authentication, Stripe Checkout subscriptions, a dashboard with user/team CRUD, basic Owner/Member RBAC, and activity logging.
Next.js · SaaS

Next.js Commerce
Vercel's officially maintained Next.js App Router ecommerce starter with deep Shopify integration, offering a complete product catalog, cart, and checkout flow. Core logic is modular for swapping backends, and community provider versions exist for BigCommerce, Medusa, and Saleor.
Next.js · E-commerce

Next-js-Boilerplate
A developer-first Next.js 16 starter with Tailwind CSS 4 and TypeScript, supporting both App Router and Page Router.
Next.js · Starter

tailwind-nextjs-starter-blog
A Next.js and Tailwind CSS blog starter template using Contentlayer for Markdown/MDX, with built-in SEO, code highlighting, and tags. It targets personal technical blogs and migration from Jekyll/Hugo to React, and supports one-click Vercel deployment.
Next.js · Blog

next-forge
next-forge is a Turborepo-based Next.js template maintained by Vercel, positioned as a starting point for SaaS products.
Next.js · Starter
SaaS-Boilerplate
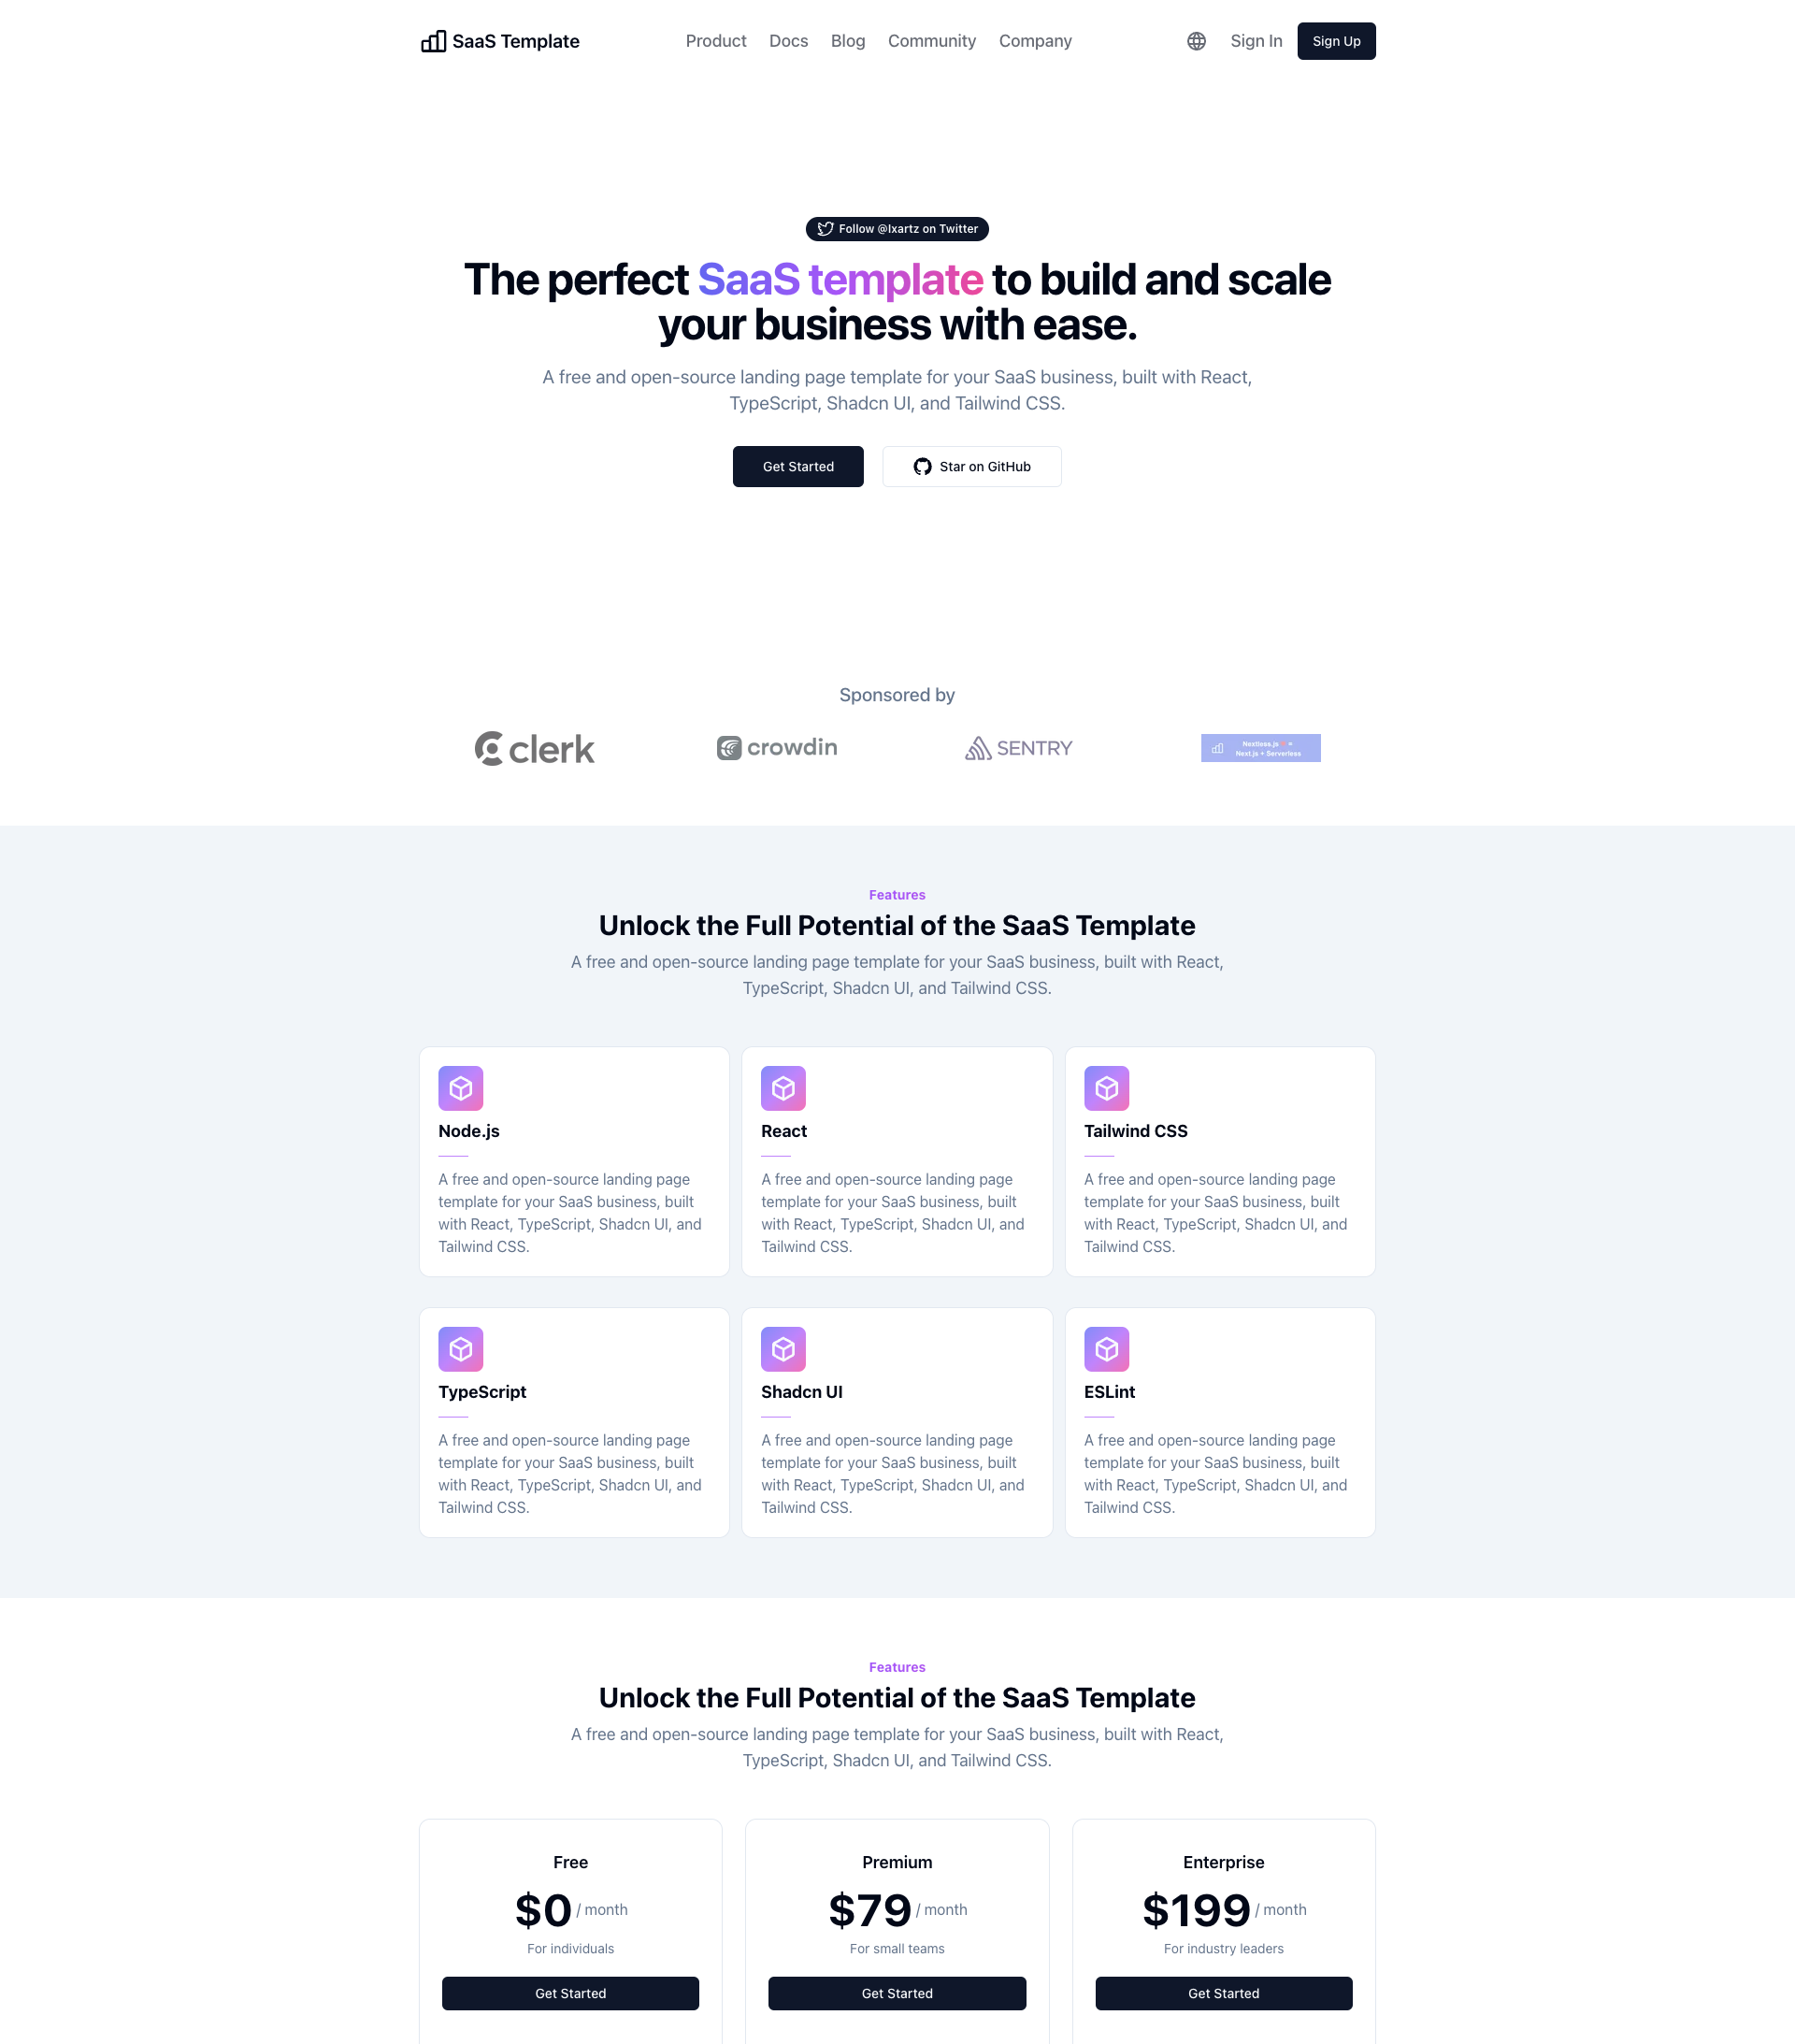
SaaS-Boilerplate is an open-source SaaS starter template built with Next.js App Router, React 19, TypeScript, Tailwind CSS, and Shadcn UI.
Next.js · SaaS