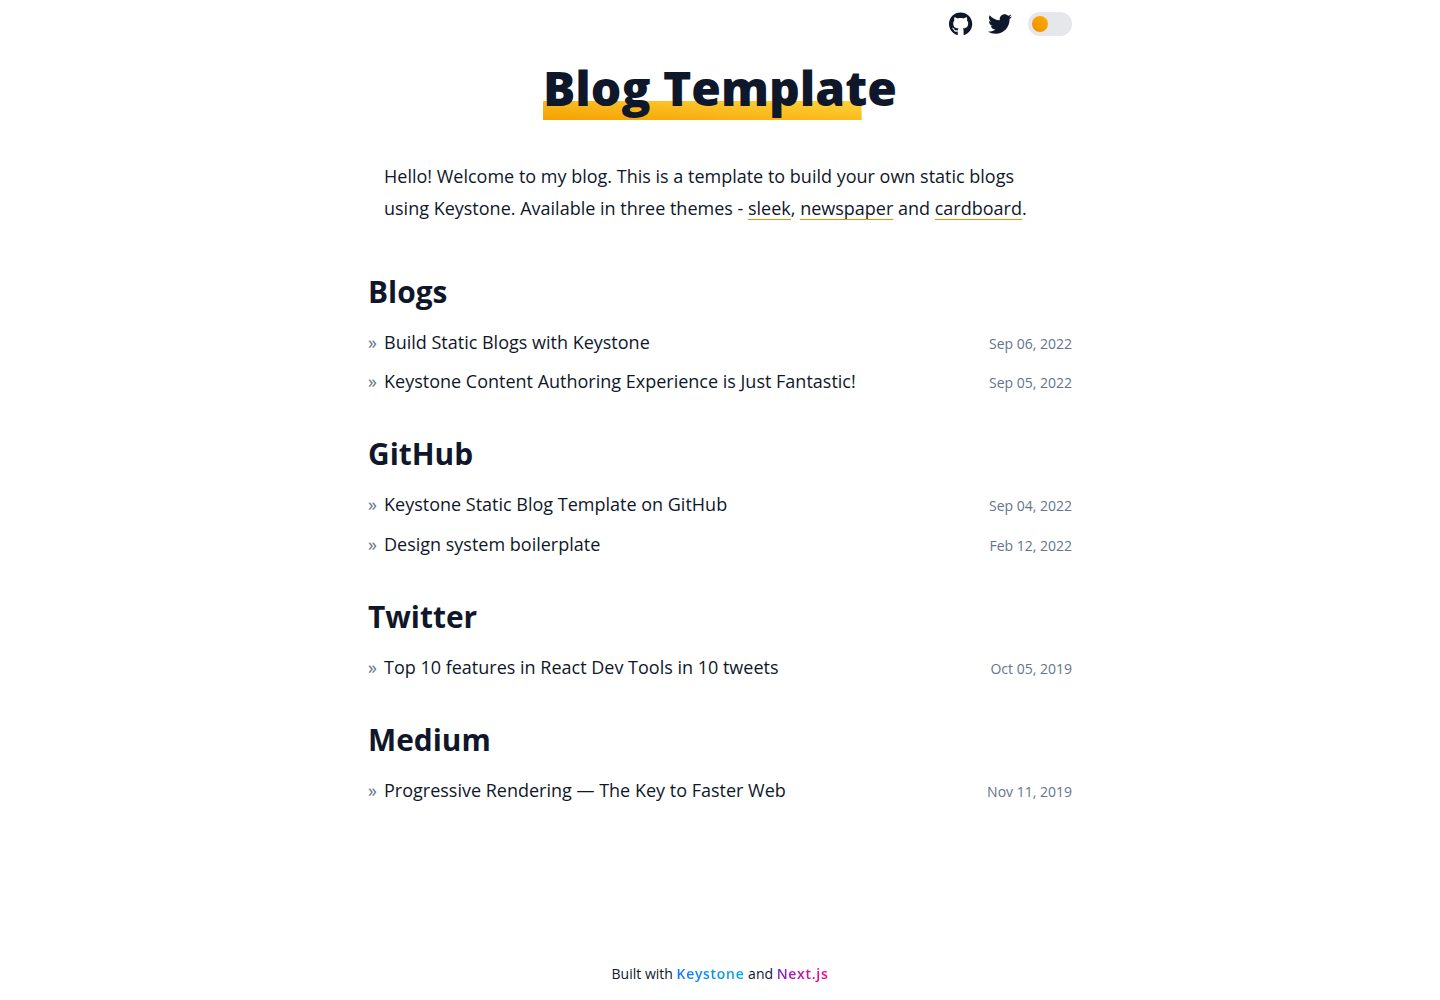
Monorepo structure with keystone-server and blog-sleek workspaces handling content service and frontend respectively
Next.jsReactBlogStarter
keystone-static-blog — Next.js Blog Template
By flexdinesh
A static blog starter template based on Keystone and Next.js. Content is written locally in Keystone's visual editor and exported as a pure static site at build time.
Explore the design
Compare the page layouts and mobile experience. Open any screenshot for a closer look.
Desktop homepage1 / 3
Desktop captureTop of page
Actual screenshot captured by the server browser.
All pages & views 3
Screenshots show visual appearance; interactive behavior may differ.
Recorded 2026-10-03View source
What stands out
A quick read of the recorded project description.
Content is written visually in the local Keystone admin UI and statically exported as a pure static site at build time
Uses Keystone document field with prebuilt custom components including hero images, quote blocks, tweet embeds, YouTube embeds, callouts, and syntax-highlighted code blocks
Styling is based on a Tailwind configuration-based theme, making it easy to extend and customize
Includes an example GitHub Actions configuration for automatic deployment to Netlify
Template Details
This is a starter template for building static blog websites. The repository uses a monorepo structure: the keystone-server workspace runs the Keystone content service, and the blog-sleek workspace is the Next.js frontend (theme directories are named blog-{theme}). Content is written visually in the local Keystone admin UI. At build time, Keystone provides content and Next.js performs static export, generating HTML, JS, and CSS files that can be deployed to any static hosting.
The template uses Keystone's document field to organize post content and includes several prebuilt custom components, such as hero images, custom quote blocks, embedded tweets, embedded YouTube videos, callout blocks, and syntax-highlighted code blocks. Compared with MDX blogs, the difference is that content is written through a visual editor with instant preview, and custom components only need to be written in React. Styling is based on a Tailwind configuration-based theme, making it easy to extend and adjust.
There are some clear usage constraints: yarn must be installed; during local development, the Keystone service defaults to port 3000 and the Next.js frontend to port 8000; the Keystone service must be running during the build, so building in CI requires Docker support (the template provides yarn export:docker). CI environments without Docker support can instead use GitHub Actions to build and then publish. The repository includes an example GitHub Actions configuration for Netlify deployment.
Next.jsBlogStarter
Is it right for your project?
Use Cases
- Personal sites where content is written with a visual editor and a static blog is generated at build time
- Blogs that need custom components such as carousels, video embeds, tweet embeds, and syntax-highlighted code in posts
- Projects that want to deploy the generated output to static hosting such as Netlify, Vercel, Cloudflare Pages, Fastly, or AWS S3
- Workflows that want to automatically build and publish the blog after commits via GitHub Actions
Suitable For
- Developers who accept running the Keystone service locally and building static files themselves
- Projects using yarn as the package manager
- Blog authors who need visual content editing and custom React content components
- Users planning to host the static output on any static hosting platform
Getting started & customization
Use these recorded setup notes alongside the repository instructions for your chosen version.
- 1
Install yarn first, then run yarn in the project root to install dependencies
- 2
Running yarn dev in the root starts both the Keystone service (http://localhost:3000) and the sleek template (http://localhost:8000); running them separately in the keystone-server and blog-sleek directories is recommended
- 3
Content is written in the Keystone admin UI at http://localhost:3000; Posts is used to create new blog posts, and Links is used for external links
- 4
To generate the static site, keep the Keystone service running and run yarn export in the blog-sleek directory; output goes to blog-sleek/out; use yarn serve for local preview
- 5
Building in CI requires Docker support; use yarn export:docker; for CI without Docker support, refer to the GitHub Actions workflow in the repository
License & source material
Usage conditions & limitations
Free to use · keep license noticeThis entry covers the free version in the public repository under the MIT license; the free scope is the code of that version and does not mean external services or third-party assets are free.
Must comply with when using
- Free use, modification, commercial use, and distribution of this version's code are permitted.
- When distributing copies or substantial portions of the code, retain the original author's copyright notice and the full MIT license notice.
- The code is provided as is; warranties and limitations of liability are governed by the original license and applicable law.
Additional costs & items to verify
- Using this template requires installing the yarn package manager locally; without yarn, dependencies cannot be installed and the project cannot be started.
- When building in CI, because the build process requires the local Keystone service to be running, not all static hosting CI environments support it; a Docker environment (yarn export:docker) is required to complete the build.
- Using the repository's built-in automatic deployment workflow requires registering a Netlify account and creating a personal access token and site ID configured in GitHub Secrets.
- Automatic deployment to Netlify requires generating a Netlify personal access token (API key) and configuring it as a repository secret, which is an external service credential requirement.
- When syncing upstream template updates, if conflicts occur, a destructive git reset --hard may be needed, which can lose local data; back up in advance with yarn backup.
- Demo images, fonts, icons, and other third-party assets must be checked against their respective licenses; the code's MIT license alone cannot be used to judge them.
- External services such as domains, hosting, databases, payments, or AI may incur additional charges.
View Original Text Basis
Permission is hereby granted, free of charge
Original License Text
You will need to have [yarn MacOS install using Homebrew](https://formulae.brew.sh/formula/yarn) installed in your machine to get started.
Original README
Not all static hosting CI's support running a local server. So the build process needs to be dockerised.
Original README
Create an account with Netlify.
Original README
Goto Netlify _User Settings -> OAuth -> Personal access tokens_ and create a new access token and copy the value.
Original README
https://github.com/flexdinesh/keystone-static-blog/blob/main/LICENSEhttps://github.com/flexdinesh/keystone-static-blog/blob/main/README.mdAlternately you can run this destructive `git reset --hard upstream/main` to reset everything from the fork without having to worry about merging conflicts but you'll lose your data so remember to take a backup if needed.
Original README
Compiled by DeepSeek based on repository license and README ·2026-10-03. Results only cover the materials read; dependencies, images, fonts, and subsequent term changes are subject to their respective original texts.
Project checks & description sources
Template Information
- Source platforms
- GitHub
- Documentation and maintenance reference score
- More documented · 77 / 100
- Technologies
- Next.js · React
- Website type
- Blog · Starter
How this score is calculated
Our heuristic uses license records (up to 30), a demo link (12), a preview (10), stars (15), recorded maintenance (15), description completeness (8), feature records (5) and classification data (5). It is not a code, security or performance test, or a Google score. A link does not establish tested functionality.
What to verify for this project
- Repository update recorded
- 2022-10-09
- Screenshot last checked
- 2026-10-03
A demo link is listed. Check it with your own content and viewport sizes; its presence does not confirm that forms, authentication or payments work.
The catalog identifies Next.js as the primary stack. Check the actual dependency manifest and lockfile for versions and hosting requirements. These notes use recorded metadata, not a code audit or a deployment test.
Use a selection guide →How this description was prepared
AI-assisted description based on catalog records and repository material. Repository authors are not automatically the reviewers of this description.
Automatically checked against source and license rules; no manual editorial review.
Inspect the recorded source material
SHA-256: 9e77276889ecbaef590c9403c520a208ae918952be836cb0c1f34de7b762c6b3
2026-10-03T00:13:05.126Z
Source file / repository# Static Blogs with Keystone
<p align="center">
<img src="blog-sleek/public/images/meta-image.png" alt="Static Blogs with Keystone" width="75%"/>
</p>
This is a starter template to build statically generated blog-like websites with [Keystone](https://keystonejs.com/) and [Next.js](https://nextjs.org/). The template is built with and styled using [Tailwind's configuration based theme](https://tailwindcss.com/docs/theme) which makes it easy to extend and customise it.
> Check it out here — [Static Blogs with Keystone](https://staticblogswithkeystone.netlify.app).
## Getting started
The project is a monorepo with Keystone server in `keystone-server` workspace and the next frontend in `blog-sleek` (any `blog-{theme}`) workspace.
You will need to have [yarn MacOS install using Homebrew](https://formulae.brew.sh/formula/yarn) installed in your machine to get started.
1. `yarn` at project root installs the dependencies for the server and all theme templates.
2. `yarn dev` at project root starts the Keystone server at http://localhost:3000 and the sleek template at http://localhost:8000
_Recommended approach is to open two terminal tabs and run yarn dev individually within `keystone-server` and `blog-sleek` (any `blog-{theme}`) directories_.
## How does it work?
The short version is that the blog is entirely generated during build-time using Next.js static site generation and the content for the blog is made available during build-time using Keystone's powerful content server along with the magic of zero configuration file-system based SQLite database.
- The blog is generated statically using [Next.js static HTML export](https://nextjs.org/docs/advanced-features/static-html-export).
- The content for the blog is fetched from a [local Keystone server](https://keystonejs.com). Keystone is a fantastic content server that auto-magically generates GraphQL API based on schema definitions.
- Usually content servers need to be connected to a database and hosted somewhere which often comes with hosting, configuration and maintenance cost. [Keystone supports SQLite database](https://keystonejs.com/docs/apis/config#sqlite) and we make use of that to avoid having to configure, host or maintain anything. **You can get started with zero configuration and commit your database along with your code like any other file.** 🤯 This is what makes this whole _generate blogs locally without having to host a server anywhere_ possible.
- Author your content visually in your local environment using [Keystone's powerful document editor](https://keystonejs.com/docs/guides/document-field-demo) and admin dashboard. Once your content is ready, just run a local build and your blog will be exported as a static website. Now you can easily host this static website anywhere. I created [my blog](https://dineshpandiyan.com) using this template and hosted it in [Netlify](https://www.netlify.com/). Every time I make a change to my content, all I gotta do is push my changes to the repo and Netlify automatically deploys it in less than a minute.
- The generated blog and content is styled using [Tailwind](https://tailwindcss.com/) and could be easily customised easily.
## How is this different from mdx based blogs?
The idea is same - you statically generate your blog using content made available during build-time. The difference however, is that, MDX authored content is passed through a plugin system during the build and the content is made available in your pages to be built. This is easy as long as you only need the default out-of-the-box markdown syntax content. The moment you want to customise your content with fancier components (Eg. carousel, YouTube video, Twitter embed, syntax highlighted code, Hero image, etc) you will either have to find a plugin that supports that or build them yourself which sometimes can get quite cumbersome.
This is where [Keystone's all powerful document field](https://keystonejs.com/docs/guides/document-field-demo#document-fields-demo) comes into play. You can author content using a visual editor and see how your content is going to look while authoring it. And most importantly Keystone's document field makes it easy to add custom components (Eg. carousel, YouTube video, Twitter embed, syntax highlighted code, Hero image, etc). All you need to know to add a custom component is to know how to code in React and voila. 🥳 This template is setup with a few custom components (hero image, custom blockquote, embed tweet, embed youtube videos, callouts and syntax highlighted code blocks). You can see them in action here — [Keystone Content Authoring Experience is Just Fantastic!](https://staticblogswithkeystone.netlify.app/blog/keystone-content-authoring).
Keystone's document editor stands out in a handful of ways over MDX based content —
- Ability to visually see your content while authoring it.
- Keystone's admin dashboard makes it easy to publish/unpublish content, go through all your content visually for editing, author SEO information along with your post, etc.
- Complete control over how you render and style your content. Default out-of-the-box elements and your custom elements can be styled however you want.
- Multi-column layouts for your content.
- And more. Keystone's document editor is friggin' fantastic.
### Authoring content
Open your keystone admin dashboard locally at http://localhost:3000 and start authoring content.
- If you want to create a new blog post, you can create one in **Posts**.
- If you want to link to an external blog post or a link you can create one in **Links**.
### Generating blog
Once your content is ready, keep the keystone server running and open the Next.js app at http://localhost:8000.
- Generate your blog by running `yarn export`. This will export your website in `blog-sleek/out` directory.
- You can check out your generated content locally by running `yarn serve` in `blog-sleek` dir.
### Deploying
The generated website is just a bunch of html, js and css files. You can host it where ever you want. You can choose one of these three methods to deploy.
**1. Build in local and push the built files to your repo**
You can run `yarn export` in your local environment and it will export the static website to `blog-sleek/out` dir. You can just commit these static files and ask your CI to deploy these files. _Eg. If you're using Netlify, you'll tell Netlify that just publish the files in `blog-sleek/out` dir on every new commit to the repo. Check netlify.toml file for more info on how to do it._
**2. Build in CI**
You can choose to automate your deploy process by building your website in a CI. There's a limitation with this though. During build, the content is fetched from a running local keystone server. Not all static hosting CI's support running a local server. So the build process needs to be dockerised. You will need to run `yarn export:docker` to build your website in a docker environment. But remember not all CIs support docker either. So if your CI supports docker, you can just run `yarn export:docker` in your CI and the site will be exported at `blog-sleek/out` dir. If your CI doesn't support docker (_like Netlify where this template is hosted_) you could use GitHub Actions to build your website in GitHub's CI and publish it to your hosting using their CLI. Eg. This template is hosted in Netlify, so there's a GitHub action at [.github/workflows/build-and-release.yml](.github/workflows/build-and-release.yml) that builds the website on every push to main and deploys to Netlify using Netlify's CLI.
## Where do I deploy?
The generated website is just a bunch of html, js and css files. You can host it where ever you want. Here are a few options that will automatically deploy the website as soon as you push the generated files to your repo.
- [Netlify](https://www.netlify.com/)
- [Vercel](https://vercel.com/)
- [Cloudflare Pages](https://pages.cloudflare.com/)
- [Fastly](https://docs.fastly.com/en/fundamentals/1-introduction)
- [AWS S3](https://aws.amazon.com/s3/)
## Easy deploy to Netlify using GitHub Actions (FREE)
The repo is setup with GitHub actions to auto deploy your blog to Netlify after each commit.
1. Create an account with Netlify.
2. Goto Netlify _User Settings -> OAuth -> Personal access tokens_ and create a new access token and copy the value.
3. Goto your GitHub repo _Settings -> Secrets -> Actions_ and add a new Repository Secret with name _NETLIFY\_AUTH\_TOKEN_ and paste the value your copied from step 2.
4. Go back to Netlify dashboard and create a new site (manual deploy site should be enough since we use GitHub Actions to deploy). After creating the site, open Site Settings and copy _Site ID_.
5. Go back to GitHub repo _Settings -> Secrets -> Actions_ and add a new Repository Secret with name _NETLIFY\_SITE\_ID_ and paste the value your copied from step 4.
You're all done now. Every time you commit a change to your repo GitHub actions will automatically deploy to your Netlify site. By default the action `.github/workflows/build-and-release.yml` will deploy `blog-sleek` but you can change it to whatever theme you want by editing the file. You can delete the other `.github/workflows/build-and-release-{theme}.yml` files because they are there only for demo purposes of the template repo.
## Reset your repo to get latest template changes
Run these commands from your forked repo.
1. Add template repo as a new remote `git remote add upstream [email protected]:flexdinesh/keystone-static-blog.git`
2. Fetch changes `git fetch upstream`
3. Merge changes to your main `git merge upstream/main`.
I'm constantly improving the content model of this template in a backward compatible way. But sometimes I have to make a change in a breaking way. So if you run into conflicts in `keystone-server` dir during merge, I'm sorry about that and you can need to backup your data and reset your `keystone-server`dir. Alternately you can run this destructive `git reset --hard upstream/main` to reset everything from the fork without having to worry about merging conflicts but you'll lose your data so remember to take a backup if needed. The command to backup your data is `yarn backup` in `keystone-server` dir.
## License
MIT © Dinesh Pandiyan
Explore similar templates
Compare previews and descriptions within the same stack and category.

Next.js SaaS Starter
The official Next.js SaaS starter template, integrating email/password authentication, Stripe Checkout subscriptions, a dashboard with user/team CRUD, basic Owner/Member RBAC, and activity logging.
Next.js · SaaS

Next.js Commerce
Vercel's officially maintained Next.js App Router ecommerce starter with deep Shopify integration, offering a complete product catalog, cart, and checkout flow. Core logic is modular for swapping backends, and community provider versions exist for BigCommerce, Medusa, and Saleor.
Next.js · E-commerce

Next-js-Boilerplate
A developer-first Next.js 16 starter with Tailwind CSS 4 and TypeScript, supporting both App Router and Page Router.
Next.js · Starter

tailwind-nextjs-starter-blog
A Next.js and Tailwind CSS blog starter template using Contentlayer for Markdown/MDX, with built-in SEO, code highlighting, and tags. It targets personal technical blogs and migration from Jekyll/Hugo to React, and supports one-click Vercel deployment.
Next.js · Blog

next-forge
next-forge is a Turborepo-based Next.js template maintained by Vercel, positioned as a starting point for SaaS products.
Next.js · Starter
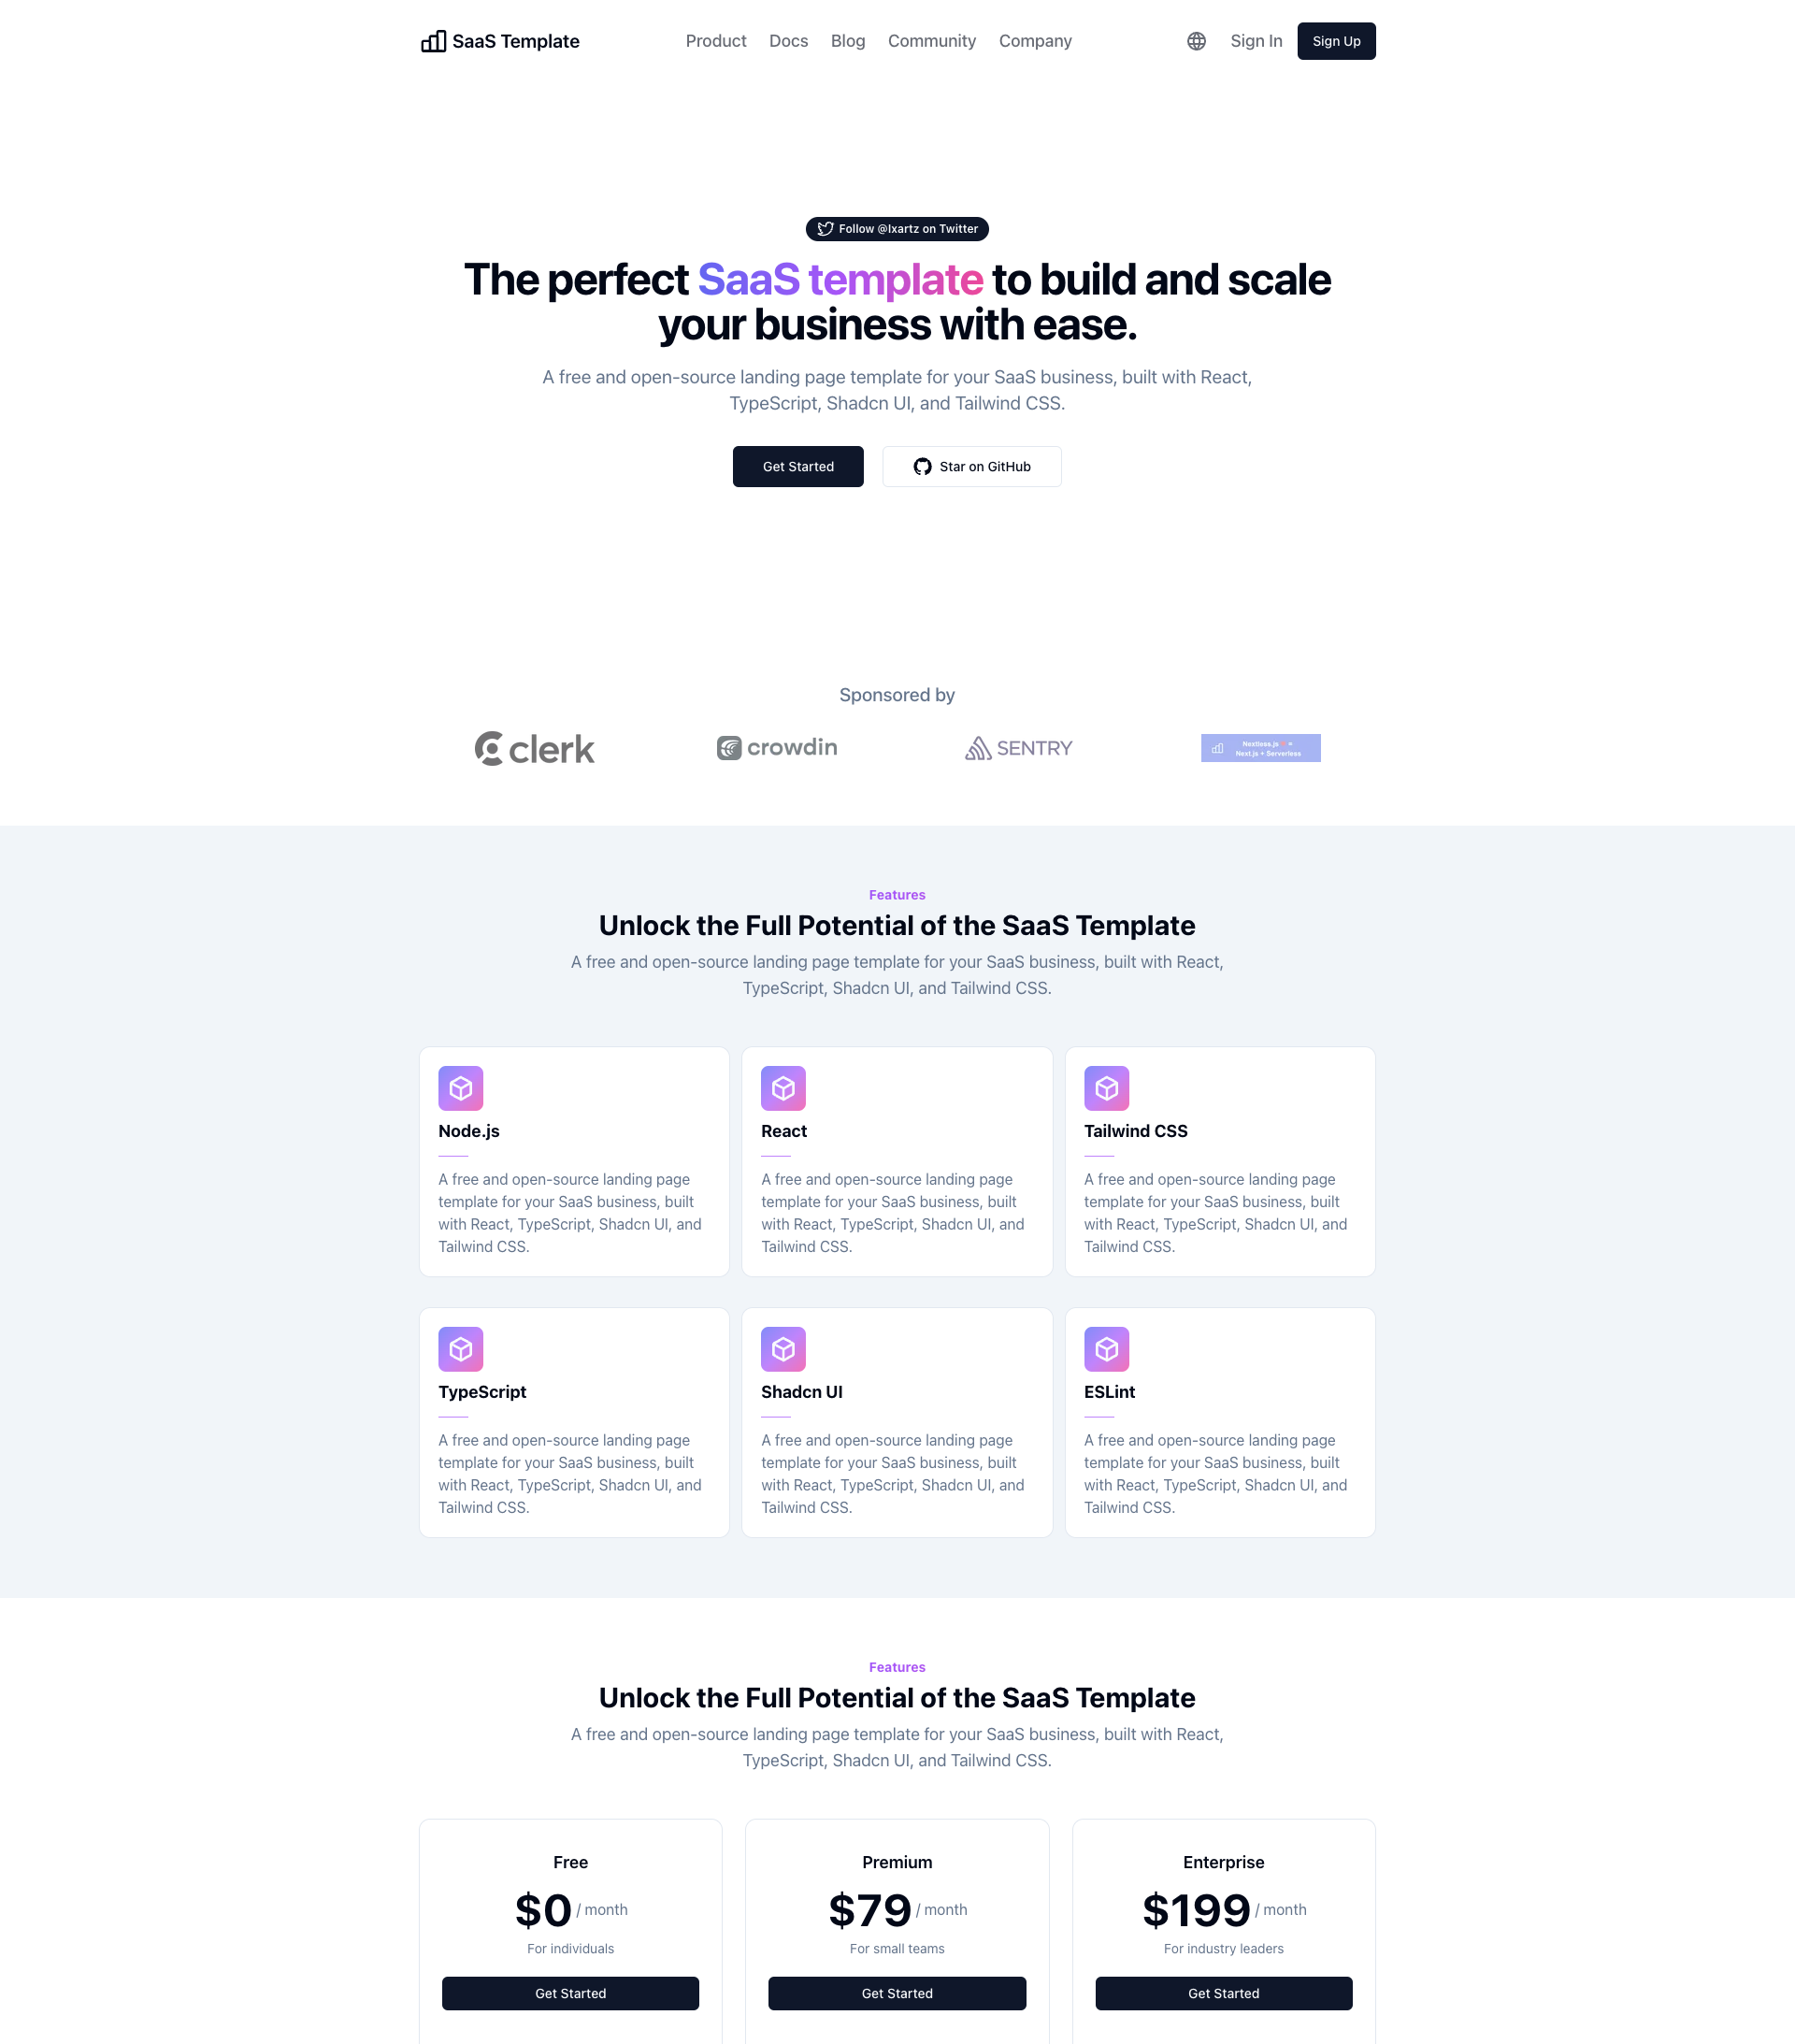
SaaS-Boilerplate
SaaS-Boilerplate is an open-source SaaS starter template built with Next.js App Router, React 19, TypeScript, Tailwind CSS, and Shadcn UI.
Next.js · SaaS