Integrates NextAuth authentication, providing examples of registration, login, logout, and client/server protected routes
Next.jsReactStarter
neon-oss-starter — Next.js Starter Template
By iamspruce
The NEON OSS Next.js Starter Kit is a full-stack application template that integrates NextAuth authentication, Prisma, and NEON serverless PostgreSQL, providing examples of protected routes on both the client and server sides.
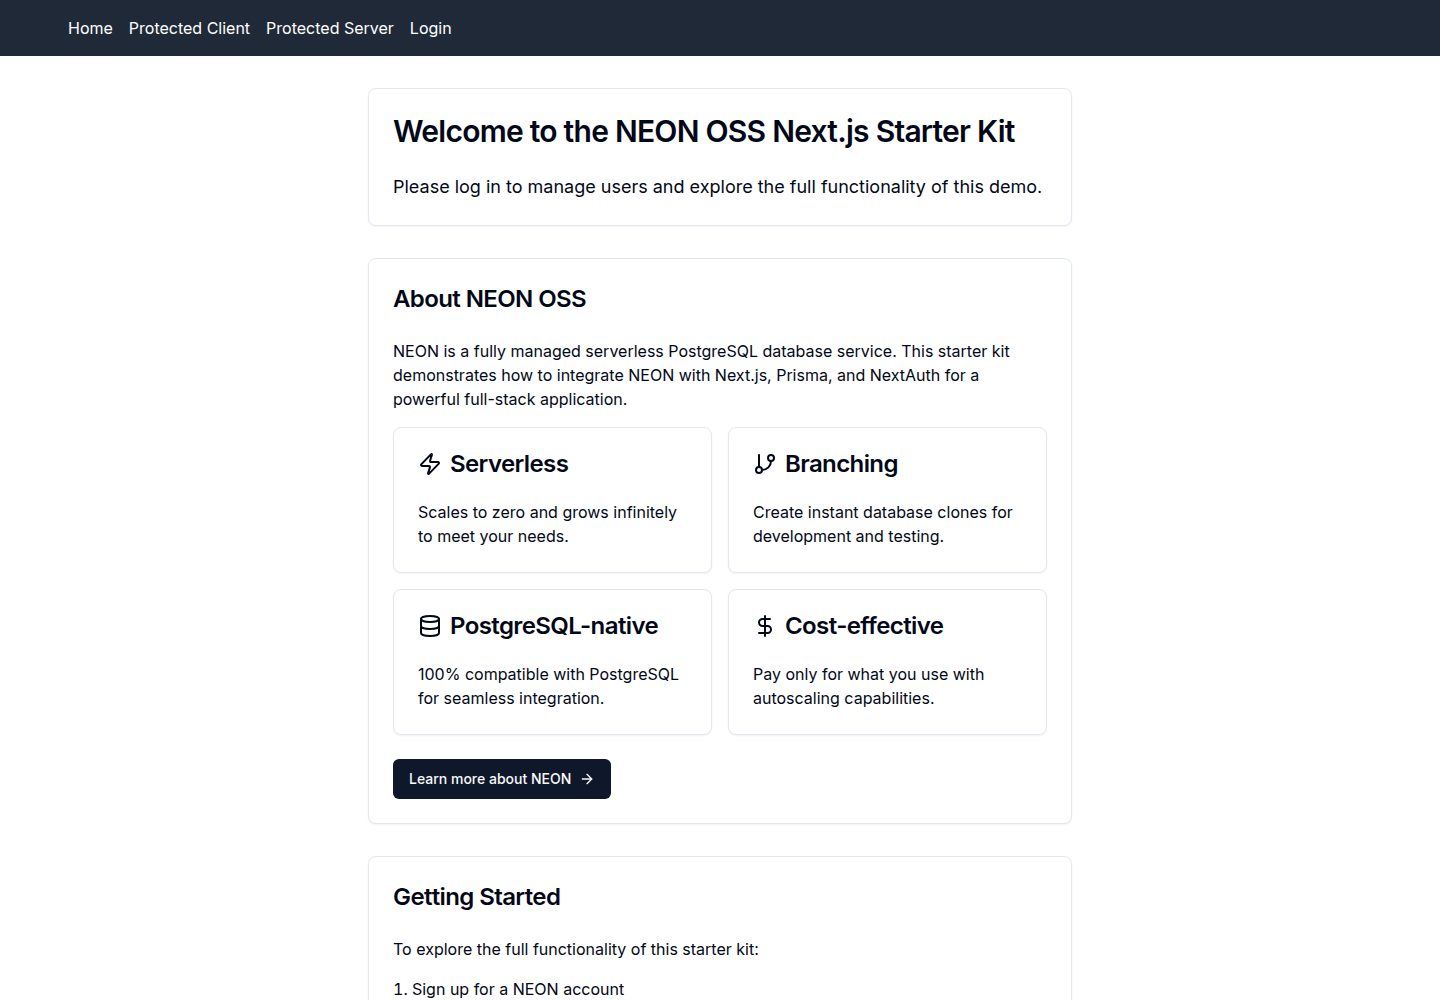
Explore the design
Compare the page layouts and mobile experience. Open any screenshot for a closer look.
Desktop homepage1 / 2
Desktop captureTop of page
Actual screenshot captured by the server browser.
All pages & views 2
Screenshots show visual appearance; interactive behavior may differ.
Recorded 2026-10-04View source
What stands out
A quick read of the recorded project description.
Connects to NEON serverless PostgreSQL via Prisma, including basic models such as User, Account, and Session
Builds reusable UI components with shadcn/ui and Tailwind CSS, supporting dark mode and responsive layouts
Provides .env.local environment variable configuration and one-click deployment entries for Vercel, Netlify, and Heroku
The README includes complete step-by-step instructions for manual setup from scratch, covering Prisma initialization, authentication configuration, and page creation
Template Details
This template is built on Next.js and is aimed at quickly setting up full-stack applications with user authentication and database interactions. It includes a built-in NextAuth authentication solution, with examples of registration, login, logout, and implementations of both client-side and server-side protected routes; it connects to NEON serverless PostgreSQL via Prisma, providing basic data models for users, accounts, sessions, and more. The UI layer uses shadcn/ui and Tailwind CSS components and supports dark mode and responsive layouts.
Before use, you need a Node.js 18+ environment and a NEON account. Copy .env.example to .env.local and fill in the NEON connection string and other variables, then run Prisma migrations. The template provides one-click deployment entries for Vercel, Netlify, and Heroku, and also includes step-by-step instructions for manual setup from scratch.
Note: The code is MIT licensed and can be used, modified, commercialized, and distributed for free, but third-party assets such as demo images, fonts, and icons require separate license verification; external services such as domains, hosting, and databases may incur costs. Specific dependency version numbers in the README are examples only; when installing, use the currently available versions.
Next.jsStarter
Is it right for your project?
Use Cases
- Quickly starting a Next.js full-stack project with user authentication and database read/write capabilities
- Looking for reference implementations of both client-side and server-side protected routes
- Using NEON serverless PostgreSQL and wanting to manage data models via Prisma
- Needing a responsive UI foundation based on shadcn/ui and Tailwind CSS
Suitable For
- Developers familiar with Next.js and TypeScript who are preparing to build full-stack applications
- Projects that need a starting point for authentication and database integration and do not want to configure from scratch
- Teams using NEON as their PostgreSQL provider and accepting Prisma as the ORM
- Individuals or organizations that want to modify and distribute based on MIT-licensed code
Getting started & customization
Use these recorded setup notes alongside the repository instructions for your chosen version.
- 1
Requires Node.js 18+ and npm, and a NEON account to obtain a database connection string
- 2
Copy .env.example to .env.local and fill in the NEON connection string and other required variables
- 3
Run npx prisma migrate dev to apply database migrations, then run npm run dev to start the development server
- 4
By default, visit http://localhost:3000 to view the application
- 5
Third-party assets and external services (domains, hosting, databases, etc.) require separate license and cost verification
License & source material
Usage conditions & limitations
Free to use · keep license noticeThis entry covers the free version under the MIT license from the public repository; the free scope applies to that version's code and does not imply that external services or third-party assets are free.
Must comply with when using
- Permits free use, modification, commercial use, and distribution of that version's code.
- When distributing copies or substantial portions of the code, retain the original author's copyright notice and the full MIT license notice.
- The code is provided as is; warranties and limitations of liability are governed by the original license and applicable law.
Additional costs & items to verify
- Using this template requires registering a NEON account and obtaining a database connection string; NEON is an external hosting service and may incur costs.
- Environment variables such as the NEON database connection string must be configured, otherwise it cannot run.
- Enabling GitHub login requires applying for and configuring GITHUB_ID and GITHUB_SECRET yourself.
- Enabling Google login requires applying for and configuring GOOGLE_ID and GOOGLE_SECRET yourself.
- Deployment recommends external hosting platforms such as Vercel, which may incur corresponding service fees.
- Demo images, fonts, icons, and other third-party assets must be checked against their respective licenses; they cannot be judged solely by the code's MIT license.
- External services such as domains, hosting, databases, payments, or AI may incur additional charges.
View Original Text Basis
Permission is hereby granted, free of charge
Original License Text
A NEON account (sign up at https://neon.tech if you don't have one)
Original README
Update the `.env.local` file with your NEON database URL and other required values.
Original README
GithubProvider({ clientId: process.env.GITHUB_ID, clientSecret: process.env.GITHUB_SECRET, }),
Original README
GoogleProvider({ clientId: process.env.GOOGLE_ID, clientSecret: process.env.GOOGLE_SECRET, }),
Original README
https://github.com/iamspruce/neon-oss-starter/blob/main/LICENSEhttps://github.com/iamspruce/neon-oss-starter/blob/main/README.mdThis starter kit is optimized for deployment on Vercel
Original README
Compiled by DeepSeek based on repository license and README ·2026-10-04. Results only cover the materials read; dependencies, images, fonts, and subsequent term changes are subject to their respective original texts.
Project checks & description sources
Template Information
- Source platforms
- GitHub
- Documentation and maintenance reference score
- Partly documented · 72 / 100
- Technologies
- Next.js · React
- Website type
- Starter
How this score is calculated
Our heuristic uses license records (up to 30), a demo link (12), a preview (10), stars (15), recorded maintenance (15), description completeness (8), feature records (5) and classification data (5). It is not a code, security or performance test, or a Google score. A link does not establish tested functionality.
What to verify for this project
- Repository update recorded
- 2024-08-30
- Screenshot last checked
- 2026-10-04
A demo link is listed. Check it with your own content and viewport sizes; its presence does not confirm that forms, authentication or payments work.
The catalog identifies Next.js as the primary stack. Check the actual dependency manifest and lockfile for versions and hosting requirements. These notes use recorded metadata, not a code audit or a deployment test.
Use a selection guide →How this description was prepared
AI-assisted description based on catalog records and repository material. Repository authors are not automatically the reviewers of this description.
Review declaration: [email protected] · 2026-10-04
Inspect the recorded source material
SHA-256: 3976dc0a4734e258172fc4197623512a8249d14b6823f7321eb41ec068d7df9f
2026-10-04T00:20:36.940Z
Source file / repository# NEON OSS Next.js Starter Kit
## Overview
The NEON OSS Starter Kit is a full-stack application template designed to help developers kickstart their projects with modern technologies. It features built-in user authentication, database management, and a fully responsive design, all powered by NEON, Next.js, Prisma, and Tailwind CSS. This starter kit is ideal for building scalable, serverless applications with ease, enabling you to focus on adding your unique features without worrying about the initial setup.
## Tech Stack
- **[Next.js 14](https://nextjs.org/)**: React framework for building web applications
- **[NEON](https://neon.tech/)**: Serverless PostgreSQL database
- **[Prisma](https://www.prisma.io/?via=spruce)**: Next-generation ORM for Node.js and TypeScript
- **[NextAuth v5](https://next-auth.js.org/)**: Authentication for Next.js
- **[shadcn/ui](https://ui.shadcn.com/)**: Re-usable components built with Radix UI and Tailwind CSS
- **[Tailwind CSS](https://tailwindcss.com/)**: Utility-first CSS framework
## Features
- **User Authentication**: Includes sign-up, login, and logout functionality with protected routes for both client-side and server-side authentication, leveraging NextAuth.js.
- **Database Management**: Integrated with Prisma for seamless interaction with the NEON PostgreSQL database, allowing for easy CRUD operations.
- **Responsive Design**: Optimized for all devices with built-in dark mode support, ensuring a consistent user experience across platforms.
- **Serverless Architecture**: Powered by NEON, the app scales automatically with zero configuration, providing a hassle-free environment for developers.
- **Reusable UI Components**: Pre-built with shadcn/ui and Tailwind CSS for rapid UI development and consistency across your application.
- **Environment Configuration**: Simplified setup with a `.env.local` file to manage all your environment variables securely.
## Getting Started
### Prerequisites
- Node.js 18+ and npm
- A NEON account (sign up at https://neon.tech if you don't have one)
### Quick Start
1. **Clone the repository:**
```bash
git clone https://github.com/iamspruce/neon-oss-starter.git
cd neon-oss-starter
```
2. **Install dependencies:**
```bash
npm install
# or
yarn install
```
3. **Configure your environment:**
- Copy `.env.example` to `.env.local`:
```bash
cp .env.example .env.local
```
- Update the `.env.local` file with your NEON database URL and other required values. You can find your NEON connection string in the NEON dashboard under your project settings.
4. **Run Prisma migrations:**
```bash
npx prisma migrate dev
```
5. **Start the development server:**
```bash
npm run dev
# or
yarn dev
```
6. **Access the app:**
Open [http://localhost:3000](http://localhost:3000) in your browser to see the application in action.
## One-Click Deploy
Choose your preferred deployment platform:
- **Vercel**: [](https://vercel.com/import/project?template=https://github.com/iamspruce/neon-oss-starter)
- **Netlify**: [](https://app.netlify.com/start/deploy?repository=https://github.com/iamspruce/neon-oss-starter)
- **Heroku**: [](https://heroku.com/deploy?template=https://github.com/iamspruce/neon-oss-starter)
## Do It Yourself
This section provides a step-by-step guide to setting up the NEON OSS Starter from scratch. Follow these steps to install dependencies, set up the database, configure authentication, and more.
1. **Install Next.js:**
First, install a new Next.js project by running the following command:
```bash
npx create-next-app@latest
```
When prompted, select "Yes" to use TypeScript, "Yes" to use TailwindCSS, and choose your preferred options for the other prompts.
2. **Create your NEON database:**
- Sign up for a NEON account at [https://neon.tech](https://neon.tech)
- Create a new project in the NEON console
- Once created, navigate to the "Connection Details" section
- Copy the connection string provided
3. **Set up your environment variables:**
- In your project root, create a `.env` file
- Add your NEON database URL:
```plaintext
DATABASE_URL="your-neon-connection-string"
```
4. **Install Prisma:**
```shellscript
npm install prisma --save-dev
```
5. **Initialize Prisma:**
```shellscript
npx prisma init
```
6. **Install NextAuth v5 and Prisma adapter:**
```shellscript
npm install [email protected] @auth/[email protected] @prisma/[email protected]
```
7. **Set up Prisma client:**
Create a file `src/lib/prisma.ts`:
```typescript
import { PrismaClient } from "@prisma/client";
const globalForPrisma = globalThis as unknown as { prisma: PrismaClient };
export const prisma = globalForPrisma.prisma || new PrismaClient();
if (process.env.NODE_ENV !== "production") globalForPrisma.prisma = prisma;
```
8. **Set up authentication:**
Create a file `src/auth/index.ts`:
```typescript
import NextAuth, { User, NextAuthConfig } from "next-auth";
import CredentialsProvider from "next-auth/providers/credentials";
import GithubProvider from "next-auth/providers/github";
import GoogleProvider from "next-auth/providers/google";
import { PrismaAdapter } from "@auth/prisma-adapter";
import { prisma } from "../lib/prisma";
const authOptions: NextAuthConfig = {
session: {
strategy: "jwt",
},
adapter: PrismaAdapter(prisma),
providers: [
CredentialsProvider({
name: "Email and Password",
credentials: {
email: {
label: "Email",
type: "email",
placeholder: "[email protected]",
},
password: { label: "Password", type: "password" },
},
async authorize(credentials): Promise<User | null> {
if (
!credentials ||
typeof credentials.email !== "string" ||
typeof credentials.password !== "string"
) {
throw new Error("Invalid credentials.");
}
let user = await prisma.user.findUnique({
where: {
email: credentials.email,
},
});
if (!user) {
user = await prisma.user.create({
data: {
email: credentials.email,
},
});
}
return user;
},
}),
GithubProvider({
clientId: process.env.GITHUB_ID,
clientSecret: process.env.GITHUB_SECRET,
}),
GoogleProvider({
clientId: process.env.GOOGLE_ID,
clientSecret: process.env.GOOGLE_SECRET,
}),
],
secret: process.env.AUTH_SECRET,
};
export const { auth, handlers, signIn, signOut } = NextAuth(authOptions);
```
9. **Add a route handler for NextAuth:**
Create a file `app/api/auth/[...nextauth]/route.ts`:
```typescript
import { handlers } from "@/auth";
export const { GET, POST } = handlers;
```
10. **Create your Prisma schema:**
Update `prisma/schema.prisma`:
```plaintext
generator client {
provider = "prisma-client-js"
}
datasource db {
provider = "postgresql"
url = env("DATABASE_URL")
}
model User {
id String @id @default(cuid())
name String?
email String @unique
emailVerified DateTime?
image String?
accounts Account[]
sessions Session[]
createdAt DateTime @default(now())
updatedAt DateTime @updatedAt
}
model Account {
userId String
type String
provider String
providerAccountId String
refresh_token String?
access_token String?
expires_at Int?
token_type String?
scope String?
id_token String?
session_state String?
createdAt DateTime @default(now())
updatedAt DateTime @updatedAt
user User @relation(fields: [userId], references: [id], onDelete: Cascade)
@@id([provider, providerAccountId])
}
model Session {
sessionToken String @unique
userId String
expires DateTime
user User @relation(fields: [userId], references: [id], onDelete: Cascade)
createdAt DateTime @default(now())
updatedAt DateTime @updatedAt
}
model VerificationToken {
identifier String
token String
expires DateTime
@@id([identifier, token])
}
```
11. **Generate Prisma client:**
```shellscript
npx prisma generate
```
12. **Apply the schema (create migration):**
```shellscript
npx prisma migrate dev
```
13. **Wrap components with SessionProvider:**
Update `src/app/layout.tsx`:
```typescriptreact
import type { Metadata } from "next";
import { Inter as FontSans } from "next/font/google";
import "../styles/globals.css";
import { Toaster } from "@/components/ui/toaster";
import { auth } from "@/auth";
import { SessionProvider } from "next-auth/react";
import { cn } from "@/lib/utils";
import Header from "@/components/Header";
const fontSans = FontSans({
subsets: ["latin"],
variable: "--font-sans",
});
export const metadata: Metadata = {
title: "NEON OSS NEXTJS",
description: "NEON OSS NEXTJS STARTER TEMPLATE",
};
export default async function RootLayout({
children,
}: Readonly<{
children: React.ReactNode;
}>) {
const session = await auth();
return (
<SessionProvider session={session}>
<html lang="en">
<body
className={cn(
"min-h-screen bg-background font-sans antialiased",
fontSans.variable
)}
>
<Header />
<main className="container">{children}</main>
<Toaster />
</body>
</html>
</SessionProvider>
);
}
```
14. **Create protected client page:**
Create `src/app/protected-client/page.tsx`:
```typescriptreact
"use client";
import { useSession } from "next-auth/react";
import { useRouter } from "next/navigation";
import { useEffect } from "react";
export default function ProtectedClientPage() {
const { data: session, status } = useSession();
const router = useRouter();
useEffect(() => {
if (status === "unauthenticated") {
router.push("/api/auth/signin");
}
}, [status, router]);
if (status === "loading") {
return <div>Loading...</div>;
}
if (!session) {
return null;
}
return (
<div>
<h1 className="text-2xl font-bold mb-4">Protected Client Page</h1>
<p>You can only see this page if you are logged in.</p>
</div>
);
}
```
15. **Create protected server page:**
Create `src/app/protected-server/page.tsx`:
```typescriptreact
import { auth } from "@/auth";
import { redirect } from "next/navigation";
export default async function ProtectedServerPage() {
const session = await auth();
if (!session) {
redirect("/api/auth/signin");
}
return (
<div>
<h1 className="text-2xl font-bold mb-4">Protected Server Page</h1>
<p>You can only see this page if you are logged in.</p>
<p>This page is protected on the server side.</p>
</div>
);
}
```
16. **Create Header component:**
Create `src/components/Header.tsx`:
```typescriptreact
import { auth } from "@/auth";
import Link from "next/link";
export default async function Header() {
const session = await auth();
return (
<header className="bg-gray-800 text-white ">
<div className="container">
<nav className="p-4">
<ul className="flex space-x-4">
<li>
<Link href="/">Home</Link>
</li>
<li>
<Link href="/protected-client">Protected Client</Link>
</li>
<li>
<Link href="/protected-server">Protected Server</Link>
</li>
{session ? (
<li>
<Link href="/api/auth/signout">Logout</Link>
</li>
) : (
<li>
<Link href="/api/auth/signin">Login</Link>
</li>
)}
</ul>
</nav>
</div>
</header>
);
}
```
17. **Install and set up shadcn/ui:**
```shellscript
npx shadcn-ui@latest init
```
Follow the prompts to set up shadcn/ui. This will update your `tailwind.config.js` and add necessary configurations.
After initialization, you can add components as needed:
```shellscript
npx shadcn-ui@latest add button
npx shadcn-ui@latest add card
npx shadcn-ui@latest add input
# Add more components as needed
```
18. **Update your pages and components to use shadcn/ui components.**
19. **Start the development server:**
```shellscript
npm run dev
```
Your NEON OSS Next.js starter should now be up and running with authentication, protected routes, and a basic UI using shadcn/ui components.
## Deployment
This starter kit is optimized for deployment on Vercel, leveraging its seamless integration with Next.js and NEON's serverless PostgreSQL. However, you can deploy to other platforms that support Node.js applications.
### Deploying to Vercel (Recommended)
1. **Connect your repository:**
- Fork this repository to your GitHub account.
- Sign up or log in to [Vercel](https://vercel.com).
- Click "New Project" and select your forked repository.
2. **Configure your project:**
- Vercel will automatically detect that you're using Next.js.
- In the "Environment Variables" section, add all variables from your `.env.local` file:
- `DATABASE_URL`: Your NEON database connection string
- `AUTH_SECRET`: A secure random string for NextAuth
- `GITHUB_ID` and `GITHUB_SECRET`: If using GitHub authentication
- `GOOGLE_ID` and `GOOGLE_SECRET`: If using Google authentication
3. **Deploy:**
- Click "Deploy" and wait for the build to complete.
- Vercel will provide you with a deployment URL.
4. **Set up NEON for production:**
- In your NEON dashboard, create a new branch for production.
- Update the `DATABASE_URL` in your Vercel project settings with the new production branch URL.
5. **Enjoy your deployed application:**
- Visit your Vercel deployment URL to see your live application.
- Your app now benefits from Vercel's global CDN and NEON's serverless database scaling.
### Alternative Deployment Options
While Vercel offers the smoothest experience, you can deploy to other platforms:
- **Railway**: Offers easy PostgreSQL setup and deployment.
1. Create a new project on Railway.
2. Add a PostgreSQL database to your project.
3. Connect your GitHub repository.
4. Set up environment variables in the Railway dashboard.
5. Deploy your application.
- **Heroku**: Supports Node.js applications and offers a PostgreSQL add-on.
1. Create a new app on Heroku.
2. Connect your GitHub repository.
3. Add the Heroku Postgres add-on.
4. Set up config vars in the Heroku dashboard.
5. Deploy your application using the Heroku CLI or GitHub integration.
Remember to update your `DATABASE_URL` and other environment variables according to your chosen hosting provider's guidelines.
## Screenshots


## Live Demo
Check out the live demo at: [https://neon-oss-starter.vercel.app](https://neon-oss-starter.vercel.app)
## Contributing
We welcome contributions from the community! Whether it's fixing a bug, adding new features, or improving documentation, your input is valuable. Please follow these steps to contribute:
1. Fork the repository
2. Create a new branch (`git checkout -b feature/your-feature`)
3. Make your changes and commit them (`git commit -m 'Add some feature'`)
4. Push to the branch (`git push origin feature/your-feature`)
5. Open a Pull Request
We review all contributions and appreciate your efforts to improve this project!
## License
This project is licensed under the MIT License. See the [LICENSE](LICENSE) file for more details.
## Acknowledgements
- [NEON](https://neon.tech/) for providing a top-notch serverless PostgreSQL solution.
- [Vercel](https://vercel.com/) for the Next.js framework and seamless deployment experience.
- [Prisma](https://www.prisma.io/?via=spruce) for making database management a breeze.
- [NextAuth.js](https://next-auth.js.org/) for simplifying authentication in Next.js.
- [shadcn/ui](https://ui.shadcn.com/) for the elegant and reusable UI components.
- All the open-source projects and contributors who made this starter kit possible.
Explore similar templates
Compare previews and descriptions within the same stack and category.

Next.js SaaS Starter
The official Next.js SaaS starter template, integrating email/password authentication, Stripe Checkout subscriptions, a dashboard with user/team CRUD, basic Owner/Member RBAC, and activity logging.
Next.js · SaaS

Next.js Commerce
Vercel's officially maintained Next.js App Router ecommerce starter with deep Shopify integration, offering a complete product catalog, cart, and checkout flow. Core logic is modular for swapping backends, and community provider versions exist for BigCommerce, Medusa, and Saleor.
Next.js · E-commerce

Next-js-Boilerplate
A developer-first Next.js 16 starter with Tailwind CSS 4 and TypeScript, supporting both App Router and Page Router.
Next.js · Starter

tailwind-nextjs-starter-blog
A Next.js and Tailwind CSS blog starter template using Contentlayer for Markdown/MDX, with built-in SEO, code highlighting, and tags. It targets personal technical blogs and migration from Jekyll/Hugo to React, and supports one-click Vercel deployment.
Next.js · Blog

next-forge
next-forge is a Turborepo-based Next.js template maintained by Vercel, positioned as a starting point for SaaS products.
Next.js · Starter
SaaS-Boilerplate
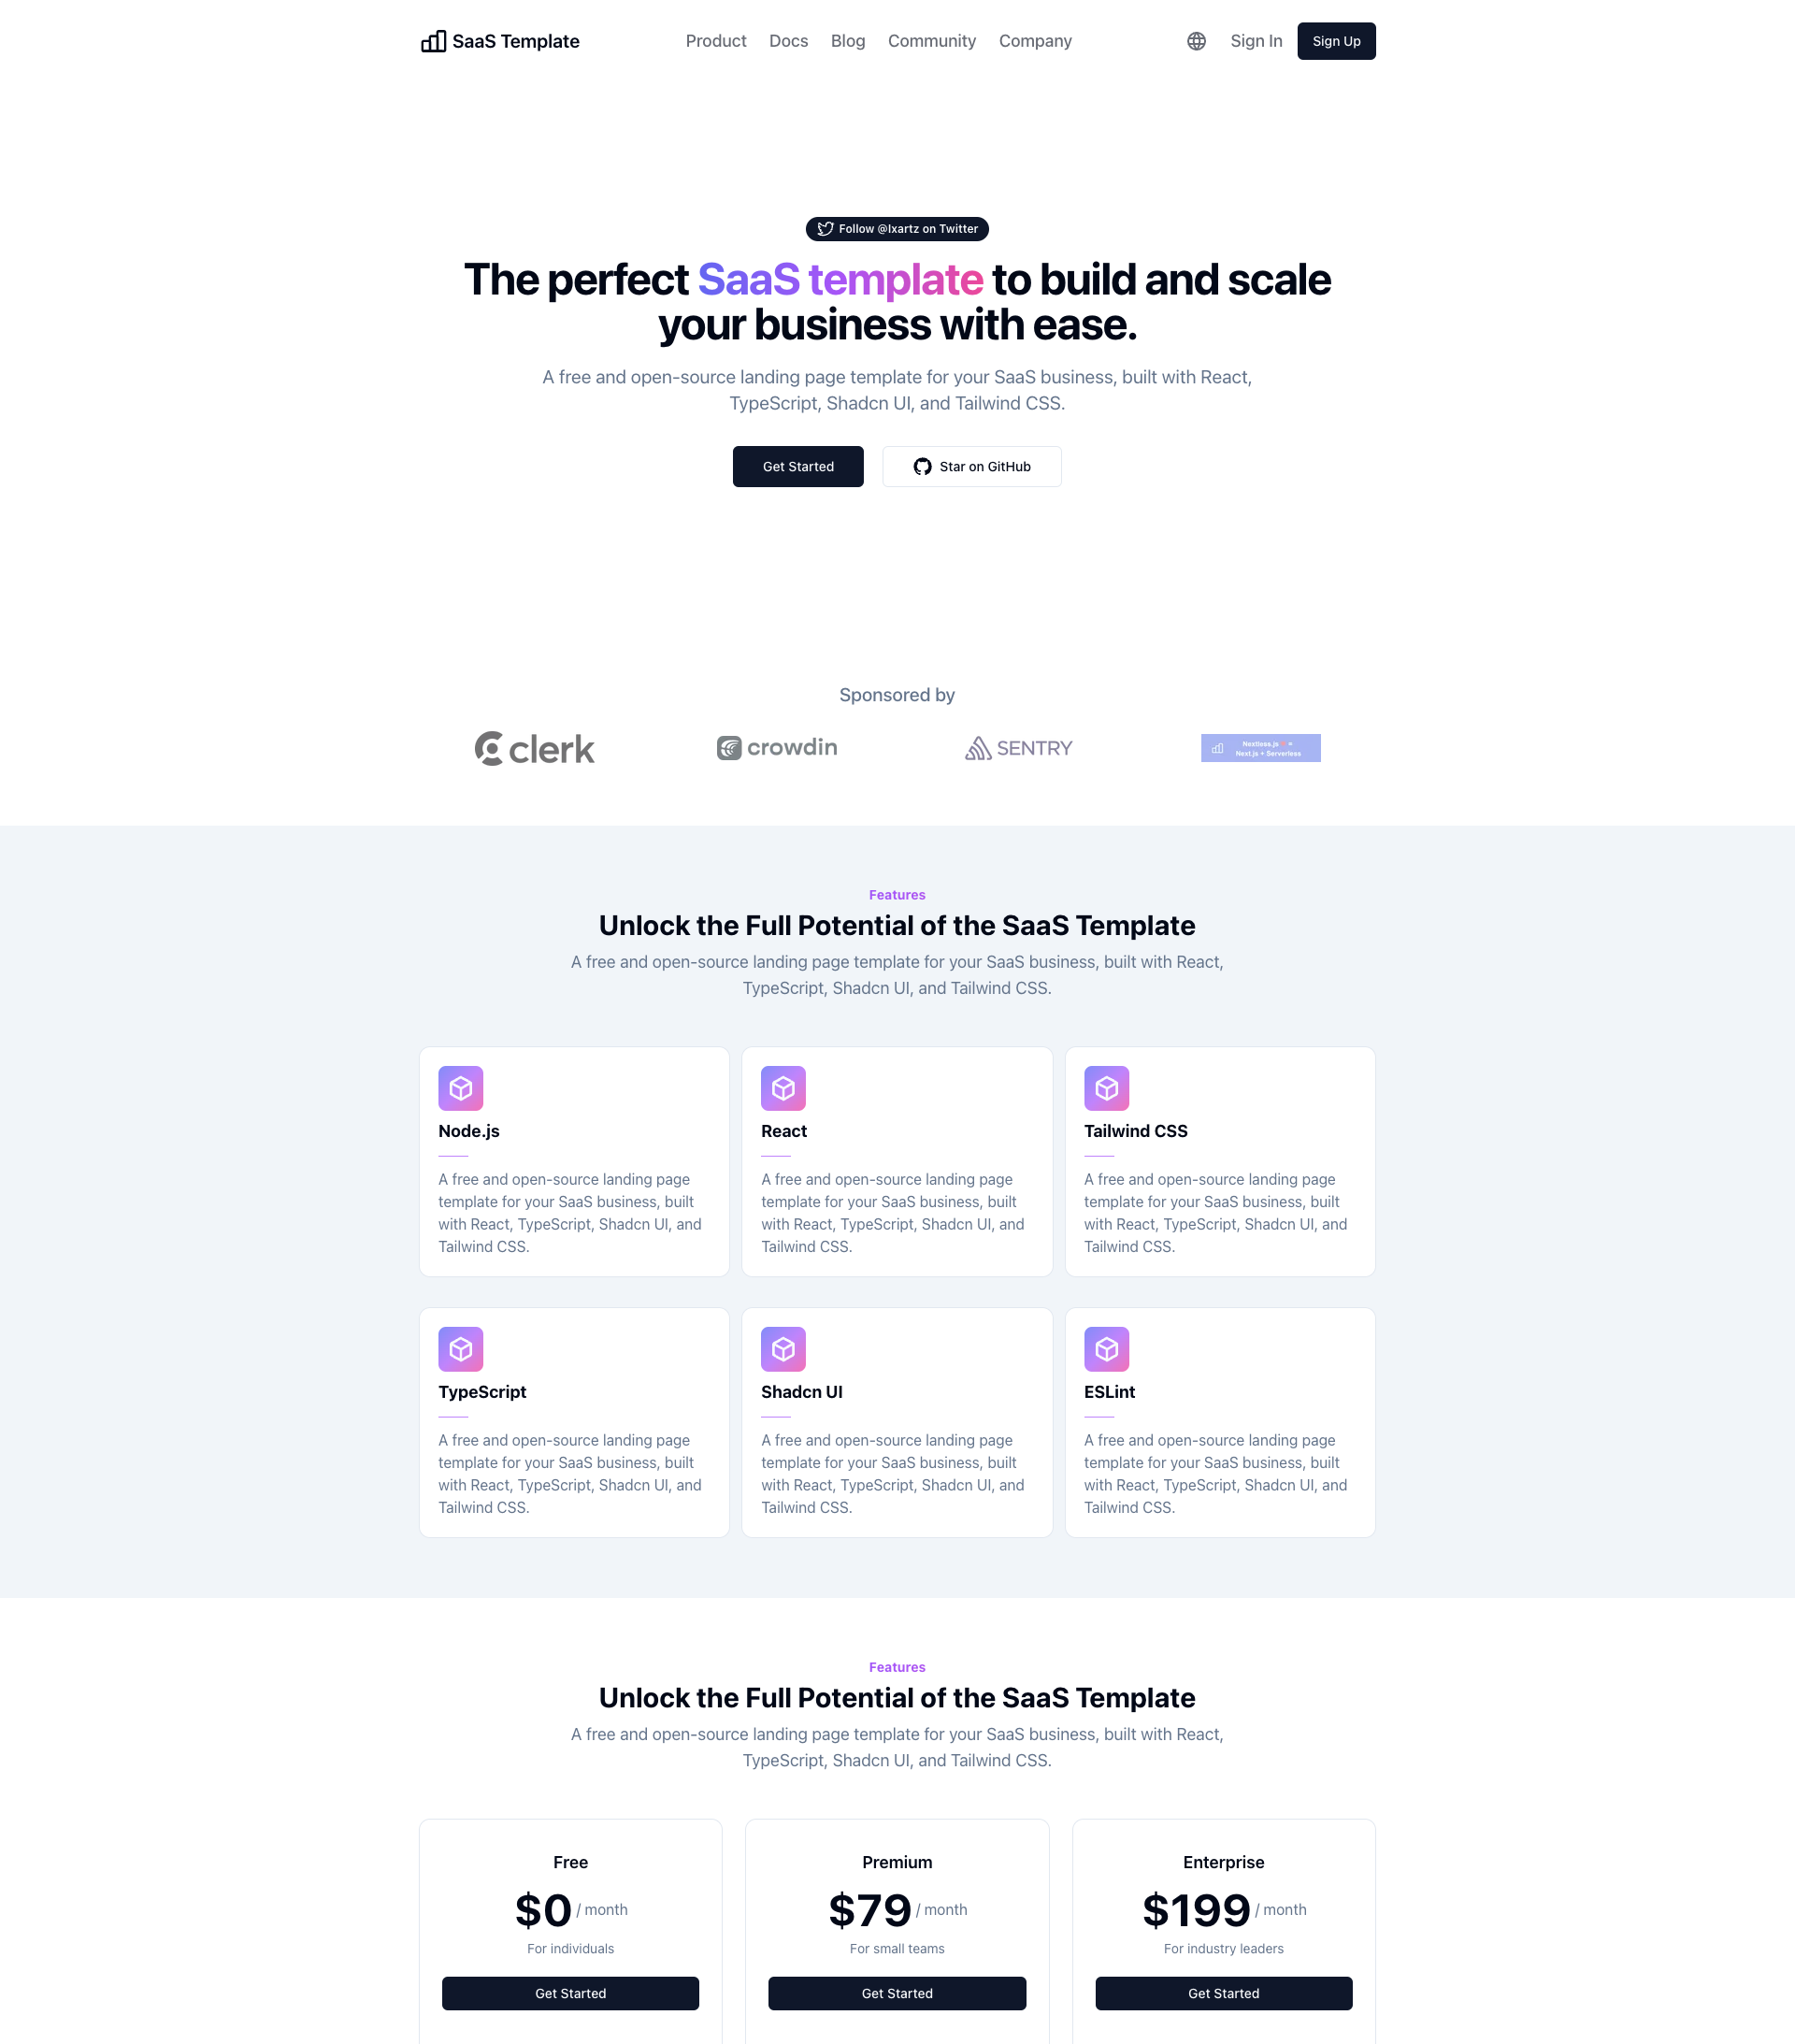
SaaS-Boilerplate is an open-source SaaS starter template built with Next.js App Router, React 19, TypeScript, Tailwind CSS, and Shadcn UI.
Next.js · SaaS