Built on Gatsby, with content managed as Markdown files
GatsbyReactPortfolio
portfolio_el — Gatsby Portfolio Template
By jjoshkan
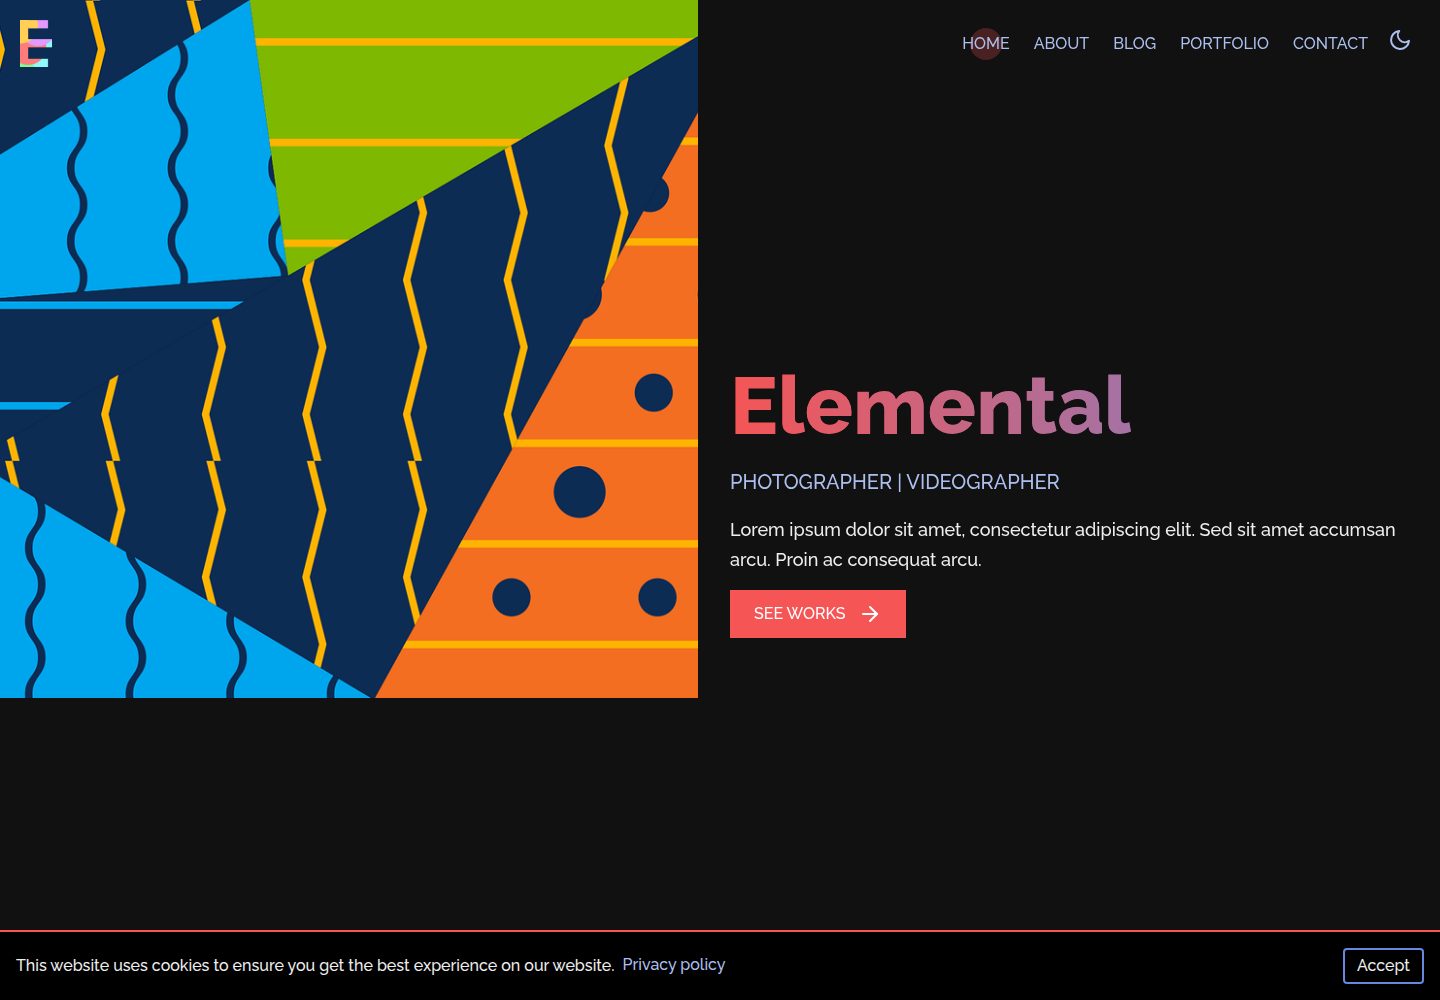
Elemental is a Gatsby-based portfolio template suited for artists, photographers, designers, and others to showcase work, with built-in blog, portfolio, and miscellaneous pages (such as a privacy policy).
Explore the design
Compare the page layouts and mobile experience. Open any screenshot for a closer look.
Desktop homepage1 / 3
Desktop captureTop of page
Actual screenshot captured by the server browser.
All pages & views 3
Screenshots show visual appearance; interactive behavior may differ.
Recorded 2026-10-03View source
What stands out
A quick read of the recorded project description.
Includes three content structures: blog, portfolio, and miscellaneous pages
Centralized configuration of site title, navigation, social links, contact information, and more via config.js
Portfolio pages support equal-width grid layouts using Row and Col components
Supports default dark mode and a theme toggle button
Contact form can be configured with an external API URL and custom pre-submit validation and submission logic
Template Details
Elemental is a Gatsby-based portfolio template aimed at individuals such as artists, photographers, and designers who need to display visual work. It organizes content into three types: blog, portfolio, and miscellaneous pages (for example, a privacy policy); the About page is created as a miscellaneous page.
Template personalization is centralized in the config.js file, where you can set the site title, URL, logo, icon, title image, Open Graph image, homepage intro text, intro tags, author, items per page, default dark mode and theme toggle button, navigation links, footer links, social links, and contact information. The title area supports two layouts: two columns (image on the left, text on the right) or using the title image as a text background.
Content is organized as Markdown files. Blog and portfolio posts go under contents/blog and contents/portfolio respectively, each post in its own folder containing index.md and related images; frontmatter includes title, date, list image, banner image, and description. Portfolio pages support creating equal-width grids with <Row> and <Col>. Miscellaneous pages go under contents/basepages, with URLs structured as standalone paths under the site root, suitable for pages such as a privacy policy.
The contact form is displayed only when api_url is provided in config.js; before submission, name, email, and message can be validated via beforeContactFormSubmit, and submission logic can be customized via contactFormSubmit. The template also reserves a Disqus shortname configuration.
Limitations: the template materials do not specify a particular Gatsby version; licenses for third-party assets such as demo images, fonts, and icons must be checked separately; the contact form relies on an external form service, and external services such as domain and hosting may incur additional costs.
GatsbyPortfolio
Is it right for your project?
Use Cases
- Artists, photographers, or designers building a personal portfolio site
- Publishing blog posts while showcasing work
- Creating standalone miscellaneous pages such as a privacy policy
- Collecting visitor messages through an external form service
Suitable For
- Individual creators who need to manage both a portfolio and a blog
- Users who prefer writing content in Markdown
- Developers who want to adjust site information in a single configuration file
- Sites that accept using an external form service for the contact form
Getting started & customization
Use these recorded setup notes alongside the repository instructions for your chosen version.
- 1
Requires Node and Gatsby to be installed beforehand
- 2
Create a project from the repository using the gatsby new command, then run gatsby develop for local development and gatsby build for production builds
- 3
Open config.js to edit site information; be careful not to delete any of its properties
- 4
Create folders and index.md under contents/blog, contents/portfolio, and contents/basepages for blog, portfolio, and miscellaneous pages respectively
- 5
The contact form is displayed only when api_url is provided, and the beforeContactFormSubmit and contactFormSubmit functions can be customized
License & source material
Usage conditions & limitations
Free to use · keep license noticeThis entry covers the free version under the MIT license in the public repository; the free scope is the code of this version and does not mean external services or third-party assets are free.
Must comply with when using
- Free use, modification, commercial use, and distribution of this version's code are permitted.
- When distributing copies or substantial portions of the code, retain the original author's copyright notice and the full MIT license notice.
- The code is provided as is; warranties and limitations of liability are governed by the original license and applicable law.
Additional costs & items to verify
- The contact form relies on the external service getform.io: the form is displayed only when api_url is configured, and you must register for this third-party form service and obtain an endpoint, which may involve external service fees.
- The comment feature relies on the third-party Disqus service and requires your own Disqus shortname to use; it is an optional external service.
- You must install the Node and Gatsby environment yourself before use; the template does not include these runtime dependencies.
- Demo images, fonts, icons, and other third-party assets must be checked against their respective licenses and cannot be judged solely by the code's MIT license.
- External services such as domain, hosting, database, payment, or AI may incur additional costs.
View Original Text Basis
Permission is hereby granted, free of charge
Original License Text
contact: { api_url: "https://getform.io/f/f227a36xxxxxx", // leave empty ('') or false to hide form
Original README
disqus: `your-disqus-shortname` // Optional, remove this if you don't use disqus
Original README
https://github.com/jjoshkan/portfolio_el/blob/master/LICENSEhttps://github.com/jjoshkan/portfolio_el/blob/master/README.mdYou will need node and [Gatsby](https://www.gatsbyjs.org/tutorial/part-zero/) installed.
Original README
Compiled by DeepSeek based on repository license and README ·2026-10-03. Results only cover the materials read; dependencies, images, fonts, and subsequent term changes are subject to their respective original texts.
Project checks & description sources
Template Information
- Source platforms
- GitHub
- Documentation and maintenance reference score
- Partly documented · 65 / 100
- Technologies
- Gatsby · React
- Website type
- Portfolio
How this score is calculated
Our heuristic uses license records (up to 30), a demo link (12), a preview (10), stars (15), recorded maintenance (15), description completeness (8), feature records (5) and classification data (5). It is not a code, security or performance test, or a Google score. A link does not establish tested functionality.
What to verify for this project
- Repository update recorded
- 2021-01-09
- Screenshot last checked
- 2026-10-03
A demo link is listed. Check it with your own content and viewport sizes; its presence does not confirm that forms, authentication or payments work.
The catalog identifies Gatsby as the primary stack. Check the actual dependency manifest and lockfile for versions and hosting requirements. These notes use recorded metadata, not a code audit or a deployment test.
Use a selection guide →How this description was prepared
AI-assisted description based on catalog records and repository material. Repository authors are not automatically the reviewers of this description.
Automatically checked against source and license rules; no manual editorial review.
Inspect the recorded source material
SHA-256: 2d20216da37cd62b40057f7d1bcf94abf552598f96272d5389b7b12c07296efa
2026-10-03T02:44:34.049Z
Source file / repository# Gatsby Starter Elemental
 
Elemental is a portfolio template suitable for artists, photographers, designers etc. With the starter you can create blog, portfolio and miscellaneous posts (such as privacy-policy).
**[Live Demo](https://elemental.netlify.app)**
## Getting Started.
You will need node and [Gatsby](https://www.gatsbyjs.org/tutorial/part-zero/) installed.
Start the project by
```
gatsby new project-name https://github.com/akzhy/gatsby-starter-elemental
cd project-name
gatsby develop
```
And for the final build
```
gatsby build
```
### Configuring
Almost all features of this starter are editable. In order to personalize, open the `config.js` file and start editing.
```javascript
// Do not remove any of the properties below.
const siteMetadata = {
title: `Elemental`, // Title of your webpage
siteUrl: `http://localhost`, // You sites URL
capitalizeTitleOnHome: true, // Whether to capitalize the letter on homepage
logo: `/images/logo.png`, // Logo
icon: `/images/icon.png`, // Favicon, shown in the browsers "tab"
titleImage: `/images/wall.jpg`, // The main title is filled with an image.
ogImage: `/images/wall.png`, // open graph image (shown when link is shared in social media)
twoColumnWall: true, // If true, the wall will be split into two with titleImage on left side and text on the right. If false, the title image will be used as the background of the text.
about:"", // The short about text shown on front page
introTag: `PHOTOGRAPHER | VIDEOGRAPHER`, // Intro tag shown below title
description: `Lorem ipsum dolor sit amet, consectetur adipiscing elit. Sed sit amet accumsan arcu. Proin ac consequat arcu.`,
author: `@_akzhy`, // Author
blogItemsPerPage: 10,
portfolioItemsPerPage: 10,
darkmode: true, // Whether to enable the darkmode by default. Change to false if you want the light mode
switchTheme: true, // Whether to show a switch theme button on the navbar
// The links shown on the navbar and footer, follow the same structure to add or remove more items.
navLinks: [{
name: "HOME",
url: "/"
},
{
name: "ABOUT",
url: "/about"
},
{
name: "BLOG",
url: "/blog"
},
{
name: "PORTFOLIO",
url: "/portfolio"
},
{
name: "CONTACT",
url: "/contact"
}
],
// Same as navbar links, except these are shown on the footer
footerLinks: [{
name: "PRIVACY POLICY",
url: "/privacy-policy"
}],
// Your social profile links. The icons of the given social medias are available in the static folder. If you are adding a new item, include the icon in the static/images folder.
social: [{
name: "Facebook",
icon: "/images/Facebook.svg",
url: "#"
},
{
name: "Twitter",
icon: "/images/Twitter.svg",
url: "#"
},
{
name: "Instagram",
icon: "/images/Instagram.svg",
url: "#"
},
{
name: "Youtube",
icon: "/images/Youtube.svg",
url: "#"
}
],
contact: {
api_url: "https://getform.io/f/f227a36xxxxxx", // leave empty ('') or false to hide form
description: `Lorem ipsum dolor sit amet, consectetur adipiscing elit. Sed sit amet accumsan arcu. Proin ac consequat arcu.`,
mail: "[email protected]",
phone: "000-000-0000",
address: "1234 \nLocation \nLocation"
},
disqus: `your-disqus-shortname` // Optional, remove this if you don't use disqus
}
```
#### Creating new blog posts.
Open the `contents/blog` folder and create a new folder with the name you wish to see as the URL. Inside the folder create an `index.md` file and also include any files you wish to add.
The frontmatter should be of the below structure
```
---
title: Title of your post
date: 2019-06-29 <-- Date should be in the given format
image: ./image.jpg <-- Image shown on the list pages and also used as open graph image
banner: ./banner.jpg <-- Banner shown in the blog post
description: The description shown in the listing page. Also used for SEO description.
---
```
If you don't want the blog section, simply delete everything inside the `contents/blog` folder. (Do not delete the folder itself)
#### Creating new portfolio posts.
Open the `contents/portfolio` folder and create a new folder with the name you wish to see as the URL. Inside the folder create an `index.md` file and also include any files you wish to add.
The frontmatter should be of the below structure
```
---
title: Title of your post
date: 2019-06-29 <-- Date should be in the given format
banner: ./banner.jpg <-- Banner shown in the portfolio post and also used as open graph image
image: ./image.jpg <-- Image shown on the list pages
description: The description shown in the listing page. Also used for SEO description.
---
```
Portfolio pages support the creation of grids.
To create a grid, follow the below structure
```
<Row>
<Col>
**Markdown**
</Col>
</Row>
```
The columns will have equal width on wide screens, and will expand on smaller screens.
#### Creating miscellaneous posts
These posts follow the URL structure of `http://example.com/miscellaneous-post/`. They are useful for creating pages like `privacy-policy`
The "About" page is created as a miscellaneous post.
Open the `contents/basepages` folder and create a new folder with the name you wish to see as the URL. Inside the folder create an `index.md` file and also include any files you wish to add.
The frontmatter should be of the below structure
```
---
title: Title of your post
image: ./image.jpg <-- Image used as open graph image
description: The description used for SEO.
---
```
### Contact Form
The contact form will appear only if you have provided an api url. You can control the data sent to the server and can execute callback functions on response from the server.
To customize these functions, edit the `config.js` file.
The `beforeContactFormSubmit` function is used to validate the form data before it is sent to the server. It has one argument that contains the object
```
{
name: string,
email: string,
message: string
}
```
You can validate the data and return
```
{
data: {
name: data.name,
email: data.email,
message: data.message,
},
result: true,
}
```
if the data is valid. Otherwise return
```
errors = [
{
code: int, // 1-4
/* Codes
Code 1 - Name
Code 2 - Email
Code 3 - Message
Code 4 - Other
*/
message: string
}
]
return {
result: false,
errors: errors,
}
```
You can also handle how data is sent to the server by editing the `contactFormSubmit` function. It should return the below object to indicate whether the message was sent.
```
{
result: boolean // true for success, false for fail
}
```
## Contributing
Any kind of contributions are welcome. Bump the version and create a PR.
Explore similar templates
Compare previews and descriptions within the same stack and category.
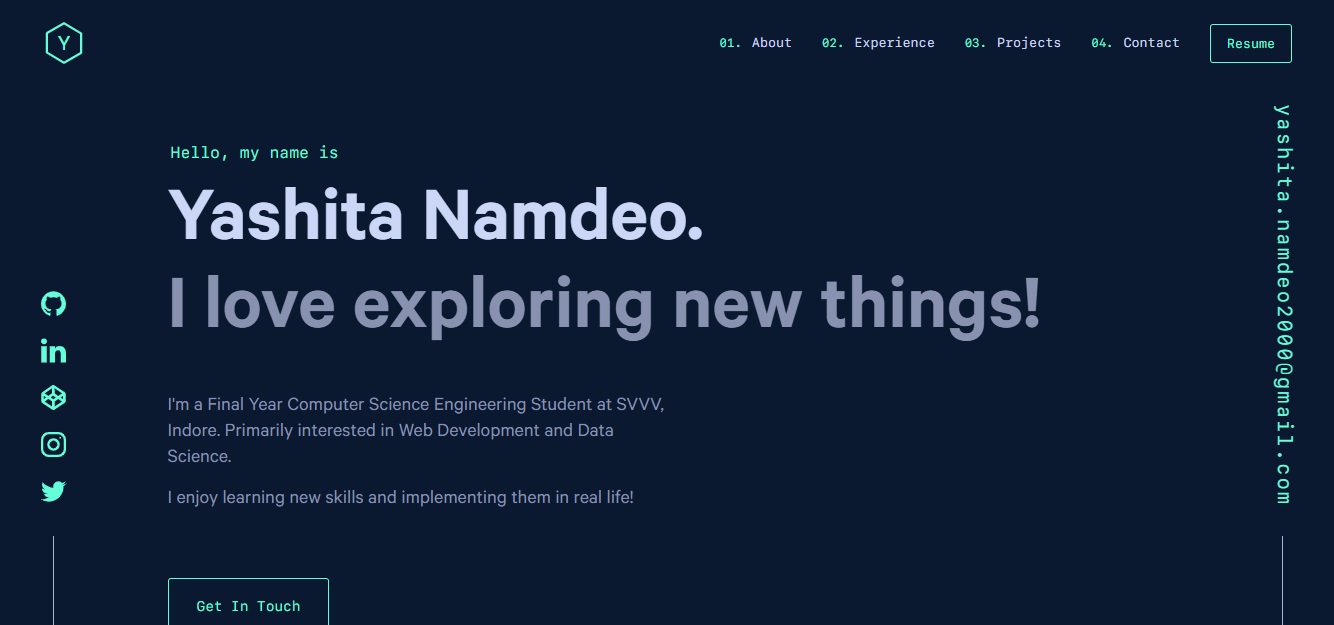
yashitanamdeo.github.io
A Gatsby and React personal portfolio template with a dark theme and navy blue and green accents, based on Yashita Namdeo's first personal homepage.
Gatsby · Portfolio
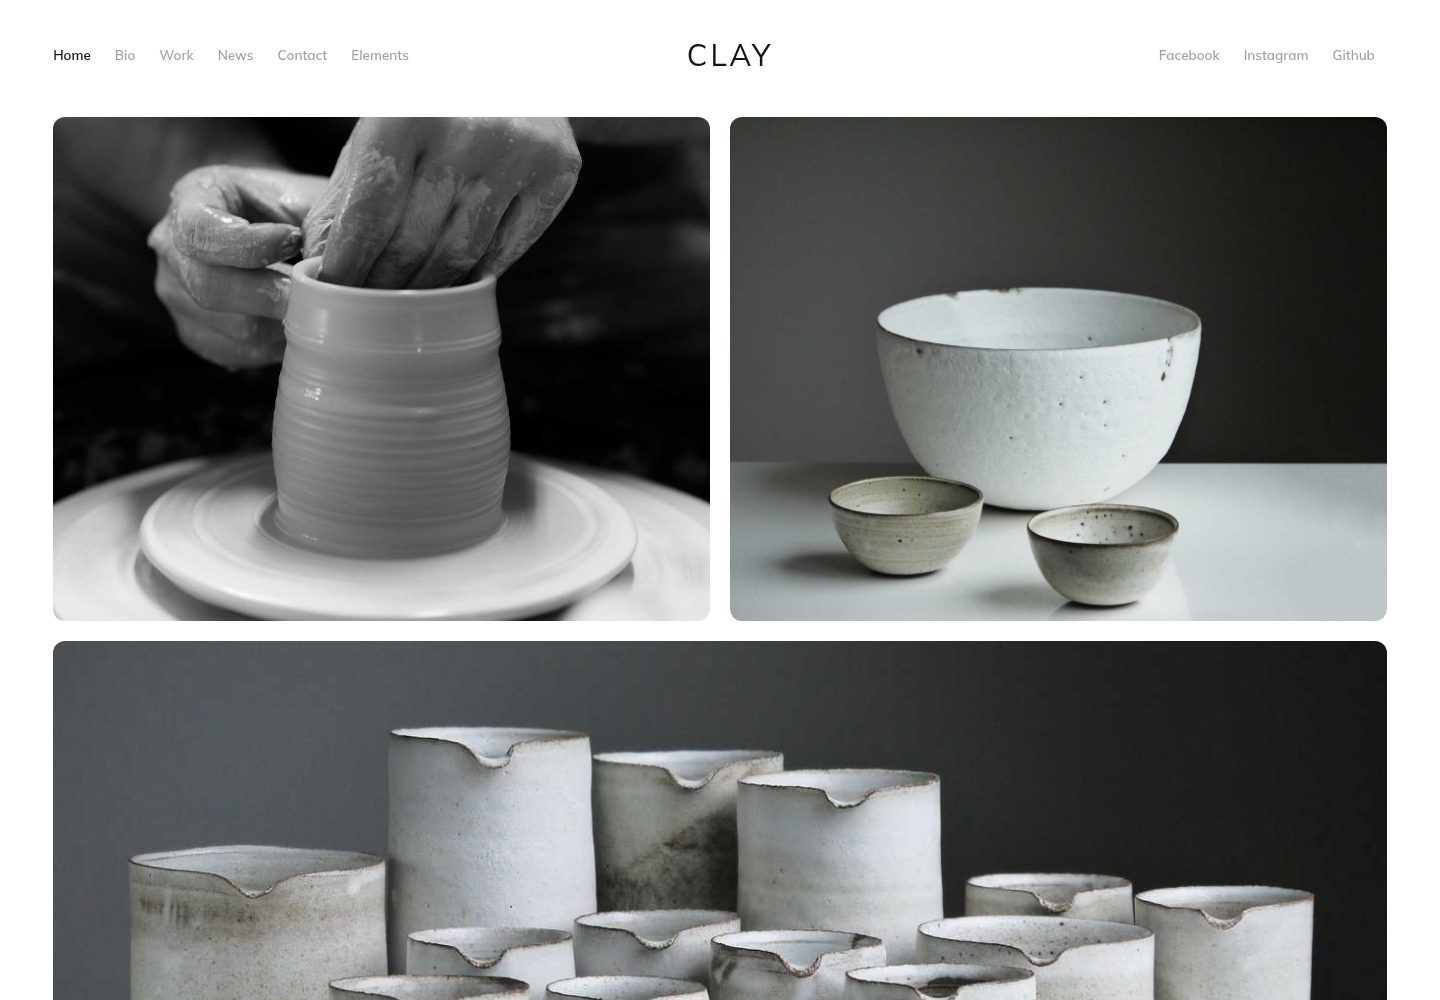
clay-theme
Clay is an image-centric Gatsby theme for publishers, portfolios, and photography blogs. It includes PWA support, a preconfigured Netlify/Decap CMS, PurgeCSS, Netlify deployment settings, and Netlify Forms.
Gatsby · Portfolio
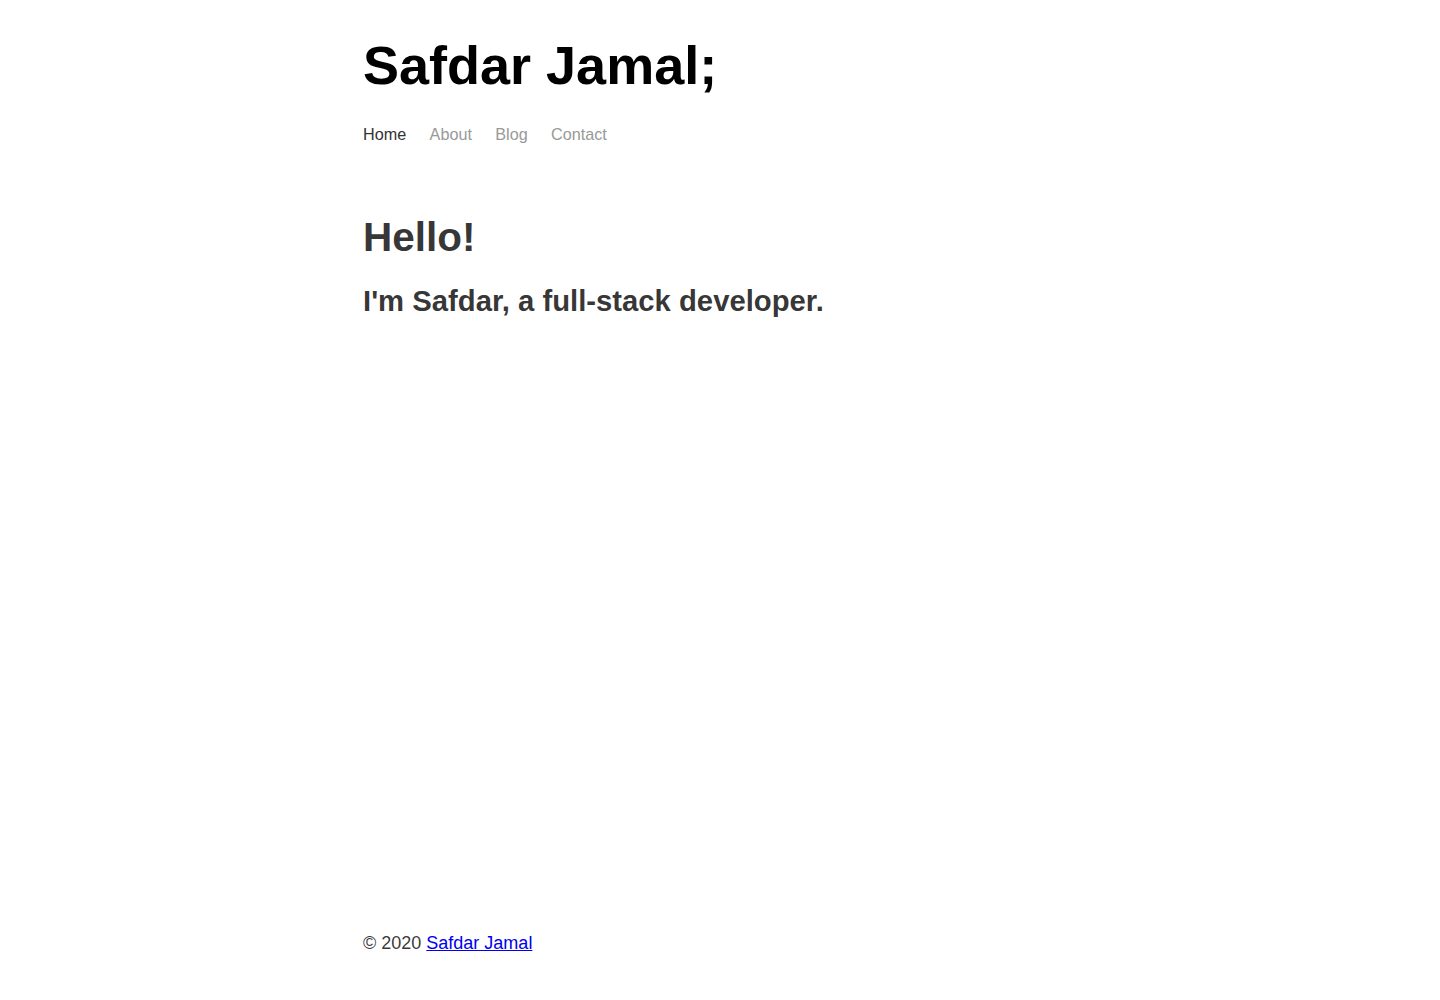
gatsby-markdown-blog
A minimal Gatsby and Markdown starter for personal blogs and portfolios, with Home, About, Blog, and Contact pages, Sass styling, React Helmet metadata, and Netlify or Vercel deployment. MIT-licensed code; third-party assets and external services require separate checks.
Gatsby · Portfolio
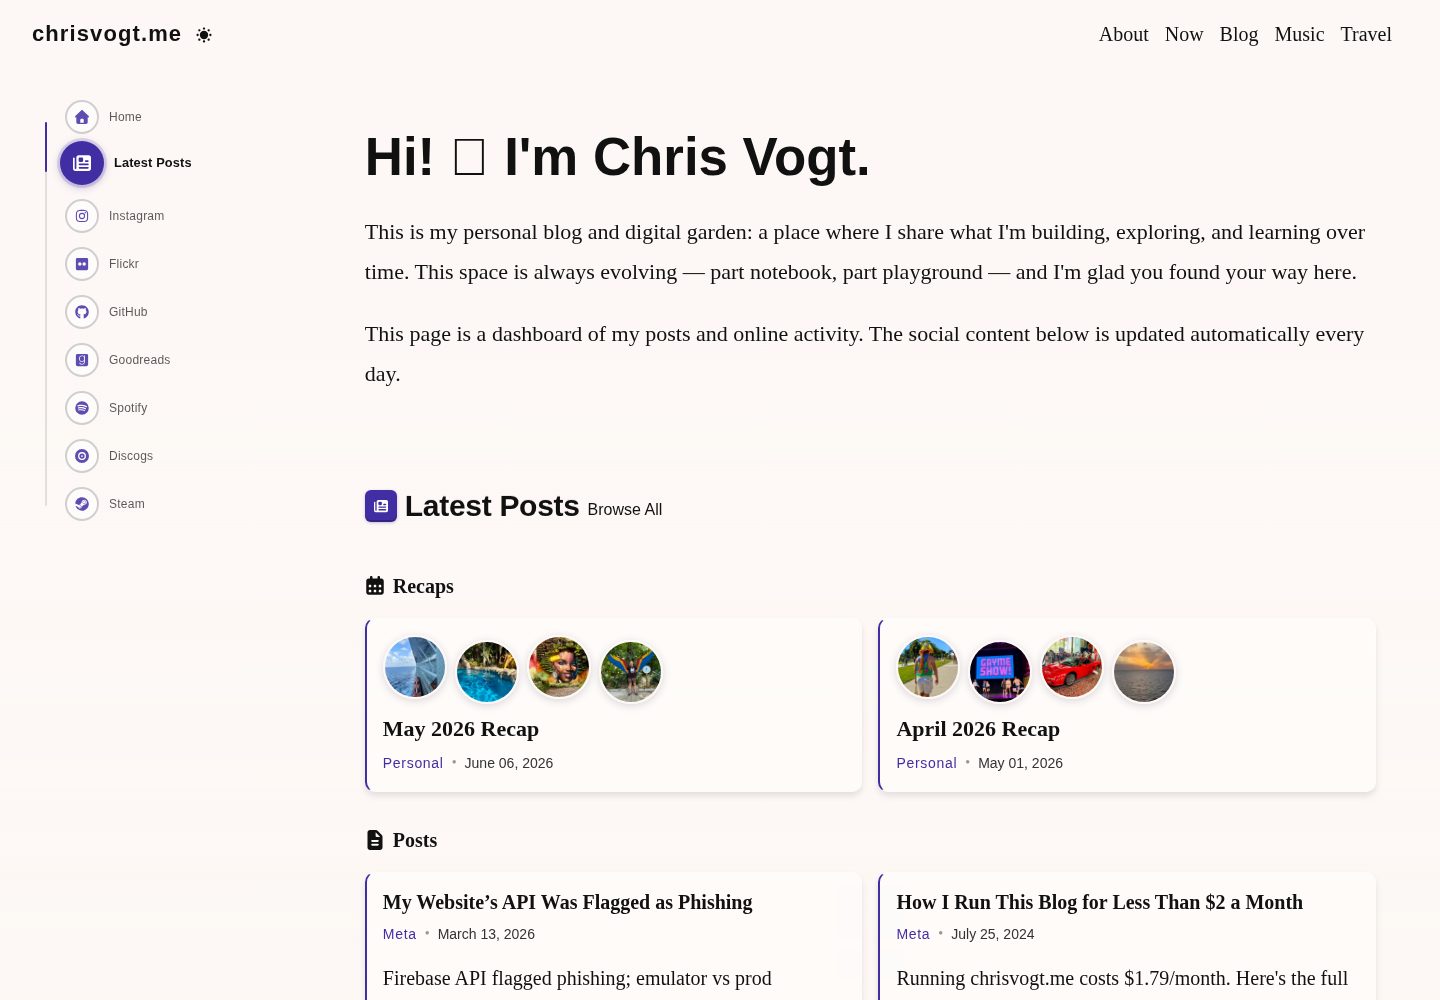
gatsby-theme-chronogrove
A Gatsby theme for personal websites and blogs, with a social activity dashboard homepage, built-in widgets for GitHub, Instagram, Spotify, Goodreads, Steam, and MDX blog support.
Gatsby · Portfolio
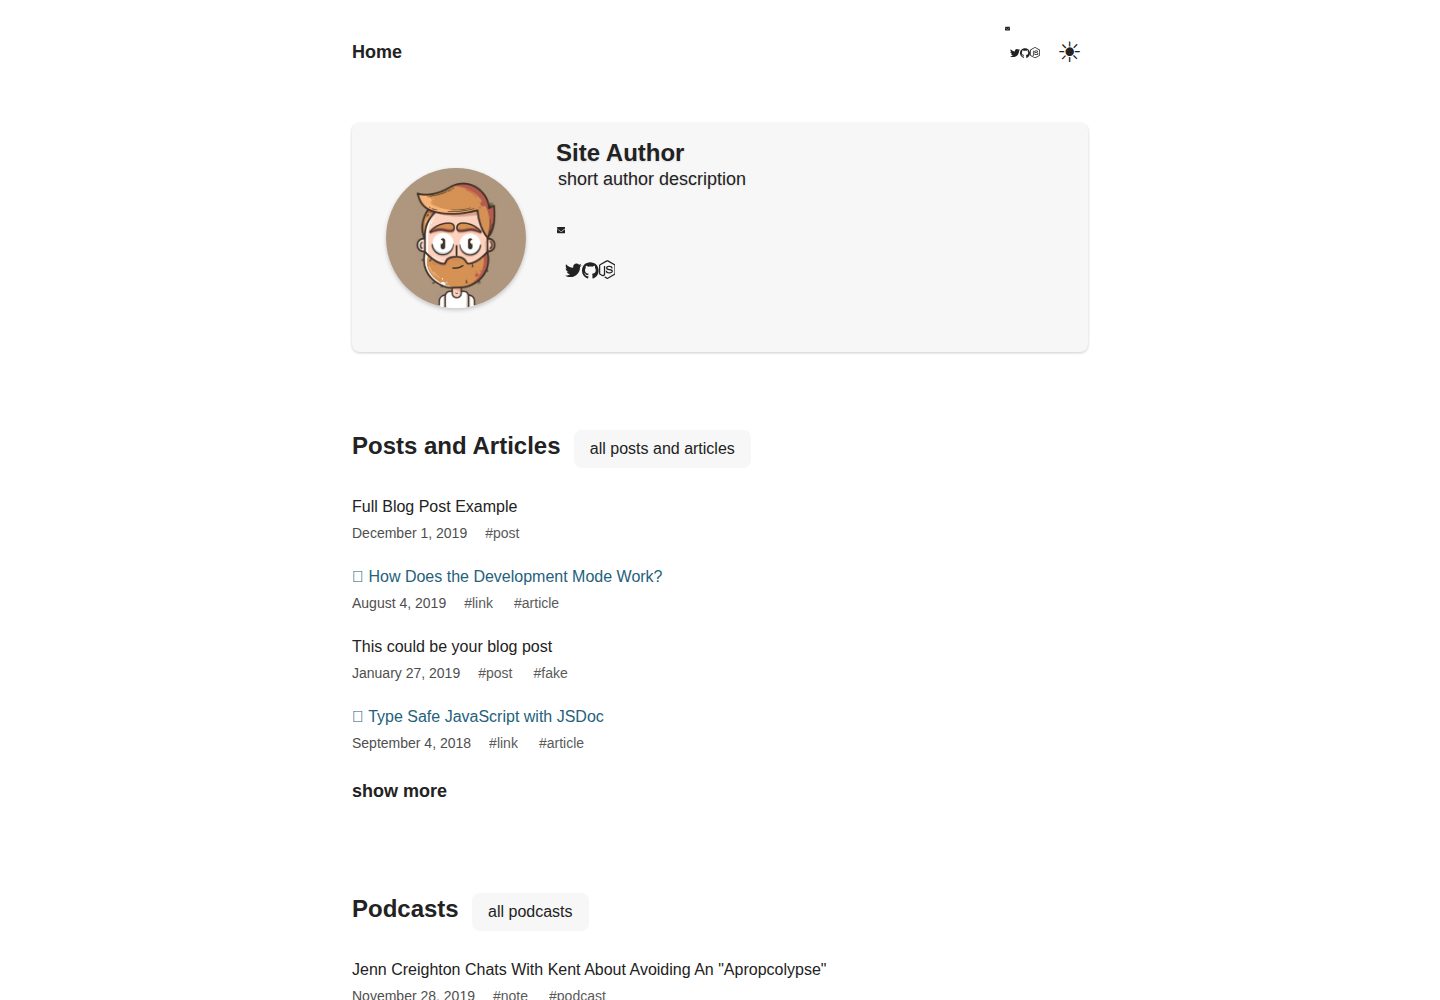
gatsby-starter-chronoblog-profile
A Chronoblog Gatsby theme starter for personal websites, with a homepage built from compact text feeds organized by tags. Content and pages use MDX, and site elements like menus and footers can also be customized with MDX.
Gatsby · Portfolio
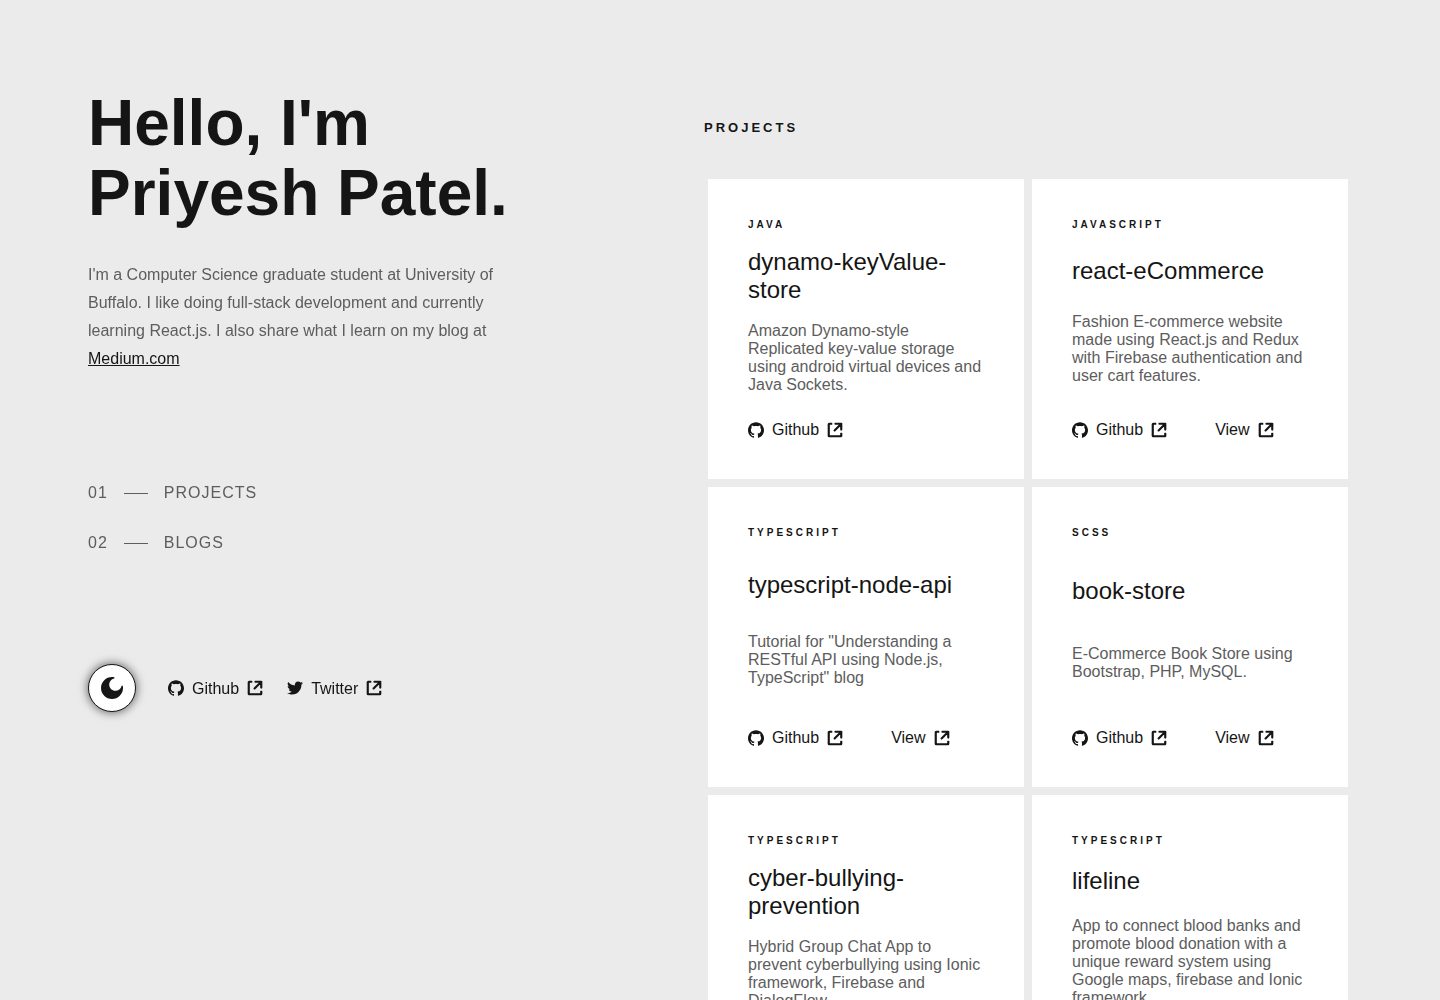
gatsby-portfolio
A Gatsby-based personal portfolio template that manages personal information, blog, and project data via JSON files under src/data, with dark/light mode toggle, mobile-first responsive layout, and smooth scrolling via react-scroll.
Gatsby · Portfolio