基于 Gatsby 构建,内容以 Markdown 文件管理
GatsbyReact作品集
portfolio_el — Gatsby 作品集模板
作者 jjoshkan
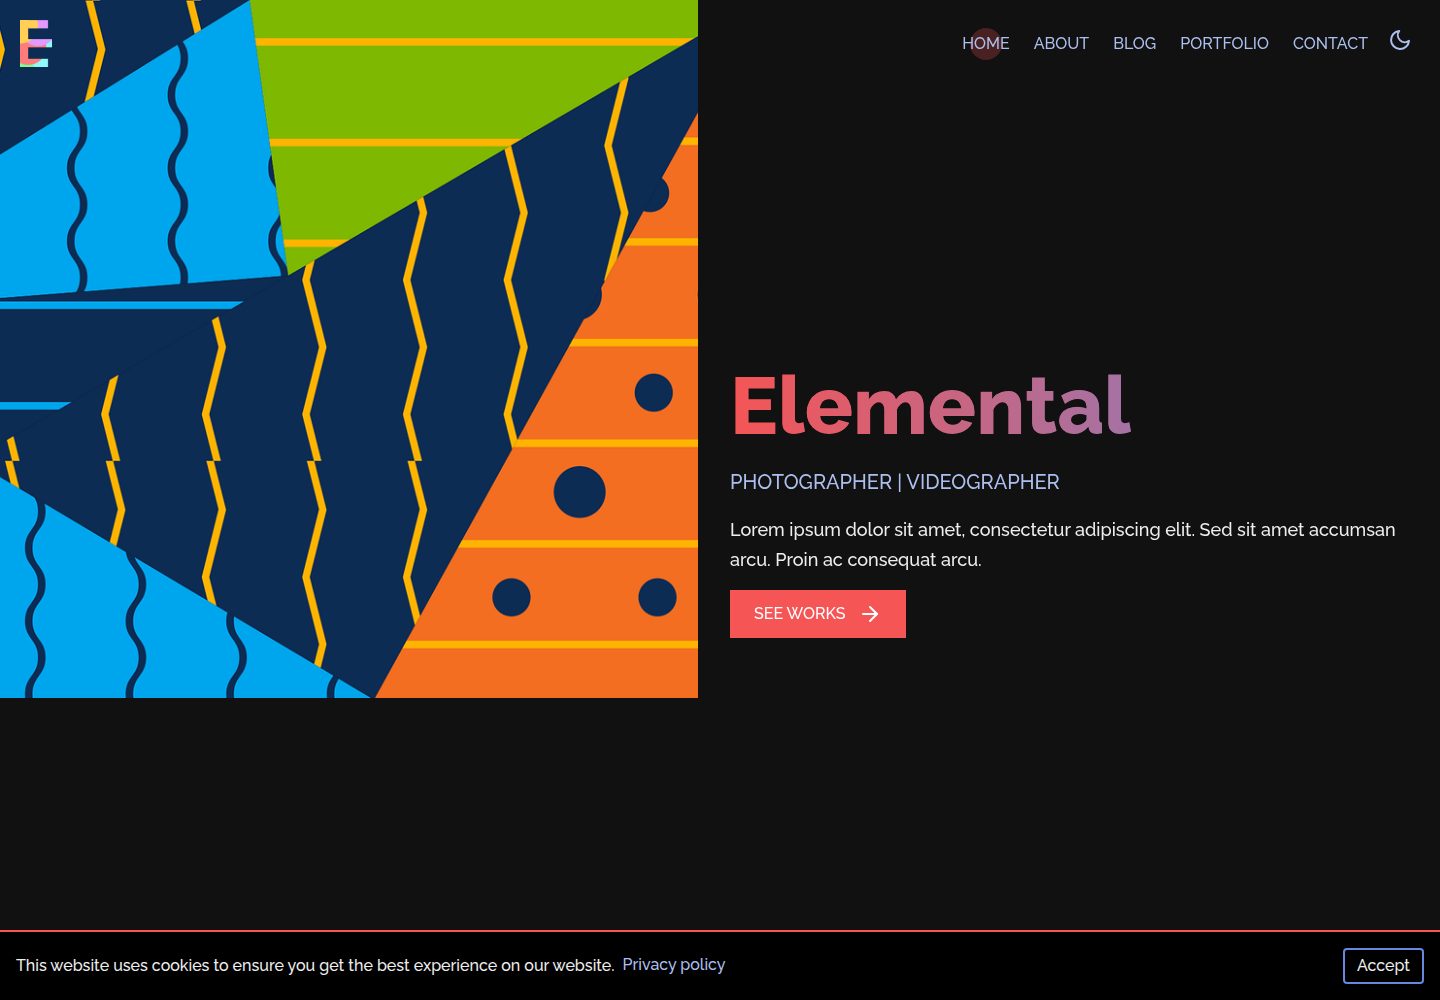
Elemental 是一个基于 Gatsby 的作品集模板,适合艺术家、摄影师、设计师等展示作品,同时内置博客、作品集与杂项页面(如隐私政策)三类内容。
看看你的网站会是什么样
浏览真实页面截图,比较内容排版与手机效果。点击下方缩略图切换,放大查看整页细节。
全部页面与视图 3
截图用于了解视觉与布局,交互效果请以实际项目为准。
采集于 2026-10-03查看来源
值得关注的模板亮点
从已有项目资料中,快速了解它的特点。
内置博客、作品集和杂项页面三类内容结构
通过 config.js 集中配置站点标题、导航、社交链接、联系方式等
作品集页面支持用 Row 和 Col 组件创建等宽栅格布局
支持深色模式默认开启与主题切换按钮
联系表单可配置外部 API 地址并自定义提交前校验与提交逻辑
模板详细介绍
Elemental 是一个基于 Gatsby 的作品集模板,面向艺术家、摄影师、设计师等需要展示视觉作品的个人。它把内容分成三类:博客、作品集和杂项页面(例如隐私政策),其中“关于”页面就是作为杂项页面创建的。
模板的个性化集中在 config.js 文件中,可以设置站点标题、URL、Logo、图标、标题图、Open Graph 图片、首页简介文字、介绍标签、作者、每页条目数、默认深色模式与主题切换按钮、导航链接、页脚链接、社交链接以及联系方式。标题区域支持两种布局:两栏(左图右文)或把标题图作为文字背景。
内容以 Markdown 文件组织。博客和作品集分别放在 contents/blog 与 contents/portfolio 下,每篇一个文件夹,内含 index.md 与相关图片;frontmatter 包含标题、日期、列表图、横幅图和描述。作品集页面支持用 <Row> 和 <Col> 创建等宽栅格。杂项页面放在 contents/basepages 下,URL 结构为站点根路径下的独立路径,适合放置隐私政策等页面。
联系表单只有在 config.js 中提供了 api_url 时才会显示;提交前可通过 beforeContactFormSubmit 校验姓名、邮箱和消息,提交逻辑可通过 contactFormSubmit 自定义。模板还预留了 Disqus 短名配置。
限制方面:模板资料未说明具体的 Gatsby 版本号;演示图片、字体、图标等第三方素材的许可需要单独核对;联系表单依赖外部表单服务,域名、托管等外部服务可能另外收费。
Gatsby作品集
适合你的项目吗?
适用场景
- 艺术家、摄影师或设计师搭建个人作品展示站点
- 在展示作品的同时发布博客文章
- 创建隐私政策等独立杂项页面
- 通过外部表单服务收集访客留言
适合人群
- 需要同时管理作品集与博客的个人创作者
- 习惯用 Markdown 编写内容的用户
- 希望集中在一个配置文件中调整站点信息的开发者
- 接受使用外部表单服务处理联系表单的站点
上手与定制指南
结合仓库当前版本的说明,按下面的资料检查内容、配置与运行要求。
- 1
需要预先安装 Node 和 Gatsby
- 2
使用 gatsby new 命令基于仓库创建项目,然后运行 gatsby develop 本地开发,gatsby build 构建生产版本
- 3
打开 config.js 编辑站点信息,注意不要删除其中任何属性
- 4
博客、作品集和杂项页面分别在 contents/blog、contents/portfolio、contents/basepages 下创建文件夹与 index.md
- 5
联系表单需要提供 api_url 才会显示,并可自定义 beforeContactFormSubmit 与 contactFormSubmit 函数
授权与来源资料
使用条件与限制
免费使用 · 保留许可声明本次收录的是公开仓库中采用 MIT 许可的免费版本;免费范围为该版本代码,不代表外部服务或第三方素材免费。
使用时需要遵守
- 允许免费使用、修改、商用和分发该版本代码。
- 分发代码副本或实质性部分时,保留原作者版权声明和完整 MIT 许可声明。
- 代码按现状提供;担保与责任限制以原许可证及适用法律为准。
额外费用与待核对事项
- 联系表单依赖外部服务 getform.io:只有配置 api_url 时表单才显示,需自行注册该第三方表单服务并获取接口地址,可能涉及外部服务费用。
- 评论功能依赖第三方 Disqus 服务,需填写自己的 Disqus shortname 才能使用,属可选外部服务。
- 使用前需自行安装 Node 与 Gatsby 环境,模板本身不包含这些运行时依赖。
- 演示图片、字体、图标及其他第三方素材需按各自许可核对,不能仅凭代码的 MIT 许可判断。
- 域名、托管、数据库、支付或 AI 等外部服务可能另外收费。
查看原文依据
Permission is hereby granted, free of charge
许可证原文
contact: { api_url: "https://getform.io/f/f227a36xxxxxx", // leave empty ('') or false to hide form
README 原文
disqus: `your-disqus-shortname` // Optional, remove this if you don't use disqus
README 原文
https://github.com/jjoshkan/portfolio_el/blob/master/LICENSEhttps://github.com/jjoshkan/portfolio_el/blob/master/README.mdYou will need node and [Gatsby](https://www.gatsbyjs.org/tutorial/part-zero/) installed.
README 原文
DeepSeek 根据仓库许可证和 README 整理 ·2026-10-03。结果仅覆盖已读取资料,依赖、图片、字体及后续条款变更以各自原文为准。
项目核对记录与介绍依据
模板资料
- 来源平台
- GitHub
- 资料与维护参考分
- 资料一般 · 65 / 100
- 技术栈
- Gatsby · React
- 网站类型
- 作品集
这个分数如何计算
本站按许可资料(最高30分)、演示链接(12分)、预览图(10分)、Star数(15分)、记录的维护时间(15分)、描述完整度(8分)、功能记录(5分)和分类资料(5分)计算。它不是代码、安全或性能测试,也不是 Google 评分;有链接不代表已实测可用。
这个项目需要核对什么
- 记录的仓库更新时间
- 2021-01-09
- 截图检查日期
- 2026-10-03
已收录演示链接。请用你的内容与屏幕尺寸检查;有演示不代表表单、认证或支付已经可用。
目录记录的主要技术栈是 Gatsby。请通过依赖清单和锁文件核对实际版本与托管要求。这些说明基于收录资料,不代表代码审计或部署实测。
查看具体选型方法 →介绍的制作与核对状态
介绍由 AI 辅助整理目录与仓库资料。仓库作者不等于这篇介绍的审核者。
已完成服务器许可规则与 AI 来源核对;未经过人工编辑审核。
查看当时使用的来源资料
SHA-256: 2d20216da37cd62b40057f7d1bcf94abf552598f96272d5389b7b12c07296efa
2026-10-03T02:44:34.049Z
来源文件 / 仓库# Gatsby Starter Elemental
 
Elemental is a portfolio template suitable for artists, photographers, designers etc. With the starter you can create blog, portfolio and miscellaneous posts (such as privacy-policy).
**[Live Demo](https://elemental.netlify.app)**
## Getting Started.
You will need node and [Gatsby](https://www.gatsbyjs.org/tutorial/part-zero/) installed.
Start the project by
```
gatsby new project-name https://github.com/akzhy/gatsby-starter-elemental
cd project-name
gatsby develop
```
And for the final build
```
gatsby build
```
### Configuring
Almost all features of this starter are editable. In order to personalize, open the `config.js` file and start editing.
```javascript
// Do not remove any of the properties below.
const siteMetadata = {
title: `Elemental`, // Title of your webpage
siteUrl: `http://localhost`, // You sites URL
capitalizeTitleOnHome: true, // Whether to capitalize the letter on homepage
logo: `/images/logo.png`, // Logo
icon: `/images/icon.png`, // Favicon, shown in the browsers "tab"
titleImage: `/images/wall.jpg`, // The main title is filled with an image.
ogImage: `/images/wall.png`, // open graph image (shown when link is shared in social media)
twoColumnWall: true, // If true, the wall will be split into two with titleImage on left side and text on the right. If false, the title image will be used as the background of the text.
about:"", // The short about text shown on front page
introTag: `PHOTOGRAPHER | VIDEOGRAPHER`, // Intro tag shown below title
description: `Lorem ipsum dolor sit amet, consectetur adipiscing elit. Sed sit amet accumsan arcu. Proin ac consequat arcu.`,
author: `@_akzhy`, // Author
blogItemsPerPage: 10,
portfolioItemsPerPage: 10,
darkmode: true, // Whether to enable the darkmode by default. Change to false if you want the light mode
switchTheme: true, // Whether to show a switch theme button on the navbar
// The links shown on the navbar and footer, follow the same structure to add or remove more items.
navLinks: [{
name: "HOME",
url: "/"
},
{
name: "ABOUT",
url: "/about"
},
{
name: "BLOG",
url: "/blog"
},
{
name: "PORTFOLIO",
url: "/portfolio"
},
{
name: "CONTACT",
url: "/contact"
}
],
// Same as navbar links, except these are shown on the footer
footerLinks: [{
name: "PRIVACY POLICY",
url: "/privacy-policy"
}],
// Your social profile links. The icons of the given social medias are available in the static folder. If you are adding a new item, include the icon in the static/images folder.
social: [{
name: "Facebook",
icon: "/images/Facebook.svg",
url: "#"
},
{
name: "Twitter",
icon: "/images/Twitter.svg",
url: "#"
},
{
name: "Instagram",
icon: "/images/Instagram.svg",
url: "#"
},
{
name: "Youtube",
icon: "/images/Youtube.svg",
url: "#"
}
],
contact: {
api_url: "https://getform.io/f/f227a36xxxxxx", // leave empty ('') or false to hide form
description: `Lorem ipsum dolor sit amet, consectetur adipiscing elit. Sed sit amet accumsan arcu. Proin ac consequat arcu.`,
mail: "[email protected]",
phone: "000-000-0000",
address: "1234 \nLocation \nLocation"
},
disqus: `your-disqus-shortname` // Optional, remove this if you don't use disqus
}
```
#### Creating new blog posts.
Open the `contents/blog` folder and create a new folder with the name you wish to see as the URL. Inside the folder create an `index.md` file and also include any files you wish to add.
The frontmatter should be of the below structure
```
---
title: Title of your post
date: 2019-06-29 <-- Date should be in the given format
image: ./image.jpg <-- Image shown on the list pages and also used as open graph image
banner: ./banner.jpg <-- Banner shown in the blog post
description: The description shown in the listing page. Also used for SEO description.
---
```
If you don't want the blog section, simply delete everything inside the `contents/blog` folder. (Do not delete the folder itself)
#### Creating new portfolio posts.
Open the `contents/portfolio` folder and create a new folder with the name you wish to see as the URL. Inside the folder create an `index.md` file and also include any files you wish to add.
The frontmatter should be of the below structure
```
---
title: Title of your post
date: 2019-06-29 <-- Date should be in the given format
banner: ./banner.jpg <-- Banner shown in the portfolio post and also used as open graph image
image: ./image.jpg <-- Image shown on the list pages
description: The description shown in the listing page. Also used for SEO description.
---
```
Portfolio pages support the creation of grids.
To create a grid, follow the below structure
```
<Row>
<Col>
**Markdown**
</Col>
</Row>
```
The columns will have equal width on wide screens, and will expand on smaller screens.
#### Creating miscellaneous posts
These posts follow the URL structure of `http://example.com/miscellaneous-post/`. They are useful for creating pages like `privacy-policy`
The "About" page is created as a miscellaneous post.
Open the `contents/basepages` folder and create a new folder with the name you wish to see as the URL. Inside the folder create an `index.md` file and also include any files you wish to add.
The frontmatter should be of the below structure
```
---
title: Title of your post
image: ./image.jpg <-- Image used as open graph image
description: The description used for SEO.
---
```
### Contact Form
The contact form will appear only if you have provided an api url. You can control the data sent to the server and can execute callback functions on response from the server.
To customize these functions, edit the `config.js` file.
The `beforeContactFormSubmit` function is used to validate the form data before it is sent to the server. It has one argument that contains the object
```
{
name: string,
email: string,
message: string
}
```
You can validate the data and return
```
{
data: {
name: data.name,
email: data.email,
message: data.message,
},
result: true,
}
```
if the data is valid. Otherwise return
```
errors = [
{
code: int, // 1-4
/* Codes
Code 1 - Name
Code 2 - Email
Code 3 - Message
Code 4 - Other
*/
message: string
}
]
return {
result: false,
errors: errors,
}
```
You can also handle how data is sent to the server by editing the `contactFormSubmit` function. It should return the below object to indicate whether the message was sent.
```
{
result: boolean // true for success, false for fail
}
```
## Contributing
Any kind of contributions are welcome. Bump the version and create a PR.
看看同类模板
对比同技术栈与用途的模板,找到更适合的视觉与内容结构。
yashitanamdeo.github.io
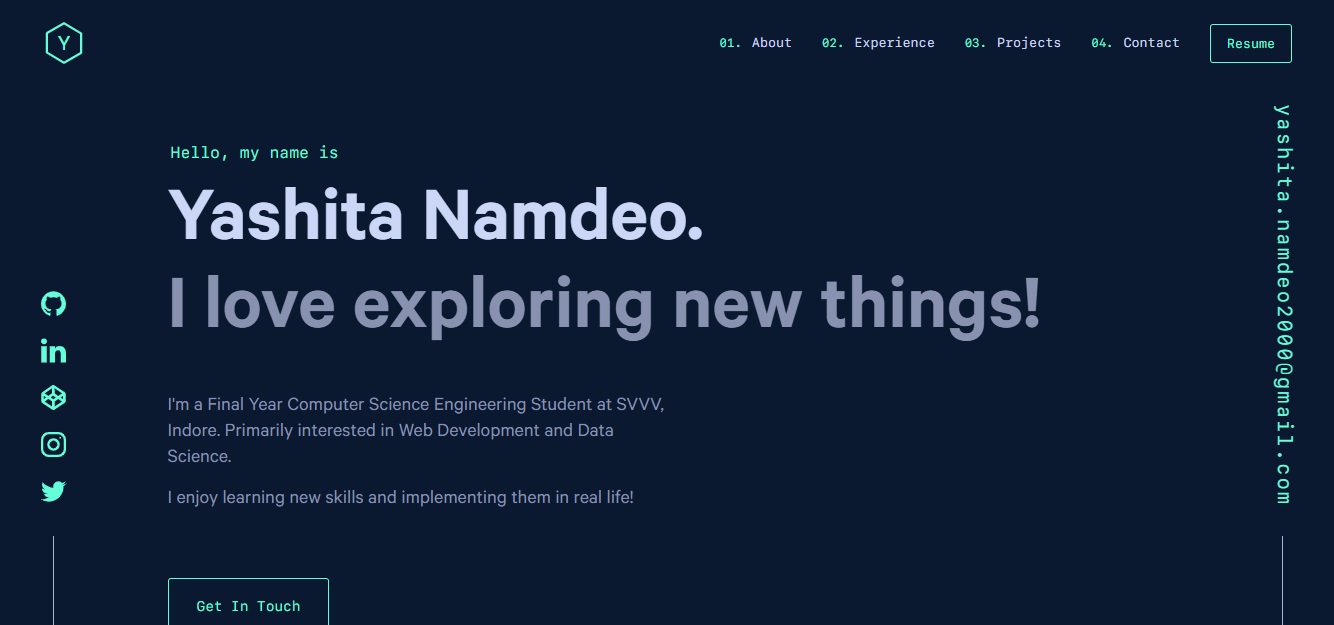
yashitanamdeo.github.io 是一个基于 Gatsby 和 React 构建的个人作品集网站模板,源自开发者 Yashita Namdeo 的第一版个人主页。
Gatsby · 作品集

clay-theme
Image-centric Gatsby theme for publishers, portfolios, photographers blogs and more.
Gatsby · 作品集
gatsby-markdown-blog
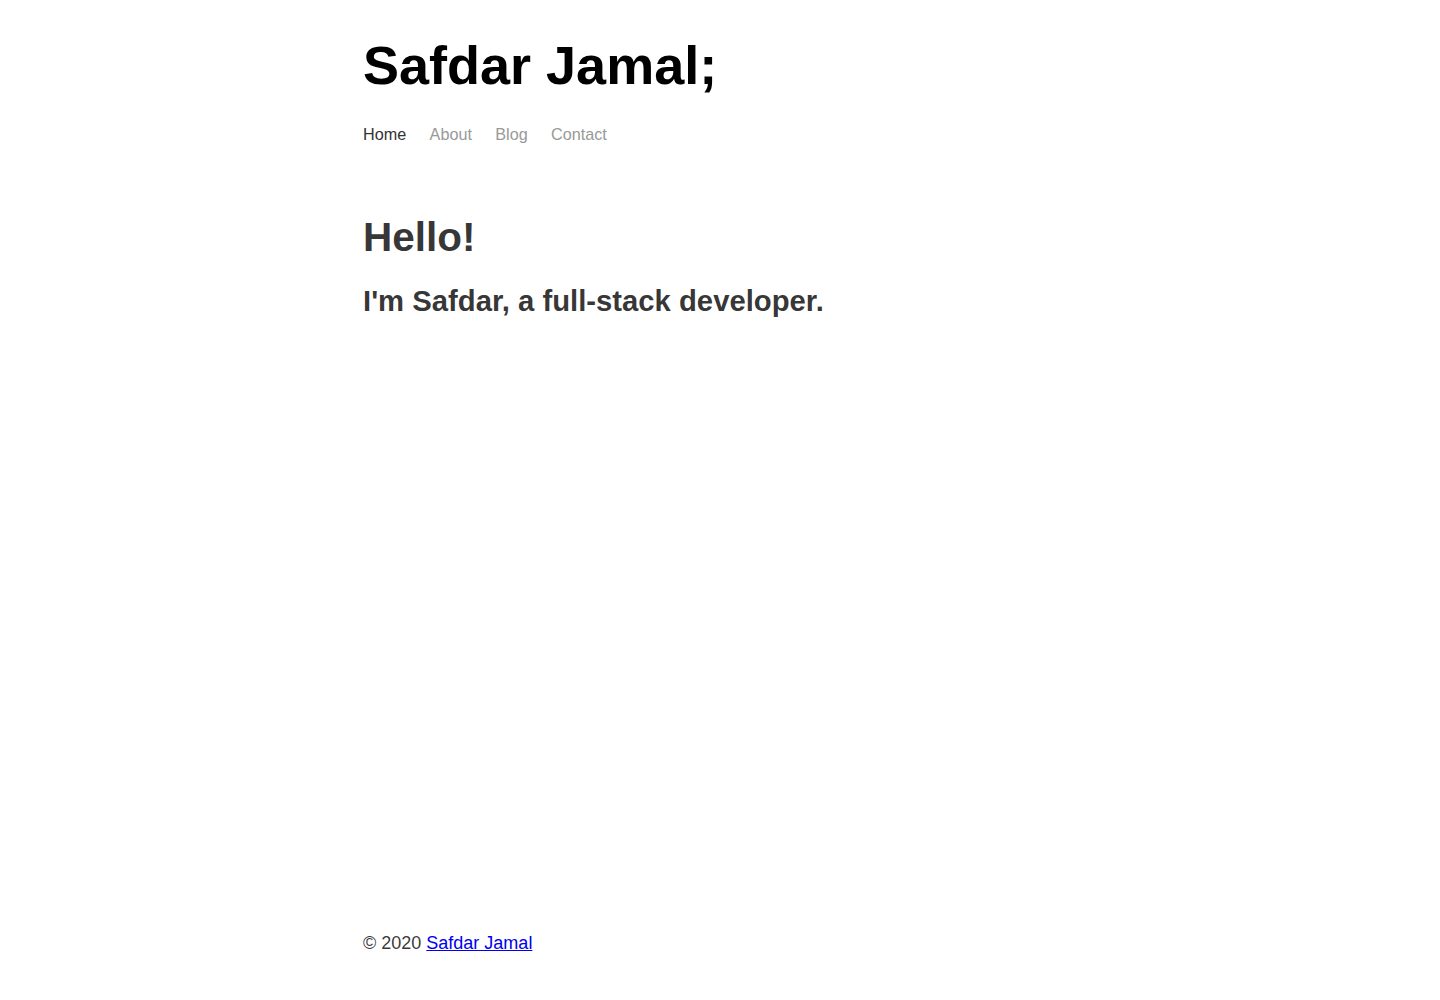
A minimal starter template for building personal/blogging websites with Gatsby, Markdown, and Netlify.
Gatsby · 作品集
gatsby-theme-chronogrove
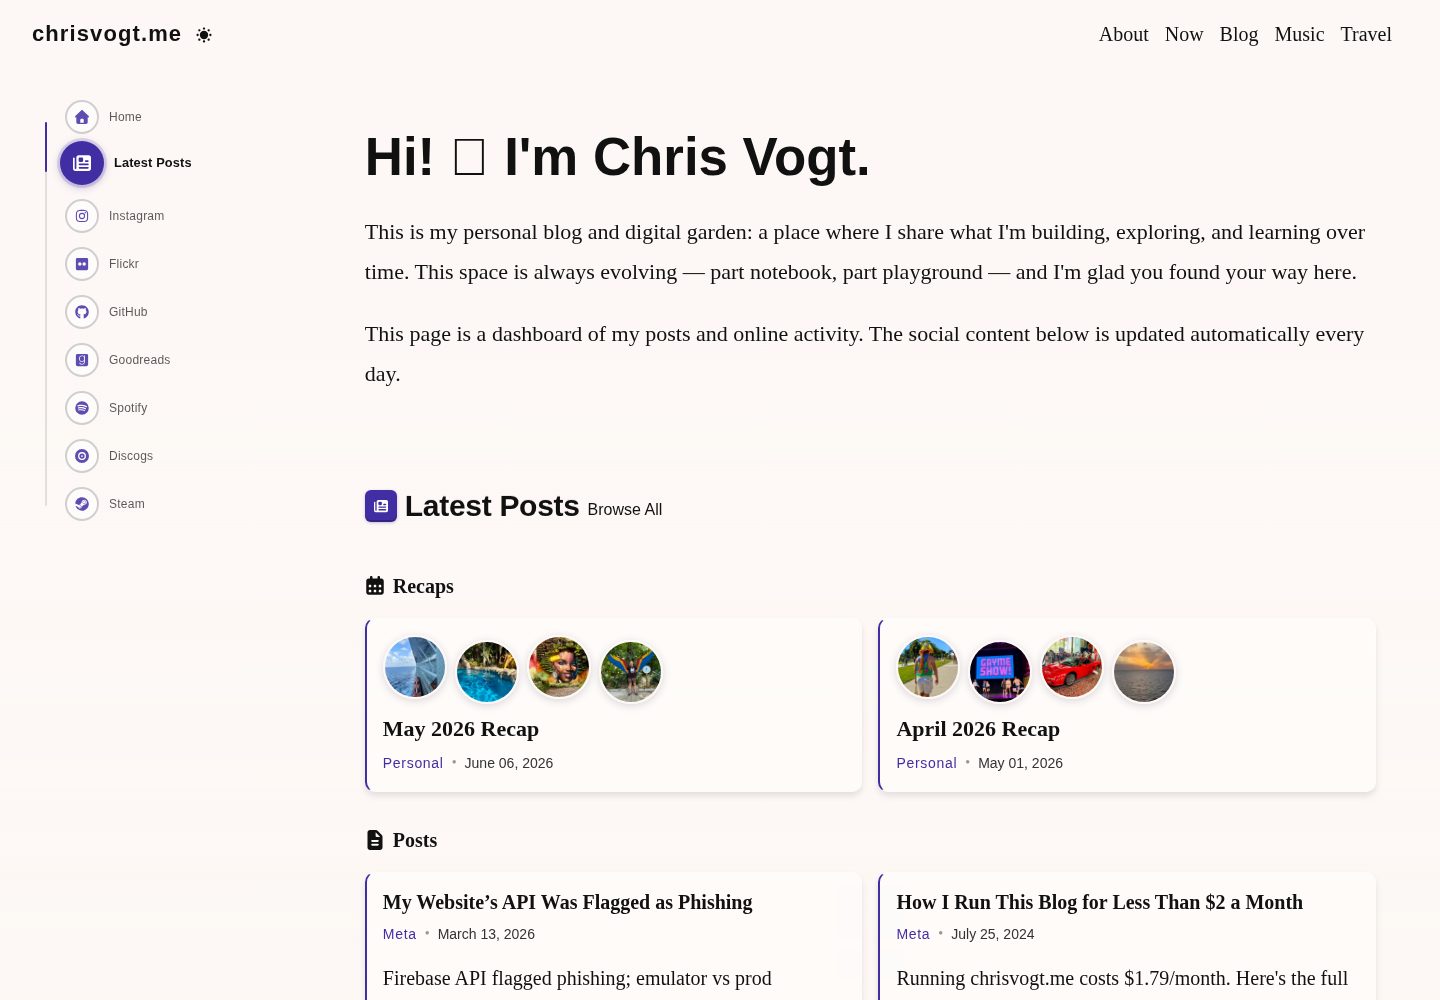
A homemade GatsbyJS theme for my personal blog and website.
Gatsby · 作品集
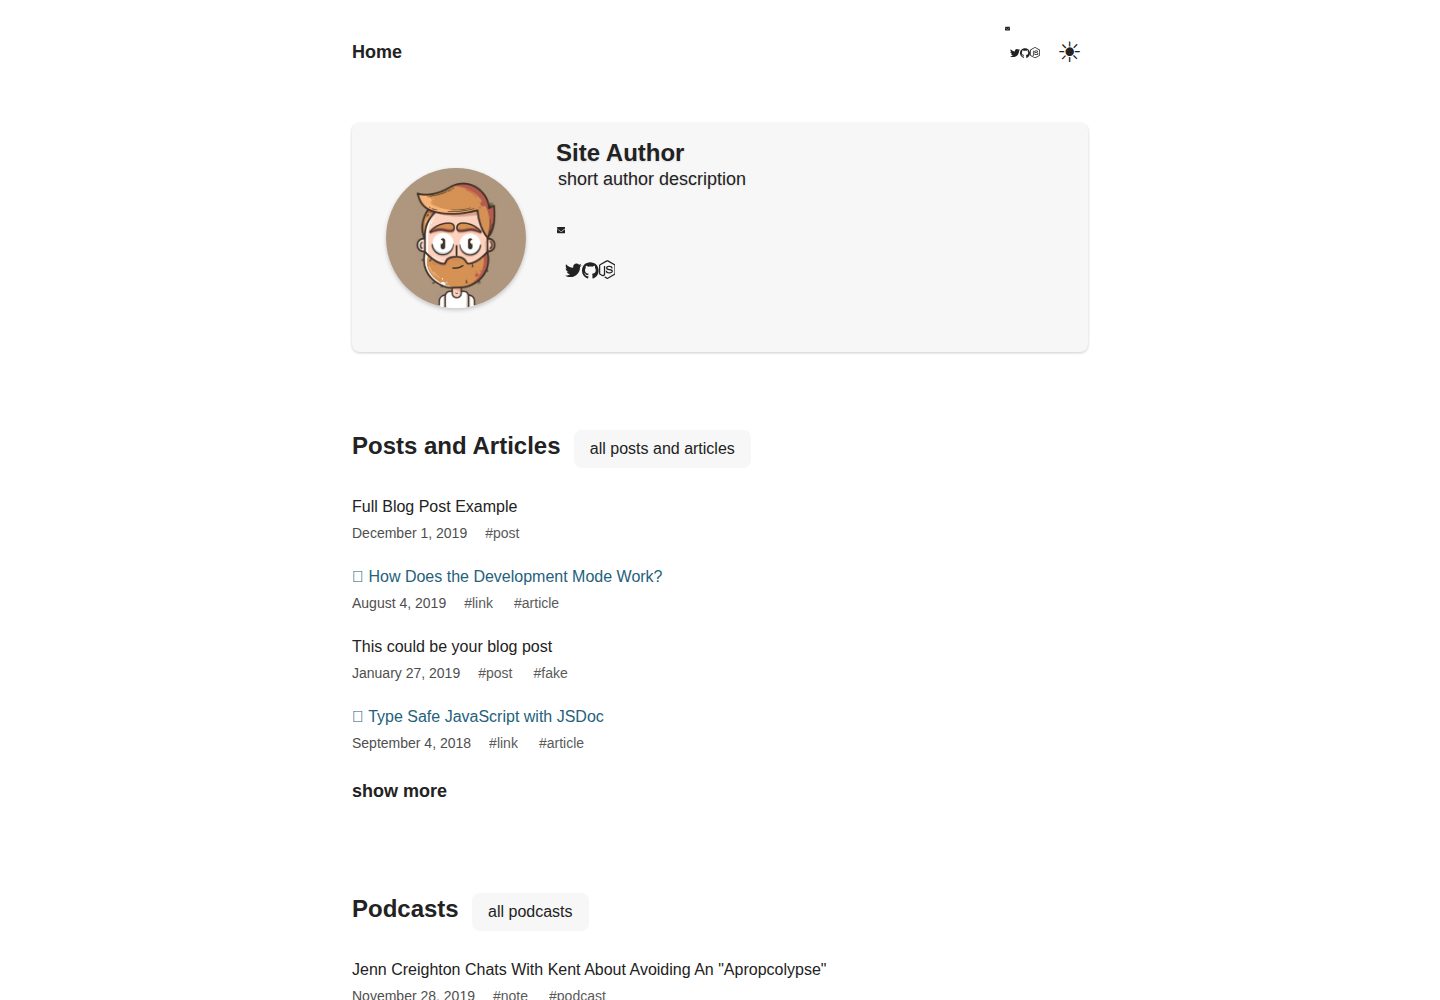
gatsby-starter-chronoblog-profile
Chronoblog Gatsby Theme Starter. This starter will help you launch a personal website with a simple text feed …
Gatsby · 作品集
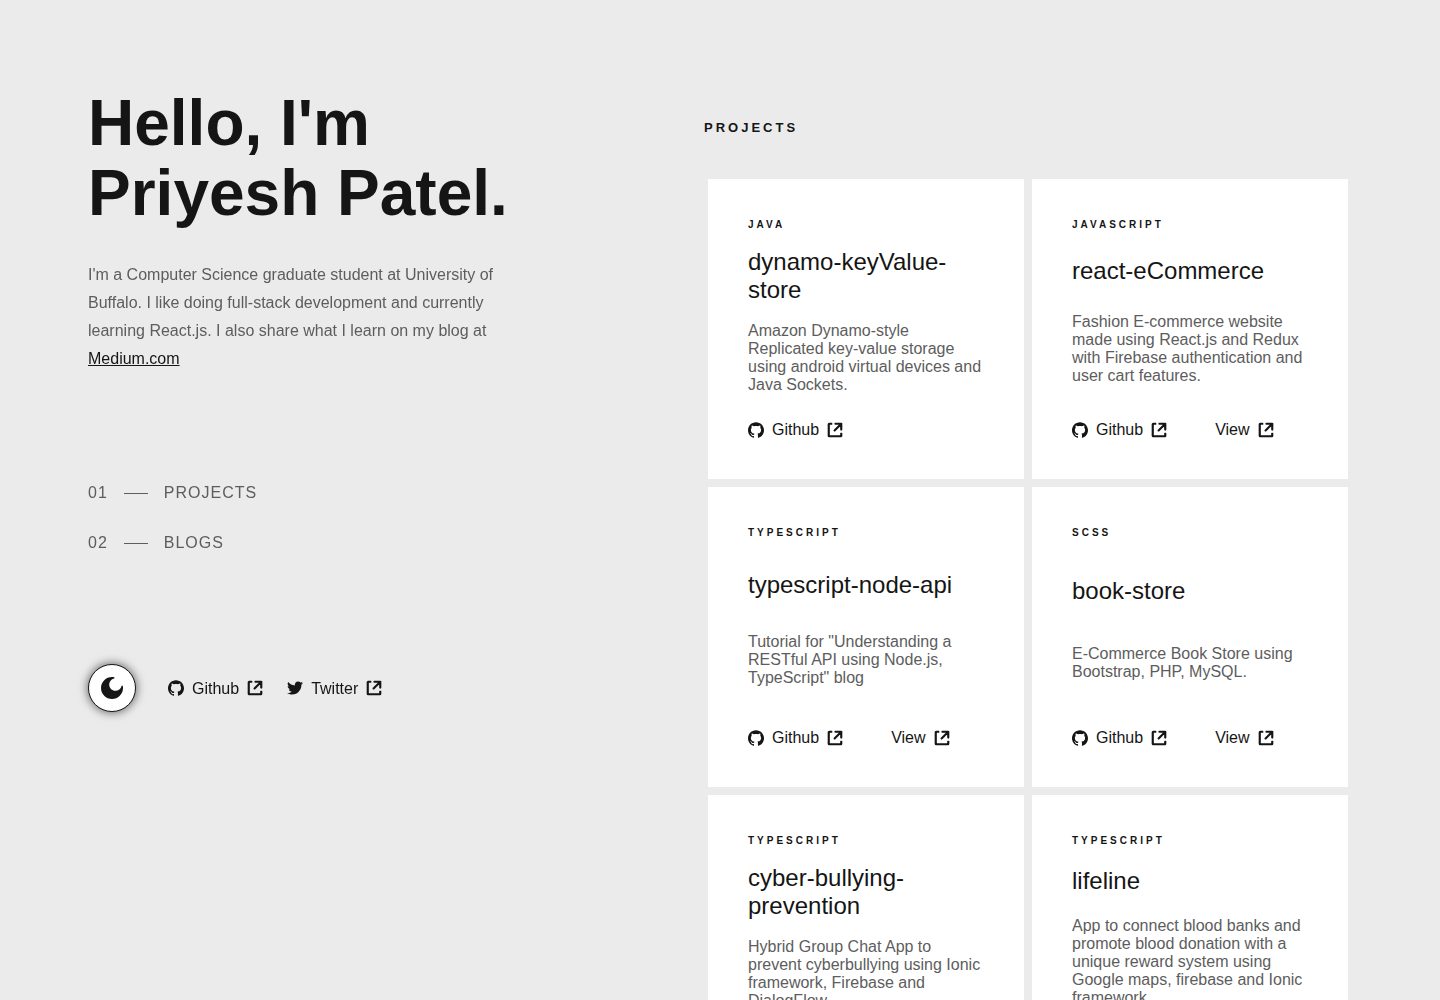
gatsby-portfolio
Personal website using gatsby.js
Gatsby · 作品集