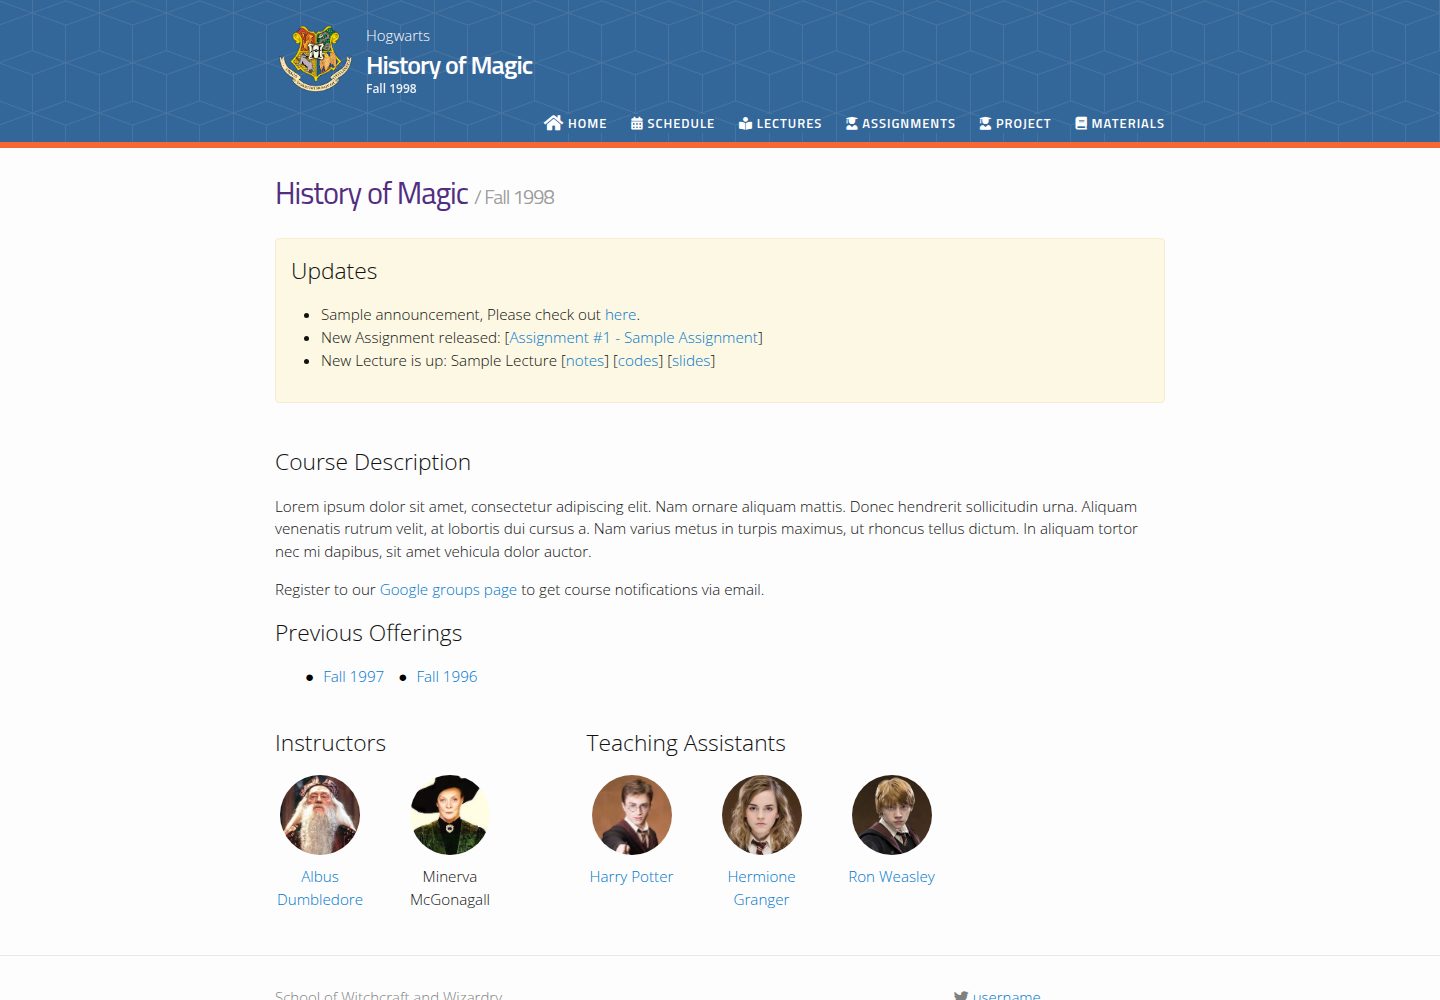
Provides separate pages for lectures, assignments, schedule, course materials, and projects
JekyllHTMLStarter
jekyll-course-website-template — Jekyll Starter Template
By kazemnejad
A Jekyll-based academic course website template that provides separate pages for lectures, assignments, schedule, course materials, and announcements, supports auto-generated schedule and updates sections, and can be deployed directly to GitHub Pages.
Explore the design
Compare the page layouts and mobile experience. Open any screenshot for a closer look.
Desktop homepage1 / 3
Desktop captureTop of page
Actual screenshot captured by the server browser.
All pages & views 3
Screenshots show visual appearance; interactive behavior may differ.
Recorded 2026-10-02View source
What stands out
A quick read of the recorded project description.
Auto-generates a course schedule page and course updates section, and supports manual announcements
Navigation menu and page data are maintained centrally in YAML, making it easy to add or remove pages
Offers preset themes and color variables to adjust the appearance to school branding
Supports GitHub Pages deployment and can also be previewed locally with Jekyll
Configures course information, school information, and Google Analytics via _config.yml
Template Details
This is a Jekyll website template for university course scenarios. The repository is MIT-licensed, and the demo site and screenshots are publicly accessible. The template splits course content into separate pages for lectures, assignments, schedule, course materials, projects, and more, and around them provides an auto-generated course schedule page and course updates section, while also supporting manual announcements. The navigation menu is maintained as YAML data, so changes are centralized when adding new pages. The template is built on svmiller/course-website; the README describes it as lightweight and customizable, and provides steps for deploying on GitHub Pages, testing locally with Jekyll, and adding lectures, assignments, deadlines, exams, and custom events by directory.
In terms of usage, the template configures the course name, semester, description, school information, social accounts, and Google Analytics via _config.yml; maintains course personnel via _data/people.yml; and selects preset themes or manually adjusts colors via _sass/_user_vars.scss. Content is organized as Markdown files with YAML front matter: _lectures/, _assignments/, _events/, and _announcements/ correspond to lectures, assignments, schedule events, and announcements respectively, while _data/nav.yml controls the top navigation. The README also recommends creating a separate account or organization for the course when the same course is offered across multiple semesters, and creating a repository per semester.
In terms of limitations, the template depends on Jekyll for building; local testing requires installing Jekyll first and running bundle exec jekyll serve; deploying to GitHub Pages requires correctly setting url and baseurl in _config.yml and enabling Pages in the repository settings. The repository materials do not provide complete information on performance, production readiness, or third-party asset licensing; demo images, fonts, icons, etc. must be checked against their respective licenses.
JekyllHTMLStarter
Is it right for your project?
Use Cases
- Building a course homepage for a university course that includes lectures, assignments, and a schedule
- When the same course is offered across multiple semesters, creating a separate repository per semester and reusing the template
- Course sites that need to automatically aggregate lecture and assignment updates and display them on the homepage
- Instructors or teaching assistants who want to maintain course content with Markdown and YAML without writing complex front-end code
Suitable For
- University instructors, teaching assistants, or course coordinators
- Individuals or teams familiar with GitHub and Markdown who want to launch a course website quickly
- Users who need to manage course sites by semester and may use a GitHub organization to manage multiple courses uniformly
Getting started & customization
Use these recorded setup notes alongside the repository instructions for your chosen version.
- 1
After forking the repository, modify url and baseurl in _config.yml, corresponding to the GitHub account address and repository name respectively
- 2
Enable GitHub Pages in the repository settings and select the master branch as the publishing source
- 3
Local testing requires installing Jekyll first, then running bundle exec jekyll serve to preview
- 4
Add course content by directory: _lectures/, _assignments/, _events/, _announcements/; maintain navigation in _data/nav.yml
- 5
For appearance, select a preset theme or manually adjust colors in _sass/_user_vars.scss
License & source material
Usage conditions & limitations
Free to use · keep license noticeThis entry covers the free version in the public repository under the MIT license; the free scope is the code of this version and does not mean that external services or third-party assets are free.
Must comply with when using
- Free use, modification, commercial use, and distribution of this version's code are permitted.
- When distributing copies or substantial portions of the code, retain the original author's copyright notice and the complete MIT license notice.
- The code is provided as is; warranties and limitations of liability are governed by the original license and applicable law.
Additional costs & items to verify
- The template supports Google Analytics, but you must provide your own Google Analytics tracking ID and uncomment the corresponding field in _config.yml; using this feature means relying on Google's external service.
- Local preview and building depend on Jekyll; you must first install Jekyll according to the official guide, then run bundle exec jekyll serve, which is an external tool dependency.
- Deploying to GitHub Pages requires enabling Pages in the GitHub repository settings and selecting the master branch as the publishing source, which depends on the GitHub platform service.
- Demo images, fonts, icons, and other third-party assets must be checked against their respective licenses and cannot be judged solely by the code's MIT license.
- External services such as domains, hosting, databases, payments, or AI may incur additional charges.
View Original Text Basis
Permission is hereby granted, free of charge
Original License Text
Support for Google Analytics
Original README
Install Jekyll ([Installation guide](https://jekyllrb.com/docs/installation/))
Original README
https://github.com/kazemnejad/jekyll-course-website-template/blob/master/LICENSEhttps://github.com/kazemnejad/jekyll-course-website-template/blob/master/README.mdGo to your repository's settigns
Original README
Compiled by DeepSeek based on repository license and README ·2026-10-02. Results only cover the materials read; dependencies, images, fonts, and subsequent term changes are subject to their respective original texts.
Project checks & description sources
Template Information
- Source platforms
- GitHub
- Documentation and maintenance reference score
- More documented · 81 / 100
- Technologies
- Jekyll · HTML
- Website type
- Starter
How this score is calculated
Our heuristic uses license records (up to 30), a demo link (12), a preview (10), stars (15), recorded maintenance (15), description completeness (8), feature records (5) and classification data (5). It is not a code, security or performance test, or a Google score. A link does not establish tested functionality.
What to verify for this project
- Repository update recorded
- 2024-08-16
- Screenshot last checked
- 2026-10-02
A demo link is listed. Check it with your own content and viewport sizes; its presence does not confirm that forms, authentication or payments work.
The catalog identifies Jekyll as the primary stack. Check the actual dependency manifest and lockfile for versions and hosting requirements. These notes use recorded metadata, not a code audit or a deployment test.
Use a selection guide →How this description was prepared
AI-assisted description based on catalog records and repository material. Repository authors are not automatically the reviewers of this description.
Automatically checked against source and license rules; no manual editorial review.
Inspect the recorded source material
SHA-256: 632cab3c0cdc8fe22924884866be24b128d3497632c4a26fed6c12de5cddbc88
2026-10-02T07:49:40.145Z
Source file / repository# Features
- Individual page for assignments, lectures, course material, course schedule
- Auto generated Course schedule Page
- Auto generated course updates section (for each new lectures and assignments) + custom/manual announcements
- Super lightweight
- Highly customizable
- Ready to be used in Github Pages
- Responsive Mobile View
- Support for Google Analytics
# Change log
- Version 2.0
- New Schedule page with more efficient use of space.
- Gregorian calendar is now the default one (English Calendar).
- Add customization options to home, assignments, lectures, and schedule pages.
- Add support for themes (so you can modify the website's look according to your school's brandings)!.
- Move navigation menus to YAML which means it is now easier to add new pages.
- Add more flexibility to lecture's links
# Demo
Checkout for a working demo at [kazemnejad.github.io/jekyll-course-website-template/](https://kazemnejad.github.io/jekyll-course-website-template/). You may also want to see this real-world example at [iust-deep-learning.github.io/972](https://iust-deep-learning.github.io/972/) or [iust-courses.github.io/ai97/](https://iust-courses.github.io/ai97/) (Please note the last two examples are using the older version).
# Some Screenshots
<p float="left">
<img src="https://raw.githubusercontent.com/kazemnejad/jekyll-course-website-template/master/_images/screenshots/screen_home.jpg" width="300">
<img src="https://raw.githubusercontent.com/kazemnejad/jekyll-course-website-template/master/_images/screenshots/screen_schedule.jpg" width="300">
<img src="https://raw.githubusercontent.com/kazemnejad/jekyll-course-website-template/master/_images/screenshots/screen_lecture.jpg" width="300">
</p>
<p float="left">
<img src="https://raw.githubusercontent.com/kazemnejad/jekyll-course-website-template/master/_images/screenshots/screen_assign.jpg" width="300">
<img src="https://raw.githubusercontent.com/kazemnejad/jekyll-course-website-template/master/_images/screenshots/screen_sample_assign.jpg" width="300">
<img src="https://raw.githubusercontent.com/kazemnejad/jekyll-course-website-template/master/_images/screenshots/screen_material.jpg" width="300">
</p>
# Acknowledgement
This template is heavily based on [svmiller / course-website](https://github.com/svmiller/course-website).
# How to deploy your own website (on GitHub pages)
1. Fork this repository.
2. Open `_config.yml`.
1. Update `url` field according to your GitHub account (e.g., `https://<your-github-username>.github.io/`).
2. Update `baseurl` field according to your reporsitory's name (e.g., `/cs101`).
3. Commit and push your changes.
3. Go to your repository's settigns (`https://github.com/<your-github-username>/<your-repo-name>/settings`).
4. On GitHub Pages section, choose source to be your master branch, and enable Github Pages.
5. You are now ready to go! Start customizing your website.
Pro Tip: You don't need to clone your repo to update your website. Use GitHub web UI to update its source files, and GitHub will build and deploy your website automatically!
**Best Practice for managing repositories**: If you plan to use this template for university courses, and the course is offered for multiple semesters/quarters, I suggests you to create a GitHub account or an Organization for it. Then, create new repoository under that account/organization for each semester.
- Example:
- Course name: CS101
- Semester: Fall 2020
- School name: CMU
- => account/org name: `cmu-cs101`
- => repo name: `fa2020`
- => website address will be: `https://cmu-cs101.github.io/fa2020/`
# How to test your website locally
1. Install Jekyll ([Installation guide](https://jekyllrb.com/docs/installation/))
2. Clone your repo
3. Watch your website while editing: `bundle exec jekyll serve`
# How to customize
## Changing the names
- Open `_config.yml`
- Update `course_name`, `course_semester`, and `course_description` (this will appear in the home page).
- Update `schoolname`, `schoolurl`, `twitter_username`, and `address` accordingly.
- (Optional) Enter your Google Analytics tracking ID in the `google_analytics` field (Remember to uncomment it).
- Add more content to your home page: Update `index.md` (it supports Markdown!)
- Update course staff info at `_data/people.yml` (You may need to upload the profile pics to `_images` folder.
- (Optional) Open `_data/previous_offering.yml` and update the data if needed.
## Change the looks
- Open `_sass/_user_vars.scss`
- Select your favorite from the pre-defined themes (comment all other themes, and uncomment your desired one)
- Here are all themes:
<img src="https://raw.githubusercontent.com/kazemnejad/jekyll-course-website-template/master/_images/screenshots/themes.png">
- You can also change the colors manually to match your branding
## Contents
### Lectures
To add a new lecture, create an empty file with `.md` postfix in `_lectures/` directory. fill it using below template:
```markdown
---
type: lecture
date: 20xx-xx-xxTx:xx:xx+4:30
title: <Title of this lecture>
# optional
# please use /static_files/notes directory to store notes
thumbnail: /static_files/path/to/image.jpg
# optional
tldr: "What is AI? How does it impact our lives? The current state of the art."
# optional
# set it to true if you dont want this lecture to appear in the updates section
hide_from_announcments: false
# optional
links:
- url: /static_files/presentations/lec.zip
name: notes
- url: /static_files/presentations/code.zip
name: codes
- url: https://google.com
name: slides
- url: https://example.com
name: other
---
<!-- Other additional contents using markdown -->
**Suggested Readings:**
- [Readings 1](http://example.com)
- [Readings 2](http://example.com)
```
### Assignments
To add a new assignments, create an empty file with `.md` postfix in `_assignments/` directory. fill it using below template:
```markdown
---
type: assignment
date: 20xx-xx-xxTx:xx:xx+4:30
title: <Assignment title (e.g. Assignment #1>
# optional
pdf: /static_files/assignments/assign_01.pdf
# optional
solutions: /static_files/assignments/assign_01_solutions.pdf
# optional
attachment: /static_files/assignments/assign_01_attachment.zip
# optional
# set it to true if you don't want this assignment to appear in the announcements section
hide_from_announcments: false
due_event:
type: due
date: 20xx-xx-xxTx:xx:xx+4:30
description: 'Assignment #1 due'
---
<!-- Other additional contents using markdown -->
```
### Dues & Deadlines
Use `_events/` directory to add new a deadline, use `type: due`. These events will apear at the schedule page.
```markdown
---
type: due
date: 20xx-xx-xxTx:xx:xx+4:30
description: <Description of deadline (e.g. 'Final report due')>
# optional
# set it to true if you don't want this event to appear in the announcements section
hide_from_announcments: false
---
```
### Exams
Use `_events/` directory to add new Exam alert, use `type: exam`. These events will apear at the schedule page.
```markdown
---
type: exam
date: 20xx-xx-xxTx:xx:xx+4:30
description: <Description of the exam (e.g. 'The midterm exam')>
# optional
# set it to true if you don't want to this event appear in the announcements section
hide_from_announcments: false
---
```
### Custom Events
Use `_events/` directory to add new custom events, use `type: raw_event`. These events will apear at the schedule page.
```markdown
---
type: raw_event
name: <Event name>
date: 20xx-xx-xxTx:xx:xx+4:30
description: <Event description>
# optional
# if you want to hide time in Schedule, set this to true
hide_time: false
# optional
# set it to true if you don't want this event appear to in the announcements section
hide_from_announcments: false
---
<!-- you can create custom content using markdown. this section will be placed in "Course Materials (in schedule section)" -->
## Hello
this is a custom event with `code`
```
### Updates/Announcements
All contents here appear in at the home page
Use `_announcements/` directory to create new Announcement
```markdown
---
date: 20xx-xx-xxTx:xx:xx+4:30
---
<put a short announcement here, you can use all markdown features>
```
## Advanced Customization
You can add custom contents to each section (lectures, assignments, schedule, materials, and project)
- Lectures: Edit `lectures.md`
- Assignments: Edit `assignments.md`
- Schedule: Edit `schedule.md`
- Materials: Edit `materials.md`
- Project: Edit `project.md`
Additionally, you can update navigation menus (the menu at the top of the website) by editing `_data/nav.yml`
To add new section, add new navigation menu. Then create a new file in website's root directory using the following template:
```markdown
---
layout: page
title: Page Title
permalink: /page-address/
---
```
Explore similar templates
Compare previews and descriptions within the same stack and category.
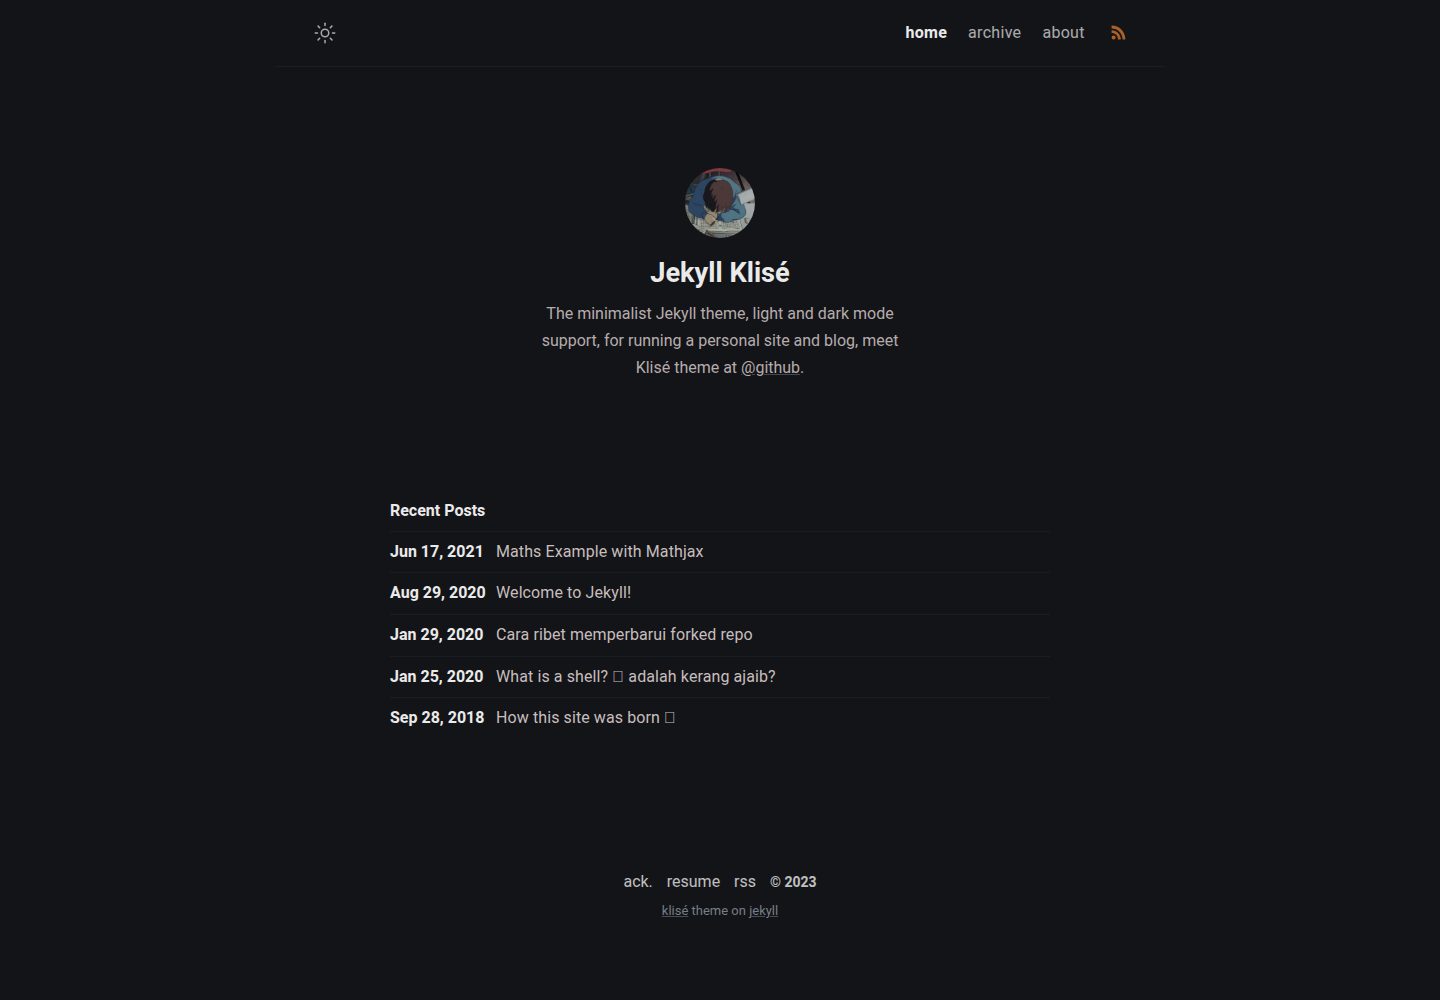
jekyll-klise
Klisé is a minimalist Jekyll theme for personal sites and blogs, with light and dark modes, a mobile-first responsive layout, and .scss-based styling.
Jekyll · Blog
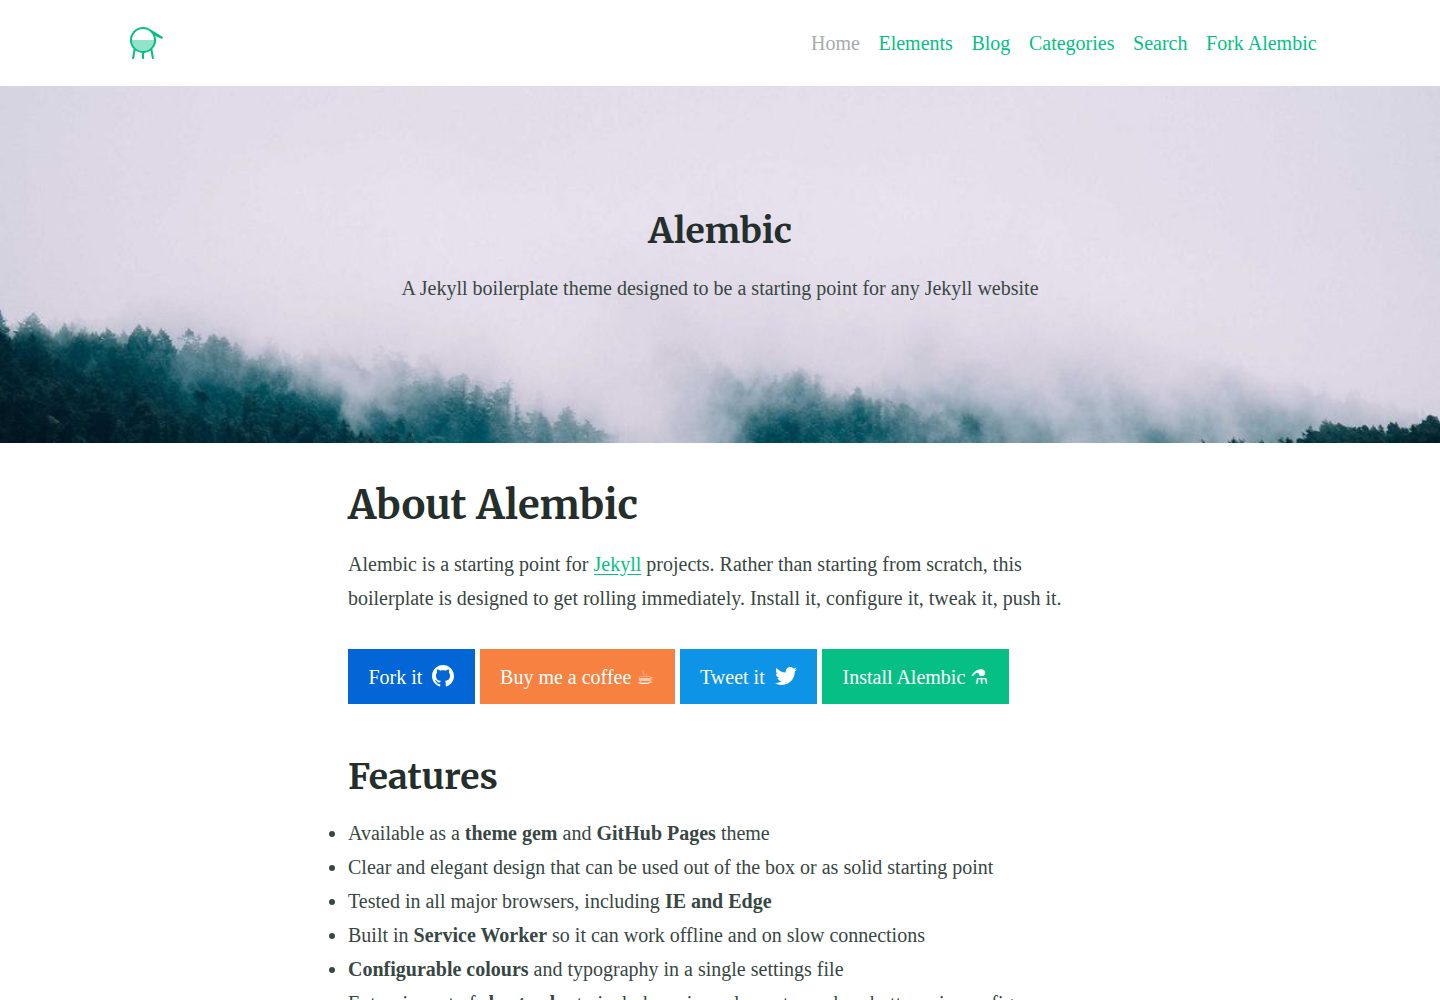
alembic
Alembic is an MIT-licensed Jekyll starter theme for quickly setting up a Jekyll site. It can be installed as a theme gem or a GitHub Pages remote theme, with centralized configuration via _config.yml for navigation, colors, fonts, language, and site information.
Jekyll · Starter
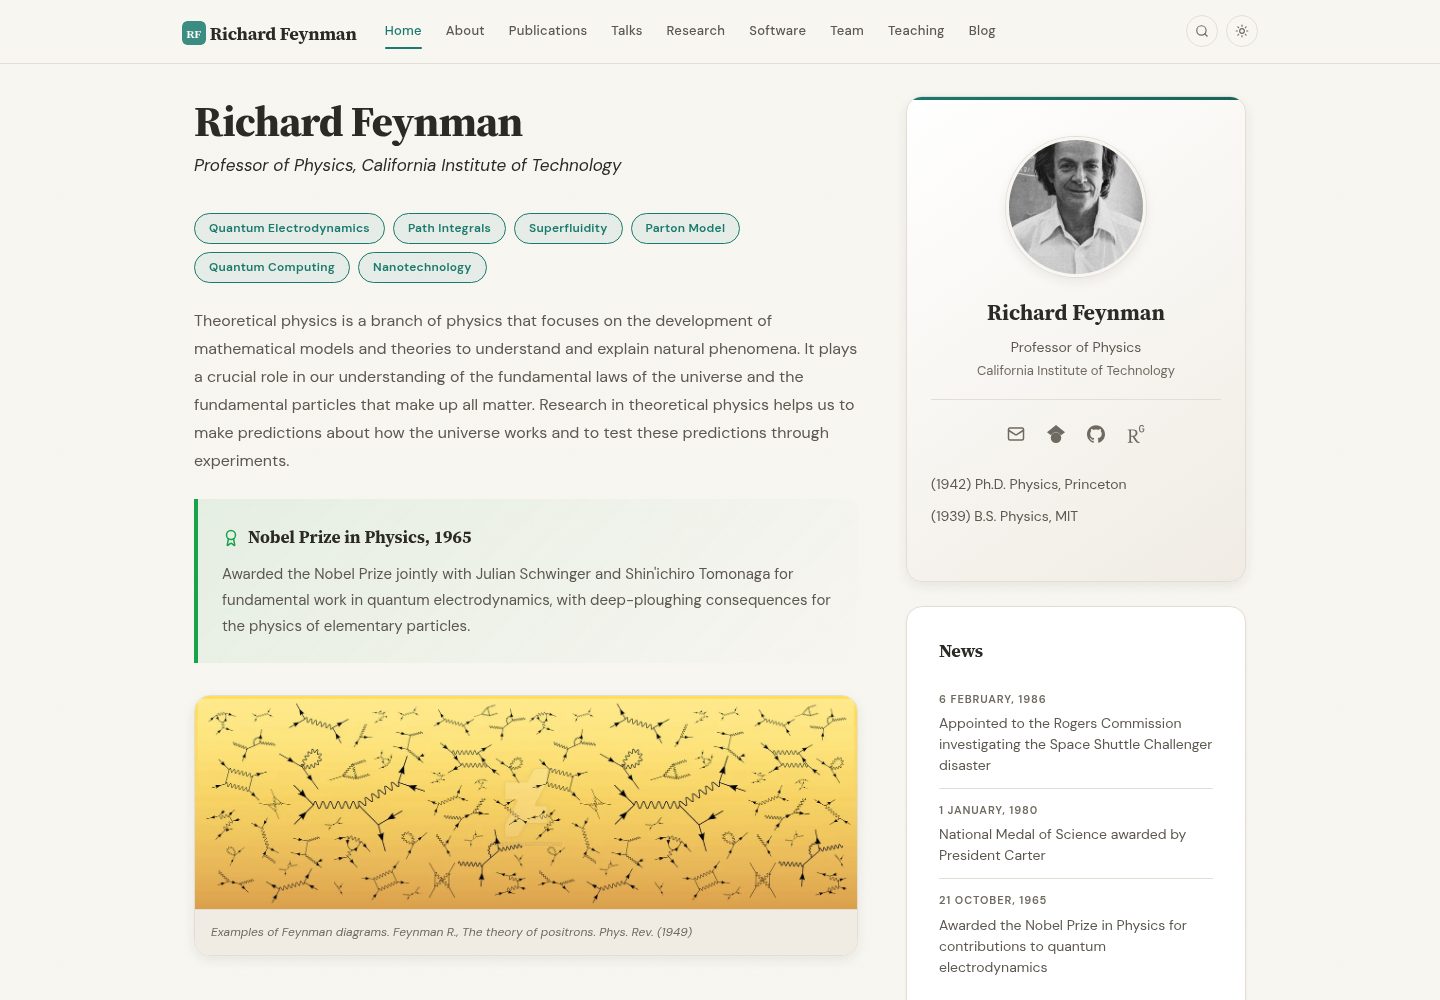
academic-website-template
A Jekyll static site template for academics and research groups, providing homepage, bio, and publication list pages. Content is maintained via configuration and data files, with a GitHub Actions workflow for deployment to GitHub Pages.
Jekyll · Starter

agency-jekyll-theme-starter
A Jekyll-based Agency theme starter template for GitHub Pages. Generate a repository via the template button, replace the sample content, and configure baseurl or a custom domain.
Jekyll · Corporate Website
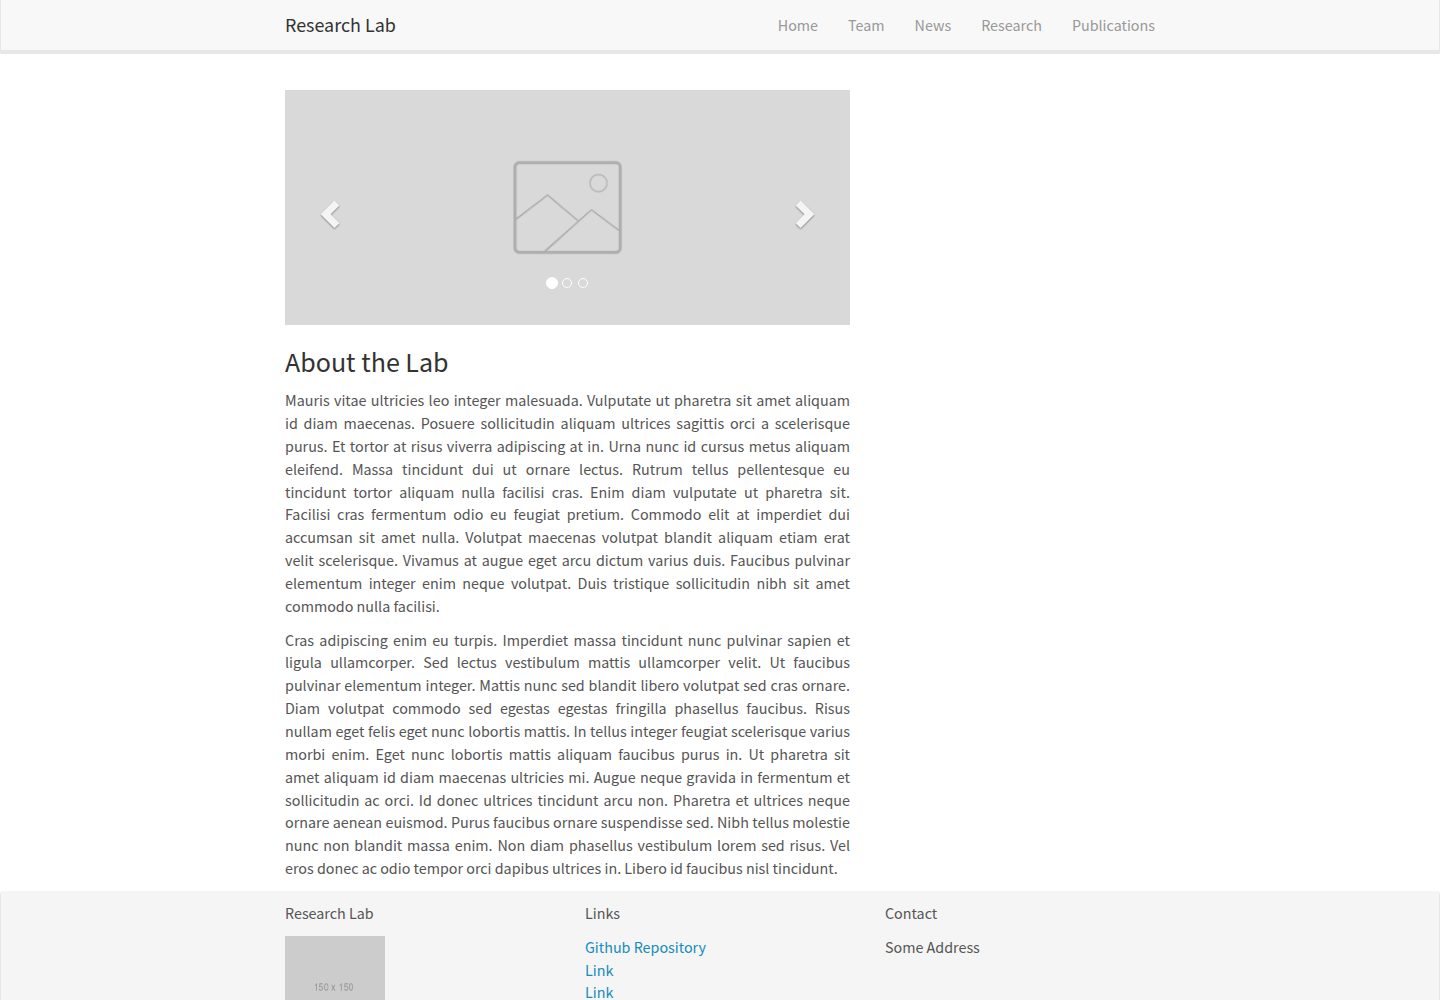
research-lab-website
A Jekyll-based research lab website template derived from the Allan Lab template at Leiden University.
Jekyll · Starter
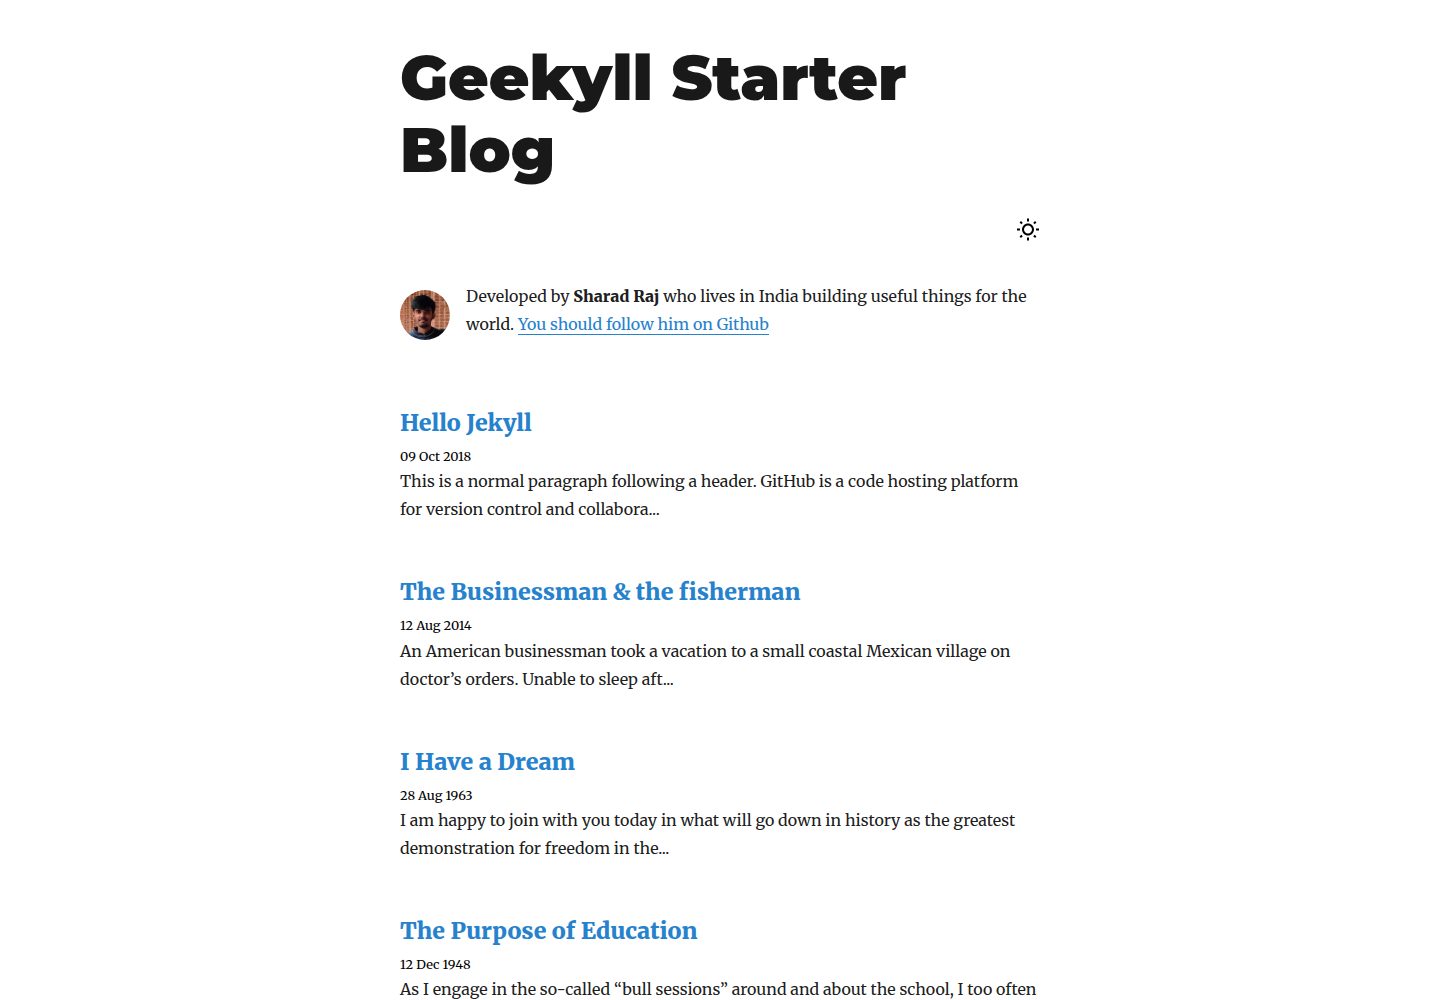
geekyll-starter-blog
Geekyll Starter Blog is a minimal Jekyll-based blog theme released by Sharad Raj Singh Maurya. It offers dark mode, lean CSS, code syntax highlighting, and a click-to-open image lightbox, with a page structure centered on post lists and post detail pages.
Jekyll · Blog