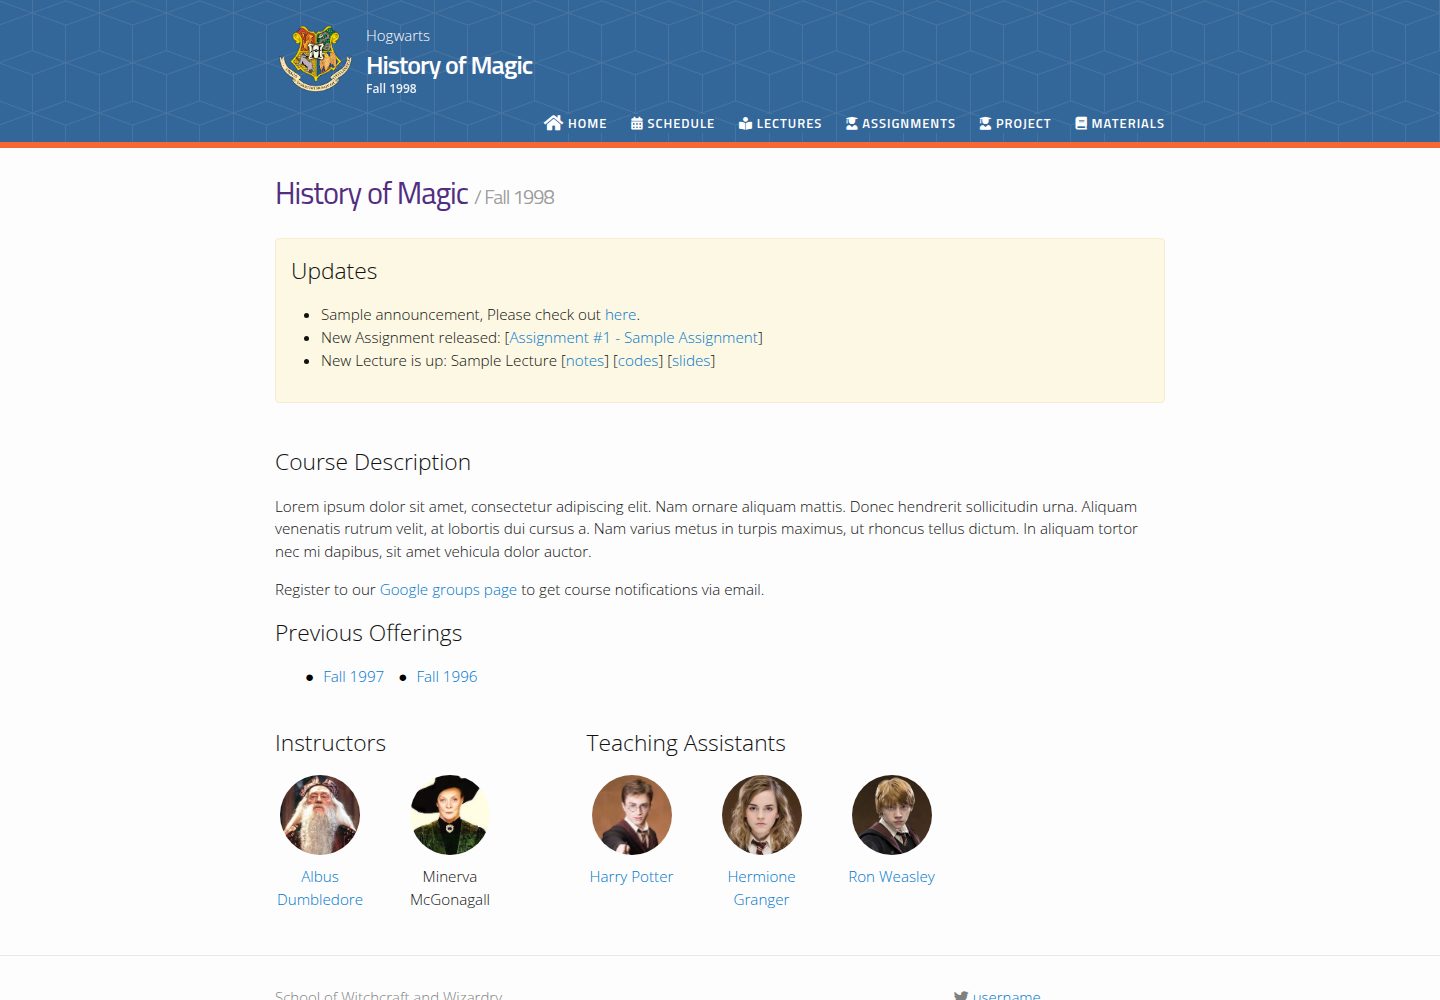
为讲座、作业、日程、课程材料、项目分别提供独立页面
JekyllHTML启动器
jekyll-course-website-template — Jekyll 启动器模板
作者 kazemnejad
基于 Jekyll 的学术课程网站模板,为讲座、作业、日程、课程材料与公告分别提供独立页面,并支持自动生成日程与更新区,可直接部署到 GitHub Pages。
看看你的网站会是什么样
浏览真实页面截图,比较内容排版与手机效果。点击下方缩略图切换,放大查看整页细节。
全部页面与视图 3
截图用于了解视觉与布局,交互效果请以实际项目为准。
采集于 2026-10-02查看来源
值得关注的模板亮点
从已有项目资料中,快速了解它的特点。
自动生成课程日程页与课程更新区,并支持手动公告
导航菜单与页面数据集中在 YAML 中维护,便于增删页面
提供预置主题与颜色变量,可按学校品牌调整外观
支持 GitHub Pages 部署,也可本地用 Jekyll 预览
通过 _config.yml 配置课程信息、学校信息与 Google Analytics
模板详细介绍
这是一个面向高校课程场景的 Jekyll 网站模板,仓库采用 MIT 许可,演示站点与截图可公开访问。模板将课程内容拆分为讲座、作业、日程、课程材料、项目等独立页面,并围绕它们提供自动生成的课程日程页和课程更新区,同时支持手动公告。导航菜单以 YAML 数据维护,新增页面时改动集中。模板基于 svmiller/course-website 构建,README 说明其轻量且可定制,并给出在 GitHub Pages 上部署、本地用 Jekyll 测试以及按目录添加讲座、作业、截止日期、考试与自定义事件的步骤。
使用方式上,模板通过 _config.yml 配置课程名称、学期、描述、学校信息、社交账号与 Google Analytics,通过 _data/people.yml 维护课程人员,通过 _sass/_user_vars.scss 选择预置主题或手动调整颜色。内容以 Markdown 文件加 YAML front matter 的形式组织:_lectures/、_assignments/、_events/、_announcements/ 分别对应讲座、作业、日程事件与公告,_data/nav.yml 控制顶部导航。README 还建议同一课程多学期使用时,为课程创建独立账号或组织,并按学期建立仓库。
限制方面,模板依赖 Jekyll 构建,本地测试需先安装 Jekyll 并运行 bundle exec jekyll serve;部署到 GitHub Pages 需要正确设置 _config.yml 中的 url 与 baseurl,并在仓库设置中启用 Pages。仓库资料未提供性能、生产就绪程度或第三方素材许可的完整说明,演示图片、字体、图标等需按各自许可核对。
JekyllHTML启动器
适合你的项目吗?
适用场景
- 为大学课程搭建包含讲座、作业与日程的课程主页
- 在同一课程多个学期开课时,按学期建立独立仓库并复用模板
- 需要自动汇总讲座与作业更新、并展示在首页的课程站点
- 希望用 Markdown 与 YAML 维护课程内容、不写复杂前端代码的教师或助教
适合人群
- 高校教师、助教或课程负责人
- 熟悉 GitHub 与 Markdown、希望快速上线课程网站的个人或团队
- 需要按学期管理课程站点、并可能使用 GitHub 组织统一管理多门课程的用户
上手与定制指南
结合仓库当前版本的说明,按下面的资料检查内容、配置与运行要求。
- 1
Fork 仓库后修改 _config.yml 中的 url 与 baseurl,分别对应 GitHub 账号地址与仓库名
- 2
在仓库设置中启用 GitHub Pages,并选择 master 分支作为发布来源
- 3
本地测试需先安装 Jekyll,再运行 bundle exec jekyll serve 预览
- 4
课程内容按目录添加:_lectures/、_assignments/、_events/、_announcements/,导航在 _data/nav.yml 中维护
- 5
外观可在 _sass/_user_vars.scss 中选择预置主题或手动调整颜色
授权与来源资料
使用条件与限制
免费使用 · 保留许可声明本次收录的是公开仓库中采用 MIT 许可的免费版本;免费范围为该版本代码,不代表外部服务或第三方素材免费。
使用时需要遵守
- 允许免费使用、修改、商用和分发该版本代码。
- 分发代码副本或实质性部分时,保留原作者版权声明和完整 MIT 许可声明。
- 代码按现状提供;担保与责任限制以原许可证及适用法律为准。
额外费用与待核对事项
- 模板支持 Google Analytics,但需自行提供 Google Analytics 跟踪 ID 并取消 _config.yml 中相应字段的注释;使用该功能意味着依赖 Google 的外部服务。
- 本地预览与构建依赖 Jekyll,需先按官方指南安装 Jekyll,再运行 bundle exec jekyll serve,属于外部工具依赖。
- 部署到 GitHub Pages 需在 GitHub 仓库设置中启用 Pages 并选择 master 分支作为发布来源,依赖 GitHub 平台服务。
- 演示图片、字体、图标及其他第三方素材需按各自许可核对,不能仅凭代码的 MIT 许可判断。
- 域名、托管、数据库、支付或 AI 等外部服务可能另外收费。
查看原文依据
Permission is hereby granted, free of charge
许可证原文
Support for Google Analytics
README 原文
Install Jekyll ([Installation guide](https://jekyllrb.com/docs/installation/))
README 原文
https://github.com/kazemnejad/jekyll-course-website-template/blob/master/LICENSEhttps://github.com/kazemnejad/jekyll-course-website-template/blob/master/README.mdGo to your repository's settigns
README 原文
DeepSeek 根据仓库许可证和 README 整理 ·2026-10-02。结果仅覆盖已读取资料,依赖、图片、字体及后续条款变更以各自原文为准。
项目核对记录与介绍依据
模板资料
- 来源平台
- GitHub
- 资料与维护参考分
- 资料较完整 · 81 / 100
- 技术栈
- Jekyll · HTML
- 网站类型
- 启动器
这个分数如何计算
本站按许可资料(最高30分)、演示链接(12分)、预览图(10分)、Star数(15分)、记录的维护时间(15分)、描述完整度(8分)、功能记录(5分)和分类资料(5分)计算。它不是代码、安全或性能测试,也不是 Google 评分;有链接不代表已实测可用。
这个项目需要核对什么
- 记录的仓库更新时间
- 2024-08-16
- 截图检查日期
- 2026-10-02
已收录演示链接。请用你的内容与屏幕尺寸检查;有演示不代表表单、认证或支付已经可用。
目录记录的主要技术栈是 Jekyll。请通过依赖清单和锁文件核对实际版本与托管要求。这些说明基于收录资料,不代表代码审计或部署实测。
查看具体选型方法 →介绍的制作与核对状态
介绍由 AI 辅助整理目录与仓库资料。仓库作者不等于这篇介绍的审核者。
已完成服务器许可规则与 AI 来源核对;未经过人工编辑审核。
查看当时使用的来源资料
SHA-256: 632cab3c0cdc8fe22924884866be24b128d3497632c4a26fed6c12de5cddbc88
2026-10-02T07:49:40.145Z
来源文件 / 仓库# Features
- Individual page for assignments, lectures, course material, course schedule
- Auto generated Course schedule Page
- Auto generated course updates section (for each new lectures and assignments) + custom/manual announcements
- Super lightweight
- Highly customizable
- Ready to be used in Github Pages
- Responsive Mobile View
- Support for Google Analytics
# Change log
- Version 2.0
- New Schedule page with more efficient use of space.
- Gregorian calendar is now the default one (English Calendar).
- Add customization options to home, assignments, lectures, and schedule pages.
- Add support for themes (so you can modify the website's look according to your school's brandings)!.
- Move navigation menus to YAML which means it is now easier to add new pages.
- Add more flexibility to lecture's links
# Demo
Checkout for a working demo at [kazemnejad.github.io/jekyll-course-website-template/](https://kazemnejad.github.io/jekyll-course-website-template/). You may also want to see this real-world example at [iust-deep-learning.github.io/972](https://iust-deep-learning.github.io/972/) or [iust-courses.github.io/ai97/](https://iust-courses.github.io/ai97/) (Please note the last two examples are using the older version).
# Some Screenshots
<p float="left">
<img src="https://raw.githubusercontent.com/kazemnejad/jekyll-course-website-template/master/_images/screenshots/screen_home.jpg" width="300">
<img src="https://raw.githubusercontent.com/kazemnejad/jekyll-course-website-template/master/_images/screenshots/screen_schedule.jpg" width="300">
<img src="https://raw.githubusercontent.com/kazemnejad/jekyll-course-website-template/master/_images/screenshots/screen_lecture.jpg" width="300">
</p>
<p float="left">
<img src="https://raw.githubusercontent.com/kazemnejad/jekyll-course-website-template/master/_images/screenshots/screen_assign.jpg" width="300">
<img src="https://raw.githubusercontent.com/kazemnejad/jekyll-course-website-template/master/_images/screenshots/screen_sample_assign.jpg" width="300">
<img src="https://raw.githubusercontent.com/kazemnejad/jekyll-course-website-template/master/_images/screenshots/screen_material.jpg" width="300">
</p>
# Acknowledgement
This template is heavily based on [svmiller / course-website](https://github.com/svmiller/course-website).
# How to deploy your own website (on GitHub pages)
1. Fork this repository.
2. Open `_config.yml`.
1. Update `url` field according to your GitHub account (e.g., `https://<your-github-username>.github.io/`).
2. Update `baseurl` field according to your reporsitory's name (e.g., `/cs101`).
3. Commit and push your changes.
3. Go to your repository's settigns (`https://github.com/<your-github-username>/<your-repo-name>/settings`).
4. On GitHub Pages section, choose source to be your master branch, and enable Github Pages.
5. You are now ready to go! Start customizing your website.
Pro Tip: You don't need to clone your repo to update your website. Use GitHub web UI to update its source files, and GitHub will build and deploy your website automatically!
**Best Practice for managing repositories**: If you plan to use this template for university courses, and the course is offered for multiple semesters/quarters, I suggests you to create a GitHub account or an Organization for it. Then, create new repoository under that account/organization for each semester.
- Example:
- Course name: CS101
- Semester: Fall 2020
- School name: CMU
- => account/org name: `cmu-cs101`
- => repo name: `fa2020`
- => website address will be: `https://cmu-cs101.github.io/fa2020/`
# How to test your website locally
1. Install Jekyll ([Installation guide](https://jekyllrb.com/docs/installation/))
2. Clone your repo
3. Watch your website while editing: `bundle exec jekyll serve`
# How to customize
## Changing the names
- Open `_config.yml`
- Update `course_name`, `course_semester`, and `course_description` (this will appear in the home page).
- Update `schoolname`, `schoolurl`, `twitter_username`, and `address` accordingly.
- (Optional) Enter your Google Analytics tracking ID in the `google_analytics` field (Remember to uncomment it).
- Add more content to your home page: Update `index.md` (it supports Markdown!)
- Update course staff info at `_data/people.yml` (You may need to upload the profile pics to `_images` folder.
- (Optional) Open `_data/previous_offering.yml` and update the data if needed.
## Change the looks
- Open `_sass/_user_vars.scss`
- Select your favorite from the pre-defined themes (comment all other themes, and uncomment your desired one)
- Here are all themes:
<img src="https://raw.githubusercontent.com/kazemnejad/jekyll-course-website-template/master/_images/screenshots/themes.png">
- You can also change the colors manually to match your branding
## Contents
### Lectures
To add a new lecture, create an empty file with `.md` postfix in `_lectures/` directory. fill it using below template:
```markdown
---
type: lecture
date: 20xx-xx-xxTx:xx:xx+4:30
title: <Title of this lecture>
# optional
# please use /static_files/notes directory to store notes
thumbnail: /static_files/path/to/image.jpg
# optional
tldr: "What is AI? How does it impact our lives? The current state of the art."
# optional
# set it to true if you dont want this lecture to appear in the updates section
hide_from_announcments: false
# optional
links:
- url: /static_files/presentations/lec.zip
name: notes
- url: /static_files/presentations/code.zip
name: codes
- url: https://google.com
name: slides
- url: https://example.com
name: other
---
<!-- Other additional contents using markdown -->
**Suggested Readings:**
- [Readings 1](http://example.com)
- [Readings 2](http://example.com)
```
### Assignments
To add a new assignments, create an empty file with `.md` postfix in `_assignments/` directory. fill it using below template:
```markdown
---
type: assignment
date: 20xx-xx-xxTx:xx:xx+4:30
title: <Assignment title (e.g. Assignment #1>
# optional
pdf: /static_files/assignments/assign_01.pdf
# optional
solutions: /static_files/assignments/assign_01_solutions.pdf
# optional
attachment: /static_files/assignments/assign_01_attachment.zip
# optional
# set it to true if you don't want this assignment to appear in the announcements section
hide_from_announcments: false
due_event:
type: due
date: 20xx-xx-xxTx:xx:xx+4:30
description: 'Assignment #1 due'
---
<!-- Other additional contents using markdown -->
```
### Dues & Deadlines
Use `_events/` directory to add new a deadline, use `type: due`. These events will apear at the schedule page.
```markdown
---
type: due
date: 20xx-xx-xxTx:xx:xx+4:30
description: <Description of deadline (e.g. 'Final report due')>
# optional
# set it to true if you don't want this event to appear in the announcements section
hide_from_announcments: false
---
```
### Exams
Use `_events/` directory to add new Exam alert, use `type: exam`. These events will apear at the schedule page.
```markdown
---
type: exam
date: 20xx-xx-xxTx:xx:xx+4:30
description: <Description of the exam (e.g. 'The midterm exam')>
# optional
# set it to true if you don't want to this event appear in the announcements section
hide_from_announcments: false
---
```
### Custom Events
Use `_events/` directory to add new custom events, use `type: raw_event`. These events will apear at the schedule page.
```markdown
---
type: raw_event
name: <Event name>
date: 20xx-xx-xxTx:xx:xx+4:30
description: <Event description>
# optional
# if you want to hide time in Schedule, set this to true
hide_time: false
# optional
# set it to true if you don't want this event appear to in the announcements section
hide_from_announcments: false
---
<!-- you can create custom content using markdown. this section will be placed in "Course Materials (in schedule section)" -->
## Hello
this is a custom event with `code`
```
### Updates/Announcements
All contents here appear in at the home page
Use `_announcements/` directory to create new Announcement
```markdown
---
date: 20xx-xx-xxTx:xx:xx+4:30
---
<put a short announcement here, you can use all markdown features>
```
## Advanced Customization
You can add custom contents to each section (lectures, assignments, schedule, materials, and project)
- Lectures: Edit `lectures.md`
- Assignments: Edit `assignments.md`
- Schedule: Edit `schedule.md`
- Materials: Edit `materials.md`
- Project: Edit `project.md`
Additionally, you can update navigation menus (the menu at the top of the website) by editing `_data/nav.yml`
To add new section, add new navigation menu. Then create a new file in website's root directory using the following template:
```markdown
---
layout: page
title: Page Title
permalink: /page-address/
---
```
看看同类模板
对比同技术栈与用途的模板,找到更适合的视觉与内容结构。
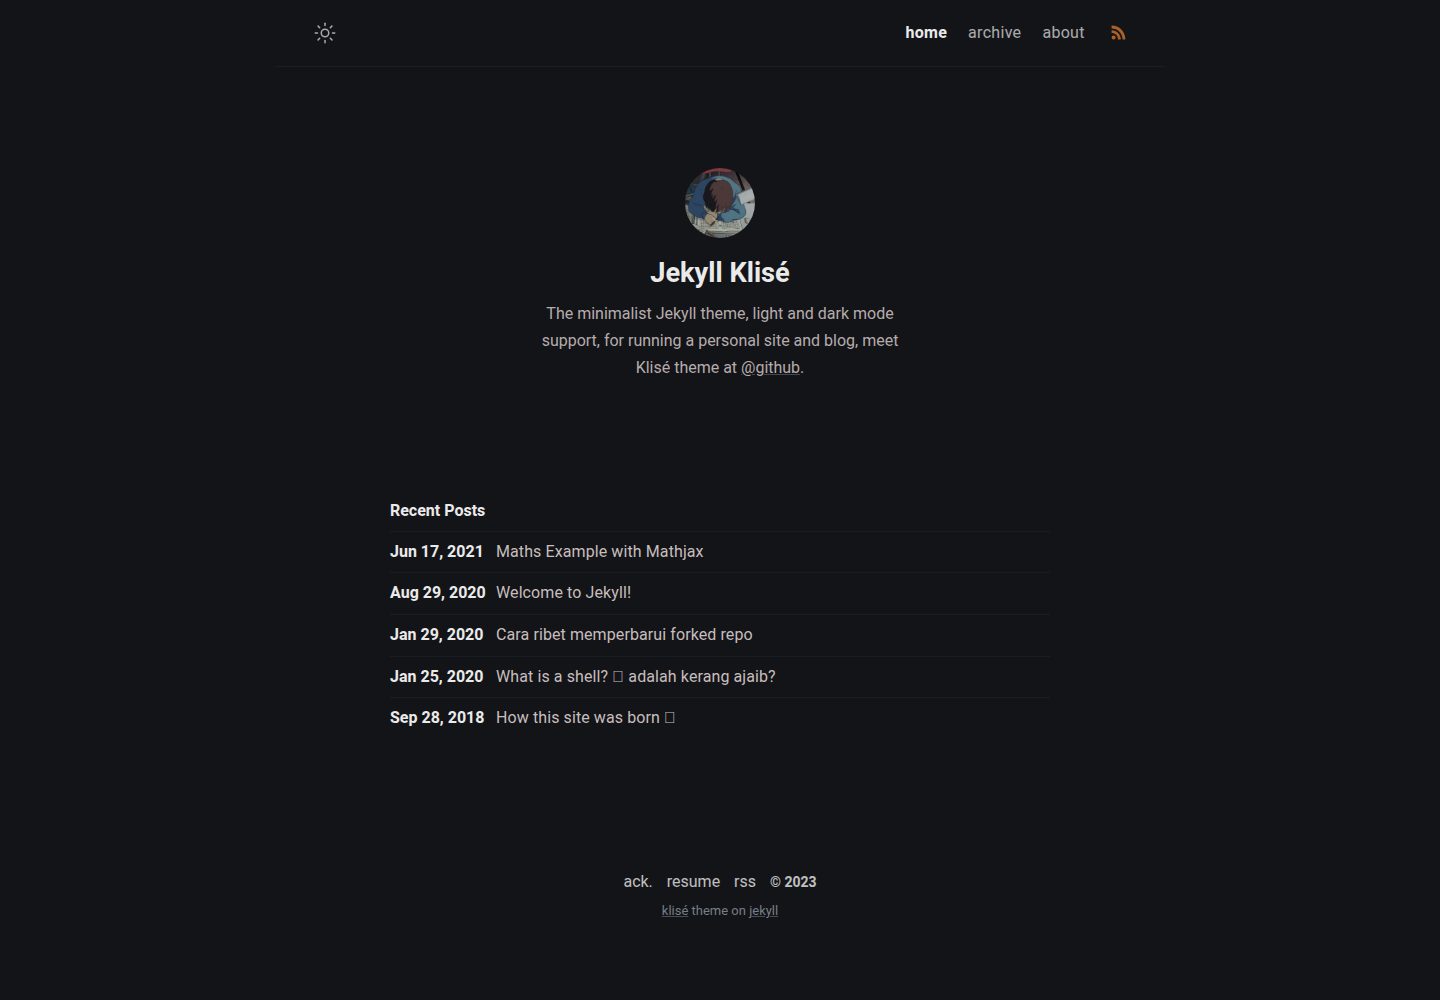
jekyll-klise
:beach_umbrella: Klisé is a minimalist Jekyll theme for running a personal site or blog, light & dark mode sup…
Jekyll · 博客
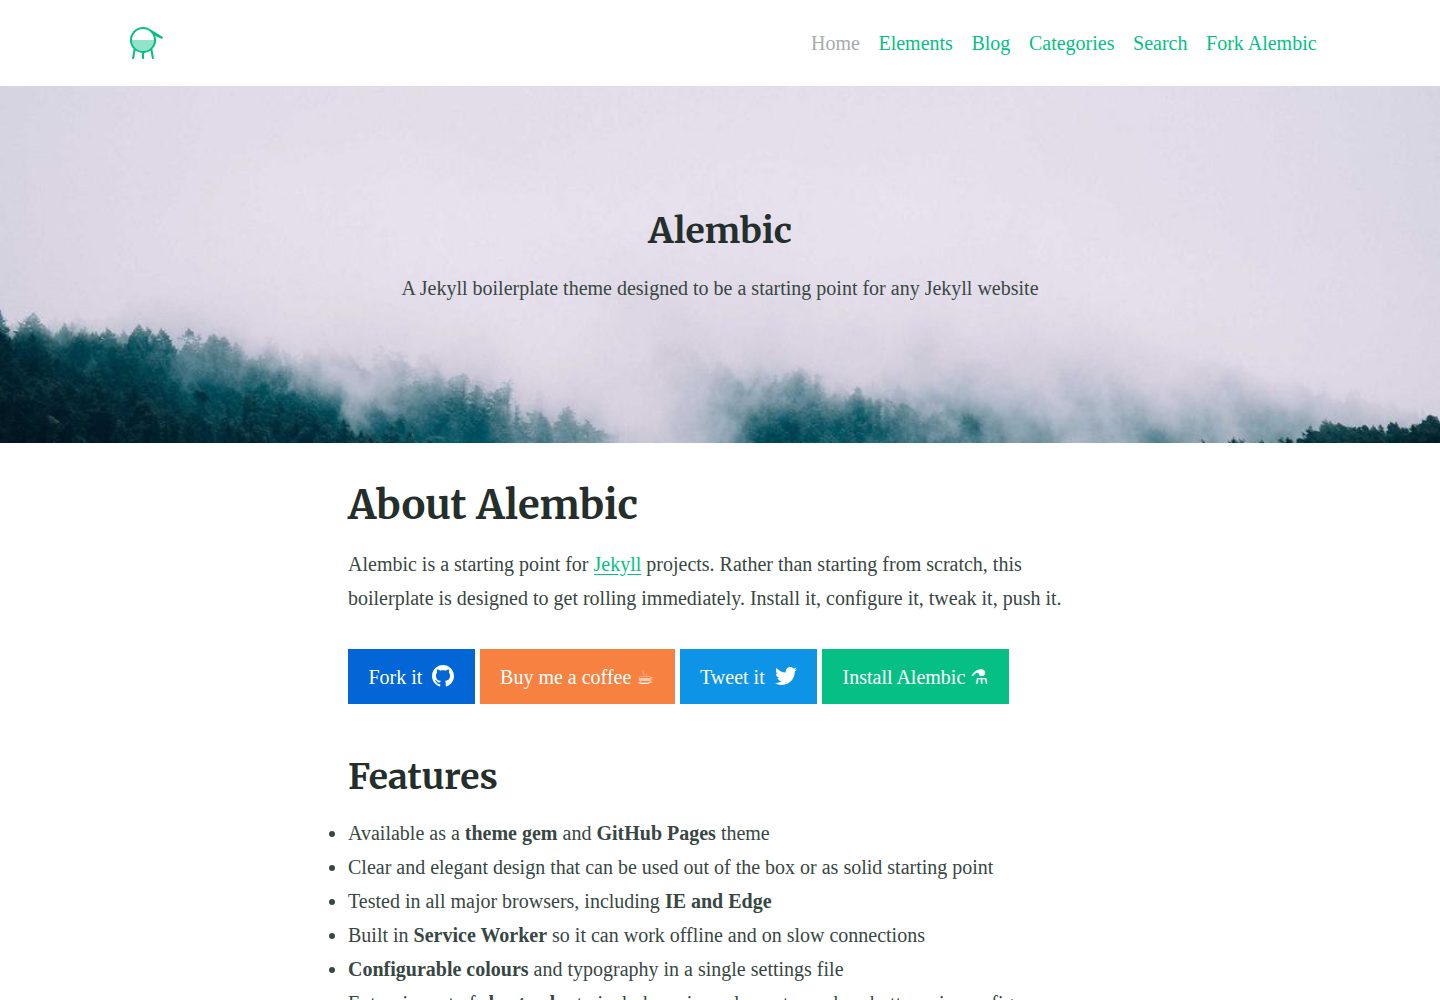
alembic
⚗️ A Jekyll boilerplate theme designed to be a starting point for any Jekyll website
Jekyll · 启动器
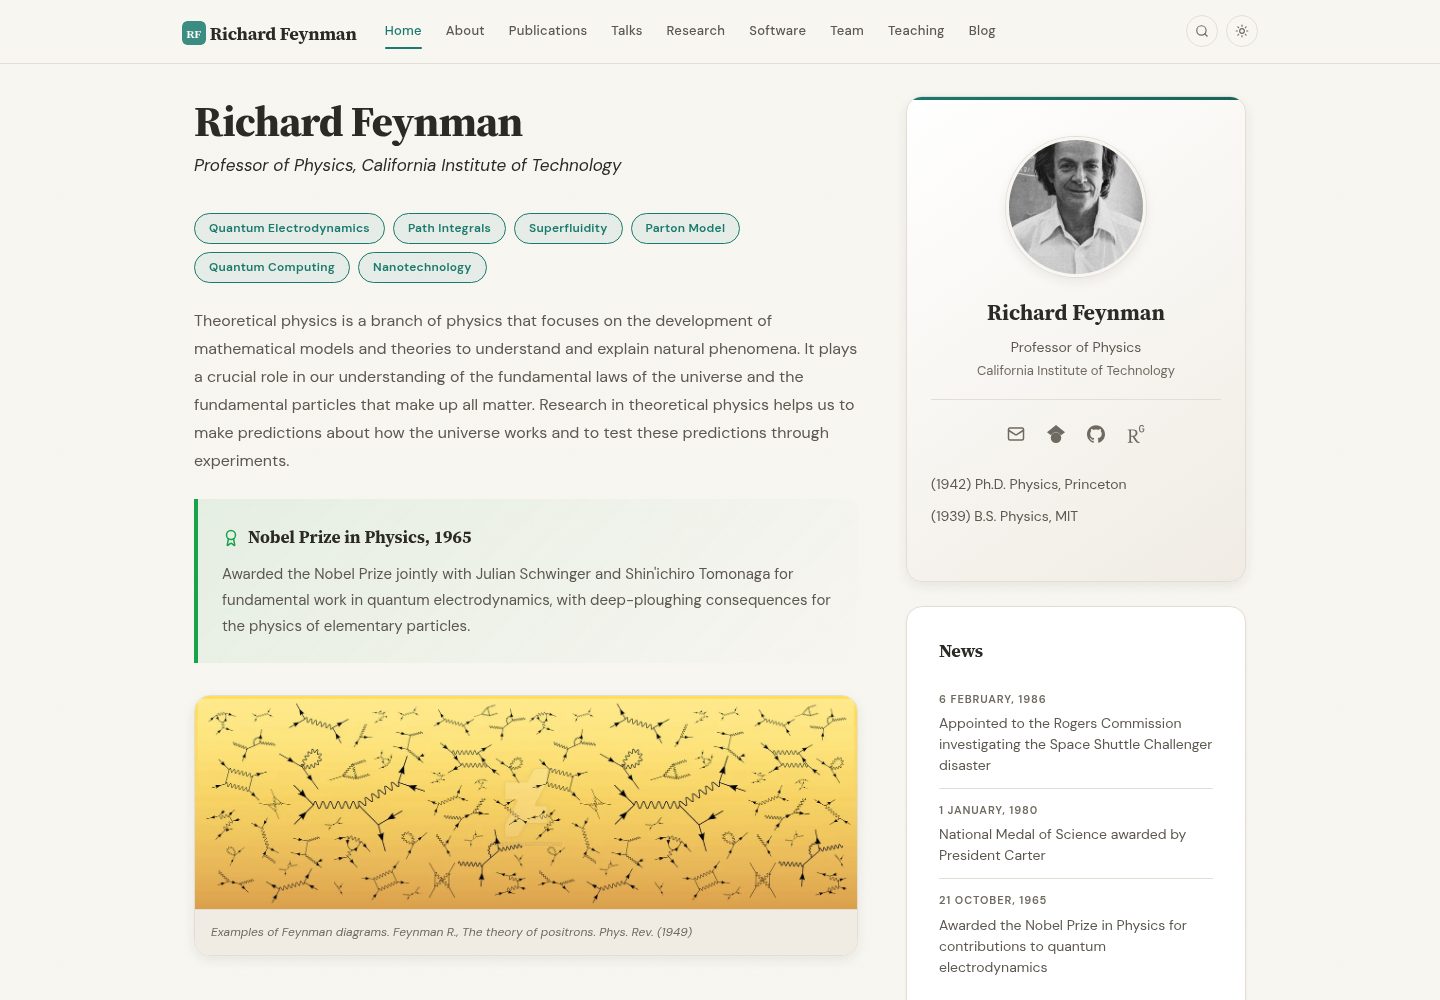
academic-website-template
Static web template for academics/research groups
Jekyll · 启动器

agency-jekyll-theme-starter
Agency Jekyll Theme starter template (optimized for GitHub Pages)
Jekyll · 企业官网
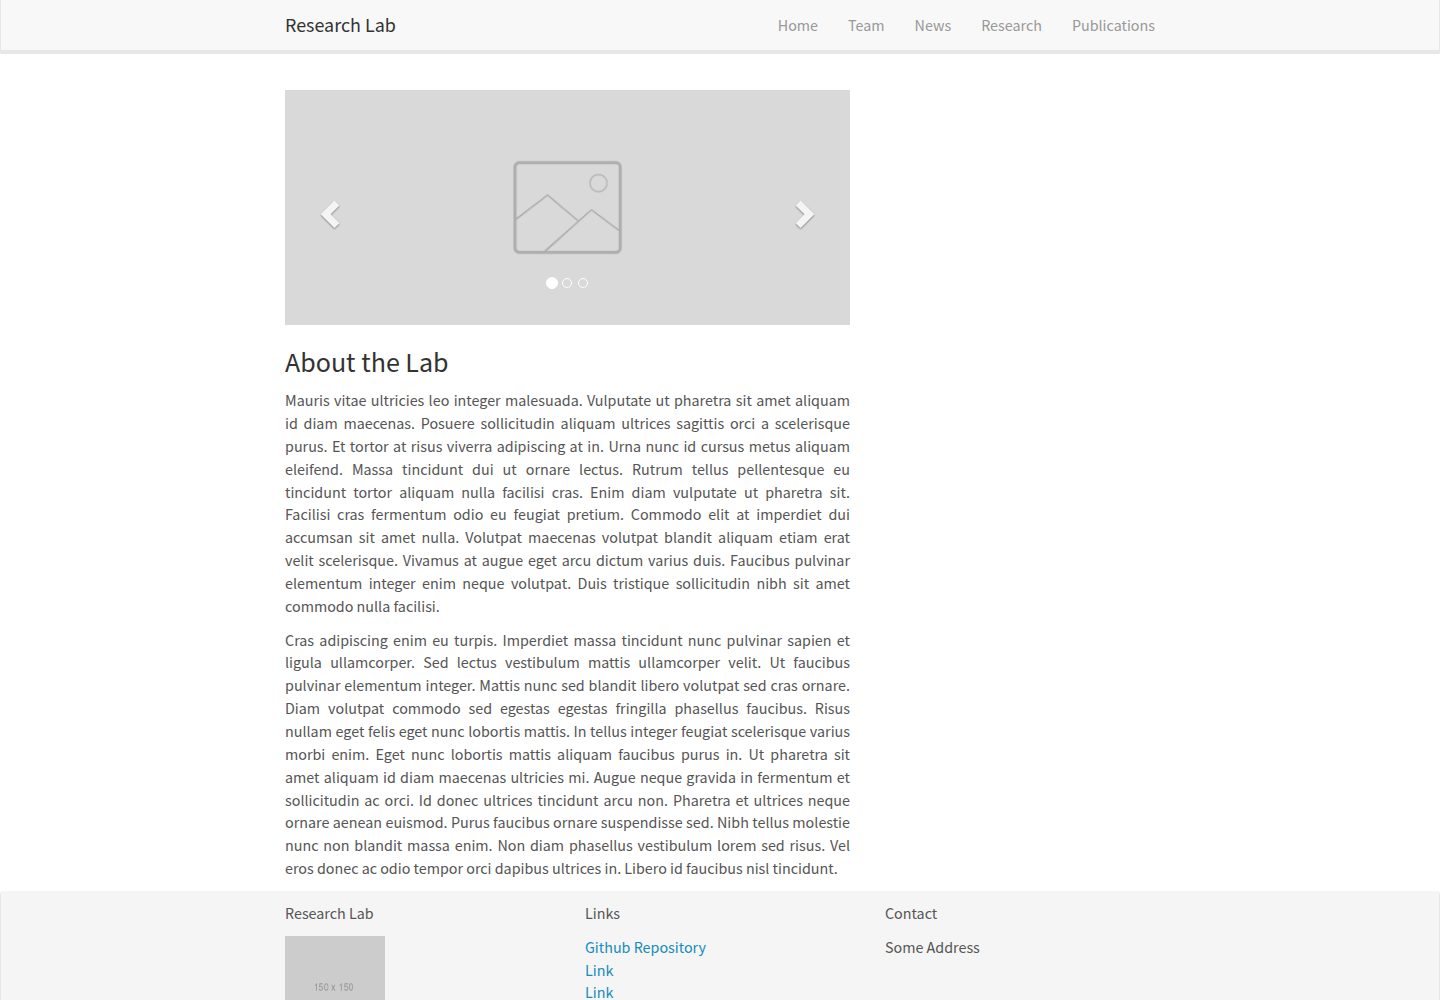
research-lab-website
A template for a Research Lab website, built with Jekyll.
Jekyll · 启动器
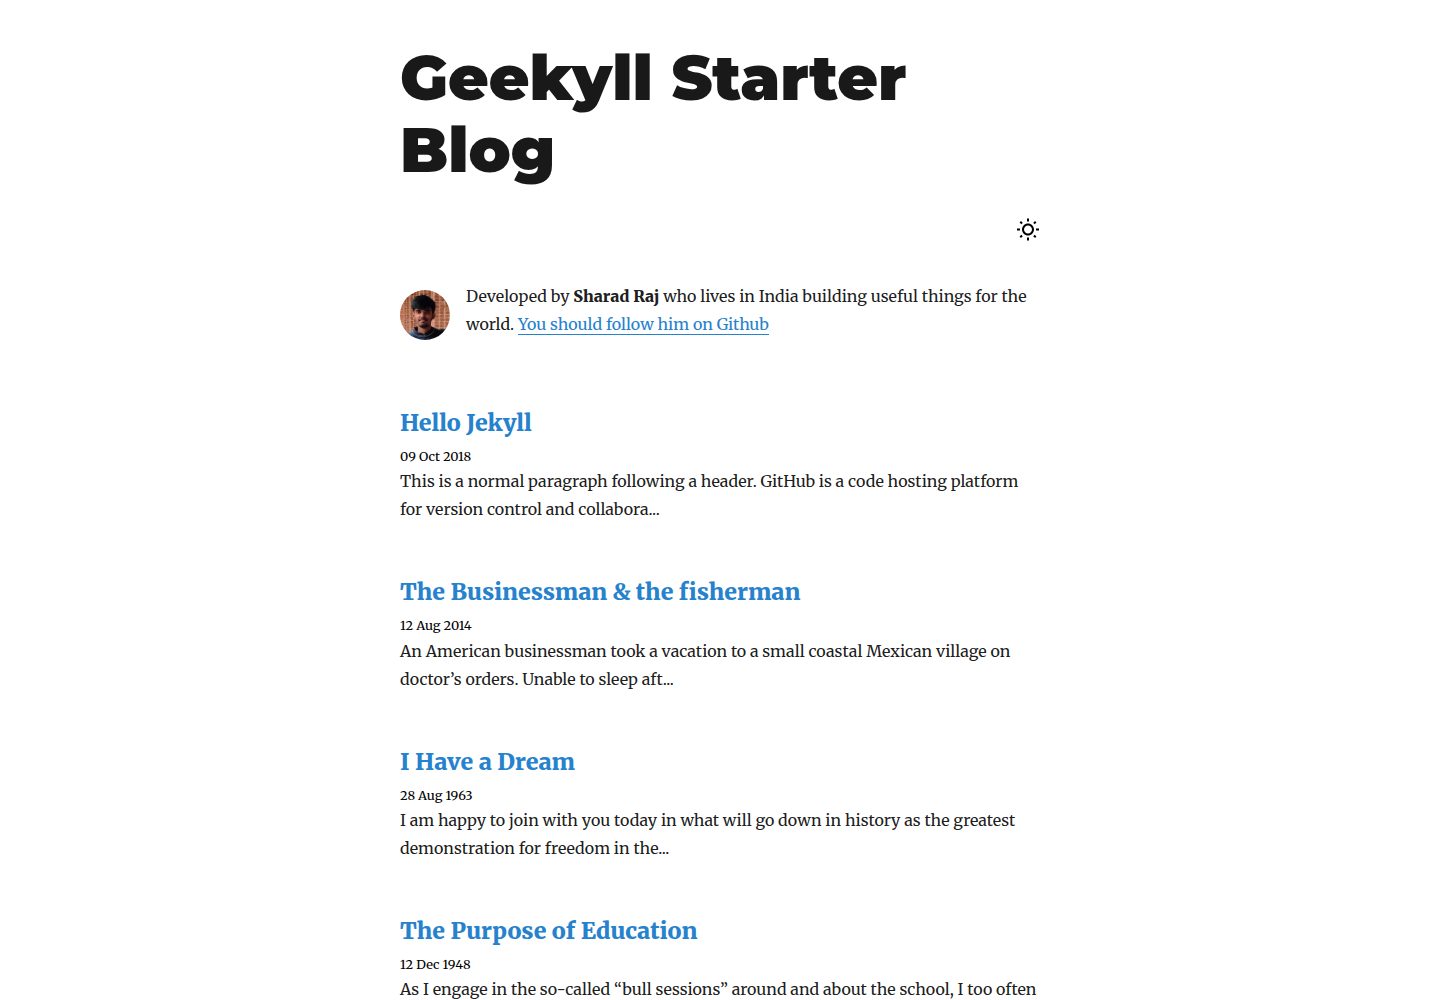
geekyll-starter-blog
A minimal Jekyll theme for blogging
Jekyll · 博客