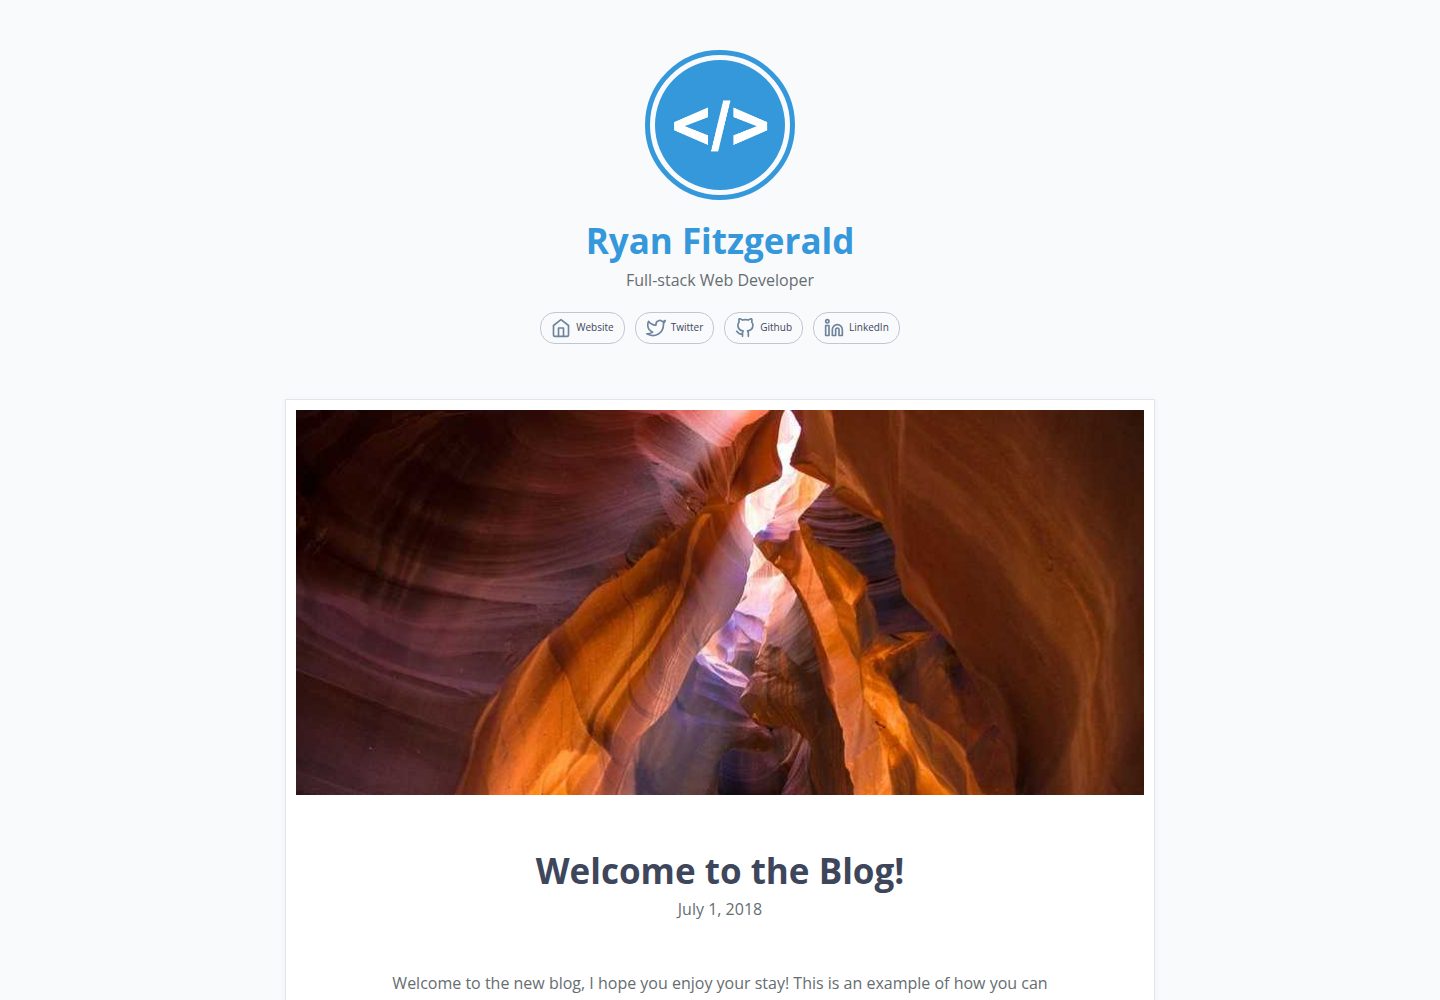
Built with GatsbyJS and React, with pages statically generated at build time
GatsbyReactBlog
devblog — Gatsby Blog Template
By RyanFitzgerald
A static personal blog template based on GatsbyJS and React that generates posts from Markdown files, configures site information via config.js, and includes PrismJS syntax highlighting and pagination.
Explore the design
Compare the page layouts and mobile experience. Open any screenshot for a closer look.
Desktop homepage1 / 3
Desktop captureTop of page
Actual screenshot captured by the server browser.
All pages & views 3
Screenshots show visual appearance; interactive behavior may differ.
Recorded 2026-09-30View source
What stands out
A quick read of the recorded project description.
Posts are stored as Markdown files in /src/pages, with URLs generated from folder names
Configure title, author, primary color, pagination, and social links via config.js at the root
Includes PrismJS syntax highlighting and supports server-side rendering
Provides deployment instructions for GitHub Pages and Netlify
Comes with 3 sample posts demonstrating code snippets, images, and excerpts
Template Details
DevBlog is a personal blog template for developers or anyone who wants to start blogging, built with GatsbyJS and React, with pages statically generated at build time. Posts are stored as Markdown files in the /src/pages directory; each post corresponds to a folder named after its URL, containing an index.md that provides the title, date, and optional featured image via frontmatter, and can use the <!-- end --> marker to indicate the excerpt position. The template includes 3 sample posts covering code snippets, image insertion, featured images, and excerpts.
Basic site information is centralized in config.js at the root, where you can set the title, author, author description, primary color, whether to show the header image, whether to show social share buttons, posts per page, and social links such as personal website, GitHub, Twitter, and LinkedIn; among these, the title, author, primary color, and posts per page are required. The header image and favicon are replaced by overriding main.jpg and favicon.ico in the /src directory.
The template includes PrismJS syntax highlighting, server-side rendering, and a responsive layout, and provides deployment instructions for GitHub Pages and Netlify; deploying to GitHub Pages requires first setting pathPrefix in gatsby-config.js, then running npm run deploy. The template is MIT licensed, and the free scope is limited to this version of the code; third-party assets such as demo images, fonts, and icons must be checked against their respective licenses, and external services such as domains and hosting may incur separate charges.
GatsbyReactBlog
Is it right for your project?
Use Cases
- Developers building a personal technical blog and publishing Markdown posts
- Blog sites that need static generation and can be deployed to GitHub Pages or Netlify
- Adjusting site title, author, and primary color centrally with a single config.js file
- Displaying code snippets with syntax highlighting in posts
Suitable For
- Developers familiar with or willing to use GatsbyJS and React
- Individual bloggers who write in Markdown and do not need a backend management system
- Developers who need a lightweight, responsive personal blog template
- Users preparing to deploy their blog to a static hosting service
Getting started & customization
Use these recorded setup notes alongside the repository instructions for your chosen version.
- 1
First install the Gatsby CLI globally: npm install --global gatsby-cli
- 2
Create a site using this repository as a starter: gatsby new YOUR_BLOG_NAME https://github.com/RyanFitzgerald/devblog
- 3
Alternatively, fork or clone the repository, run npm install, then run gatsby develop
- 4
Fill in required fields such as title, author, primary color, and posts per page in config.js at the root
- 5
Before deploying to GitHub Pages, set pathPrefix in gatsby-config.js according to the repository name
License & source material
Usage conditions & limitations
Free to use · keep license noticeThis entry covers the free version under the MIT license in the public repository; the free scope is limited to this version of the code and does not mean that external services or third-party assets are free.
Must comply with when using
- Permits free use, modification, commercial use, and distribution of this version of the code.
- When distributing copies or substantial portions of the code, retain the original author's copyright notice and the full MIT license notice.
- The code is provided as is; warranties and limitations of liability are governed by the original license and applicable law.
Additional costs & items to verify
- The template is MIT licensed and may be used, copied, modified, merged, published, distributed, sublicensed, and/or sold for free, but the copyright notice and license notice must be retained.
- Using the template requires installing the GatsbyJS CLI locally and depends on a Node.js/npm environment.
- When deploying to GitHub Pages, you must first set pathPrefix in gatsby-config.js according to the repository name; otherwise, asset paths may be incorrect.
- Deploying with Netlify is an external hosting service that may involve account registration and service fees, and you must confirm its terms yourself.
- Demo images, fonts, icons, and other third-party assets must be checked against their respective licenses and cannot be judged solely by the code's MIT license.
- External services such as domains, hosting, databases, payments, or AI may incur separate charges.
View Original Text Basis
Permission is hereby granted, free of charge
Original License Text
Licensed under MIT License. See [LICENSE.md](LICENSE.md) for more.
Original README
The first step is to get the GatsbyJS CLI installed locally. This can be accomplished by running the command ```npm install --global gatsby-cli```
Original README
In order to deploy to GitHub pages, you need to first set your path prefix in ```gatsby-config.js```.
Original README
https://github.com/RyanFitzgerald/devblog/blob/master/LICENSE.mdhttps://github.com/RyanFitzgerald/devblog/blob/master/README.mdOne of the easiest methods of deploying the blog would be to use [Netlify](https://www.netlify.com/).
Original README
Compiled by DeepSeek based on repository license and README ·2026-10-01. Results only cover the materials read; dependencies, images, fonts, and subsequent term changes are subject to their respective original texts.
Project checks & description sources
Template Information
- Source platforms
- GitHub
- Documentation and maintenance reference score
- More documented · 81 / 100
- Technologies
- Gatsby · React
- Website type
- Blog
How this score is calculated
Our heuristic uses license records (up to 30), a demo link (12), a preview (10), stars (15), recorded maintenance (15), description completeness (8), feature records (5) and classification data (5). It is not a code, security or performance test, or a Google score. A link does not establish tested functionality.
What to verify for this project
- Repository update recorded
- 2023-01-11
- Screenshot last checked
- 2026-10-01
A demo link is listed. Check it with your own content and viewport sizes; its presence does not confirm that forms, authentication or payments work.
The catalog identifies Gatsby as the primary stack. Check the actual dependency manifest and lockfile for versions and hosting requirements. These notes use recorded metadata, not a code audit or a deployment test.
Use a selection guide →How this description was prepared
AI-assisted description based on catalog records and repository material. Repository authors are not automatically the reviewers of this description.
Automatically checked against source and license rules; no manual editorial review.
Inspect the recorded source material
SHA-256: 4408853f6574c4329d2fa927cc9923874e16d8c72a9333b9716f0d2f6d232277
2026-10-01T13:28:07.437Z
Source file / repository# DevBlog
DevBlog is a fully customizable blog template designed for developers (or anyone else) wanting to get into blogging. It comes ready to go and deploy (with ease) or can be edited and extended however you like. The blog is completely statically generated via GatsbyJS, comes with syntax highlighting (via PrismJS) out of the box, and has server-side rendering built-in, among other things.
To view a live demo, [click here](https://ryanfitzgerald.github.io/devblog/).
[](https://app.netlify.com/start/deploy?repository=https://github.com/RyanFitzgerald/devblog)
## Features
* Fully responsive
* Minimalistic
* Customizable via a ```config.js``` file
* Easy to deploy
* Statically-generated via markdown files
* Server-side rendering
* Syntax highlighting via PrismJS
## Contents
* [Setup and Configuration](#setup-and-configuration)
* [Setup](#setup)
* [Configuration](#configuration)
* [Creating New Posts](#creating-new-posts)
* [Deploying](#deploying)
* [Changelog](#changelog)
* [License](#license)
## Setup and Configuration
### Setup
#### 1. Install Gatsby CLI
The first step is to get the GatsbyJS CLI installed locally. This can be accomplished by running the command ```npm install --global gatsby-cli```
#### 2. Create a new Gatsby Site using this repo
When creating a new Gatsby site, the CLI allows you to specify a starter, in this case simply provide the URL for this repo. This can be accomplished by running the command ```gatsby new YOUR_BLOG_NAME https://github.com/RyanFitzgerald/devblog```
#### 3. Edit or use the template as needed
Now you that you are setup, you can simply use the blog or make edits as needed. For example, run ```gatsby develop``` to start up a hot-reloaded development environment available at localhost:8000 or run ```gatsby build``` to build an optimized production build. For a complete list of CLI commands for Gatsby, take a look at their [documentation](https://www.gatsbyjs.org/docs/).
#### Alternative Setup
Alternatively, if you wish to simply fork this repo or clone it, then you simply need to run ```npm install``` and then ```gatsby develop``` afterwards and you'll be up and running.
### Configuration
Basic configuration can be done via the ```config.js``` file in the root of the project repo. Through this file you can make edits to the primary color of the blog, add a blog author and description, and more. The defaults are as follows:
```javascript
export default {
title: 'Dev Blog', // Required
author: 'Ryan Fitzgerald', // Required
description: 'Full-stack Web Developer',
primaryColor: '#3498db', // Required
showHeaderImage: true,
showShareButtons: true,
postsPerPage: 5, // Required
social: {
website: 'https://ryanfitzgerald.ca',
github: 'https://github.com/ryanfitzgerald',
twitter: 'https://twitter.com/ryanafitzgerald',
linkedin: 'https://ca.linkedin.com/in/ryanafitzgerald'
}
};
```
__Note:__ Any configuration option labelled as "Required" is needed for basic presentational purposes. Anything without the "Required" comment can be removed should you not want it used.
#### Understanding the configuration variables
The configuration variables referenced above are used as follows:
| Variable | Description of Use |
|----------|--------------------|
| title | The title of the blog. This is used for the page title primarily. |
| author | The author of the blog. This is used for the header name and page title. |
| description | The description of the author. This is used for the header under the author. |
| primaryColor | The primary color of the blog. |
| showHeaderImage | Flag to show the header image or not. |
| showShareButtons | Flag to show social media share buttons on each blog post or not. |
| postsPerPage | The number of posts per page on the blog homepage. This is used for pagination. |
| social | Social media profiles of the blog author. Currently only personal website, GitHub, Twitter, and LinkedIn are supported.|
#### Changing the main header image
To change the default header image, simply override the ```main.jpg``` file in the ```/src``` folder.
#### Changing the favicon
To change the default favicon, simply override the ```favicon.ico``` file in the ```/src``` folder.
## Creating New Posts
All blog posts can be found in ```/src/pages``` and are statically built once the ```gatsby build``` command is run. To create a new post, simply create a new folder in ```/src/pages``` with the name of the url you'd like to have. For example, if you wish to have the url appear as ```myblog.com/hello-world``` you would create the folder as ```hello-world```. Once the folder is created, simply create an ```index.md``` file within it.
The top of the pages must all contain the same markdown which tells Gatsby the needed information about the specific post. The basic template is:
```markdown
---
title: New Beginnings
date: "2018-07-01"
featuredImage: './featured.jpg'
---
This top portion is the beginning of the post and will show up as the excerpt on the homepage.
<!-- end -->
```
In the above code snippet all that is required is the **title** and the **date**. The featured image is optional and can be added by simply adding an image to the page folder you just created and referencing like the above example. The excerpt portion is optional as well and if you do not use the ```<!-- end -->``` marker, the first bit of the post will be used as the excerpt automatically.
This template ships with 3 blog post examples which contain everything from code snippet usage, inserting images, using featured images and excerpts, and more.
## Deploying
Once you are ready to deploy the blog and make it live, you have a couple of options available to you.
### Manual Deploy
Manually deploying the blog simply requires you run a ```gatsby build``` in order to create a production build. After that, you can use any server you'd normally a React app to, such as a Digital Ocean droplet or an AWS instance. All that is required is some way to serve the static files.
If you are unfamiliar with deploying React applications, there are a number of other options.
### GitHub Pages
In order to deploy to GitHub pages, you need to first set your path prefix in ```gatsby-config.js```. The default is ```pathPrefix: '/devblog'``` however this should be changed to whatever the repo name you chose is. For example, if you have the blog located in ```https://github.com/YOURUSERNAME/myblog``` and want it deployed to ```https://YOURUSERNAME.github.io/myblog``` then you would set the path prefix to ```pathPrefix: '/myblog'```.
Next, simply run ```npm run deploy``` and your blog will be deployed.
Alternatively, if you wish to deploy it to ```https://YOURUSERNAME.github.io``` (i.e. your user / organization site and not a project site), then a couple addition changes are required. The official Gatsby documentation has them outlined well [here](https://YOURUSERNAME.github.io).
### Netlify
One of the easiest methods of deploying the blog would be to use [Netlify](https://www.netlify.com/). To deploy to Netlify, simply click the button below and follow the prompts.
<!-- Markdown snippet -->
[](https://app.netlify.com/start/deploy?repository=https://github.com/RyanFitzgerald/devblog)
### Other
The options outlined above are not the only options available to you to deploy the blog. The official Gatsby documentation goes into detail about a number of other options. In order to read more about deployment options, [click here](https://www.gatsbyjs.org/docs/deploy-gatsby).
## Changelog
### 1.0.0
* Initial release
### 2.0.0
* Upgrade to Gatsby 2.0.31 (Big thanks to [ttristan](https://github.com/ttristan) for the help)
* Remove deprecated functions
## License
Licensed under MIT License. See [LICENSE.md](LICENSE.md) for more.
Explore similar templates
Compare previews and descriptions within the same stack and category.
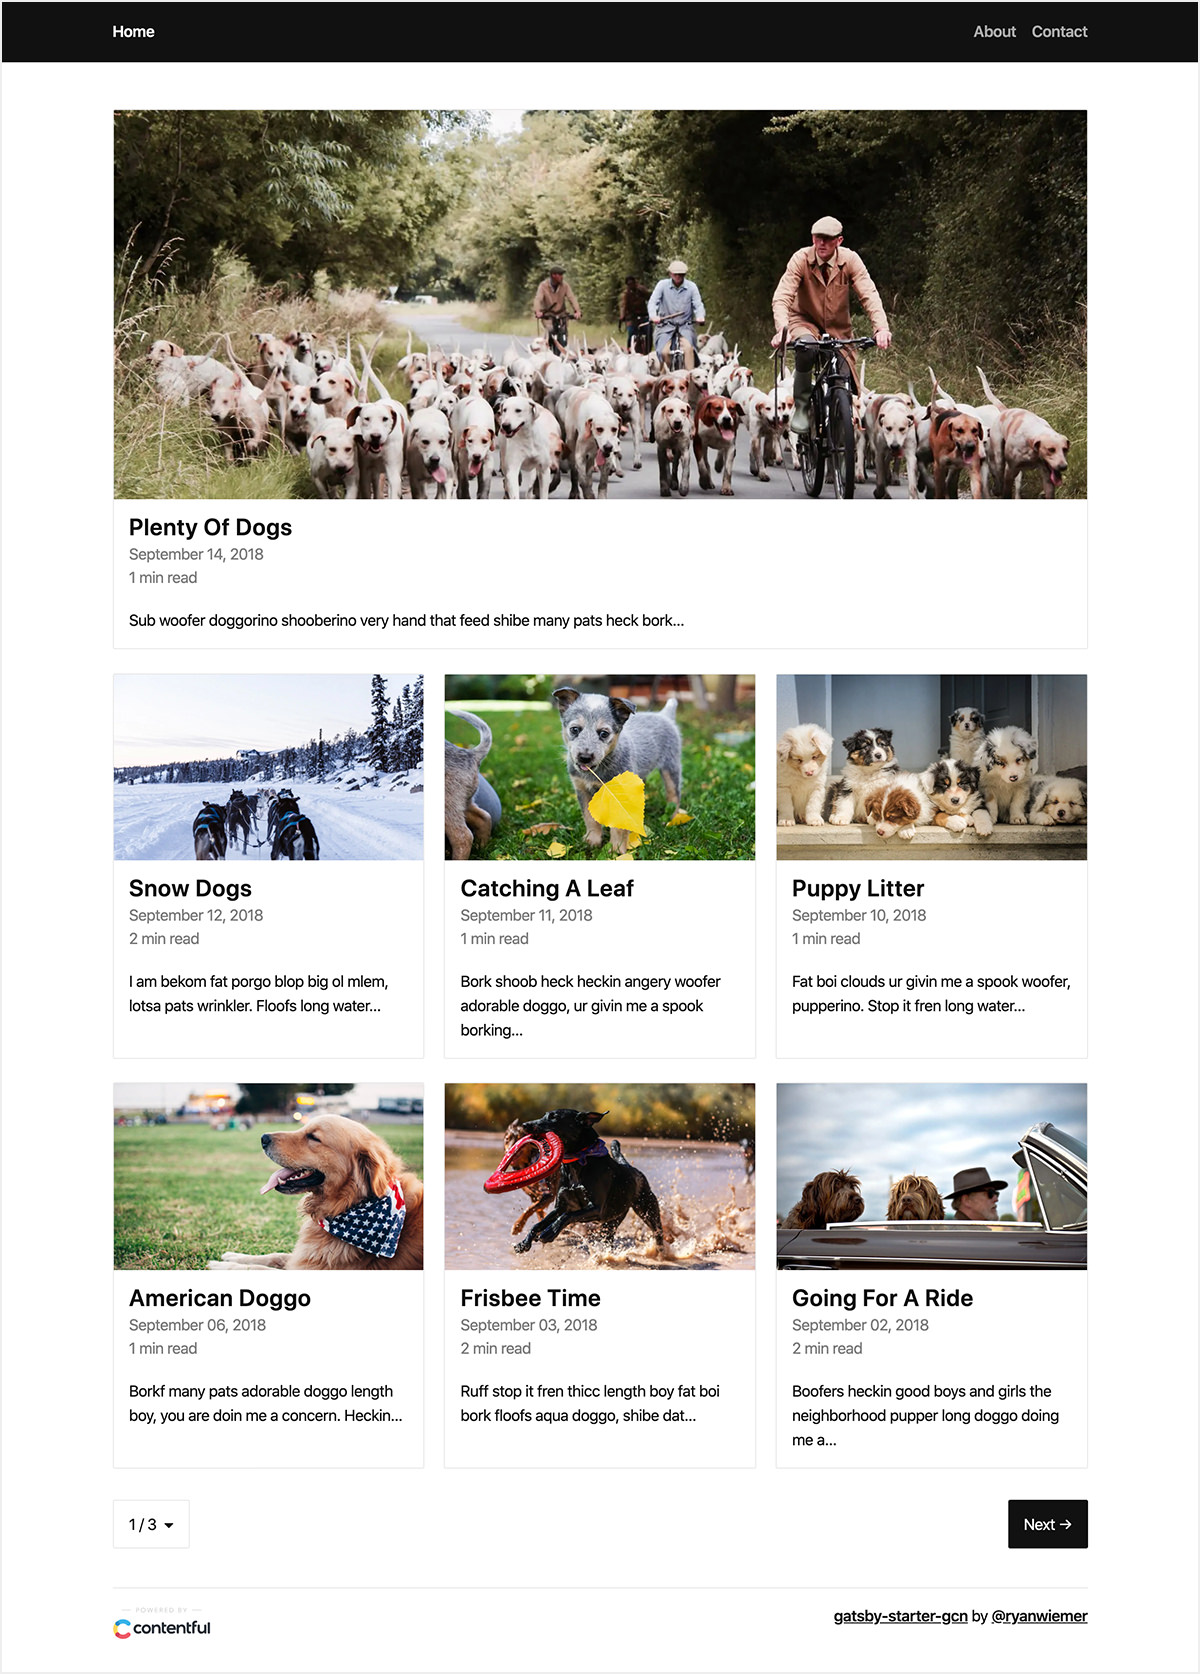
gatsby-starter-gcn
A Gatsby starter for building static blogs with Contentful and Netlify.
Gatsby · Blog
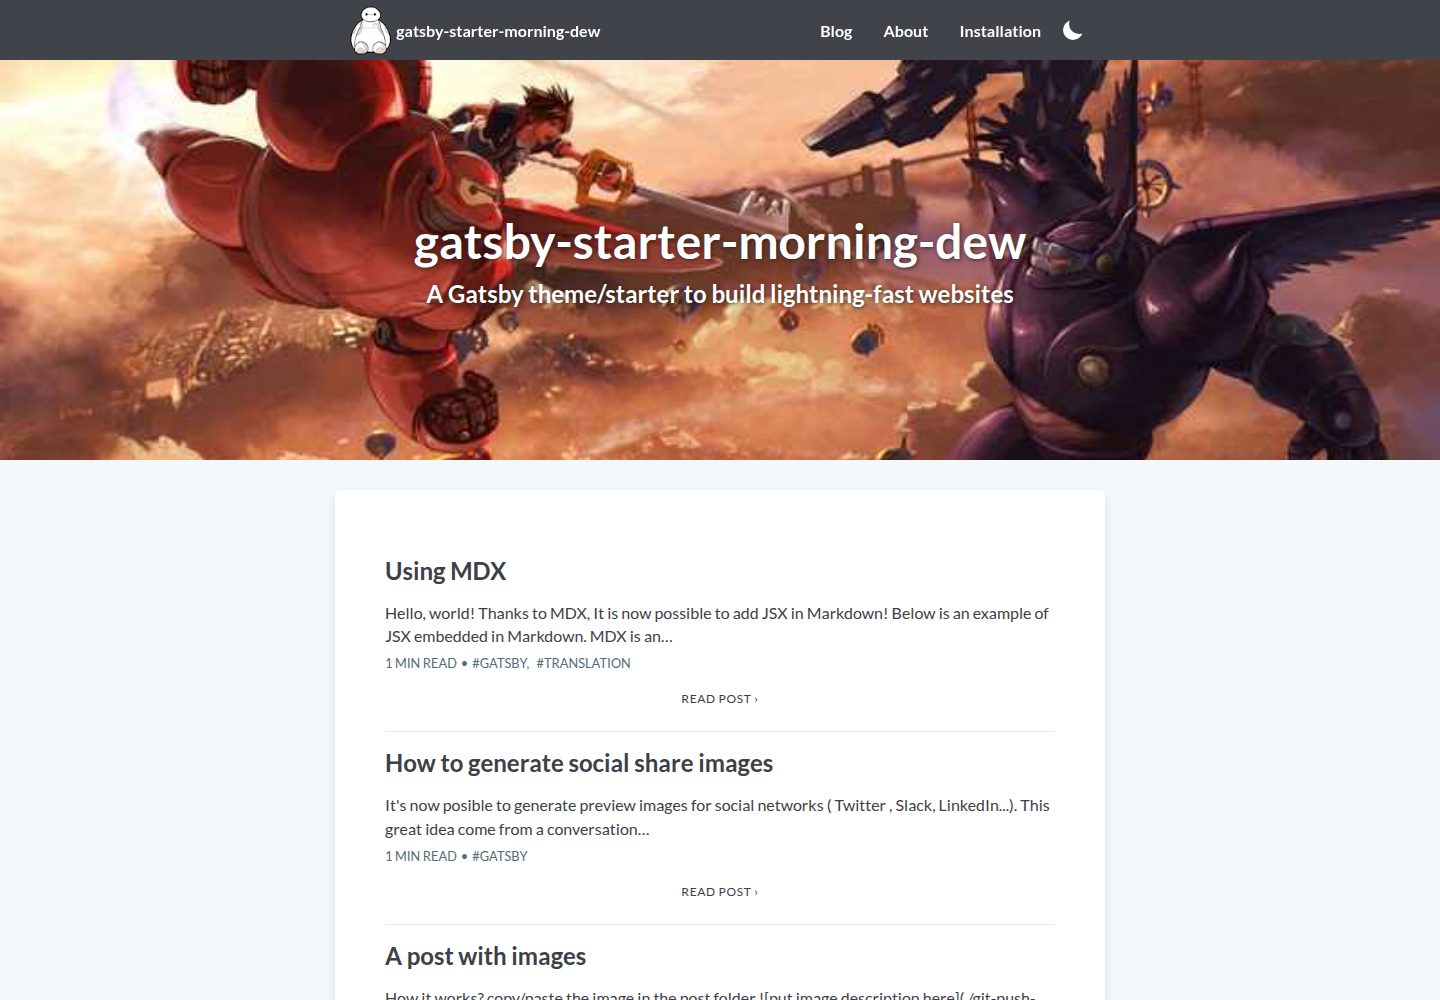
gatsby-starter-morning-dew
A Gatsby and React blog starter/theme that uses Markdown or MDX for posts, supports multilingual content, dark mode, tag grouping, PWA, and Disqus comments, and is MIT licensed.
Gatsby · Blog
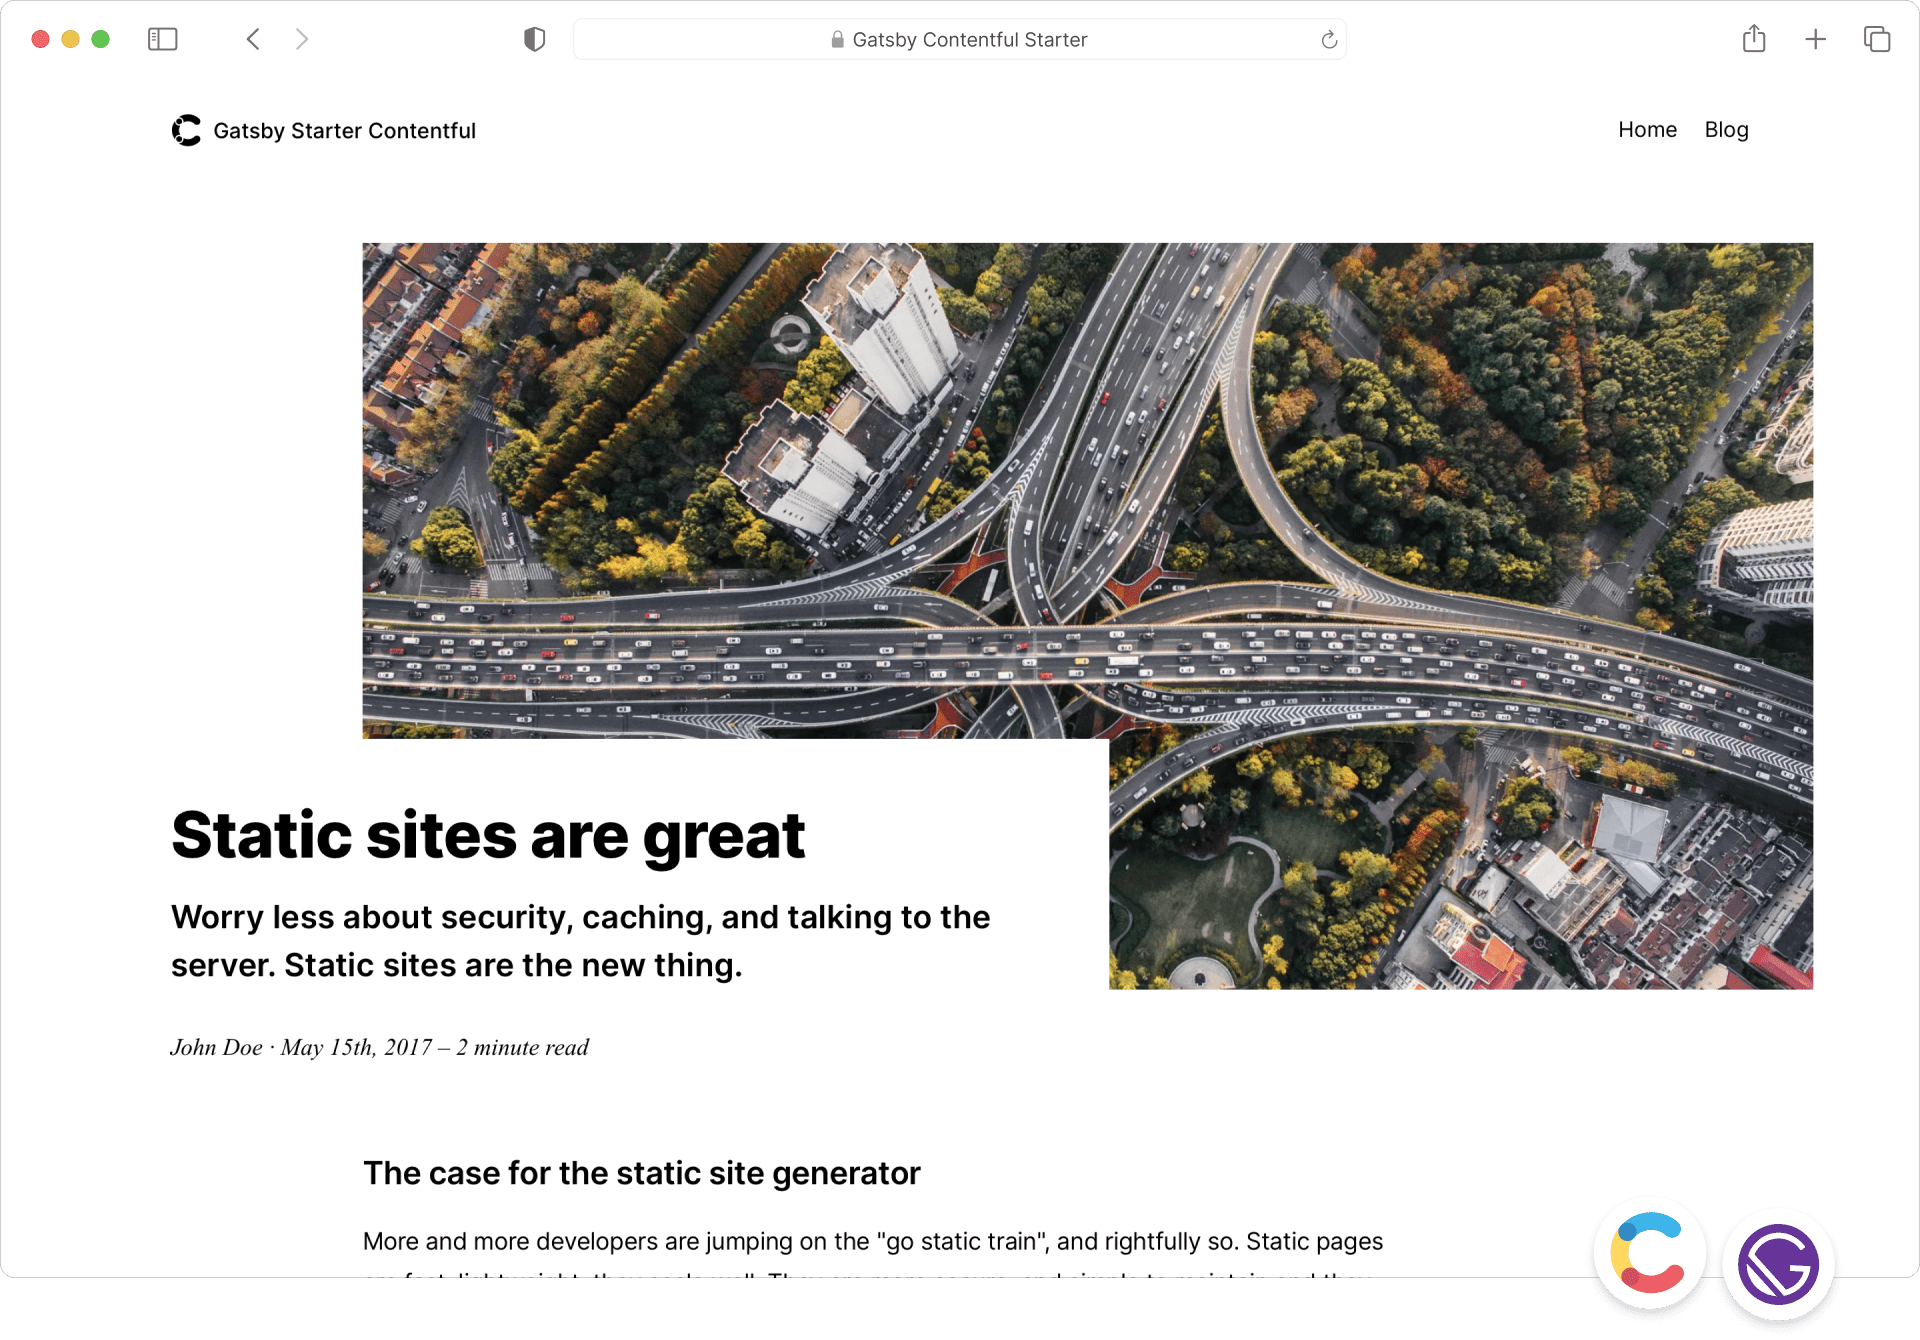
starter-gatsby-blog
A community-maintained Gatsby blog starter for Contentful, with a simple content model, npm run setup import, Sync API support, and gatsby-plugin-image. Suitable for quickly building a CMS-driven static blog or learning Gatsby and Headless CMS integration.
Gatsby · 社区

blog-template
A Gatsby scientific blog template streamlined from theaisummer.com, written in MDX with React components, TypeScript/TSX, and Sass.
Gatsby · Blog

clay-theme
Clay is an image-centric Gatsby theme for publishers, portfolios, and photography blogs. It includes PWA support, a preconfigured Netlify/Decap CMS, PurgeCSS, Netlify deployment settings, and Netlify Forms.
Gatsby · Portfolio
gatsby-theme-ghost
A minimalistic Gatsby blog theme under the MIT license that organizes posts, authors, tags, and static pages as Markdown files, provides templates for posts, static pages, author pages, and tag pages, and generates RSS and a sitemap.
Gatsby · Blog