使用 GatsbyJS 与 React 构建,页面在构建时静态生成
GatsbyReact博客
devblog — Gatsby 博客模板
作者 RyanFitzgerald
基于 GatsbyJS 与 React 的静态个人博客模板,通过 Markdown 文件生成文章,使用 config.js 配置站点信息,内置 PrismJS 代码高亮与分页。
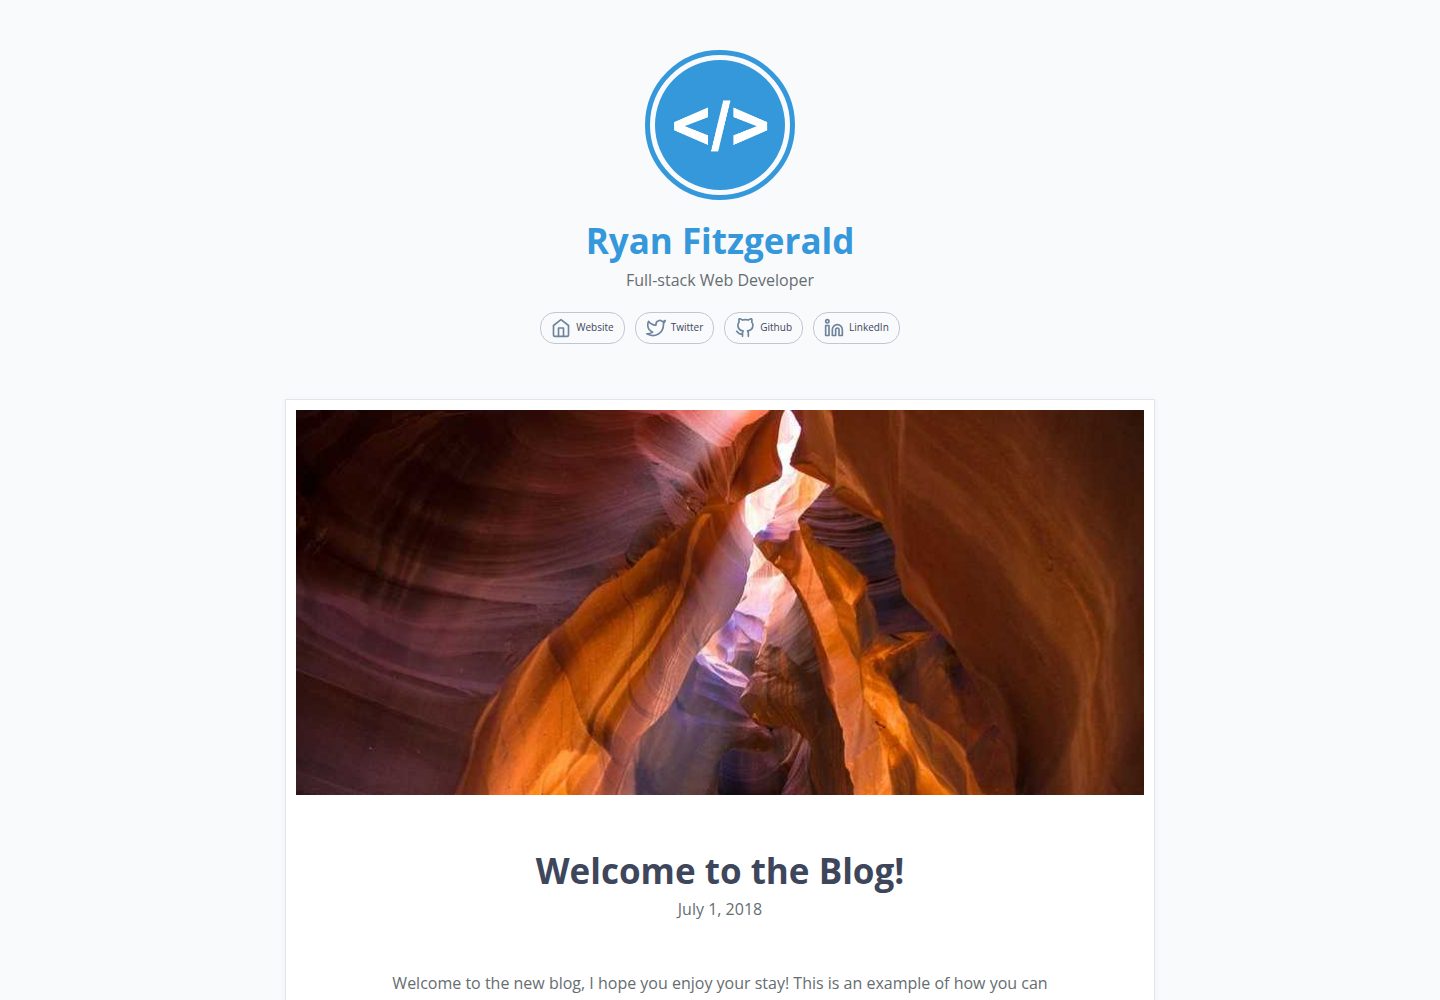
看看你的网站会是什么样
浏览真实页面截图,比较内容排版与手机效果。点击下方缩略图切换,放大查看整页细节。
全部页面与视图 3
截图用于了解视觉与布局,交互效果请以实际项目为准。
采集于 2026-09-30查看来源
值得关注的模板亮点
从已有项目资料中,快速了解它的特点。
文章以 Markdown 文件存放在 /src/pages,按文件夹名生成 URL
通过根目录 config.js 配置标题、作者、主色、分页与社交链接
内置 PrismJS 语法高亮,并支持服务端渲染
提供 GitHub Pages 与 Netlify 的部署说明
附带 3 篇示例文章,演示代码片段、图片与摘要用法
模板详细介绍
DevBlog 是一个面向开发者或想开始写博客的人的个人博客模板,使用 GatsbyJS 与 React 构建,页面在构建时静态生成。文章以 Markdown 文件形式存放在 /src/pages 目录下,每篇文章对应一个以 URL 命名的文件夹,文件夹内放置 index.md,通过 frontmatter 提供标题、日期和可选特色图片,并可用 <!-- end --> 标记摘要位置。模板自带 3 篇示例文章,覆盖代码片段、插入图片、特色图片与摘要等用法。
站点基础信息集中在根目录的 config.js 中,可设置标题、作者、作者描述、主色、是否显示头部图片、是否显示社交分享按钮、每页文章数,以及个人网站、GitHub、Twitter、LinkedIn 等社交链接;其中标题、作者、主色和每页文章数为必填项。头部图片与 favicon 分别通过覆盖 /src 目录下的 main.jpg 和 favicon.ico 替换。
模板内置 PrismJS 语法高亮、服务端渲染和响应式布局,并提供 GitHub Pages 与 Netlify 的部署说明;GitHub Pages 部署需要先在 gatsby-config.js 中设置 pathPrefix,再执行 npm run deploy。该模板采用 MIT 许可,免费范围限于该版本代码,演示图片、字体、图标等第三方素材需按各自许可核对,域名、托管等外部服务可能另行收费。
GatsbyReact博客
适合你的项目吗?
适用场景
- 开发者搭建个人技术博客并发布 Markdown 文章
- 需要静态生成、可部署到 GitHub Pages 或 Netlify 的博客站点
- 希望用单个 config.js 文件集中调整站点标题、作者与主色
- 在文章中展示带语法高亮的代码片段
适合人群
- 熟悉或愿意使用 GatsbyJS 与 React 的开发者
- 以 Markdown 写作、不需要后台管理系统的个人博主
- 需要轻量、响应式个人博客模板的开发者
- 准备将博客部署到静态托管服务的用户
上手与定制指南
结合仓库当前版本的说明,按下面的资料检查内容、配置与运行要求。
- 1
先全局安装 Gatsby CLI:npm install --global gatsby-cli
- 2
用该仓库作为 starter 创建站点:gatsby new YOUR_BLOG_NAME https://github.com/RyanFitzgerald/devblog
- 3
也可 fork 或 clone 仓库后执行 npm install,再运行 gatsby develop
- 4
在根目录 config.js 中填写标题、作者、主色和每页文章数等必填项
- 5
部署到 GitHub Pages 前需在 gatsby-config.js 中按仓库名设置 pathPrefix
授权与来源资料
使用条件与限制
免费使用 · 保留许可声明本次收录的是公开仓库中采用 MIT 许可的免费版本;免费范围为该版本代码,不代表外部服务或第三方素材免费。
使用时需要遵守
- 允许免费使用、修改、商用和分发该版本代码。
- 分发代码副本或实质性部分时,保留原作者版权声明和完整 MIT 许可声明。
- 代码按现状提供;担保与责任限制以原许可证及适用法律为准。
额外费用与待核对事项
- 该模板采用 MIT 许可,可免费使用、复制、修改、合并、发布、分发、再许可和/或销售,但必须保留版权声明与许可声明。
- 使用该模板需要本地安装 GatsbyJS CLI,并依赖 Node.js/npm 环境。
- 部署到 GitHub Pages 时,必须先在 gatsby-config.js 中按仓库名设置 pathPrefix,否则资源路径可能出错。
- 使用 Netlify 部署属于外部托管服务,可能涉及账号注册及服务费用,需自行确认其条款。
- 演示图片、字体、图标及其他第三方素材需按各自许可核对,不能仅凭代码的 MIT 许可判断。
- 域名、托管、数据库、支付或 AI 等外部服务可能另外收费。
查看原文依据
Permission is hereby granted, free of charge
许可证原文
Licensed under MIT License. See [LICENSE.md](LICENSE.md) for more.
README 原文
The first step is to get the GatsbyJS CLI installed locally. This can be accomplished by running the command ```npm install --global gatsby-cli```
README 原文
In order to deploy to GitHub pages, you need to first set your path prefix in ```gatsby-config.js```.
README 原文
https://github.com/RyanFitzgerald/devblog/blob/master/LICENSE.mdhttps://github.com/RyanFitzgerald/devblog/blob/master/README.mdOne of the easiest methods of deploying the blog would be to use [Netlify](https://www.netlify.com/).
README 原文
DeepSeek 根据仓库许可证和 README 整理 ·2026-10-01。结果仅覆盖已读取资料,依赖、图片、字体及后续条款变更以各自原文为准。
项目核对记录与介绍依据
模板资料
- 来源平台
- GitHub
- 资料与维护参考分
- 资料较完整 · 81 / 100
- 技术栈
- Gatsby · React
- 网站类型
- 博客
这个分数如何计算
本站按许可资料(最高30分)、演示链接(12分)、预览图(10分)、Star数(15分)、记录的维护时间(15分)、描述完整度(8分)、功能记录(5分)和分类资料(5分)计算。它不是代码、安全或性能测试,也不是 Google 评分;有链接不代表已实测可用。
这个项目需要核对什么
- 记录的仓库更新时间
- 2023-01-11
- 截图检查日期
- 2026-10-01
已收录演示链接。请用你的内容与屏幕尺寸检查;有演示不代表表单、认证或支付已经可用。
目录记录的主要技术栈是 Gatsby。请通过依赖清单和锁文件核对实际版本与托管要求。这些说明基于收录资料,不代表代码审计或部署实测。
查看具体选型方法 →介绍的制作与核对状态
介绍由 AI 辅助整理目录与仓库资料。仓库作者不等于这篇介绍的审核者。
已完成服务器许可规则与 AI 来源核对;未经过人工编辑审核。
查看当时使用的来源资料
SHA-256: 4408853f6574c4329d2fa927cc9923874e16d8c72a9333b9716f0d2f6d232277
2026-10-01T13:28:07.437Z
来源文件 / 仓库# DevBlog
DevBlog is a fully customizable blog template designed for developers (or anyone else) wanting to get into blogging. It comes ready to go and deploy (with ease) or can be edited and extended however you like. The blog is completely statically generated via GatsbyJS, comes with syntax highlighting (via PrismJS) out of the box, and has server-side rendering built-in, among other things.
To view a live demo, [click here](https://ryanfitzgerald.github.io/devblog/).
[](https://app.netlify.com/start/deploy?repository=https://github.com/RyanFitzgerald/devblog)
## Features
* Fully responsive
* Minimalistic
* Customizable via a ```config.js``` file
* Easy to deploy
* Statically-generated via markdown files
* Server-side rendering
* Syntax highlighting via PrismJS
## Contents
* [Setup and Configuration](#setup-and-configuration)
* [Setup](#setup)
* [Configuration](#configuration)
* [Creating New Posts](#creating-new-posts)
* [Deploying](#deploying)
* [Changelog](#changelog)
* [License](#license)
## Setup and Configuration
### Setup
#### 1. Install Gatsby CLI
The first step is to get the GatsbyJS CLI installed locally. This can be accomplished by running the command ```npm install --global gatsby-cli```
#### 2. Create a new Gatsby Site using this repo
When creating a new Gatsby site, the CLI allows you to specify a starter, in this case simply provide the URL for this repo. This can be accomplished by running the command ```gatsby new YOUR_BLOG_NAME https://github.com/RyanFitzgerald/devblog```
#### 3. Edit or use the template as needed
Now you that you are setup, you can simply use the blog or make edits as needed. For example, run ```gatsby develop``` to start up a hot-reloaded development environment available at localhost:8000 or run ```gatsby build``` to build an optimized production build. For a complete list of CLI commands for Gatsby, take a look at their [documentation](https://www.gatsbyjs.org/docs/).
#### Alternative Setup
Alternatively, if you wish to simply fork this repo or clone it, then you simply need to run ```npm install``` and then ```gatsby develop``` afterwards and you'll be up and running.
### Configuration
Basic configuration can be done via the ```config.js``` file in the root of the project repo. Through this file you can make edits to the primary color of the blog, add a blog author and description, and more. The defaults are as follows:
```javascript
export default {
title: 'Dev Blog', // Required
author: 'Ryan Fitzgerald', // Required
description: 'Full-stack Web Developer',
primaryColor: '#3498db', // Required
showHeaderImage: true,
showShareButtons: true,
postsPerPage: 5, // Required
social: {
website: 'https://ryanfitzgerald.ca',
github: 'https://github.com/ryanfitzgerald',
twitter: 'https://twitter.com/ryanafitzgerald',
linkedin: 'https://ca.linkedin.com/in/ryanafitzgerald'
}
};
```
__Note:__ Any configuration option labelled as "Required" is needed for basic presentational purposes. Anything without the "Required" comment can be removed should you not want it used.
#### Understanding the configuration variables
The configuration variables referenced above are used as follows:
| Variable | Description of Use |
|----------|--------------------|
| title | The title of the blog. This is used for the page title primarily. |
| author | The author of the blog. This is used for the header name and page title. |
| description | The description of the author. This is used for the header under the author. |
| primaryColor | The primary color of the blog. |
| showHeaderImage | Flag to show the header image or not. |
| showShareButtons | Flag to show social media share buttons on each blog post or not. |
| postsPerPage | The number of posts per page on the blog homepage. This is used for pagination. |
| social | Social media profiles of the blog author. Currently only personal website, GitHub, Twitter, and LinkedIn are supported.|
#### Changing the main header image
To change the default header image, simply override the ```main.jpg``` file in the ```/src``` folder.
#### Changing the favicon
To change the default favicon, simply override the ```favicon.ico``` file in the ```/src``` folder.
## Creating New Posts
All blog posts can be found in ```/src/pages``` and are statically built once the ```gatsby build``` command is run. To create a new post, simply create a new folder in ```/src/pages``` with the name of the url you'd like to have. For example, if you wish to have the url appear as ```myblog.com/hello-world``` you would create the folder as ```hello-world```. Once the folder is created, simply create an ```index.md``` file within it.
The top of the pages must all contain the same markdown which tells Gatsby the needed information about the specific post. The basic template is:
```markdown
---
title: New Beginnings
date: "2018-07-01"
featuredImage: './featured.jpg'
---
This top portion is the beginning of the post and will show up as the excerpt on the homepage.
<!-- end -->
```
In the above code snippet all that is required is the **title** and the **date**. The featured image is optional and can be added by simply adding an image to the page folder you just created and referencing like the above example. The excerpt portion is optional as well and if you do not use the ```<!-- end -->``` marker, the first bit of the post will be used as the excerpt automatically.
This template ships with 3 blog post examples which contain everything from code snippet usage, inserting images, using featured images and excerpts, and more.
## Deploying
Once you are ready to deploy the blog and make it live, you have a couple of options available to you.
### Manual Deploy
Manually deploying the blog simply requires you run a ```gatsby build``` in order to create a production build. After that, you can use any server you'd normally a React app to, such as a Digital Ocean droplet or an AWS instance. All that is required is some way to serve the static files.
If you are unfamiliar with deploying React applications, there are a number of other options.
### GitHub Pages
In order to deploy to GitHub pages, you need to first set your path prefix in ```gatsby-config.js```. The default is ```pathPrefix: '/devblog'``` however this should be changed to whatever the repo name you chose is. For example, if you have the blog located in ```https://github.com/YOURUSERNAME/myblog``` and want it deployed to ```https://YOURUSERNAME.github.io/myblog``` then you would set the path prefix to ```pathPrefix: '/myblog'```.
Next, simply run ```npm run deploy``` and your blog will be deployed.
Alternatively, if you wish to deploy it to ```https://YOURUSERNAME.github.io``` (i.e. your user / organization site and not a project site), then a couple addition changes are required. The official Gatsby documentation has them outlined well [here](https://YOURUSERNAME.github.io).
### Netlify
One of the easiest methods of deploying the blog would be to use [Netlify](https://www.netlify.com/). To deploy to Netlify, simply click the button below and follow the prompts.
<!-- Markdown snippet -->
[](https://app.netlify.com/start/deploy?repository=https://github.com/RyanFitzgerald/devblog)
### Other
The options outlined above are not the only options available to you to deploy the blog. The official Gatsby documentation goes into detail about a number of other options. In order to read more about deployment options, [click here](https://www.gatsbyjs.org/docs/deploy-gatsby).
## Changelog
### 1.0.0
* Initial release
### 2.0.0
* Upgrade to Gatsby 2.0.31 (Big thanks to [ttristan](https://github.com/ttristan) for the help)
* Remove deprecated functions
## License
Licensed under MIT License. See [LICENSE.md](LICENSE.md) for more.
看看同类模板
对比同技术栈与用途的模板,找到更适合的视觉与内容结构。
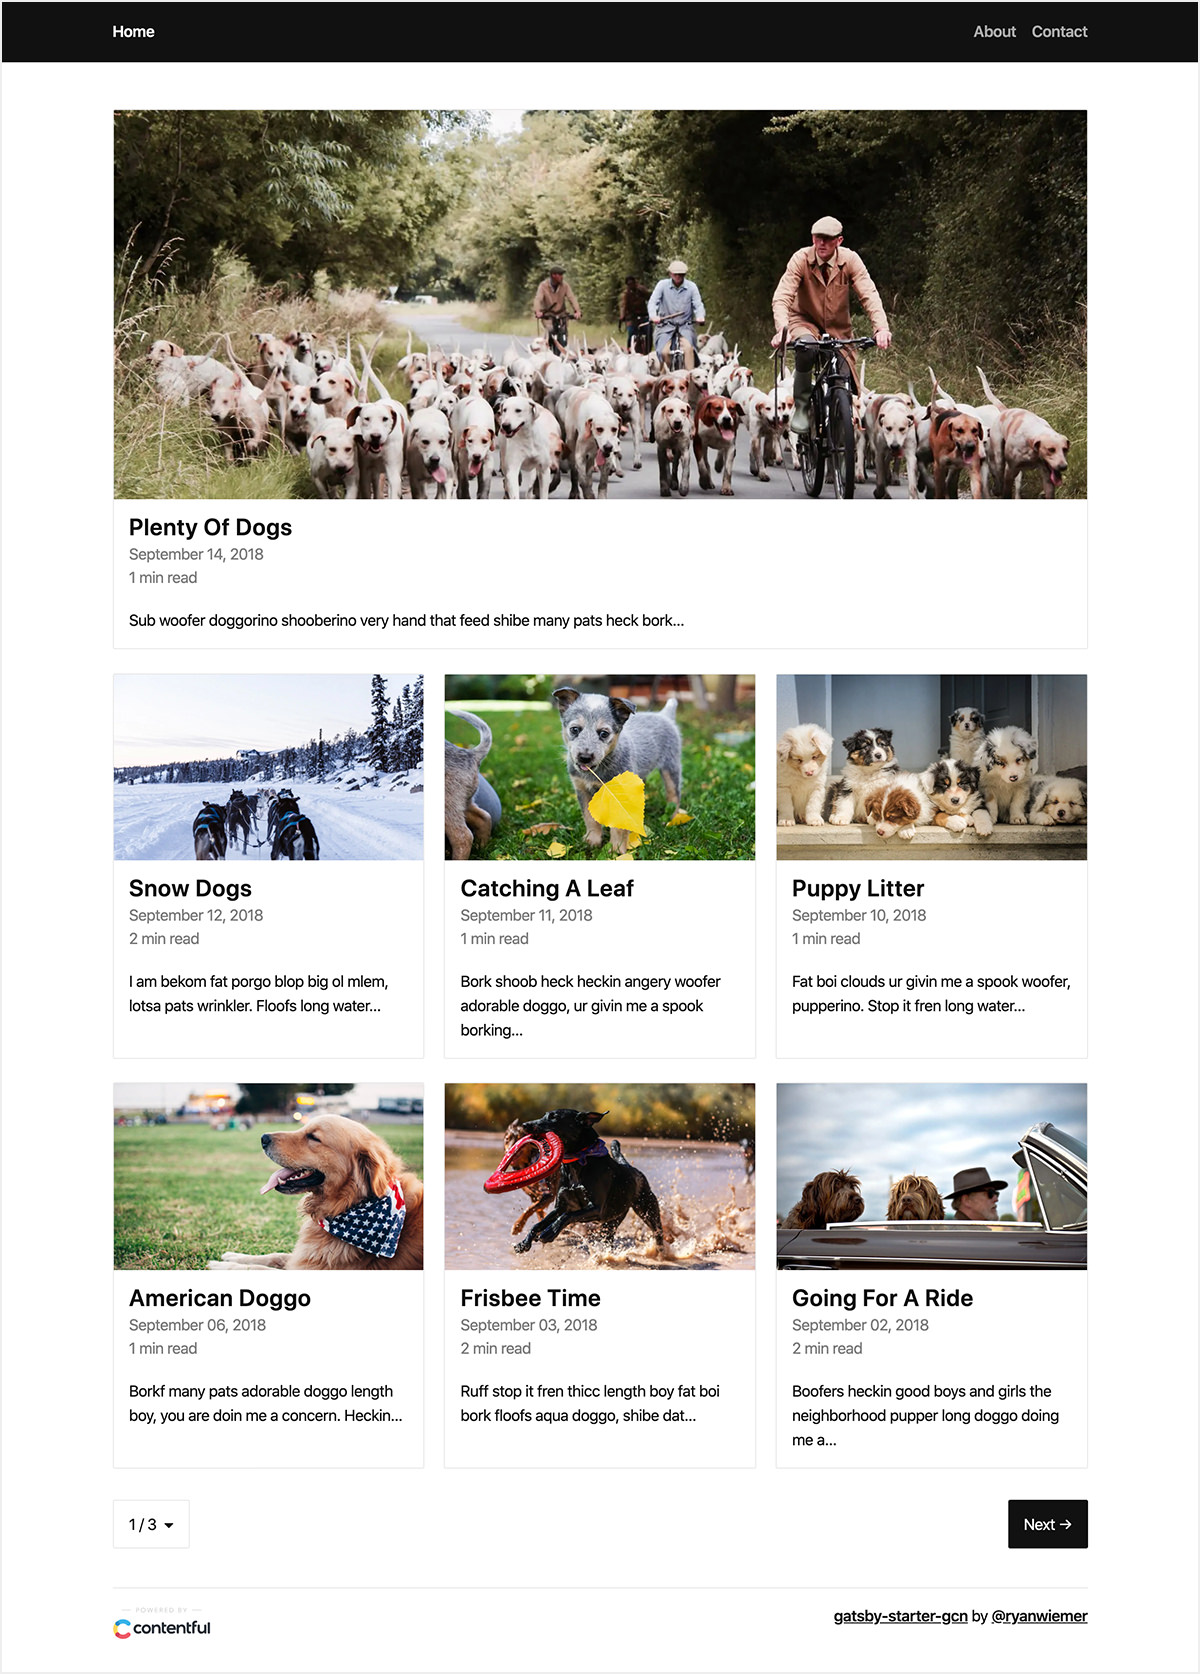
gatsby-starter-gcn
gatsby-starter-gcn 是一个面向静态网站构建的 Gatsby 启动器,将内容管理、部署和前端开发串联起来。
Gatsby · 博客
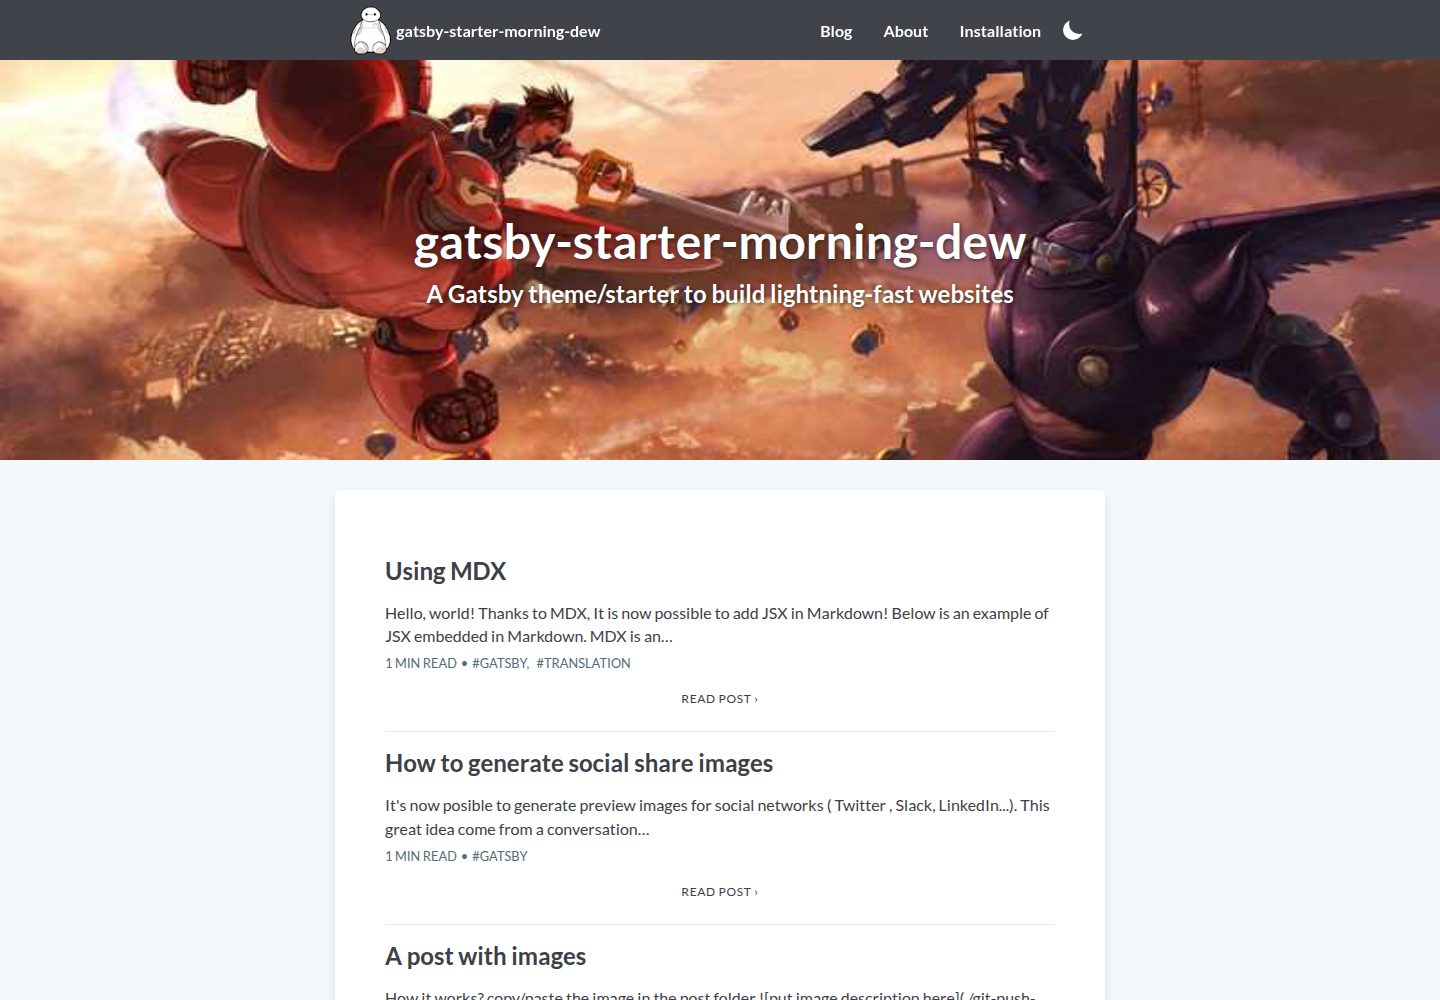
gatsby-starter-morning-dew
:rocket: A Gatsby theme/starter to build lightning-fast blog/websites
Gatsby · 博客
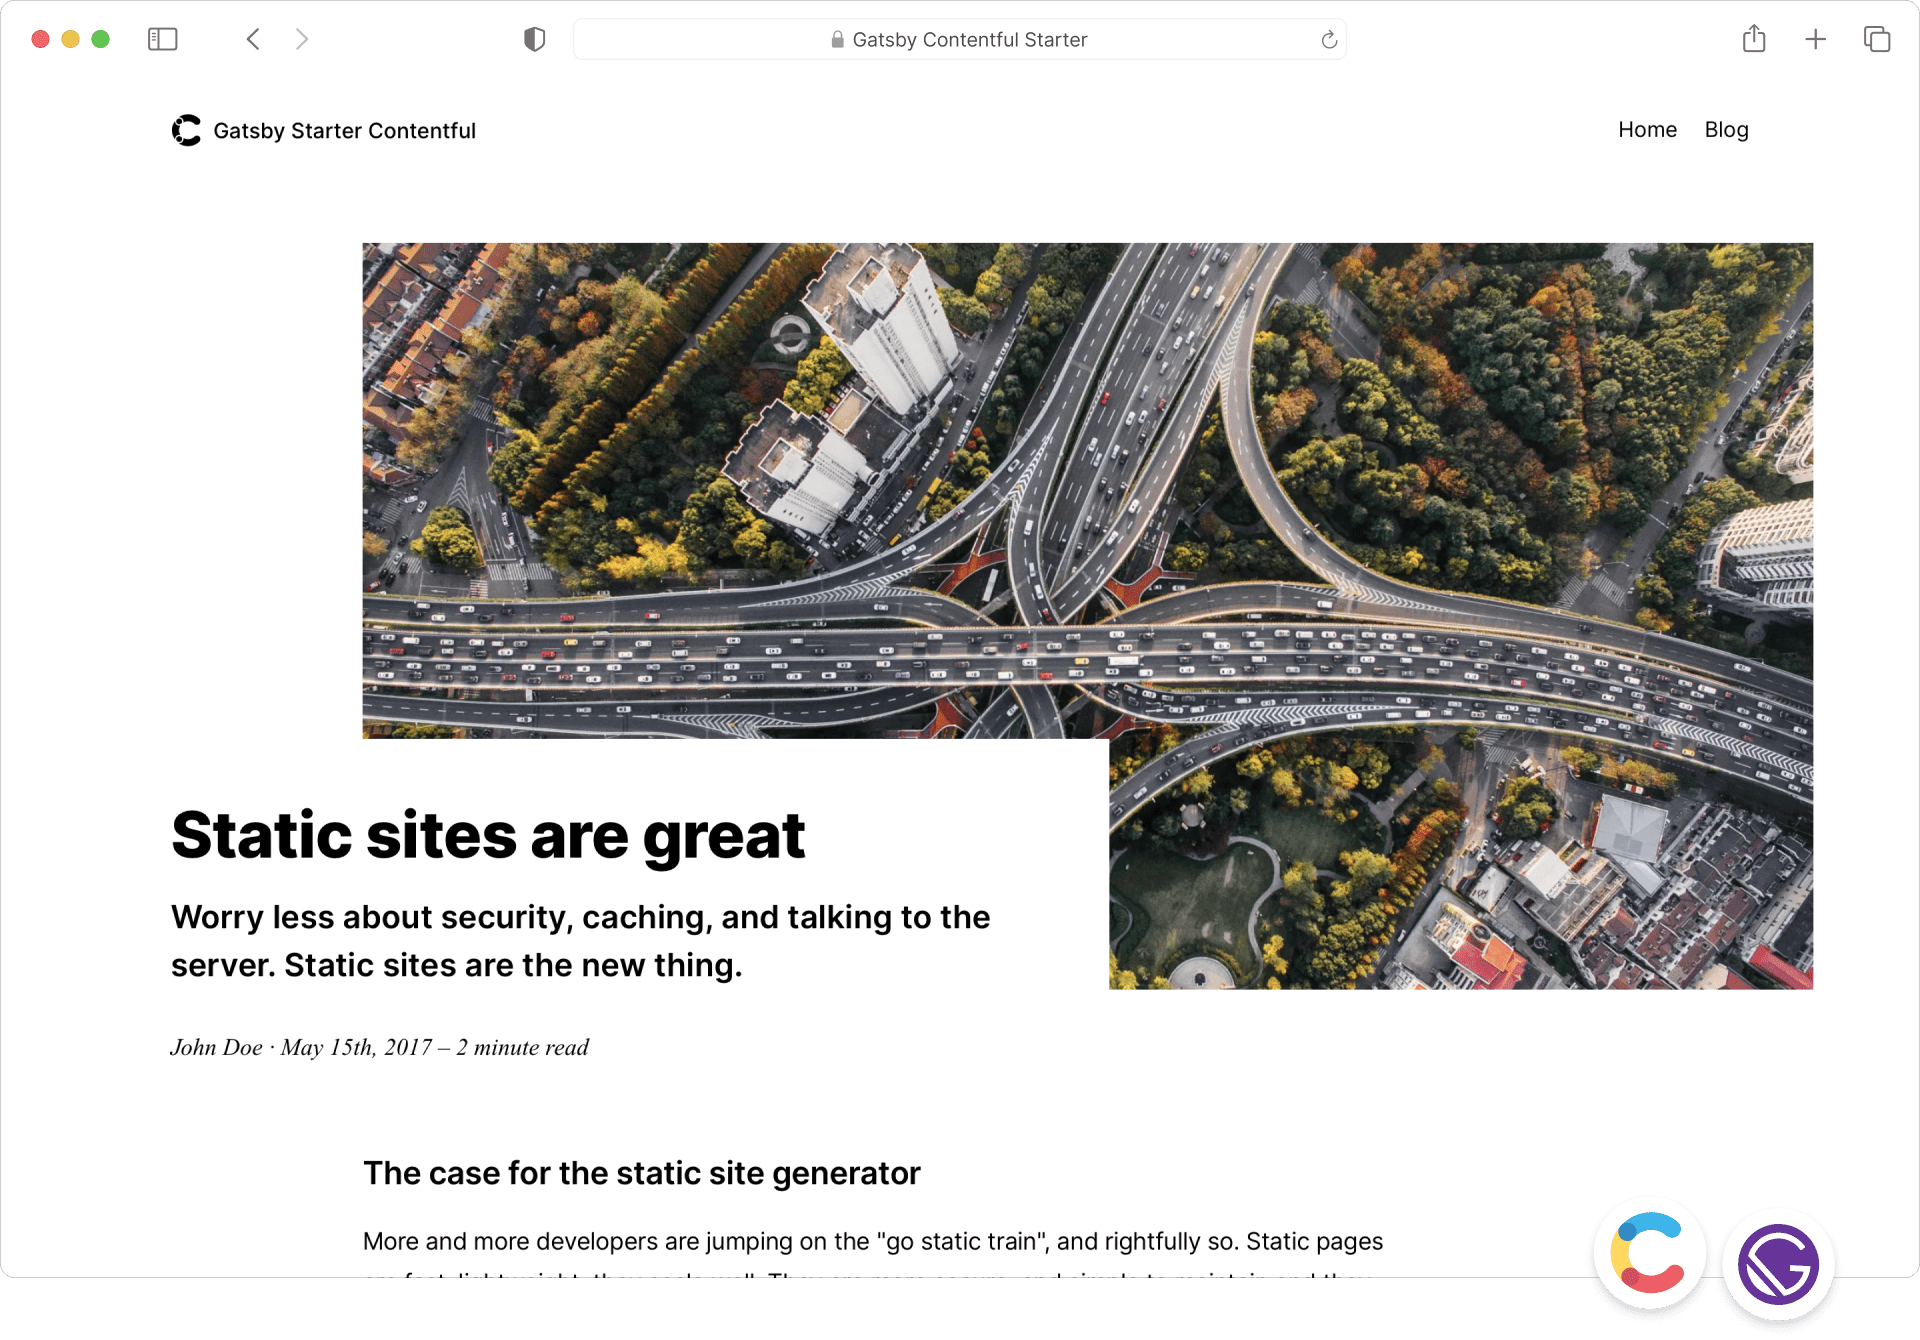
starter-gatsby-blog
这是一个由 Contentful 社区维护的 Gatsby 博客启动器,目标是把静态站点的低维护成本与 Contentful 的友好编辑界面结合起来。
Gatsby · 社区

blog-template
Scientific blog template based on theaisummer.com
Gatsby · 博客

clay-theme
Image-centric Gatsby theme for publishers, portfolios, photographers blogs and more.
Gatsby · 作品集
gatsby-theme-ghost
Minimalistic Gatsby theme, mobile and SEO friendly and supports author, tag and static pages.
Gatsby · 博客