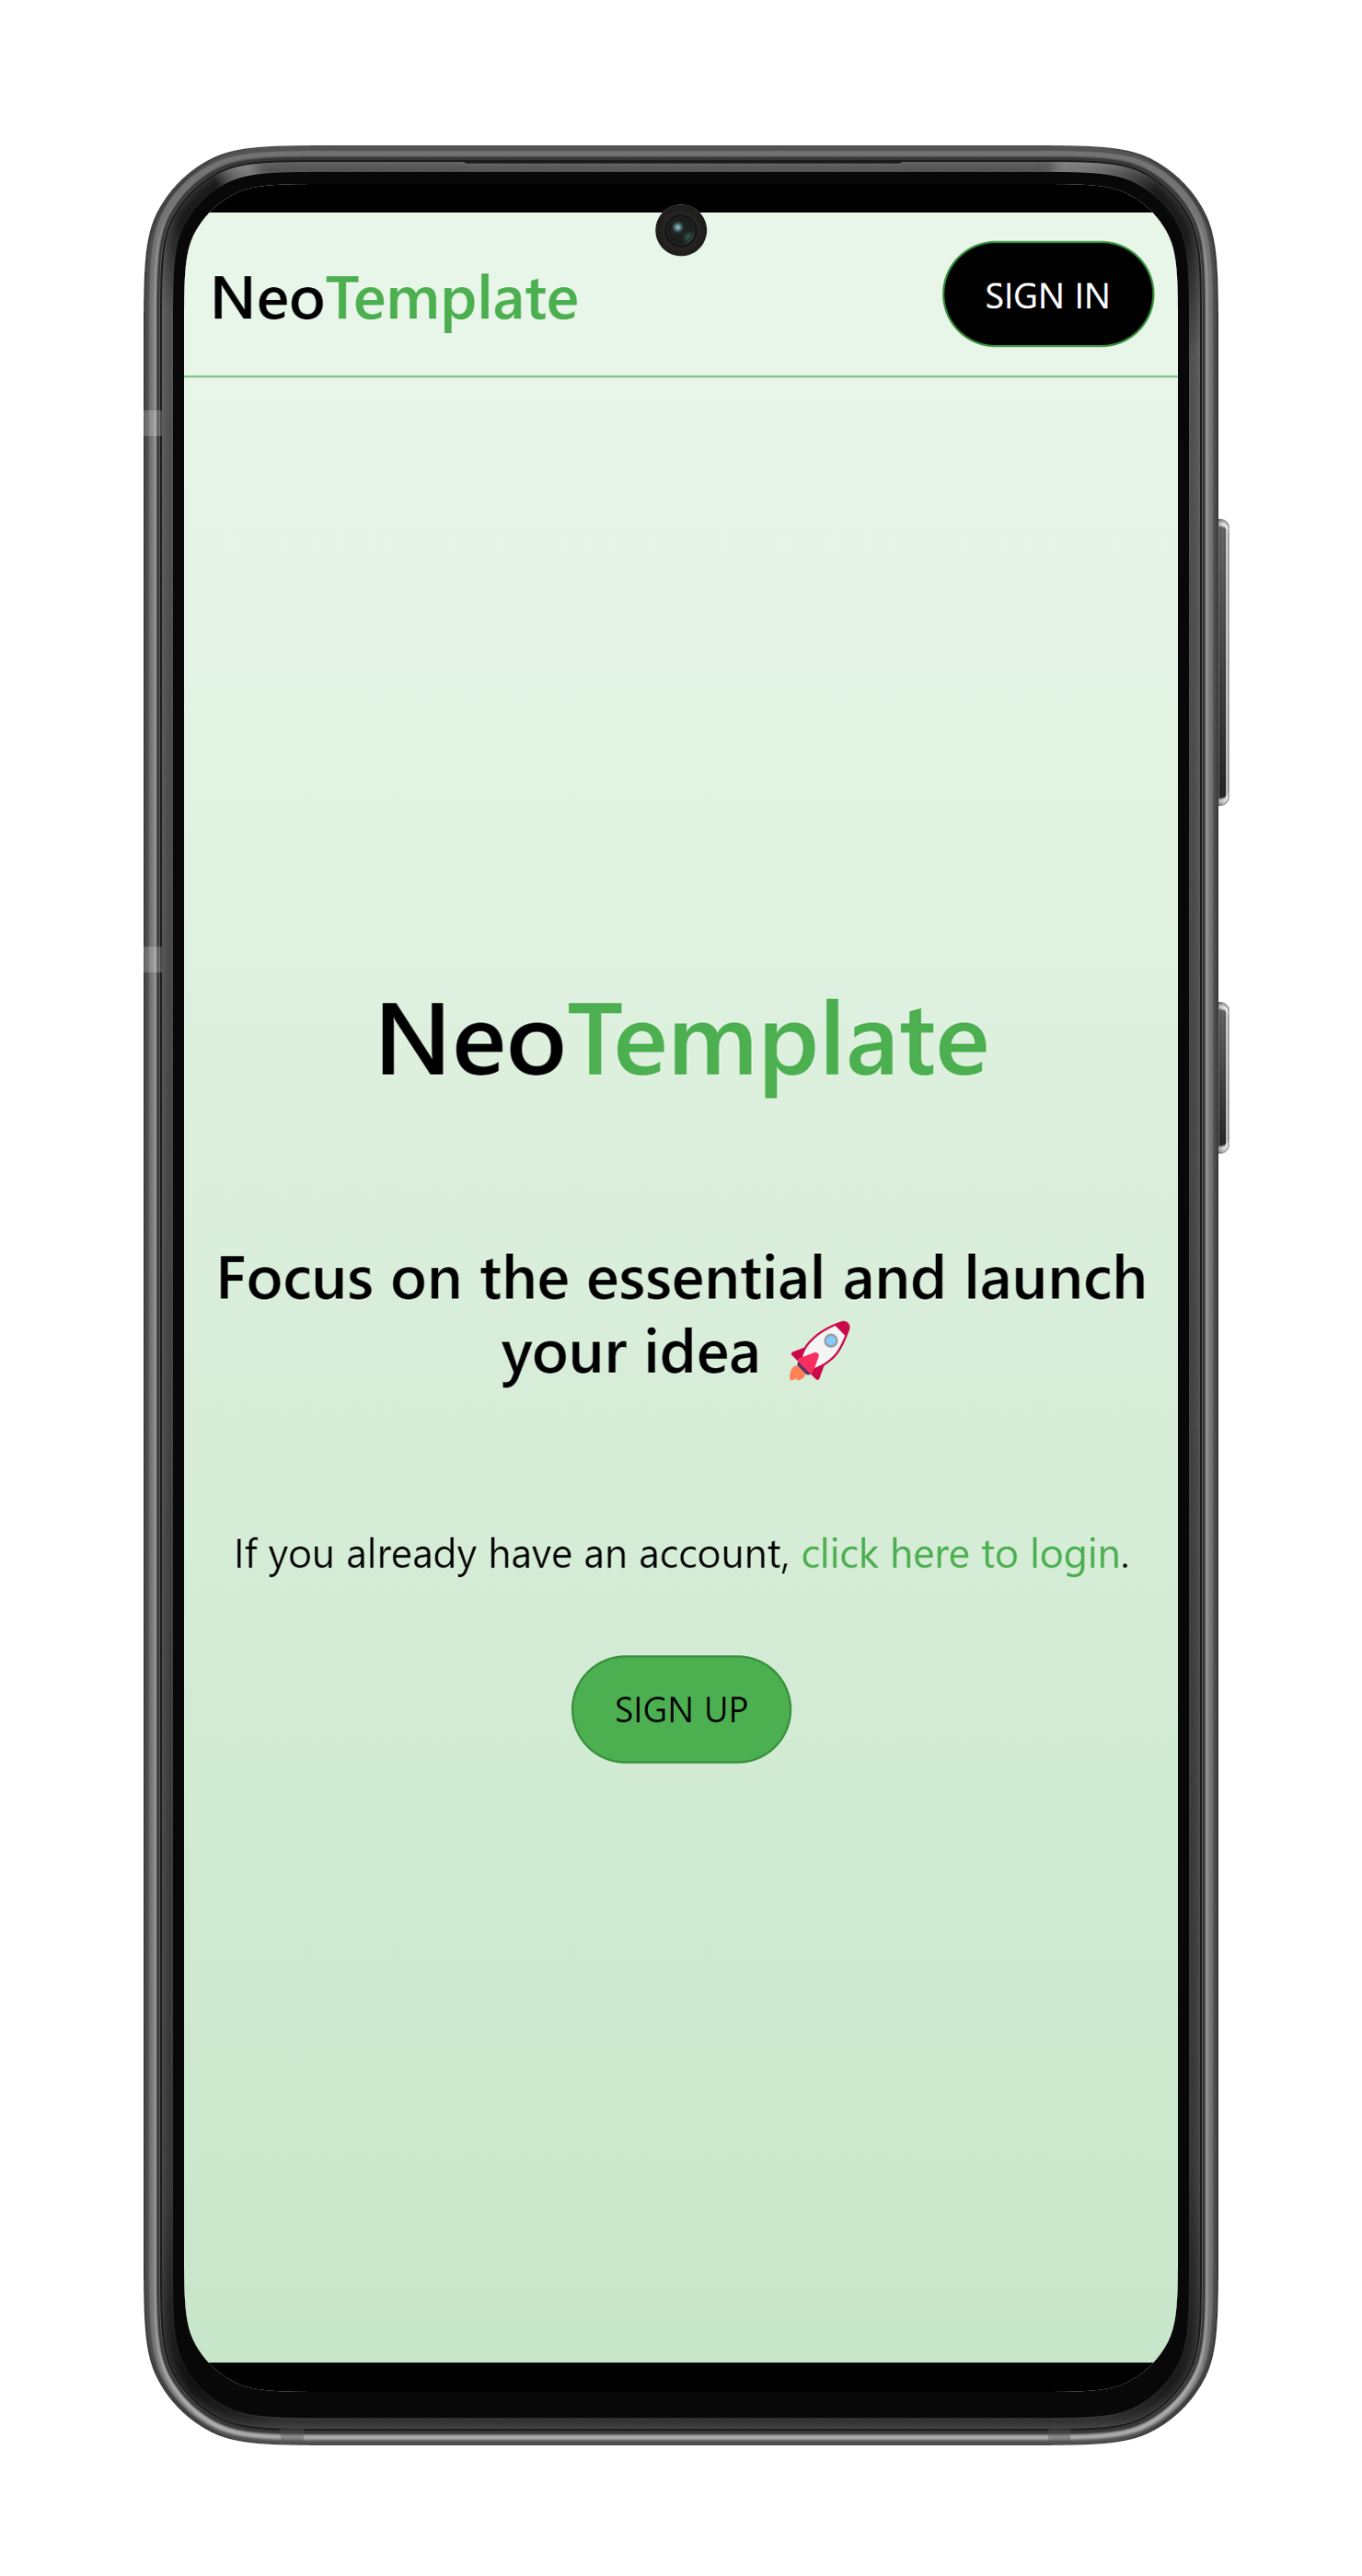
Frontend based on Next.js, integrated with Material UI, NextAuth, and i18next
Next.jsDjangoReactStarter
NeoTemplate — Next.js Starter Template
By thomassimmer
NeoTemplate is a fullstack website template built on Next.js and Django. The frontend uses Material UI, NextAuth, and i18next; the backend uses Django Rest Framework. It includes email registration and login, email verification, password reset, profile and avatar upload, light/dark theme, and language switching.
Explore the design
Compare the page layouts and mobile experience. Open any screenshot for a closer look.
Author preview
Author-provided previewTop of page
Preview provided in the project README.
One original preview is available. Open the full image to inspect the design.
Screenshots show visual appearance; interactive behavior may differ.
Recorded 2026-10-03View source
What stands out
A quick read of the recorded project description.
Backend based on Django and Django Rest Framework
Built-in email registration and login, email verification, and password reset flows
Provides profile management with avatar upload support
Supports light/dark theme and language switching, with settings stored on the client
Uses Docker Compose to separate local development and production run modes
Template Details
NeoTemplate is a fullstack website starter template. The frontend uses Next.js with the Material UI component library, NextAuth authentication, and i18next internationalization; the backend uses Django and Django Rest Framework. The template already implements several basic features: email-based registration and login, email verification, password reset, profile management with avatar upload, and a basic homepage. Theme (light/dark mode) and language selection are stored on the client.
The project runs via Docker and Docker Compose, with separate compose configurations for local development and production. Local development enables frontend and backend hot reload; the production configuration builds optimized images and does not mount code volumes. Before use, you need to create .env files in the backend/ and frontend/ directories to configure the Django secret key, database, JWT, email, and NextAuth-related variables. If there is no local mail server, you can follow the README to switch the email backend to console output and set email verification to none.
The template itself does not include business functionality; you need to replace the project name and logo before starting development. The repository uses the MIT license, allowing free use, modification, commercial use, and distribution of this version of the code; however, third-party assets such as demo images, fonts, and icons need to be checked separately for licensing, and external services such as domain, hosting, database, payment, or AI may incur additional charges.
Next.jsDjangoStarter
Is it right for your project?
Use Cases
- Starting a website project that needs both a Next.js frontend and a Django backend
- Projects that want basic features such as email authentication, password reset, and profiles out of the box
- Multilingual websites that need light/dark theme switching and client-side language selection
- Development environments that use Docker Compose to manage the frontend, backend, and database together
Suitable For
- Developers familiar with Next.js and Django who want to quickly set up a fullstack project skeleton
- Website projects that need email registration and login plus profile features as a starting point
- Development teams that accept running the frontend, backend, and database via Docker
Getting started & customization
Use these recorded setup notes alongside the repository instructions for your chosen version.
- 1
Requires Docker 20.10 or higher and Docker Compose 2.0 or higher
- 2
Configure environment variables in backend/.env and frontend/.env respectively, including secrets, database, JWT, email, and NextAuth-related items
- 3
For local development, run docker compose up --build -d; for production deployment, use docker-compose.prod.yml
- 4
If there is no local mail server, enable the console email backend in settings.py and set ACCOUNT_EMAIL_VERIFICATION to none
- 5
Before use, replace names such as NeoTemplate, neotemplate, Neo, and Template in the project, as well as the favicon and logo images
License & source material
Usage conditions & limitations
Free to use · keep license noticeThis entry covers the free version under the MIT license in the public repository; the free scope is the code of this version and does not mean that external services or third-party assets are free.
Must comply with when using
- Free use, modification, commercial use, and distribution of this version of the code are allowed.
- When distributing copies or substantial portions of the code, retain the original author's copyright notice and the full MIT license notice.
- The code is provided as is; warranties and limitations of liability are governed by the original license and applicable law.
Additional costs & items to verify
- Email registration, verification, and password reset features depend on an external SMTP email service; you must provide your own email account and password. Local development can use the console email backend, but production requires real SMTP configuration.
- Before production deployment, a working SMTP email service must be configured; otherwise authentication flows such as email verification and password reset will not work properly.
- Production deployment requires the separate docker-compose.prod.yml configuration, and you must prepare external runtime environments such as domain, host, and database yourself.
- Demo images, fonts, icons, and other third-party assets must be checked under their respective licenses and cannot be judged solely by the code's MIT license.
- External services such as domain, hosting, database, payment, or AI may incur additional charges.
View Original Text Basis
Permission is hereby granted, free of charge
Original License Text
EMAIL_HOST=smtp.gmail.com [email protected] EMAIL_HOST_PASSWORD=your-email-password
Original README
Configure proper email SMTP settings
Original README
https://github.com/thomassimmer/NeoTemplate/blob/main/LICENSEhttps://github.com/thomassimmer/NeoTemplate/blob/main/README.mddocker compose -f docker-compose.prod.yml up --build -d
Original README
Compiled by DeepSeek based on repository license and README ·2026-10-03. Results only cover the materials read; dependencies, images, fonts, and subsequent term changes are subject to their respective original texts.
Project checks & description sources
Template Information
- Source platforms
- GitHub
- Documentation and maintenance reference score
- More documented · 76 / 100
- Technologies
- Next.js · Django · React
- Website type
- Starter
How this score is calculated
Our heuristic uses license records (up to 30), a demo link (12), a preview (10), stars (15), recorded maintenance (15), description completeness (8), feature records (5) and classification data (5). It is not a code, security or performance test, or a Google score. A link does not establish tested functionality.
What to verify for this project
- Repository update recorded
- 2026-02-04
- Screenshot last checked
- 2026-10-03
No demo link is recorded. Use the repository instructions to evaluate the project locally; the screenshot alone cannot establish interactive behavior.
The catalog identifies Next.js as the primary stack. Check the actual dependency manifest and lockfile for versions and hosting requirements. These notes use recorded metadata, not a code audit or a deployment test.
Use a selection guide →How this description was prepared
AI-assisted description based on catalog records and repository material. Repository authors are not automatically the reviewers of this description.
Review declaration: [email protected] · 2026-10-04
Inspect the recorded source material
SHA-256: a8f0d460ea379da3ec1b29af293c11c9d5c32d20ea423ae67234954c845fa62f
2026-10-03T22:57:24.943Z
Source file / repository# NeoTemplate NeoTemplate is a full-stack website template built using Next.js with Material UI, NextAuth, and i18next for the frontend, and Django with Django Rest Framework (DRF) for the backend. It provides a foundation for creating websites with essential features already implemented, including: - Email-based sign-in/sign-up - Email validation - Password reset functionality - Profile management with profile picture upload - A basic home page - Theme (light/dark) selection (stored client-side) - Language selection (stored client-side) <br>  <p align="center"> <img clear="left" height="400" src="./docs/images/mobile.png"> <img clear="right" height="400" src="./docs/images/dark_mobile.png"> </p> ## Prerequisites Before you begin, ensure you have the following installed: - **Docker** (version 20.10 or higher) - **Docker Compose** (version 2.0 or higher) To verify your installation: ```bash docker --version docker compose version ``` ## Installation ### Step 1: Clone or Use Template Right-click this button to create a repository using this one as a template: [](https://github.com/new?template_owner=thomassimmers&template_name=NeoTemplate&owner=%40me&name=NeoTemplate&description=My+clone+repository&visibility=public) Or clone the repository: ```bash git clone <your-repo-url> cd NeoTemplate ``` ### Step 2: Environment Configuration Create `.env` files in both `backend/` and `frontend/` directories with the required environment variables. #### Backend Environment Variables (`backend/.env`) Create `backend/.env` with the following variables: ```env # Django Settings SECRET_KEY=your-secret-key-here DEBUG=1 FRONTEND_HOST=http://localhost:3000 # Database Configuration SQL_ENGINE=django.db.backends.postgresql POSTGRES_DB=neotemplate POSTGRES_USER=postgres POSTGRES_PASSWORD=your-db-password POSTGRES_HOST=db POSTGRES_PORT=5434 # JWT Configuration JWT_SECRET_KEY=your-jwt-secret-key-here # Email Configuration (for production, use real SMTP settings) EMAIL_HOST=smtp.gmail.com [email protected] EMAIL_HOST_PASSWORD=your-email-password ``` **Note:** For local development without an email server, see the [Troubleshooting](#troubleshooting) section below. #### Frontend Environment Variables (`frontend/.env`) Create `frontend/.env` with the following variables: ```env NEXT_PUBLIC_BACKEND_URL=http://localhost:8000 NEXT_PRIVATE_BACKEND_URL=http://localhost:8000 NEXTAUTH_URL=http://localhost:3000 NEXTAUTH_SECRET=your-nextauth-secret-here ``` **Security Note:** Generate secure random strings for `SECRET_KEY`, `JWT_SECRET_KEY`, and `NEXTAUTH_SECRET`. You can use: ```bash # Generate a secure random string python3 -c "import secrets; print(secrets.token_urlsafe(32))" ``` ## Running the Application ### Local Development For local development with hot-reload enabled: ```bash docker compose up --build -d ``` This will: - Build the Docker images for all services - Start the database, backend, and frontend containers - Enable hot-reload for both frontend and backend (code changes will be reflected automatically) **Access the application:** - Frontend: [http://localhost:3000](http://localhost:3000) - Backend API: [http://localhost:8000](http://localhost:8000) - Django Admin: [http://localhost:8000/admin](http://localhost:8000/admin) ### Production For production deployment: ```bash docker compose -f docker-compose.prod.yml up --build -d ``` **Production differences:** - Frontend is built and optimized (no hot-reload) - Backend runs without reload flag - No volume mounts (code is baked into images) - Smaller, optimized Docker images **Important:** Before deploying to production: 1. Set `DEBUG=0` in `backend/.env` 2. Update `FRONTEND_HOST` and `NEXTAUTH_URL` with your production domain 3. Configure proper email SMTP settings 4. Update `ALLOWED_HOSTS` in `backend/core/settings.py` with your domain 5. Use strong, unique secrets for all keys ### Docker Permission Issues (Linux) If you encounter permission issues with Docker: ```bash sudo chown -R $(id -u):$(id -g) $HOME/.docker ``` Or add your user to the docker group: ```bash sudo usermod -aG docker $USER # Then log out and log back in ``` ## Common Commands ### View Logs View logs for all services: ```bash docker compose logs -f ``` View logs for a specific service: ```bash docker compose logs -f backend docker compose logs -f frontend docker compose logs -f db ``` ### Stop Services ```bash docker compose down ``` Stop and remove volumes (⚠️ **WARNING:** This will delete your database): ```bash docker compose down -v ``` ### Restart a Service ```bash docker compose restart backend docker compose restart frontend ``` ### Execute Commands in Containers Access the backend container shell: ```bash docker exec -it backend bash ``` Access the frontend container shell: ```bash docker exec -it frontend sh ``` ### Rebuild After Changes If you modify Dockerfiles or dependencies: ```bash docker compose up --build -d ``` ## Admin Panel To access the Django admin panel, create a superuser: ```bash docker exec -it backend python manage.py createsuperuser ``` Follow the prompts to create your admin account, then navigate to: [http://localhost:8000/admin](http://localhost:8000/admin) ### Run Django Management Commands ```bash # Make migrations docker exec -it backend python manage.py makemigrations # Apply migrations docker exec -it backend python manage.py migrate # Collect static files docker exec -it backend python manage.py collectstatic ``` ### Run Tests ```bash # Run all tests docker exec -it backend python manage.py test # Run all tests with verbose output docker exec -it backend python manage.py test --verbosity=2 # Run specific test file docker exec -it backend python manage.py test api.tests.test_domain # Run tests and stop at first failure docker exec -it backend python manage.py test --failfast ``` ## What do I need to start from here ? 1. Change every occurence of `NeoTemplate`, `neotemplate`, `Neo` and `Template` by your desired name. 2. Change the logo at `frontend/public/favicon.ico`, `frontend/public/logo.png` and at `frontend/components/icons/logo.png`. And that's it, start implementing your ideas! ## Troubleshooting ### Email Server Not Configured If you don't have an email server configured for local development: 1. Open `backend/core/settings.py` 2. Uncomment these lines (around line 205-206): ```python if DEBUG: EMAIL_BACKEND = 'django.core.mail.backends.console.EmailBackend' ``` 3. Set `ACCOUNT_EMAIL_VERIFICATION` to `"none"` (around line 218): ```python ACCOUNT_EMAIL_VERIFICATION = "none" # Change from "mandatory" ``` 4. Restart the backend container: ```bash docker compose restart backend ``` Emails will now be printed to the console instead of being sent.
Explore similar templates
Compare previews and descriptions within the same stack and category.

Next.js SaaS Starter
The official Next.js SaaS starter template, integrating email/password authentication, Stripe Checkout subscriptions, a dashboard with user/team CRUD, basic Owner/Member RBAC, and activity logging.
Next.js · SaaS

Next.js Commerce
Vercel's officially maintained Next.js App Router ecommerce starter with deep Shopify integration, offering a complete product catalog, cart, and checkout flow. Core logic is modular for swapping backends, and community provider versions exist for BigCommerce, Medusa, and Saleor.
Next.js · E-commerce

Next-js-Boilerplate
A developer-first Next.js 16 starter with Tailwind CSS 4 and TypeScript, supporting both App Router and Page Router.
Next.js · Starter

tailwind-nextjs-starter-blog
A Next.js and Tailwind CSS blog starter template using Contentlayer for Markdown/MDX, with built-in SEO, code highlighting, and tags. It targets personal technical blogs and migration from Jekyll/Hugo to React, and supports one-click Vercel deployment.
Next.js · Blog

next-forge
next-forge is a Turborepo-based Next.js template maintained by Vercel, positioned as a starting point for SaaS products.
Next.js · Starter
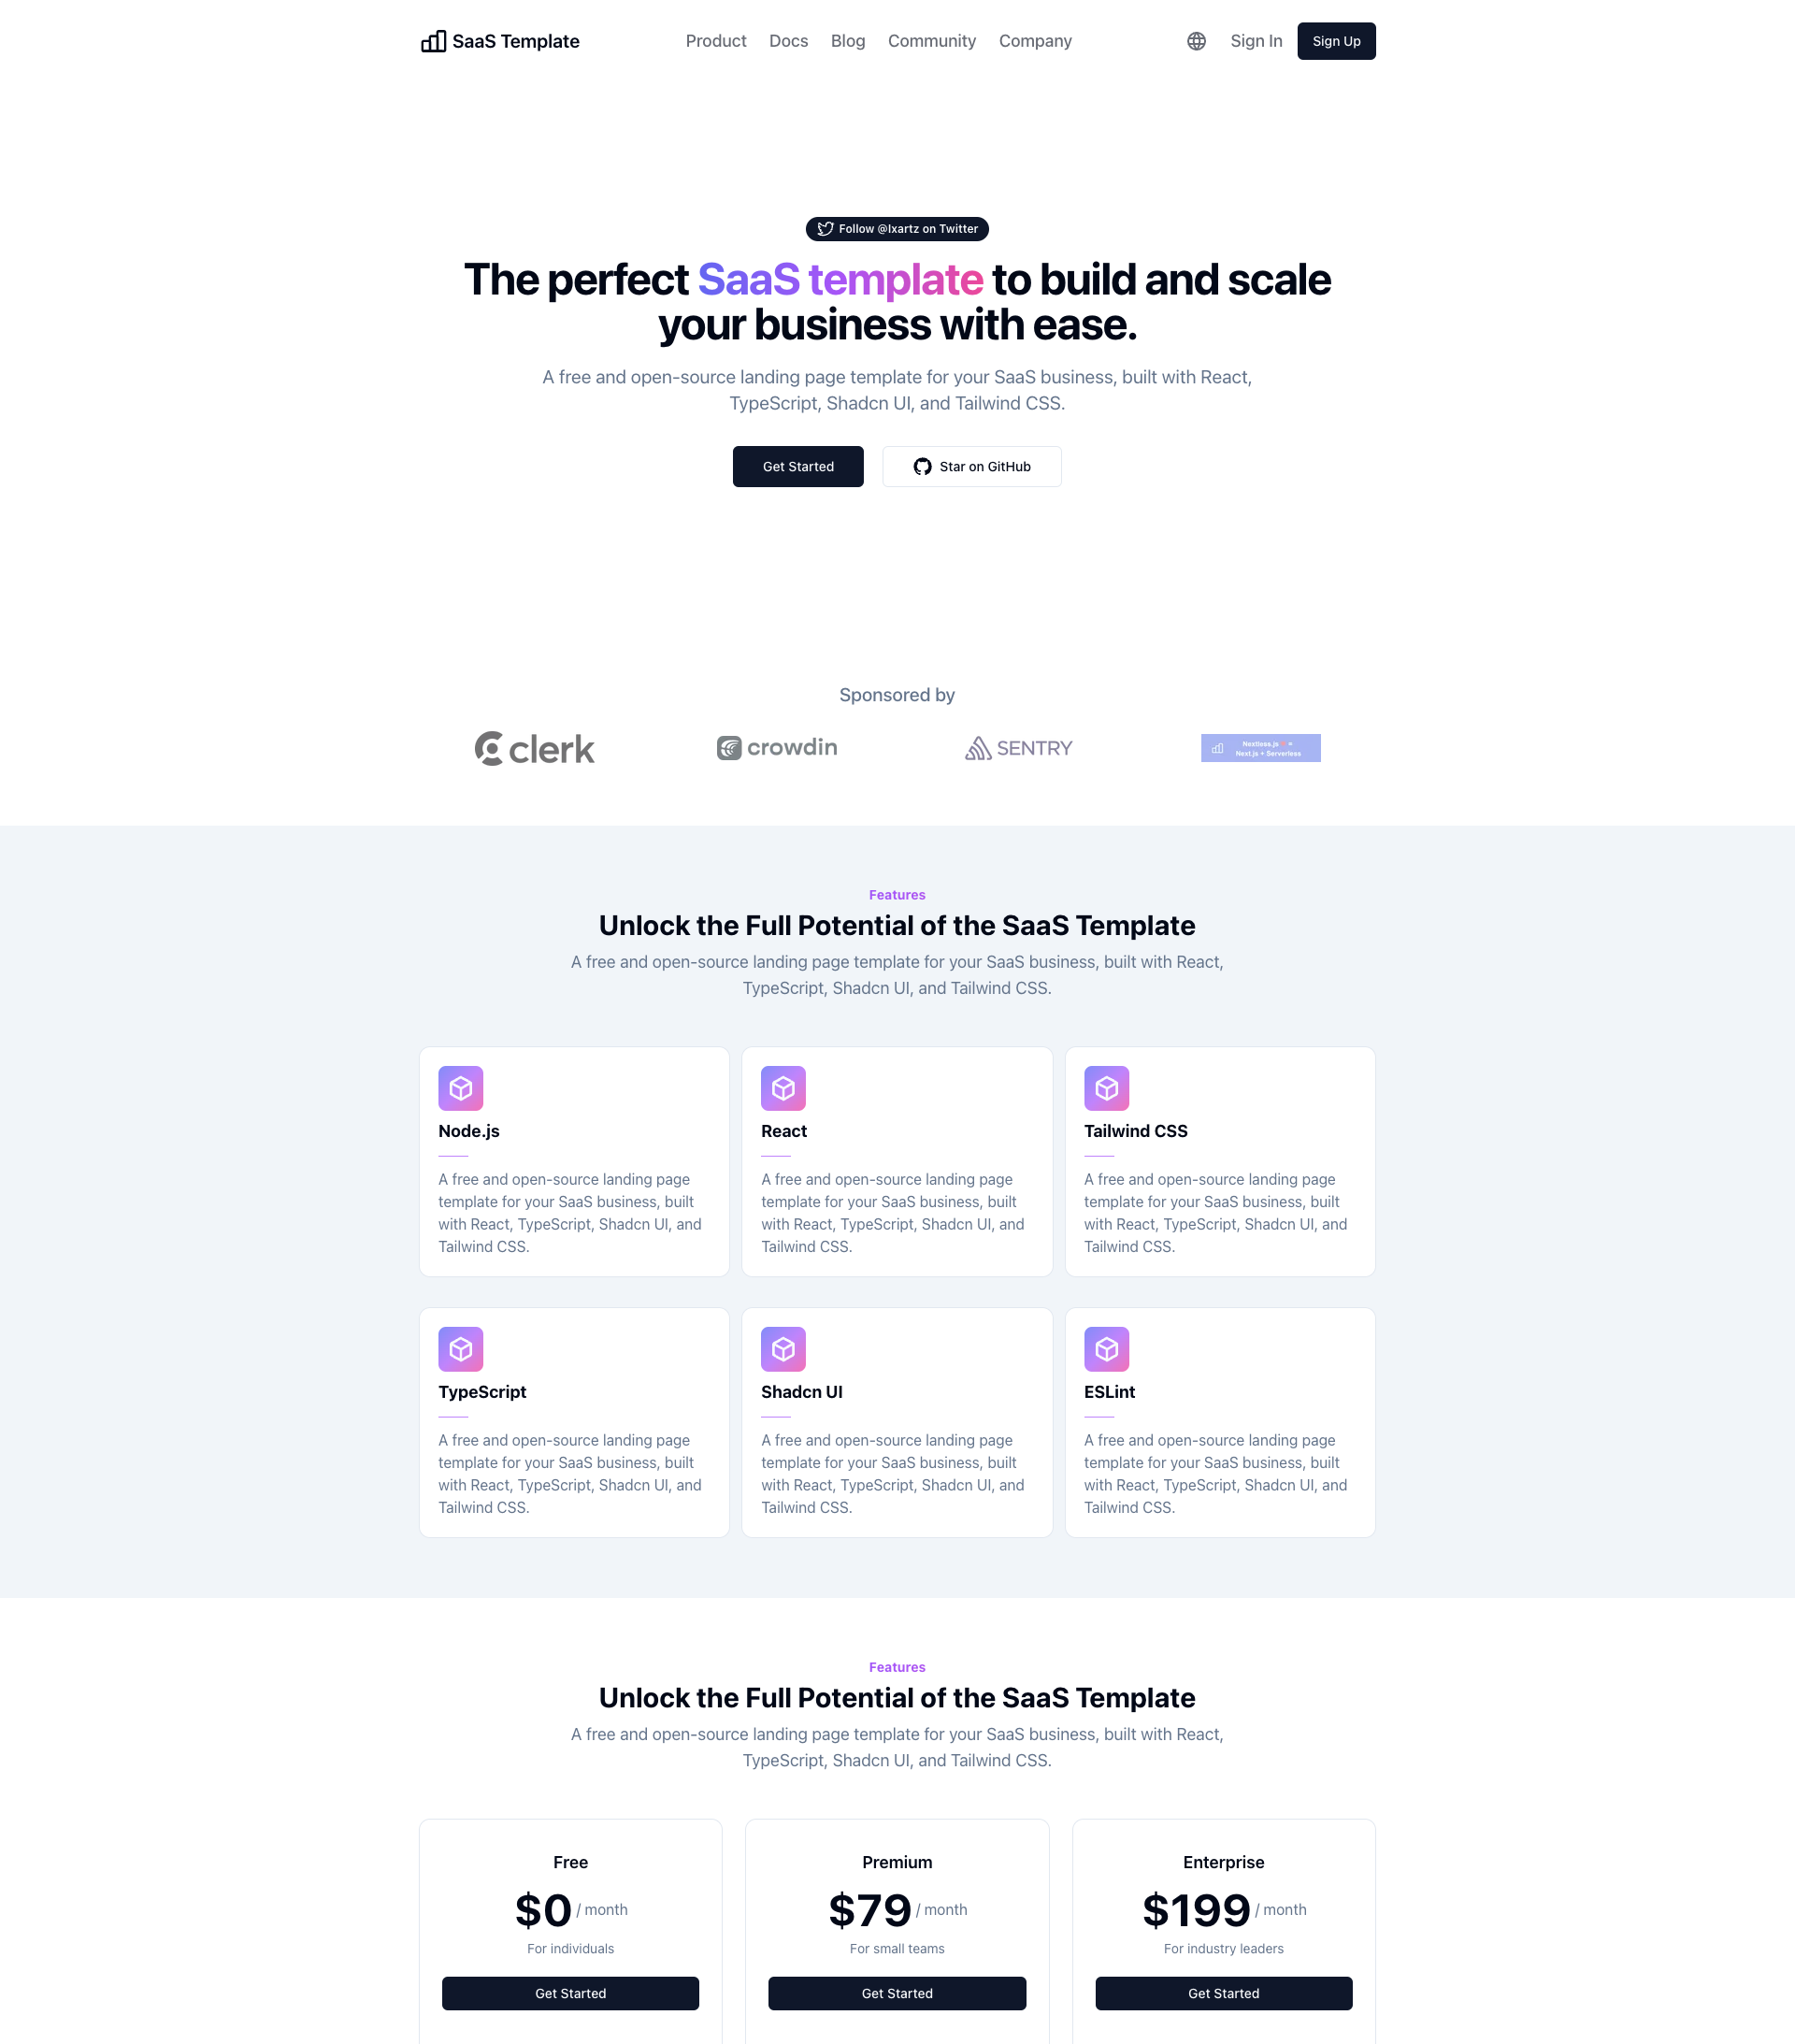
SaaS-Boilerplate
SaaS-Boilerplate is an open-source SaaS starter template built with Next.js App Router, React 19, TypeScript, Tailwind CSS, and Shadcn UI.
Next.js · SaaS