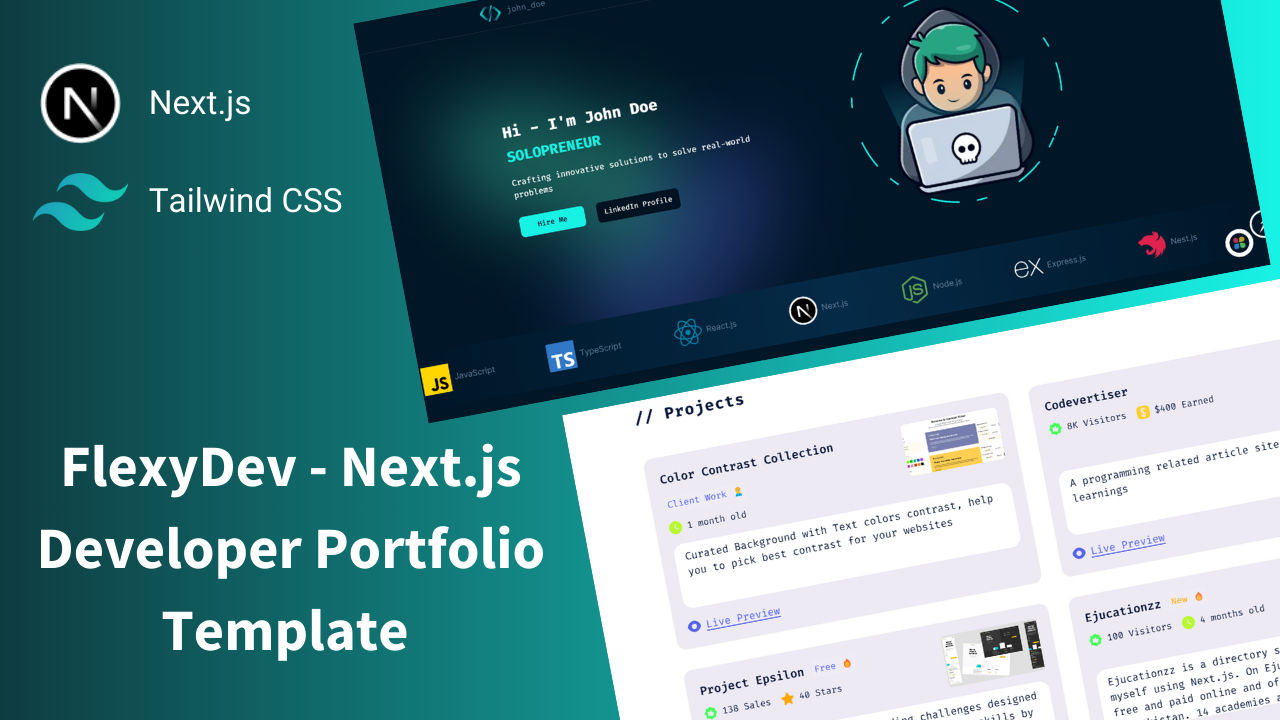
使用 Next.js 与 Tailwind CSS 构建,仓库以 MIT 许可发布免费版本
Next.jsReact作品集
nextjs-portfolio-template — Next.js 作品集模板
作者 AbdulBasit313
Flexy Dev 是一个基于 Next.js 与 Tailwind CSS 的开发者作品集模板,包含标语、项目、服务、评价与技能等区块,并提供免费 MIT 版本。
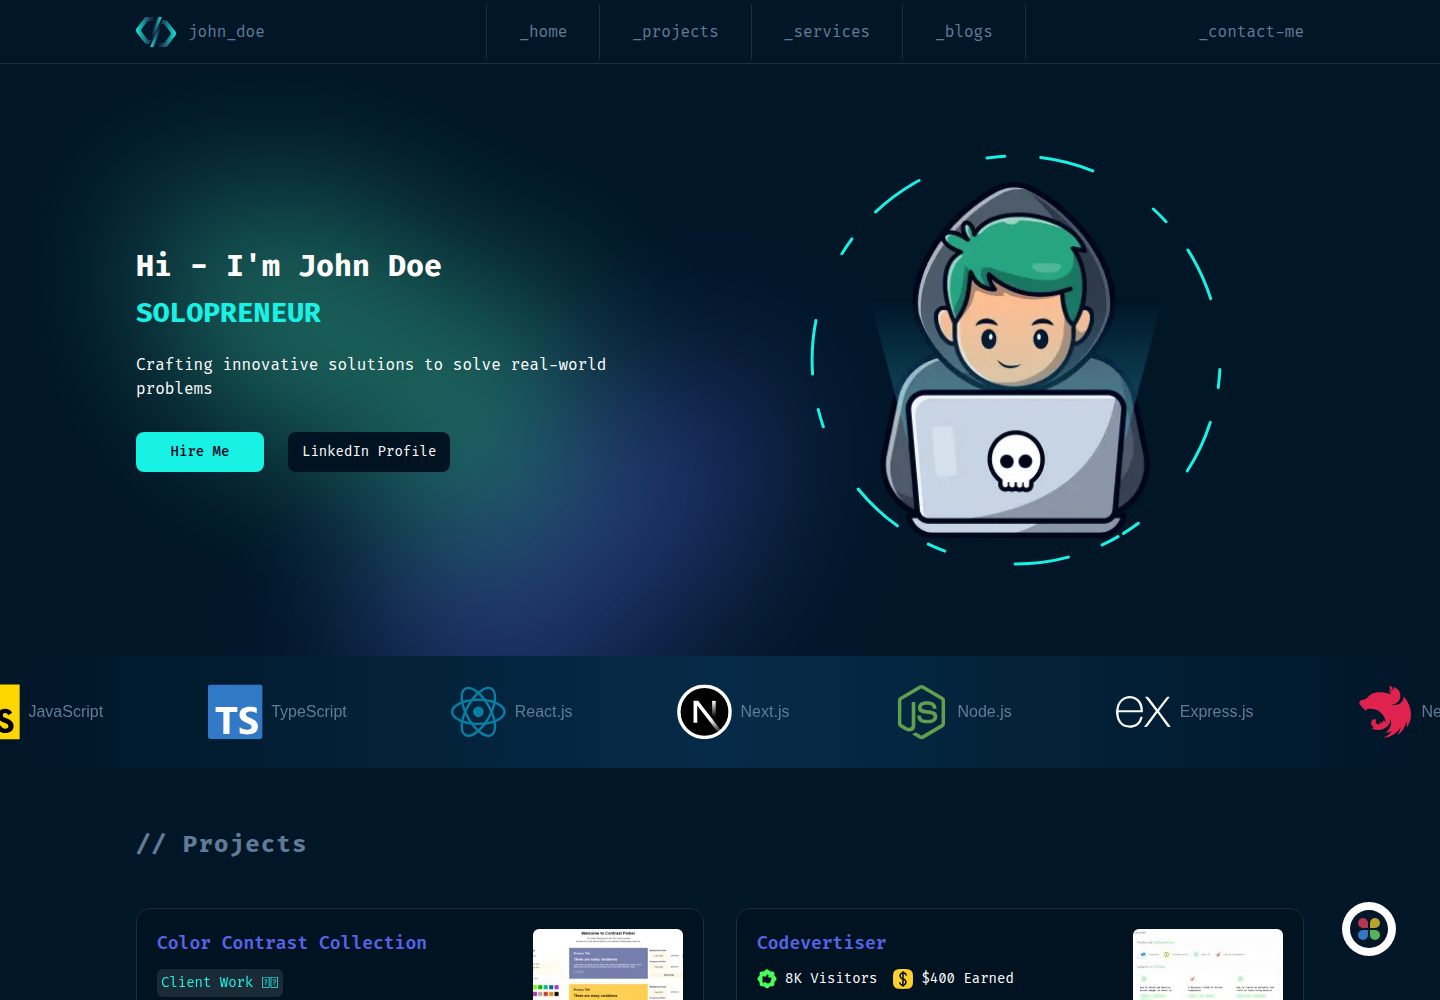
看看你的网站会是什么样
浏览真实页面截图,比较内容排版与手机效果。点击下方缩略图切换,放大查看整页细节。
全部页面与视图 3
截图用于了解视觉与布局,交互效果请以实际项目为准。
采集于 2026-10-03查看来源
值得关注的模板亮点
从已有项目资料中,快速了解它的特点。
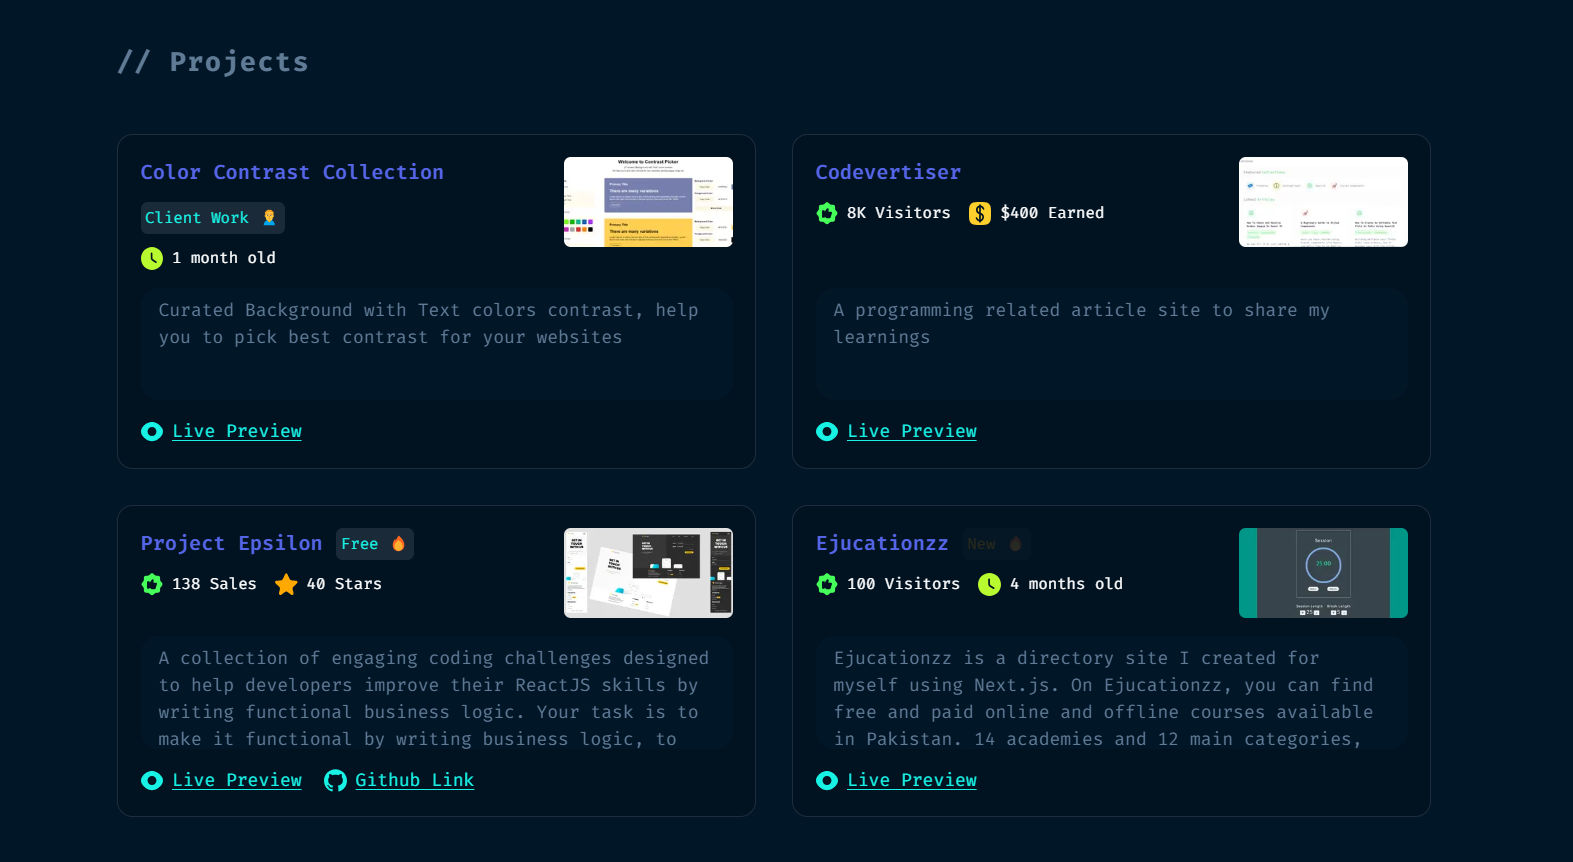
包含标语、项目、服务、评价、技能与联系表单等作品集常用区块
内置 robots.ts 与 sitemap.ts,并提供 Open Graph、Twitter 分享图与 metadata 配置入口
项目数据存于 content 目录,服务与技能数据存于 appData,便于替换为个人内容
global.css 中提供三套主题变量,可调整配色与样式
联系表单默认对接 Formspree,端点通过环境变量配置,也可替换为其他表单服务
模板详细介绍
Flexy Dev 是一个面向开发者的个人作品集模板,使用 Next.js 与 Tailwind CSS 构建,仓库以 MIT 许可发布免费版本。模板提供标语(Hero)、项目、服务、客户评价、技能与联系表单等区块,并包含 robots.ts 与 sitemap.ts 等 SEO 相关文件,以及 Open Graph 与 Twitter 分享图的配置入口。
内容组织上,项目数据放在 content 目录,服务与技能等数据放在 appData,数据读取由 src/services 通过 fs 模块完成;组件集中在 Components 目录,类型定义位于 src/lib/types.d.ts。样式方面在 global.css 中提供三套主题变量,可自行调整。联系表单默认对接 Formspree,需要自行申请表单端点并写入环境变量,也可替换为 Formcarry、Getform 或自建接口。
需要注意的限制:免费版本不包含 MDX 博客系统,该功能仅在作者提供的付费版本中提供;README 中提到的付费升级不在本次收录范围内。演示使用的 Unsplash 图片需要在 next.config.js 中配置允许的图片域名,若更换图床需同步修改。表单服务、域名、托管等外部服务可能产生额外费用,演示图片、字体与图标等第三方素材需按各自许可单独核对。
Next.js作品集
适合你的项目吗?
适用场景
- 开发者搭建个人作品集网站,展示项目、技能与服务
- 需要 SEO 基础配置(sitemap、robots、分享图)的个人站点
- 希望以内容文件方式维护项目与服务数据,而非依赖后台系统
- 需要联系表单接收访客留言,并愿意自行配置第三方表单服务
适合人群
- 希望快速搭建个人作品集的前端或全栈开发者
- 熟悉 Next.js 与 Tailwind CSS、能自行修改组件与数据文件的使用者
- 接受使用第三方表单服务处理联系表单提交的个人站点
- 需要 MIT 许可免费代码、可自行部署到自有托管环境的用户
上手与定制指南
结合仓库当前版本的说明,按下面的资料检查内容、配置与运行要求。
- 1
克隆仓库后运行 npm install(或 yarn install),再用 npm run dev 启动开发服务器,默认地址为 http://localhost:3000
- 2
在根目录创建 .env.local,至少设置 NEXT_PUBLIC_SITE_URL;使用 Formspree 时还需设置 CONTACT_FORM_ACTION_URL
- 3
在 Formspree 创建表单并获取端点 URL,同时确保表单字段名(name、email、subject、message)与服务端预期一致
- 4
若使用外部图床(如 Unsplash),需在 next.config.js 中配置允许的图片 hostname
- 5
部署前在托管平台补齐 .env.local 中的环境变量,并将 NEXT_PUBLIC_SITE_URL 改为实际站点地址
授权与来源资料
使用条件与限制
免费使用 · 保留许可声明本次收录的是公开仓库中采用 MIT 许可的免费版本;免费范围为该版本代码,不代表外部服务或第三方素材免费。
使用时需要遵守
- 允许免费使用、修改、商用和分发该版本代码。
- 分发代码副本或实质性部分时,保留原作者版权声明和完整 MIT 许可声明。
- 代码按现状提供;担保与责任限制以原许可证及适用法律为准。
额外费用与待核对事项
- 免费版本不包含 MDX 博客系统,该功能仅在作者提供的付费版本中提供;如需博客功能须另行购买付费版本。
- 联系表单默认依赖第三方服务 Formspree,需自行注册账号并获取表单端点 URL,可能受其免费额度与条款限制。
- 演示图片来自 Unsplash,需在 next.config.js 中配置允许的图片域名;更换图床须同步修改配置,第三方素材许可需自行核对。
- README 提及 Formspree 表单服务;真实提交需配置服务端点,其使用额度与费用需单独核对。
- 项目资料提及可选付费版本或功能;本次仅收录公开免费代码,不包含付费升级。
- 演示图片、字体、图标及其他第三方素材需按各自许可核对,不能仅凭代码的 MIT 许可判断。
- 域名、托管、数据库、支付或 AI 等外部服务可能另外收费。
查看原文依据
Permission is hereby granted, free of charge
许可证原文
In premium template you will get one extra feature - 📝 MDX Blog System with code snippets
README 原文
To integrate **Formspree** into your contact form, follow these simple steps:
README 原文
https://github.com/AbdulBasit313/nextjs-portfolio-template/blob/main/LICENSEhttps://github.com/AbdulBasit313/nextjs-portfolio-template/blob/main/README.mdFor demo purposes, we’re using Unsplash images. You can use any image host, but be sure to add the hostname in your configuration.
README 原文
DeepSeek 根据仓库许可证和 README 整理 ·2026-10-03。结果仅覆盖已读取资料,依赖、图片、字体及后续条款变更以各自原文为准。
项目核对记录与介绍依据
模板资料
- 来源平台
- GitHub
- 资料与维护参考分
- 资料较完整 · 81 / 100
- 技术栈
- Next.js · React
- 网站类型
- 作品集
这个分数如何计算
本站按许可资料(最高30分)、演示链接(12分)、预览图(10分)、Star数(15分)、记录的维护时间(15分)、描述完整度(8分)、功能记录(5分)和分类资料(5分)计算。它不是代码、安全或性能测试,也不是 Google 评分;有链接不代表已实测可用。
这个项目需要核对什么
- 记录的仓库更新时间
- 2025-04-15
- 截图检查日期
- 2026-10-03
已收录演示链接。请用你的内容与屏幕尺寸检查;有演示不代表表单、认证或支付已经可用。
目录记录的主要技术栈是 Next.js。请通过依赖清单和锁文件核对实际版本与托管要求。这些说明基于收录资料,不代表代码审计或部署实测。
查看具体选型方法 →介绍的制作与核对状态
介绍由 AI 辅助整理目录与仓库资料。仓库作者不等于这篇介绍的审核者。
已完成服务器许可规则与 AI 来源核对;未经过人工编辑审核。
查看当时使用的来源资料
SHA-256: 1529dfd67c099b9f3dd45ae3017bc9b8f0c93794f4c4888a395dfcc6b7ab651c
2026-10-03T00:37:28.938Z
来源文件 / 仓库# Flexy Dev - Next.js Portfolio Template


[](https://basit313.gumroad.com/l/nextjs-developer-portfolio-template)
✨ **Professional Portfolio Template** built with Next.js 15 • 🚀 Tailwind V4 • 📱 Fully Responsive • 🎨 Modern Design • 🔍 SEO Friendly
## 🚀 How to Run the Project
Follow these steps to set up and run the project locally:
### 1️⃣ Install Dependencies
After downloading/cloning the project, navigate to the project directory and run:
```bash
npm install
# or
yarn install
```
This will install all required dependencies.
### 2️⃣ Start the Development Server
Once the installation is complete, start the server with:
```bash
npm run dev
# or
yarn dev
```
Your portfolio will now be running at `http://localhost:3000`.
### ⚠️ Important: Set Up Environment Variables
Before running the project, make sure to create a `.env.local` file in the root directory and add the following:
```env
NEXT_PUBLIC_SITE_URL=http://localhost:3000
```
This ensures proper configuration of environment variables.
## Folder Structure Overview

- **content:** Contains data for projects. Add any additional section data here.
- **Components:** All the UI components of app e.g. navbar, hero, projects, footer etc
- **src/services:** Retrieves data (e.g., projects, testimonials) using the fs module. Update this file if you change or modify the data source.
- **src/assets:** Stores all assets, including images and icons, additionally you can add audio, video, and local fonts here.
- **src/hooks:** Holds custom hooks.
- **src/lib/types.d.ts:** Contains TypeScript types.
- **util/icons:** Centralizes icons and images for easy updates.
- **appData:** Includes app data, such as services and skills (including icons).
- **app/page.tsx:** Root file of the app.
- **app/layout.tsx:** Manages global and SEO configurations (e.g., fonts, head tags, analytics).
## Customizing the Template
1. Navbar
- File: navbar.tsx
- Update the navbar name from john_doe to your name.
2. Hero Section
- File: hero.tsx
- Edit the title, description, and optionally, replace the SVG with your image.
3. Projects Section
- File: content/projects
- Replace the dummy projects with your own.
- If you are modifying the properties or going to add new ones, then update types in types.d.ts.
4. Services Section
- File: appData
- Add your services with relevant icons. If icons are missing, contact me on LinkedIn or via email.
5. Skills Section
- File: appData
- Add your skills with relevant icons. Contact if you can’t find specific icons online.
6. Footer
- Location: Visit [Flexy UI](http://flexyui.com/)
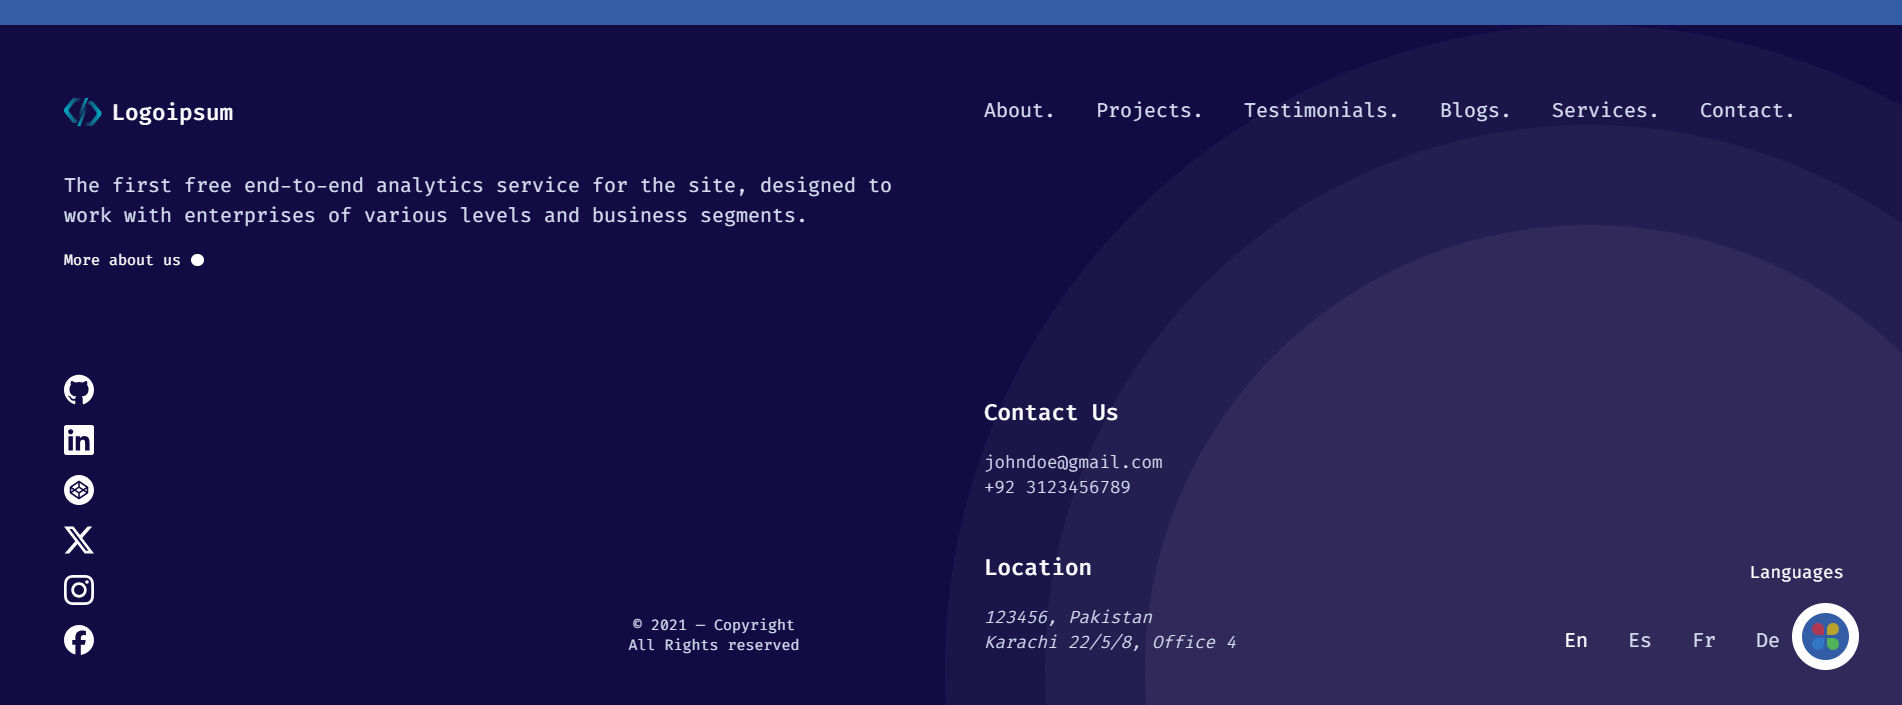
- You can replace the default footer or choose from additional variants [from Flexy UI](http://flexyui.com/) (simple or column footer).
In the same manner, you can also update the Contact and Testimonial sections. The code is self-explanatory.
## 📨 Configuring the Contact Section
To integrate **Formspree** into your contact form, follow these simple steps:
1. Go to the [Formspree website](https://formspree.io/) and create a new project.
2. Add a new form (you'll get a unique form endpoint URL).
3. Copy the form endpoint and paste it into your `.env.local` file like this:
```env
CONTACT_FORM_ACTION_URL=https://formspree.io/f/your-form-id
```
> Note: This URL is just an endpoint to receive your form submissions. You can use any service of your choice (like Formcarry, Getform, or your own API) if you're not using Formspree.
Make sure the name attributes in your form match what your form handler or service expects (e.g., `name`, `email`, `subject`, `message`).
## Configuring Online Images
To display online images (e.g., from a CDN) in your deployed project, configure allowed image hostnames in next.config.js.
For demo purposes, we’re using Unsplash images. You can use any image host, but be sure to add the hostname in your configuration.
Replace 'unsplash' with your own image `hostnames` if using a different service or add a new object.
## Theming and Styling
We use Tailwind CSS for styling. In `global.css`, you can customize theme variables for all 3 themes.
## SEO & Branding
1. Favicon: Replace the default favicon with your own.
2. Metadata: Update meta title and description in layout.tsx.
3. SEO Files: robots.ts and sitemap.ts are included for search engines.
4. Open Graph Images:
- Replace `opengraph-image.png` and `twitter-image.png `with custom images.
- Alternatively, edit `opengraph-image.tsx` to generate images dynamically.
### If you find this template helpful, don't forget to ⭐️ the repo!
## 💎 Upgrade to Premium
✨ **Premium Features Include:**
In premium template you will get one extra feature
- 📝 MDX Blog System with code snippets
[Get Premium Version](https://basit313.gumroad.com/l/nextjs-developer-portfolio-template) | [View Premium Demo](https://nextjs-dev-portfolio.netlify.app/)
## 🆓 vs 💎 Premium
| **Feature** | **Free Version** | **Premium Version** |
| ----------------- | ---------------- | ------------------- |
| Blog System (MDX) | ❌ | ✅ Full Integration |
| UI Components | 20 | 25+ |
| Email Support | ✅ | ✅ Priority |
## Analytics
You can integrate analytics easily:
1. Simple Analytics or Vercel Analytics: Quick and easy to set up.
2. Google Analytics 4: Also straightforward.
## Deployment Notes
Before deploying, add environment variables from .env.local wherever you are deploying:
1. NEXT_PUBLIC_SITE_URL: Set to your actual site URL (e.g., https://johndoe.com).
1. CONTACT_FORM_ACTION_URL: Your [formspree](https://formspree.io/) url.
1. For local development, use the localhost URL.
For any query or suggestion, I am available on [LinkedIn](https://www.linkedin.com/in/abdulbasitprofile/) or email me at [email protected]
看看同类模板
对比同技术栈与用途的模板,找到更适合的视觉与内容结构。
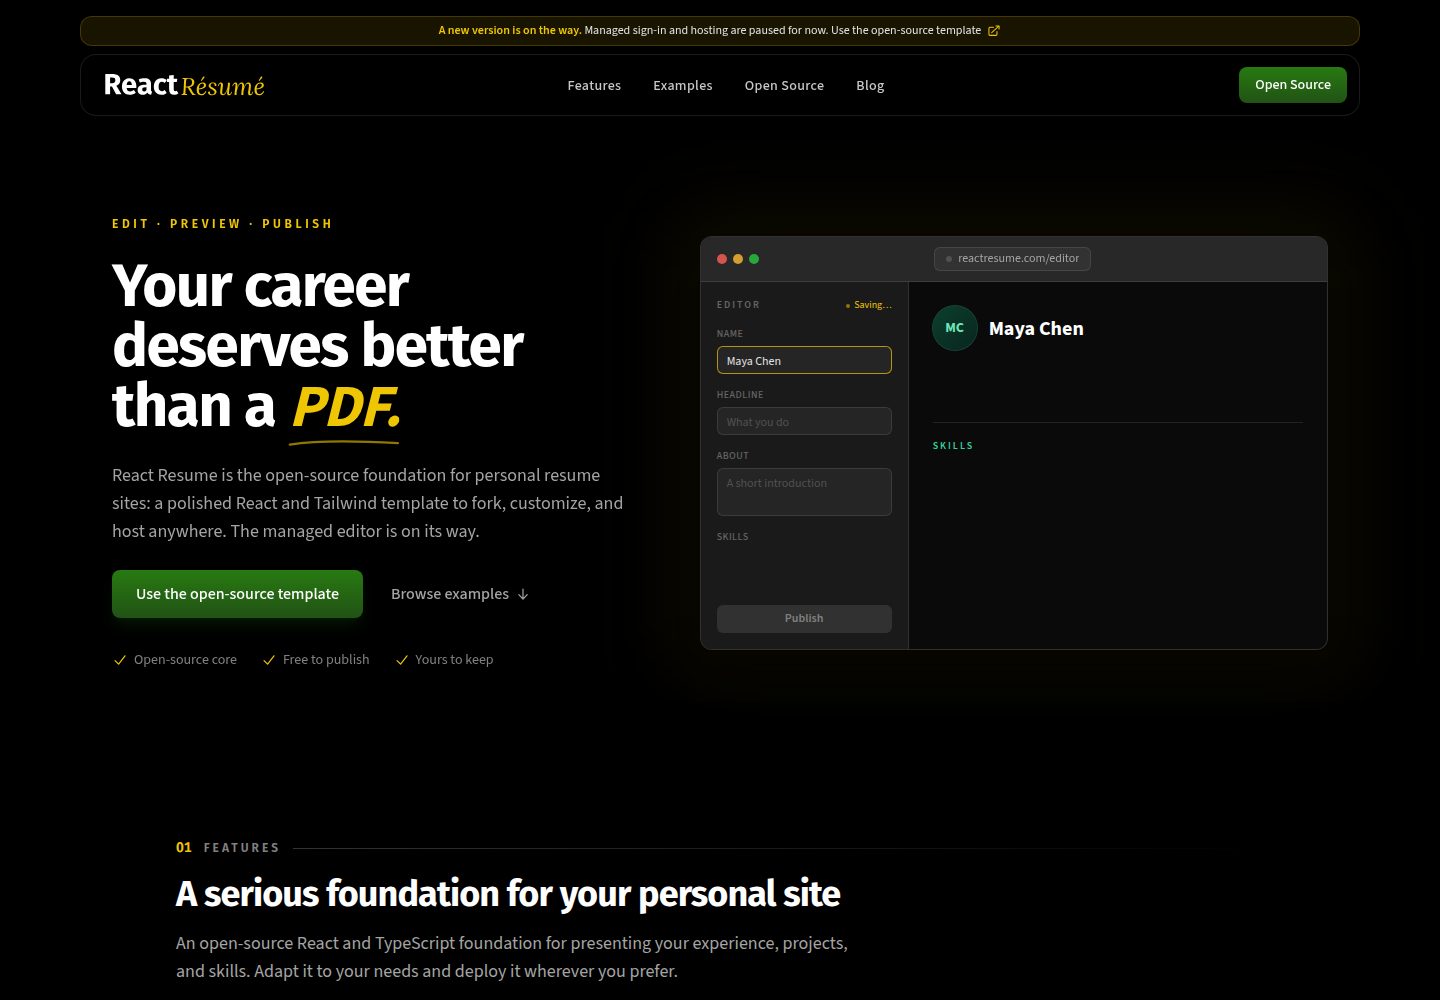
react-resume-template
A personal resume website template built with React.js, Typescript, Next.js, and styled with Tailwind css
Next.js · 作品集
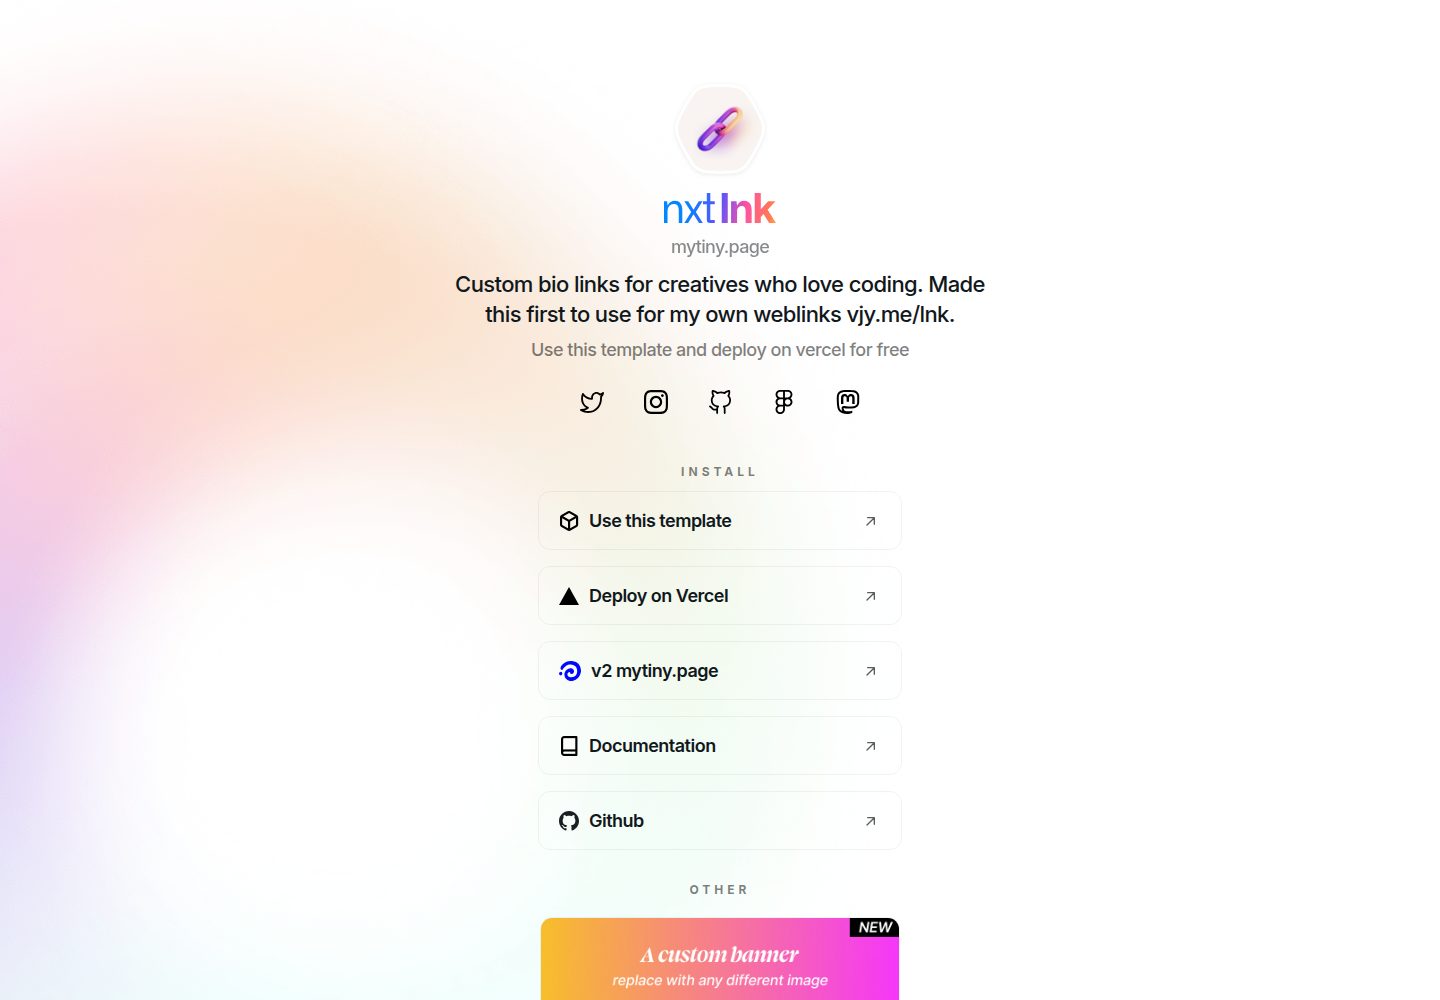
nxt-lnk
Custom bio links for creatives who love coding. A perfect custom alternative for linktree, bio and other short…
Next.js · 作品集
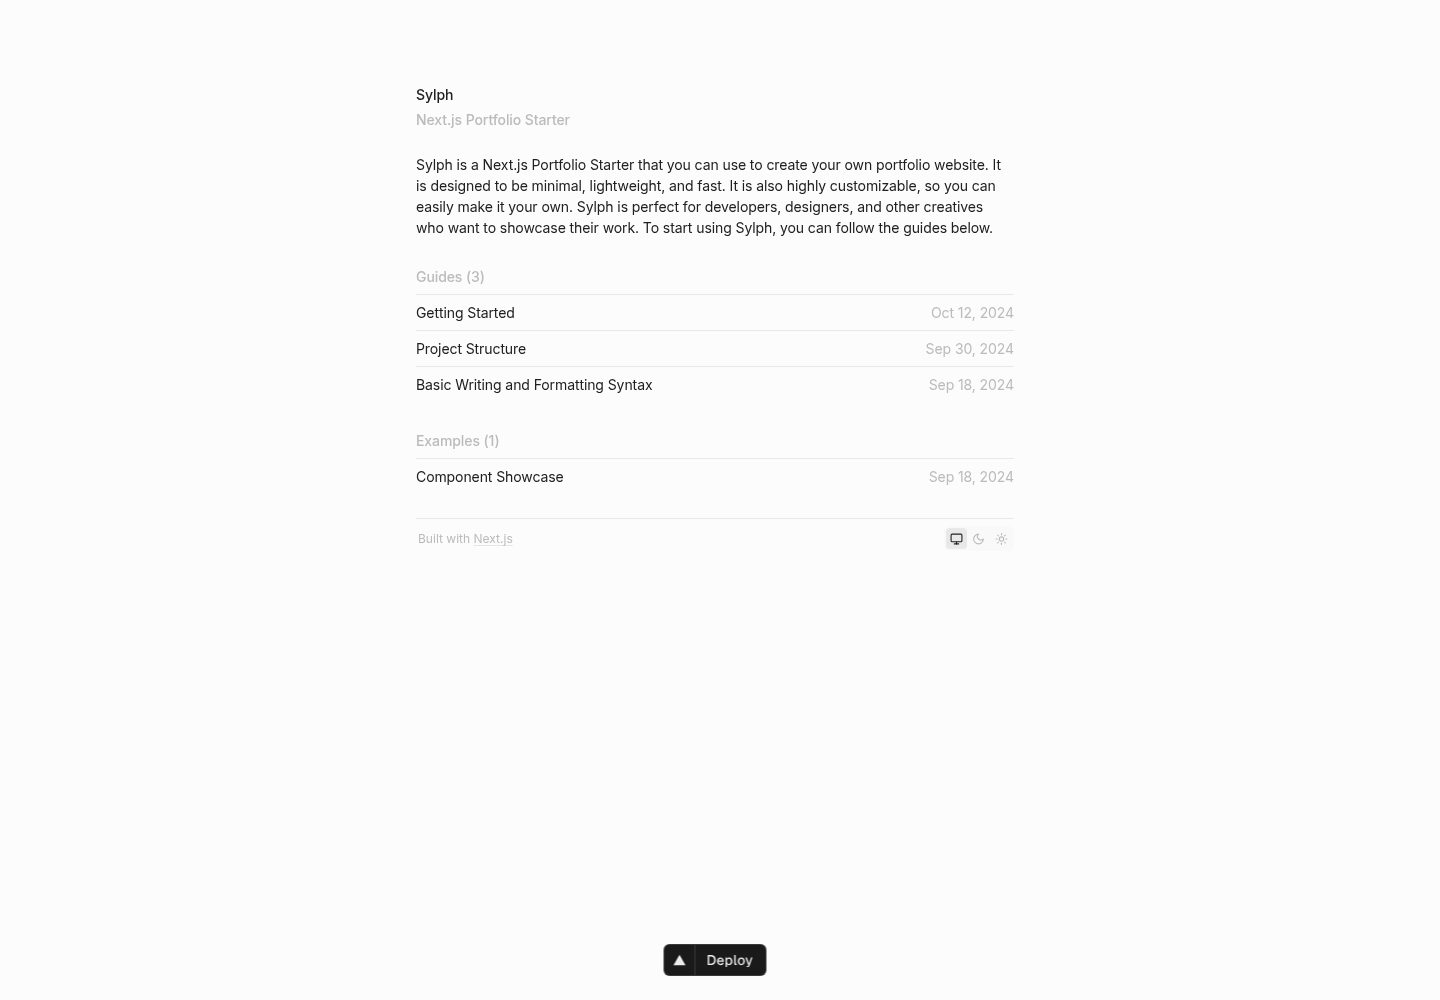
sylph
A minimal portfolio template.
Next.js · 作品集
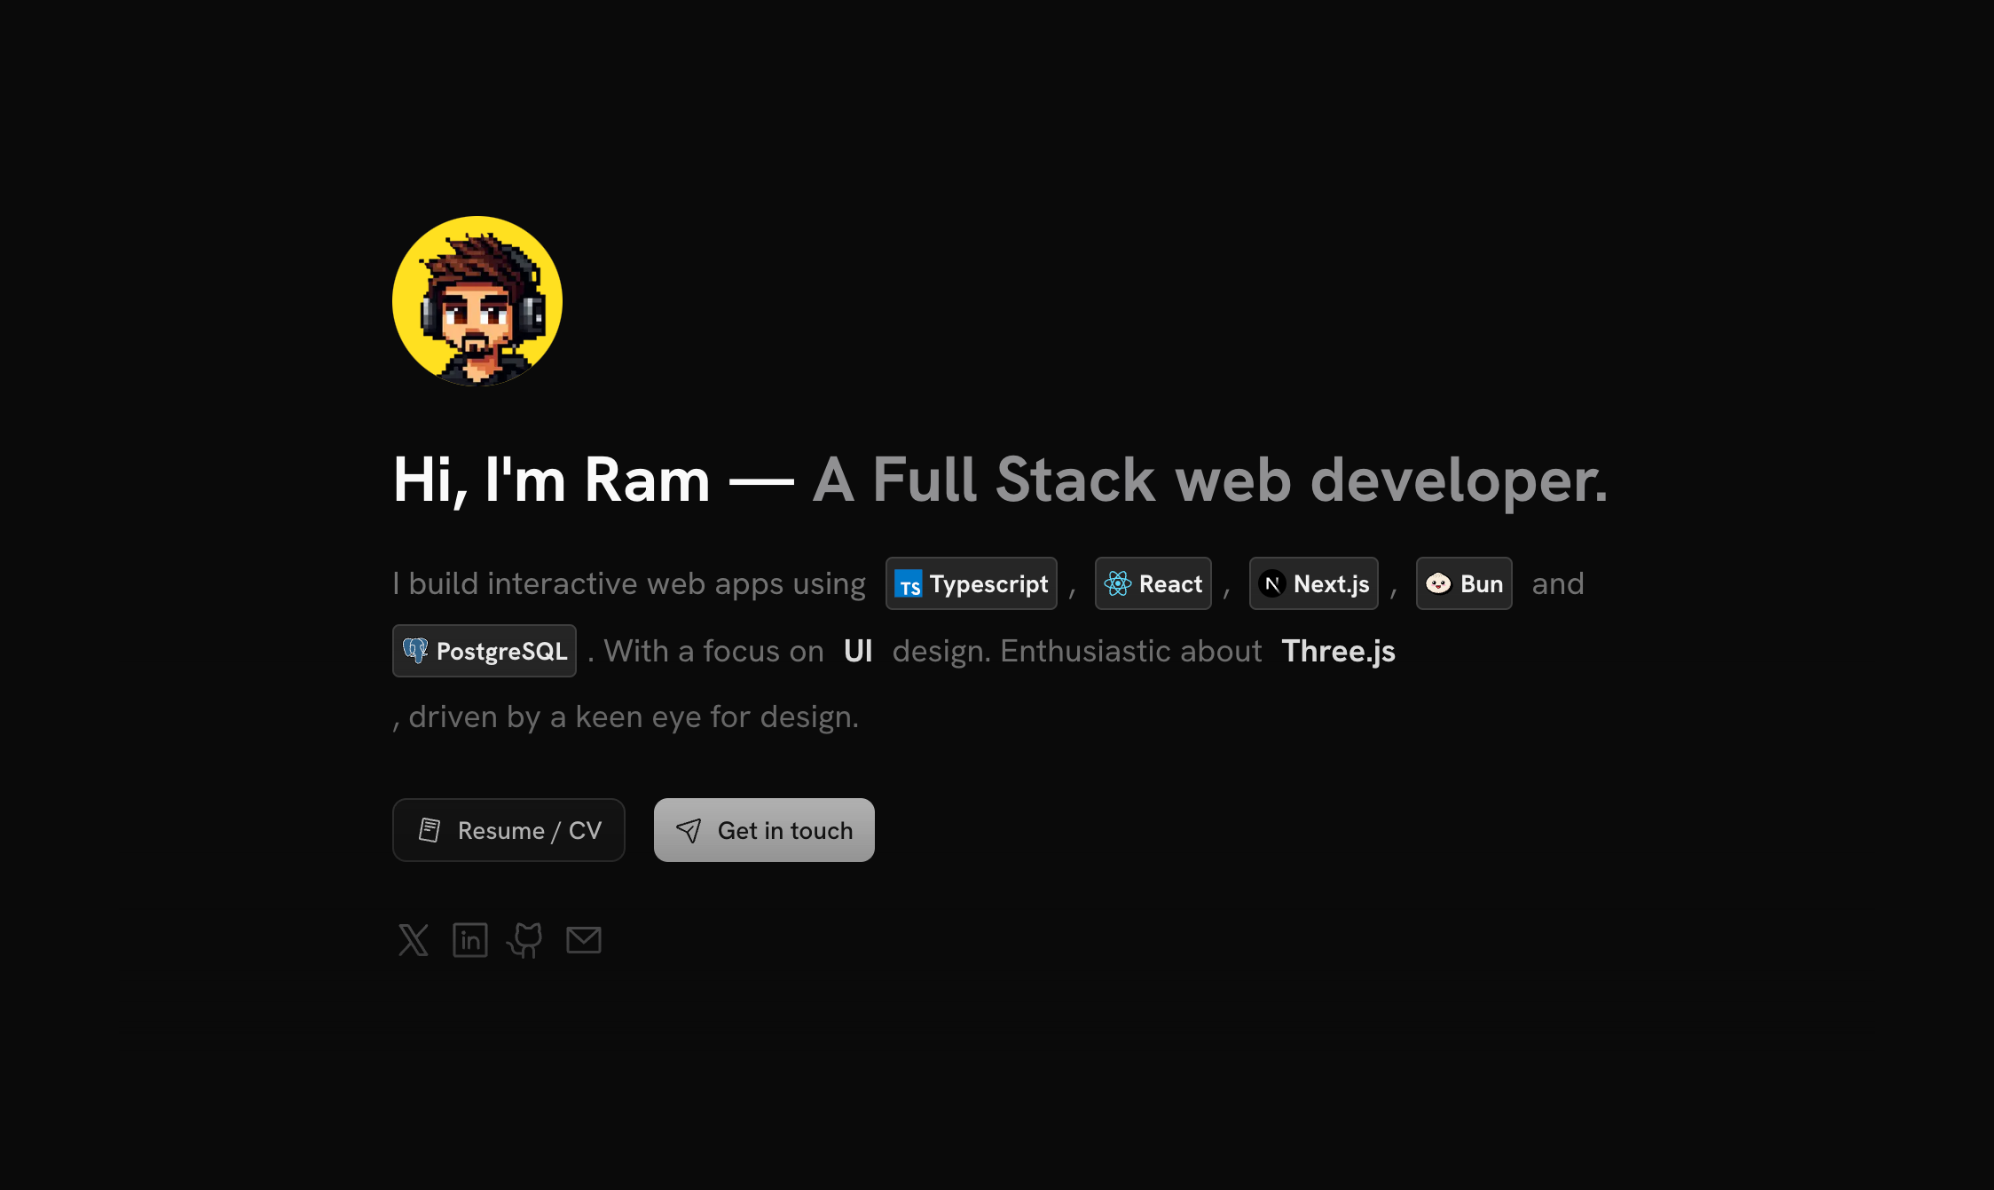
sleek-portfolio
sleek-portfolio 是一个面向开发者个人品牌展示的现代作品集模板,基于 Next.js 15、TypeScript、Tailwind CSS 和 Shadcn UI 构建。
Next.js · 作品集
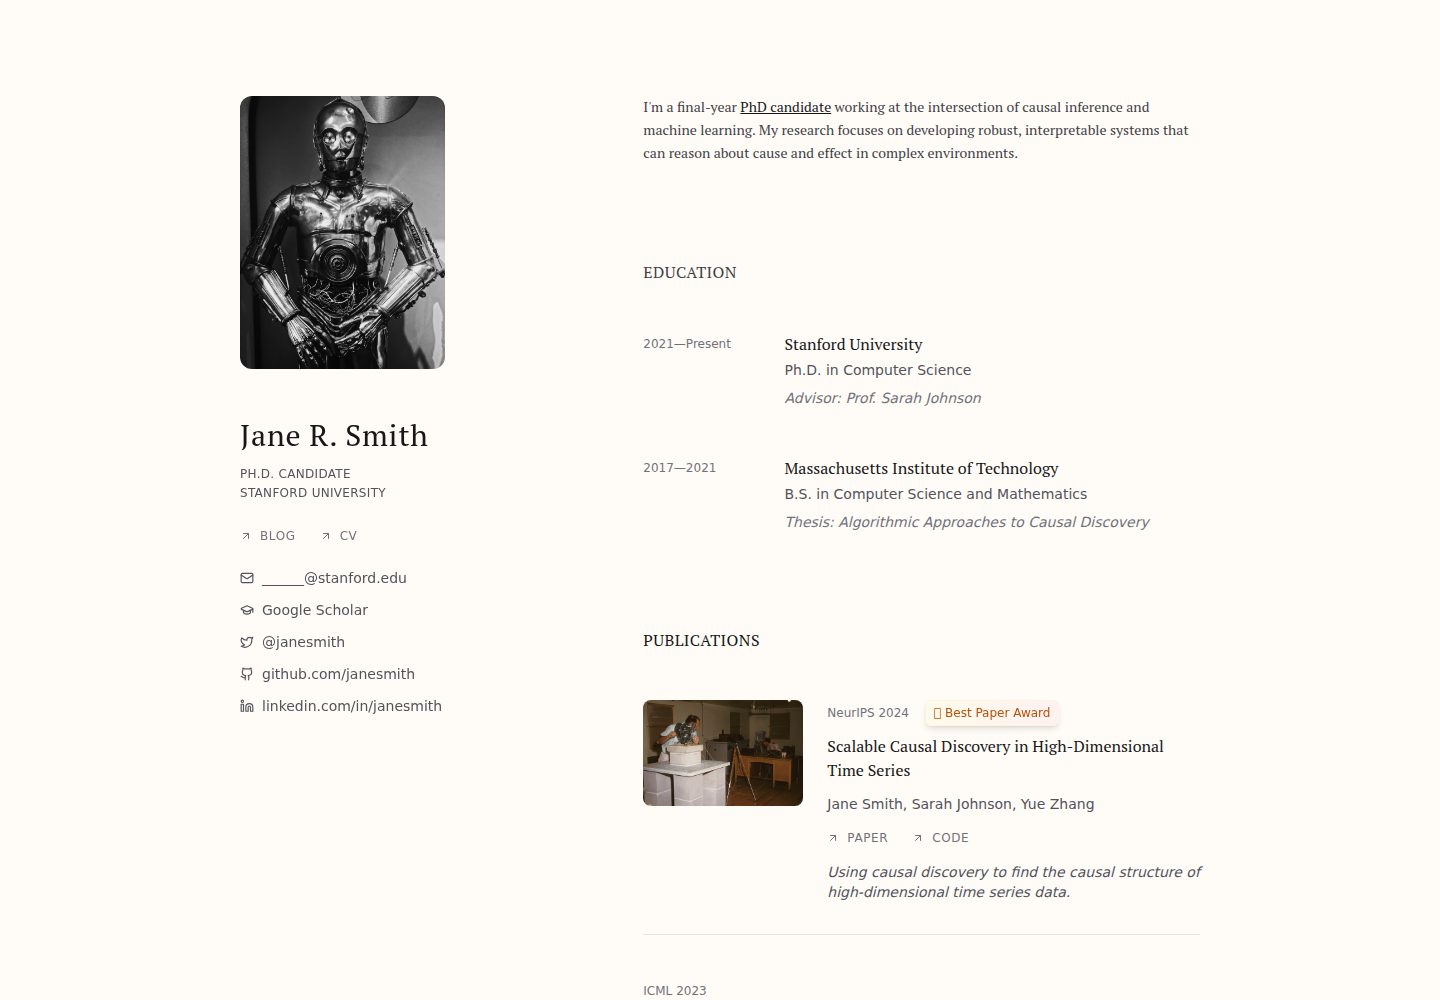
research-website-template
React + Next.js template for research websites (for PhD students, researchers, etc)
Next.js · 作品集
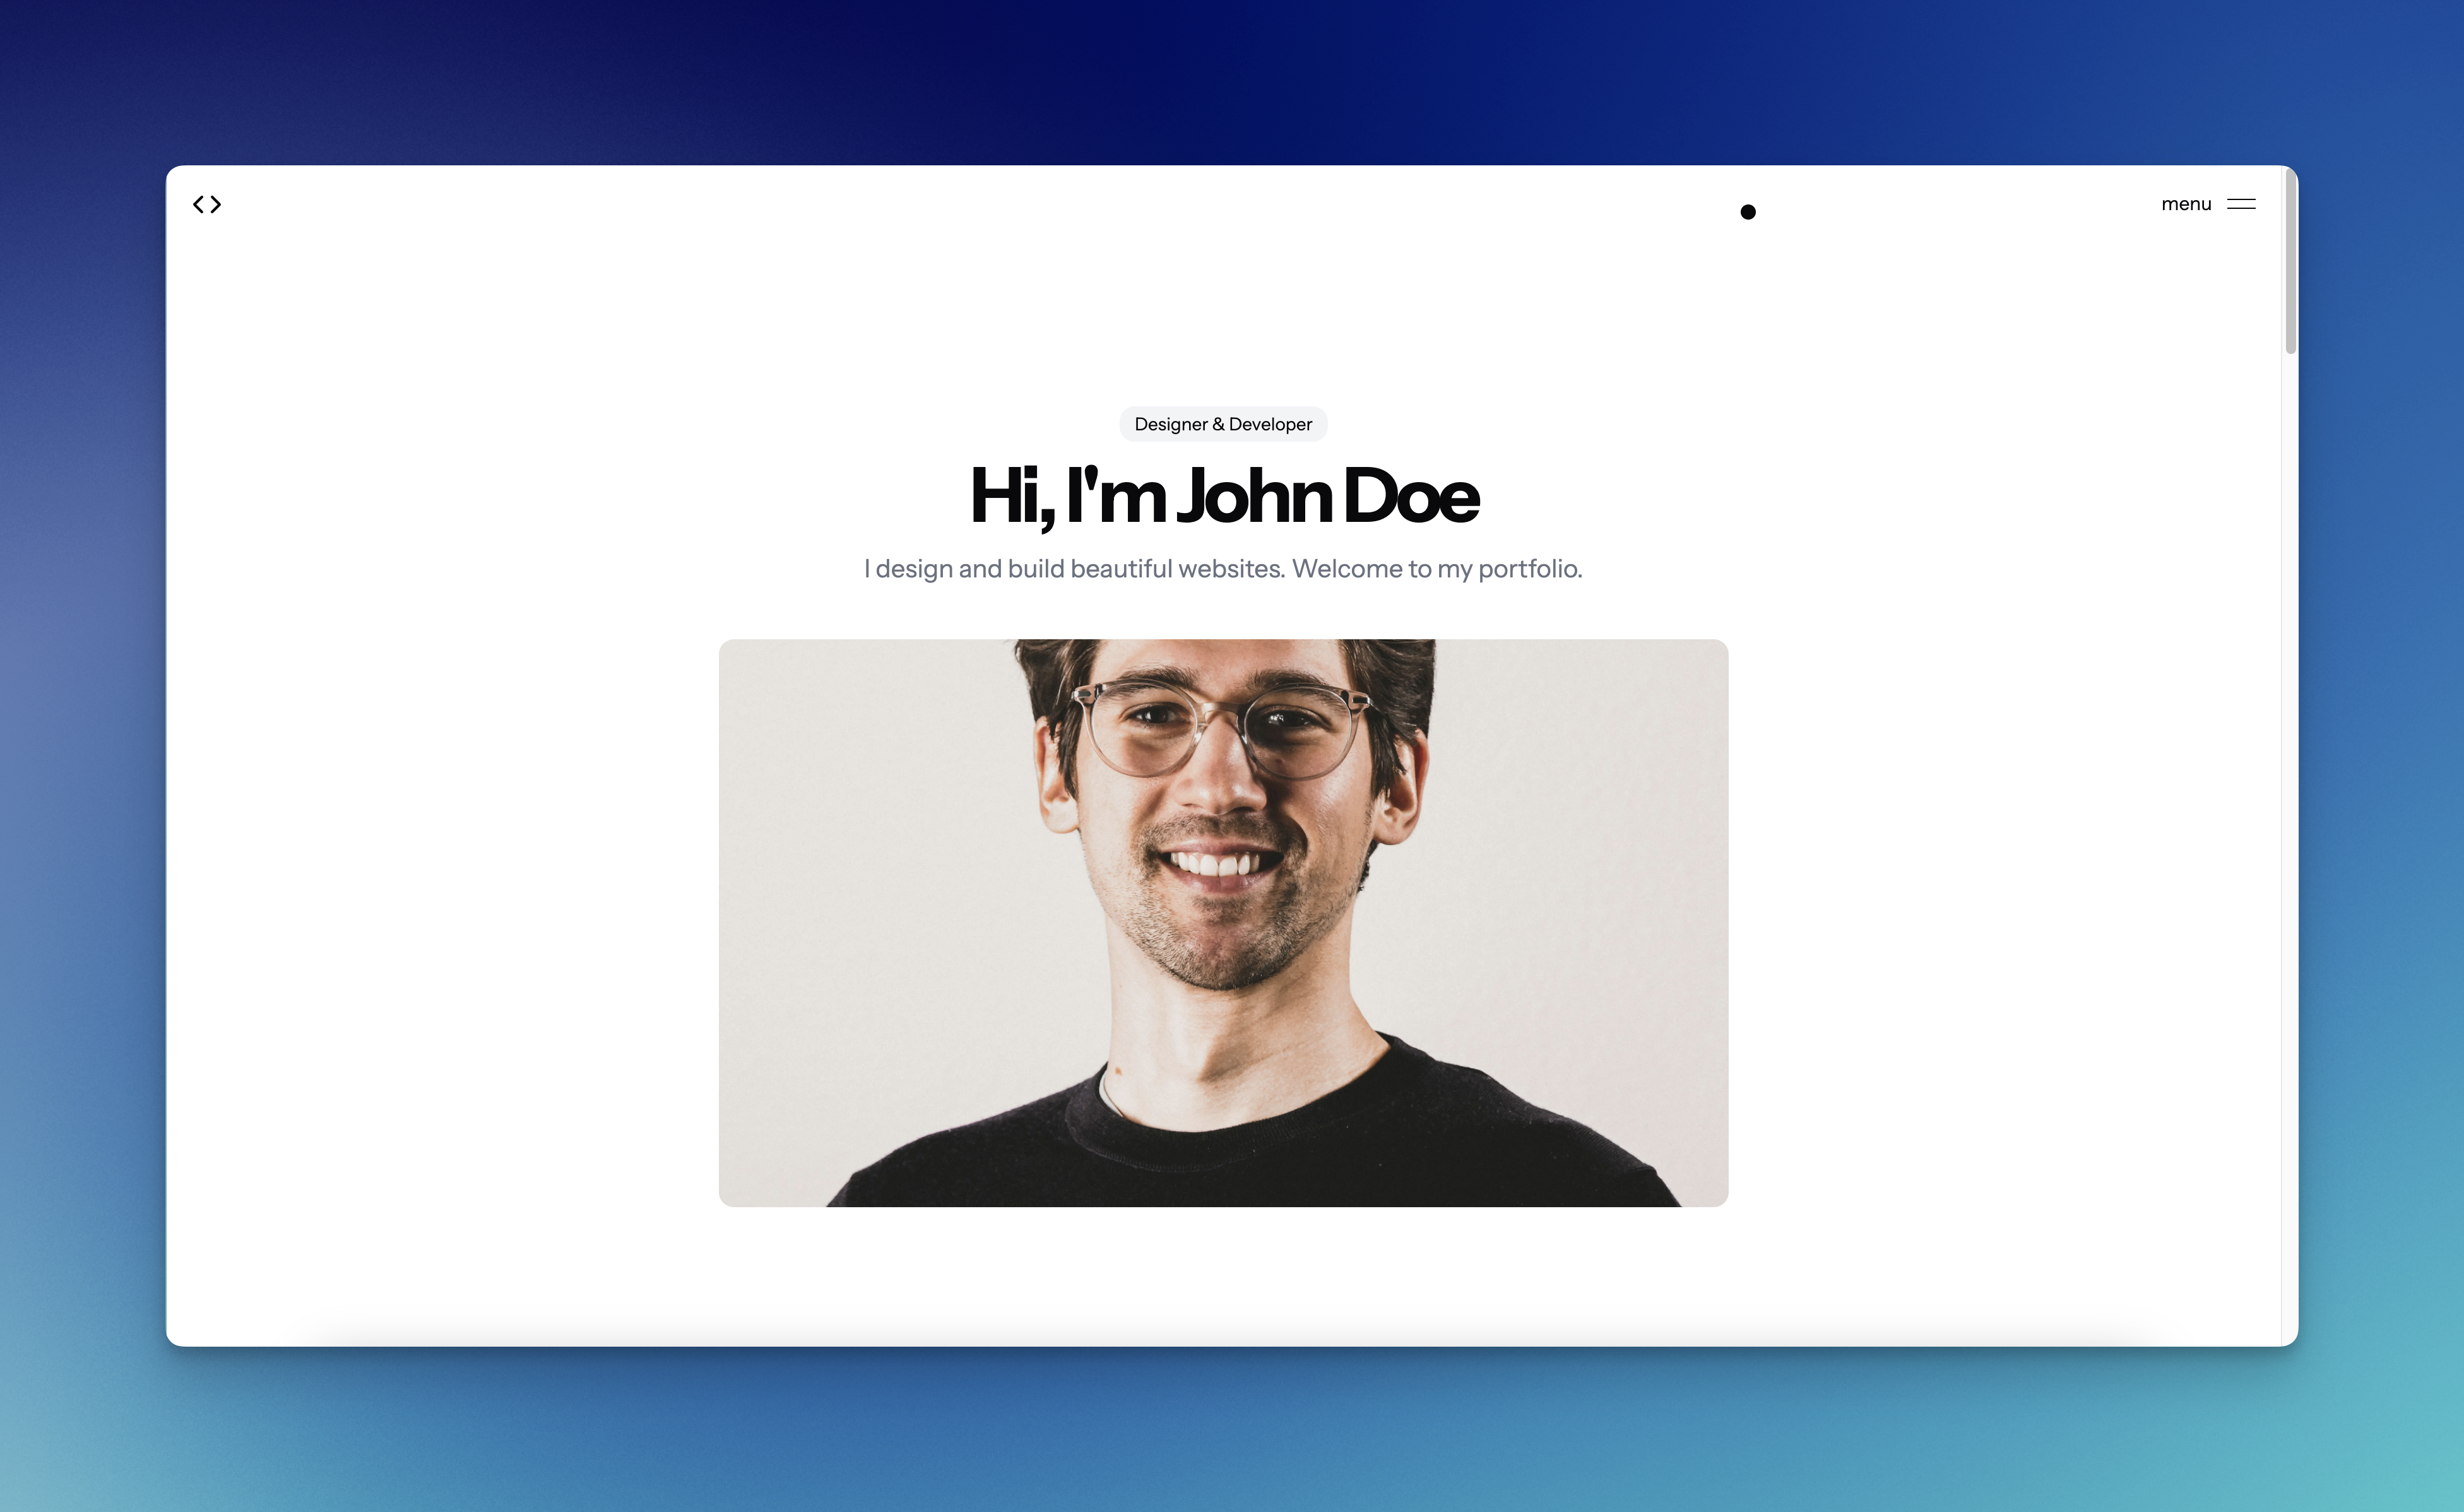
shadcn-portfolio
shadcn-portfolio 是一个面向开发者的作品集模板,技术栈为 Next.js 15、shadcn/ui、Tailwind CSS 和 Framer Motion。
Next.js · 作品集