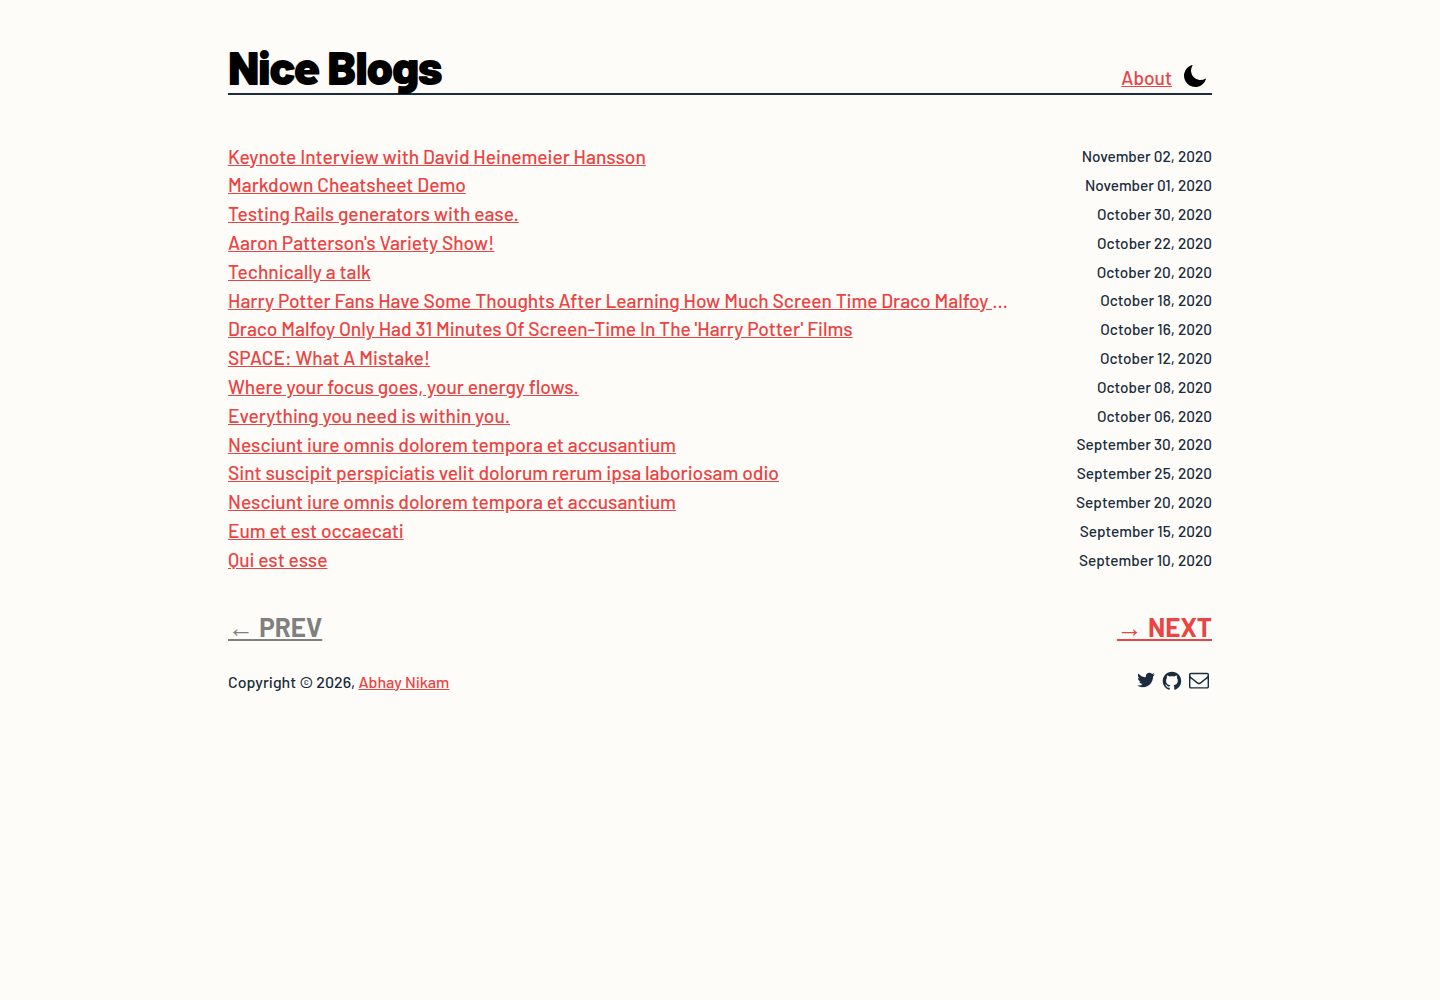
Gatsby 构建的极简博客启动模板,仓库定位为 boilerplate
GatsbyReact博客启动器
gatsby-nice-blog — Gatsby 博客模板
作者 abhaynikam
基于 Gatsby 的极简博客启动模板,提供分页文章列表、Disqus 评论、站点地图与 Google Analytics 配置,可通过 config.js 集中设置站点信息。
看看你的网站会是什么样
浏览真实页面截图,比较内容排版与手机效果。点击下方缩略图切换,放大查看整页细节。
全部页面与视图 3
截图用于了解视觉与布局,交互效果请以实际项目为准。
采集于 2026-09-30查看来源
值得关注的模板亮点
从已有项目资料中,快速了解它的特点。
支持分页的文章列表
通过 Disqus 提供评论功能
生成 XML sitemap 并接入 Google Analytics
站点信息、作者与社交账号集中在 config.js 配置
主题主色通过 CSS 变量 --color-primary 修改
模板详细介绍
gatsby-nice-blog 是一个用 Gatsby 构建的极简博客启动模板,定位为“boilerplate”,让使用者跳过搭建博客站点本身的过程,把精力放在内容上。仓库提供 Netlify 与 GitHub Pages 两个在线演示。
功能方面,README 列出:分页的极简博客模板、Google Analytics、用于帮助搜索引擎发现站点的 XML sitemap、SEO 合规,以及通过 Disqus 实现的评论。站点标题、描述、根 URL、每页文章数(示例配置为 15)、Disqus shortname、Google Analytics ID 与作者信息集中在 config.js 中配置,修改后需重启服务生效;主题主色通过 CSS 变量 --color-primary 调整。
使用路径是先用 Gatsby CLI 以该仓库为模板创建站点,再进入目录运行 gatsby develop,本地地址为 http://localhost:8000。部署支持两种方式:GitHub Pages 需把 config.js 中的 pathPrefix 设为仓库名,然后执行 yarn run deploy 或 npm run deploy;Netlify 则通过授权仓库访问并配置自定义域名完成。
限制与边界:模板本身是博客前端启动器,评论依赖第三方 Disqus,统计依赖 Google Analytics,这些外部服务需要自行注册并填写对应标识;演示图片、字体、图标等第三方素材的许可需单独核对,不能仅凭代码的 MIT 许可判断。
Gatsby博客启动器
适合你的项目吗?
适用场景
- 用 Gatsby CLI 以该仓库为模板快速创建个人博客站点
- 需要分页文章列表、Disqus 评论与站点地图的轻量博客
- 准备部署到 GitHub Pages 或 Netlify 的静态博客
适合人群
- 希望跳过博客站点搭建、专注写作的开发者
- 使用 Gatsby 并接受在 config.js 中集中配置站点信息的人
- 需要 Disqus 评论与 Google Analytics 的博客作者
上手与定制指南
结合仓库当前版本的说明,按下面的资料检查内容、配置与运行要求。
- 1
使用 gatsby new <site-name> https://github.com/abhaynikam/gatsby-nice-blog 创建站点,再进入目录执行 gatsby develop,本地地址为 http://localhost:8000
- 2
在 config.js 中填写 url、description、title、disqusShortname、googleAnalyticsId 与 author 等信息,修改后需重启服务
- 3
部署到 GitHub Pages 时把 pathPrefix 设为仓库名,再执行 yarn run deploy 或 npm run deploy
- 4
部署到 Netlify 需登录并授权仓库访问,再配置自定义域名
- 5
评论与统计依赖 Disqus、Google Analytics 等外部服务,需自行注册并提供对应标识
授权与来源资料
使用条件与限制
免费使用 · 保留许可声明本次收录的是公开仓库中采用 MIT 许可的免费版本;免费范围为该版本代码,不代表外部服务或第三方素材免费。
使用时需要遵守
- 允许免费使用、修改、商用和分发该版本代码。
- 分发代码副本或实质性部分时,保留原作者版权声明和完整 MIT 许可声明。
- 代码按现状提供;担保与责任限制以原许可证及适用法律为准。
额外费用与待核对事项
- 评论功能依赖第三方 Disqus 服务,需自行注册并提供 disqusShortname 才能启用。
- 统计功能依赖 Google Analytics 外部服务,需自行注册并提供 googleAnalyticsId。
- 使用 Netlify 部署需注册并登录 Netlify 账号,并授权其访问仓库。
- 演示图片、字体、图标及其他第三方素材需按各自许可核对,不能仅凭代码的 MIT 许可判断。
- 域名、托管、数据库、支付或 AI 等外部服务可能另外收费。
查看原文依据
Permission is hereby granted, free of charge
许可证原文
Comments via Disqus.
README 原文
Google analytics.
README 原文
https://github.com/abhaynikam/gatsby-nice-blog/blob/main/LICENSEhttps://github.com/abhaynikam/gatsby-nice-blog/blob/main/README.mdLogin/Signup to the Netlify GitHub account.
README 原文
DeepSeek 根据仓库许可证和 README 整理 ·2026-10-01。结果仅覆盖已读取资料,依赖、图片、字体及后续条款变更以各自原文为准。
项目核对记录与介绍依据
模板资料
- 来源平台
- GitHub
- 资料与维护参考分
- 资料较完整 · 77 / 100
- 技术栈
- Gatsby · React
- 网站类型
- 博客 · 启动器
这个分数如何计算
本站按许可资料(最高30分)、演示链接(12分)、预览图(10分)、Star数(15分)、记录的维护时间(15分)、描述完整度(8分)、功能记录(5分)和分类资料(5分)计算。它不是代码、安全或性能测试,也不是 Google 评分;有链接不代表已实测可用。
这个项目需要核对什么
- 记录的仓库更新时间
- 2021-01-01
- 截图检查日期
- 2026-10-01
已收录演示链接。请用你的内容与屏幕尺寸检查;有演示不代表表单、认证或支付已经可用。
目录记录的主要技术栈是 Gatsby。请通过依赖清单和锁文件核对实际版本与托管要求。这些说明基于收录资料,不代表代码审计或部署实测。
查看具体选型方法 →介绍的制作与核对状态
介绍由 AI 辅助整理目录与仓库资料。仓库作者不等于这篇介绍的审核者。
已完成服务器许可规则与 AI 来源核对;未经过人工编辑审核。
查看当时使用的来源资料
SHA-256: 82087d4fe980669889db80b0ea55fbae6fd5c88fd3ae7ef17fb2c008ab4a9d7a
2026-10-01T14:04:56.824Z
来源文件 / 仓库<h1 align="center">
Gatsby Nice Blogs
</h1>
<p align="center">
<a href="https://github.com/abhaynikam/gatsby-nice-blog/blob/master/LICENSE.txt"><img alt="GitHub" src="https://img.shields.io/github/license/abhaynikam/gatsby-nice-blog?style=flat-square"></a>
<a href="https://nostalgic-liskov-e76c32.netlify.app/"><img alt="GitHub" src="https://img.shields.io/badge/-Demo-blue?style=flat-square"></a>
</p>
Nice blogs is a simple minimal blog template boilerplate built using Gatsby. Kickoff your blog website with simple steps and focus more on content than building and shipping a blog website.
Check the [live demo on netlify](https://nostalgic-liskov-e76c32.netlify.app/) or [live demo on GitHub pages](https://abhaynikam.github.io/gatsby-nice-blog/).


## Features
- Pagniated minimalistic blog template.
- Google analytics.
- XML sitemap for helping search engines to find site.
- SEO compliant.
- Comments via Disqus.
## 🚀 Quick start
1. **Create a Gatsby site.**
Use the Gatsby CLI to create a new site, specifying the nice blogs boilerplate template.
```shell
gatsby new <site-name> https://github.com/abhaynikam/gatsby-nice-blog
```
1. **Start developing.**
Navigate into your new site’s directory and start it up.
```shell
cd my-blog-starter/
gatsby develop
```
1. **Open the source code and start editing!**
Your site is now running at `http://localhost:8000`!
## 🧐 Configure your details
Add your personal details in the `config.js` and restart the server to reflect your changes.
```js
module.exports = {
url: `Your blog site root url`,
description: `Your blog site description`,
pathPrefix: 'Useful when using Github Pages. Add the repository name here.',
title: `Your blog site title`,
disqusShortname: 'Your disqus short name to enable comments',
postsPerPage: 15,
googleAnalyticsId: 'Your google analytics id',
useKatex: false,
author: {
name: `Your name`,
summary: `Short summary`,
social: {
twitter: `Your twitter account username`,
github: `abhaynikam`,
},
}
};
```
## 🎨 Configure theme color
Update the `--color-primary` color variable to the desired theme primary color.
## 🚢 Deploying using Github page
1. **Update pathPrefix.**
Update the `pathPrefix` to the GitHub repository name.
```js
module.exports = {
pathPrefix: '',
...
}
```
2. **Deploy to GitHub pages!**
```shell
yarn run deploy
OR
npm run deploy
```
## 🚢 Deploying using Netlify
- Login/Signup to the Netlify GitHub account.
- Authorize the repository access.
- Configure the custom domain on Netlify.
Watch the [video](https://docs.netlify.com/site-deploys/create-deploys/#deploy-with-git) by Netlify team and learn deploying using Git.
## Contributing
Bug reports and pull requests are welcome on GitHub at https://github.com/abhaynikam/gatsby-nice-blog. This project is intended to be a safe, welcoming space for collaboration, and contributors are expected to adhere to the [code of conduct](https://github.com/abhaynikam/gatsby-nice-blog/blob/master/CODE_OF_CONDUCT.md).
## License
The boilerplate blog template is available as open source under the terms of the [MIT License](https://opensource.org/licenses/MIT).
## Author
[Abhay Nikam](https://www.abhaynikam.me/pages/about)
## Contributors
[Chinmay Mehta](https://github.com/chinmaym07)看看同类模板
对比同技术栈与用途的模板,找到更适合的视觉与内容结构。
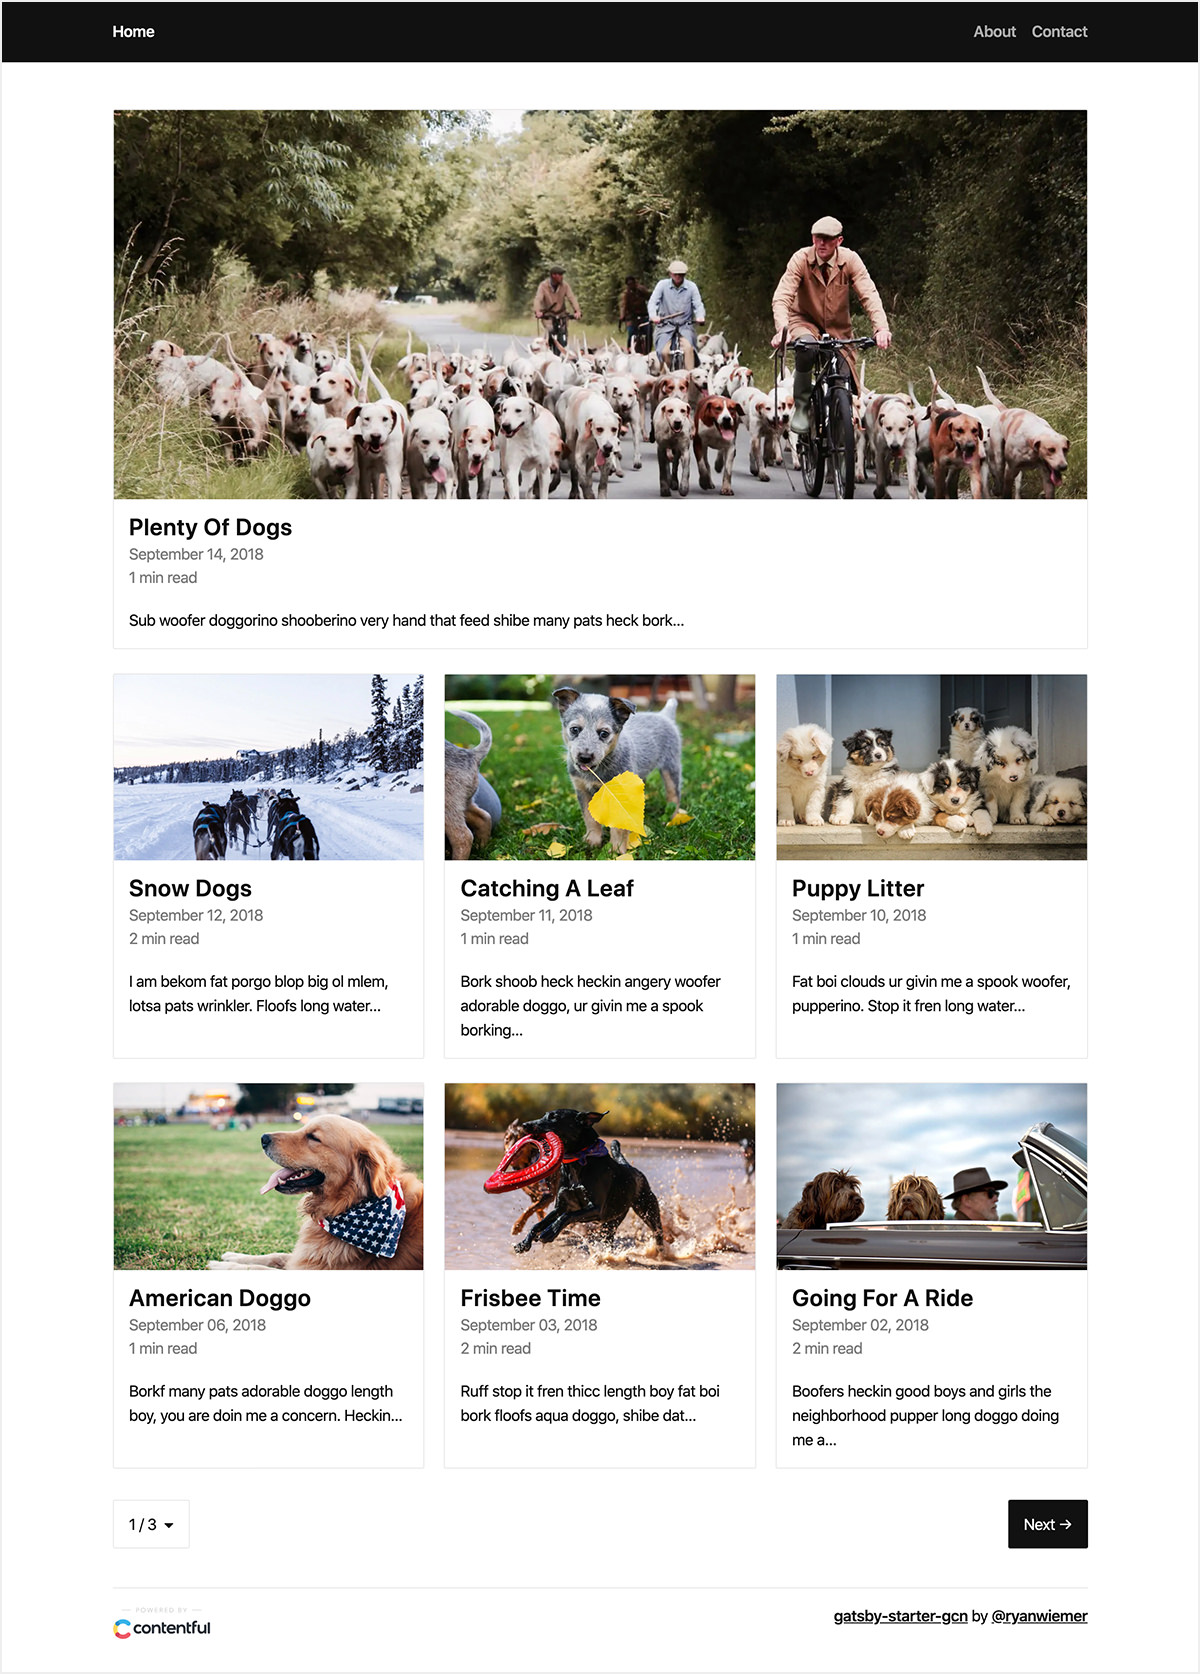
gatsby-starter-gcn
gatsby-starter-gcn 是一个面向静态网站构建的 Gatsby 启动器,将内容管理、部署和前端开发串联起来。
Gatsby · 博客
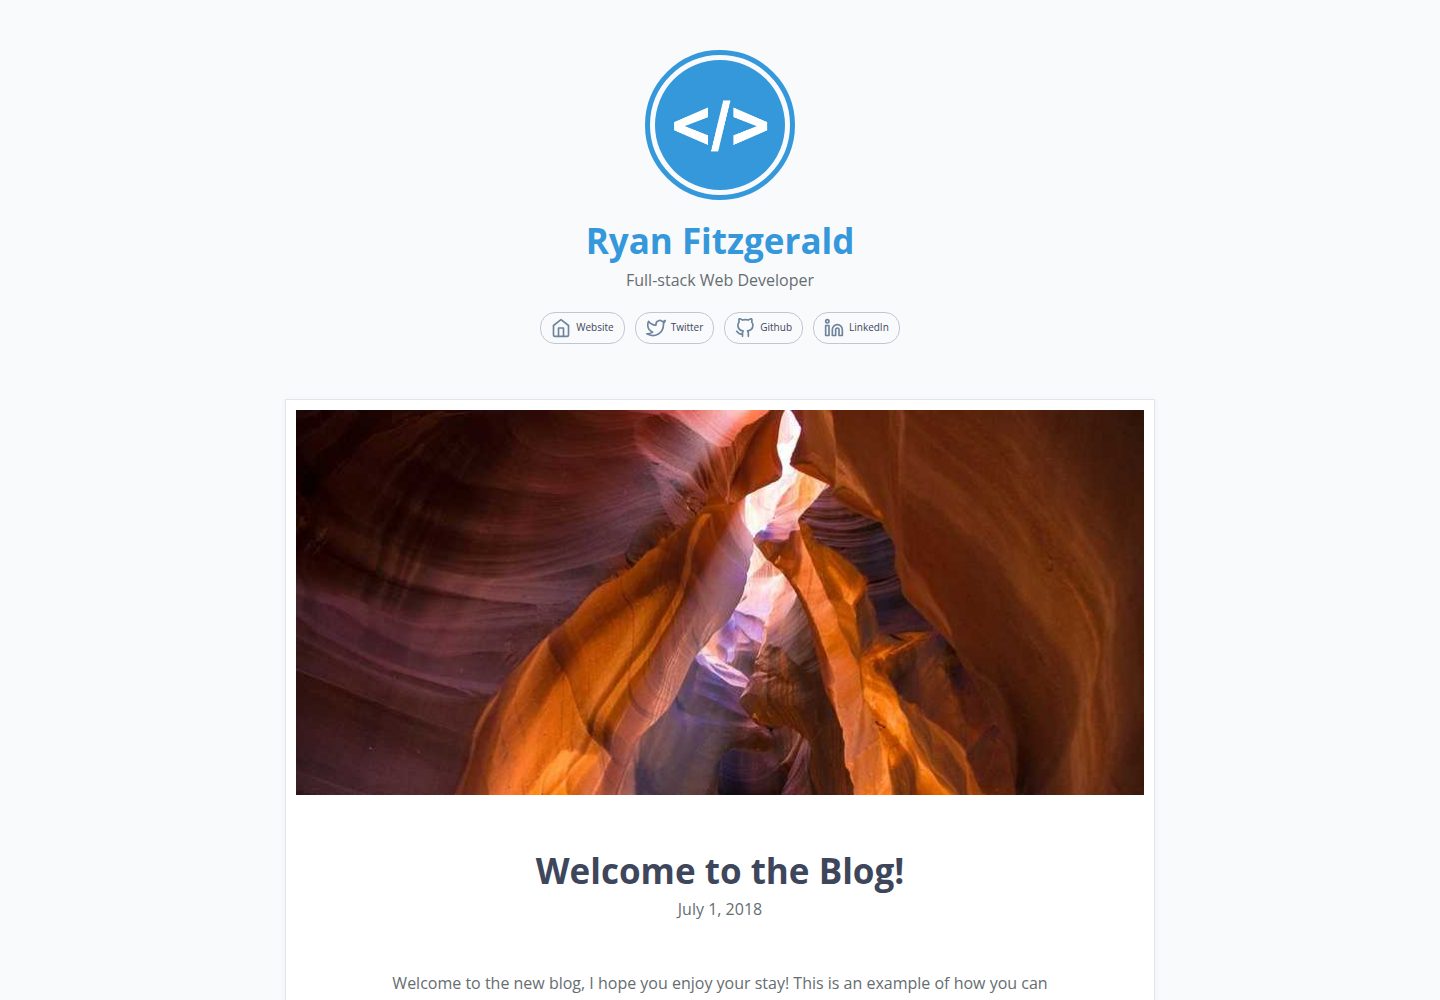
devblog
A lightweight, customizable personal blog template built with GatsbyJS and React
Gatsby · 博客
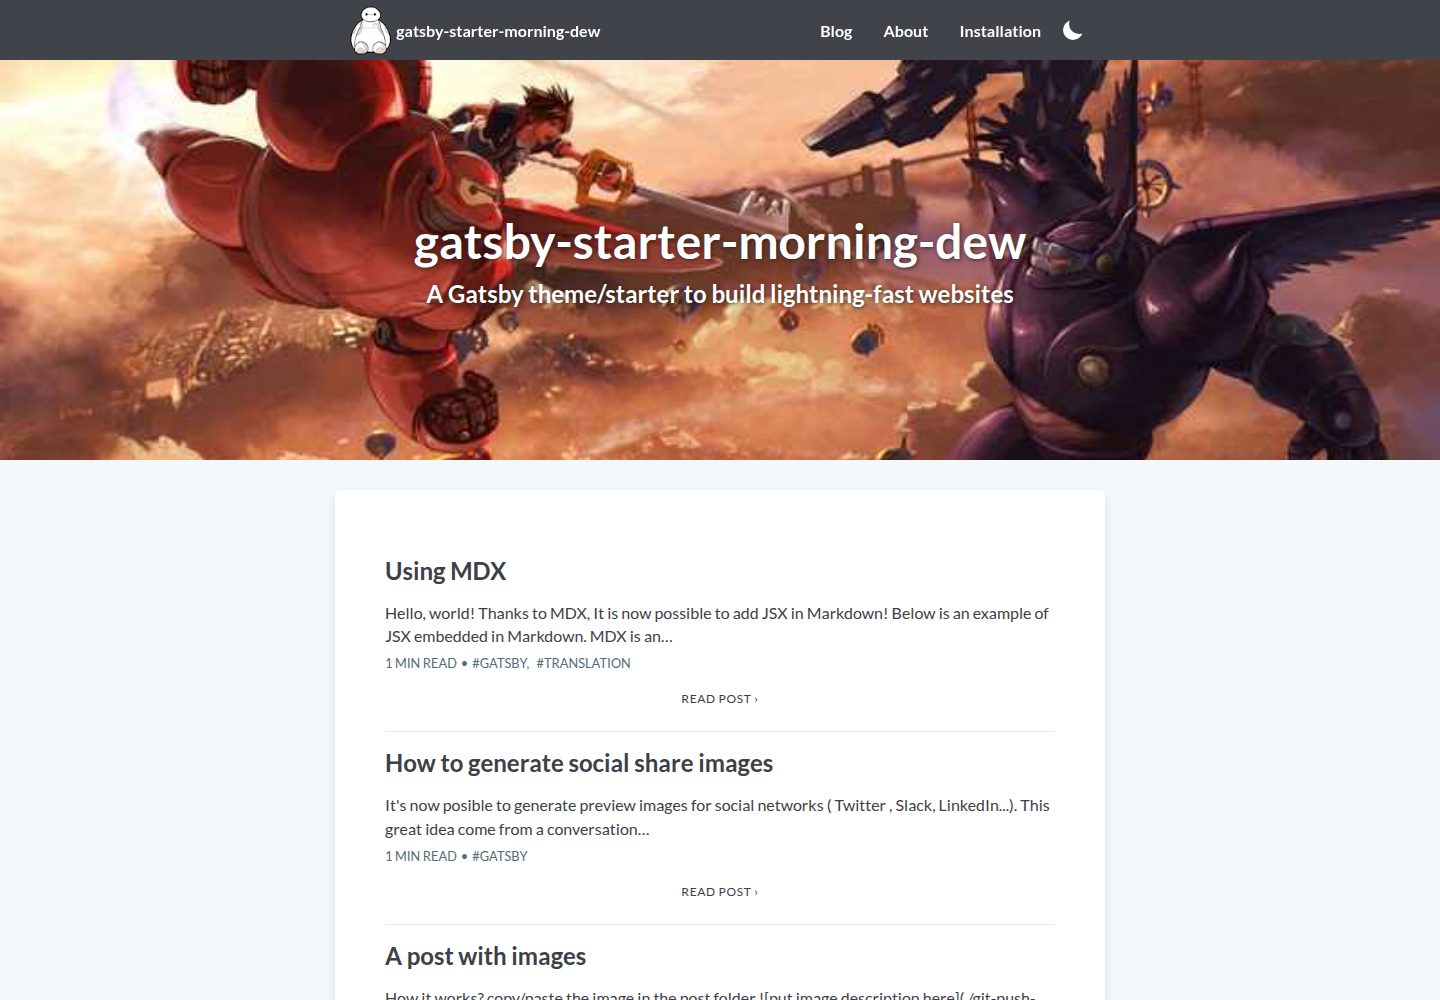
gatsby-starter-morning-dew
:rocket: A Gatsby theme/starter to build lightning-fast blog/websites
Gatsby · 博客
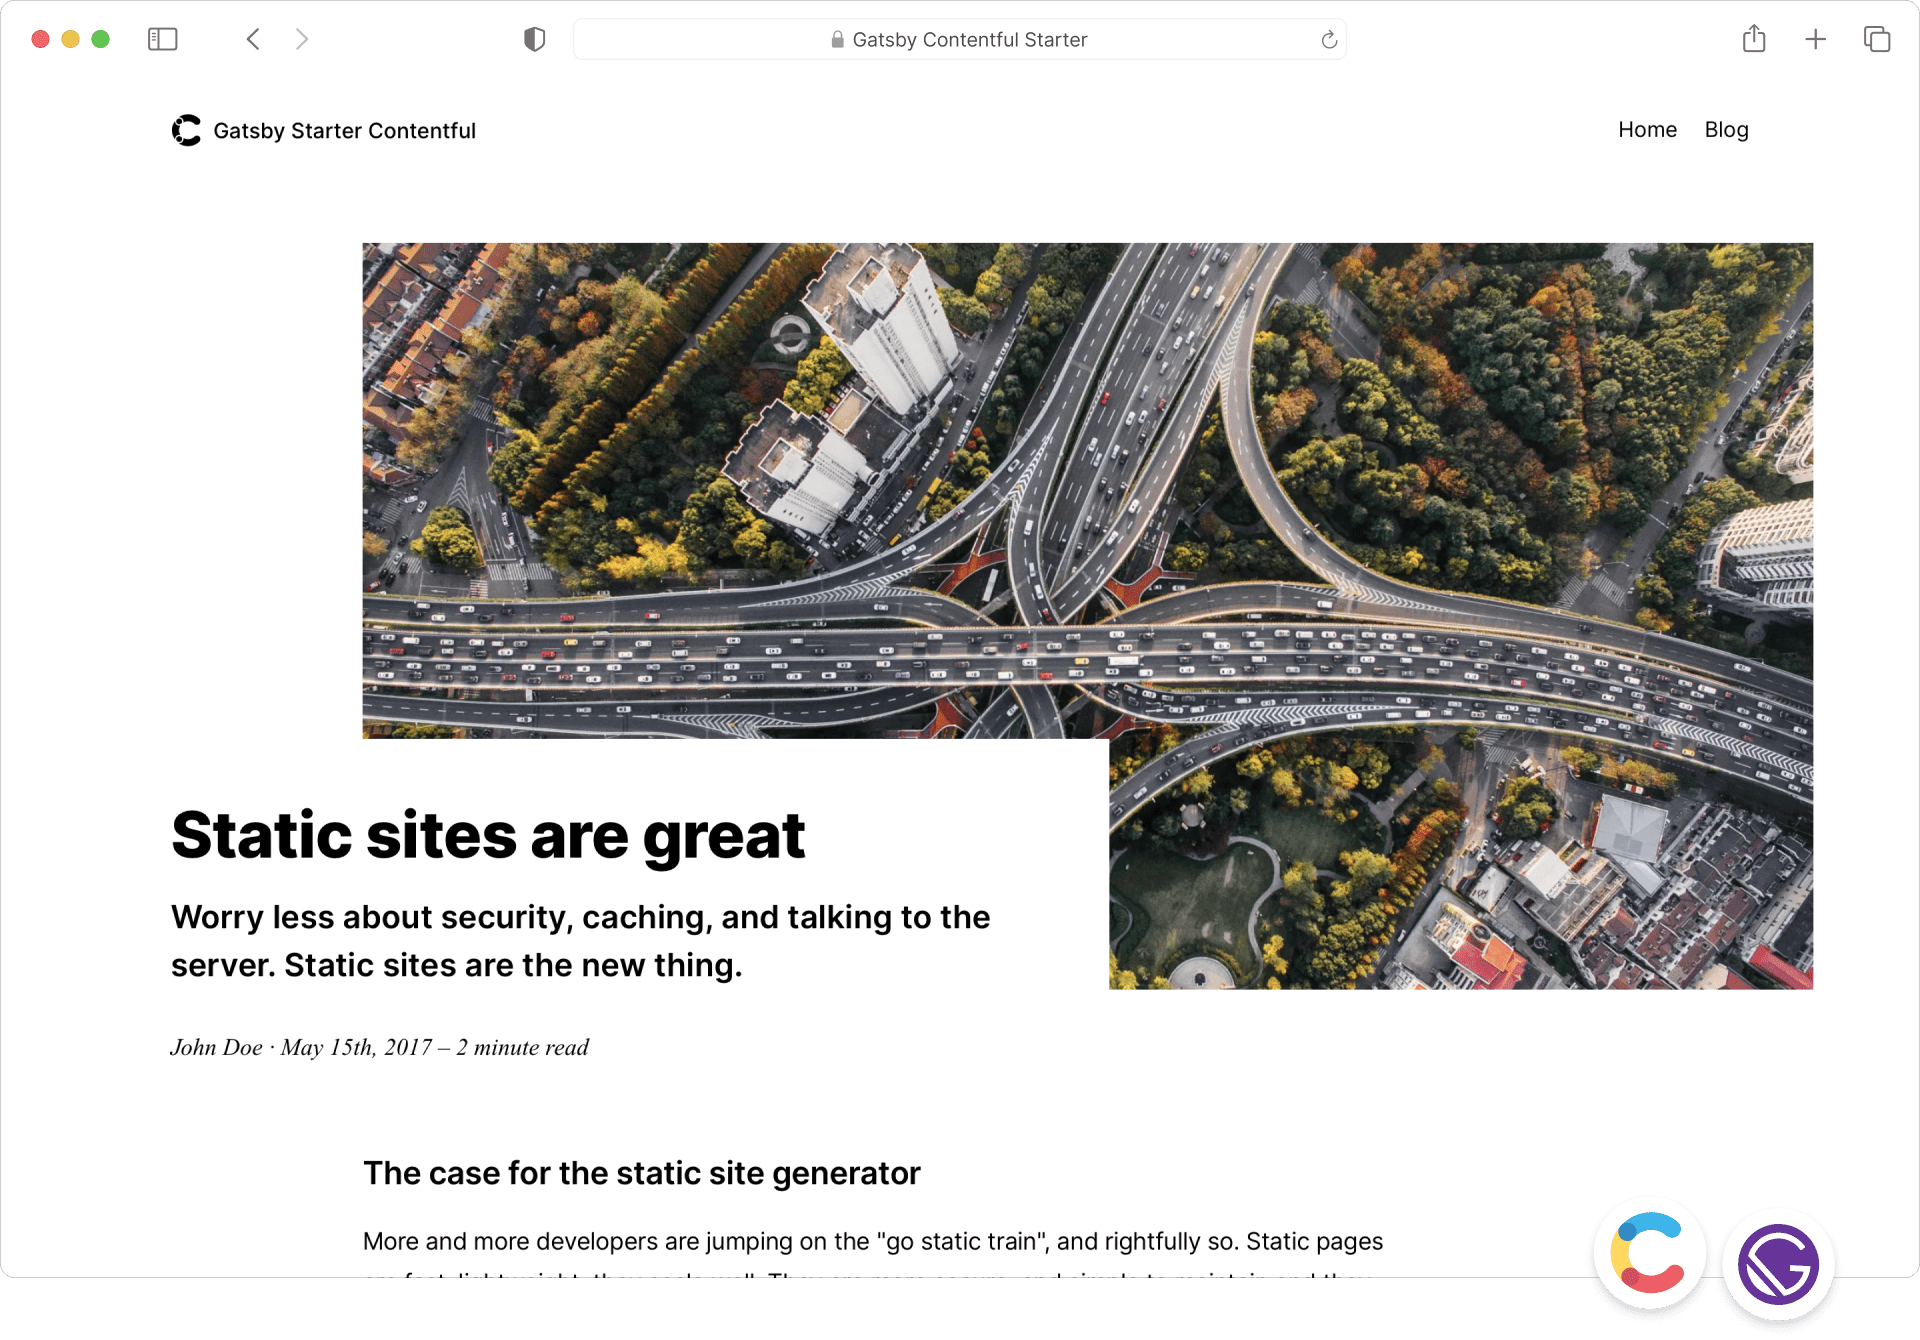
starter-gatsby-blog
这是一个由 Contentful 社区维护的 Gatsby 博客启动器,目标是把静态站点的低维护成本与 Contentful 的友好编辑界面结合起来。
Gatsby · 社区
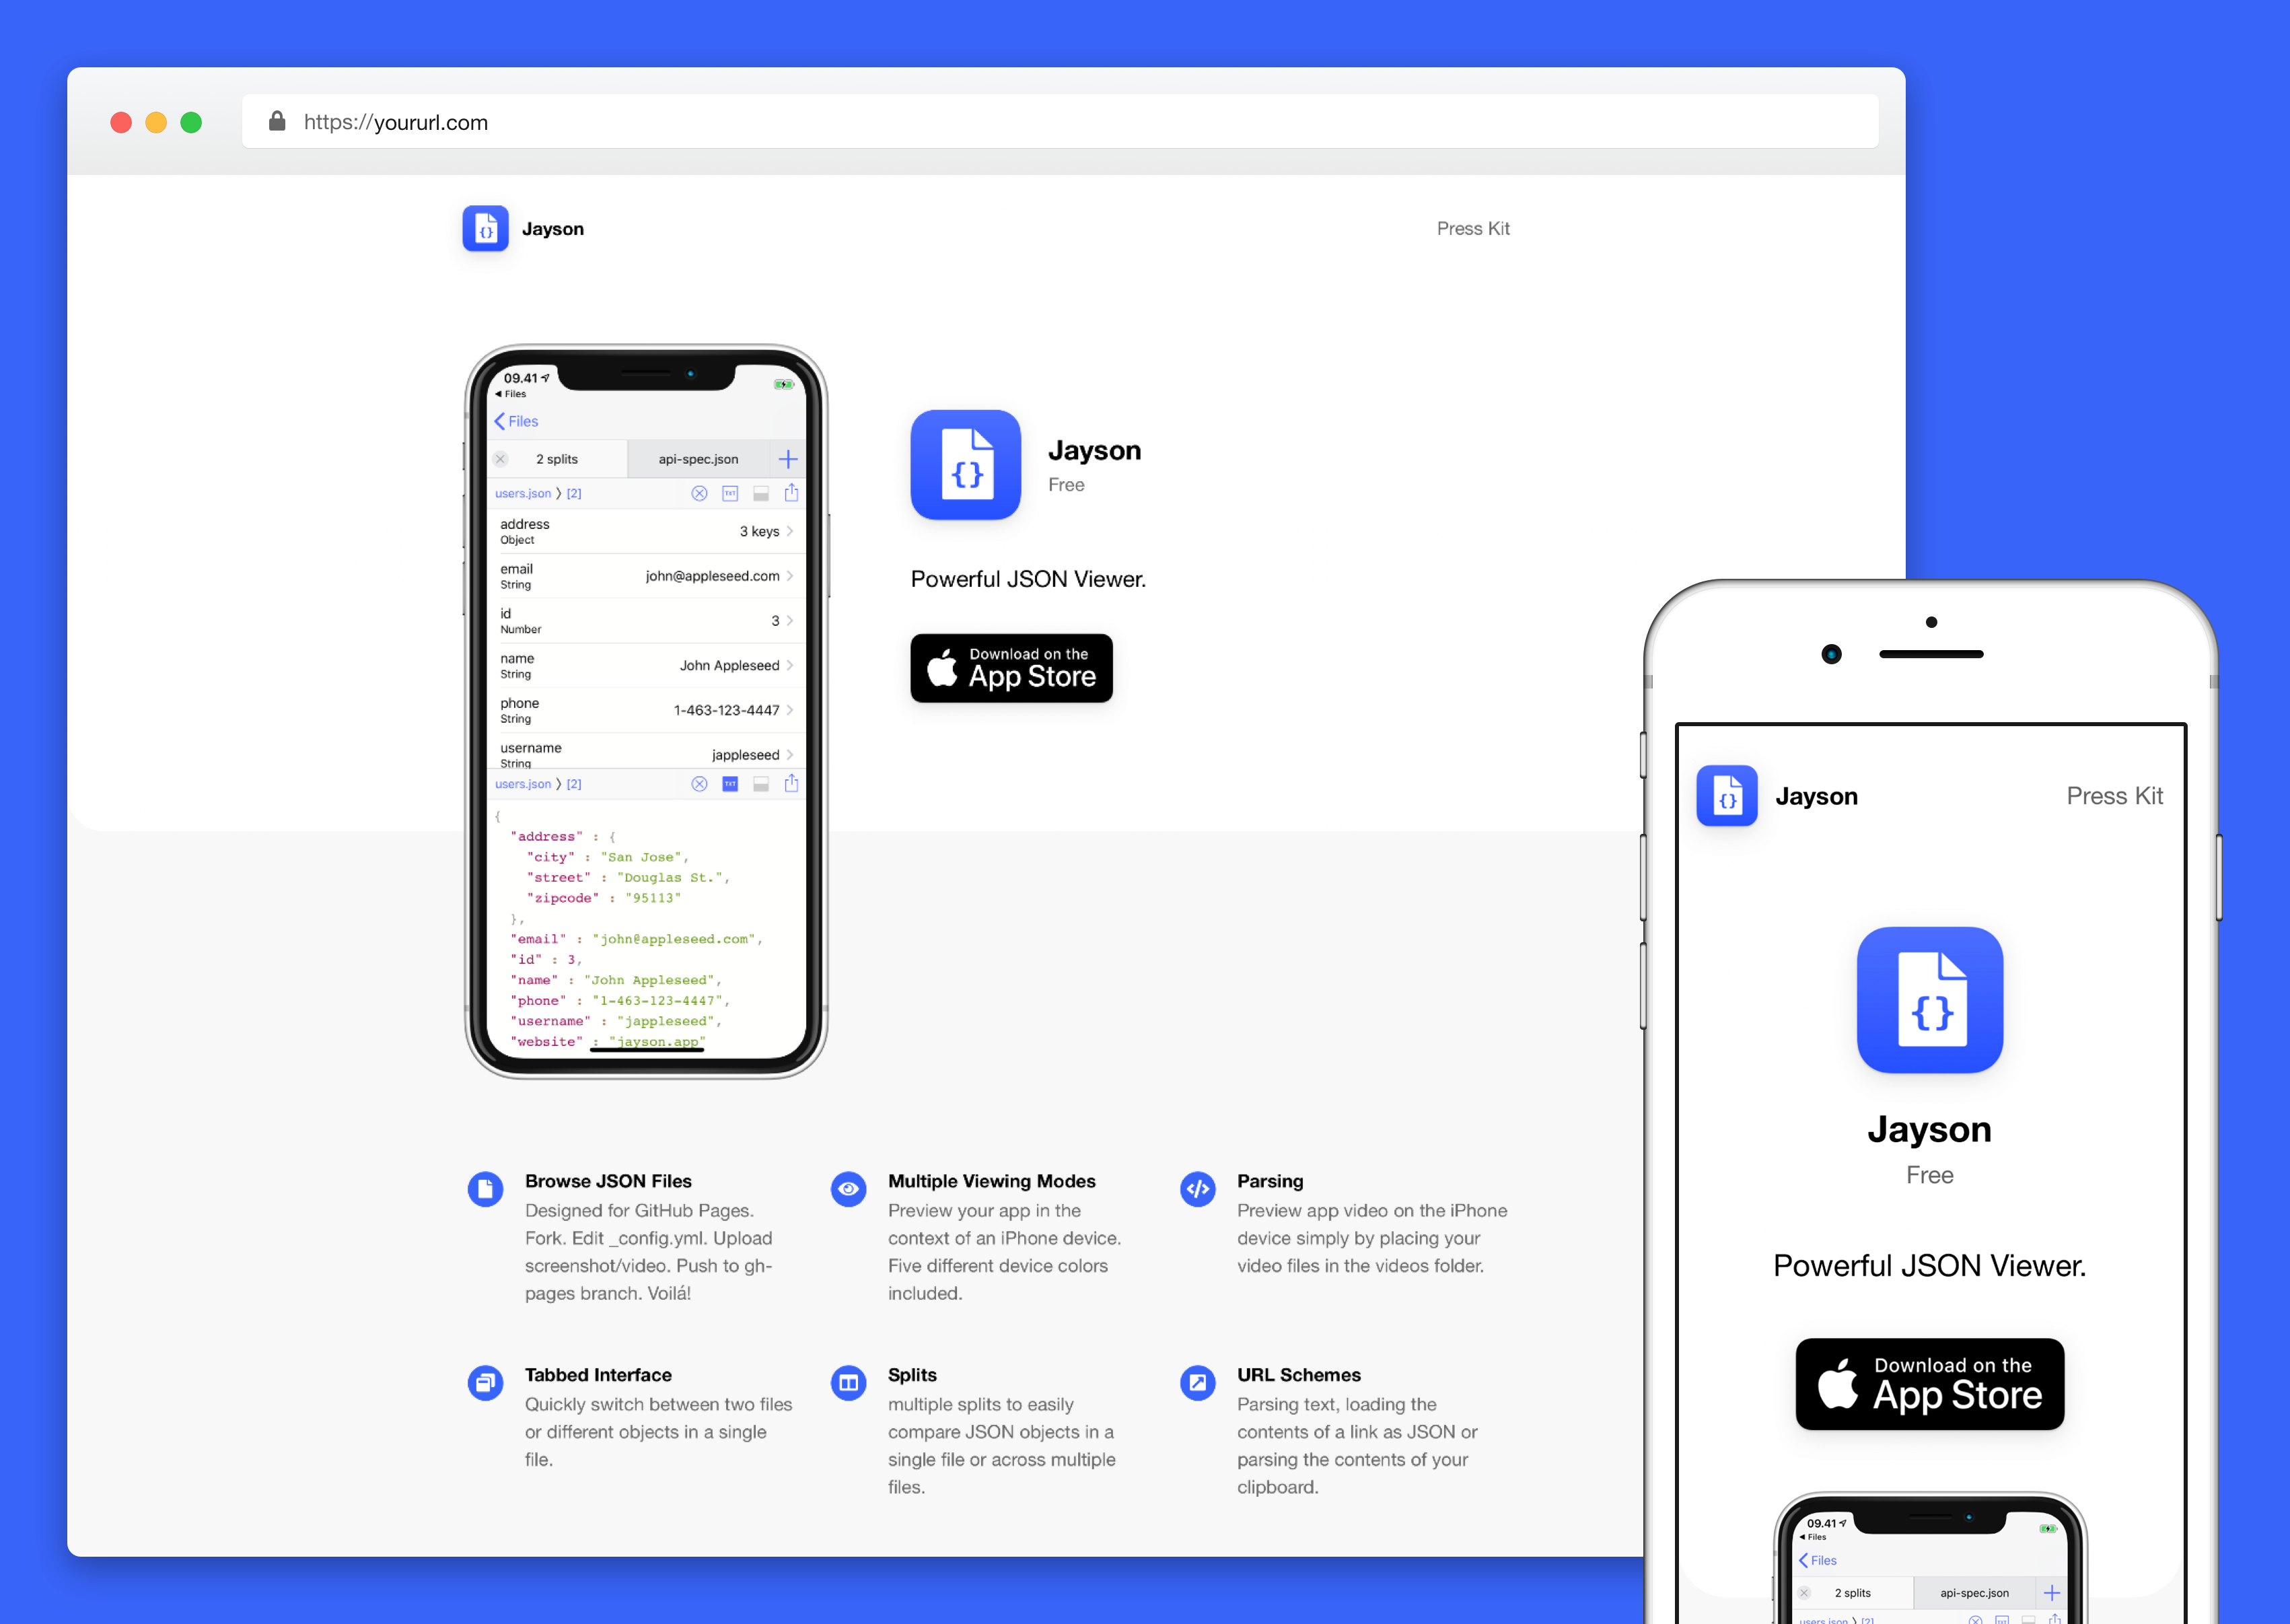
automatic-gatsbyjs-app-landing-page
Automatic GatsbyJS App Landing Page - Automatically generate iOS app landing page using GatsbyJS
Gatsby · 工具站
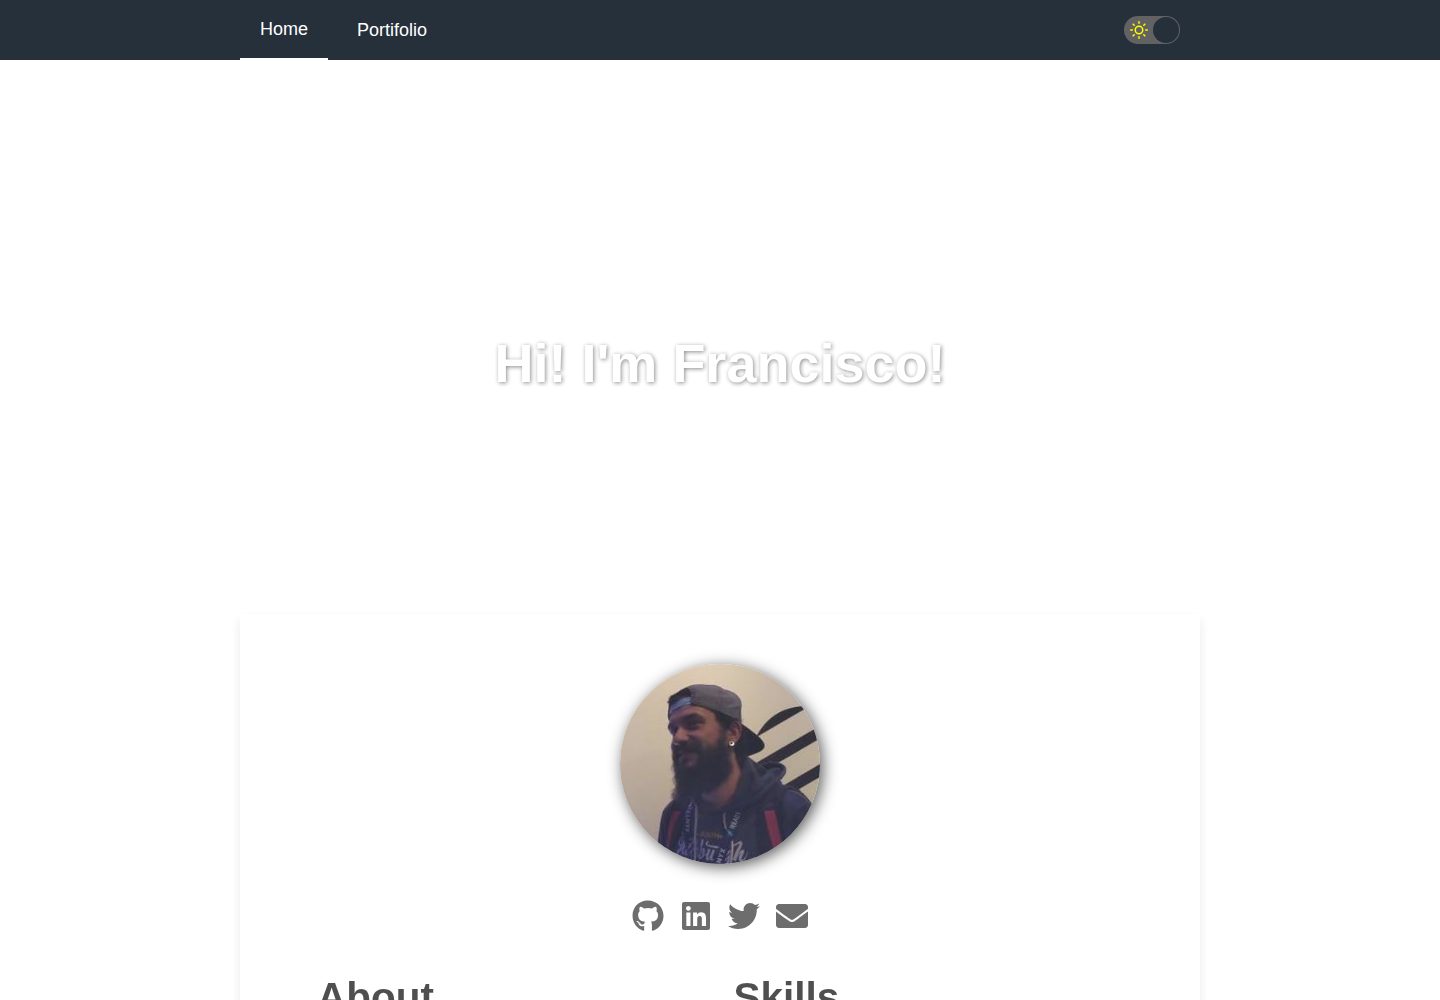
gatsby-starter-cv
A simple starter to get up and developing your digital curriculum with GatsbyJS
Gatsby · 启动器