使用 React 与 TypeScript 编写,运行在 Next.js 框架上
Next.jsReact作品集
i-agustin-becerra — Next.js 作品集模板
作者 agusbece
一个基于 Next.js、React 与 TypeScript 构建、使用 Tailwind CSS 样式的个人简历/作品集网站模板,站点内容由单一数据文件驱动。
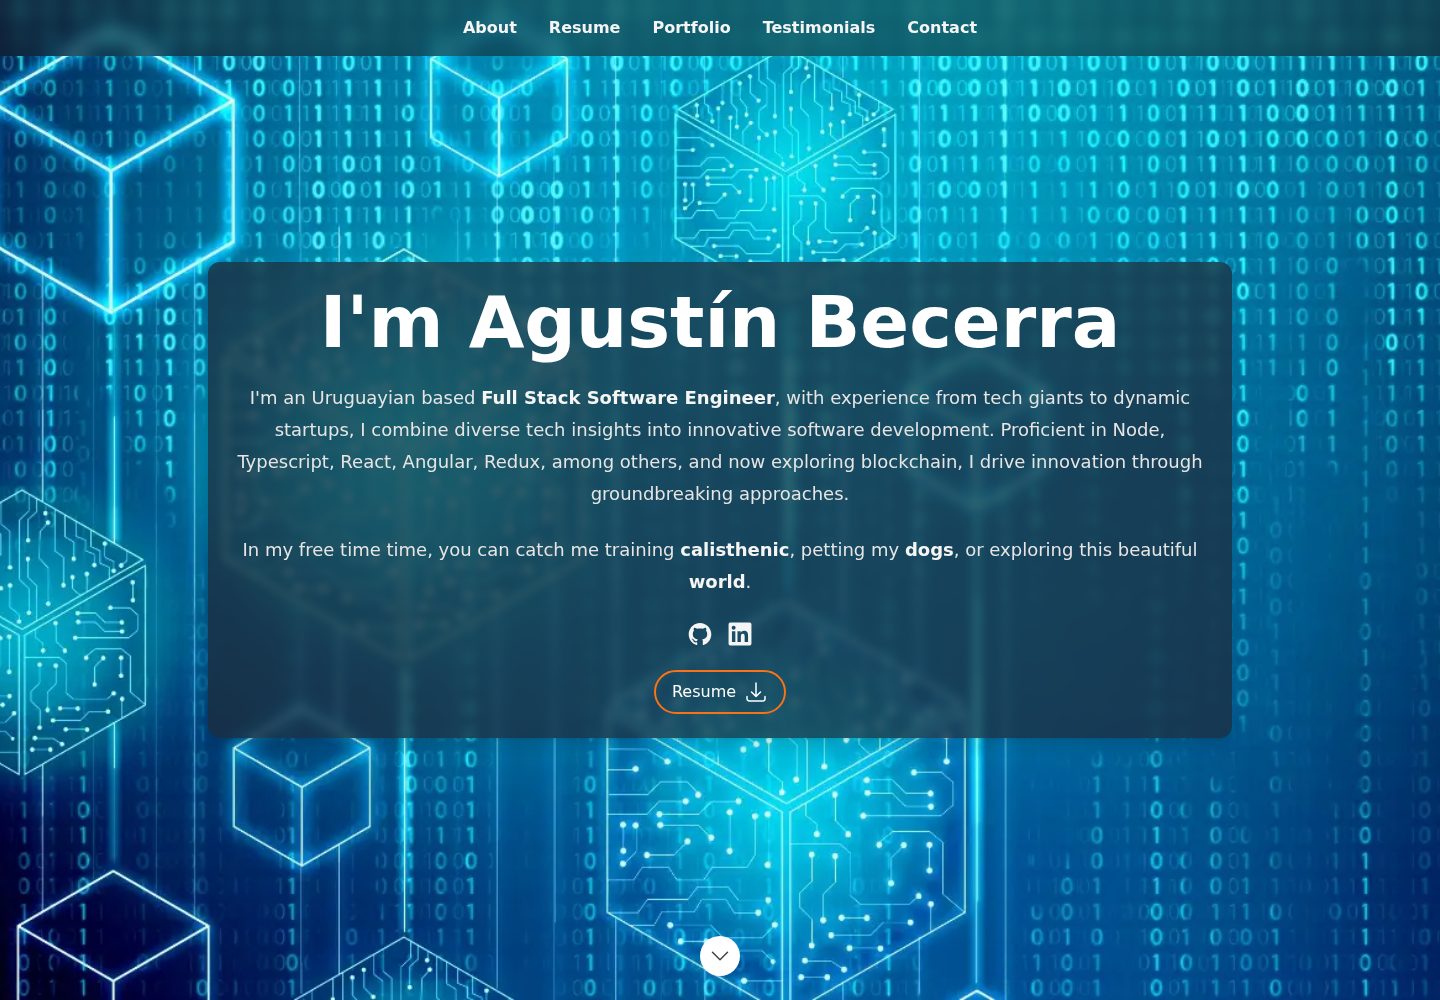
看看你的网站会是什么样
浏览真实页面截图,比较内容排版与手机效果。点击下方缩略图切换,放大查看整页细节。
全部页面与视图 2
截图用于了解视觉与布局,交互效果请以实际项目为准。
采集于 2026-10-01查看来源
值得关注的模板亮点
从已有项目资料中,快速了解它的特点。
样式全部由 Tailwind CSS 完成
站点内容集中在 /src/data/data.tsx 单一数据文件中维护
数据类型定义位于同目录的 dataDef.ts,示例图片放在 src/images/
联系表单仅实现输入与状态处理,提交与邮件发送需自行接入
采用 MIT 许可,可免费使用、修改、商用和分发代码
模板详细介绍
该模板是一个个人简历网站,使用 React 与 TypeScript 编写,运行在 Next.js 框架上,样式全部由 Tailwind CSS 完成,并支持服务端渲染/静态生成与图片优化。站点内容集中在一个数据文件中维护,README 说明所有数据通过 /src/data/data.tsx 提供,对应的类型定义位于同目录的 dataDef.ts,示例图片放在 src/images/ 并在数据文件中导入。
使用流程上,模板要求本地安装 Node 与 Yarn,Fork 并下载仓库后运行 yarn install 安装依赖、yarn dev 启动开发服务,默认地址通常为 http://localhost:3000。修改数据文件中的值即可更新页面内容,替换同名同路径的图片或新增图片并调整导入即可更换素材。
需要注意的是,联系表单只实现了输入与状态处理,表单提交和邮件发送需要自行接入,README 中推荐使用 Sendgrid 作为邮件服务。模板采用 MIT 许可,可免费使用、修改、商用和分发代码,但演示图片、字体、图标等第三方素材需按各自许可核对,域名、托管等外部服务可能另行收费。
Next.jsReact作品集
适合你的项目吗?
适用场景
- 搭建个人简历或作品集展示页面
- 作为学习 Next.js、React 与 Tailwind CSS 组合的参考项目
- 快速替换数据文件内容生成自己的个人网站
适合人群
- 希望用单一数据文件维护个人简历内容的开发者
- 熟悉或愿意使用 Node、Yarn 与 Next.js 工具链的用户
- 需要可自行修改样式与数据的开源模板的个人用户
上手与定制指南
结合仓库当前版本的说明,按下面的资料检查内容、配置与运行要求。
- 1
本地需安装最新稳定版 Node 与 Yarn
- 2
Fork 并下载仓库后运行 yarn install 安装依赖,再运行 yarn dev 启动开发服务
- 3
站点数据在 /src/data/data.tsx 中修改,类型定义见 dataDef.ts
- 4
替换图片可更新 src/images/ 下的同名文件,或新增图片并调整数据文件中的导入
- 5
联系表单需自行实现提交与邮件发送,README 推荐使用 Sendgrid
授权与来源资料
使用条件与限制
免费使用 · 保留许可声明本次收录的是公开仓库中采用 MIT 许可的免费版本;免费范围为该版本代码,不代表外部服务或第三方素材免费。
使用时需要遵守
- 允许免费使用、修改、商用和分发该版本代码。
- 分发代码副本或实质性部分时,保留原作者版权声明和完整 MIT 许可声明。
- 代码按现状提供;担保与责任限制以原许可证及适用法律为准。
额外费用与待核对事项
- 联系表单仅实现了输入与状态处理,表单提交与邮件发送需自行实现,模板本身不提供可用的邮件发送功能。
- README 推荐使用 Sendgrid 作为邮件服务,接入该服务需自行注册账号并可能产生外部服务费用。
- 本地构建需自行安装最新稳定版 Node 与 Yarn 工具链。
- 部署示例指向 Vercel,使用该托管平台可能涉及账号注册及外部服务费用。
- 演示图片、字体、图标及其他第三方素材需按各自许可核对,不能仅凭代码的 MIT 许可判断。
- 域名、托管、数据库、支付或 AI 等外部服务可能另外收费。
查看原文依据
Permission is hereby granted, free of charge
许可证原文
Form submission and the actual sending of the email is open to your own implementation.
README 原文
My personal recommendation for email provider is [Sendgrid.](https://sendgrid.com/)
README 原文
you will need to have the latest stable versions of Node and Yarn downloaded and installed on your machine
README 原文
https://github.com/agusbece/i-agustin-becerra/blob/main/LICENSEhttps://github.com/agusbece/i-agustin-becerra/blob/main/README.mdDeploying your new site to Vercel is simple
README 原文
DeepSeek 根据仓库许可证和 README 整理 ·2026-10-01。结果仅覆盖已读取资料,依赖、图片、字体及后续条款变更以各自原文为准。
项目核对记录与介绍依据
模板资料
- 来源平台
- GitHub
- 资料与维护参考分
- 资料较完整 · 85 / 100
- 技术栈
- Next.js · React
- 网站类型
- 作品集
这个分数如何计算
本站按许可资料(最高30分)、演示链接(12分)、预览图(10分)、Star数(15分)、记录的维护时间(15分)、描述完整度(8分)、功能记录(5分)和分类资料(5分)计算。它不是代码、安全或性能测试,也不是 Google 评分;有链接不代表已实测可用。
这个项目需要核对什么
- 记录的仓库更新时间
- 2026-09-02
- 截图检查日期
- 2026-10-01
已收录演示链接。请用你的内容与屏幕尺寸检查;有演示不代表表单、认证或支付已经可用。
目录记录的主要技术栈是 Next.js。请通过依赖清单和锁文件核对实际版本与托管要求。这些说明基于收录资料,不代表代码审计或部署实测。
查看具体选型方法 →介绍的制作与核对状态
介绍由 AI 辅助整理目录与仓库资料。仓库作者不等于这篇介绍的审核者。
已完成服务器许可规则与 AI 来源核对;未经过人工编辑审核。
查看当时使用的来源资料
SHA-256: 1ee1f56334352d750b22850331f578e1556f2649e49564c35954e2acb3f74195
2026-10-01T04:17:33.411Z
来源文件 / 仓库# React JS Resume Website Template  </div> ### View a [live demo here.](https://i-agustin-becerra.vercel.app) ### 🎉 Version 2 is here! New features: 1. Completely rebuilt with React and full typescript support 2. Built on the [Next.js](https://nextjs.org/) framework for easy server side rendering/static generation, image optimization, api routes, and deployment 3. Styled entirely with [TailwindCss](https://tailwindcss.com/) 4. Re-organized data population file for customizing site. 5. Significant improvement/modernization of all site sections ## Description This is a React based personal resume website template. Built with typescript on the Next.js framework, styled with Tailwind css, and populated with data from a single file, you can easily create, customize and host your own personal website in minutes. Even better, the site is fully mobile-optimized and server-side rendered to ensure fast loading and a clean UI on any device. Read on to learn how to make it your own. ## Make it Your Own! ### 1. Make sure you have what you need To build this website, you will need to have the latest stable versions of Node and Yarn downloaded and installed on your machine. If you don't already have them, you can get Node [here,](https://nodejs.org/en/download/) and Yarn [here.](https://yarnpkg.com/getting-started/install) ### 2. Fork and download this repo (and star if you like!) Next, find the `Fork` button in the top right of this page. This will allow you to make your own copy, for more info on forking repo's see [here.](https://docs.github.com/en/get-started/quickstart/fork-a-repo#forking-a-repository) After this, download to your development machine using the green `Code` button at the top of the repo page. ### 3. Install dependencies and run Once you have your own copy of this repo forked and downloaded, open the folder in your favorite terminal and run `yarn install` to install dependencies. Following this, run `yarn dev` to run the project. In your terminal you should be given the url of the running instance (usually http://localhost:3000 unless you have something else running). ### 4. Customize the data to make it your own All of the data for the site is driven via a file at `/src/data/data.tsx`. This is where you'll find the existing content, and updating the values here will be reflected on the site. If you have the site running as described above, you should see these changes reflected on save. The data types for all of these items are given in the same folder in the `dataDef.ts` file. Example images can be found at `src/images/` and are imported in the data file. To change, simply update these images using the same name and location, or add new images and update the imports. ### 5. Hook up contact form Due to the variety of options available for contact form providers, I've hooked up the contact form only so far as handling inputs and state. Form submission and the actual sending of the email is open to your own implementation. My personal recommendation for email provider is [Sendgrid.](https://sendgrid.com/) ### 6. Make any other changes you like Of course, all of the code is there and nothing is hidden from you so if you would like to make any other styling/data changes, feel free! ### 7. Deploy to Vercel and enjoy your new Resume Website Deploying your new site to Vercel is simple, and can be done by following their guide [here.](https://vercel.com/guides/deploying-nextjs-with-vercel) When you're all done and the build succeeds, you should be given a url for your live site, go there and you'll see your new personal resume website! Congratulations!
看看同类模板
对比同技术栈与用途的模板,找到更适合的视觉与内容结构。
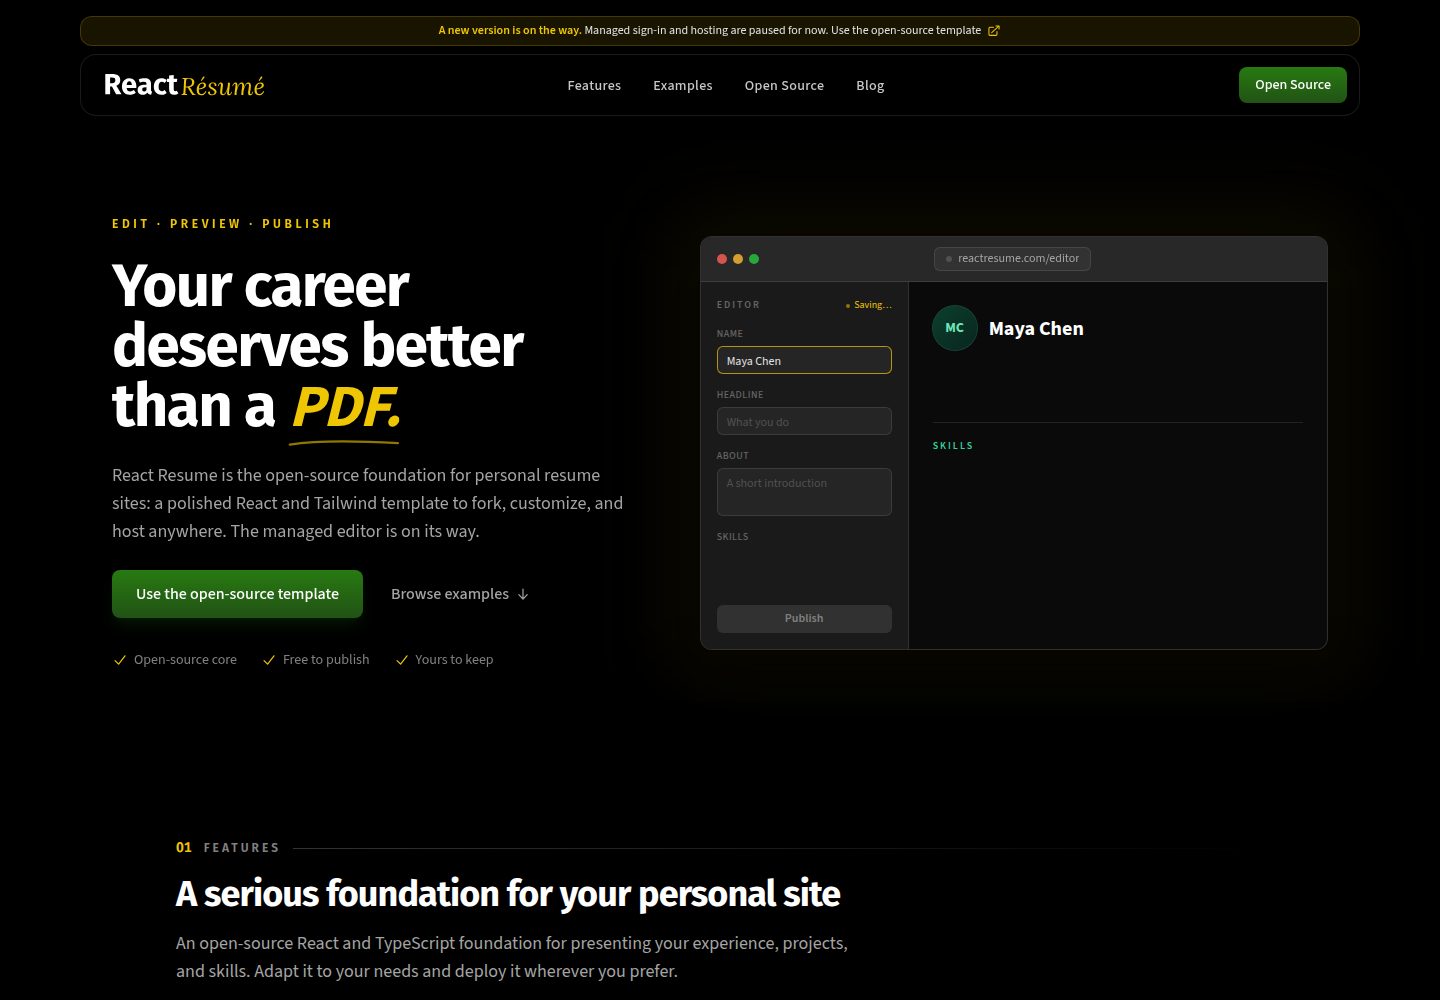
react-resume-template
A personal resume website template built with React.js, Typescript, Next.js, and styled with Tailwind css
Next.js · 作品集
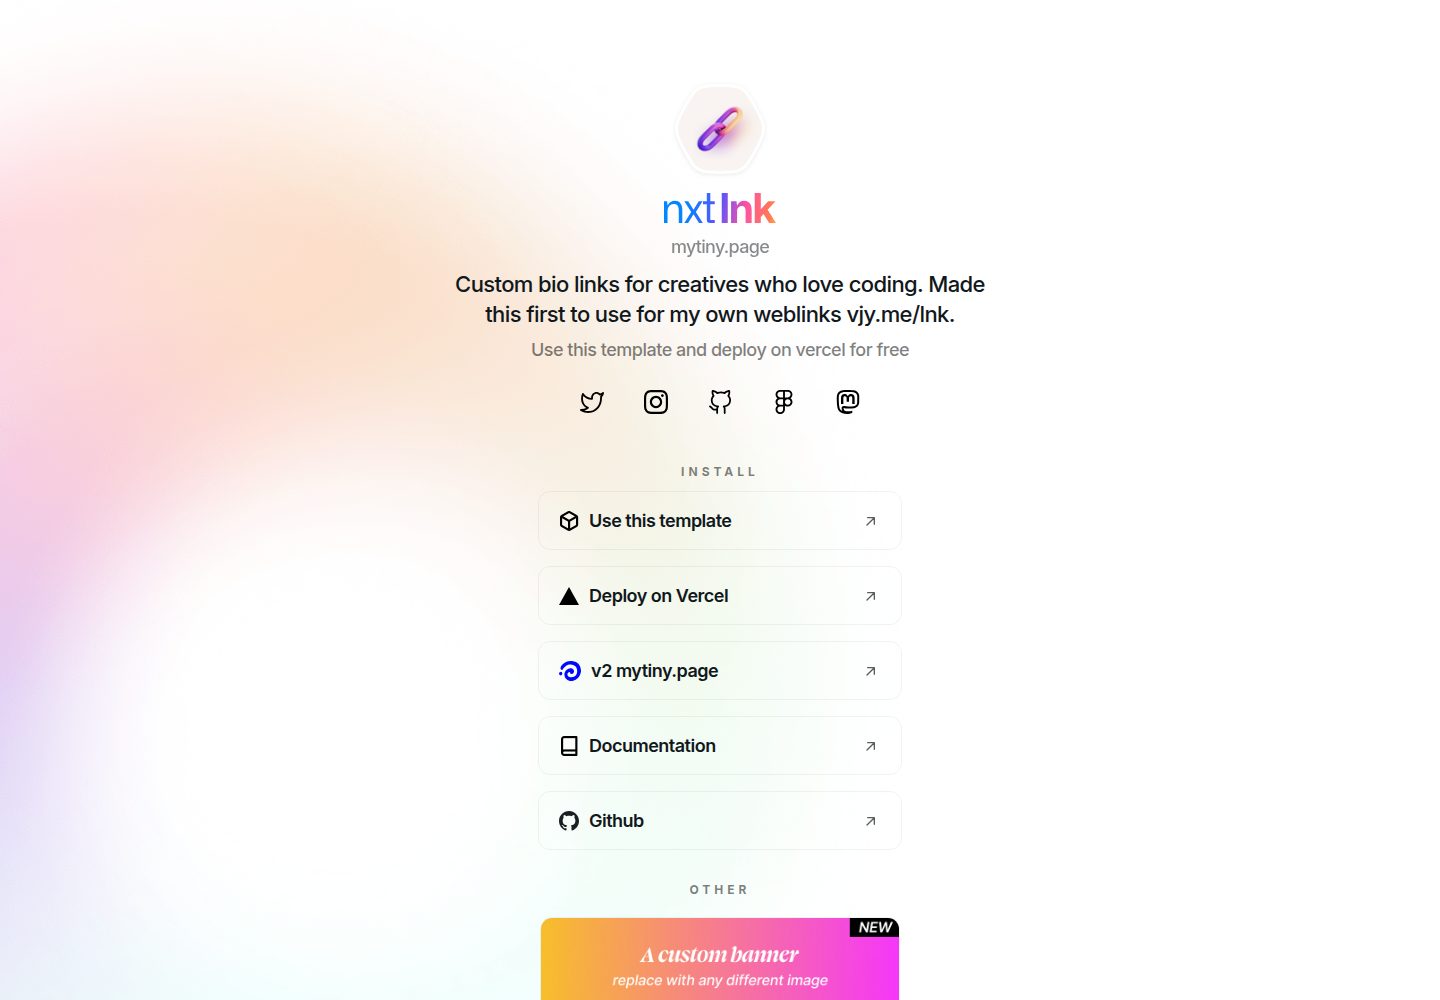
nxt-lnk
Custom bio links for creatives who love coding. A perfect custom alternative for linktree, bio and other short…
Next.js · 作品集
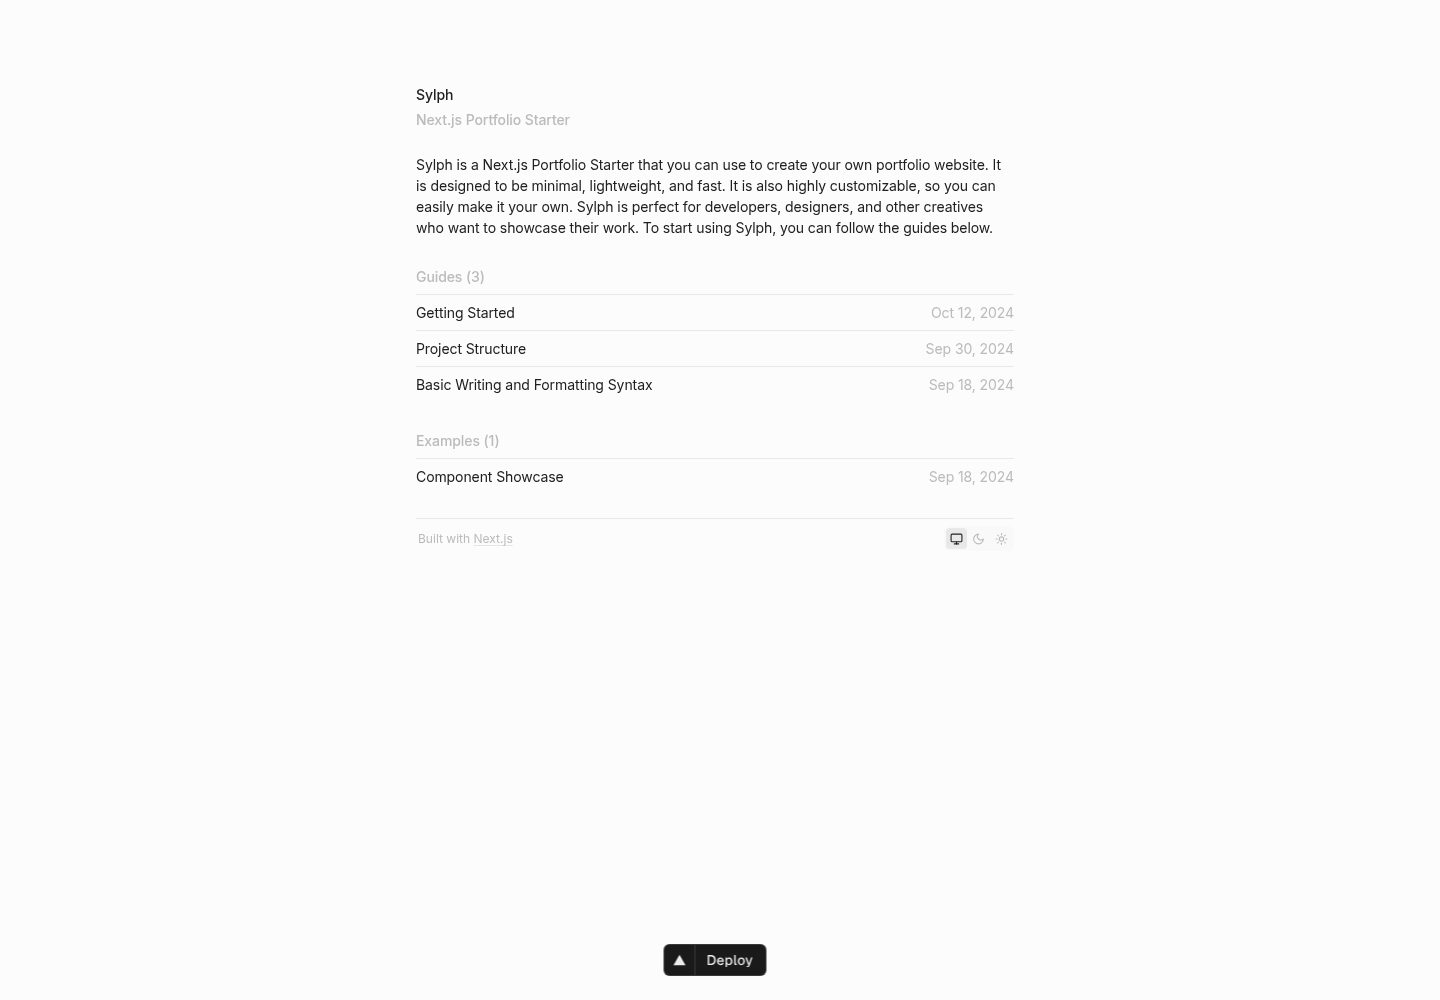
sylph
A minimal portfolio template.
Next.js · 作品集
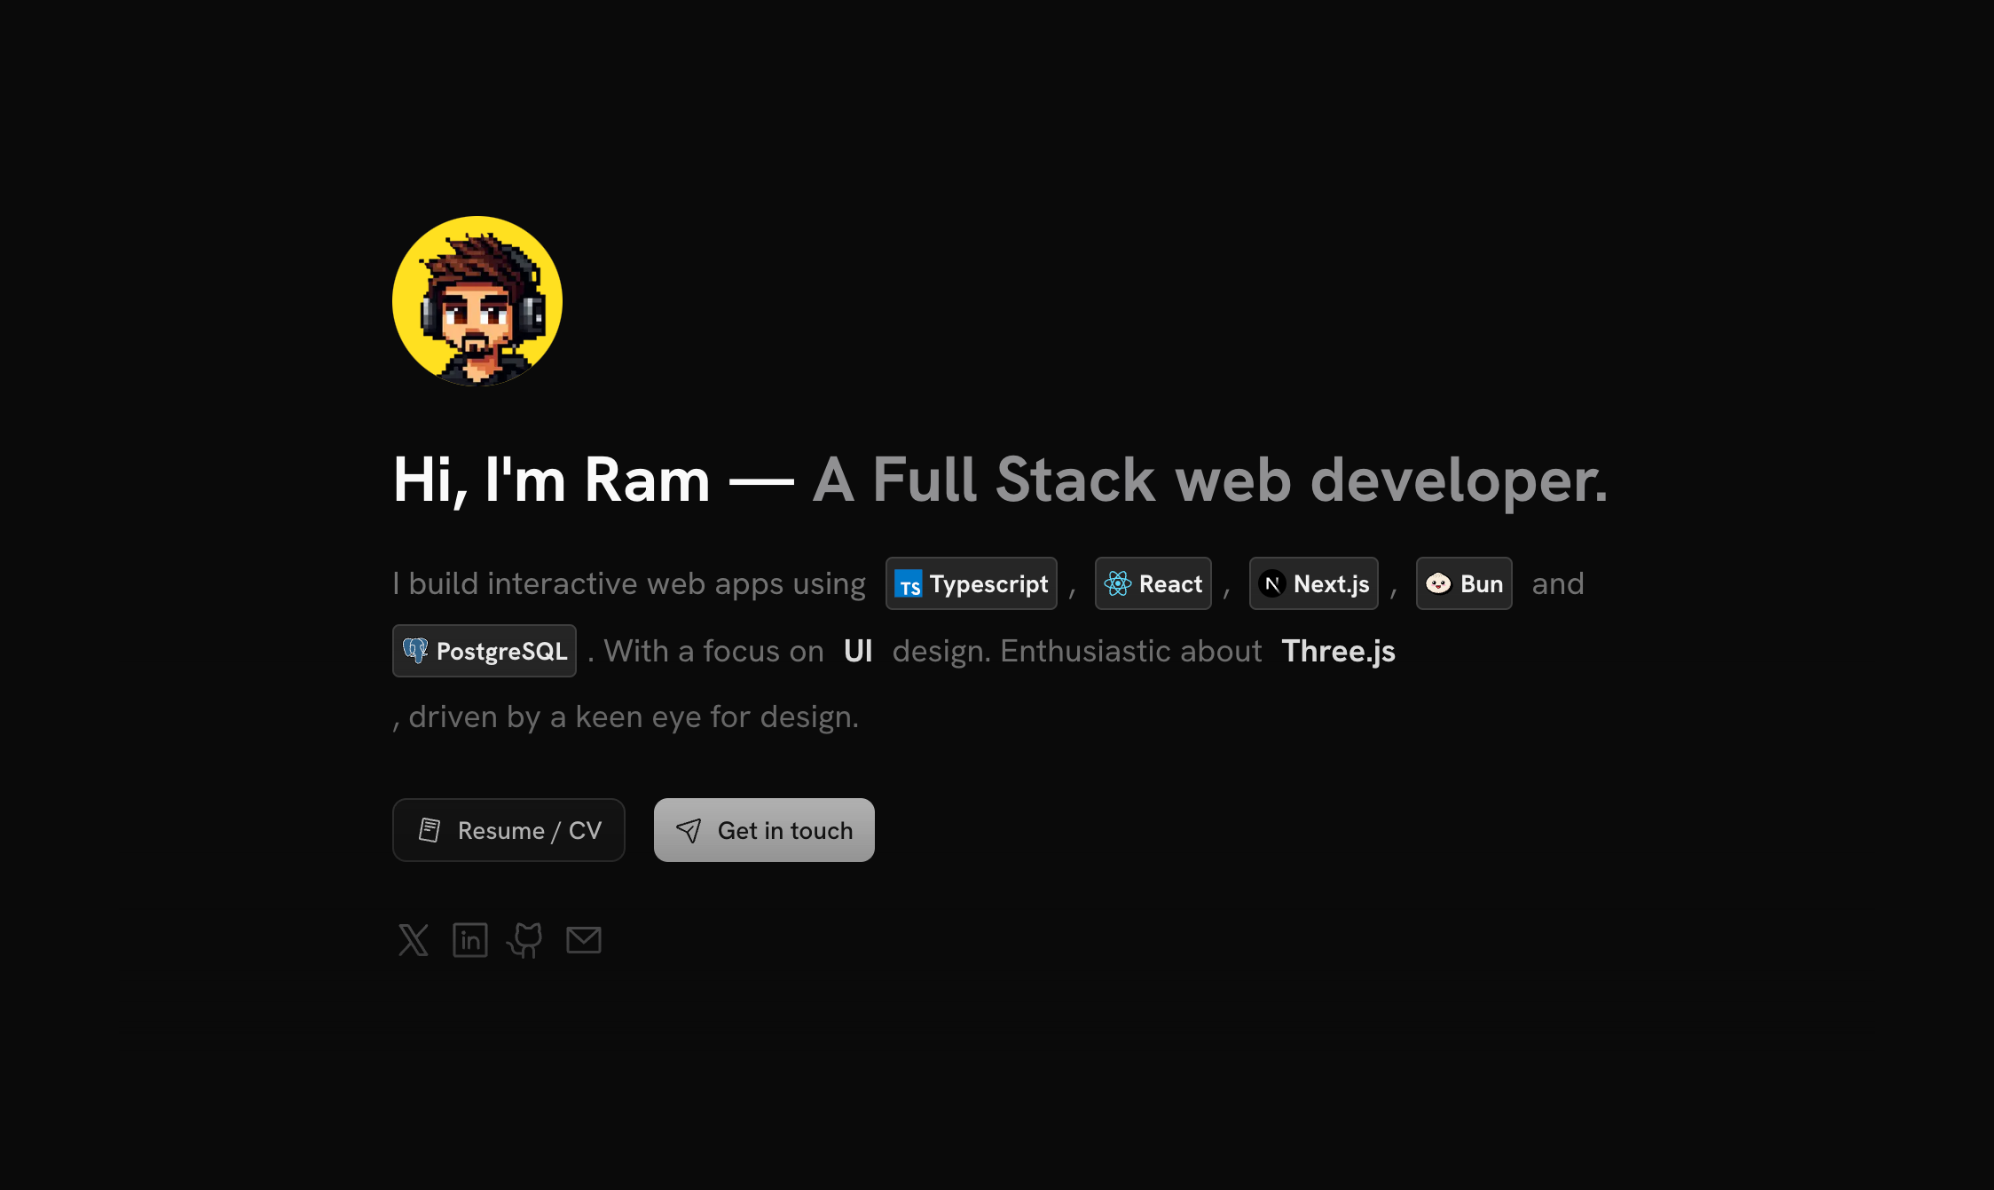
sleek-portfolio
sleek-portfolio 是一个面向开发者个人品牌展示的现代作品集模板,基于 Next.js 15、TypeScript、Tailwind CSS 和 Shadcn UI 构建。
Next.js · 作品集
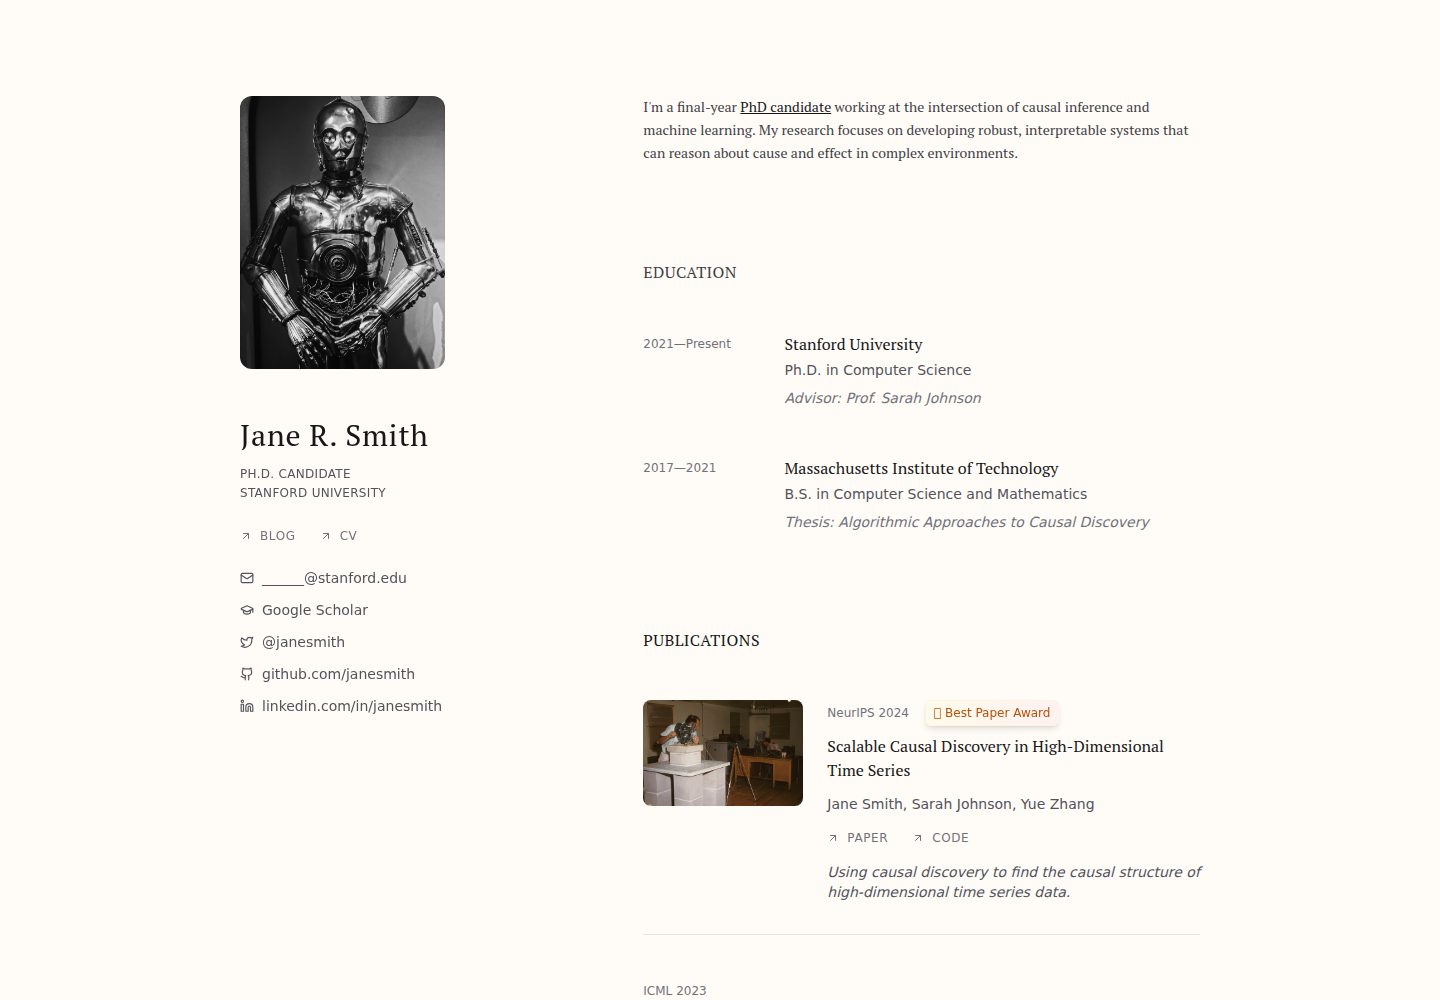
research-website-template
React + Next.js template for research websites (for PhD students, researchers, etc)
Next.js · 作品集
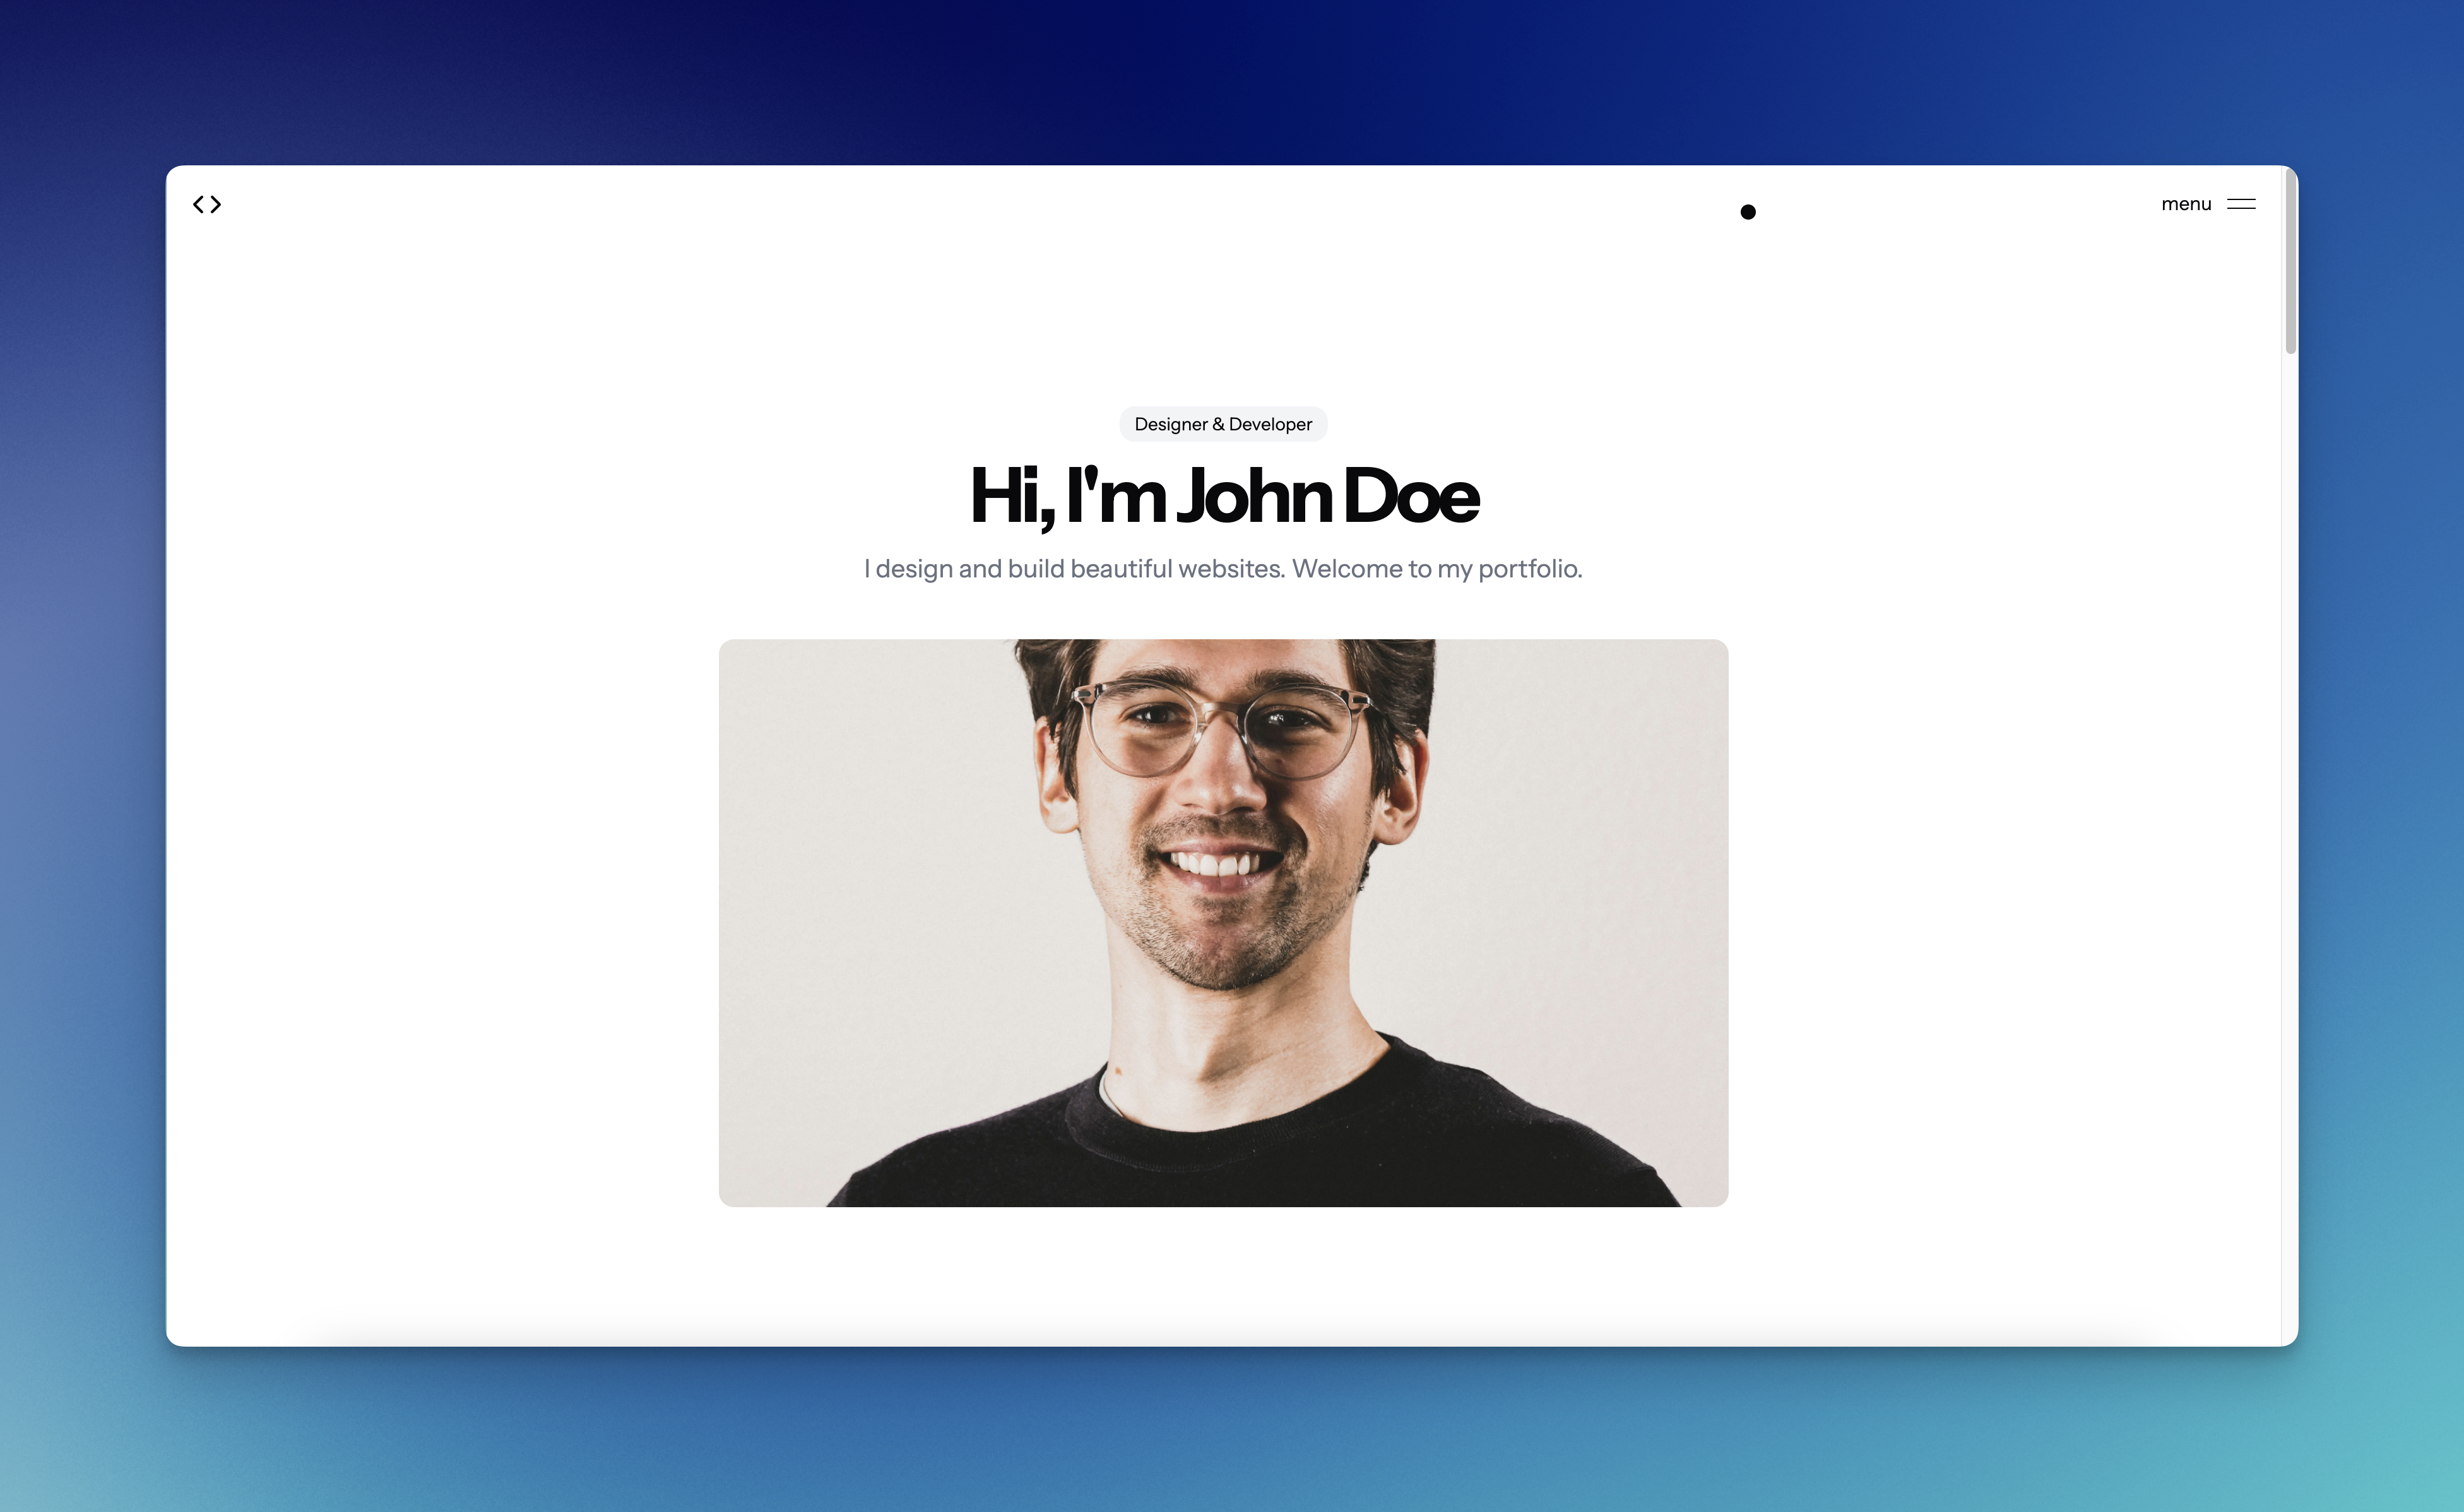
shadcn-portfolio
shadcn-portfolio 是一个面向开发者的作品集模板,技术栈为 Next.js 15、shadcn/ui、Tailwind CSS 和 Framer Motion。
Next.js · 作品集