集成 Contentful 并附带可直接使用的占位内容
GatsbyHTMLReact启动器
gatsby-freelance-starter — Gatsby 启动器模板
作者 blkfltchr
基于 Gatsby 的自由职业项目启动模板,集成 Contentful 内容管理和 Netlify 部署,附带占位内容与预置联系表单。
看看你的网站会是什么样
浏览真实页面截图,比较内容排版与手机效果。点击下方缩略图切换,放大查看整页细节。
目前有 1 张原始预览,可打开完整图片查看设计细节。
截图用于了解视觉与布局,交互效果请以实际项目为准。
采集于 2026-10-13查看来源
值得关注的模板亮点
从已有项目资料中,快速了解它的特点。
集成 Netlify,包含预置的联系表单
内置分页逻辑与 Theme UI 主题配置
SEO 组件支持 OpenGraph 分享与站点地图生成
包含 Google Analytics、渐进式 Web 应用与离线支持
提供 Gatsby Standard 与 Stylelint 的代码检查配置
模板详细介绍
这是一个用于快速搭建自由职业项目站点的 Gatsby 启动器,代码采用 MIT 许可,仓库中保留了原作者提供的预览截图。模板从 gatsby-starter-gcn 派生而来,将 Gatsby 的静态站点生成能力与 Contentful 的内容管理、Netlify 的托管和表单服务组合在一起。
功能层面,模板内置了 Contentful 集成并附带可直接使用的占位内容,包含分页逻辑、Theme UI 主题配置、SEO 组件(支持 OpenGraph 分享和站点地图生成)、Google Analytics、渐进式 Web 应用与离线支持,以及用于 JavaScript 的 Gatsby Standard 和用于 Styled Components 的 Stylelint 配置。站点元数据、菜单链接、每页文章数、文章根路径等集中在 gatsby-config.js 的 siteMetadata 中调整;颜色、字体、尺寸和响应式断点集中在 Theme UI 配置文件中修改。
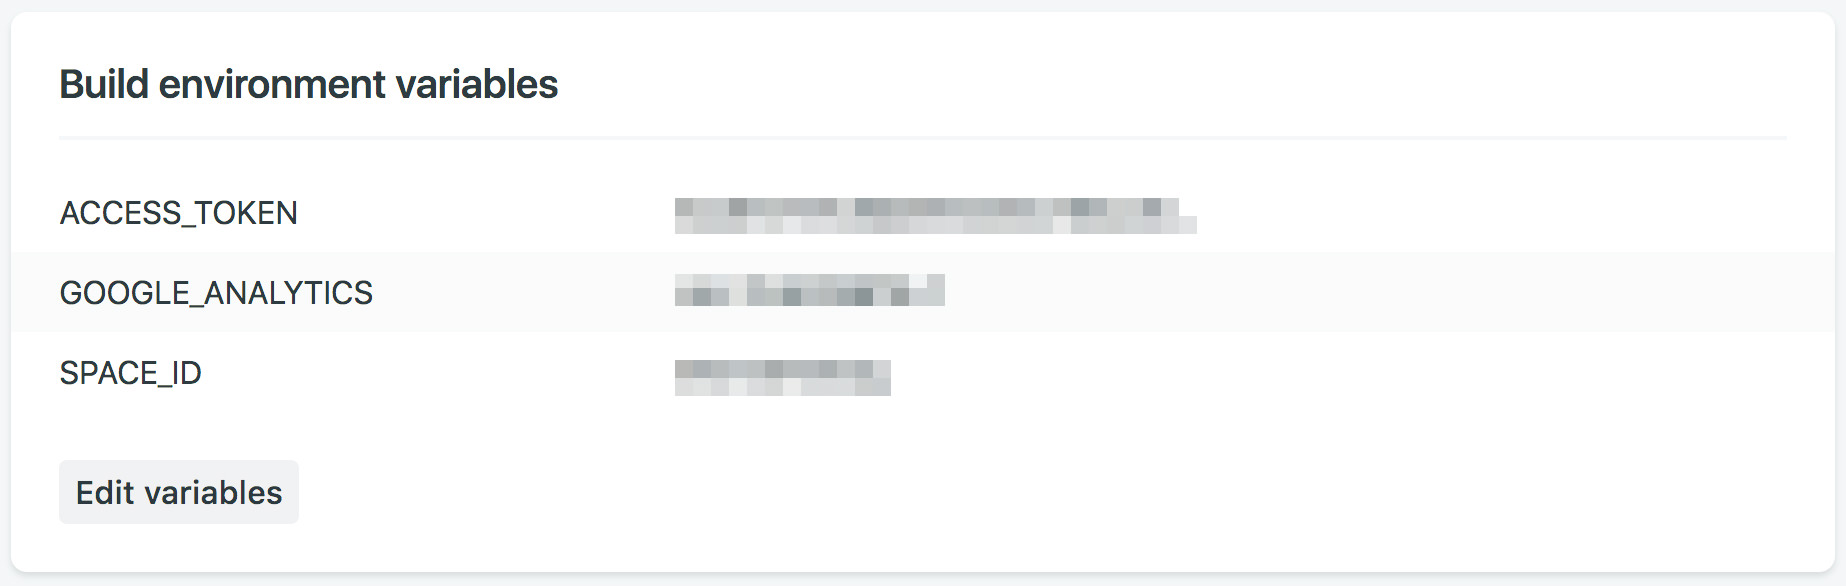
使用前需要自行注册 Contentful 并创建空空间,运行 npm run setup 输入标准 API 密钥和管理密钥,将占位内容导入。部署到 Netlify 时需在构建环境变量中配置 ACCESS_TOKEN、SPACE_ID 和可选的 GOOGLE_ANALYTICS。模板默认以博客结构组织内容,可通过修改 basePath 改为作品集路径。README 提到本地开发时若修改 Contentful 内容需重启 gatsby develop 才能看到变化,且未提供具体框架版本号与性能说明。
GatsbyHTML启动器
适合你的项目吗?
适用场景
- 为自由职业者搭建包含博客、服务介绍和联系表单的站点
- 以 Contentful 作为内容源、Netlify 作为托管平台的静态站点项目
- 需要分页文章列表和 SEO 元数据管理的个人站点
- 作为二次开发起点,替换占位内容后定制为作品集或服务展示页
适合人群
- 熟悉 Gatsby 与 npm 工作流的前端开发者
- 已使用或愿意注册 Contentful 与 Netlify 的开发者
- 需要快速获得可运行占位内容以进行定制的人
- 接受以博客结构组织内容并可改为作品集路径的项目
上手与定制指南
结合仓库当前版本的说明,按下面的资料检查内容、配置与运行要求。
- 1
通过 Gatsby CLI 执行 gatsby new 创建项目,然后运行 npm install
- 2
注册 Contentful 并创建空空间,运行 npm run setup 输入标准 API 密钥和管理密钥
- 3
在 Netlify 构建环境变量中配置 ACCESS_TOKEN、SPACE_ID 和可选的 GOOGLE_ANALYTICS
- 4
站点元数据、菜单链接和分页参数在 src/gatsby-config.js 的 siteMetadata 中修改
- 5
本地开发时修改 Contentful 内容需重启 gatsby develop 才能看到变化
授权与来源资料
使用条件与限制
免费使用 · 保留许可声明本次收录的是公开仓库中采用 MIT 许可的免费版本;免费范围为该版本代码,不代表外部服务或第三方素材免费。
使用时需要遵守
- 允许免费使用、修改、商用和分发该版本代码。
- 分发代码副本或实质性部分时,保留原作者版权声明和完整 MIT 许可声明。
- 代码按现状提供;担保与责任限制以原许可证及适用法律为准。
额外费用与待核对事项
- 演示图片、字体、图标及其他第三方素材需按各自许可核对,不能仅凭代码的 MIT 许可判断。
- 域名、托管、数据库、支付或 AI 等外部服务可能另外收费。
- 使用前必须自行注册 Contentful 账号并创建一个空空间,模板本身不包含内容管理后端,需依赖该第三方服务。
- 运行 npm run setup 时必须提供 Contentful 的标准 API 密钥和管理密钥,缺少密钥无法导入占位内容。
- 部署到 Netlify 时需配置 ACCESS_TOKEN 与 SPACE_ID 环境变量,Google Analytics ID 为可选;变量名必须完全一致才能正常工作。
- Netlify 部署流程要求连接 GitHub 并选择仓库,部署依赖该外部平台与代码托管账号。
- 本地开发时若修改 Contentful 内容,必须停止并重新运行 gatsby develop 才能看到变化,新文章或页面不会自动出现。
查看原文依据
Permission is hereby granted, free of charge
许可证原文
1. [Sign up](https://www.contentful.com/sign-up/) for Contentful and create a new empty space
README 原文
You will need to provide both a standard API key (first tab) and a management key (second tab).
README 原文
Add the following environment variables using the Space ID and Content Delivery API - access token from Contentful. Additionally if desired you can enter a Google Analytics ID.
README 原文
Connect with GitHub and select your repo
README 原文
https://github.com/blkfltchr/gatsby-freelance-starter/blob/master/LICENSEhttps://github.com/blkfltchr/gatsby-freelance-starter/blob/master/README.mdIf you make edits to your Contentful space while running `gatsby develop` you will need to stop it and rerun the command to see the changes reflected.
README 原文
DeepSeek 根据仓库许可证和 README 整理 ·2026-10-13。结果仅覆盖已读取资料,依赖、图片、字体及后续条款变更以各自原文为准。
项目核对记录与介绍依据
模板资料
- 来源平台
- GitHub
- 资料与维护参考分
- 资料一般 · 61 / 100
- 技术栈
- Gatsby · HTML · React
- 网站类型
- 启动器
这个分数如何计算
本站按许可资料(最高30分)、演示链接(12分)、预览图(10分)、Star数(15分)、记录的维护时间(15分)、描述完整度(8分)、功能记录(5分)和分类资料(5分)计算。它不是代码、安全或性能测试,也不是 Google 评分;有链接不代表已实测可用。
这个项目需要核对什么
- 记录的仓库更新时间
- 2023-01-11
- 截图检查日期
- 2026-10-13
目前没有记录演示链接。请依据仓库说明在本地评估;仅凭截图无法确认交互行为。
目录记录的主要技术栈是 Gatsby。请通过依赖清单和锁文件核对实际版本与托管要求。这些说明基于收录资料,不代表代码审计或部署实测。
查看具体选型方法 →介绍的制作与核对状态
介绍由 AI 辅助整理目录与仓库资料。仓库作者不等于这篇介绍的审核者。
审核声明: [email protected] · 2026-10-13
查看当时使用的来源资料
SHA-256: 0abb7643bc7d8ca22f0e04ced036f700b65479005b492f5c1751a30e0c9553cb
2026-10-13T06:40:38.065Z
来源文件 / 仓库# gatsby-freelance-starter
A template to quickly and easily bootstrap freelance projects with Gatsby, Contentful and Netlify. Forked from [gatsby-starter-gcn](https://github.com/blkfltchr/gatsby-freelance-starter).
## Features
- Contentful integration with ready to go placeholder content
- Netlify integration including a pre-built contact form
- Minimal responsive design - made to customize or tear apart
- Pagination logic
- Theme UI
- SEO Friendly Component
- OpenGraph sharing support
- Sitemap Generation
- Google Analytics
- Progressive Web app
- Offline Support
- [Gatsby Standard module](https://www.npmjs.com/package/eslint-config-gatsby-standard) for linting Javascript with StandardJS
- Stylelint support for Styled Components to lint the CSS in JS
## Demo
https://gatsbyfreelancestarter.netlify.app/
## Getting Started
### Install
via the [Gatsby CLI](https://www.npmjs.com/package/gatsby-cli)
```
gatsby new [PROJECT_NAME] https://github.com/blkfltchr/gatsby-freelance-starter.git
cd [PROJECT_NAME]
npm install
```
### Setup Contentful
1. [Sign up](https://www.contentful.com/sign-up/) for Contentful and create a new empty space
2. `npm run setup`
3. Enter in the requested info for your Contentful space found here: **app.contentful.com** → **Settings** → **API keys**. You will need to provide both a standard API key (first tab) and a management key (second tab).
## Customization
### Website Data
Edit siteMeta data in [`/src/gatsby-config.js`](https://github.com/blkfltchr/gatsby-freelance-starter/blob/master/src/gatsby-config.js)
```js
siteMetadata: {
title: 'Gatsby Freelance Starter', // Title of the website
description: // Description of the website
'A template to quickly and easily bootstrap freelance projects with Gatsby, Contentful and Netlify.',
siteUrl: 'https://website.com', // Website URL. Do not include trailing slash
image: '/images/share.jpg', // Path to default image for SEO
menuLinks: [ // The links used in the top menu
{
name: 'Home',
slug: '/',
},
{
name: 'About',
slug: '/about',
},
{
name: 'Services',
slug: '/services',
},
{
name: 'Blog',
slug: '/blog',
},
{
name: 'Contact',
slug: '/contact',
},
],
postsPerFirstPage: 7, // Number of posts on the first page
postsPerPage: 6, // Number of posts used on all other pages
/*
Root URL for posts and tags
For example: 'blog' will result in:
- www.example.com/blog/
- www.example.com/blog/post-name/
*/
basePath: '/blog', // All posts default to /blog (change to /projects) if you replace the blog with a portfolio.
}
```
**Note:** If you do not see your changes reflected when developing locally you may need to run `gatsby clean` followed by restarting the server via `gatsby develop`.
### Theme UI
Edit [`/src/gatsby-plugin-theme-ui/index.js`](https://github.com/blkfltchr/gatsby-freelance-starter/blob/master/src/gatsby-plugin-theme-ui/index.js)
```js
export default {
colors: {
background: '#ffffff',
text: '#121212',
primary: '#121212',
secondary: '#e9e9e9',
tertiary: '#f3f3f3',
highlight: '#5b8bf7',
},
fonts: {
body:
'-apple-system, BlinkMacSystemFont, "Segoe UI", Roboto, Helvetica, Arial, sans-serif',
},
sizes: {
maxWidth: '1050px',
maxWidthCentered: '650px',
},
responsive: {
small: '35em',
medium: '50em',
large: '70em',
},
}
```
### Using Gatsby Standard
1. Quickly check your code for errors with the `yarn test` script
2. You can view the [Gatsby Standard README](https://github.com/brandonkal/eslint-config-gatsby-standard) for details on how to integrate this project's included Gatsby Standard, Stylelint, and Prettier modules into your text editor
### Content and SEO
1. You can replace the `share.jpg` and `favicon.png` files in the `static/images` directory.
2. Meta descriptions are defined in Contentful. If you choose to leave this field blank on new posts a 320 character excerpt of the post/page will be used instead.
## Deployment
### Netlify Deployment From Git
1. [New Netlify website from Git](https://app.netlify.com/start)
2. Connect with GitHub and select your repo
3. Navigate to Netlify: **Settings** → **Build & Deploy** → **Build Environment Variables**. Add the following environment variables using the Space ID and Content Delivery API - access token from Contentful. Additionally if desired you can enter a Google Analytics ID. The variables must be named exactly like this in order to work properly.
```
ACCESS_TOKEN
SPACE_ID
GOOGLE_ANALYTICS
```

4. Navigate to Netlify: **Deploys**. Click `Trigger deploy` to manually trigger a deploy to confirm the website is building successfully using your build environment variables. At this point be aware that every time you push to `master` a deploy will automatically start and be published to production.
## Additional Settings
### Contentful Webhook
So that every time you publish to Contentful a deploy will automatically start and be published to production.
1. Navigate to Netlify:
**Settings** → **Build & Deploy** → **Scroll down to Build hooks**.
Add and save a new build hook and call it: `Contentful build hook`. Copy the build hook url.
2. Navigate to Contentful:
**app.contentful.com** → **Space Settings** → **Webhooks**. Create a webhook using the Netlify build URL that you just created
and configure which events should trigger the build on production. For example the following will rebuild the production website every time a post or page is published, unpublished or deleted:

### Netlify Form Notifications
1. Navigate to Netlify:
**Forms** → **Notifications**
2. Click the add notification dropdown and select your desired notification method.

## Useful Tips
- If you make edits to your Contentful space while running `gatsby develop` you will need to stop it and rerun the command to see the changes reflected. For example a new post or page will not automatically show up until the website has been rebuilt.
看看同类模板
对比同技术栈与用途的模板,找到更适合的视觉与内容结构。
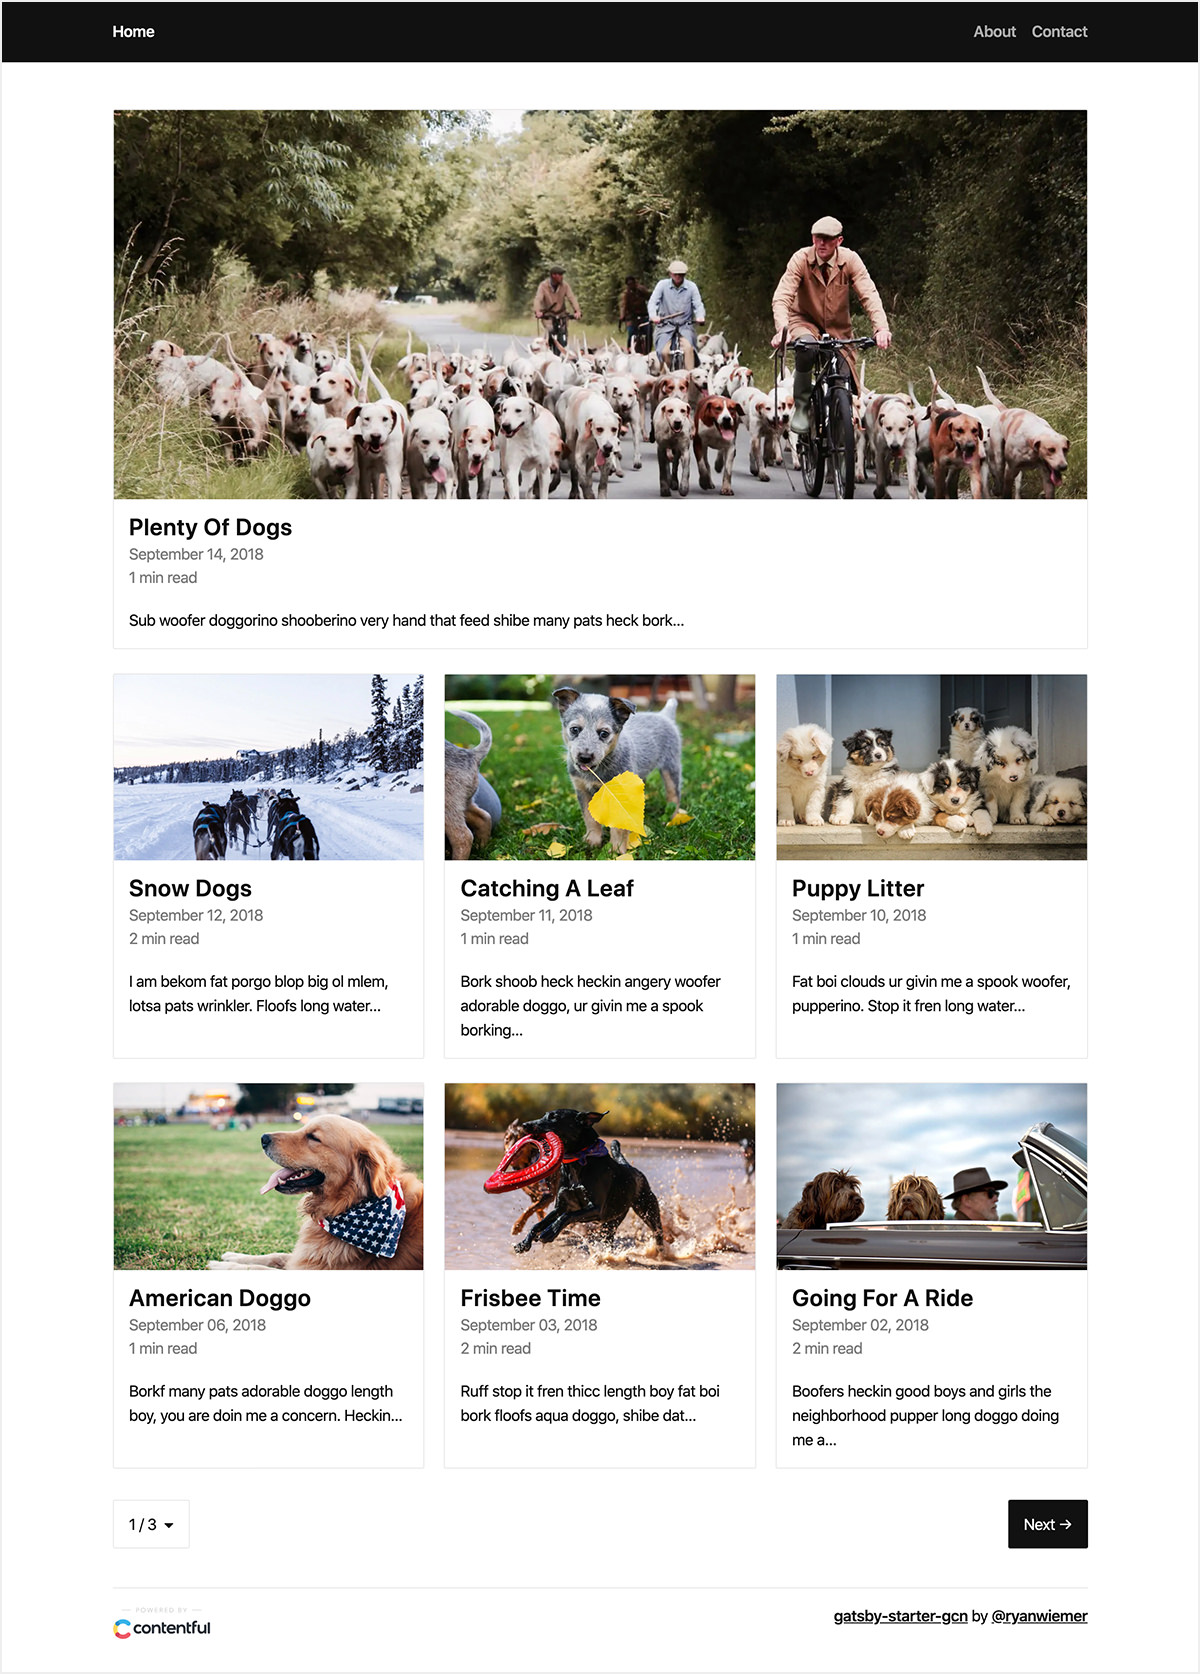
gatsby-starter-gcn
gatsby-starter-gcn 是一个面向静态网站构建的 Gatsby 启动器,将内容管理、部署和前端开发串联起来。
Gatsby · 博客
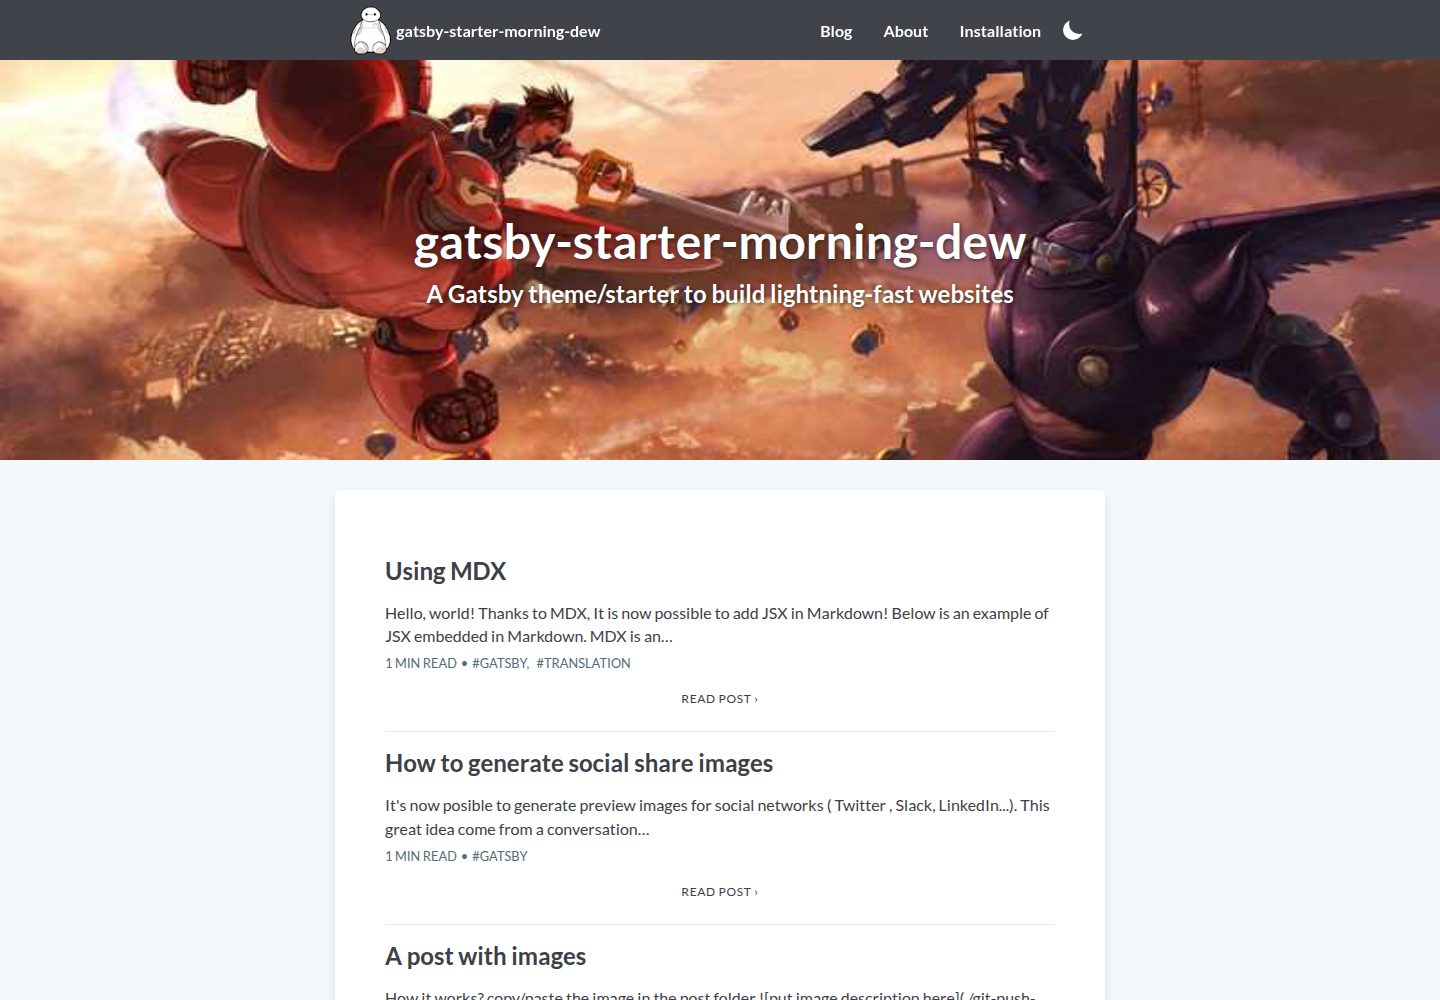
gatsby-starter-morning-dew
:rocket: A Gatsby theme/starter to build lightning-fast blog/websites
Gatsby · 博客
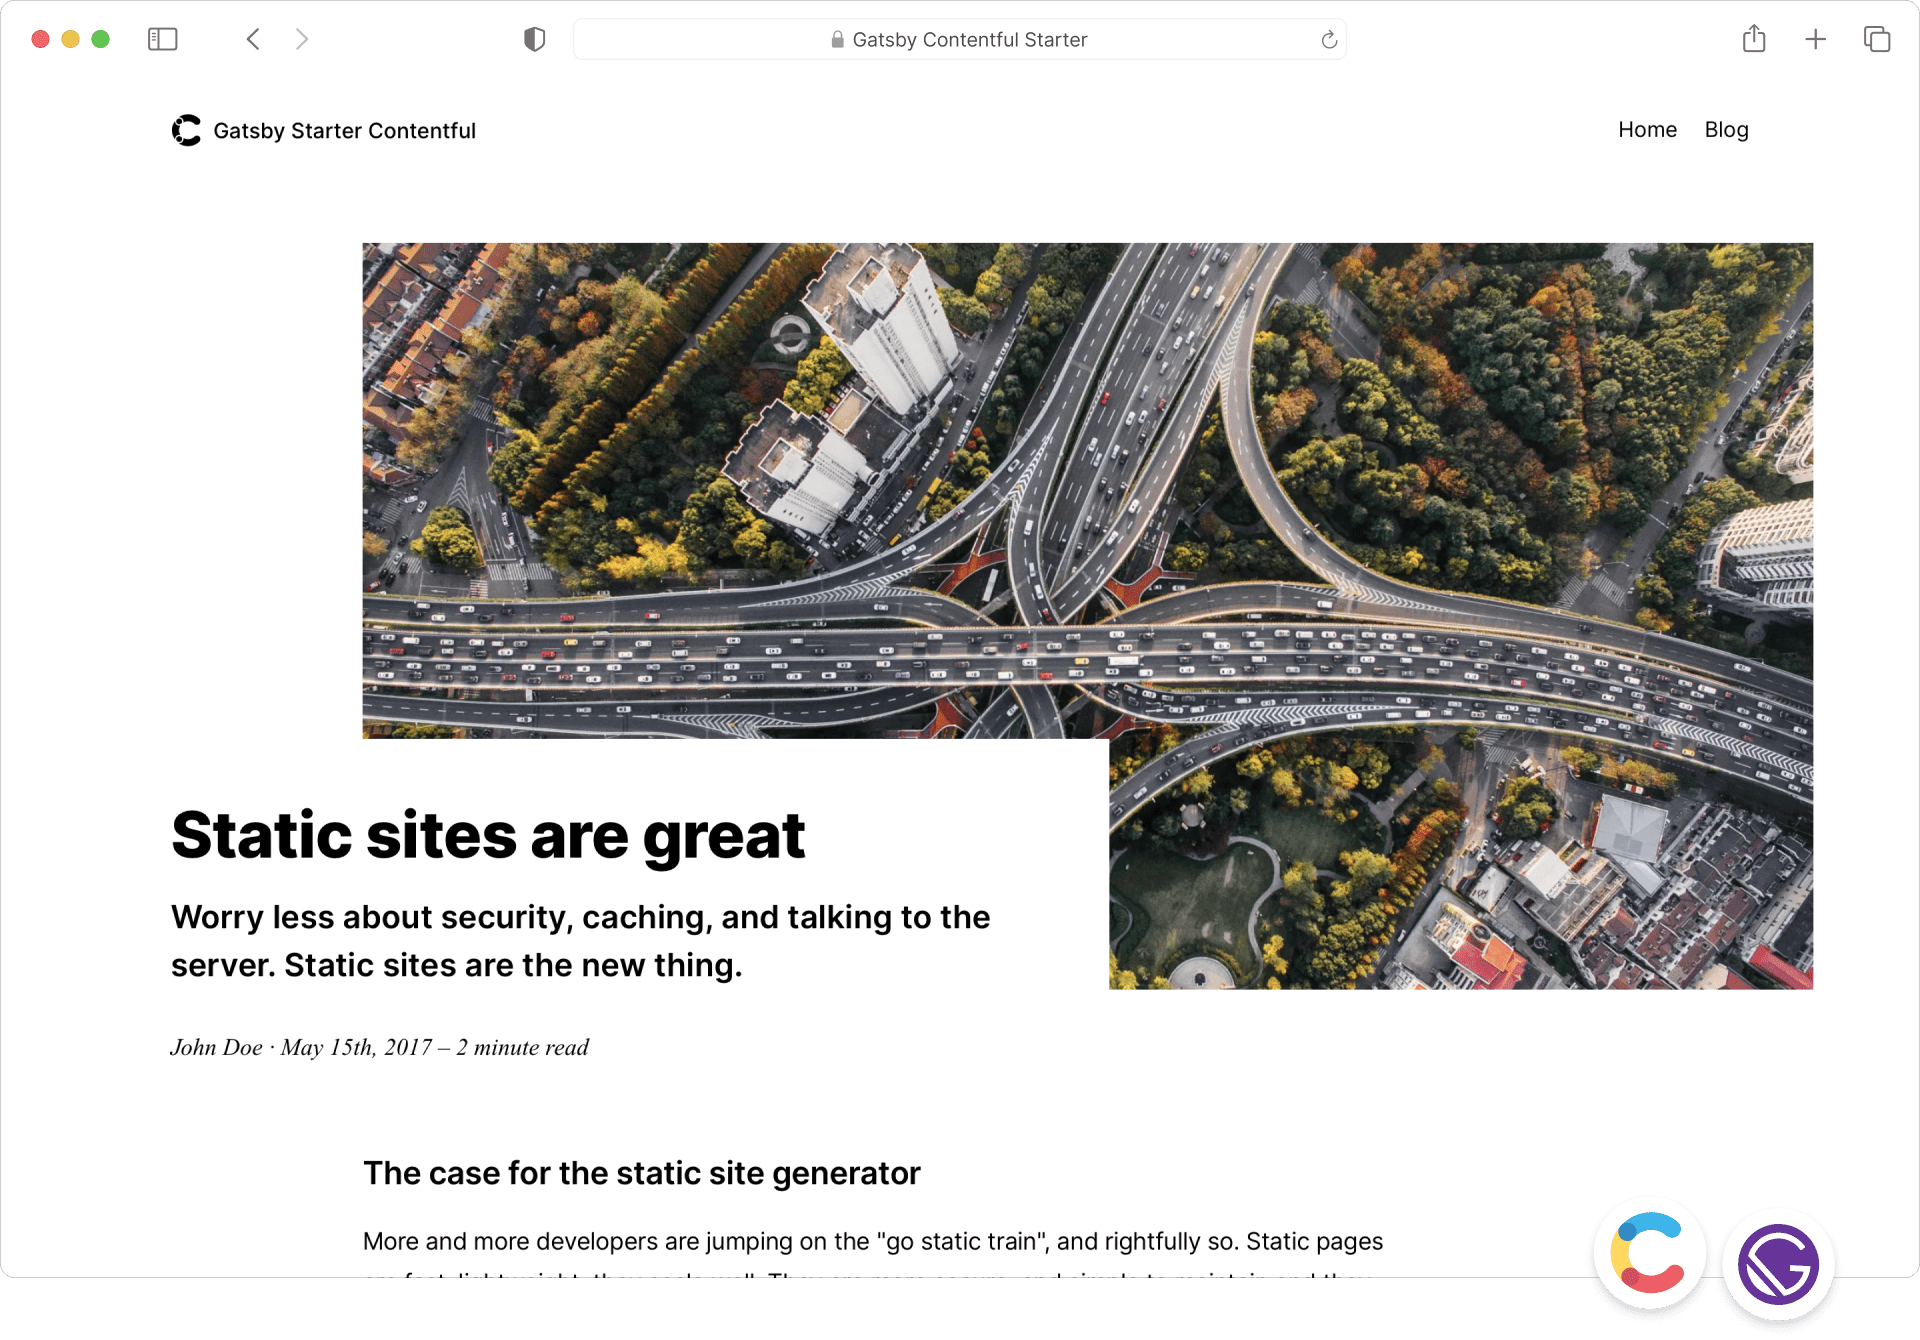
starter-gatsby-blog
这是一个由 Contentful 社区维护的 Gatsby 博客启动器,目标是把静态站点的低维护成本与 Contentful 的友好编辑界面结合起来。
Gatsby · 社区
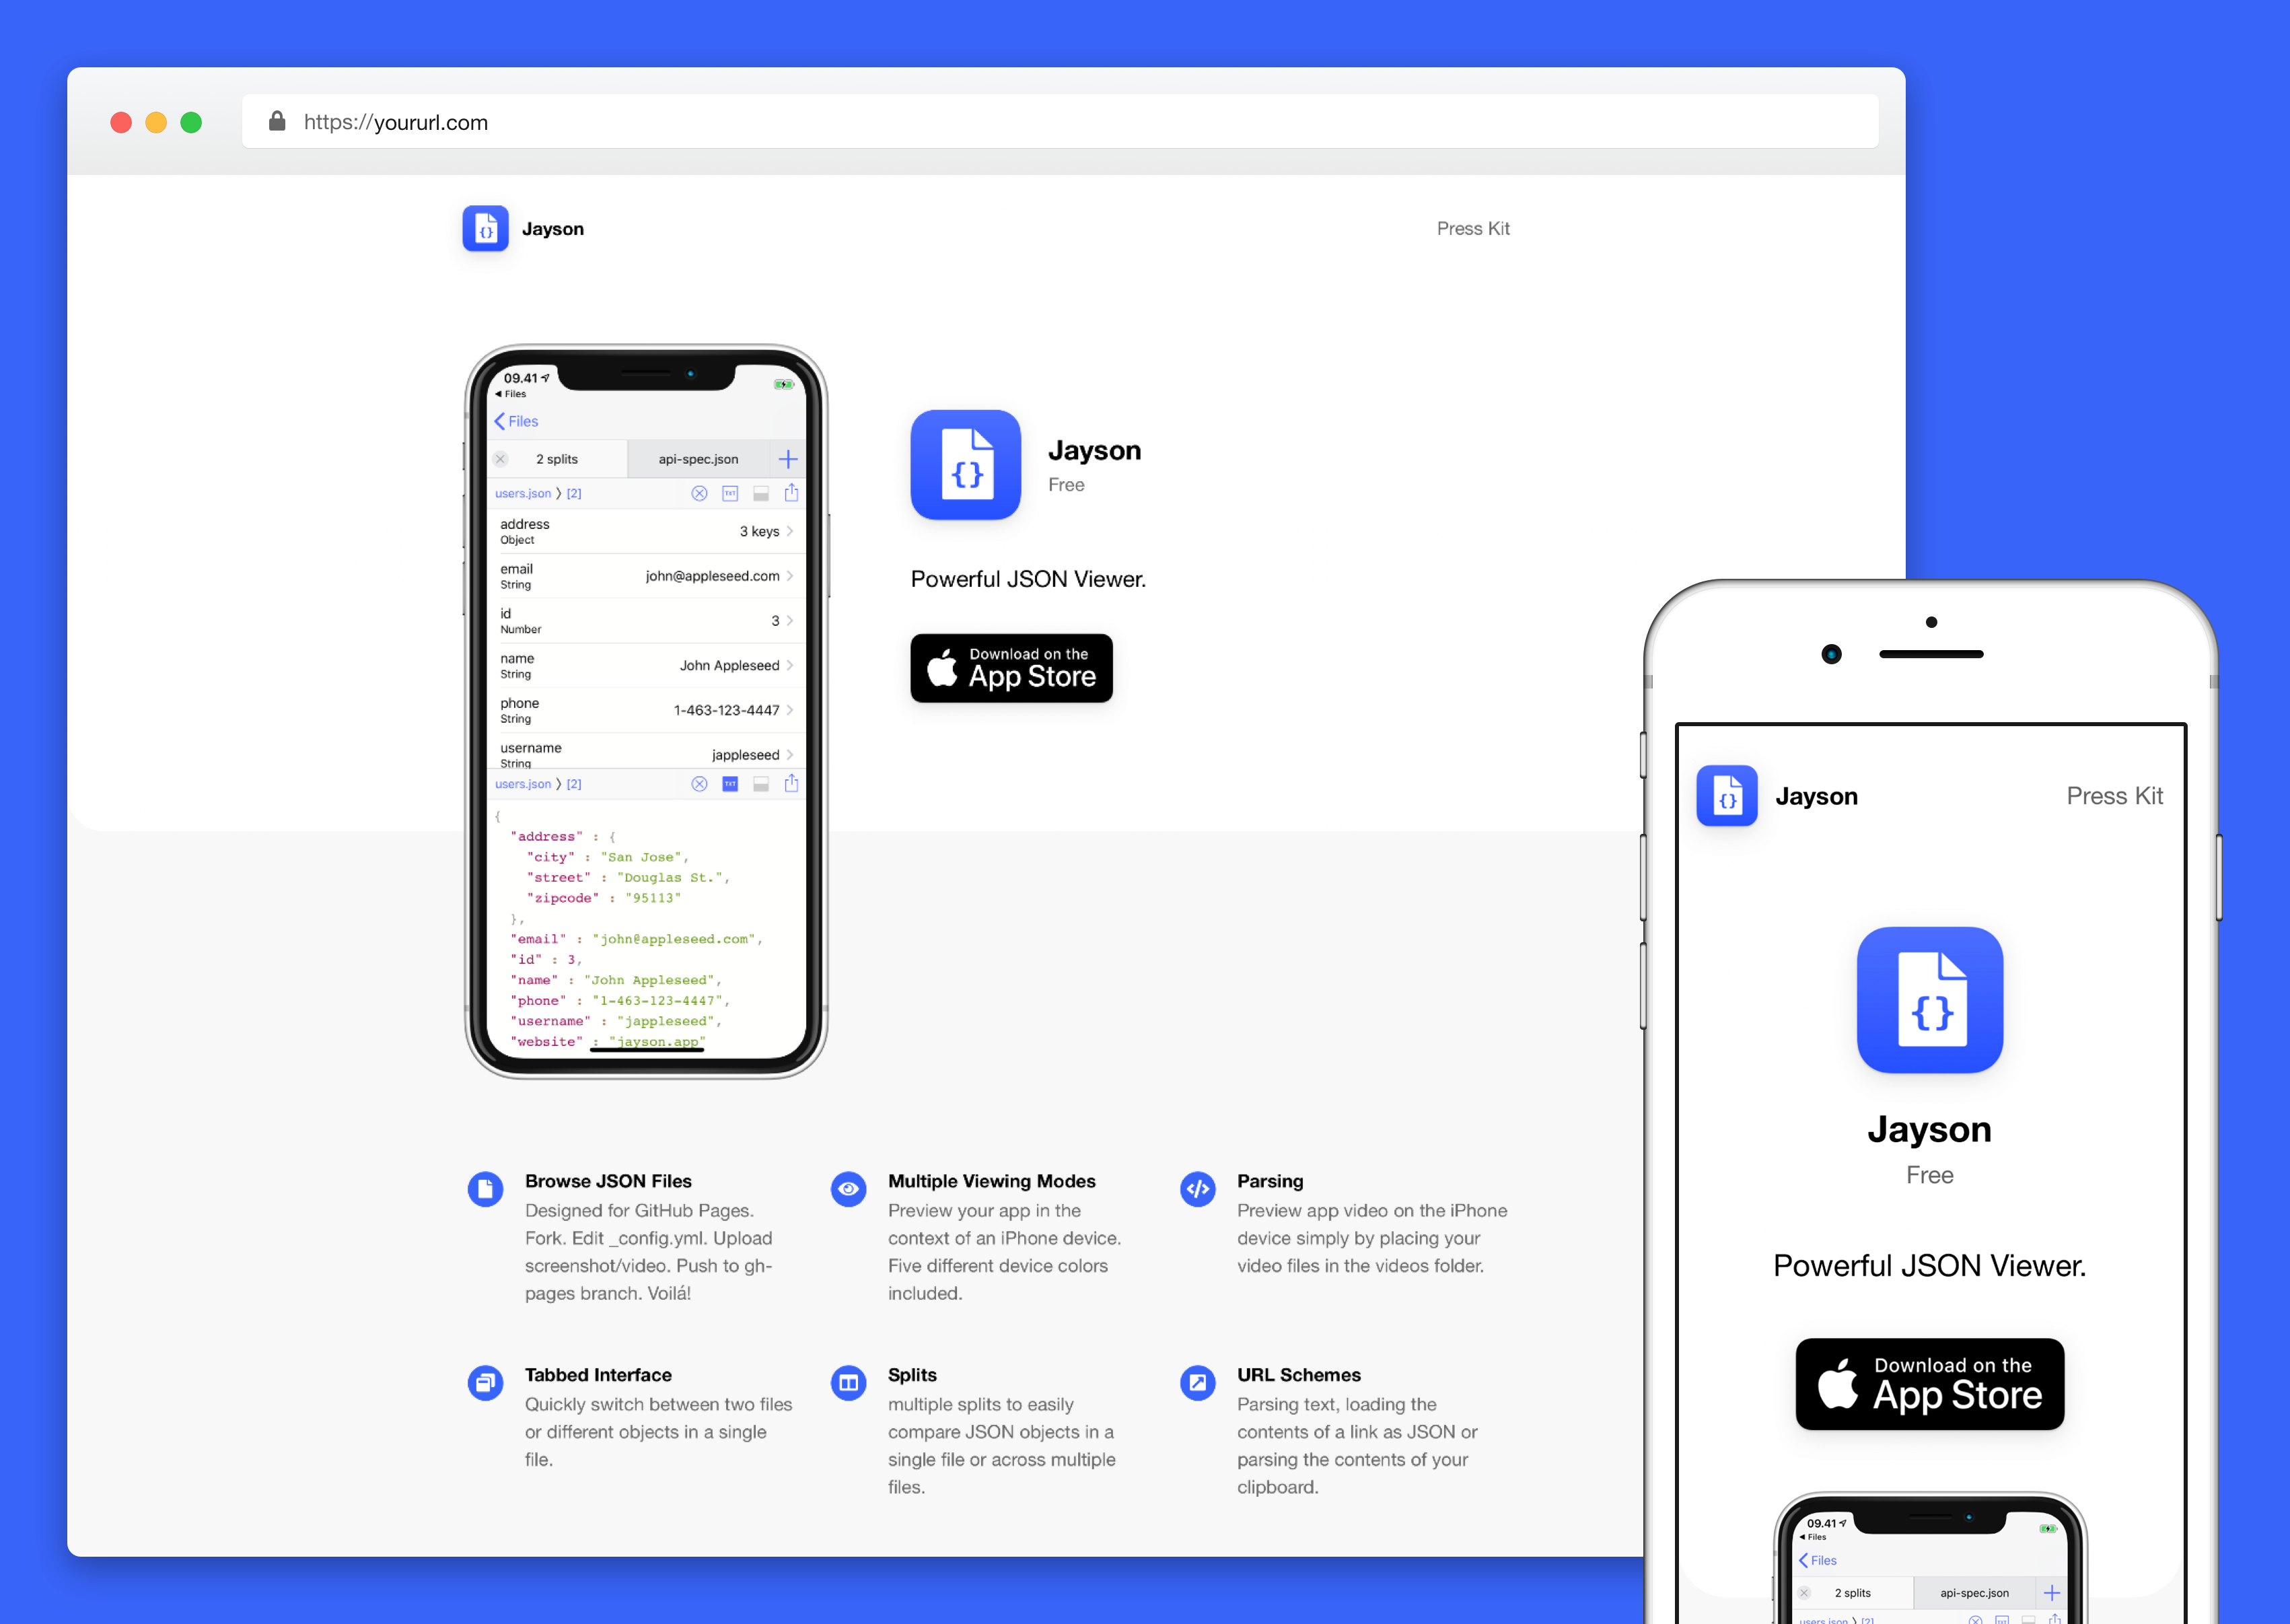
automatic-gatsbyjs-app-landing-page
Automatic GatsbyJS App Landing Page - Automatically generate iOS app landing page using GatsbyJS
Gatsby · 工具站
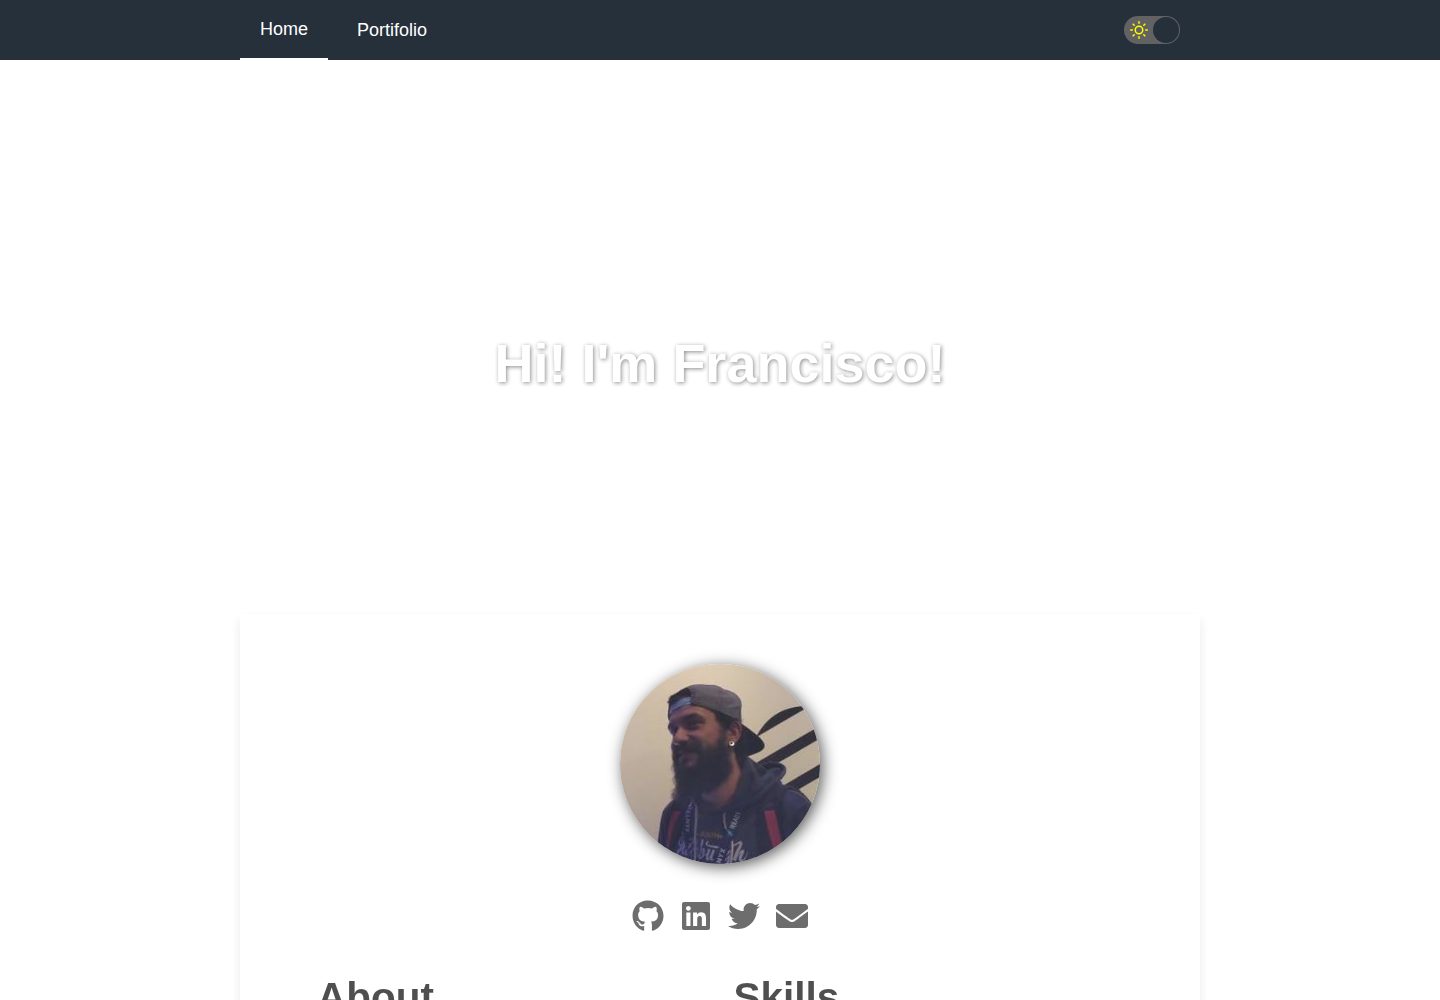
gatsby-starter-cv
A simple starter to get up and developing your digital curriculum with GatsbyJS
Gatsby · 启动器

clay-theme
Image-centric Gatsby theme for publishers, portfolios, photographers blogs and more.
Gatsby · 作品集