Django 拍卖电商站点,功能形态参考 eBay 的竞拍流程
DjangoHTML电商
ecommerce-auction-website — Django 电商模板
作者 BobsProgrammingAcademy
基于 Django 的 eBay 风格拍卖电商网站模板,使用 PostgreSQL 存储数据,前端为 HTML、CSS 与 Bootstrap 主题,并提供 Chart.js 图表。
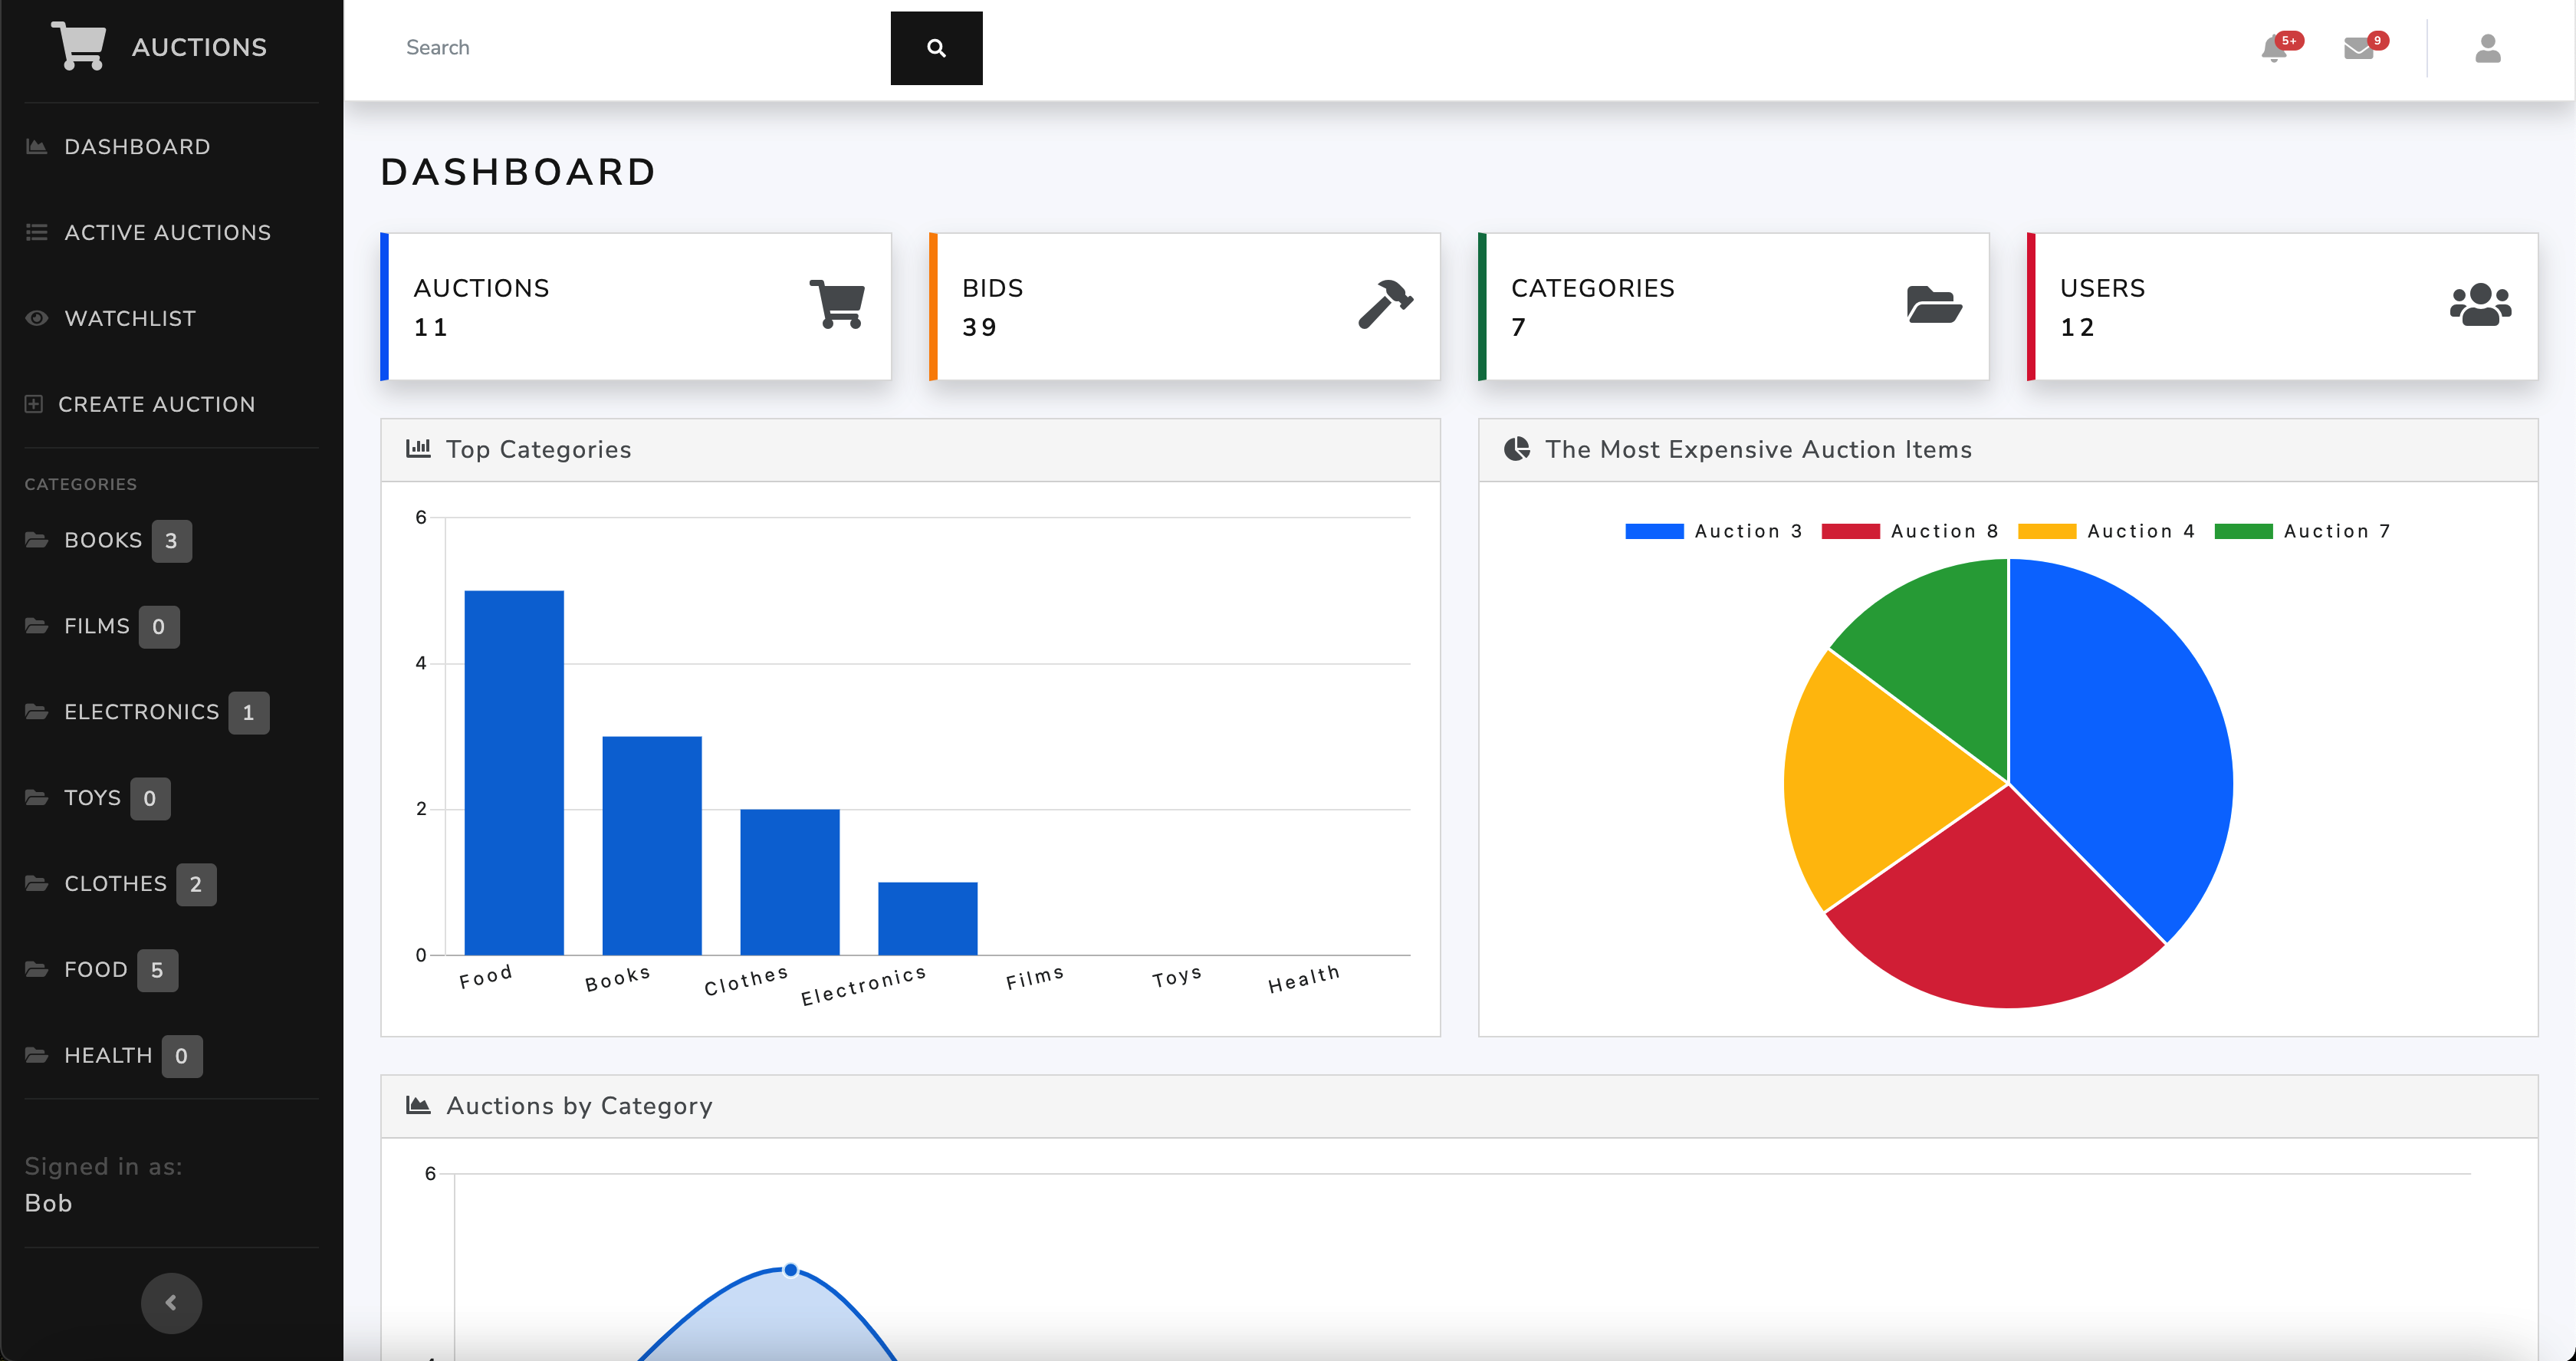
看看你的网站会是什么样
浏览真实页面截图,比较内容排版与手机效果。点击下方缩略图切换,放大查看整页细节。
目前有 1 张原始预览,可打开完整图片查看设计细节。
截图用于了解视觉与布局,交互效果请以实际项目为准。
采集于 2026-10-02查看来源
值得关注的模板亮点
从已有项目资料中,快速了解它的特点。
使用 PostgreSQL 作为数据存储,通过 Django Admin 录入和管理数据
前端基于 HTML 5、CSS 3 与 Bootstrap 5,并采用 Bootswatch 主题
使用 Chart.js 2 绘制统计图表,README 中展示了拍卖列表与仪表盘截图
README 提供从虚拟环境、数据库、环境变量到迁移和启动的完整本地运行步骤
附带测试文件,可通过 manage.py test 运行
模板详细介绍
这是一个用 Django 构建的拍卖类电商网站模板,功能形态参考 eBay:用户可以在站点上发布拍卖商品、浏览与参与竞拍。数据存储使用 PostgreSQL,前端页面由 HTML 5、CSS 3 和 Bootstrap 5(搭配 Bootswatch 主题)组成,后台数据管理通过 Django Admin 完成,统计图表使用 Chart.js 2 绘制。
项目 README 提供了完整的本地运行步骤:创建并激活 Python 虚拟环境、安装 requirements.txt 依赖、建立 PostgreSQL 数据库与数据库用户、配置 .env 环境变量(SECRET_KEY、DEBUG、数据库连接信息)、执行迁移、创建超级用户,然后通过 manage.py runserver 启动,默认访问 127.0.0.1:8000,管理后台位于 /admin。项目自带测试,可通过 manage.py test 运行。
使用限制方面:运行环境要求 Python 3.8–3.11 与 PostgreSQL,README 中给出的 Django 版本为 4.2.4;示例数据需要自行通过 Django Admin 录入,仓库不提供现成数据集。代码以 MIT 许可发布,但演示图片、字体、图标等第三方素材需另行核对各自许可,域名、托管、数据库等外部服务也可能产生费用。
DjangoHTML电商
适合你的项目吗?
适用场景
- 学习或教学场景下,参考 Django 如何组织拍卖类电商业务
- 作为个人练手项目,在本地搭建并运行一个竞拍网站
- 在 MIT 许可范围内,基于该模板二次开发自己的拍卖或竞价功能
- 用于演示 Django Admin 后台管理与 Chart.js 图表结合的界面效果
适合人群
- 具备 Python 与 Django 基础、希望研究拍卖电商实现的开发者
- 需要 PostgreSQL 环境并愿意自行配置数据库与 .env 变量的使用者
- 想以 MIT 许可代码为起点做二次开发的学习者或小型项目
- 用于教学演示、课程作业或本地实验,而非直接上线运营的场景
上手与定制指南
结合仓库当前版本的说明,按下面的资料检查内容、配置与运行要求。
- 1
需先安装 Python 3.8–3.11 与 PostgreSQL,README 中使用的 Django 版本为 4.2.4
- 2
在根目录创建并激活虚拟环境后,执行 pip install -r requirements.txt 安装依赖
- 3
创建 PostgreSQL 数据库 auctions 及数据库用户,并在根目录 .env 文件中配置 SECRET_KEY、DEBUG 与数据库连接变量(字符串不要加引号)
- 4
依次运行 makemigrations、migrate 和 createsuperuser,再通过 python manage.py runserver 启动,访问 http://127.0.0.1:8000/
- 5
示例数据需自行登录 /admin 后台录入;测试可用 python manage.py test --pattern="tests.py" 运行
授权与来源资料
使用条件与限制
免费使用 · 保留许可声明本次收录的是公开仓库中采用 MIT 许可的免费版本;免费范围为该版本代码,不代表外部服务或第三方素材免费。
使用时需要遵守
- 允许免费使用、修改、商用和分发该版本代码。
- 分发代码副本或实质性部分时,保留原作者版权声明和完整 MIT 许可声明。
- 代码按现状提供;担保与责任限制以原许可证及适用法律为准。
额外费用与待核对事项
- 运行环境要求 Python 3.8–3.11,且 README 指定使用 Django 4.2.4;版本不匹配可能导致无法运行。
- 必须自行安装并运行 PostgreSQL 数据库,无法使用 SQLite 等轻量替代方案直接启动。
- 需自行创建 PostgreSQL 数据库与超级用户,并在 .env 中配置数据库连接信息与 SECRET_KEY。
- 仓库不提供现成数据集,所有示例数据需自行登录 Django Admin 后台手动录入。
- 演示图片、字体、图标及其他第三方素材需按各自许可核对,不能仅凭代码的 MIT 许可判断。
- 域名、托管、数据库、支付或 AI 等外部服务可能另外收费。
查看原文依据
Permission is hereby granted, free of charge
许可证原文
This project uses **Django v4.2.4**. For Django to work, you must install a correct version of Python on your machine.
README 原文
The app uses a **PostgreSQL** database to store data.
README 原文
Create a new database admin user: ```sql CREATE USER yourusername WITH SUPERUSER PASSWORD 'yourpassword'; ```
README 原文
https://github.com/BobsProgrammingAcademy/ecommerce-auction-website/blob/main/LICENSEhttps://github.com/BobsProgrammingAcademy/ecommerce-auction-website/blob/main/README.mdAdd data through Django Admin.
README 原文
DeepSeek 根据仓库许可证和 README 整理 ·2026-10-02。结果仅覆盖已读取资料,依赖、图片、字体及后续条款变更以各自原文为准。
项目核对记录与介绍依据
模板资料
- 来源平台
- GitHub
- 资料与维护参考分
- 资料较完整 · 86 / 100
- 技术栈
- Django · HTML
- 网站类型
- 电商
这个分数如何计算
本站按许可资料(最高30分)、演示链接(12分)、预览图(10分)、Star数(15分)、记录的维护时间(15分)、描述完整度(8分)、功能记录(5分)和分类资料(5分)计算。它不是代码、安全或性能测试,也不是 Google 评分;有链接不代表已实测可用。
这个项目需要核对什么
- 记录的仓库更新时间
- 2024-12-24
- 截图检查日期
- 2026-10-02
已收录演示链接。请用你的内容与屏幕尺寸检查;有演示不代表表单、认证或支付已经可用。
目录记录的主要技术栈是 Django。请通过依赖清单和锁文件核对实际版本与托管要求。这些说明基于收录资料,不代表代码审计或部署实测。
查看具体选型方法 →介绍的制作与核对状态
介绍由 AI 辅助整理目录与仓库资料。仓库作者不等于这篇介绍的审核者。
已完成服务器许可规则与 AI 来源核对;未经过人工编辑审核。
查看当时使用的来源资料
SHA-256: 028e25270721bce1316de8ee56c907f58266d35227559053c1eb2c2adc588ae7
2026-10-02T16:15:00.172Z
来源文件 / 仓库# Auction Website This is an eBay-like e-commerce auction website built using **Django 4**, **HTML 5**, **CSS 3**, and **Bootstrap 5** with a **Bootswatch** theme. The app uses a **PostgreSQL** database to store data. Charts were built using **Chart.js 2**. 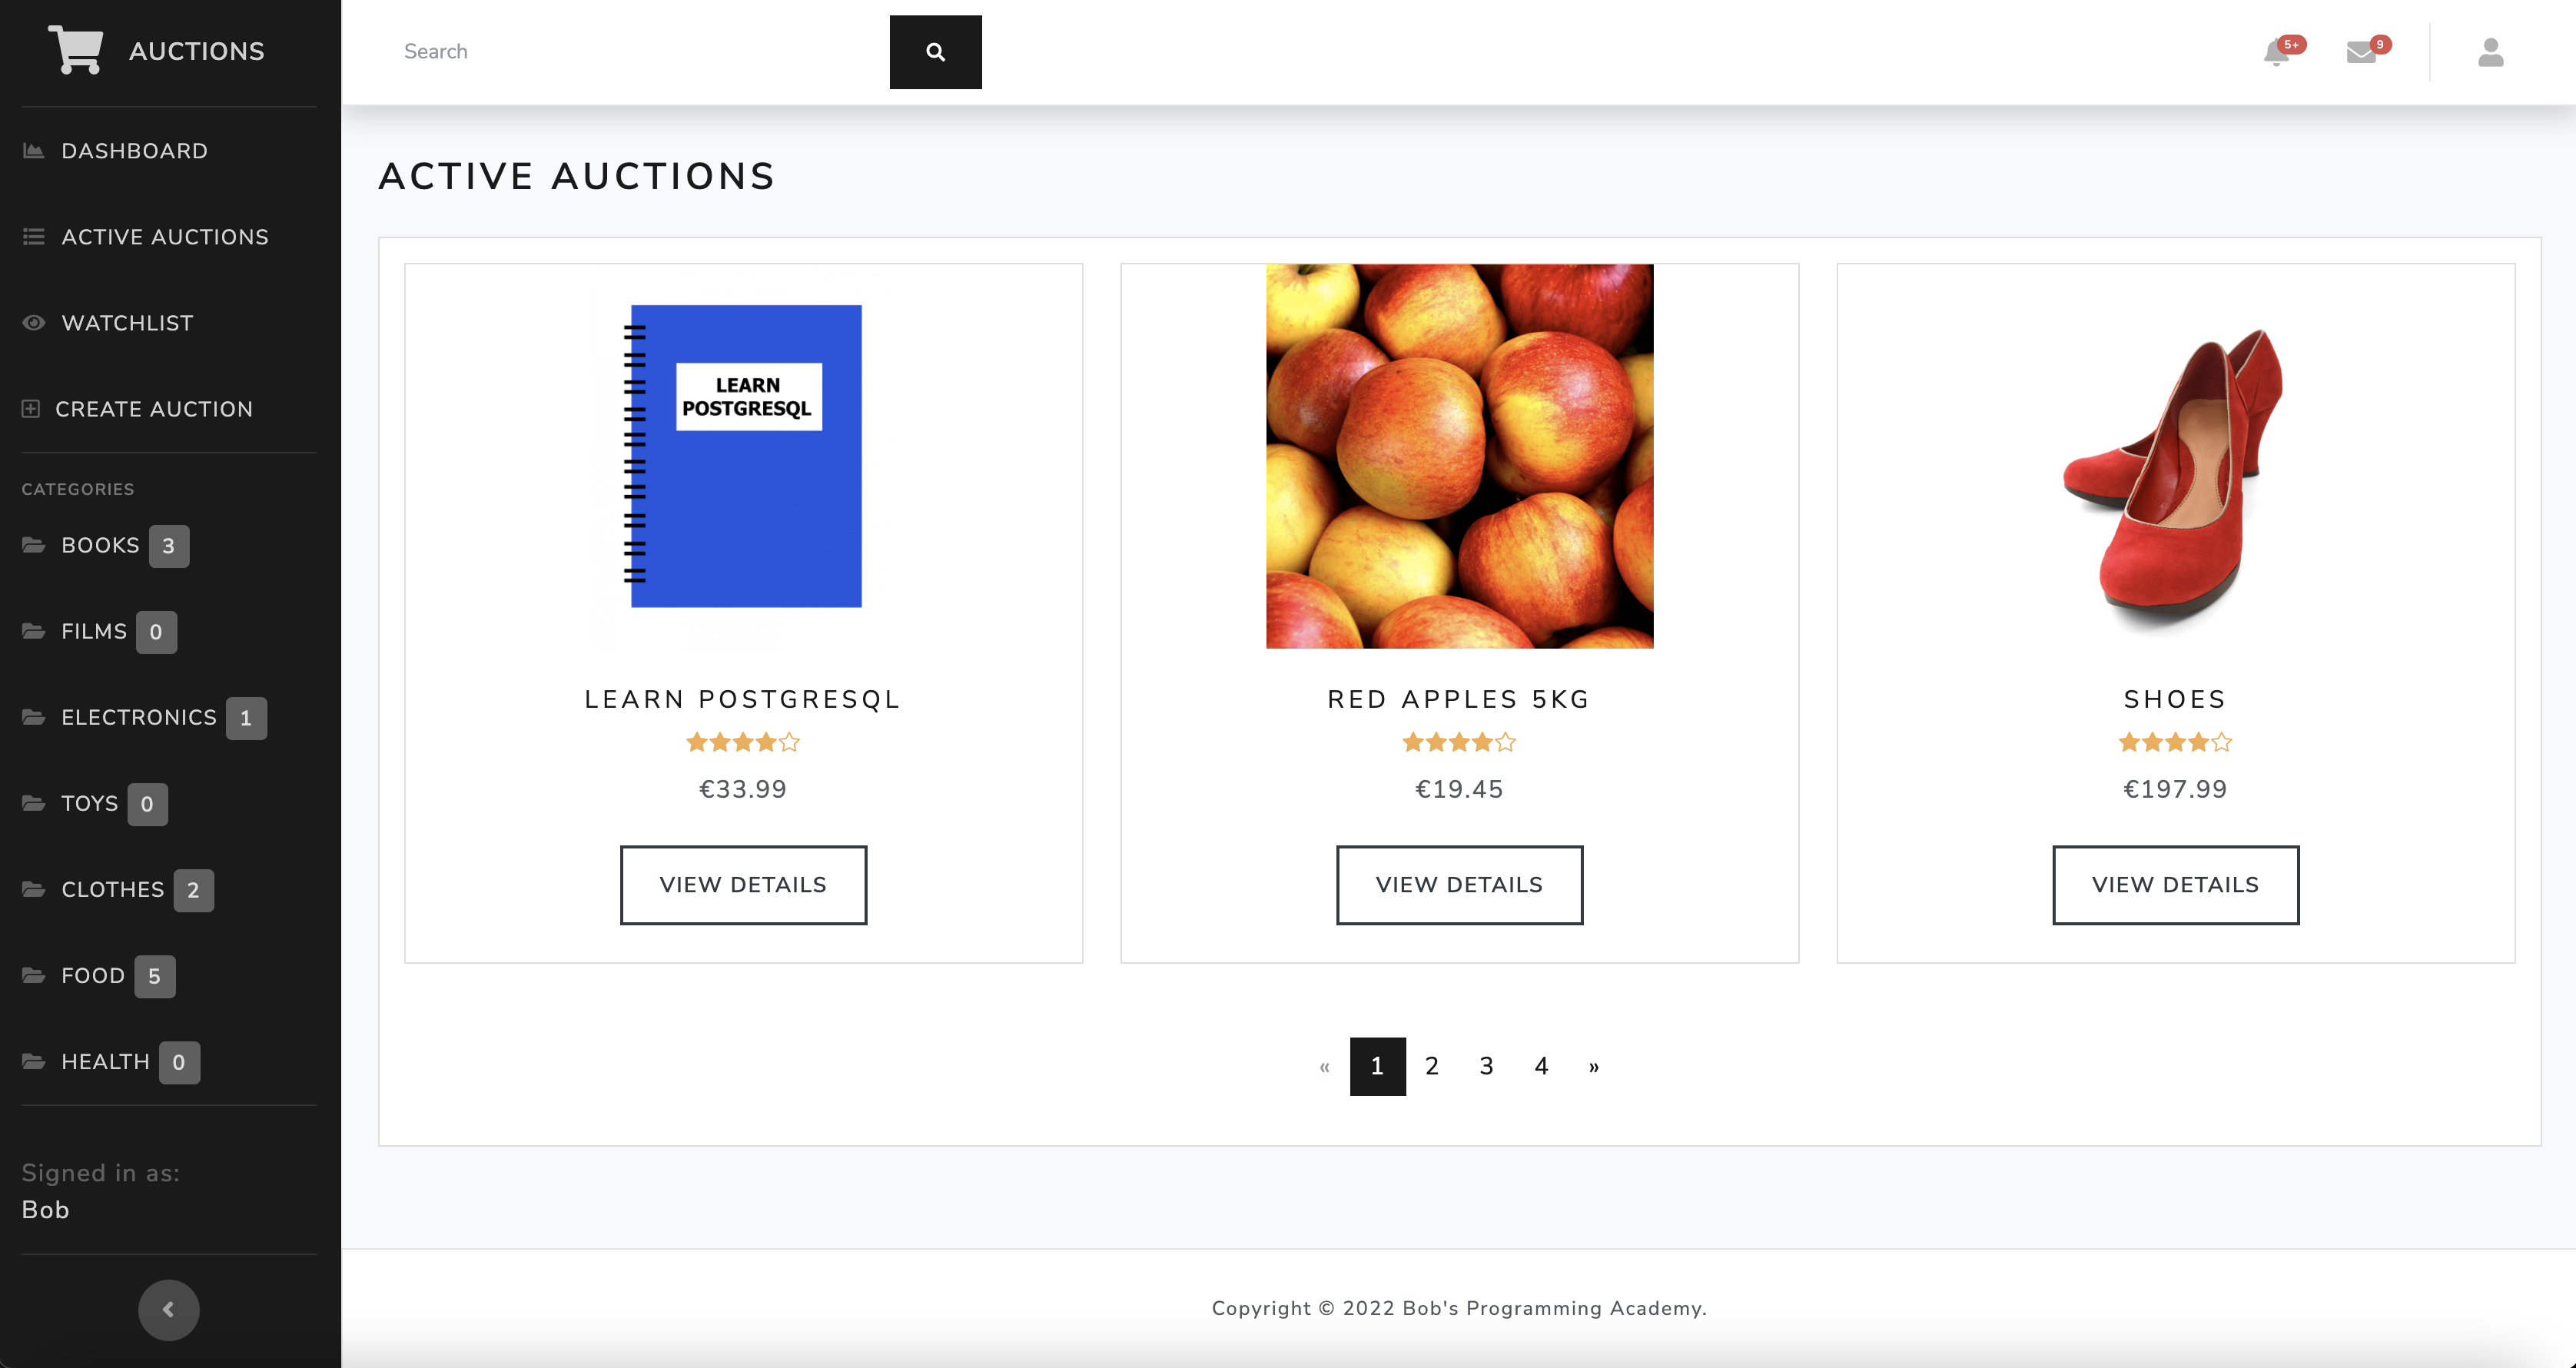  ## Table of Contents - [Prerequisites](#prerequisites) - [Installation](#installation) - [Run the application](#run-the-application) - [Run the tests](#run-the-tests) - [Add data to the application](#add-data-to-the-application) - [Copyright and License](#copyright-and-license) ## Prerequisites Install the following prerequisites: 1. [Python 3.8-3.11](https://www.python.org/downloads/) <br> This project uses **Django v4.2.4**. For Django to work, you must install a correct version of Python on your machine. More information [here](https://django.readthedocs.io/en/stable/faq/install.html). 2. [PostgreSQL](https://www.postgresql.org/download/) 3. [Visual Studio Code](https://code.visualstudio.com/download) ## Installation ### 1. Create a virtual environment From the **root** directory, run: ```bash python -m venv venv ``` ### 2. Activate the virtual environment From the **root** directory, run: On macOS: ```bash source venv/bin/activate ``` On Windows: ```bash venv\scripts\activate ``` ### 3. Install required dependencies From the **root** directory, run: ```bash pip install -r requirements.txt ``` ### 4. Set up a PostgreSQL database With **PostgreSQL** up and running, in a new Terminal window, run: ```bash dropdb --if-exists auctions ``` Start **psql**, which is a terminal-based front-end to PostgreSQL, by running the command: ```bash psql postgres ``` Create a new PostgreSQL database: ```sql CREATE DATABASE auctions; ``` Create a new database admin user: ```sql CREATE USER yourusername WITH SUPERUSER PASSWORD 'yourpassword'; ``` To quit **psql**, run: ```bash \q ``` ### 5. Set up environment variables From the **root** directory, run: ```bash touch .env ``` The **touch** command will create the **.env** file in the **root** directory. This command works on Mac and Linux but not on Windows. If you are a Windows user, instead of using the command line, you can create the **.env** file manually by navigating in Visual Studio Code to the Explorer and selecting the option **New File**. Next, declare environment variables in the **.env** file. Make sure you don't use quotation marks around the strings. ```bash SECRET_KEY=yoursecretkey DEBUG=True DATABASE_NAME=auctions DATABASE_USER=yourusername DATABASE_PASS=yourpassword DATABASE_HOST=localhost ``` ### 6. Run migrations From the **root** directory, run: ```bash python manage.py makemigrations ``` ```bash python manage.py migrate ``` ### 7. Create an admin user to access the Django Admin interface From the **root** directory, run: ```bash python manage.py createsuperuser ``` When prompted, enter a username, email, and password. ## Run the application From the **root** directory, run: ```bash python manage.py runserver ``` ## Run the tests From the **root** directory, run: ```bash python manage.py test --pattern="tests.py" ``` ## View the application Go to http://127.0.0.1:8000/ to view the application. ## Add data to the application Add data through Django Admin. Go to http://127.0.0.1:8000/admin to access the Django Admin interface and sign in using the admin credentials. ## Copyright and License Copyright © 2022 Bob's Programming Academy. Code released under the MIT license.
看看同类模板
对比同技术栈与用途的模板,找到更适合的视觉与内容结构。
The-Stone-Shop
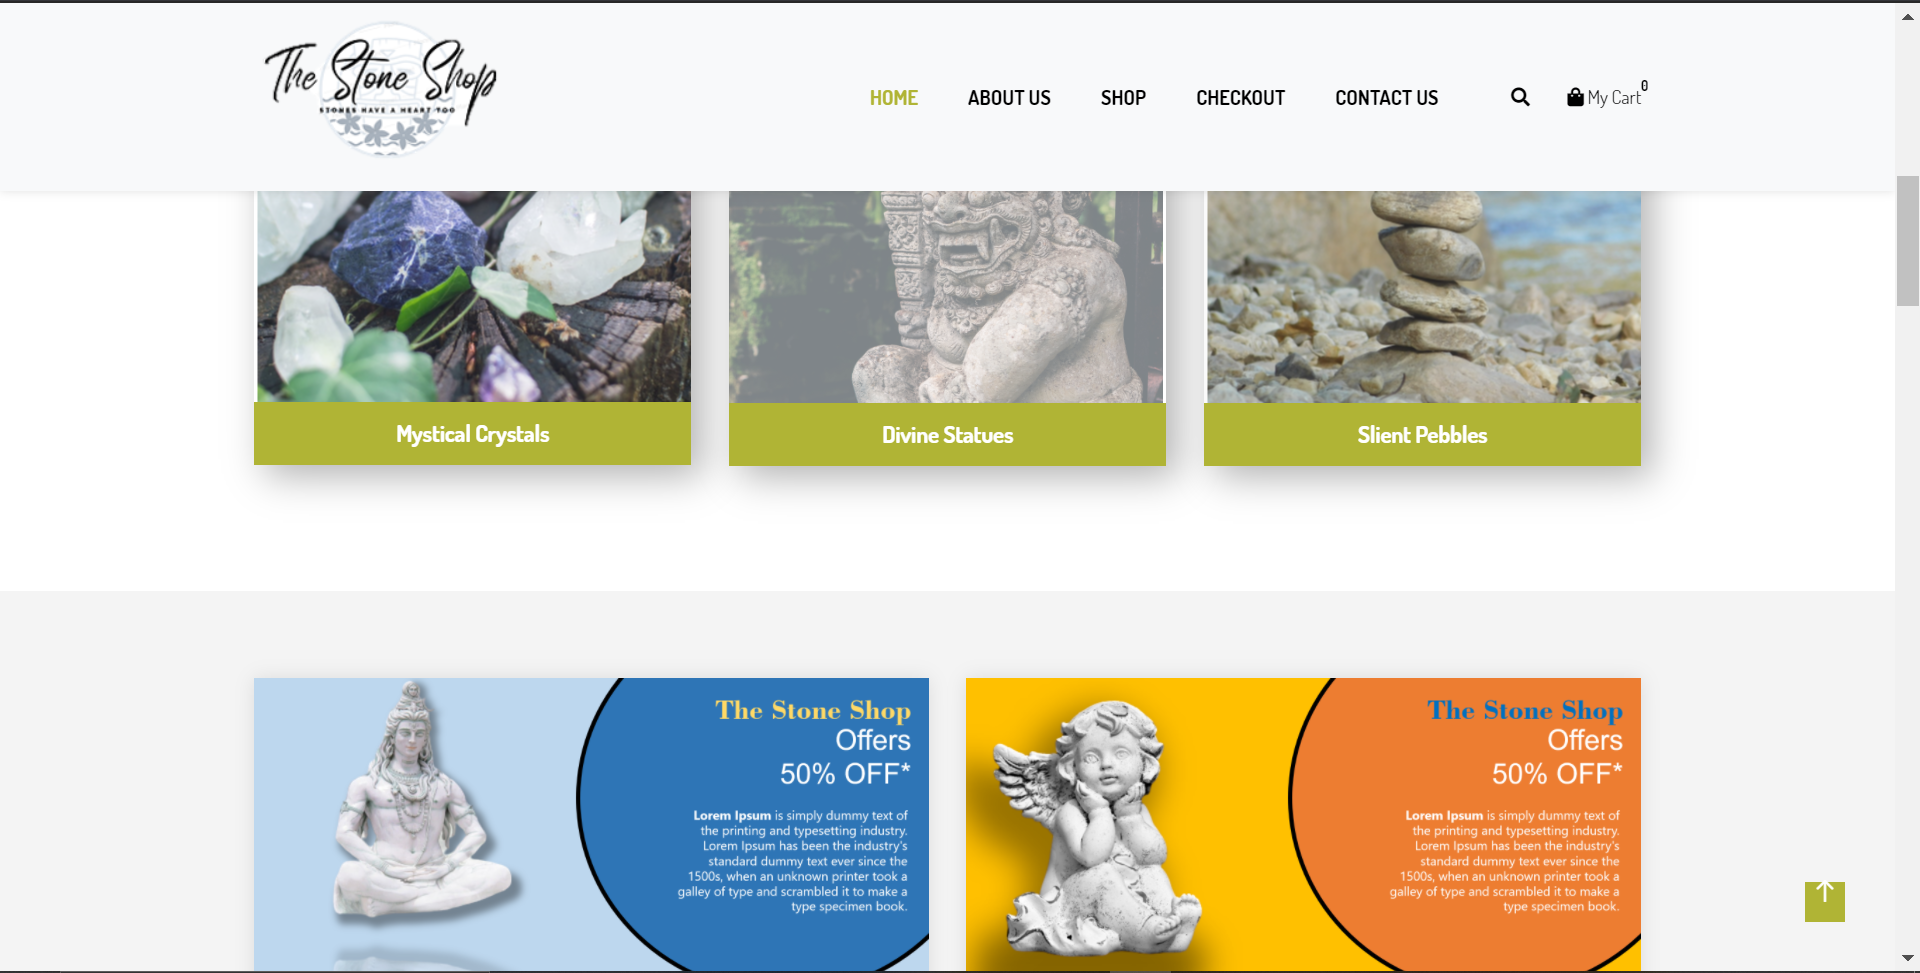
The Stone Shop 是一个面向单一卖家或店铺的 Django 电商模板,核心定位是快速搭建售卖实体商品(如石材制品)的在线商店。
Django · 电商
django-ecommerce-frontend
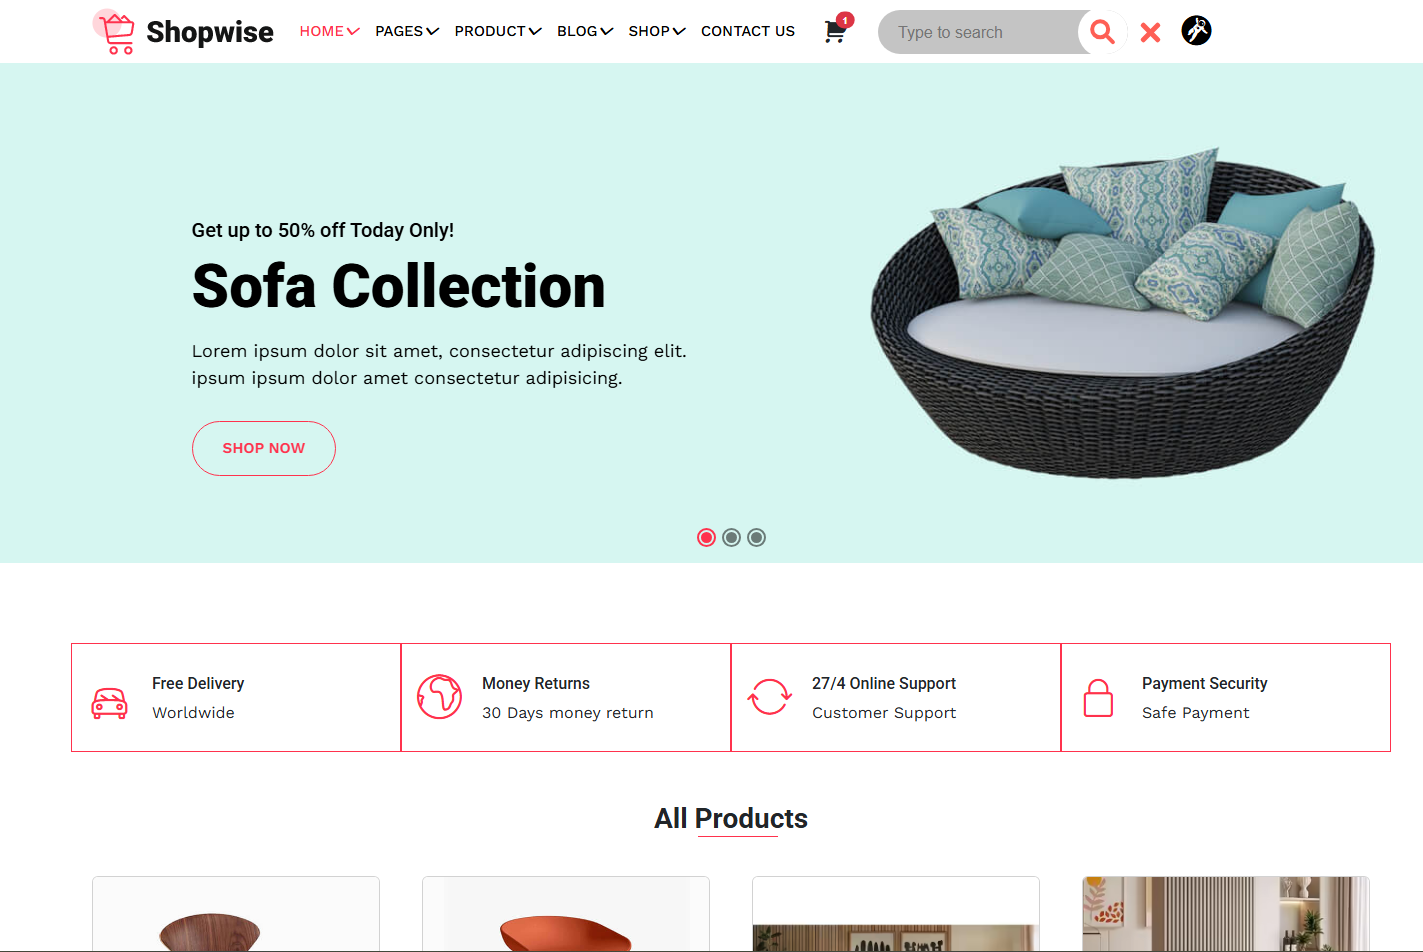
这是一个专注于电商界面展示的前端模板,使用Django模板语法组织页面,配合HTML、CSS、Bootstrap 5和JavaScript实现响应式布局。
Django · 电商
uikit-ecommerce-template
E-commerce template built with UIKIt
HTML · 电商
Shop Homepage
Shop Homepage 是 Start Bootstrap 发布的一款基础 HTML 商店首页模板,核心结构围绕顶部导航、商品网格和页脚展开。
HTML · 电商
ludus-free-premium-ecommerce-template
🛒 Ludus - Multipurpose E-commerce Template - 40+ Pages, User Dashboard Module & Blog Module
HTML · 后台
react-ecommerce-template
Bootstrap e-commerce template written in React JS.
React · 电商