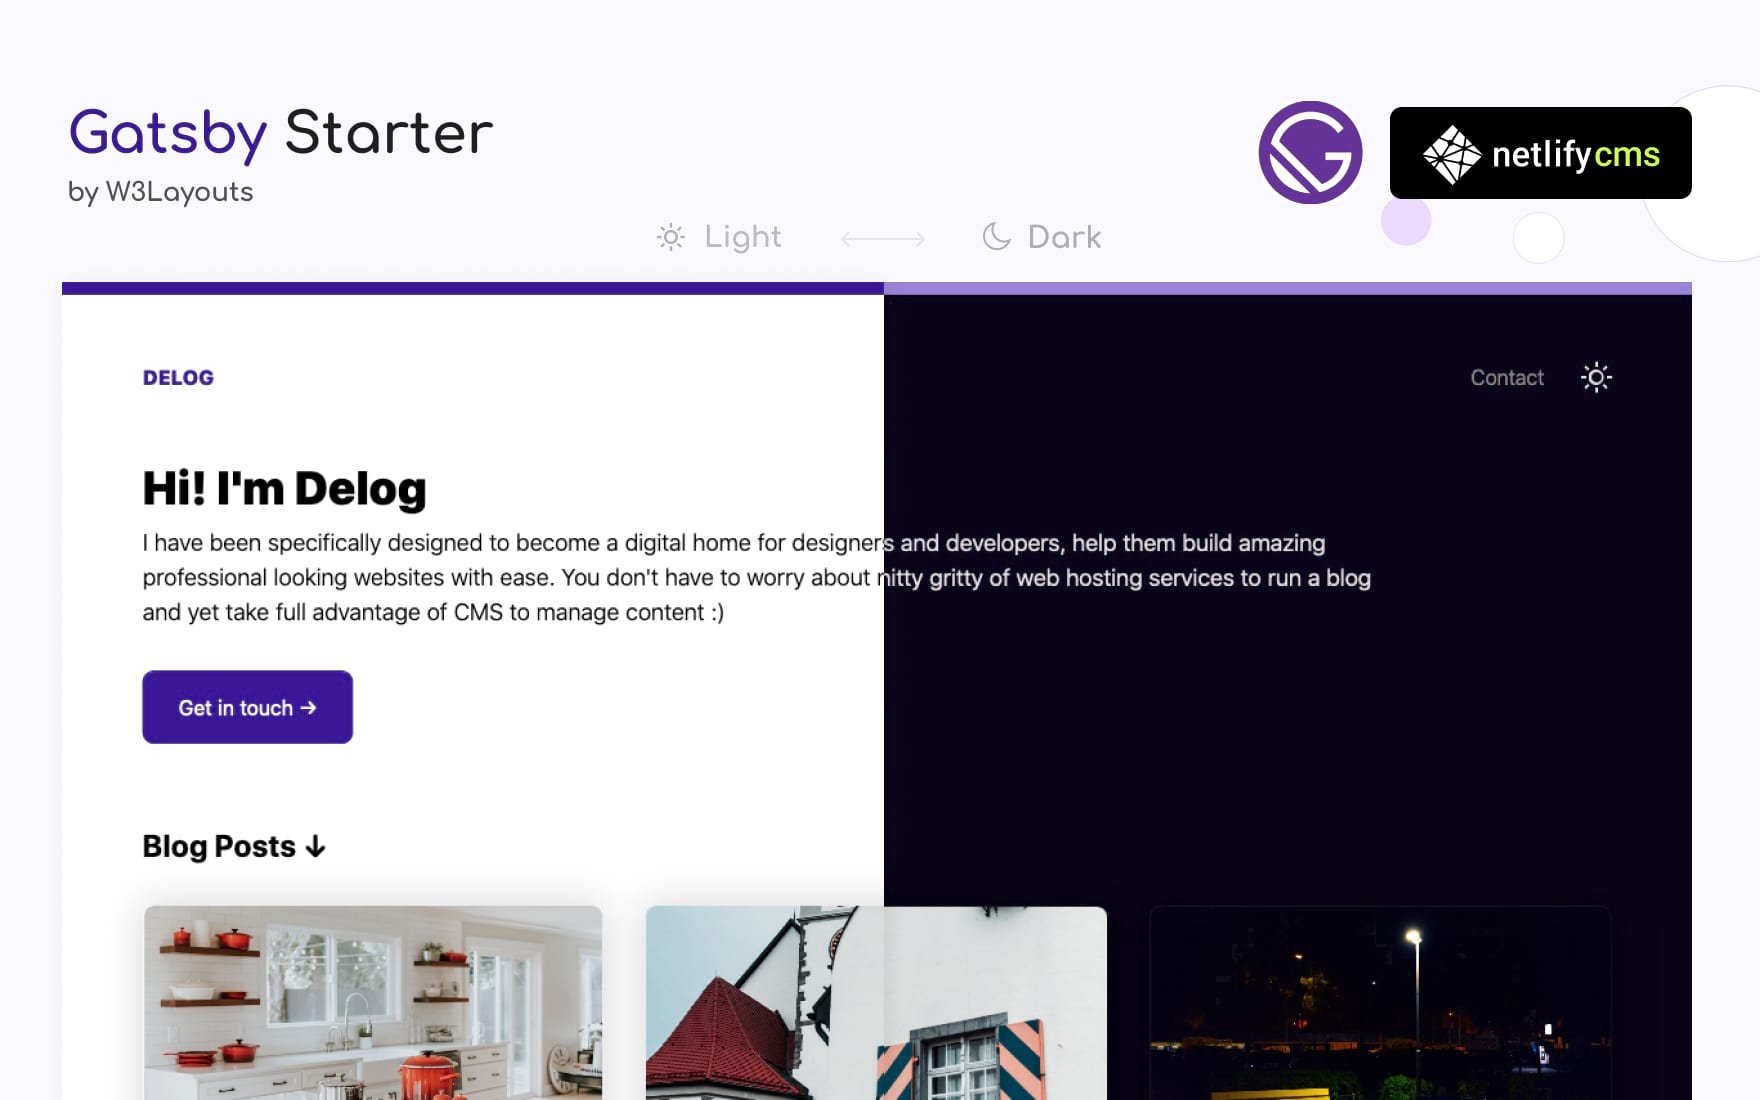
使用 GatsbyJS 构建,并通过 Netlify CMS 在后台完成文章的增删改查
GatsbyReact博客
blog-gatsby — Gatsby 博客模板
作者 clairepeng0808
基于 GatsbyJS 与 Netlify CMS 的开发者/设计师博客模板,支持通过 CMS 管理文章、暗色模式、联系表单与站点元数据配置。
看看你的网站会是什么样
浏览真实页面截图,比较内容排版与手机效果。点击下方缩略图切换,放大查看整页细节。
目前有 1 张原始预览,可打开完整图片查看设计细节。
截图用于了解视觉与布局,交互效果请以实际项目为准。
采集于 2026-10-13查看来源
值得关注的模板亮点
从已有项目资料中,快速了解它的特点。
站点标题、描述、URL、首页标题与描述等元数据集中管理,可在 CMS 中编辑
内置 SEO 相关的 meta description 配置项
提供暗色模式及用户偏好切换
包含由 W3Layouts 提供的联系表单集成
附带自定义 404 页面、sitemap、离线支持与 manifest 等 Gatsby 插件配置
模板详细介绍
Delog 是一个面向开发者与设计师的个人博客模板,使用 GatsbyJS 构建,并集成 Netlify CMS 作为内容管理后台。文章的新增、编辑、更新与删除都可以在 Netlify CMS 中完成,无需直接改动代码。模板提供 SEO 相关的 meta description 配置项,内置由 W3Layouts 提供的联系表单,并带有暗色模式。
站点元数据(标题、描述、站点 URL、首页标题与首页描述)集中存放在 site-meta-data.json,可通过 Netlify CMS 的 Settings > Config 页面或直接编辑该文件修改。Google Analytics 需要在 gatsby-config.js 的 gatsby-plugin-google-analytics 插件中填写 trackingId。
使用前需要完成若干外部配置:将 /static/admin/config.yml 中的仓库地址改为自己的 username/repo-name;在 GitHub Developer Settings 创建 OAuth 应用,回调地址填 https://api.netlify.com/auth/done,并在 Netlify 的 Access Control > OAuth 中安装 GitHub 提供方、填入 Client ID 与 Secret,之后访问站点 /admin/ 路径即可登录后台。联系表单依赖 W3Layouts 表单服务,需在其平台创建表单后才能生效。
模板采用 MIT 许可,可免费使用、修改、商用与分发,但演示图片来自 Unsplash、CSS 与 SVG 图标来自 CSS.gg,这些第三方素材需按各自许可单独核对。仓库最后更新于 2020 年,未提供更多关于维护状态的说明。
Gatsby博客
适合你的项目吗?
适用场景
- 搭建个人技术博客并希望用可视化后台写作
- 需要暗色模式与基础 SEO 配置的开发者博客
- 希望通过 Netlify 一键部署并托管静态博客
- 需要联系表单收集读者留言的个人站点
适合人群
- 熟悉或愿意学习 GatsbyJS 与 Netlify 部署流程的开发者
- 希望用 Netlify CMS 管理文章、不直接编辑 Markdown 的作者
- 需要暗色模式与基础 SEO 设置的开发者或设计师个人博客
上手与定制指南
结合仓库当前版本的说明,按下面的资料检查内容、配置与运行要求。
- 1
本地安装:gatsby new gatsby-starter-delog https://github.com/W3Layouts/gatsby-starter-delog(需预先安装 NodeJS 与 GatsbyJS)
- 2
将 /static/admin/config.yml 中的仓库地址改为自己的 username/repo-name
- 3
在 GitHub Developer Settings 创建 OAuth 应用,回调地址填 https://api.netlify.com/auth/done,并在 Netlify 的 Access Control > OAuth 中安装 GitHub 提供方并填入 Client ID 与 Secret
- 4
联系表单需先在 W3Layouts 表单服务创建表单后才能正常工作
- 5
Google Analytics 需在 gatsby-config.js 的 gatsby-plugin-google-analytics 插件中填写 trackingId
授权与来源资料
使用条件与限制
免费使用 · 保留许可声明本次收录的是公开仓库中采用 MIT 许可的免费版本;免费范围为该版本代码,不代表外部服务或第三方素材免费。
使用时需要遵守
- 允许免费使用、修改、商用和分发该版本代码。
- 分发代码副本或实质性部分时,保留原作者版权声明和完整 MIT 许可声明。
- 代码按现状提供;担保与责任限制以原许可证及适用法律为准。
额外费用与待核对事项
- 演示图片、字体、图标及其他第三方素材需按各自许可核对,不能仅凭代码的 MIT 许可判断。
- 域名、托管、数据库、支付或 AI 等外部服务可能另外收费。
- 内置联系表单依赖 W3Layouts 外部服务,需在其平台创建表单后才能生效,属于外部服务依赖。
- 联系表单必须先在 W3Layouts 表单服务注册并创建表单,否则表单无法工作。
- 使用 Netlify CMS 后台需自行创建 GitHub OAuth 应用并配置 Client ID 与 Secret,涉及外部账号与密钥。
- 启用 Google Analytics 需自行提供 trackingId,依赖外部服务。
- 演示图片来自 Unsplash,需按 Unsplash 自身许可单独核对,不随 MIT 代码许可一并授权。
- CSS 与 SVG 图标来自 CSS.gg,需按该第三方项目许可单独核对。
查看原文依据
Permission is hereby granted, free of charge
许可证原文
In-built contact form powered by [W3Layouts](https://w3layouts.com)
README 原文
To get the Contact form working. you need too add a form at [W3Layouts forms](https://my.w3layouts.com/Forms/).
README 原文
### Creating Github OAuth Client ID
README 原文
Change `trackingId` in `gatsby-config.js` at `gatsby-plugin-google-analytics` plugin
README 原文
Awesome image used in demo is from [Unsplash](https://unsplash.com)
README 原文
https://github.com/clairepeng0808/blog-gatsby/blob/master/LICENSEhttps://github.com/clairepeng0808/blog-gatsby/blob/master/README.mdCSS and SVG Icons by [CSS.gg](https://css.gg)
README 原文
DeepSeek 根据仓库许可证和 README 整理 ·2026-10-13。结果仅覆盖已读取资料,依赖、图片、字体及后续条款变更以各自原文为准。
项目核对记录与介绍依据
模板资料
- 来源平台
- GitHub
- 资料与维护参考分
- 资料较少 · 53 / 100
- 技术栈
- Gatsby · React
- 网站类型
- 博客
这个分数如何计算
本站按许可资料(最高30分)、演示链接(12分)、预览图(10分)、Star数(15分)、记录的维护时间(15分)、描述完整度(8分)、功能记录(5分)和分类资料(5分)计算。它不是代码、安全或性能测试,也不是 Google 评分;有链接不代表已实测可用。
这个项目需要核对什么
- 记录的仓库更新时间
- 2020-10-06
- 截图检查日期
- 2026-10-13
目前没有记录演示链接。请依据仓库说明在本地评估;仅凭截图无法确认交互行为。
目录记录的主要技术栈是 Gatsby。请通过依赖清单和锁文件核对实际版本与托管要求。这些说明基于收录资料,不代表代码审计或部署实测。
查看具体选型方法 →介绍的制作与核对状态
介绍由 AI 辅助整理目录与仓库资料。仓库作者不等于这篇介绍的审核者。
审核声明: [email protected] · 2026-10-13
查看当时使用的来源资料
SHA-256: 3825037ee0ec97b72aa74eb80442f2e74834e740eea44d643900d9cee132a92c
2026-10-13T10:01:18.758Z
来源文件 / 仓库[](https://app.netlify.com/sites/delog-w3layouts/deploys) <a href="https://twitter.com/intent/follow?screen_name=w3layouts"> <img src="https://img.shields.io/twitter/follow/w3layouts.svg?label=Follow%20@w3layouts" alt="Follow @w3layouts" /> </a> # Delog - Blog for Developer and Designer This simple website built with GatsbyJS and Netlify CMS. Deploys on netlify with single click. This Starter is sponsered by [W3Layouts](https://w3layouts.com). [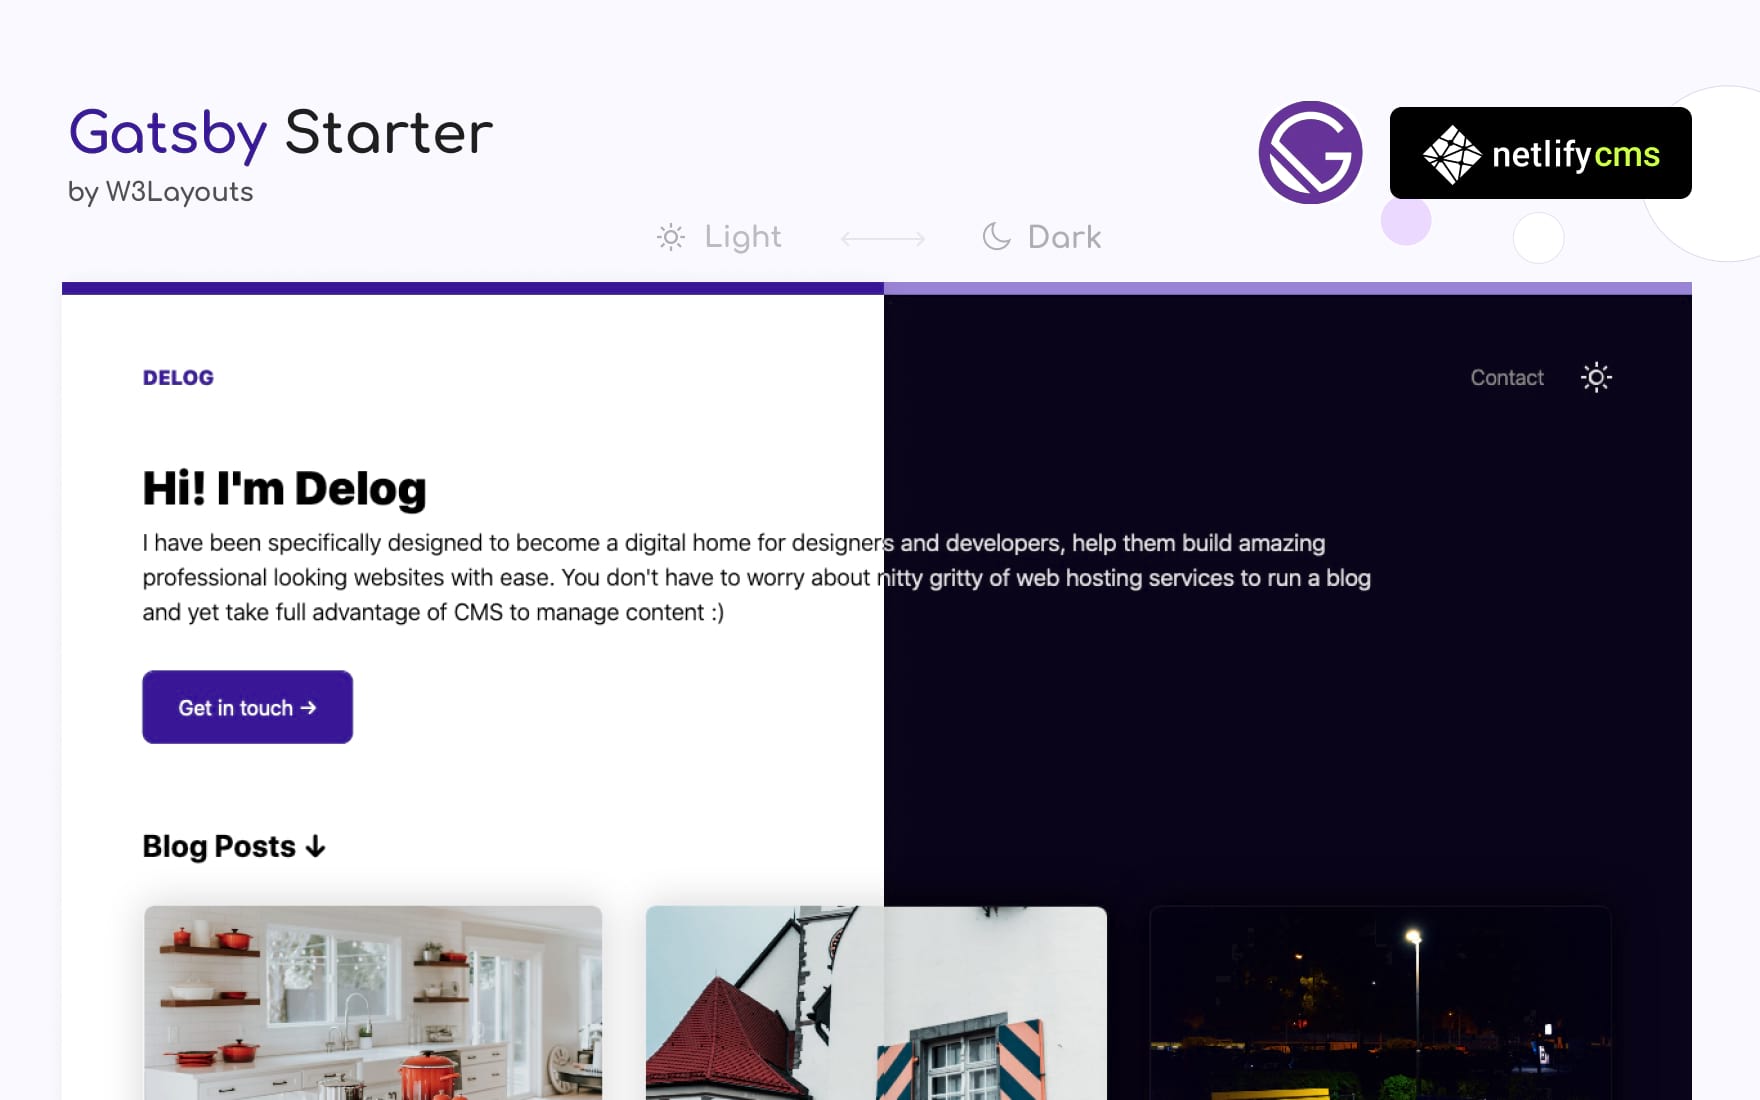](https://delog-w3layouts.netlify.com/) [](https://app.netlify.com/start/deploy?repository=https://github.com/W3Layouts/gatsby-starter-delog) Install this starter locally: (assuming you already have [NodeJS and GatsbyJS installed](https://www.gatsbyjs.org/tutorial/part-zero/)) ```bash gatsby new gatsby-starter-delog https://github.com/W3Layouts/gatsby-starter-delog ``` Instructions also available at W3Layouts [Delog Launch Article](https://w3layouts.com/articles/delog-gatsby-starter-netlify-cms/). ## Features - Built with GatsbyJS and Netlify CMS - Option to Add, Edit, Update and Delete posts via Netlify CMS - SEO friendly - Option to Add meta description - In-built contact form powered by [W3Layouts](https://w3layouts.com) - Comes with dark mode --- ## Documentation * Once you hit "[Deploy to Netlify](https://app.netlify.com/start/deploy?repository=https://github.com/W3Layouts/gatsby-starter-delog)" * Connect Github * Enter Repository Name * And your site starts build process. After the build process your website is live ### Changing repositary URL for Netlify CMS access You need to change repo URL to your own `repo` at `/static/admin/config.yml`, for example `username/repo-name` ### Creating Github OAuth Client ID * Goto Github [Developer Settings](https://github.com/settings/developers) * **New OAuth** * Enter Application name * Homepage URL as Netlify URL * And **Authorization callback URL** to `https://api.netlify.com/auth/done`) * Once Client ID and Secret token is generated configure same in [Netlify Access Control](#accessing-netlify-cms-admin) as described. ### Accessing Netlify CMS Admin * Goto your Netlify site admin * Goto **Access Control** > **OAuth** then **Install Provider** you need to select provider as `Github` as add `Client ID` and `Secret` * Your Netlify CMS is ready. Goto you netlify site URL and append `/admin/`. for example `example.netlify.com/admin/`, You will see login with Github button. ### Managing Blog Posts in Netlify CMS * Once logged in you will find all the blog post listed here. * You can create, edit, update and delete like any CMS ### Editing Meta Data Inside you Netlify CMS admin, `Settings > Config` or you can go to `site-meta-data.json`. Here you can edit following details * Title * Description * Site URL * Homepage Title * Homepage Description * To get the Contact form working. you need too add a form at [W3Layouts forms](https://my.w3layouts.com/Forms/). Follow the steps [How to enable W3Layouts Contact form](https://w3layouts.com/articles/introducing-contact-forms-for-static-websites/) instructions to create a form then your contact form is all set. ### Add Google Analytics Change `trackingId` in `gatsby-config.js` at `gatsby-plugin-google-analytics` plugin --- I hope you will build a great website with Delog. If you like it please spread the word, Feel free to contribute and raise a pull request :) For issues,feedback on enhancement or sharing your new awesome website built with delog. [Create New Issue](https://github.com/W3Layouts/gatsby-starter-delog/issues/new) Here --- ## Roadmap We are maintaining future task in [Github Project](https://github.com/W3Layouts/gatsby-starter-delog/projects/1), even though most changes are instantaious. We try keep them posted here. --- ## Credits - Awesome image used in demo is from [Unsplash](https://unsplash.com) - CSS and SVG Icons by [CSS.gg](https://css.gg) --- ## Changelog All notable changes to this project are listed here. ### [1.6.0] - 2020-05-03 #### Added - Custom 404 page. - Site name will be appended in blog posts and contact page. - Reordering fields in Netlify CMS for better flow of post creation. - Validation for path in Netlify CMS ### [1.5.0] - 2020-05-03 #### Added - Settings page in Netlify CMS to customize site meta data. - Site meta data is pulled from `site-meta-data.json`. maintained via Netlify CMS ### [1.4.0] - 2020-05-01 #### Added - `gatsby-plugin-sitemap` Creates a sitemap for your Gatsby site in production. #### Changed - Changelog improvements - Comments on `gatsby-config.js` - Comments on `static/admin/config.yml` ### [1.3.0] - 2020-04-30 #### Added - `gatsby-plugin-offline` drop-in support for making a GatsbyJS site work offline and more resistant to bad network connections. - `gatsby-plugin-manifest` configures GatsbyJS to create a manifest.webmanifest file on every site build ### [1.2.0] - 2020-04-28 #### Added - GatsbyJS Increment builds with Netlify deployment ### [1.1.0] - 2020-04-21 #### Added - Dark mode compatibitly and toggle for user preference ### [1.0.0] - 2020-03-14 - Launch of GatsbyJS and Netlify CMS based starter `gatsby-starter-delog`
看看同类模板
对比同技术栈与用途的模板,找到更适合的视觉与内容结构。
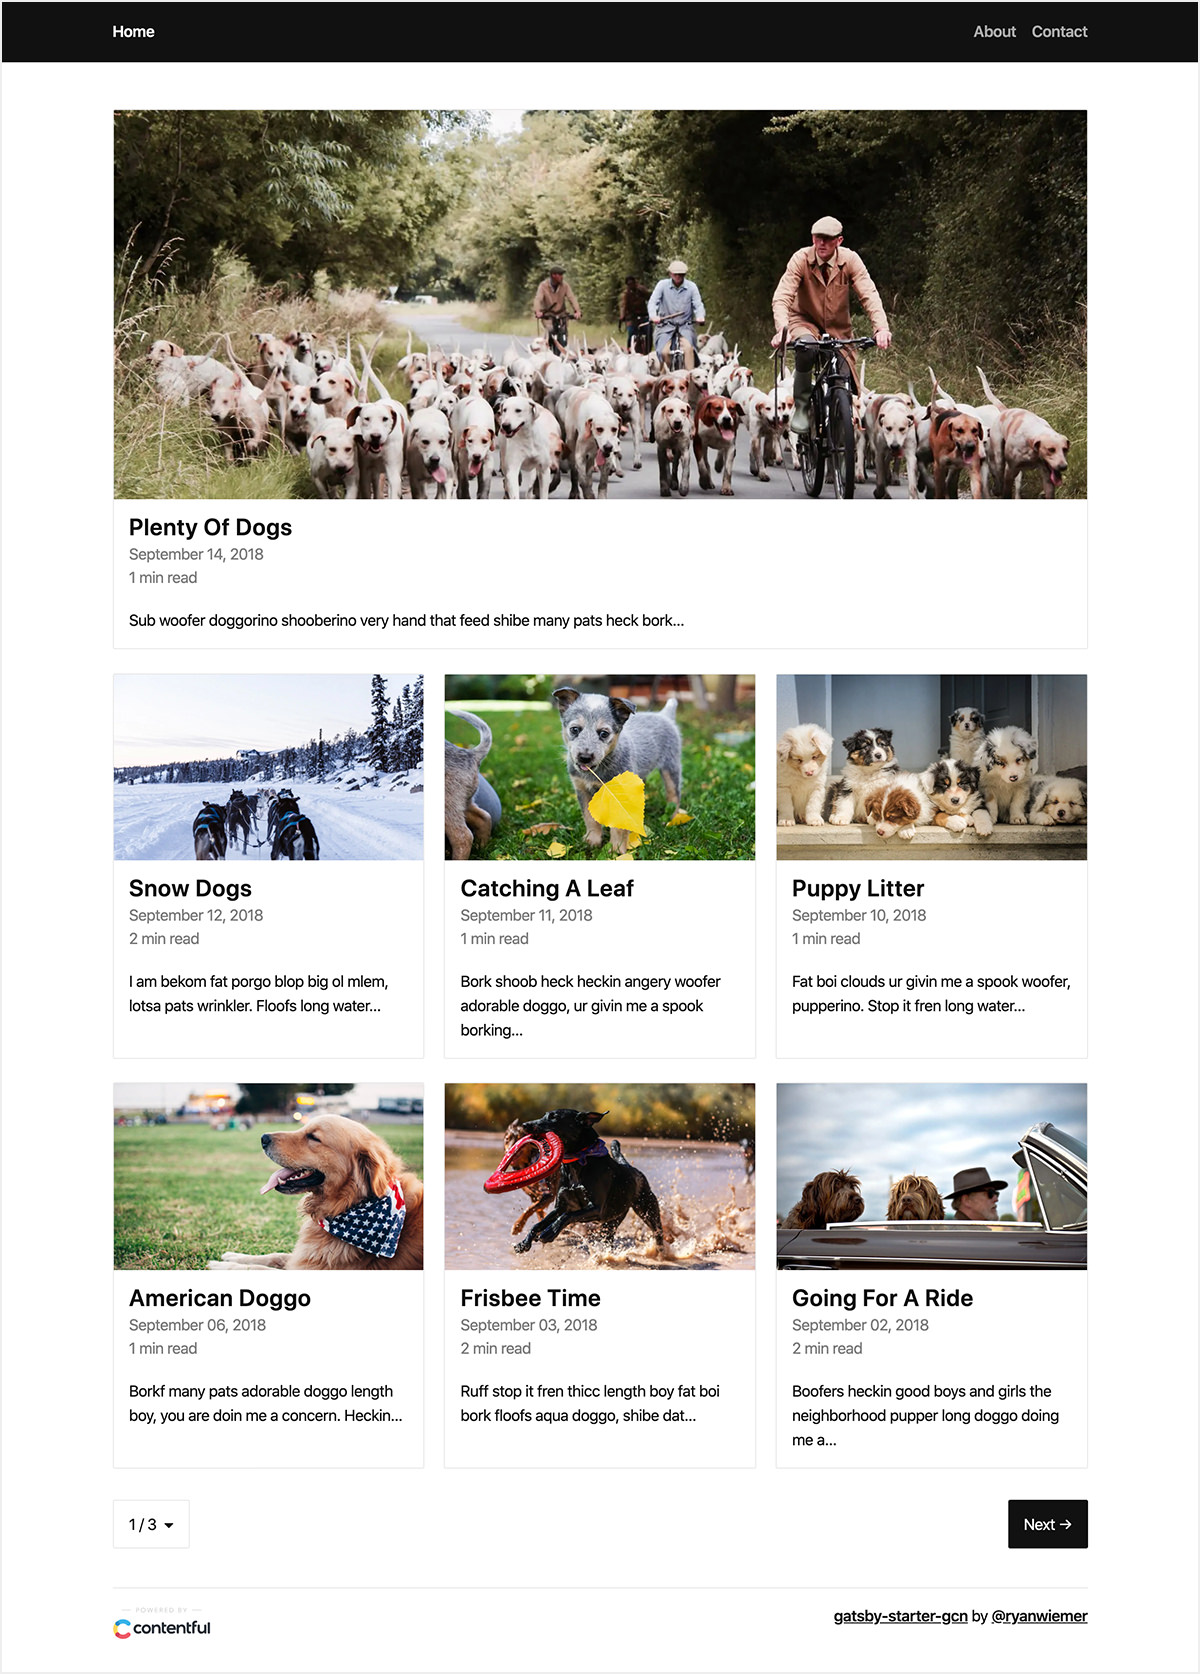
gatsby-starter-gcn
gatsby-starter-gcn 是一个面向静态网站构建的 Gatsby 启动器,将内容管理、部署和前端开发串联起来。
Gatsby · 博客
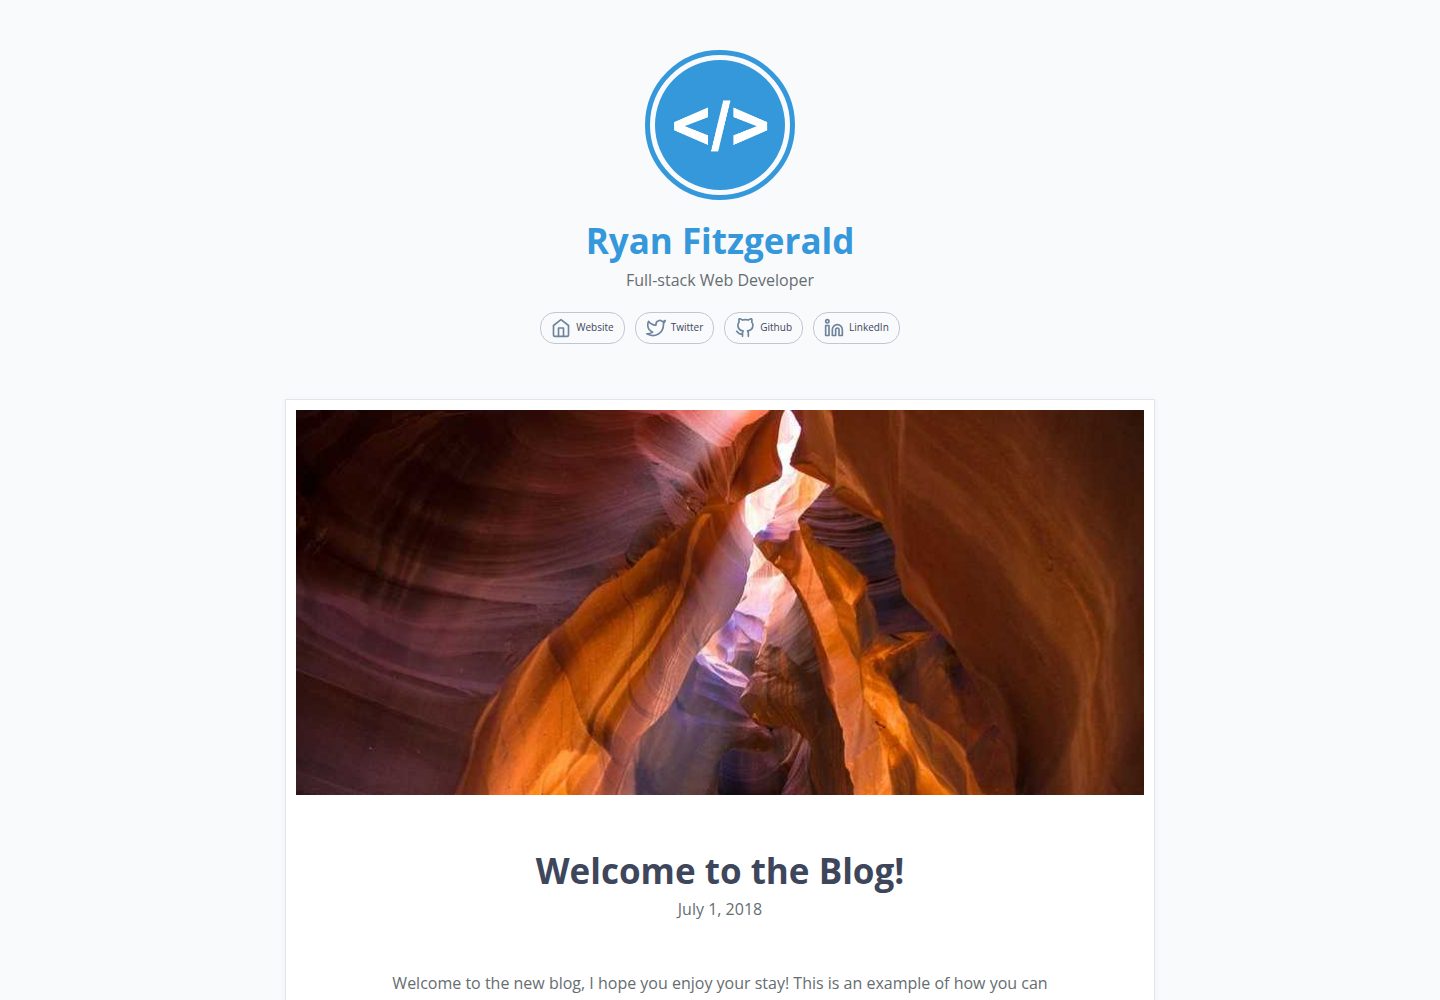
devblog
A lightweight, customizable personal blog template built with GatsbyJS and React
Gatsby · 博客
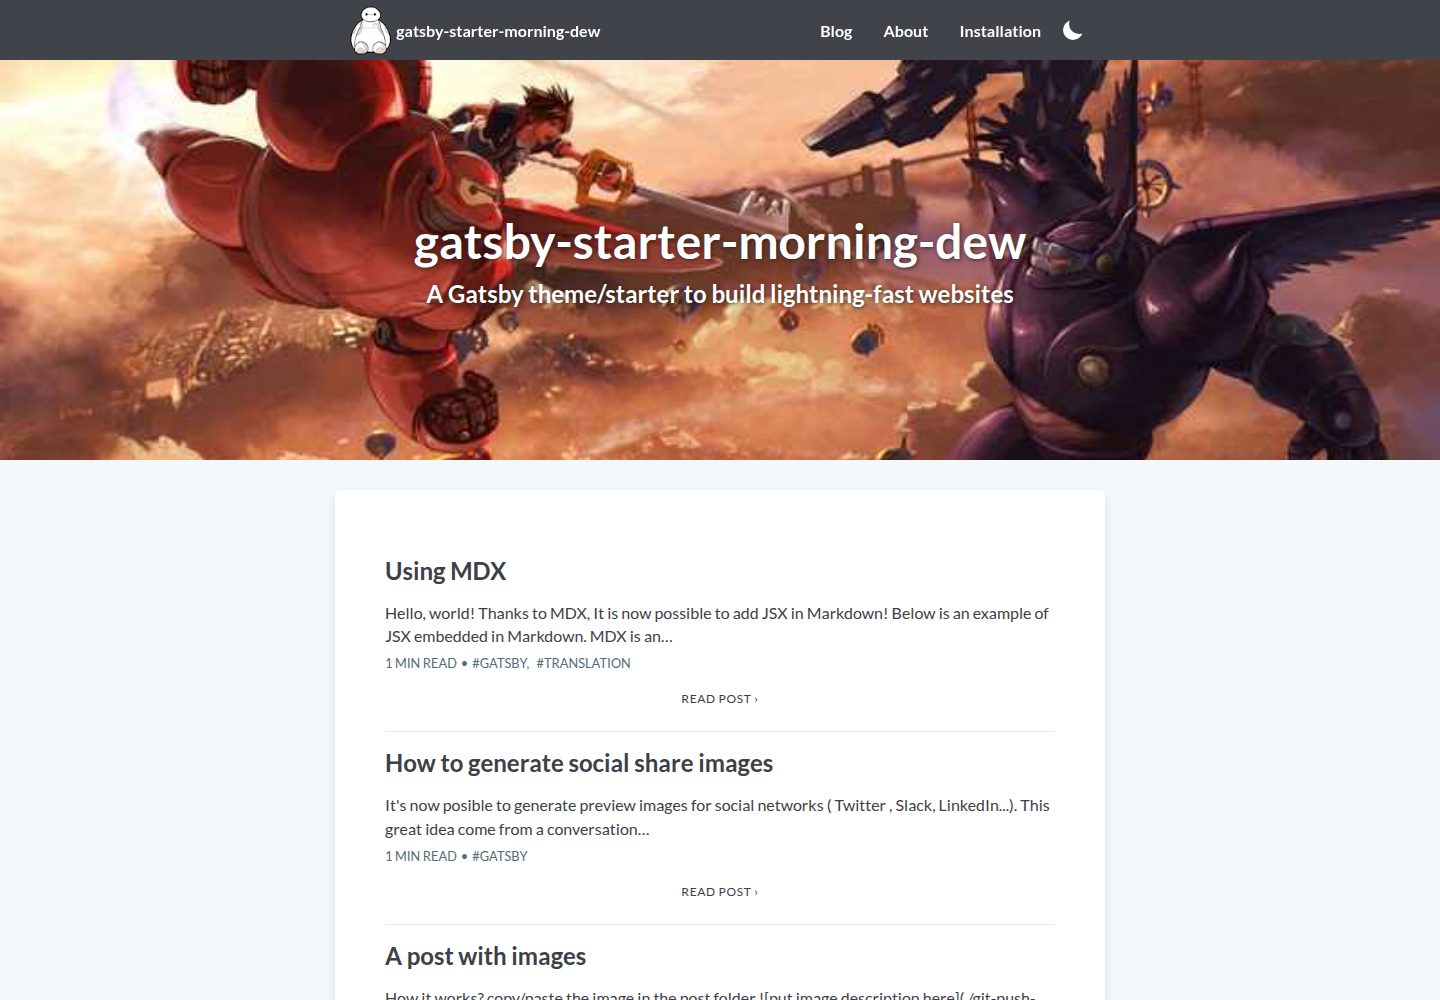
gatsby-starter-morning-dew
:rocket: A Gatsby theme/starter to build lightning-fast blog/websites
Gatsby · 博客
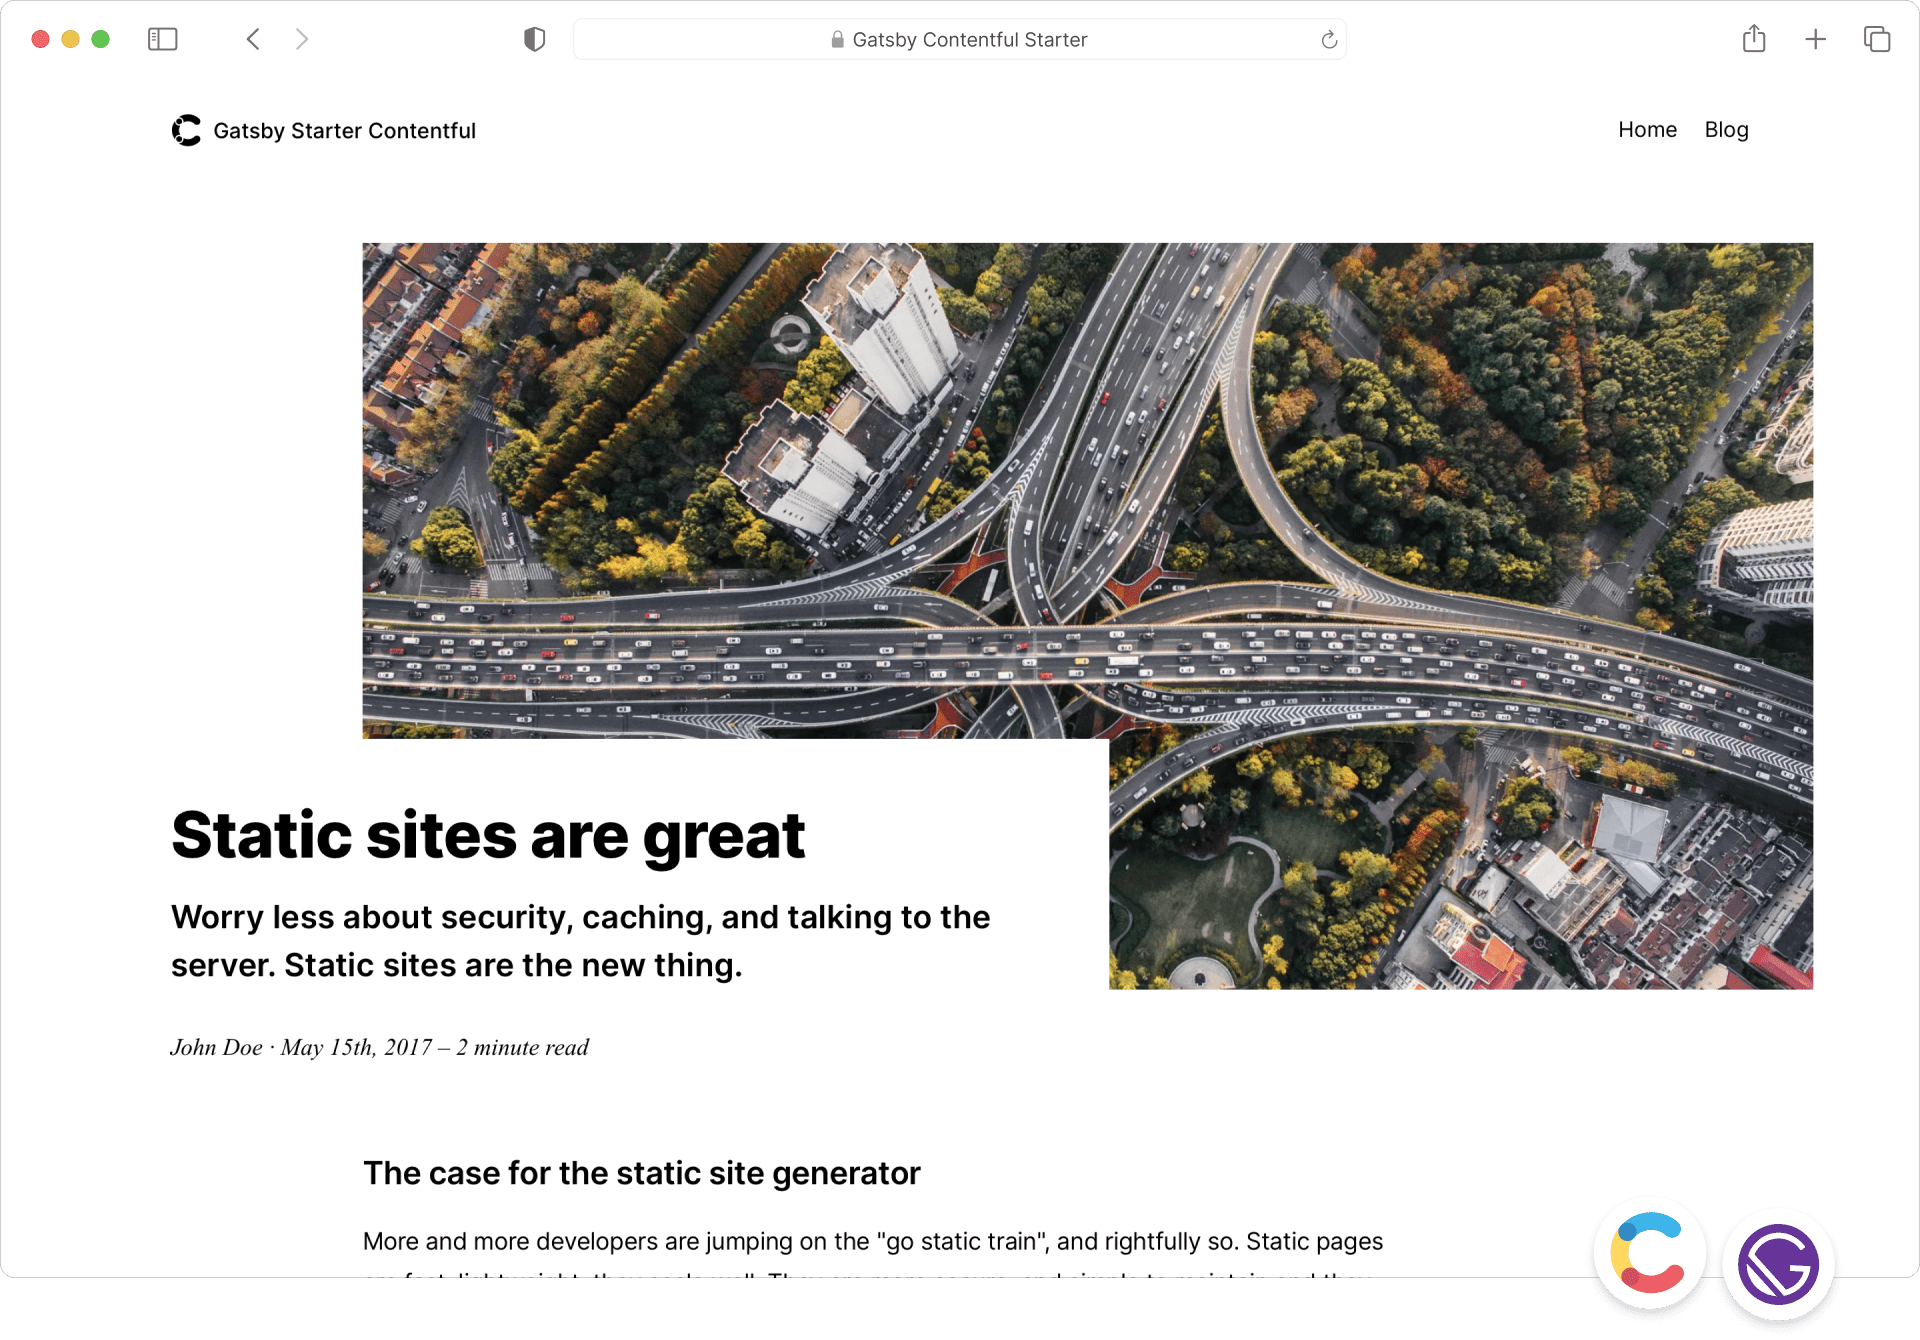
starter-gatsby-blog
这是一个由 Contentful 社区维护的 Gatsby 博客启动器,目标是把静态站点的低维护成本与 Contentful 的友好编辑界面结合起来。
Gatsby · 社区

blog-template
Scientific blog template based on theaisummer.com
Gatsby · 博客

clay-theme
Image-centric Gatsby theme for publishers, portfolios, photographers blogs and more.
Gatsby · 作品集