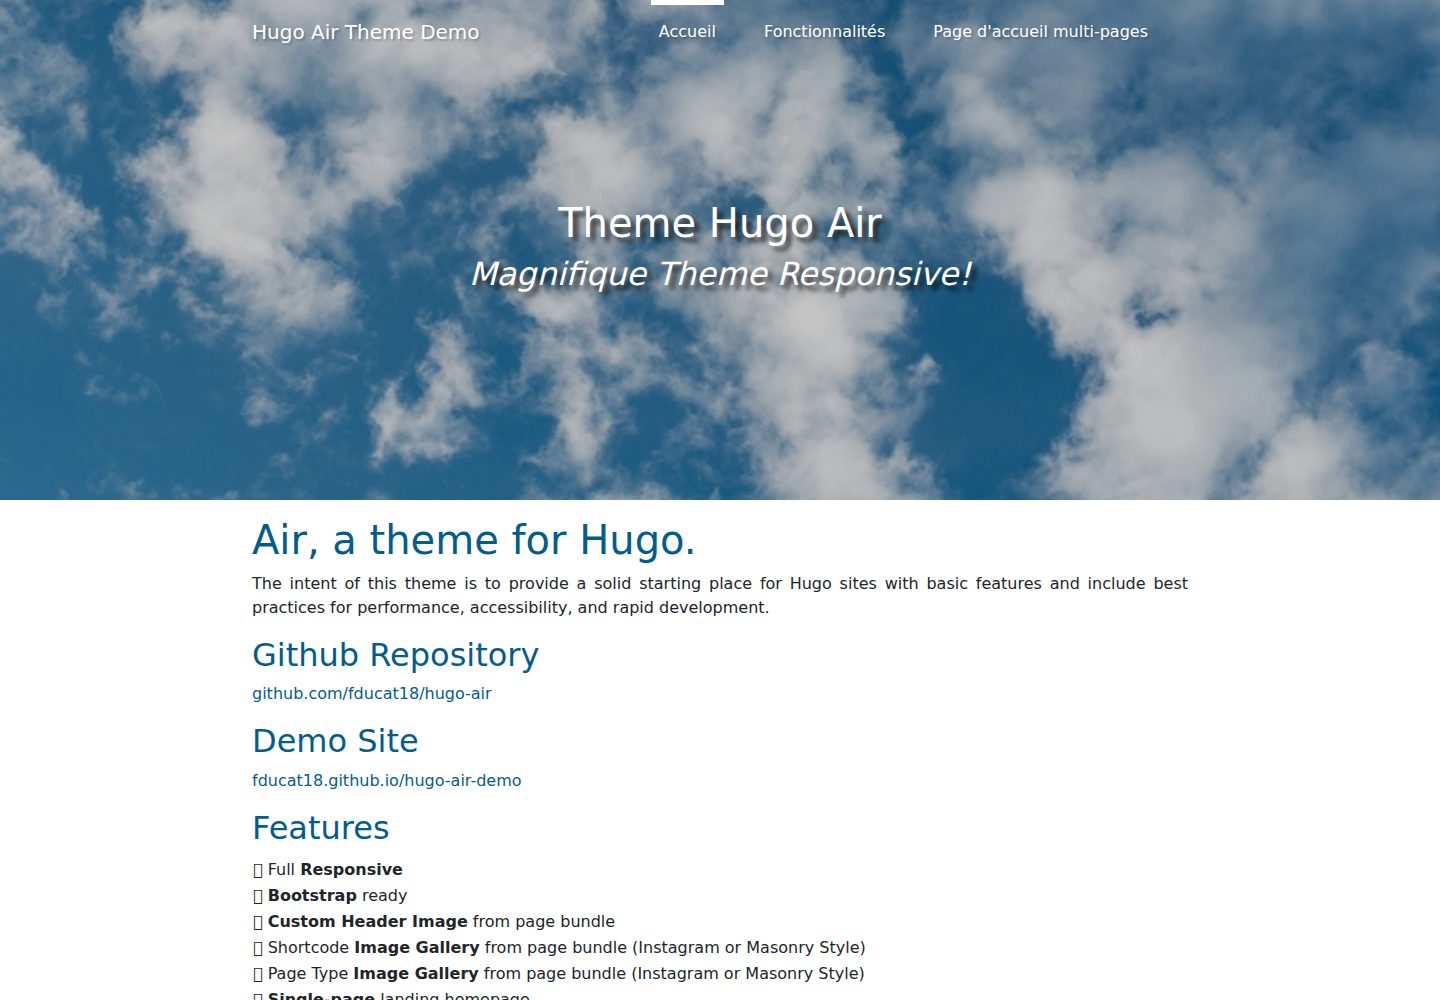
响应式布局,基于 Bootstrap
Hugo启动器
hugo-air — Hugo 启动器模板
作者 fducat18
Hugo Air 是一个基于 Hugo 与 Bootstrap 的启动器主题,提供响应式布局、图库、单页落地页与多语言等基础能力,MIT 许可。
看看你的网站会是什么样
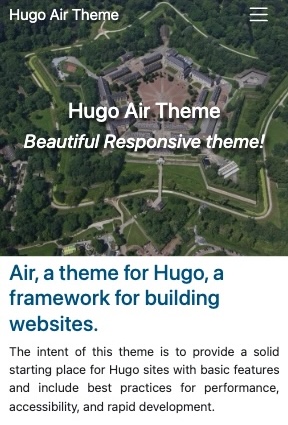
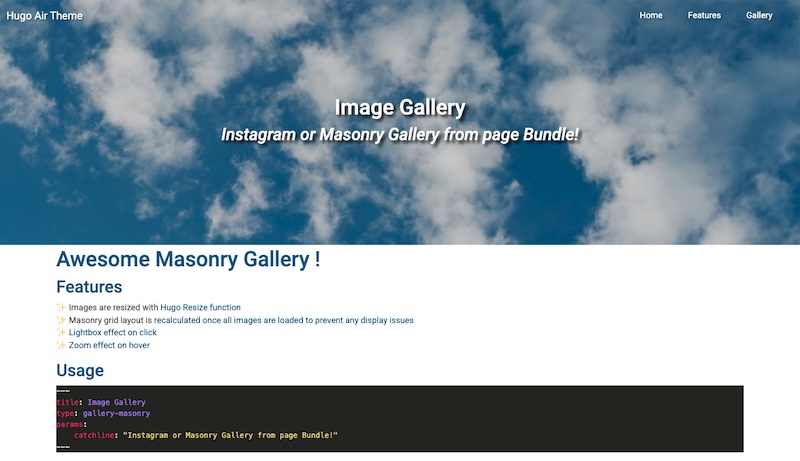
浏览真实页面截图,比较内容排版与手机效果。点击下方缩略图切换,放大查看整页细节。
全部页面与视图 3
截图用于了解视觉与布局,交互效果请以实际项目为准。
采集于 2026-10-03查看来源
值得关注的模板亮点
从已有项目资料中,快速了解它的特点。
支持从页面包自动加载自定义页头图与卡片缩略图
提供 Instagram 风格与瀑布流两种图库,可作页面类型或 shortcode 使用
支持单页落地首页,按 weight 排序页面
内置 Google Maps 嵌入、Smoobu 预订与多语言 shortcode
附带 exampleSite 示例站点与 hugo.yaml 配置示例
模板详细介绍
Hugo Air 是面向 Hugo 站点的启动器主题,目标是为新项目提供包含基础功能与常见开发实践(性能、可访问性、快速开发)的起点。主题内置响应式布局与 Bootstrap 支持,可通过页面包(page bundle)自动加载自定义页头图与卡片缩略图,并提供两种图库呈现方式:Instagram 风格与瀑布流(Masonry)风格,既可作页面类型使用,也可通过 shortcode 调用。它还支持单页落地首页、嵌入 Google Maps、Smoobu 预订 shortcode 以及多语言 shortcode。
使用方式上,主题可作为 Git 子模块安装,仓库附带 exampleSite 示例站点,包含示例内容与 hugo.yaml 配置,可复制到项目中使用。配置项包括主色 params.mainColor、Google Maps 地址 params.gmaps_url、页脚文案、菜单结构以及 Google Analytics 服务 ID。页头图与卡片图默认从 static/img 读取,也可在页面包中放置 featured-image.jpg 或 card.jpg 覆盖。
限制方面:资料未说明主题对 Hugo 具体版本的要求,也未提供除示例站点外的完整文档;图库、落地页等功能依赖页面包与 front matter 配置,需要按 README 手动设置。演示图片、字体、图标等第三方素材的许可需单独核对,不能仅凭代码的 MIT 许可判断。
Hugo启动器
适合你的项目吗?
适用场景
- 为新 Hugo 站点搭建包含响应式布局与基础组件的起点
- 制作以图片展示为主的页面,使用页面包生成 Instagram 或瀑布流图库
- 构建单页落地页,将多个页面按权重组合为一个长页面
- 在站点中嵌入 Google Maps 位置或 Smoobu 预订入口
- 需要多语言 shortcode 支持的 Hugo 项目
适合人群
- 使用 Hugo 并希望以 Bootstrap 为基础快速起步的开发者
- 需要图库、落地页等常见页面形态的内容站点
- 接受通过 Git 子模块管理主题的 Hugo 项目
- 能按 README 手动配置 front matter 与 hugo.yaml 的使用者
上手与定制指南
结合仓库当前版本的说明,按下面的资料检查内容、配置与运行要求。
- 1
以 Git 子模块方式安装:git submodule add https://github.com/fducat18/hugo-air.git themes/air
- 2
本地运行示例:hugo server -s exampleSite --themesDir ../..
- 3
快速开始可复制 exampleSite/content 到项目 content,并将 exampleSite/hugo.yaml 复制到项目根目录(会覆盖现有配置,需手动合并)
- 4
主色通过 params.mainColor 覆盖,Google Maps 地址通过 params.gmaps_url 设置
- 5
图库需在 front matter 中设置 type: gallery-masonry 或 gallery-insta,或使用 gallery-masonry / gallery-insta shortcode 并传入页面包名称
授权与来源资料
使用条件与限制
免费使用 · 保留许可声明本次收录的是公开仓库中采用 MIT 许可的免费版本;免费范围为该版本代码,不代表外部服务或第三方素材免费。
使用时需要遵守
- 允许免费使用、修改、商用和分发该版本代码。
- 分发代码副本或实质性部分时,保留原作者版权声明和完整 MIT 许可声明。
- 代码按现状提供;担保与责任限制以原许可证及适用法律为准。
额外费用与待核对事项
- 嵌入 Google Maps 需在配置中提供 gmaps_url,实际使用依赖 Google 地图服务,可能受 Google 服务条款约束。
- 启用 Google Analytics 需在配置中填写 Google Analytics ID,属于外部服务,需自行承担相应账号与合规要求。
- Smoobu 预订 shortcode 依赖 Smoobu 第三方预订服务,使用前需具备相应服务账号。
- 自定义 favicon 需自行生成或提供图标文件,第三方生成站点有其自身使用条款。
- 演示图片、字体、图标及其他第三方素材需按各自许可核对,不能仅凭代码的 MIT 许可判断。
- 域名、托管、数据库、支付或 AI 等外部服务可能另外收费。
查看原文依据
Permission is hereby granted, free of charge
许可证原文
Embedded Google Maps
README 原文
Setup Google Analytics
README 原文
Smooobu Booking **shortcode**
README 原文
https://github.com/fducat18/hugo-air/blob/main/LICENSEhttps://github.com/fducat18/hugo-air/blob/main/README.mdUse your favicon or generate it using [favicon.io](https://favicon.io/).
README 原文
DeepSeek 根据仓库许可证和 README 整理 ·2026-10-03。结果仅覆盖已读取资料,依赖、图片、字体及后续条款变更以各自原文为准。
项目核对记录与介绍依据
模板资料
- 来源平台
- Hugo Themes
- 资料与维护参考分
- 资料较完整 · 79 / 100
- 技术栈
- Hugo
- 网站类型
- 启动器
这个分数如何计算
本站按许可资料(最高30分)、演示链接(12分)、预览图(10分)、Star数(15分)、记录的维护时间(15分)、描述完整度(8分)、功能记录(5分)和分类资料(5分)计算。它不是代码、安全或性能测试,也不是 Google 评分;有链接不代表已实测可用。
这个项目需要核对什么
- 记录的仓库更新时间
- 2026-09-30
- 截图检查日期
- 2026-10-03
已收录演示链接。请用你的内容与屏幕尺寸检查;有演示不代表表单、认证或支付已经可用。
目录记录的主要技术栈是 Hugo。请通过依赖清单和锁文件核对实际版本与托管要求。这些说明基于收录资料,不代表代码审计或部署实测。
查看具体选型方法 →介绍的制作与核对状态
介绍由 AI 辅助整理目录与仓库资料。仓库作者不等于这篇介绍的审核者。
审核声明: [email protected] · 2026-10-04
查看当时使用的来源资料
SHA-256: 9d3339f31dc2f08696ebfb4588ae1a8033585af629ebdab2967c8abe39cb41e0
2026-10-03T23:47:21.984Z
来源文件 / 仓库# Air, a theme for [Hugo](https://gohugo.io/).
The intent of this theme is to provide a solid starting place for Hugo sites with basic features and include best practices for performance, accessibility, and rapid development.
## Live Demo
Just visit [fducat18.github.io/hugo-air-demo](https://fducat18.github.io/hugo-air-demo)
## Local Demo
1. Clone this repository into a folder named `air`:
```bash
git clone https://github.com/fducat18/hugo-air.git air
```
2. Enter the folder: `cd air`
3. Run the demo:
```bash
hugo server -s exampleSite --themesDir ../..
```
## Features
| Awesome features |
|---------------------------------------------------------------------------------|
| ✨ Full **Responsive** |
| ✨ **Bootstrap** ready |
| ✨ **Custom Header Image** from page bundle |
| ✨ Shortcode **Image Gallery** from page bundle (Instagram or Masonry Style) |
| ✨ Page Type **Image Gallery** from page bundle (Instagram or Masonry Style) |
| ✨ **Single-page** landing homepage |
| ✨ Embedded Google Maps |
| ✨ Smooobu Booking **shortcode** |
| ✨ **Multilingual** Support shortcode |
## Installation
### First Installation: as a git submodule
Install Air Theme as a Git Submodule. Naviguate to the folder of your Hugo site run:
```bash
git submodule add https://github.com/fducat18/hugo-air.git themes/air
```
If you clone a Hugo site that already uses this theme as a submodule, initialize it with:
```bash
git submodule update --init --recursive
```
### Update an existing installation
If you already have Air Theme installed, naviguate to the folder of your Hugo site run:
```bash
git submodule update --remote --merge
```
## Quick Start with Example Site
To get started quickly with the example content:
1. Copy the contents of `themes/air/exampleSite/content` to your project's `content` directory.
2. Copy `themes/air/exampleSite/hugo.yaml` to your project root. **Note:** This will overwrite your existing configuration. If you have existing settings, merge them manually.
3. The `hugo.yaml` file contains essential configuration for the theme, including:
- **Menu Structure**: `menu.main` and `menu.footer`.
- **Theme Params**: `params.mainColor`, `params.gmaps_url`, etc.
## Usage
### Edit your config file
```yaml
baseURL: https://example.com/
languageCode: en-us
title: Example Site
theme: air
params:
author:
name: François
siteUrl: https://notes.ducatillon.net/
gmaps_url: https://www.google.com/maps/d/u/0/embed?mid=1UySq5HRbcRKL90dKuFpX6PRRtx0&ehbc=2E312F
mainColor: "#386641"
footer: "Hugo Air theme is great and customizable"
menu:
main:
- name: Home
url: /
weight: 20
params:
target:
- name: Features
url: /features
weight: 30
params:
target:
- name: Shortcode Gallery
pageRef: /features/shortcode-gallery/
parent: Features
weight: 20
- name: Landing Page
url: /landing-page
weight: 40
params:
target:
footer:
- name: Home
url: /
weight: 20
params:
target:
markup:
goldmark:
parser:
attribute:
block: true
renderer:
unsafe: true
```
### Customize main color
In your config file, add:
```yaml
params:
mainColor: "#386641"
```
This will override the main.scss
```css
/*
=======================================================
= CSS Variables =
=======================================================
*/
/*
Main color for the website
It can be overridden in the config file by setting "Params.mainColor" to any color value
*/
:root {
--main-color: #035c8c; /* default color */
}
```
### Set Google Maps url
In your config file, add:
```yaml
params:
gmaps_url: https://tinyurl.com/mr3uesbx
```
### Customizing Favicon
To change the favicon of your site:
1. Use your favicon or generate it using [favicon.io](https://favicon.io/).
2. Copy the generated file (e.g. `favicon.ico`) to your `static/` directory.
### Setup Google Analytics
In your config file, add:
```yaml
services:
googleAnalytics:
id: G-12345 #Replace with your Google Analytics ID
```
### Image Gallery
#### Use as partial
In your `.md` file, specify the type of the page with `type: gallery-masonry` or `type: gallery-insta` like this:
```yaml
---
title: Air is a great hugo theme
type: gallery-masonry
---
Air is a great hugo theme with outstanding features like image gallery from page bundle
```
#### Use as shortcode
Assuming your folder structure would look something like this
```yaml
content/
└── pages/
└── my-page/ # Page Bundle
├── index.md # Page content
├── featured-image.jpg # Image Resource used as gallery image 1
├── card.jpg # Image Resource used as gallery image 2 AND as card featured image
├── photo1.jpg # Image Resource used as gallery image 3
├── photo2.jpg # Image Resource used as gallery image 4
└── photo3.jpg # Image Resource used as gallery image 5
```
In your `.md` file, add this block to display your instagram image gallery
`{{` `< gallery-masonry page="my-page" >` `}}`
where "my-page" is the page bundle object passed as a variable to the shortcode
Alternatively, use instagram gallery style with
`{{` `< gallery-insta page="my-page" >` `}}`
### Custom Header image
Add one image called `featured-image.jpg` in your page bundle.
#### Use as a featured header image in `single.html`
Automatically loaded as a header image on your page
##### Use the default featured header image
Automatically loaded from the `static/img` folder.
- `header-960.jpg` for screens higher than 960px
- `header-480.jpg` for screens lower than 960px
### Custom Bootstrap Card image
#### Use as featured card image in `list.html`
When listing pages/posts, it displays bootstrap cards with a thumbnail image.
By default it uses the card image from `static/img/card.jpg`
Customize the card image by adding one image called `featured-image.jpg` or `card.jpg ` in your page bundle.
### Single-page landing homepage
Add pages to a folder. These page will render as a single-page.
Example with this page bundle:
```yaml
content/
└── landing-page/
└── page-1/ # Page Bundle
├── featured-image.jpg #
├── index.md # Page 1
├── _index.md # File that calls the landing-page type
├── page-2.md # Page 2
├── page-3.md # Page 3
├── page-4.md # Page 4
└── page-5.md # Page 5
```
Edit your `content/landing-page/_index.md` to add `type: landing-page`
```yaml
---
title: Landing Page
catchline: Awesome One Page Landing Page
type: landing-page
---
```
Add a weight to each page to render them by weight ✨:
```yaml
---
title: Page 1
weight: 10
---
Content of Page 1
```
## Theme Development
If you are developing this theme inside a Hugo site (usually in `themes/air`), remember that this is a **Git submodule**.
### Making changes
1. Enter the theme directory: `cd themes/air`
2. Ensure you are on the main branch: `git checkout main`
3. Make your changes, then commit and push from within the theme directory:
```bash
git add .
git commit -m "Your feature"
git push origin main
```
4. Go back to your Hugo site root and update the theme pointer:
```bash
cd ../..
git add themes/air
git commit -m "Update theme pointer"
git push origin main
```
## Screenshot
### Mobile
### Desktop
看看同类模板
对比同技术栈与用途的模板,找到更适合的视觉与内容结构。
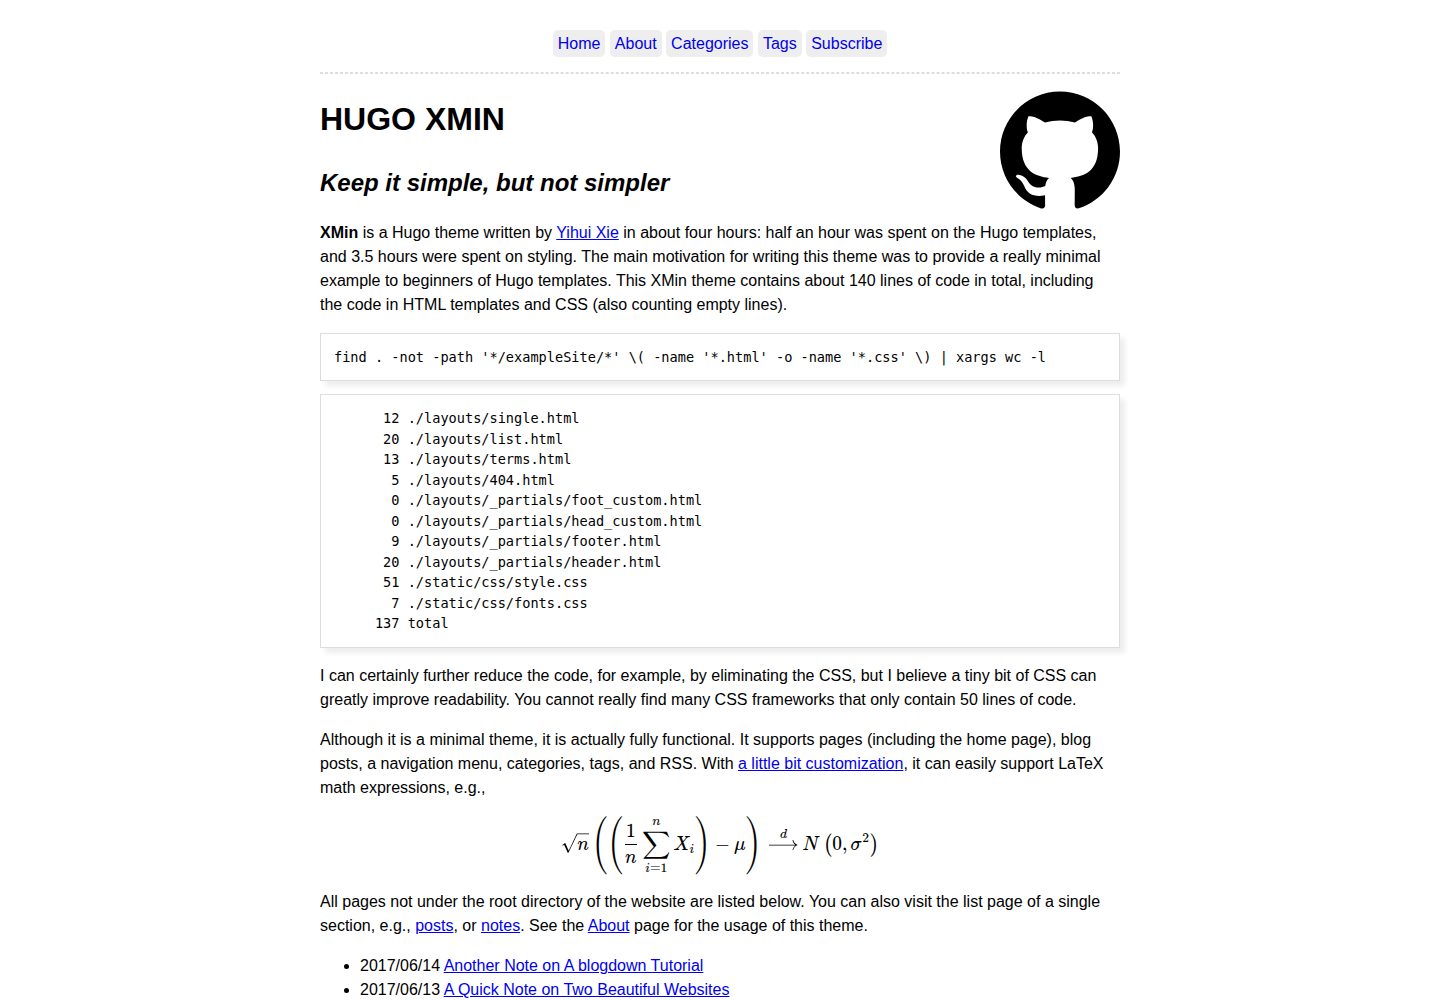
hugo-xmin
eXtremely Minimal Hugo theme: about 140 lines of code in total, including HTML and CSS (with no dependencies)
Hugo · 启动器
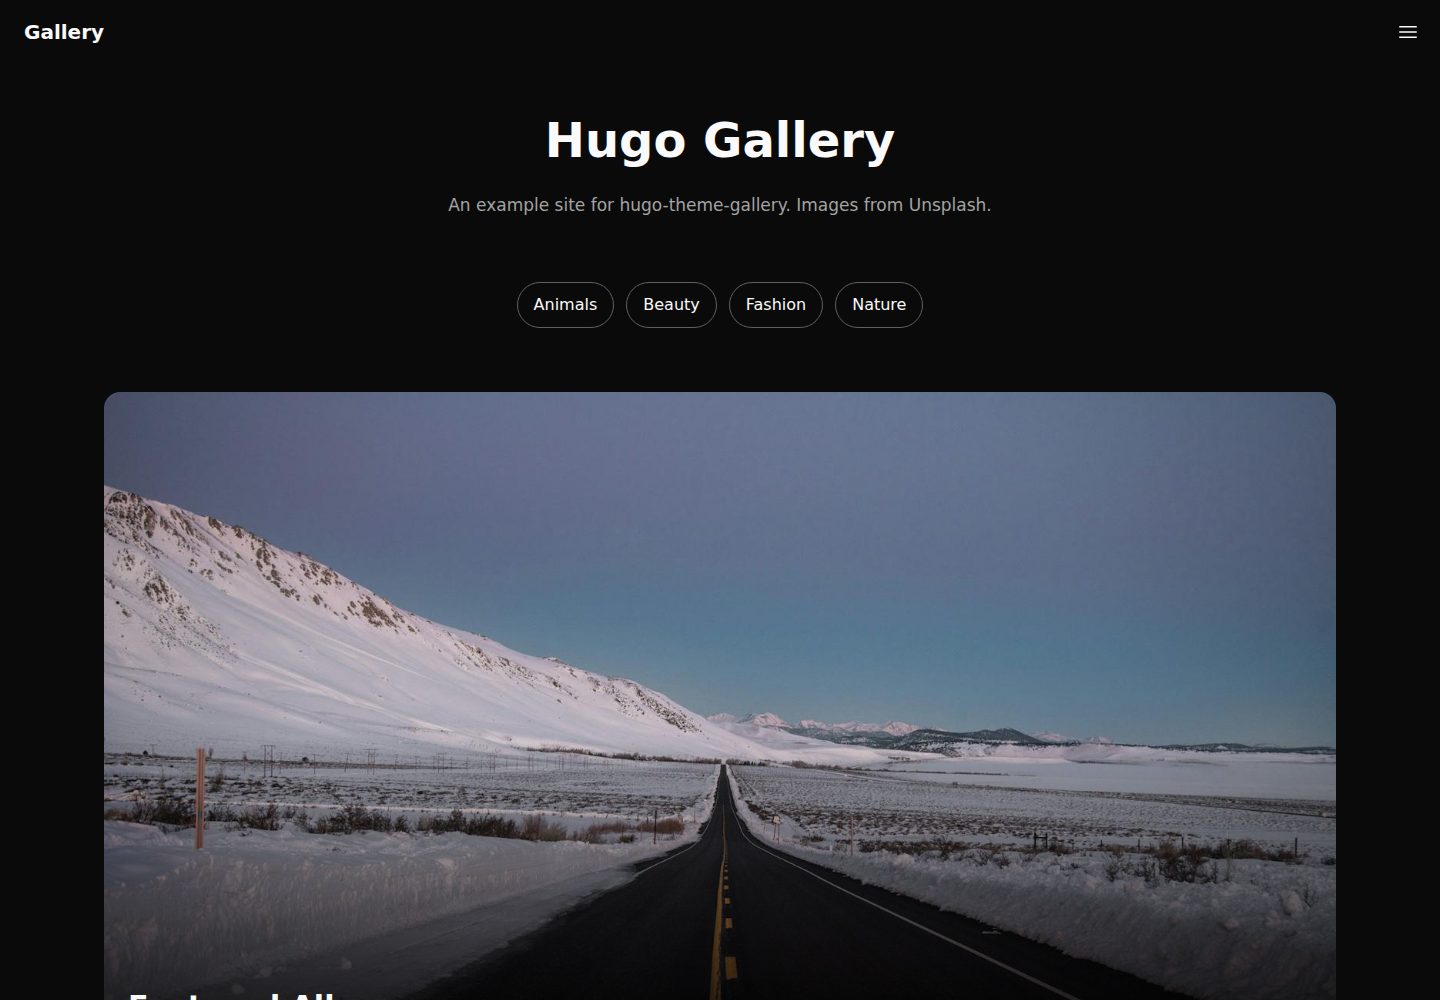
hugo-theme-gallery
Gallery Theme for Hugo
Hugo · 启动器
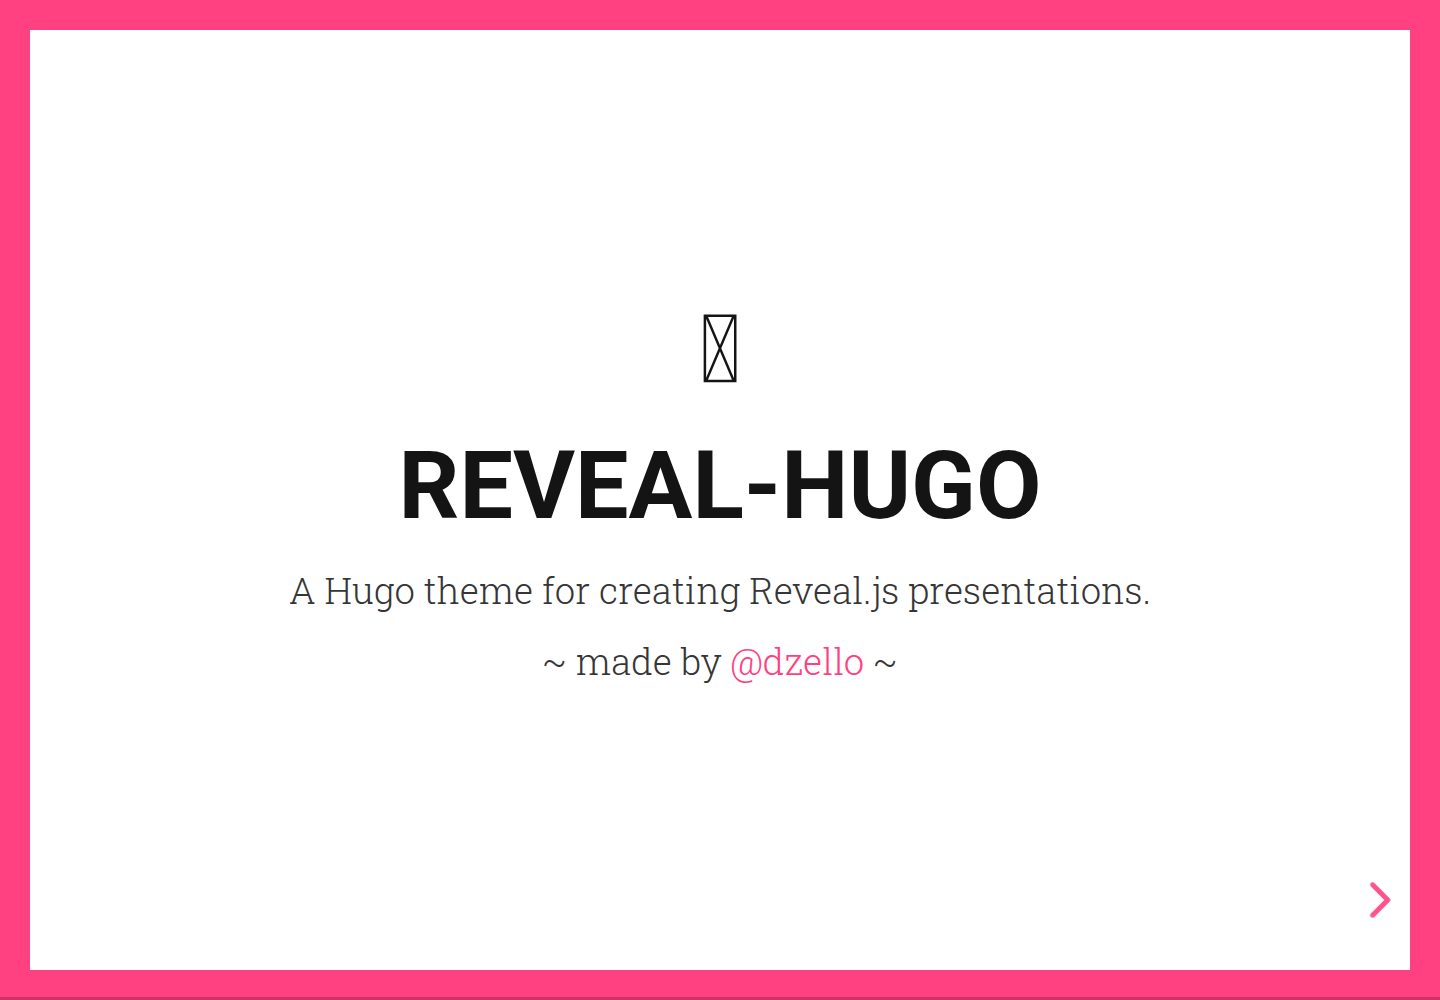
reveal-hugo
📽️ Create rich HTML-based presentations with Hugo and Reveal.js
Hugo · 启动器
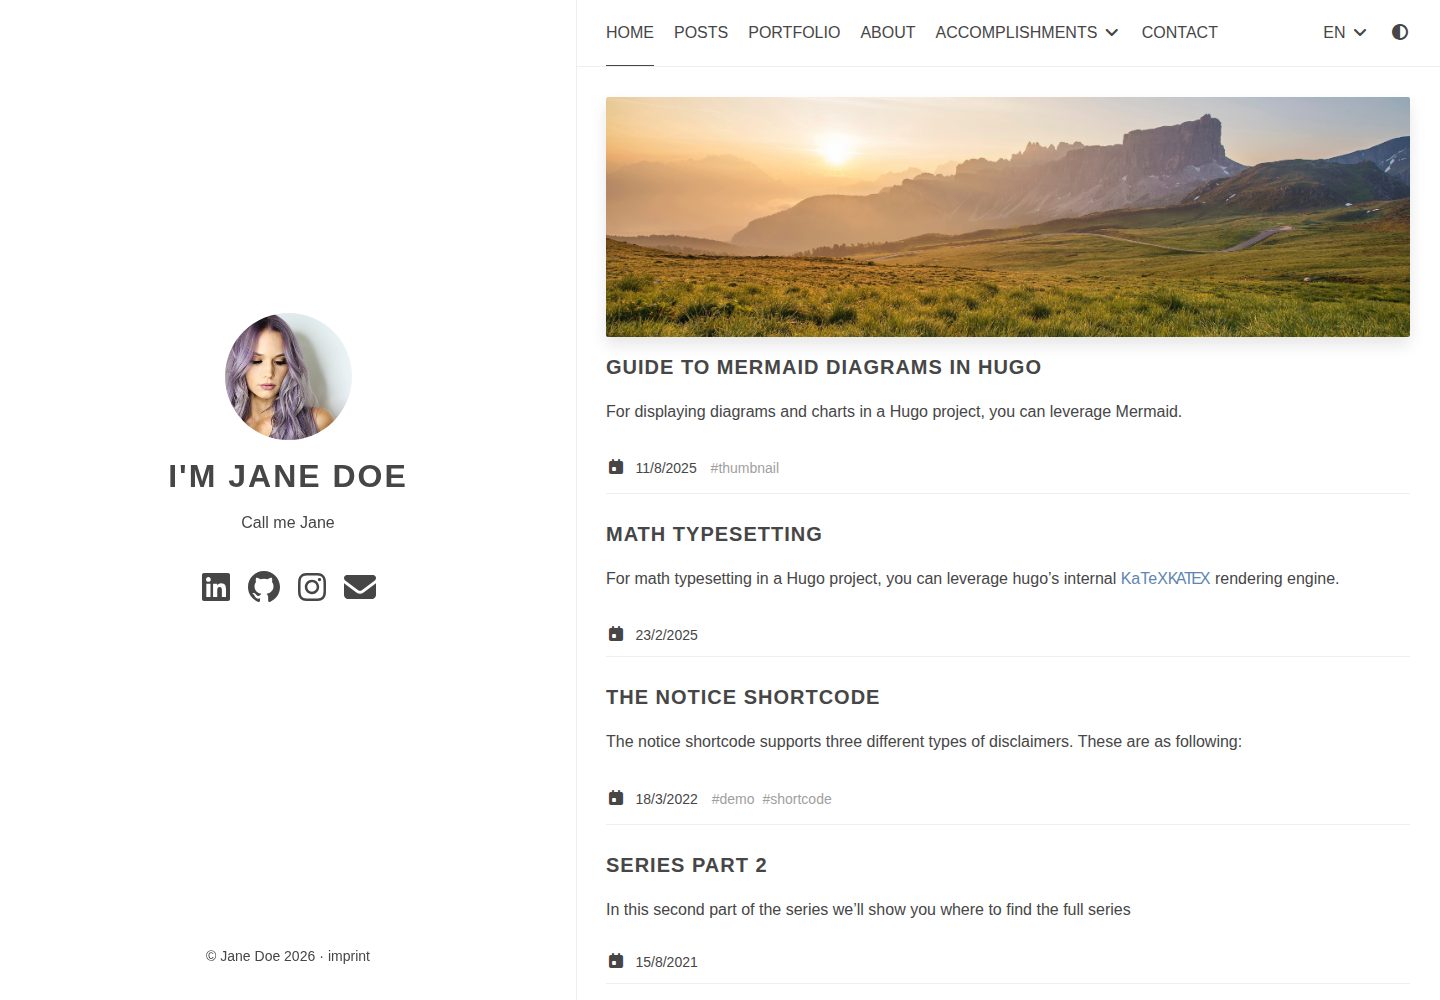
anatole
Anatole is a minimalistic two-column theme for Hugo.
Hugo · 启动器
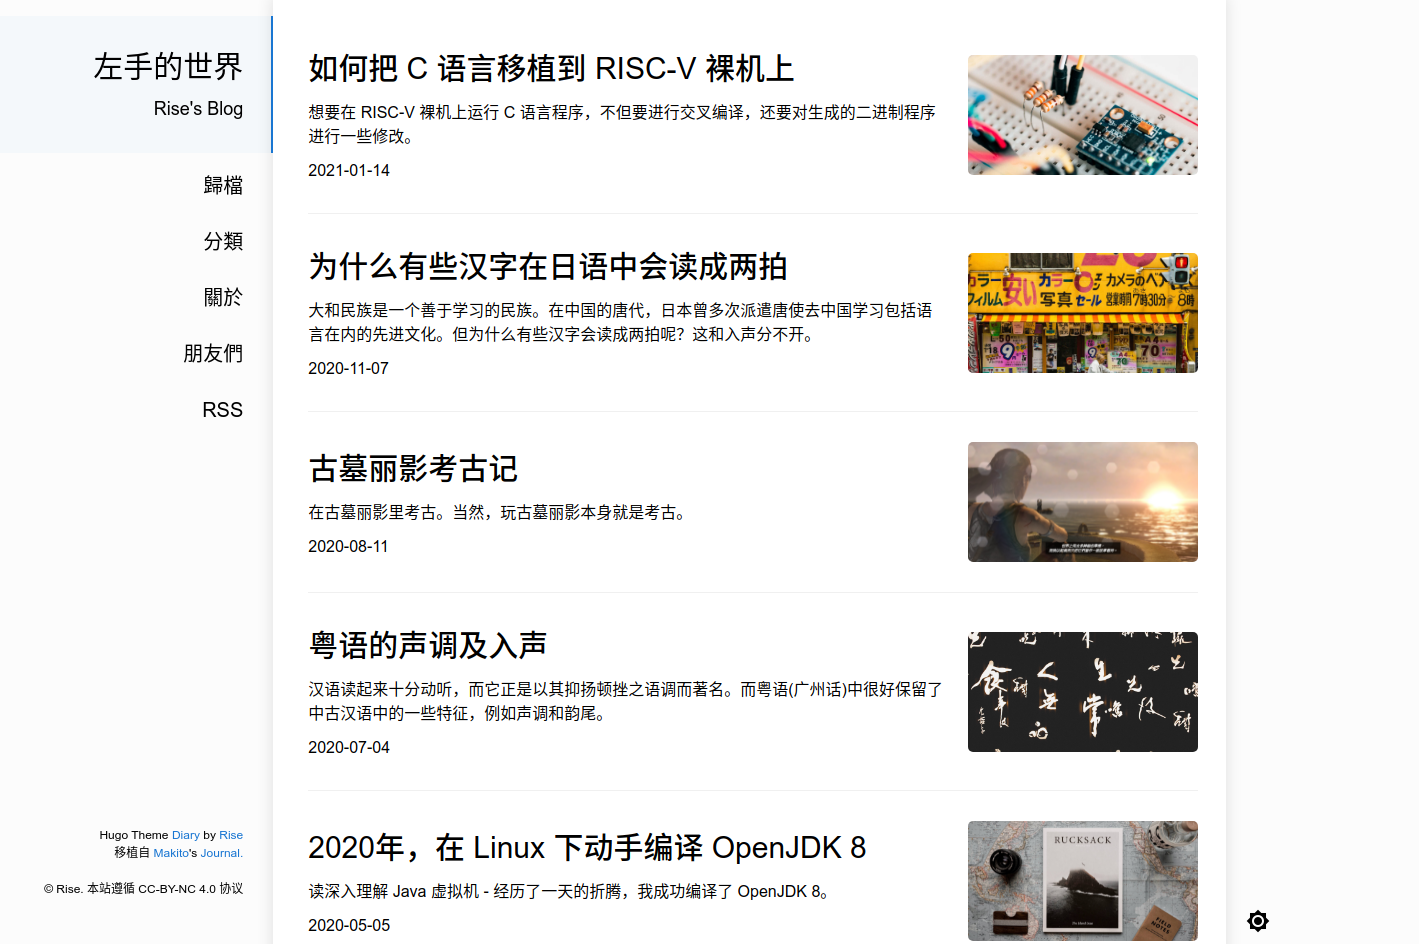
hugo-theme-diary
Moments piled up. A Hugo theme ported from SumiMakito/hexo-theme-Journal.
Hugo · 启动器
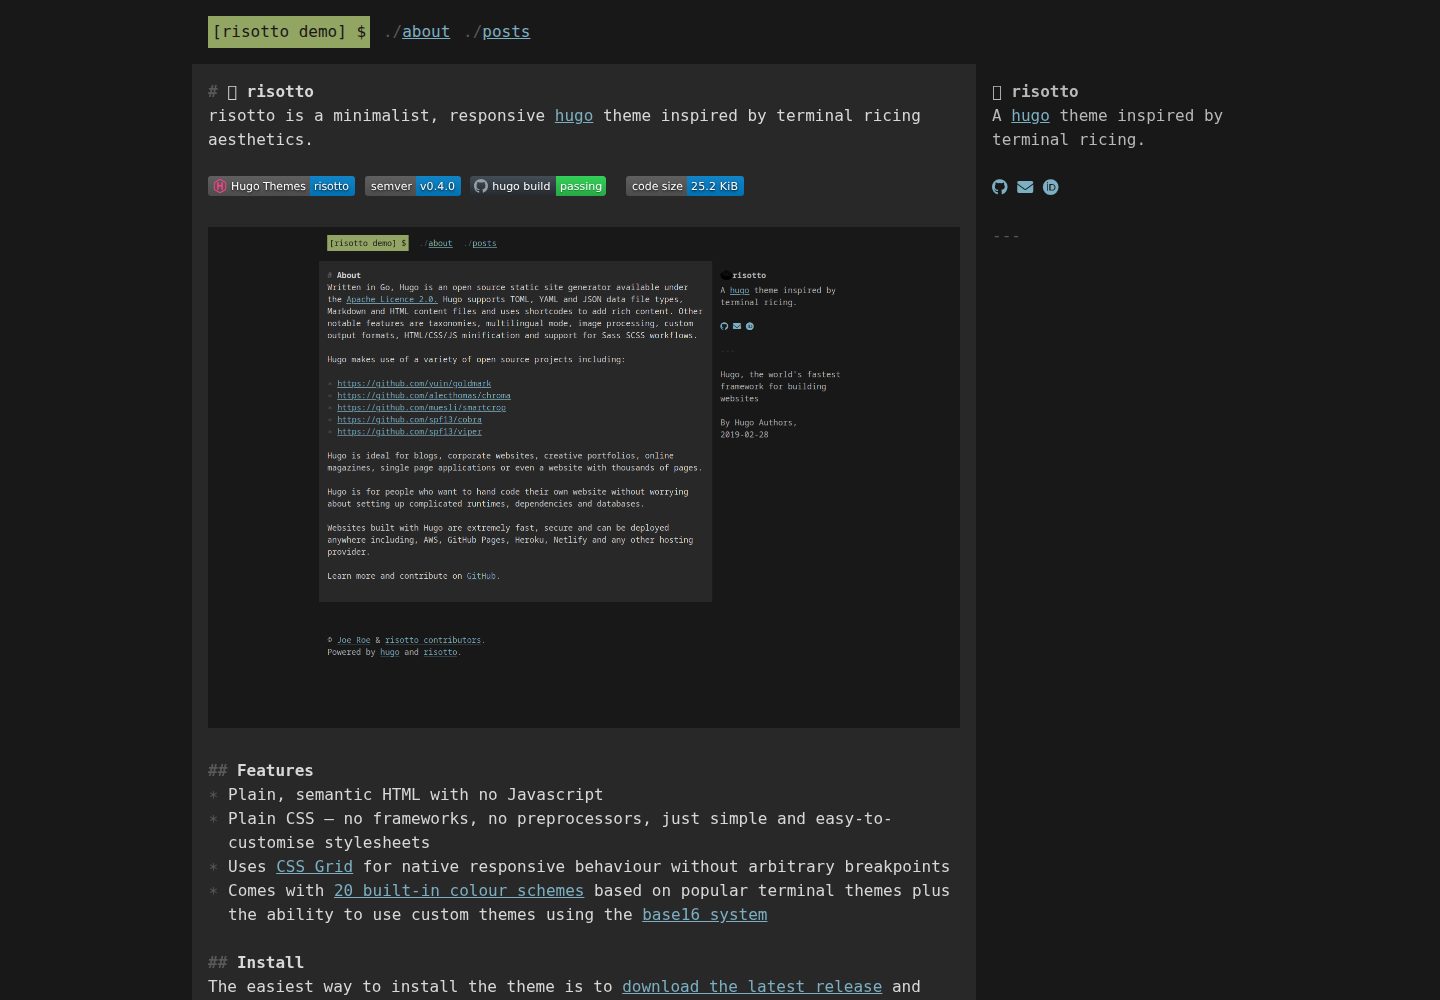
risotto
A minimalist, responsive hugo theme inspired by terminal ricing aesthetics.
Hugo · 启动器