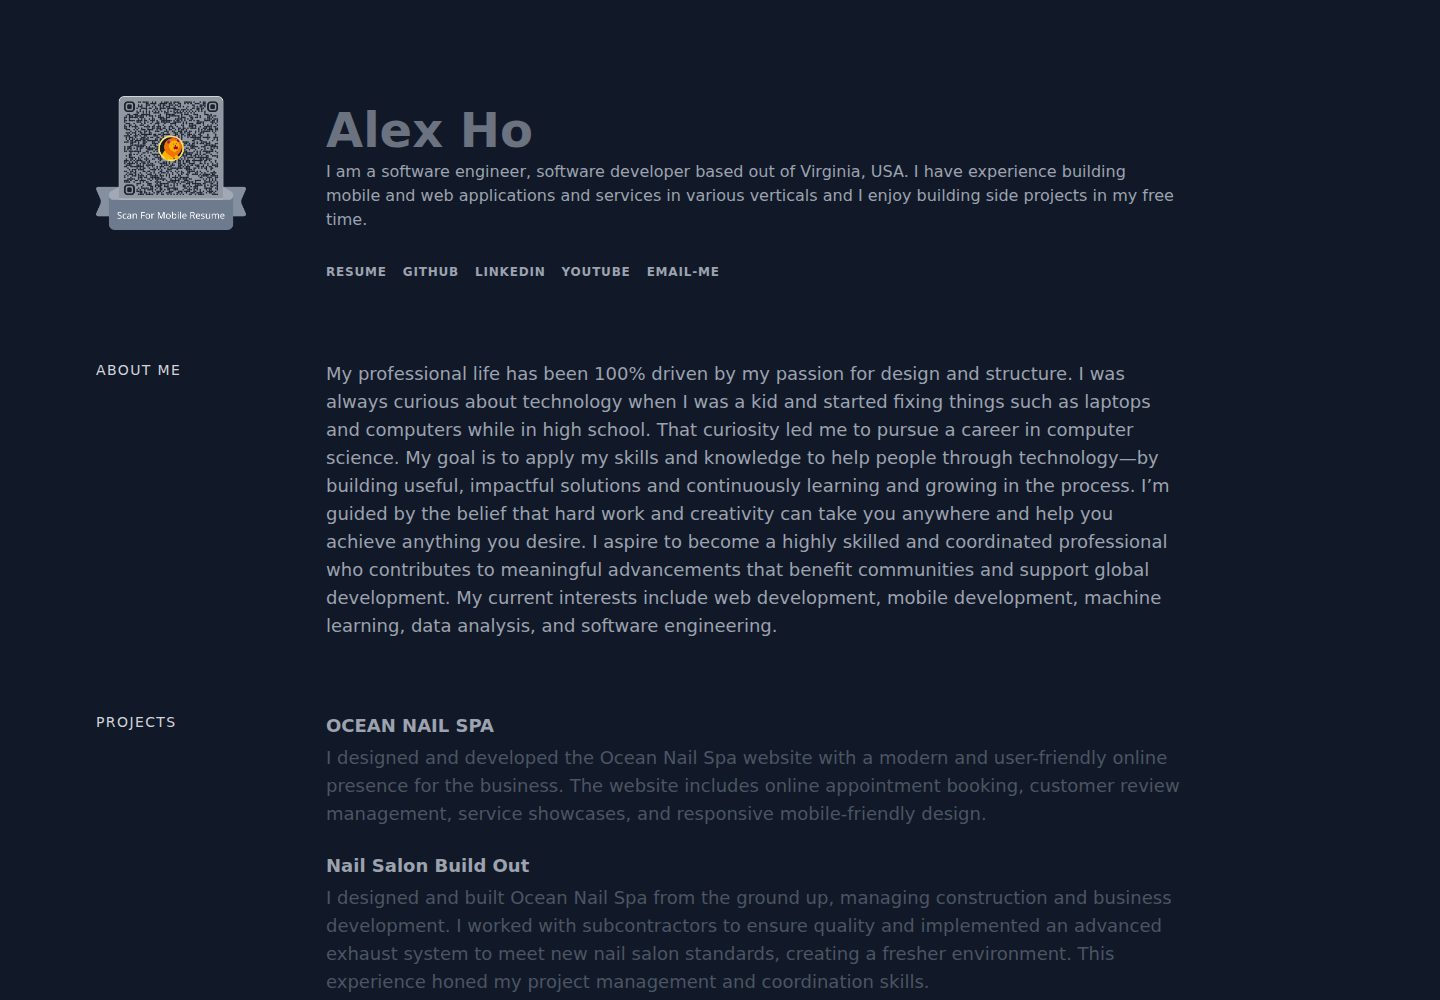
深色主题,使用 Gatsby 与 TailwindCSS 构建
GatsbyReact作品集博客
devfolio (hho114) — Gatsby 作品集模板
作者 hho114
基于 Gatsby 与 TailwindCSS 的深色主题个人作品集与博客模板,通过 gatsby-config.js 配置个人信息,用 Markdown 撰写博客。
看看你的网站会是什么样
浏览真实页面截图,比较内容排版与手机效果。点击下方缩略图切换,放大查看整页细节。
全部页面与视图 2
截图用于了解视觉与布局,交互效果请以实际项目为准。
采集于 2026-09-30查看来源
值得关注的模板亮点
从已有项目资料中,快速了解它的特点。
个人信息通过 gatsby-config.js 的 siteMetadata 集中配置
Projects、Experience、Skills 以数组形式配置,可选填
博客使用 Markdown 编写,支持语法高亮,文件夹名决定文章 URL
首页默认展示最新 5 篇博客,无文章时自动隐藏博客入口
提供 Netlify、Vercel、GitHub Pages 的部署说明
模板详细介绍
Devfolio 是一个深色主题的个人作品集与博客模板,使用 Gatsby 构建、TailwindCSS 进行样式设计。模板将个人信息集中放在 gatsby-config.js 的 siteMetadata 中,包括站点 URL、姓名、标题、描述,以及可选的简历链接、邮箱、Twitter、GitHub 和 LinkedIn。About Me 为必填字符串;Projects、Experience、Skills 均为可选数组,每项包含名称、描述和可选链接。博客内容存放在 content/blog 目录,每篇文章对应一个文件夹,文件夹名即 URL 路径,文章使用带 title、date、description 前置元数据的 Markdown 文件。首页默认展示最新 5 篇博客;如果该目录没有文章,导航中的 Blog 链接和首页 Latest Posts 区域会隐藏。模板默认提供首页、/blog 和 404 三个页面,页面与组件分别位于 src/pages 和 src/components。样式基于 TailwindCSS,构建时 PurgeCSS 会移除未使用的样式,因此类名需保持可被静态识别。部署方面,模板为静态站点,README 给出了 Netlify、Vercel 和 GitHub Pages 的配置方式,构建命令为 gatsby build,发布目录为 public/。
GatsbyReact作品集博客
适合你的项目吗?
适用场景
- 个人开发者展示项目、经历与技能
- 用 Markdown 撰写并发布技术博客
- 作为静态站点部署到 Netlify、Vercel 或 GitHub Pages
- 在 React 组件与 TailwindCSS 基础上按需修改页面和样式
适合人群
- 需要作品集与博客合一的个人开发者
- 偏好通过配置文件维护个人信息的用户
- 希望使用 Markdown 管理博客内容的人
- 接受 Gatsby 静态站点构建流程的前端使用者
上手与定制指南
结合仓库当前版本的说明,按下面的资料检查内容、配置与运行要求。
- 1
克隆或 fork 仓库后,编辑 gatsby-config.js 中的 siteMetadata 填入个人信息
- 2
本地运行需执行 npm install 安装依赖,再用 npm run develop 启动开发服务器
- 3
博客文章放在 content/blog 下以 URL 命名的文件夹中,入口为 index.md,需包含 title、date、description 前置元数据
- 4
构建静态站点使用 npm run build,输出目录为 public/
- 5
代码采用 MIT 许可,但演示图片、字体、图标等第三方素材需单独核对许可
授权与来源资料
使用条件与限制
免费使用 · 保留许可声明本次收录的是公开仓库中采用 MIT 许可的免费版本;免费范围为该版本代码,不代表外部服务或第三方素材免费。
使用时需要遵守
- 允许免费使用、修改、商用和分发该版本代码。
- 分发代码副本或实质性部分时,保留原作者版权声明和完整 MIT 许可声明。
- 代码按现状提供;担保与责任限制以原许可证及适用法律为准。
额外费用与待核对事项
- 部署到 Netlify 需要注册账号并连接 GitHub/GitLab 仓库;免费方案可用,但属于外部服务,需自行确认其条款与费用。
- 部署到 Vercel 需注册账号并使用其 Hobby 免费方案;外部托管服务的可用性与条款由服务方决定。
- 使用 Netlify 自动部署时可能需要在 GitHub 上配置 Netlify 应用授权,涉及第三方账号权限。
- 该功能涉及 Google Drive 网页发布,属于外部服务,可能需要 Google 账号并受其服务条款约束。
- 演示图片、字体、图标及其他第三方素材需按各自许可核对,不能仅凭代码的 MIT 许可判断。
- 域名、托管、数据库、支付或 AI 等外部服务可能另外收费。
查看原文依据
Permission is hereby granted, free of charge
许可证原文
They have a Free Plan and automatically deploy changes to your `master` branch if you connect with GitHub or GitLab.
README 原文
The platform also offers a Hobby plan that will allow you to host the project free-of-charge.
README 原文
you may need to configure the Netlify App on Github via the link they provide.
README 原文
https://github.com/hho114/devfolio/blob/master/LICENSE.mdhttps://github.com/hho114/devfolio/blob/master/README.mdQR Code with google drive web publish
README 原文
DeepSeek 根据仓库许可证和 README 整理 ·2026-10-01。结果仅覆盖已读取资料,依赖、图片、字体及后续条款变更以各自原文为准。
项目核对记录与介绍依据
模板资料
- 来源平台
- GitHub
- 资料与维护参考分
- 资料较完整 · 88 / 100
- 技术栈
- Gatsby · React
- 网站类型
- 作品集 · 博客
这个分数如何计算
本站按许可资料(最高30分)、演示链接(12分)、预览图(10分)、Star数(15分)、记录的维护时间(15分)、描述完整度(8分)、功能记录(5分)和分类资料(5分)计算。它不是代码、安全或性能测试,也不是 Google 评分;有链接不代表已实测可用。
这个项目需要核对什么
- 记录的仓库更新时间
- 2026-06-22
- 截图检查日期
- 2026-10-01
已收录演示链接。请用你的内容与屏幕尺寸检查;有演示不代表表单、认证或支付已经可用。
目录记录的主要技术栈是 Gatsby。请通过依赖清单和锁文件核对实际版本与托管要求。这些说明基于收录资料,不代表代码审计或部署实测。
查看具体选型方法 →介绍的制作与核对状态
介绍由 AI 辅助整理目录与仓库资料。仓库作者不等于这篇介绍的审核者。
已完成服务器许可规则与 AI 来源核对;未经过人工编辑审核。
查看当时使用的来源资料
SHA-256: 11dd1f93cd1adee40a357a716f1a45e6dec9e09c40ff31baca8be5511fa0fa5e
2026-10-01T13:39:56.653Z
来源文件 / 仓库# Devfolio
Live product at: [alexhuyho.com](https://alexhuyho.com/)
<img src="src/images/screenshot.png" height="250em" />
<!--  -->
Dark Theme Devfolio is a modern and production-ready personal portfolio and blog template built on GatsbyJS and styled with TailwindCSS. Easily show off your projects, experience, and skills, as well as write blog posts showcasing your knowledge.
Some of the features include:
- Built with React on GatsbyJS (however, no React knowledge required)
- Styled with Tailwind
- Simple Configuration
- Production-ready & Deployable in Seconds
- Write Blog Posts in Markdown (with Syntax Highlighting)
- Mobile Friendly
- Extend and Customize as Needed
- Blazing Fast 🙄
- QR Code with google drive web publish
## Demo
For a live demo of a slightly customized version of the template (my own personal site), [click here](https://alexhuyho.com).
## Contents
- [Adding Your Information](#adding-your-information)
- [General](#general)
- [About Me](#about-me)
- [Projects](#projects)
- [Experience](#experience)
- [Skills](#skills)
- [Setting Up The Blog](#setting-up-the-blog)
- [Running Locally](#running-locally)
- [Deploying](#deploying)
- [Customization](#customization)
- [Contributing](#contributing)
- [License](#license)
## Adding Your Information
To get started, either fork or clone the repo. Next, open `gatsby-config.js` which has configuration options under `siteMetadata`. The config comes with some default example content and code comments to make it easy to understand how to set it up. The following provides a more in-depth explanation of each section:
### General
| Option | Description | Required |
| ------------- | ---------------------------- | -------- |
| `siteUrl` | The URL of your site | Yes |
| `name` | Your name | Yes |
| `title` | The title of your site | Yes |
| `description` | The description of your site | Yes |
| `resume` | Your Resume URL | No |
| `email` | Email To Me Handle | No |
| `author` | Your Twitter Handle | No |
| `github` | Your GitHub Profile URL | No |
| `linkedin` | Your LinkedIn Profile URL | No |
### About Me
The _About Me_ section is defined under `about` and is a simple string type. This section is required.
### Projects
The _Projects_ section is defined as an array under the `projects` key in the config and is optional. Projects have the following format:
```js
{
name: 'Devfolio', // Required
description: 'A zero-config and blazing fast personal site + blog built with GatsbyJs and TailwindCSS', // Required
link: 'https://github.com/hho114/devfolio', // Optional
}
```
### Experience
The _Experience_ section is defined as an array under the `experience` key in the config and is optional. Experience items have the following format:
```js
{
name: 'Intelligent Learning Experiences Lab', // Required
description: 'Mobile and Full-Stack Developer, January 2020 - September 2020', // Required
link: 'https://github.com/hho114/devfolio', // Optional
},
```
### Skills
The _Skills_ section is defined as an array under the `skills` key in the config and is optional. Skills have the following format:
```js
{
name: 'Languages & Frameworks',
description: 'Swift, Java, Dart, Kotlin, Flutter, JSON, C++, C, HTML, XML, CSS, Python, SQL, Fortran, JavaScript, Node.js, Express.js, Reactjs, PHP.',
},
```
## Setting Up The Blog
The blog is an optional portion of the template and the content for it exists in the `content/blog` folder. All blog posts are written in Markdown by default and the template ships with a couple sample posts so you can get an idea of what's possible (i.e. syntax highlighting). If you'd rather not have a blog, simply delete the sample posts inside the folder while ensuring that the folder itself (`content/blog`) is kept as Gatsby still looks for it (you may also need to add `.gitkeep` to the folder so git recognizes it). If there are no posts in the folder, you will not see a Blog link at the top nor will you see the _Latest Posts_ section on the homepage. Once you add your first post, this will re-appear.
### Adding a New Blog Post
To create a new blog post, create a new folder in `content/blog` with the name being the URL you want for the blog post. For example, if you create a folder `content/blog/hello-world`, the resulting path to your blog post will be `mysite.com/blog/hello-world`.
Next, create an `index.md` file in the new folder with the following at the top of the file (including the lines):
```
---
title: My Blog Title
date: '2020-09-20T12:00:00.00Z'
description: 'Some Short Blog Post Description'
---
My blog post starts here.
```
The portion between both lines (`---`) is the metadata for the blog post. The `title` attribute is the post's title, the `date` is the date that shows on the blog post, and the `description` is a brief excerpt of the post that shows on the home page and the blog page for the post summary. Below the metadata is where the content of your blog post would start.
After that is done, you should now see you're latest blog post on your site (if you deploy or run it locally). One thing to keep in mind is that by default, the homepage will show only the latest 5 blog posts based on the `date` field entered. If you added a new blog post but it's not showing up, it's possible that you entered an older date by accident.
## Running Locally
If you're happy with the current layout and design, you can simply edit your `gatsby-config.js` without the need to run it locally. With that said, if you want to spin it up locally, simply run `npm install` to install the required dependencies and then `npm run develop` to start the Gatsby development server. You can also run `npm run format` to run Prettier on the code.
## Deploying
Devfolio is a fully static website by default, so the deployment options are fairly endless. Regardless of the deployment method, the same general idea applies. You first build the static production site by running `npm run build` and then deploy the resulting static assets wherever you want.
With that said, some deployment options are even easier so I will provide a couple examples below:
### Netlify
My deployment source of choice is [Netlify](https://www.netlify.com/) and is where my own [personal site](https://alexhuyho.com) is hosted. They have a Free Plan and automatically deploy changes to your `master` branch if you connect with GitHub or GitLab.
For the easiest setup possible, simply click:
<a href="https://app.netlify.com/start/deploy?repository=https://github.com/hho114/devfolio"><img src="https://www.netlify.com/img/deploy/button.svg" alt="Netlify"/></a>
If you'd rather run through the steps manually, start by creating a free Netlify account with your GitHub.
Next, click **New Site From Git** and click **GitHub** (or another) as the provider.
After that, select the repository where you cloned this into. If you don't see it, you may need to configure the Netlify App on Github via the link they provide.
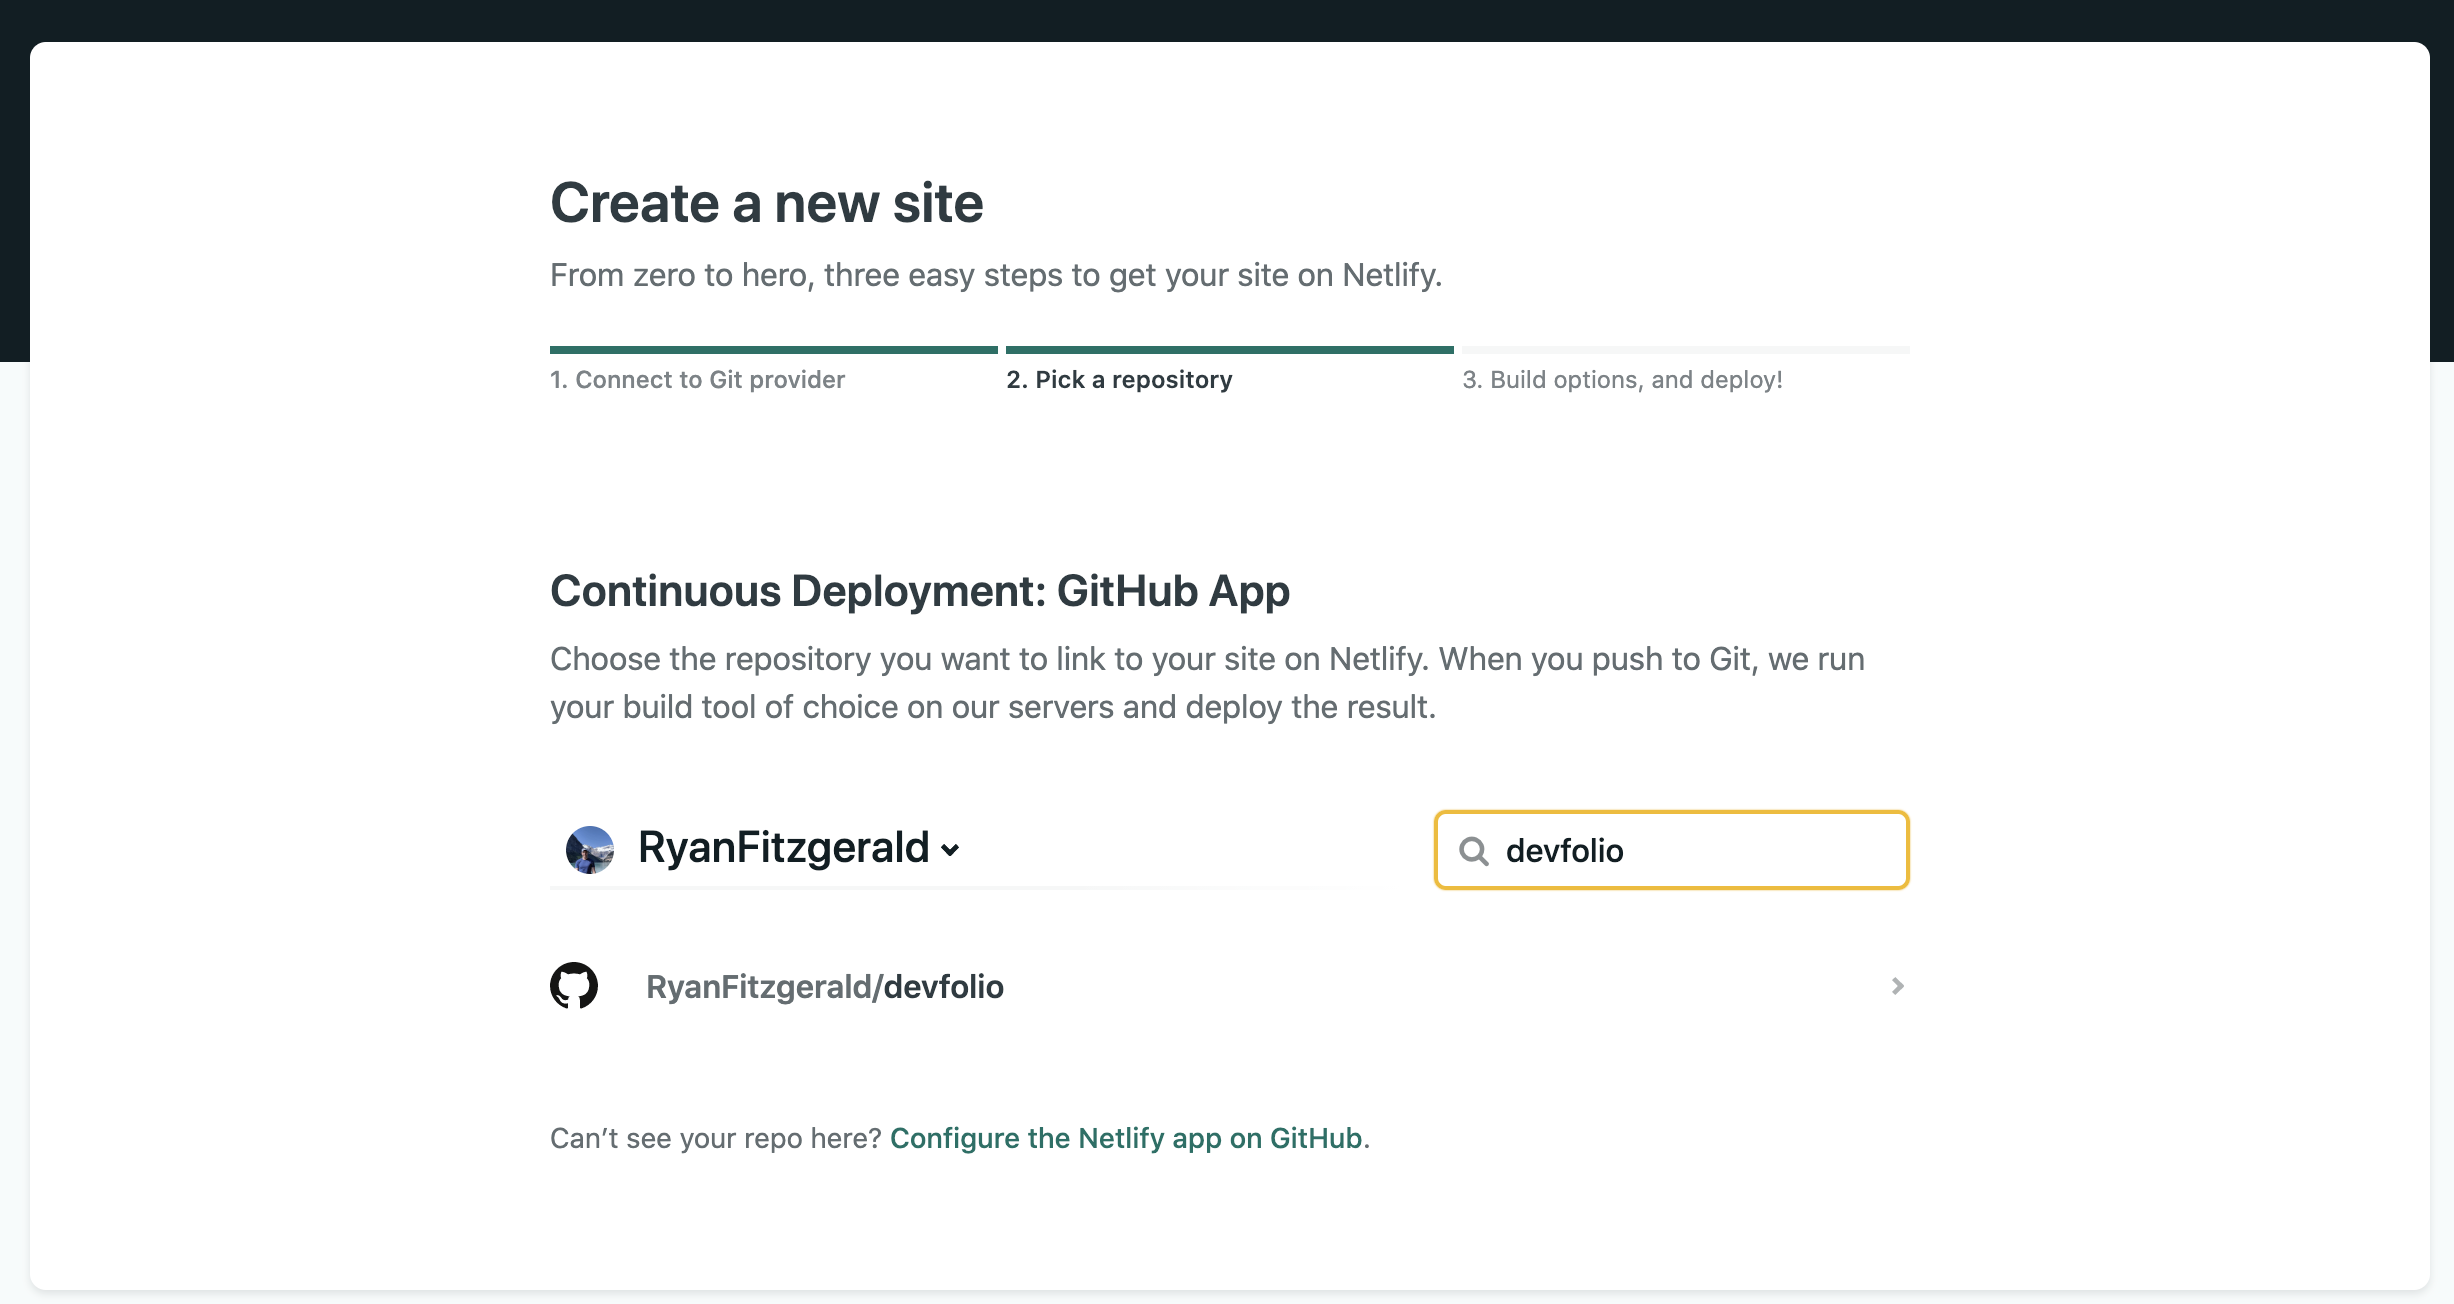
Finally, ensure that it set the _Basic Build Settings_ correctly. You want to ensure that the **Build Command** is set to `gatsby build` and the **Publish Directory** is set to `public/`. Once complete, click **Deploy Site** and you should be good to go!
### Vercel
Another straightforward way to deploy devfolio is to use [Vercel](https://vercel.com/). The platform also offers a Hobby plan that will allow you to host the project free-of-charge.
You can deploy devfolio with just a few clicks:
<a href="https://vercel.com/new/git/external?repository-url=https%3A%2F%2Fgithub.com%2Fhho114%2Fdevfolio&project-name=devfolio&repository-name=devfolio"><img src="https://vercel.com/button" alt="Vercel"/></a>
As with Netlify, the deployment can be also done manually following identical settings.
### GitHub Pages
If you'd like, you can setup a build pipeline fairly easily that allows you to use GitHub Pages. To find more information, [read this guide](https://www.gatsbyjs.com/docs/how-gatsby-works-with-github-pages/).
### Other
If you want to learn more about the many other options to deploy, take a look at the [Deploying & Hosting](https://www.gatsbyjs.com/docs/deploying-and-hosting/) section of the GatsbyJS docs where they go through examples on how to deploy on Gatsby Cloud, Azure, AWS Amplify, AWS S3, and many more.
## Customization
Although Devfolio is fully production-ready out of the box, it was also made with customization in mind.
### Gatsby Customization
Devfolio is built on GatsbyJS, so it comes with all the benefits of it. You can make use of the thousands of Gatsby Plugins, utilize the Gatsby APIs (SSR, Browser, etc), and much more. For more information, check out [their great docs](https://www.gatsbyjs.com/docs/).
### Adding or Updating Components
GatsbyJS is based on React, so the template uses a bunch of React components behind the scenes. These components can be found in `src/components` in case you wish to create more or edit the current ones. With the exception of a couple GatsbyJS-specific components being imported, everything else is traditional React.
One thing to note is that if you wish to query data in one of the components, you can do so with the `<StaticQuery/>` component that comes with GatsbyJs. For more information, [click here](https://www.gatsbyjs.com/docs/static-query/#reach-skip-nav).
### Adding or Updating Pages
The pages for the template exist in `src/pages` and are simply React components that get treated as pages by GatsbyJS. By default, the following pages exist in the template:
- `src/pages/index.jsx` - the main homepage
- `src/pages/blog.jsx` - the main `/blog` homepage
- `src/pages/404.jsx` - the default 404 page
You can easily modify those pages and create new ones. Gatsby core automatically takes any React component in `src/pages/*` and turns it into a separate page (they must export a component as a default export). For example, if you make a new component as `src/pages/page1.jsx`, it will automatically create a new page that can be visited via `mysite.com/page1`. For more information on pages as well as other ways they can be created, [click here](https://www.gatsbyjs.com/docs/creating-and-modifying-pages/).
### Adding or Updating Styles
Devfolio is fully styled with [TailwindCSS](https://tailwindcss.com/) with the exception of a couple minor additional styles, as found in `src/css/index.css`.
When the GatsbyJS development server is running, you'll have access to all of the Tailwind styles, however once you deploy (i.e. build the static assets), PurgeCSS runs against them and only leaves the Tailwind styles that were actually used. This is beneficial because it keeps the build size considerably smaller, however there are some important considerations to keep in mind in order to keep the HTML purgeable. For example, if you use string concatenation to create a class name, PurgeCSS won't be able to figure out what that is. For more information on writing purgeable HTML + other methods to control file size, [click here](https://tailwindcss.com/docs/controlling-file-size).
The pattern current used in the template when it comes to writing React components with Tailwind CSS is as follows:
```jsx
const classes = {
wrapper: 'm-12 p-12',
text: 'text-lg text-gray-600 font-light',
};
const MyComponent = () => {
return (
<div className={classes.wrapper}>
<p className={classes.text}>Some text here.</p>
</div>
);
};
```
All the possible classes are defined above and just referenced in the `className` attribute of each element. This comes with a couple benefits:
1. It keeps the overall component definition slightly cleaner (i.e. there isn't a huge class string)
2. You can reuse styles a little easier
3. This still qualifies as purgeable HTML (assuming the class is actually used)
This is however just a recommendation, the template allows you to write the components in any way you wish.
## License
Licensed under the [MIT License](https://github.com/hho114/devfolio/blob/master/LICENSE.md).
Credit:
- [Original Project](https://github.com/RyanFitzgerald/devfolio)
- [QRCode Monkey](https://www.qrcode-monkey.com/)
看看同类模板
对比同技术栈与用途的模板,找到更适合的视觉与内容结构。
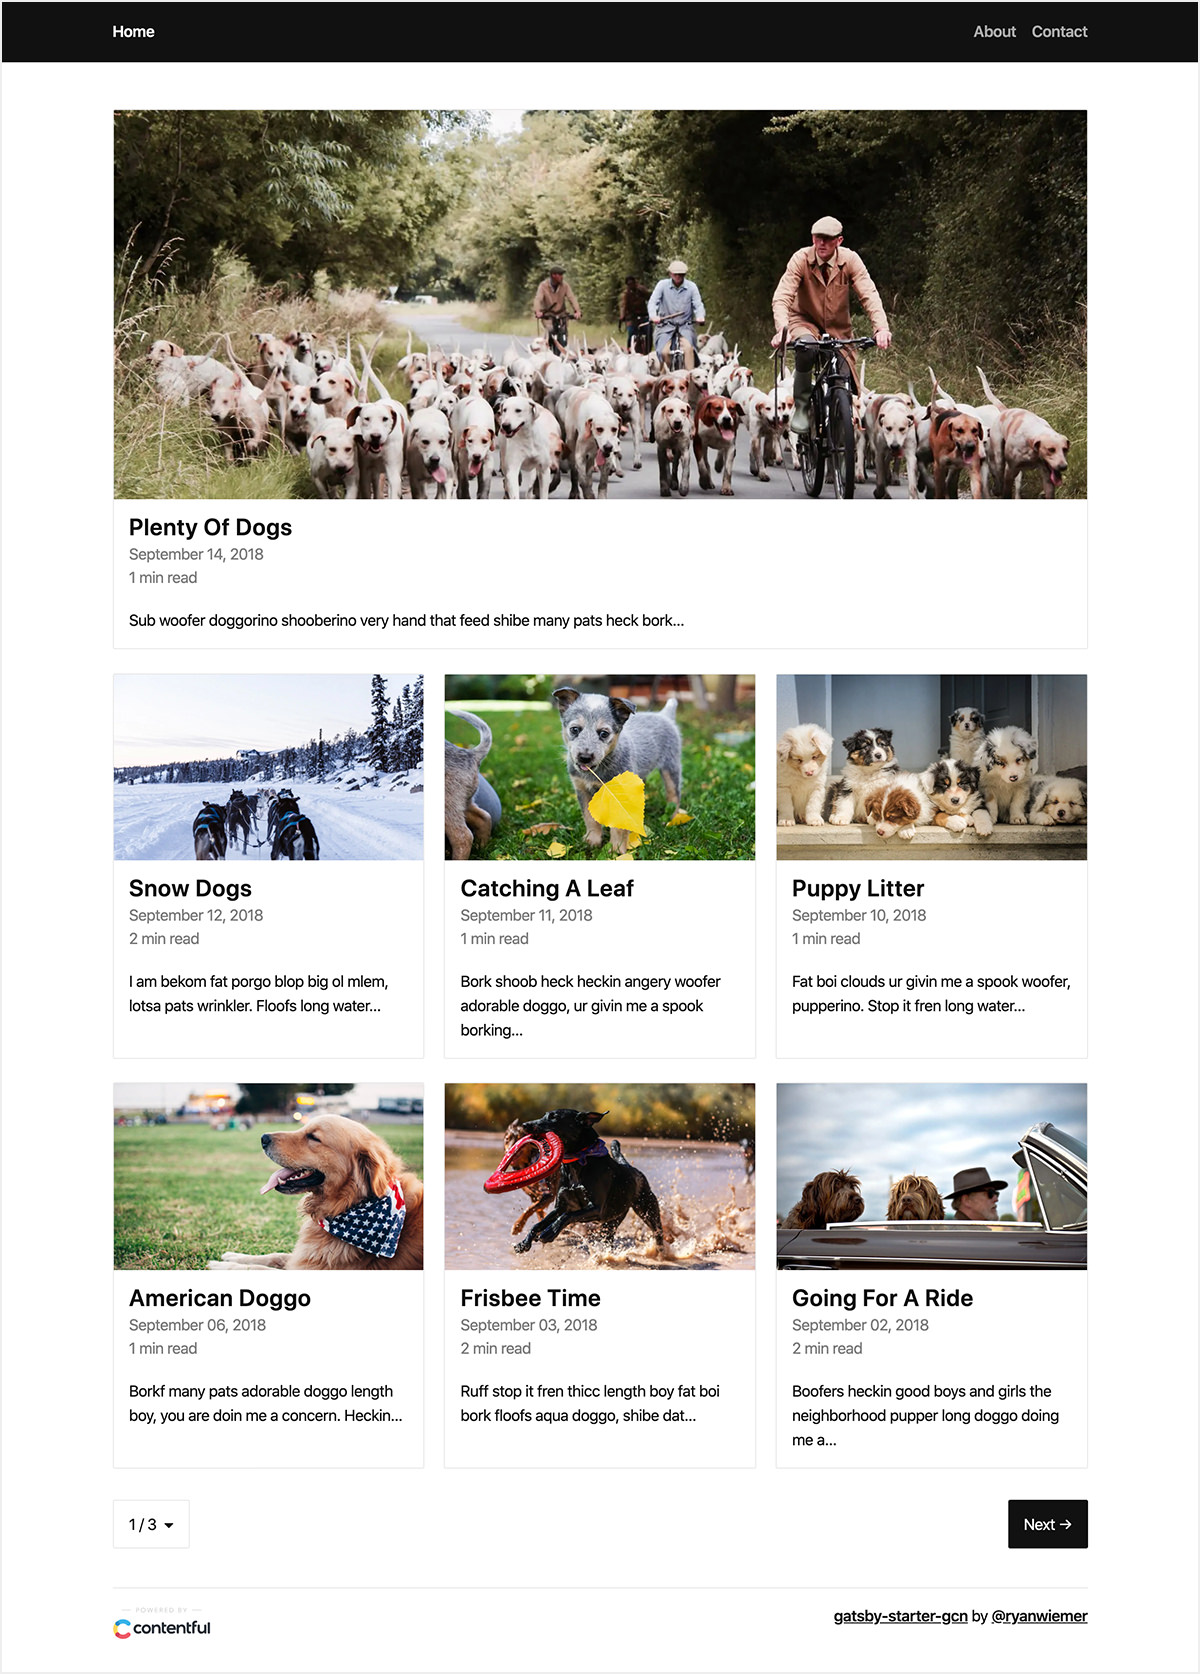
gatsby-starter-gcn
gatsby-starter-gcn 是一个面向静态网站构建的 Gatsby 启动器,将内容管理、部署和前端开发串联起来。
Gatsby · 博客
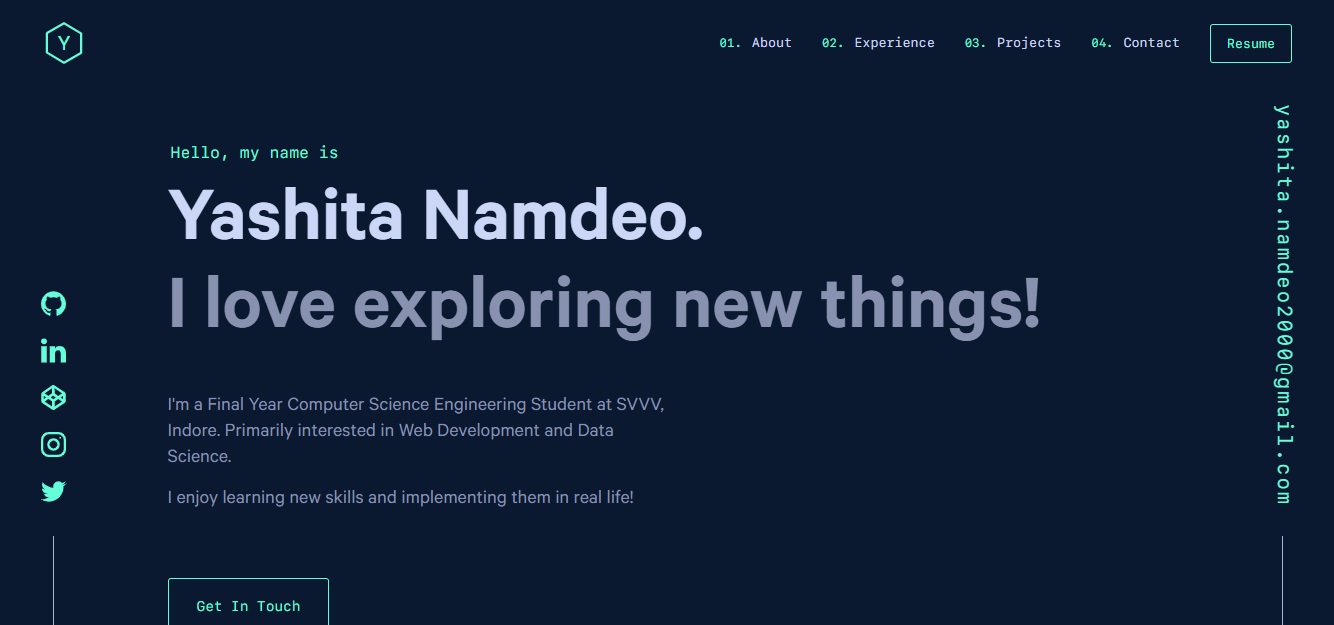
yashitanamdeo.github.io
yashitanamdeo.github.io 是一个基于 Gatsby 和 React 构建的个人作品集网站模板,源自开发者 Yashita Namdeo 的第一版个人主页。
Gatsby · 作品集
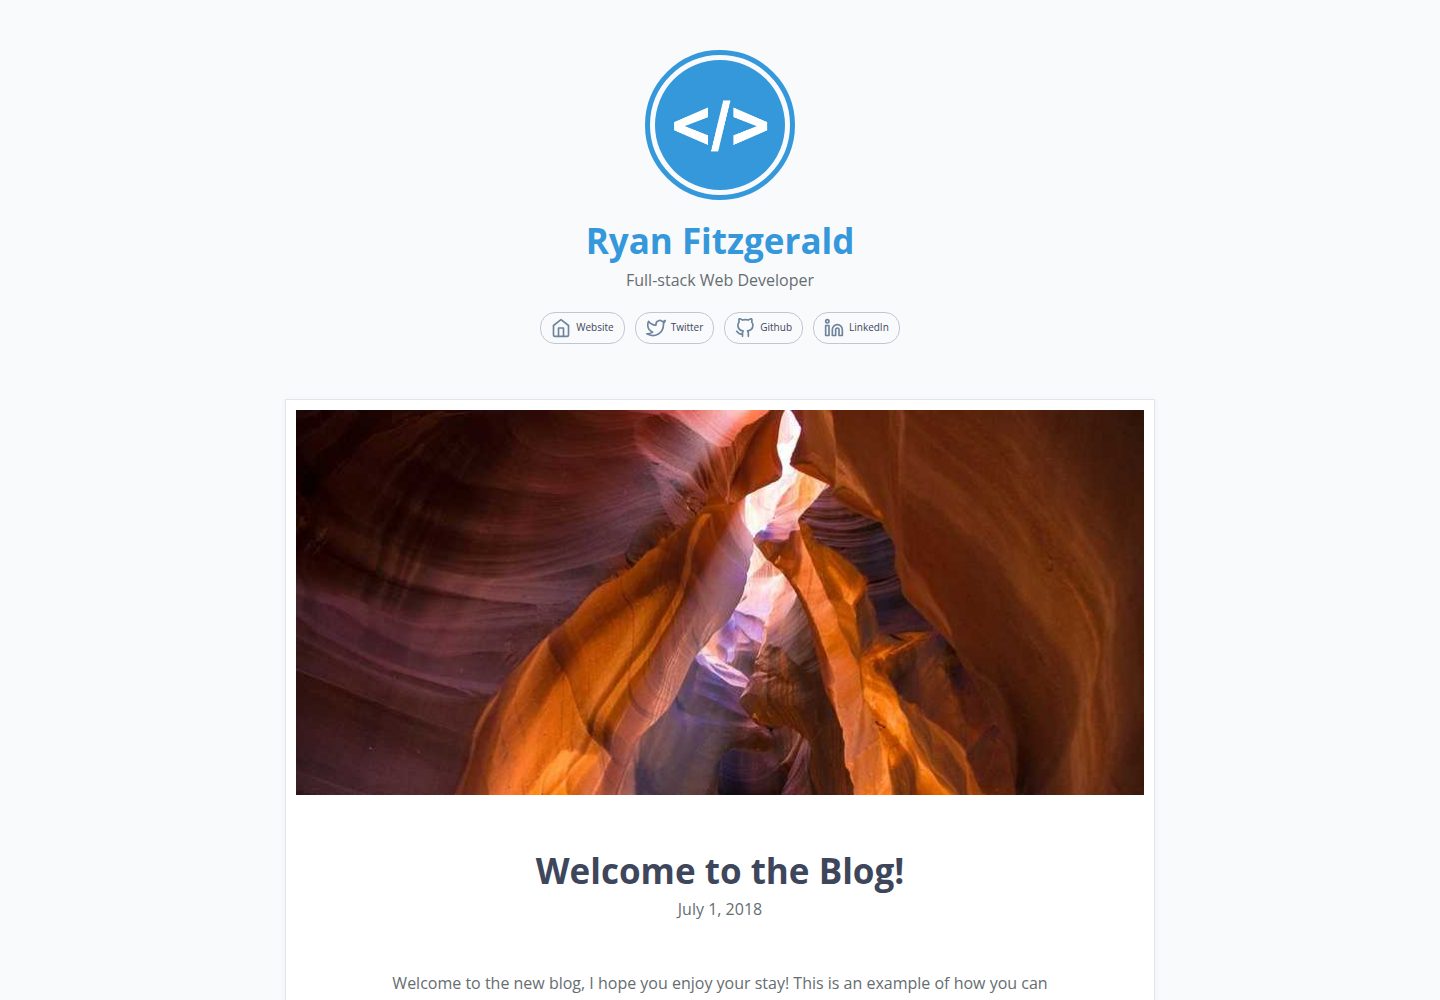
devblog
A lightweight, customizable personal blog template built with GatsbyJS and React
Gatsby · 博客
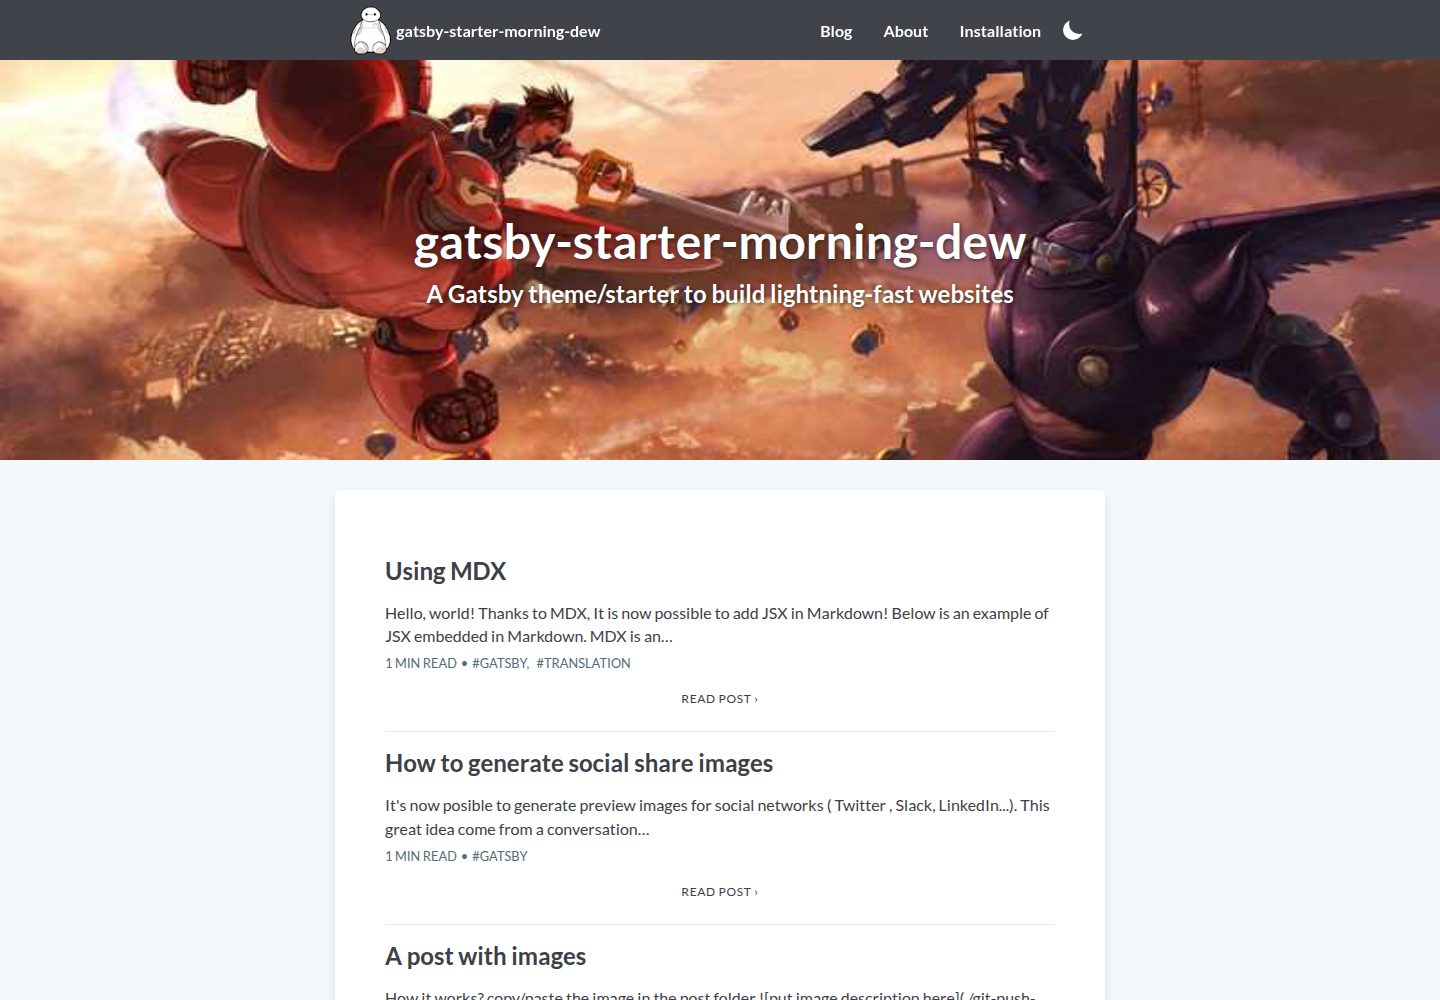
gatsby-starter-morning-dew
:rocket: A Gatsby theme/starter to build lightning-fast blog/websites
Gatsby · 博客
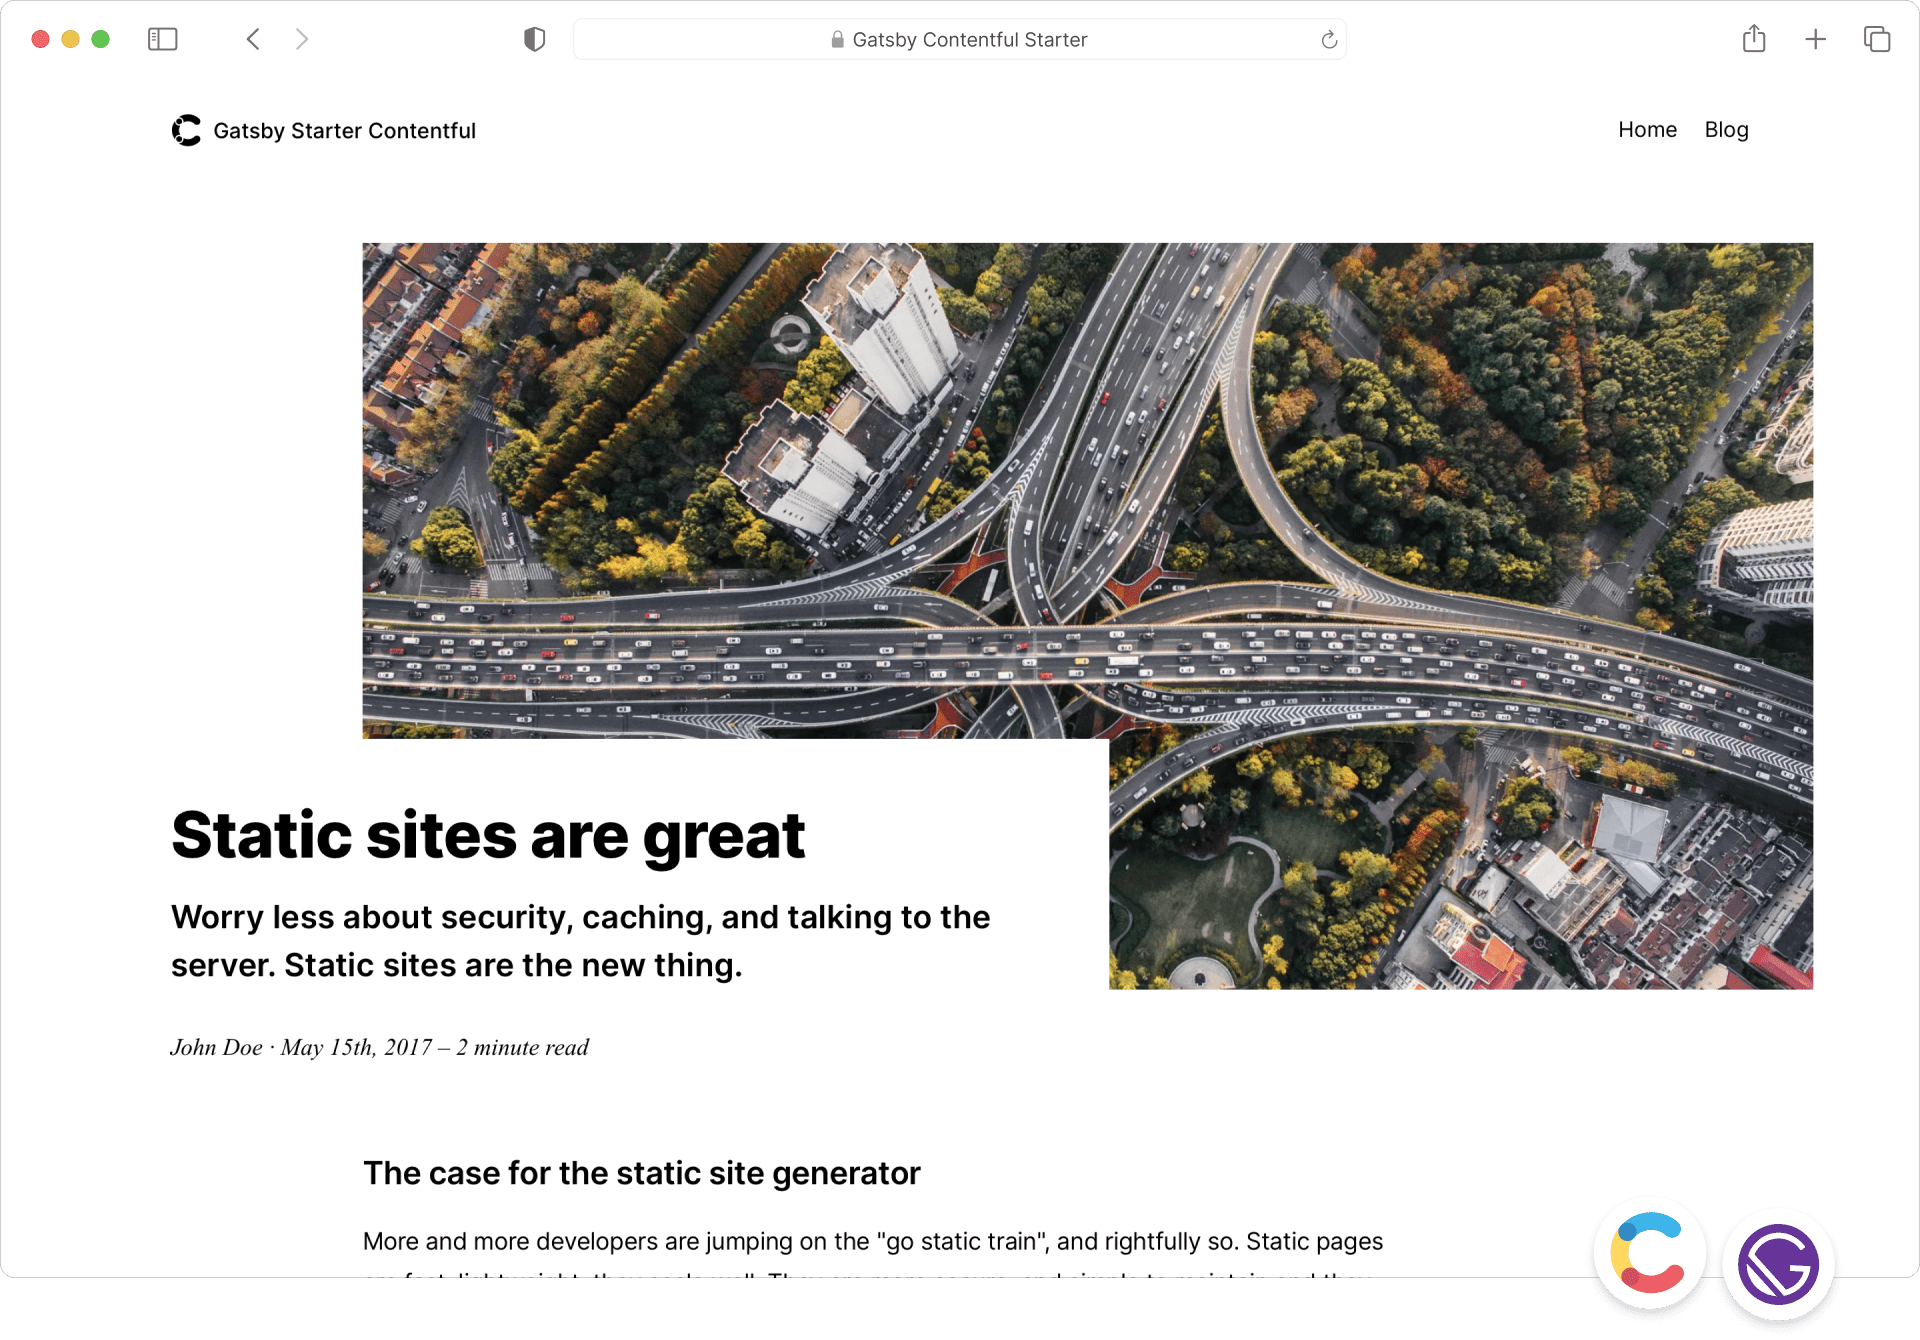
starter-gatsby-blog
这是一个由 Contentful 社区维护的 Gatsby 博客启动器,目标是把静态站点的低维护成本与 Contentful 的友好编辑界面结合起来。
Gatsby · 社区

blog-template
Scientific blog template based on theaisummer.com
Gatsby · 博客