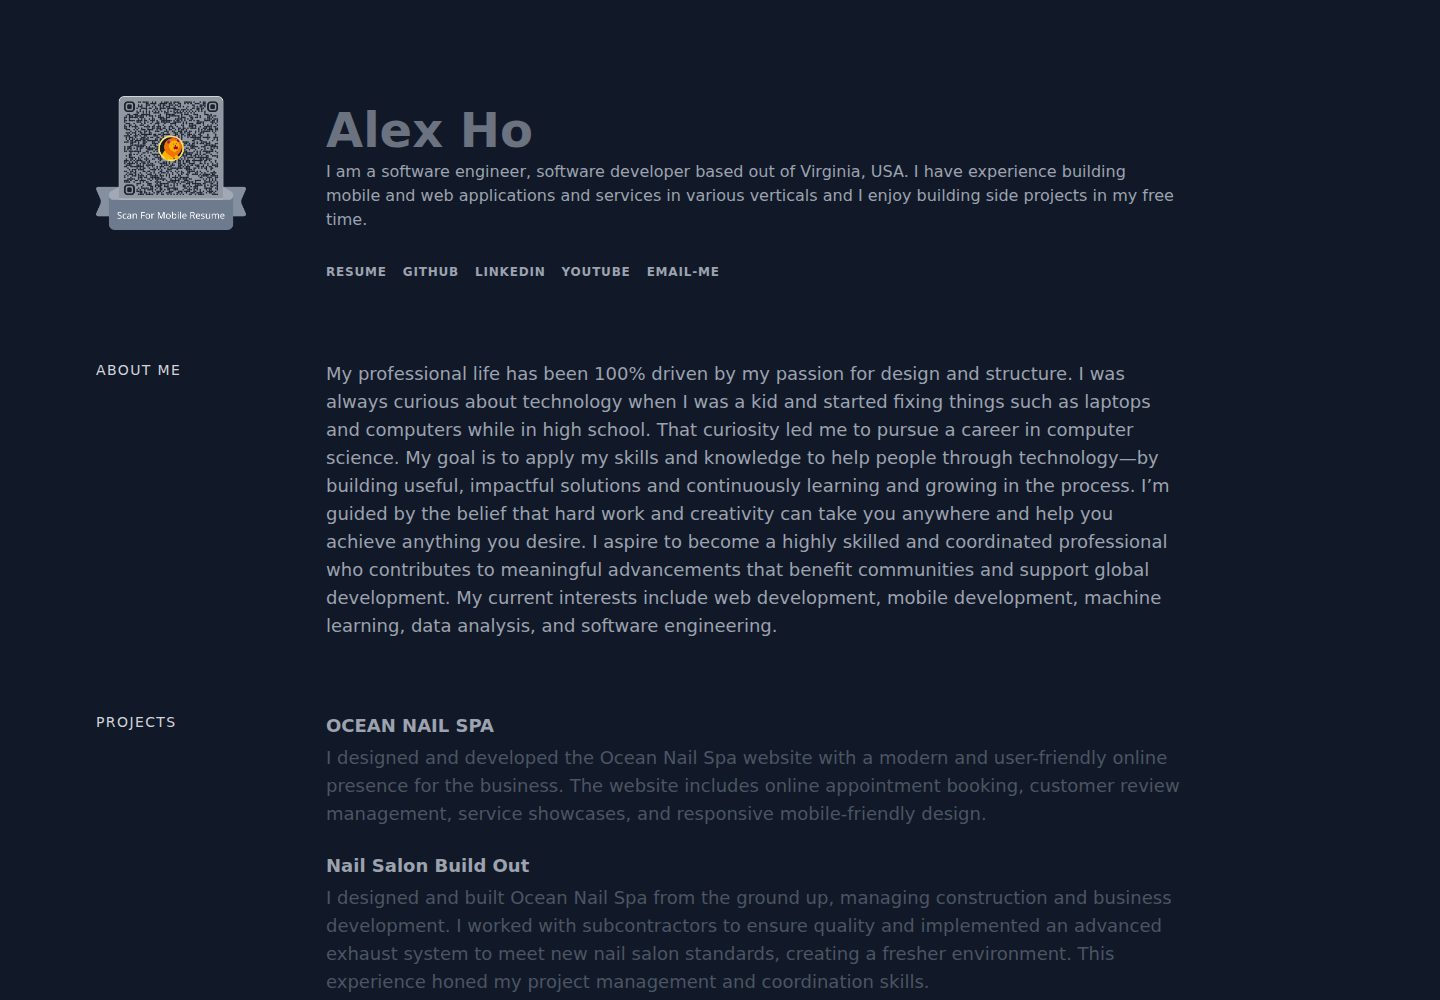
Dark theme, built with Gatsby and TailwindCSS
GatsbyReactPortfolioBlog
devfolio (hho114) — Gatsby Portfolio Template
By hho114
A dark-themed personal portfolio and blog template based on Gatsby and TailwindCSS, with personal information configured via gatsby-config.js and blog posts written in Markdown.
Explore the design
Compare the page layouts and mobile experience. Open any screenshot for a closer look.
Desktop homepage1 / 2
Desktop captureTop of page
Actual screenshot captured by the server browser.
All pages & views 2
Screenshots show visual appearance; interactive behavior may differ.
Recorded 2026-09-30View source
What stands out
A quick read of the recorded project description.
Personal information is centrally configured via siteMetadata in gatsby-config.js
Projects, Experience, and Skills are configured as arrays and are optional
Blog posts are written in Markdown with syntax highlighting, and the folder name determines the post URL
The homepage displays the latest 5 blog posts by default, and the blog entry is automatically hidden when there are no posts
Deployment instructions are provided for Netlify, Vercel, and GitHub Pages
Template Details
Devfolio is a dark-themed personal portfolio and blog template built with Gatsby and styled with TailwindCSS. The template centralizes personal information in the siteMetadata of gatsby-config.js, including the site URL, name, title, description, and optional resume link, email, Twitter, GitHub, and LinkedIn. About Me is a required string; Projects, Experience, and Skills are optional arrays, each item containing a name, description, and optional link. Blog content is stored in the content/blog directory, with each post in its own folder whose name determines the URL path, and posts use Markdown files with title, date, and description front matter. The homepage displays the latest 5 blog posts by default; if there are no posts in that directory, the Blog link in the navigation and the Latest Posts section on the homepage are hidden. The template provides three pages by default: homepage, /blog, and 404, with pages and components located in src/pages and src/components respectively. Styling is based on TailwindCSS, and PurgeCSS removes unused styles at build time, so class names must remain statically detectable. For deployment, the template is a static site, and the README provides configuration instructions for Netlify, Vercel, and GitHub Pages, with the build command gatsby build and the publish directory public/.
GatsbyReactPortfolioBlog
Is it right for your project?
Use Cases
- Individual developers showcasing projects, experience, and skills
- Writing and publishing technical blogs in Markdown
- Deploying as a static site to Netlify, Vercel, or GitHub Pages
- Modifying pages and styles as needed based on React components and TailwindCSS
Suitable For
- Individual developers who need a combined portfolio and blog
- Users who prefer maintaining personal information through a configuration file
- Those who want to manage blog content using Markdown
- Front-end users who accept the Gatsby static site build process
Getting started & customization
Use these recorded setup notes alongside the repository instructions for your chosen version.
- 1
After cloning or forking the repository, edit the siteMetadata in gatsby-config.js to fill in personal information
- 2
To run locally, execute npm install to install dependencies, then npm run develop to start the development server
- 3
Blog posts are placed under content/blog in folders named by URL, with index.md as the entry point, and must include title, date, and description front matter
- 4
To build the static site, use npm run build, and the output directory is public/
- 5
The code is under the MIT license, but third-party assets such as demo images, fonts, and icons need to be checked separately for their licenses
License & source material
Usage conditions & limitations
Free to use · keep license noticeThis entry covers the free version under the MIT license in the public repository; the free scope is the code of this version and does not mean that external services or third-party assets are free.
Must comply with when using
- You are allowed to use, modify, commercialize, and distribute the code of this version for free.
- When distributing copies or substantial portions of the code, retain the original author's copyright notice and the full MIT license notice.
- The code is provided as is; warranties and limitations of liability are governed by the original license and applicable law.
Additional costs & items to verify
- Deploying to Netlify requires registering an account and connecting a GitHub/GitLab repository; the free plan is available, but it is an external service, and you need to confirm its terms and fees yourself.
- Deploying to Vercel requires registering an account and using its Hobby free plan; the availability and terms of external hosting services are determined by the service provider.
- When using Netlify automatic deployment, you may need to configure Netlify app authorization on GitHub, which involves third-party account permissions.
- This feature involves Google Drive web publishing, which is an external service and may require a Google account and be subject to its terms of service.
- Demo images, fonts, icons, and other third-party assets need to be checked against their respective licenses and cannot be judged solely by the code's MIT license.
- External services such as domains, hosting, databases, payments, or AI may incur additional charges.
View Original Text Basis
Permission is hereby granted, free of charge
Original License Text
They have a Free Plan and automatically deploy changes to your `master` branch if you connect with GitHub or GitLab.
Original README
The platform also offers a Hobby plan that will allow you to host the project free-of-charge.
Original README
you may need to configure the Netlify App on Github via the link they provide.
Original README
https://github.com/hho114/devfolio/blob/master/LICENSE.mdhttps://github.com/hho114/devfolio/blob/master/README.mdQR Code with google drive web publish
Original README
Compiled by DeepSeek based on repository license and README ·2026-10-01. Results only cover the materials read; dependencies, images, fonts, and subsequent term changes are subject to their respective original texts.
Project checks & description sources
Template Information
- Source platforms
- GitHub
- Documentation and maintenance reference score
- More documented · 88 / 100
- Technologies
- Gatsby · React
- Website type
- Portfolio · Blog
How this score is calculated
Our heuristic uses license records (up to 30), a demo link (12), a preview (10), stars (15), recorded maintenance (15), description completeness (8), feature records (5) and classification data (5). It is not a code, security or performance test, or a Google score. A link does not establish tested functionality.
What to verify for this project
- Repository update recorded
- 2026-06-22
- Screenshot last checked
- 2026-10-01
A demo link is listed. Check it with your own content and viewport sizes; its presence does not confirm that forms, authentication or payments work.
The catalog identifies Gatsby as the primary stack. Check the actual dependency manifest and lockfile for versions and hosting requirements. These notes use recorded metadata, not a code audit or a deployment test.
Use a selection guide →How this description was prepared
AI-assisted description based on catalog records and repository material. Repository authors are not automatically the reviewers of this description.
Automatically checked against source and license rules; no manual editorial review.
Inspect the recorded source material
SHA-256: 11dd1f93cd1adee40a357a716f1a45e6dec9e09c40ff31baca8be5511fa0fa5e
2026-10-01T13:39:56.653Z
Source file / repository# Devfolio
Live product at: [alexhuyho.com](https://alexhuyho.com/)
<img src="src/images/screenshot.png" height="250em" />
<!--  -->
Dark Theme Devfolio is a modern and production-ready personal portfolio and blog template built on GatsbyJS and styled with TailwindCSS. Easily show off your projects, experience, and skills, as well as write blog posts showcasing your knowledge.
Some of the features include:
- Built with React on GatsbyJS (however, no React knowledge required)
- Styled with Tailwind
- Simple Configuration
- Production-ready & Deployable in Seconds
- Write Blog Posts in Markdown (with Syntax Highlighting)
- Mobile Friendly
- Extend and Customize as Needed
- Blazing Fast 🙄
- QR Code with google drive web publish
## Demo
For a live demo of a slightly customized version of the template (my own personal site), [click here](https://alexhuyho.com).
## Contents
- [Adding Your Information](#adding-your-information)
- [General](#general)
- [About Me](#about-me)
- [Projects](#projects)
- [Experience](#experience)
- [Skills](#skills)
- [Setting Up The Blog](#setting-up-the-blog)
- [Running Locally](#running-locally)
- [Deploying](#deploying)
- [Customization](#customization)
- [Contributing](#contributing)
- [License](#license)
## Adding Your Information
To get started, either fork or clone the repo. Next, open `gatsby-config.js` which has configuration options under `siteMetadata`. The config comes with some default example content and code comments to make it easy to understand how to set it up. The following provides a more in-depth explanation of each section:
### General
| Option | Description | Required |
| ------------- | ---------------------------- | -------- |
| `siteUrl` | The URL of your site | Yes |
| `name` | Your name | Yes |
| `title` | The title of your site | Yes |
| `description` | The description of your site | Yes |
| `resume` | Your Resume URL | No |
| `email` | Email To Me Handle | No |
| `author` | Your Twitter Handle | No |
| `github` | Your GitHub Profile URL | No |
| `linkedin` | Your LinkedIn Profile URL | No |
### About Me
The _About Me_ section is defined under `about` and is a simple string type. This section is required.
### Projects
The _Projects_ section is defined as an array under the `projects` key in the config and is optional. Projects have the following format:
```js
{
name: 'Devfolio', // Required
description: 'A zero-config and blazing fast personal site + blog built with GatsbyJs and TailwindCSS', // Required
link: 'https://github.com/hho114/devfolio', // Optional
}
```
### Experience
The _Experience_ section is defined as an array under the `experience` key in the config and is optional. Experience items have the following format:
```js
{
name: 'Intelligent Learning Experiences Lab', // Required
description: 'Mobile and Full-Stack Developer, January 2020 - September 2020', // Required
link: 'https://github.com/hho114/devfolio', // Optional
},
```
### Skills
The _Skills_ section is defined as an array under the `skills` key in the config and is optional. Skills have the following format:
```js
{
name: 'Languages & Frameworks',
description: 'Swift, Java, Dart, Kotlin, Flutter, JSON, C++, C, HTML, XML, CSS, Python, SQL, Fortran, JavaScript, Node.js, Express.js, Reactjs, PHP.',
},
```
## Setting Up The Blog
The blog is an optional portion of the template and the content for it exists in the `content/blog` folder. All blog posts are written in Markdown by default and the template ships with a couple sample posts so you can get an idea of what's possible (i.e. syntax highlighting). If you'd rather not have a blog, simply delete the sample posts inside the folder while ensuring that the folder itself (`content/blog`) is kept as Gatsby still looks for it (you may also need to add `.gitkeep` to the folder so git recognizes it). If there are no posts in the folder, you will not see a Blog link at the top nor will you see the _Latest Posts_ section on the homepage. Once you add your first post, this will re-appear.
### Adding a New Blog Post
To create a new blog post, create a new folder in `content/blog` with the name being the URL you want for the blog post. For example, if you create a folder `content/blog/hello-world`, the resulting path to your blog post will be `mysite.com/blog/hello-world`.
Next, create an `index.md` file in the new folder with the following at the top of the file (including the lines):
```
---
title: My Blog Title
date: '2020-09-20T12:00:00.00Z'
description: 'Some Short Blog Post Description'
---
My blog post starts here.
```
The portion between both lines (`---`) is the metadata for the blog post. The `title` attribute is the post's title, the `date` is the date that shows on the blog post, and the `description` is a brief excerpt of the post that shows on the home page and the blog page for the post summary. Below the metadata is where the content of your blog post would start.
After that is done, you should now see you're latest blog post on your site (if you deploy or run it locally). One thing to keep in mind is that by default, the homepage will show only the latest 5 blog posts based on the `date` field entered. If you added a new blog post but it's not showing up, it's possible that you entered an older date by accident.
## Running Locally
If you're happy with the current layout and design, you can simply edit your `gatsby-config.js` without the need to run it locally. With that said, if you want to spin it up locally, simply run `npm install` to install the required dependencies and then `npm run develop` to start the Gatsby development server. You can also run `npm run format` to run Prettier on the code.
## Deploying
Devfolio is a fully static website by default, so the deployment options are fairly endless. Regardless of the deployment method, the same general idea applies. You first build the static production site by running `npm run build` and then deploy the resulting static assets wherever you want.
With that said, some deployment options are even easier so I will provide a couple examples below:
### Netlify
My deployment source of choice is [Netlify](https://www.netlify.com/) and is where my own [personal site](https://alexhuyho.com) is hosted. They have a Free Plan and automatically deploy changes to your `master` branch if you connect with GitHub or GitLab.
For the easiest setup possible, simply click:
<a href="https://app.netlify.com/start/deploy?repository=https://github.com/hho114/devfolio"><img src="https://www.netlify.com/img/deploy/button.svg" alt="Netlify"/></a>
If you'd rather run through the steps manually, start by creating a free Netlify account with your GitHub.
Next, click **New Site From Git** and click **GitHub** (or another) as the provider.
After that, select the repository where you cloned this into. If you don't see it, you may need to configure the Netlify App on Github via the link they provide.
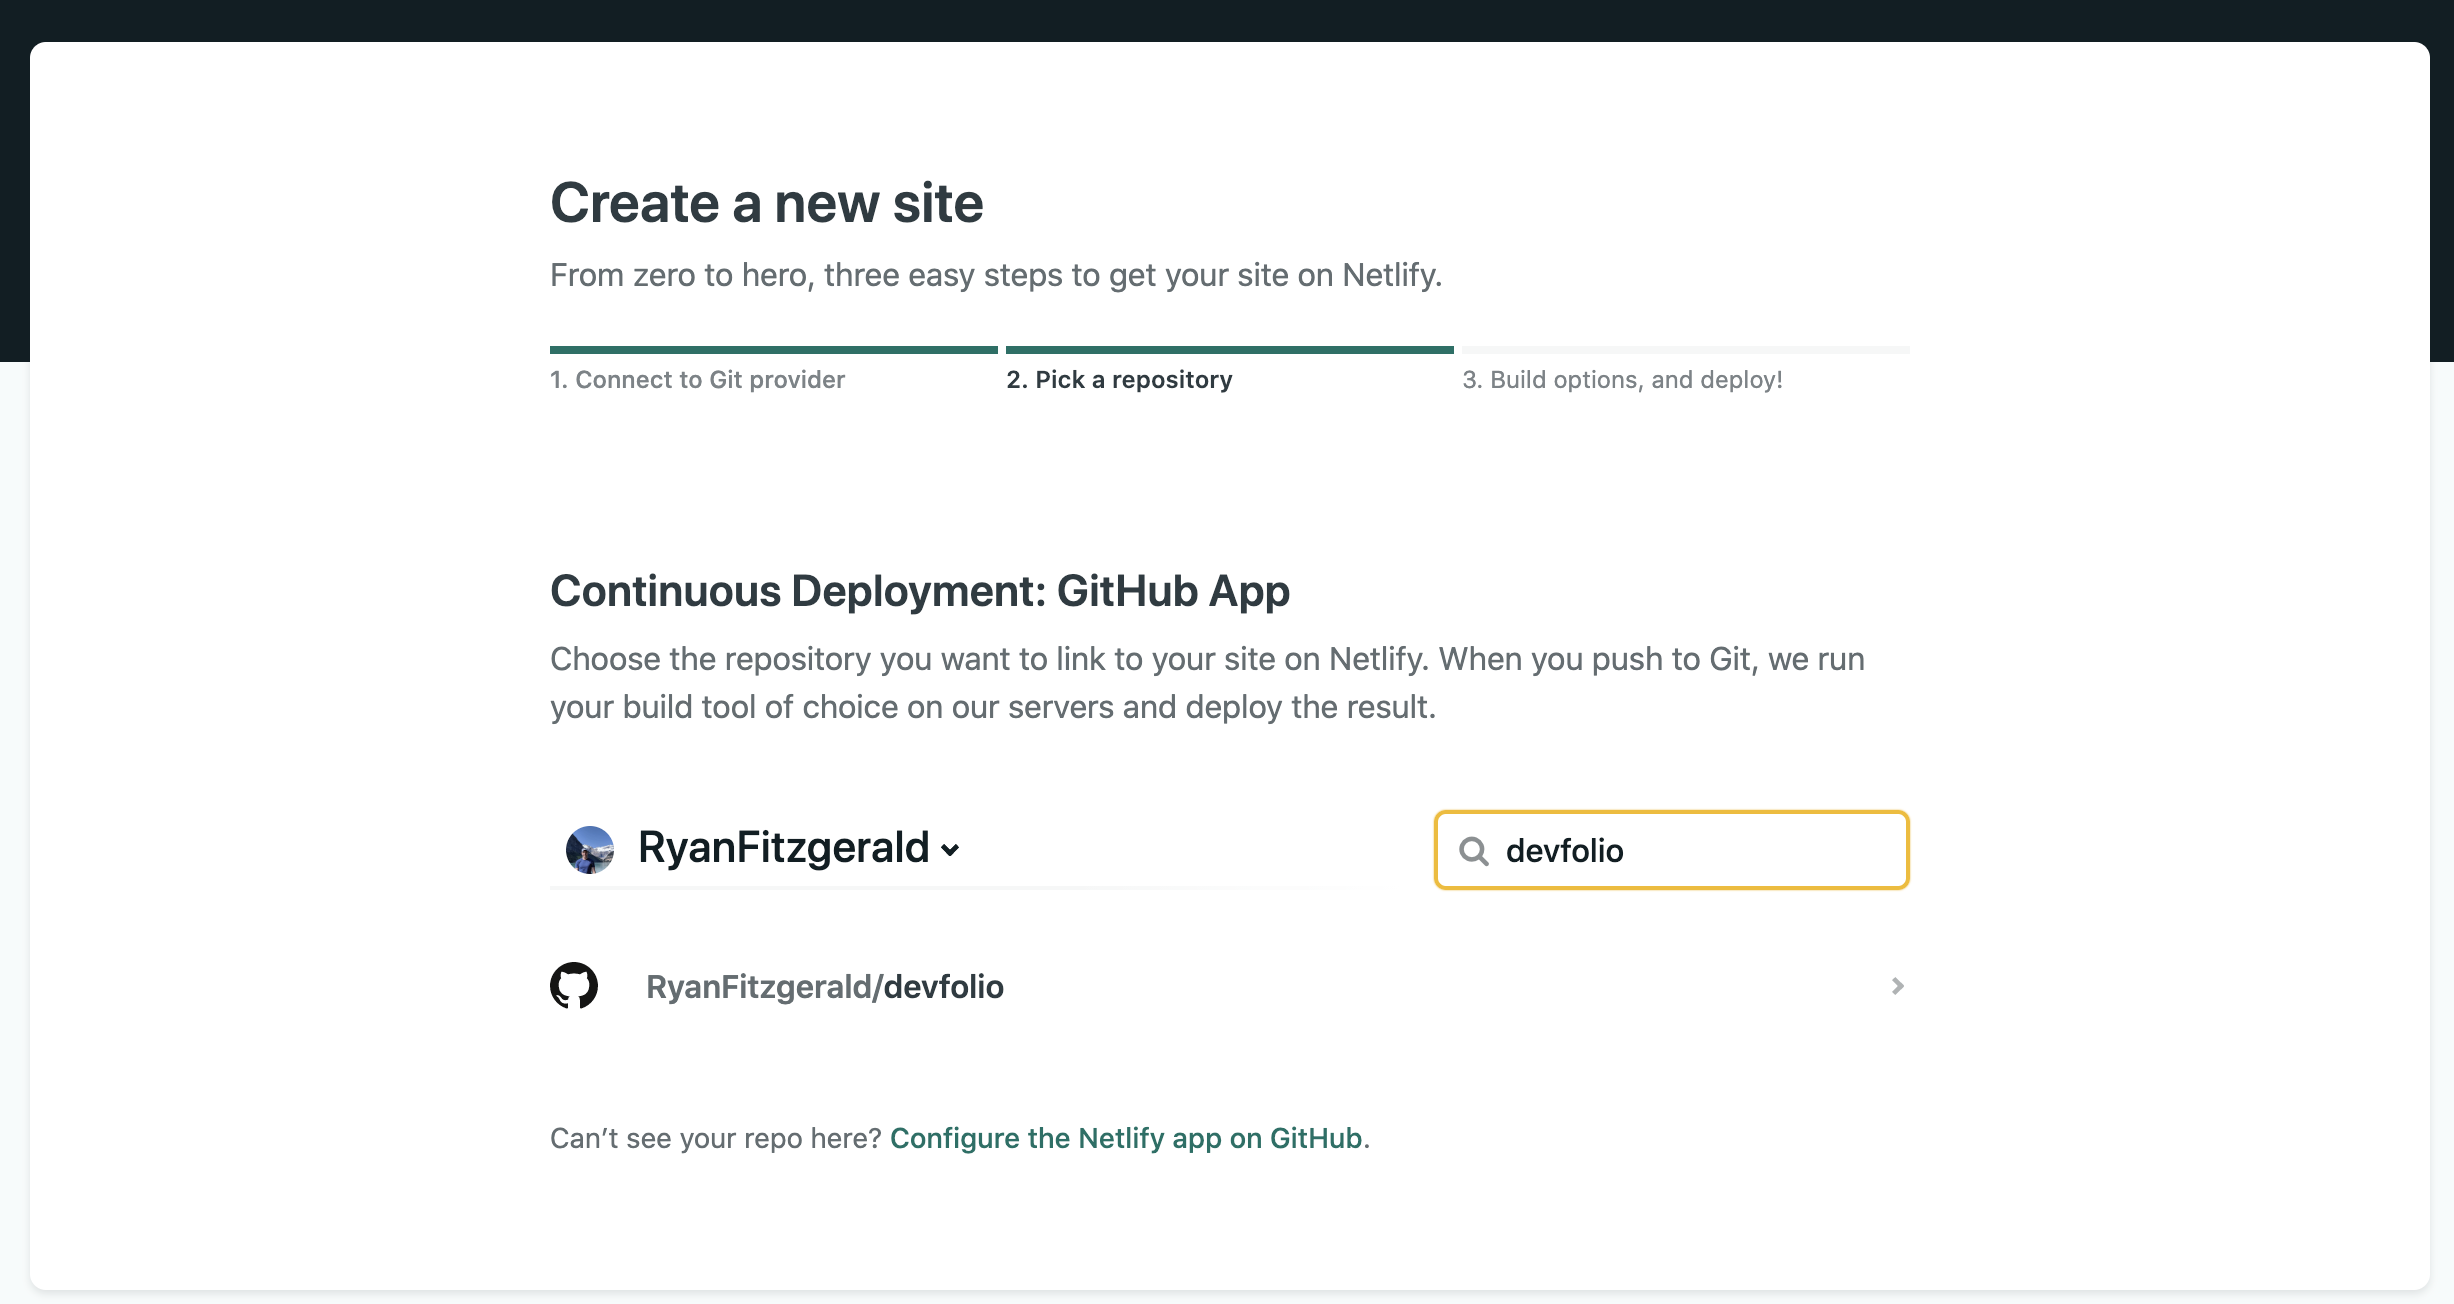
Finally, ensure that it set the _Basic Build Settings_ correctly. You want to ensure that the **Build Command** is set to `gatsby build` and the **Publish Directory** is set to `public/`. Once complete, click **Deploy Site** and you should be good to go!
### Vercel
Another straightforward way to deploy devfolio is to use [Vercel](https://vercel.com/). The platform also offers a Hobby plan that will allow you to host the project free-of-charge.
You can deploy devfolio with just a few clicks:
<a href="https://vercel.com/new/git/external?repository-url=https%3A%2F%2Fgithub.com%2Fhho114%2Fdevfolio&project-name=devfolio&repository-name=devfolio"><img src="https://vercel.com/button" alt="Vercel"/></a>
As with Netlify, the deployment can be also done manually following identical settings.
### GitHub Pages
If you'd like, you can setup a build pipeline fairly easily that allows you to use GitHub Pages. To find more information, [read this guide](https://www.gatsbyjs.com/docs/how-gatsby-works-with-github-pages/).
### Other
If you want to learn more about the many other options to deploy, take a look at the [Deploying & Hosting](https://www.gatsbyjs.com/docs/deploying-and-hosting/) section of the GatsbyJS docs where they go through examples on how to deploy on Gatsby Cloud, Azure, AWS Amplify, AWS S3, and many more.
## Customization
Although Devfolio is fully production-ready out of the box, it was also made with customization in mind.
### Gatsby Customization
Devfolio is built on GatsbyJS, so it comes with all the benefits of it. You can make use of the thousands of Gatsby Plugins, utilize the Gatsby APIs (SSR, Browser, etc), and much more. For more information, check out [their great docs](https://www.gatsbyjs.com/docs/).
### Adding or Updating Components
GatsbyJS is based on React, so the template uses a bunch of React components behind the scenes. These components can be found in `src/components` in case you wish to create more or edit the current ones. With the exception of a couple GatsbyJS-specific components being imported, everything else is traditional React.
One thing to note is that if you wish to query data in one of the components, you can do so with the `<StaticQuery/>` component that comes with GatsbyJs. For more information, [click here](https://www.gatsbyjs.com/docs/static-query/#reach-skip-nav).
### Adding or Updating Pages
The pages for the template exist in `src/pages` and are simply React components that get treated as pages by GatsbyJS. By default, the following pages exist in the template:
- `src/pages/index.jsx` - the main homepage
- `src/pages/blog.jsx` - the main `/blog` homepage
- `src/pages/404.jsx` - the default 404 page
You can easily modify those pages and create new ones. Gatsby core automatically takes any React component in `src/pages/*` and turns it into a separate page (they must export a component as a default export). For example, if you make a new component as `src/pages/page1.jsx`, it will automatically create a new page that can be visited via `mysite.com/page1`. For more information on pages as well as other ways they can be created, [click here](https://www.gatsbyjs.com/docs/creating-and-modifying-pages/).
### Adding or Updating Styles
Devfolio is fully styled with [TailwindCSS](https://tailwindcss.com/) with the exception of a couple minor additional styles, as found in `src/css/index.css`.
When the GatsbyJS development server is running, you'll have access to all of the Tailwind styles, however once you deploy (i.e. build the static assets), PurgeCSS runs against them and only leaves the Tailwind styles that were actually used. This is beneficial because it keeps the build size considerably smaller, however there are some important considerations to keep in mind in order to keep the HTML purgeable. For example, if you use string concatenation to create a class name, PurgeCSS won't be able to figure out what that is. For more information on writing purgeable HTML + other methods to control file size, [click here](https://tailwindcss.com/docs/controlling-file-size).
The pattern current used in the template when it comes to writing React components with Tailwind CSS is as follows:
```jsx
const classes = {
wrapper: 'm-12 p-12',
text: 'text-lg text-gray-600 font-light',
};
const MyComponent = () => {
return (
<div className={classes.wrapper}>
<p className={classes.text}>Some text here.</p>
</div>
);
};
```
All the possible classes are defined above and just referenced in the `className` attribute of each element. This comes with a couple benefits:
1. It keeps the overall component definition slightly cleaner (i.e. there isn't a huge class string)
2. You can reuse styles a little easier
3. This still qualifies as purgeable HTML (assuming the class is actually used)
This is however just a recommendation, the template allows you to write the components in any way you wish.
## License
Licensed under the [MIT License](https://github.com/hho114/devfolio/blob/master/LICENSE.md).
Credit:
- [Original Project](https://github.com/RyanFitzgerald/devfolio)
- [QRCode Monkey](https://www.qrcode-monkey.com/)
Explore similar templates
Compare previews and descriptions within the same stack and category.
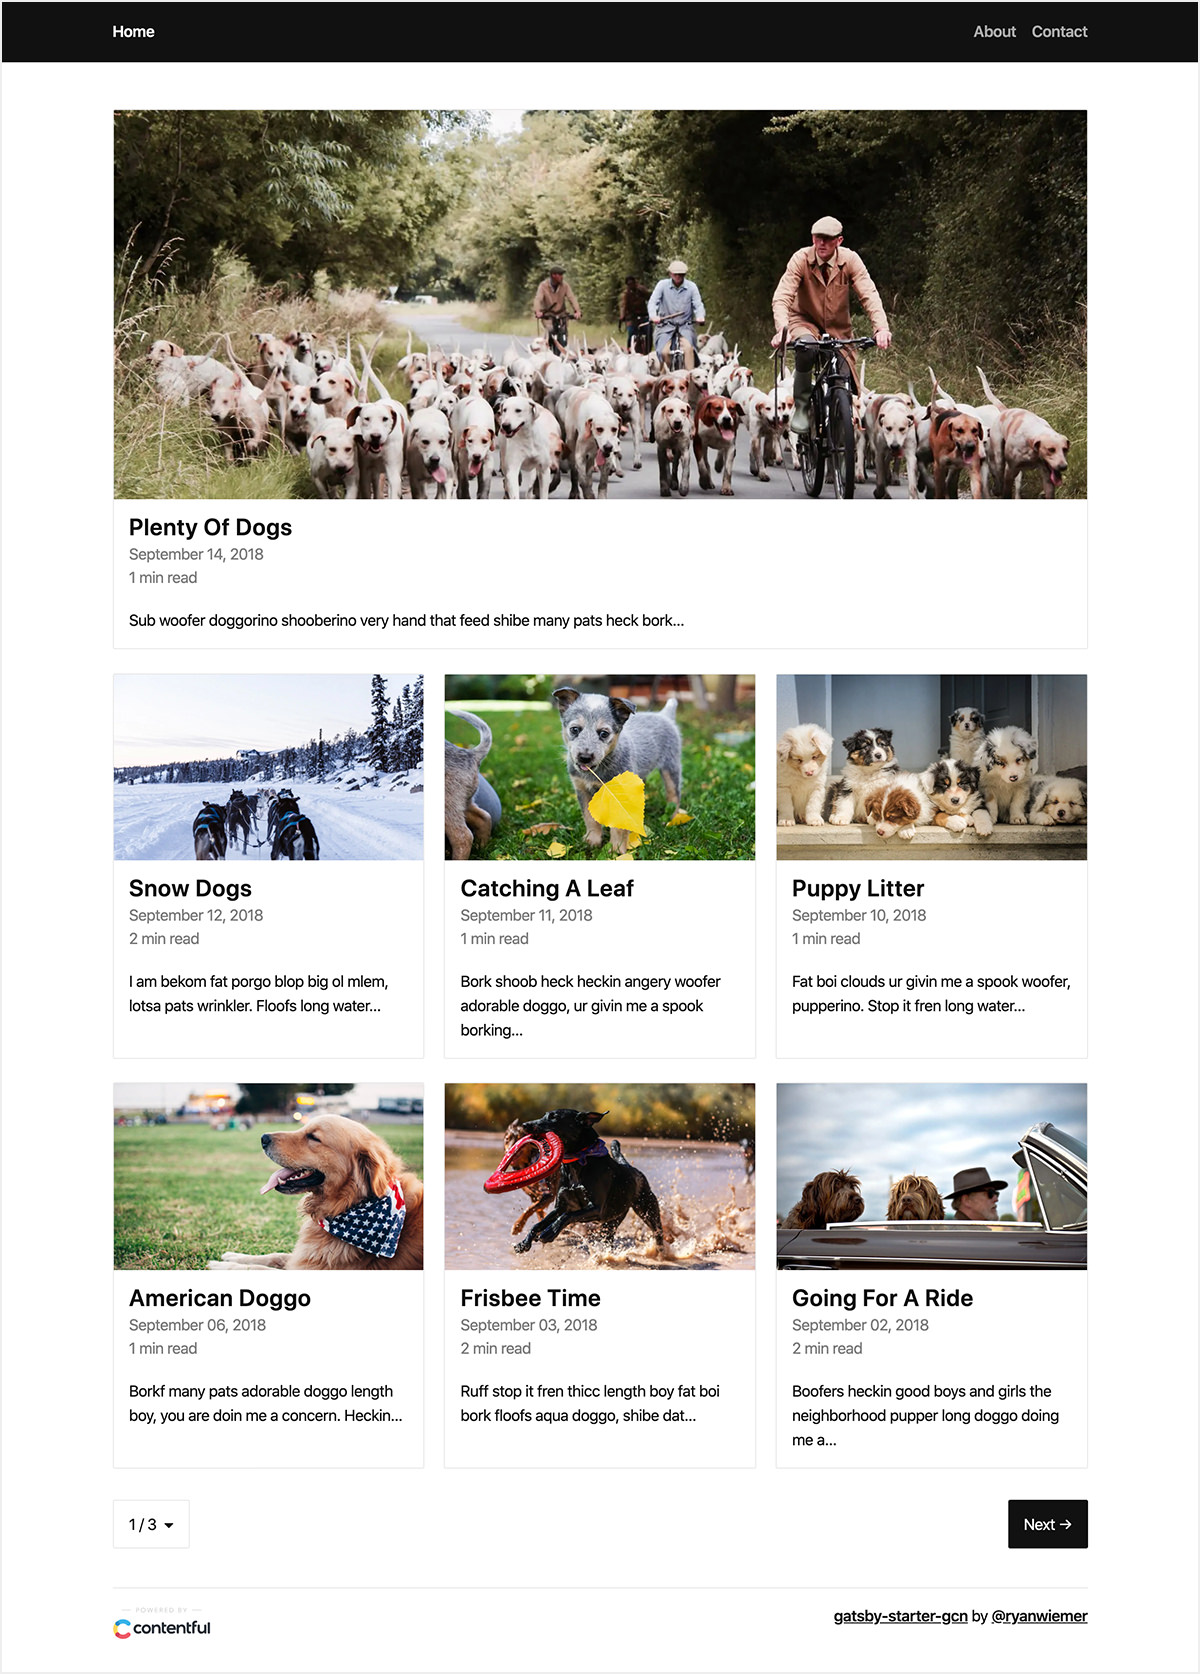
gatsby-starter-gcn
A Gatsby starter for building static blogs with Contentful and Netlify.
Gatsby · Blog
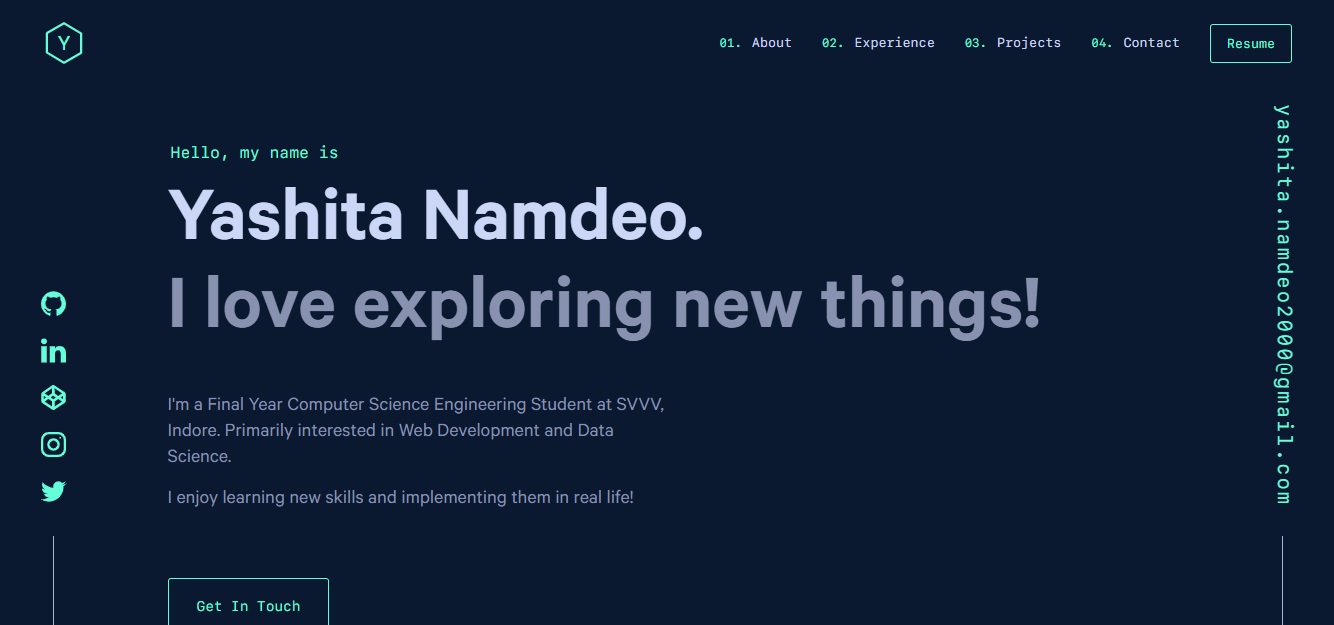
yashitanamdeo.github.io
A Gatsby and React personal portfolio template with a dark theme and navy blue and green accents, based on Yashita Namdeo's first personal homepage.
Gatsby · Portfolio
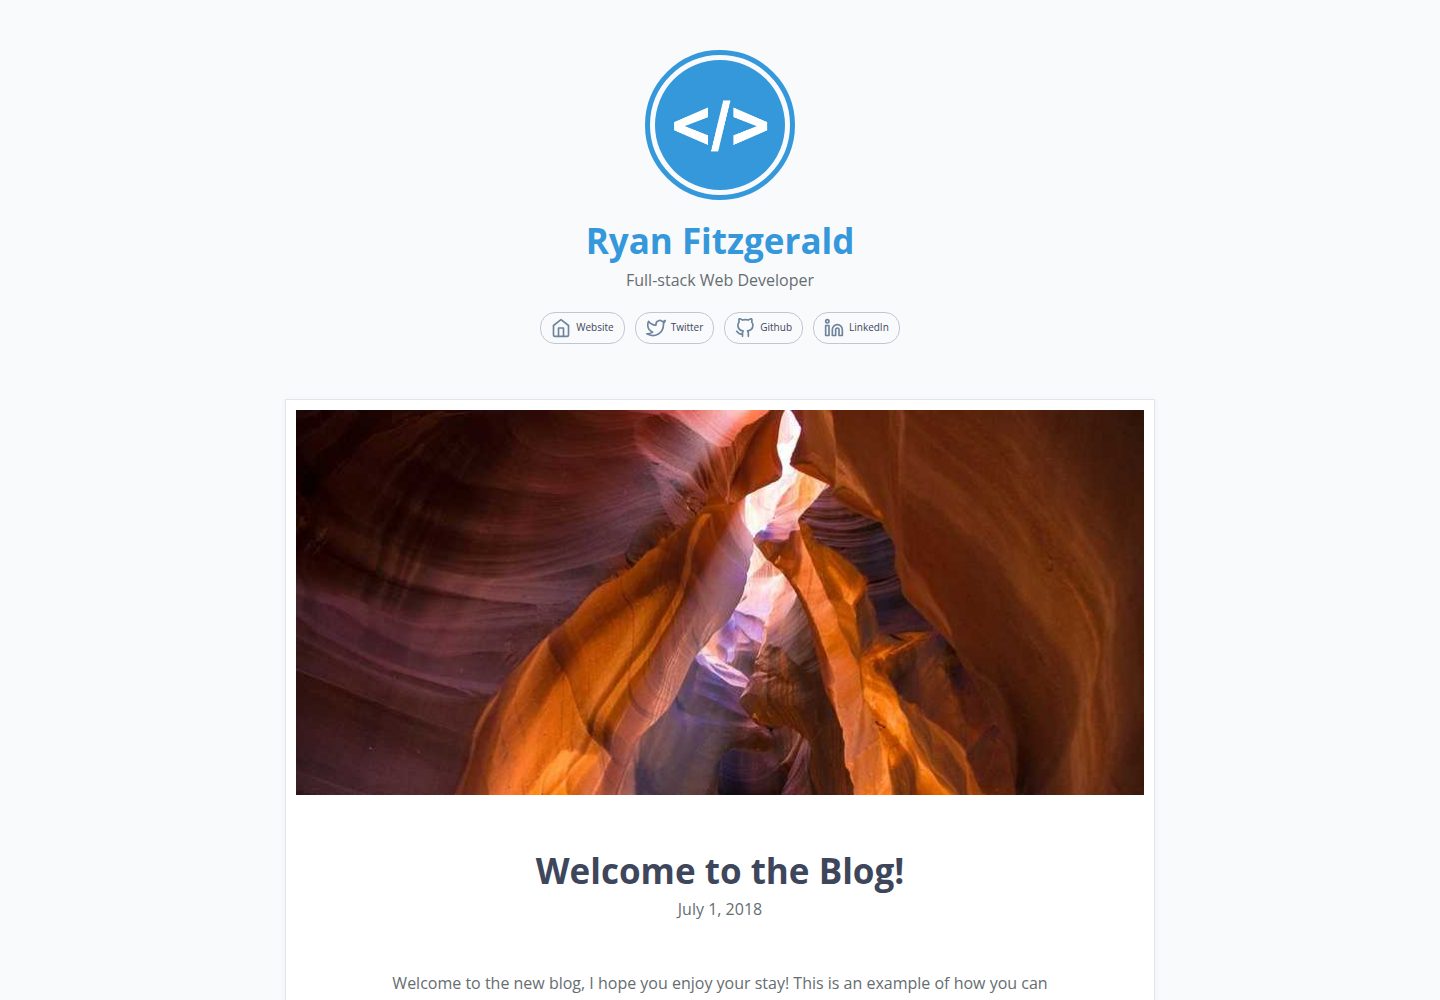
devblog
DevBlog is a lightweight, customizable personal blog template built with GatsbyJS and React. Posts are Markdown files in /src/pages, with URLs generated from folder names and frontmatter for title, date, and optional featured image.
Gatsby · Blog
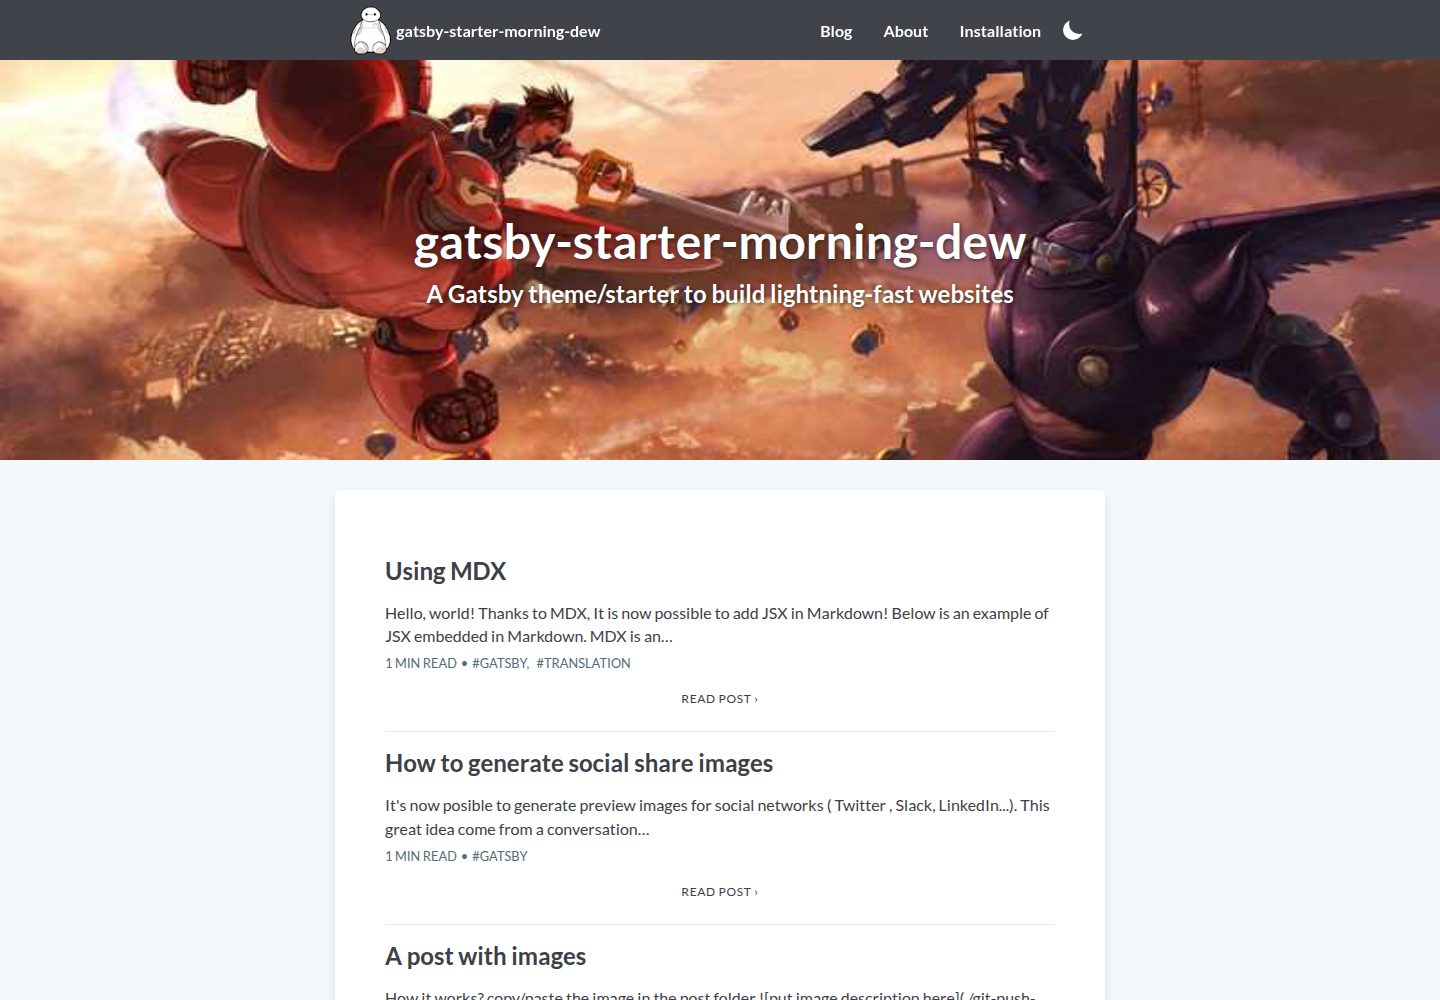
gatsby-starter-morning-dew
A Gatsby and React blog starter/theme that uses Markdown or MDX for posts, supports multilingual content, dark mode, tag grouping, PWA, and Disqus comments, and is MIT licensed.
Gatsby · Blog
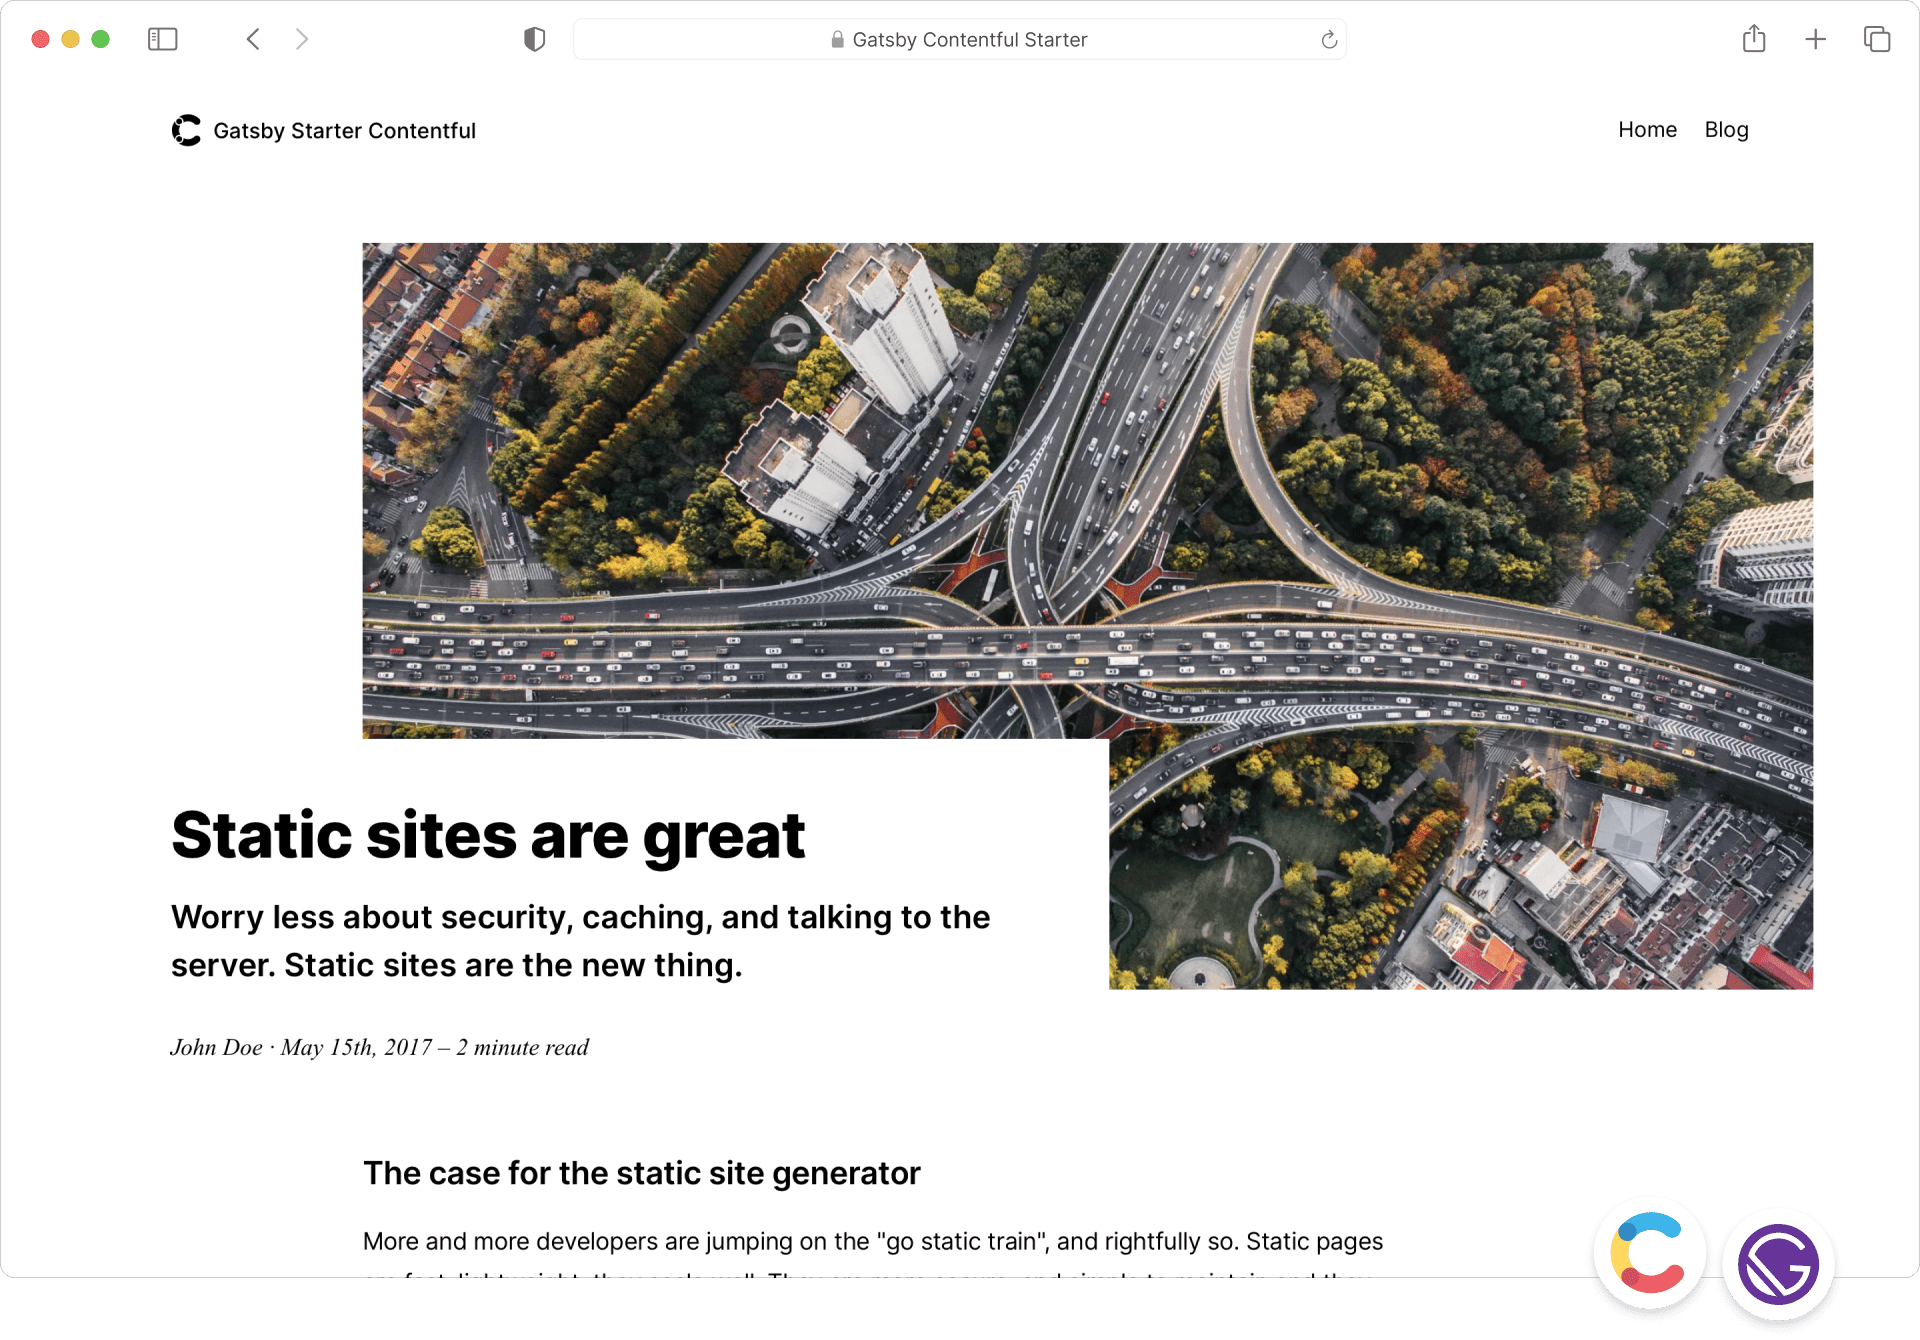
starter-gatsby-blog
A community-maintained Gatsby blog starter for Contentful, with a simple content model, npm run setup import, Sync API support, and gatsby-plugin-image. Suitable for quickly building a CMS-driven static blog or learning Gatsby and Headless CMS integration.
Gatsby · 社区

blog-template
A Gatsby scientific blog template streamlined from theaisummer.com, written in MDX with React components, TypeScript/TSX, and Sass.
Gatsby · Blog