内置 Nuxt 3 universal 模式、Vue 3 与 Tailwind 3,并包含 PostCSS 与 Prettier
NuxtVue启动器
ntn-boilerplate — Nuxt 启动器模板
作者 Knogobert
面向 Nuxt、Tailwind 与 Netlify CMS 的启动器模板,提供内容管理、暗色模式与 Markdown 内容支持,可部署到 Netlify。
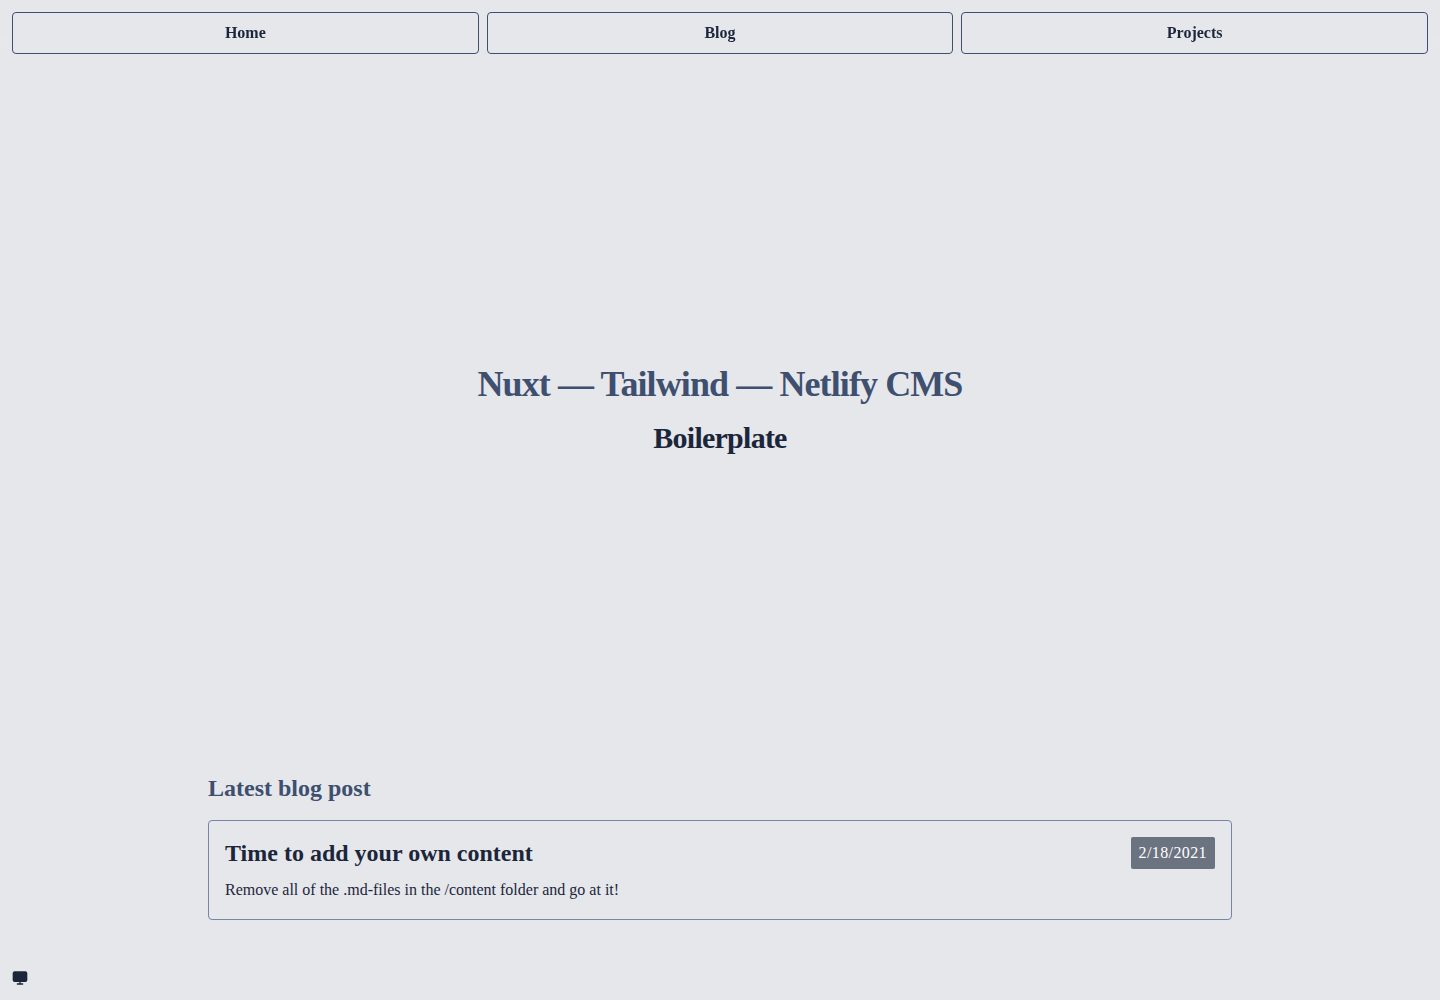
看看你的网站会是什么样
浏览真实页面截图,比较内容排版与手机效果。点击下方缩略图切换,放大查看整页细节。
全部页面与视图 3
截图用于了解视觉与布局,交互效果请以实际项目为准。
采集于 2026-10-02查看来源
值得关注的模板亮点
从已有项目资料中,快速了解它的特点。
集成 Netlify CMS,内容在 /admin 中管理,无需单独的后端服务器
默认暗色模式,附带 ColorModePicker 主题切换组件
使用 Nuxt Content 支持 Markdown 与代码块内容
提供 Netlify Deploy 按钮,可一键复制仓库并配置持续部署与 Netlify Identity
可选 Git LFS 与 Netlify LM 支持,将大体积媒体文件存放在主仓库之外
模板详细介绍
ntn-boilerplate 是一个基于 Nuxt 的启动器模板,作者将其定位为「有主见的基础模板」,用于快速搭建使用 Nuxt、Tailwind 与 Netlify CMS 的站点。仓库采用 MIT 许可,演示站点部署在 Netlify 上。
模板内置 Nuxt 3 的 universal 模式、Vue 3、Tailwind 3、PostCSS、Prettier 与 Nuxt Content,并集成 Netlify CMS 作为内容后台,无需单独服务器。默认设置为「暗色优先」,附带 ColorModePicker 用于切换主题。Vuex 可通过在 /store 目录添加文件启用,但模板中未实现具体 store。
使用方式上,README 建议通过 Netlify 的 Deploy 按钮复制仓库并完成持续部署,随后在 Netlify Identity 中邀请自己作为用户,用邮箱和生成的密码注册(而非 OAuth)后即可进入 /admin 管理内容。个性化需要修改 .env、public/admin/config.yml 中的 site_url 与 logo_url、content/site/info.json 中的站点名称与描述、package.json 的元信息,以及 pages/index.vue 起始页。颜色在 assets/css/_vars.pcss 与 tailwind.config.js 中调整,favicon 通过 @vite-pwa/assets-generator 生成,字体需在 nuxt.config.js 的 head.link 与 tailwind.config.js 的字体族中配置。
可选步骤包括 Git LFS 与 Netlify LM,用于将上传的大体积媒体文件存放在主仓库之外;README 提醒这两项后期添加比撤销更容易,因此建议尽早决定。若要在本地使用 Netlify CMS 并配合本地 Git,需要额外运行 netlify-cms-proxy-server。模板最初基于 Henry Desroches 的 nuxt-netlify-cms-starter。
NuxtVue启动器
适合你的项目吗?
适用场景
- 需要快速搭建带内容后台的 Nuxt 站点,并部署到 Netlify
- 希望用 Netlify CMS 与 Nuxt Content 管理 Markdown 文章或页面内容
- 需要一个默认暗色模式、可切换主题的 Nuxt 起始项目
- 想以现成模板为起点,替换站点信息、颜色、字体与首页内容后开始开发
适合人群
- 熟悉 Nuxt 与 Tailwind,希望减少初始配置工作的开发者
- 计划使用 Netlify 托管并借助 Netlify Identity 管理 CMS 用户的团队
- 需要 Markdown 内容与暗色模式基础能力的个人站点或博客项目
上手与定制指南
结合仓库当前版本的说明,按下面的资料检查内容、配置与运行要求。
- 1
通过 Netlify Deploy 按钮复制仓库并完成部署后,需在 Netlify Identity 中邀请自己,用邮箱和生成的密码注册,不要使用 OAuth 登录
- 2
个性化需修改 .env、public/admin/config.yml 的 site_url 与 logo_url、content/site/info.json 的站点信息、package.json 元信息以及 pages/index.vue
- 3
颜色在 assets/css/_vars.pcss 与 tailwind.config.js 中调整;favicon 需替换 public/icon.png 后运行 npm run generate-pwa-assets
- 4
本地使用 Netlify CMS 并配合本地 Git 时,需要另开终端运行 npx netlify-cms-proxy-server 再登录
- 5
如需上传大体积媒体,需安装 git-lfs 并配置 Netlify LM,同时在 Netlify 环境变量中设置 GIT_LFS_ENABLED 为 true
授权与来源资料
使用条件与限制
免费使用 · 保留许可声明本次收录的是公开仓库中采用 MIT 许可的免费版本;免费范围为该版本代码,不代表外部服务或第三方素材免费。
使用时需要遵守
- 允许免费使用、修改、商用和分发该版本代码。
- 分发代码副本或实质性部分时,保留原作者版权声明和完整 MIT 许可声明。
- 代码按现状提供;担保与责任限制以原许可证及适用法律为准。
额外费用与待核对事项
- 内容管理依赖 Netlify CMS,需使用 Netlify 平台及其 Identity/Git Gateway 服务,并非完全自托管。
- 用户与访问控制依赖 Netlify Identity 服务,需在 Netlify 上创建站点并配置身份认证。
- 通过 Deploy 按钮部署会在你的 GitHub 账户中创建仓库,需要 GitHub 账户。
- 持续部署依赖 Netlify 的 CDN 网络,需使用 Netlify 托管服务。
- 首次注册需使用邮箱与生成的密码,README 明确要求暂不使用 OAuth 登录。
- 上传大体积媒体需额外配置 Git LFS 与 Netlify LM,属于可选但需额外设置的步骤。
- 使用 Netlify LM 需安装插件、登录并链接 Netlify 账户,依赖外部服务。
- 本地使用 Netlify CMS 配合本地 Git 时,需额外运行 netlify-cms-proxy-server 才能登录。
- CMS 登录与保存依赖正确启用 Netlify Identity 并配置 Git Gateway。
- 在 Netlify 上使用 Git LFS 需设置环境变量 GIT_LFS_ENABLED 为 true。
- 演示图片、字体、图标及其他第三方素材需按各自许可核对,不能仅凭代码的 MIT 许可判断。
- 域名、托管、数据库、支付或 AI 等外部服务可能另外收费。
查看原文依据
Permission is hereby granted, free of charge
许可证原文
Netlify CMS (no need for a separate server)
README 原文
Control users and access with Netlify Identity
README 原文
A new repository in your GitHub account with the code
README 原文
Full Continuous Deployment to Netlify's global CDN network
README 原文
Start with by registering a regular email-account (not OAuth yet!) with a [generated password](https://passwordwolf.com/).
README 原文
These extra steps are only necessary if you want to upload large media in Netlify CMS:
README 原文
**Setup Netlify LM** by following [these steps](https://docs.netlify.com/large-media/setup/).
README 原文
Open up a new terminal and run `npx netlify-cms-proxy-server`, the login again.
README 原文
It may be that you haven't [enabled Netlify Identity](https://app.netlify.com/sites/YOUR_NETLIFY_SITE_SLUG/settings/identity) or [setup the Git Gateway](https://app.netlify.com/sites/YOUR_NETLIFY_SITE_SLUG/settings/identity#services) correctly
README 原文
https://github.com/Knogobert/ntn-boilerplate/blob/master/LICENSEhttps://github.com/Knogobert/ntn-boilerplate/blob/master/README.mdset the environment variable `GIT_LFS_ENABLED` : `true`
README 原文
DeepSeek 根据仓库许可证和 README 整理 ·2026-10-02。结果仅覆盖已读取资料,依赖、图片、字体及后续条款变更以各自原文为准。
项目核对记录与介绍依据
模板资料
- 来源平台
- GitHub
- 资料与维护参考分
- 资料较完整 · 77 / 100
- 技术栈
- Nuxt · Vue
- 网站类型
- 启动器
这个分数如何计算
本站按许可资料(最高30分)、演示链接(12分)、预览图(10分)、Star数(15分)、记录的维护时间(15分)、描述完整度(8分)、功能记录(5分)和分类资料(5分)计算。它不是代码、安全或性能测试,也不是 Google 评分;有链接不代表已实测可用。
这个项目需要核对什么
- 记录的仓库更新时间
- 2024-04-11
- 截图检查日期
- 2026-10-02
已收录演示链接。请用你的内容与屏幕尺寸检查;有演示不代表表单、认证或支付已经可用。
目录记录的主要技术栈是 Nuxt。请通过依赖清单和锁文件核对实际版本与托管要求。这些说明基于收录资料,不代表代码审计或部署实测。
查看具体选型方法 →介绍的制作与核对状态
介绍由 AI 辅助整理目录与仓库资料。仓库作者不等于这篇介绍的审核者。
已完成服务器许可规则与 AI 来源核对;未经过人工编辑审核。
查看当时使用的来源资料
SHA-256: a2e6f78f6b72fd2b29c63e200afb5804f57da7b3861ad1288fce10e6a105cb41
2026-10-02T10:29:03.548Z
来源文件 / 仓库# 🏗️ Boilerplate for Nuxt, Tailwind & NetlifyCMS
[](https://app.netlify.com/sites/ntn-boilerplate/deploys) ← replace with [your own](https://app.netlify.com/sites/YOUR_NETLIFY_SITE_SLUG/settings/general#deploy-status-badge)
**[Live Demo](https://ntn-boilerplate.netlify.app/)**
An opinionated starter template for a quick start with the following technologies up on a site after only 5 minutes!

## 🔋 Batteries included
- Nuxt 3 (in "universal mode", where both SEO and speed is great)
- Vue 3
- Vuex (supported by adding to `/store`, but not implemented)
- PostCSS (no SCSS)
- Tailwind 3
- Dark mode & ColorModePicker (Set to "dark mode first")
- Netlify CMS (no need for a separate server)
- Prettier
- Nuxt-content (w/ exensible support for markdown and code-blocks)
##### Optional extra setup
- Git LFS (store uploaded images outside the main repo)
- Netlify LM (Netlify’s Git LFS support)
## 🎉 Getting Started
Use the deploy button to get your own copy of the repository.
[](https://app.netlify.com/start/deploy?repository=https://github.com/Knogobert/ntn-boilerplate&stack=cms)
This will setup everything needed for running the CMS:
- A new repository in your GitHub account with the code
- Full Continuous Deployment to Netlify's global CDN network
- Control users and access with Netlify Identity
- Manage content with Netlify CMS and Nuxt-content
Once the initial build finishes, you can invite yourself as a user. Go to the Identity tab in your new site, click "Invite" and send yourself an invite. Start with by registering a regular email-account (not OAuth yet!) with a [generated password](https://passwordwolf.com/).
You should be up and running, ready for personalization!
### These extra steps are only necessary if you want to upload large media in Netlify CMS:
This way it doesn't clutter up your repo with large unmanageable files. But *do know* that it is easier to add later than undoing it later.
1. **[Install git-lfs](https://git-lfs.github.com/)** on your computer and remove the `#` in the project's `.gitattributes`
2. **Setup Netlify LM** by following [these steps](https://docs.netlify.com/large-media/setup/). (In short: `netlify plugins:install netlify-lm-plugin` → `netlify lm:install` → `netlify login` → `netlify link` → `netlify lm:setup` → commit the `.lfsconfig` file.)
---
## Project commands
1. 📦 Install dependencies.
```bash
npm install
```
2. 🏗 Run the project for local dev. This will start a hot-reloading server at `localhost:3000`.
```bash
npm run dev
```
3. 🌌 Build the app for server-side rendered deployment. See more about **Universal SSR** in the [Nuxt.js docs](https://nuxtjs.org/guide#server-rendered-universal-ssr-).
```bash
npm run build
# And to serve that deployment...
npm run start
```
4. ⚡️ Generate a fully pre-rendered static site. See more [in the docs](https://nuxtjs.org/guide#static-generated-pre-rendering-).
```bash
npm run generate
```
### Personalize setup
1. Copy and change the .env-file
- `cp .env-example .env`
- Then change the values
2. Change the value on these lines
- `public/admin/config.yml` — `site_url` & `logo_url`
- `content/site/info.json` — `sitename`, `sitedescription` & `sitelang`
- `package.json` — `name`, `description`, `author` & `repository.url`
- `pages/index.vue` — The start page of your new website!
3. Change colors, favicon, content & content collections
- Colors are managed in `assets/css/_vars.pcss` & `tailwind.config.js`
- Favicon is generated by [@vite-pwa/assets-generator](https://vite-pwa-org.netlify.app/assets-generator/). You should change the `public/icon.png` to something new, and then `npm run generate-pwa-assets`. Replace the preview.jpg as well.
- Content is managed mainly in [local Netlify CMS](http://localhost:3000/admin) by going to your `/admin`, in development mode by double-clicking on a post or by hand in `/content`
- Content collections are managed in `public/admin/config.yml`
4. Change font
1. Add/change your font link in `nuxt.config.js` under `head.link`. You can add a `<link rel="stylesheet" href="font.css">` as `link: [{ rel: 'stylesheet', href: 'font.css' }]`, like [this](https://vue-meta.nuxtjs.org/api/#link)
2. Then append your font name in `tailwind.config.js` under `theme.extend.fontFamily.sans` (or other).
3. Then if you've uncommented the included netlify plugin "[Subfont](https://github.com/Munter/netlify-plugin-subfont#readme)" in `netlify.toml`, it will automatically post-processes your web page to use an optimal font loading strategy.
## More info
> This project was bootstrapped with `create-nuxt-app`. There are more detailed explanations of how everything works in the [Nuxt.js docs](https://nuxtjs.org).
### Netlify Identity
Make sure to set to "registration invite only" [here](https://app.netlify.com/sites/YOUR_NETLIFY_SITE_SLUG/settings/identity#registration-preferences) if you don't want spam.
When you create your first account, _don’t_ sign up using OAuth, generate a new password and sign in that way locally, otherwise a successful login will send you to the URL you typed in instead of keeping you on localhost.
If you want the Netlify signup emails to work with this boilerplate, you need to either add the 'netlify-identity-widget' to `nuxt.config.js` under `head`, [Follow the advice here](https://answers.netlify.com/t/common-issue-netlify-cms-git-gateway-email-not-confirmed/10690). Or enable the fixed and included email-templates’ paths in Netlify, under [Site Settings > Identity > Emails](https://app.netlify.com/sites/YOUR_NETLIFY_SITE_SLUG/settings/identity) and there you can set `/public/emails/THE_TEMPLATE_NAME.html` for each template.
---
Originally based on [Henry Desroches' nuxt-netlify-cms-starter](https://github.com/xdesro/nuxt-netlify-cms-starter).
---
## Troubleshooting
- > I can’t log in to `/admin` on localhost and use my local git as CMS
- Open up a new terminal and run `npx netlify-cms-proxy-server`, the login again.
- > I tried logging into/saving in Netlify CMS, but I can't
- It may be that you haven't [enabled Netlify Identity](https://app.netlify.com/sites/YOUR_NETLIFY_SITE_SLUG/settings/identity) or [setup the Git Gateway](https://app.netlify.com/sites/YOUR_NETLIFY_SITE_SLUG/settings/identity#services) correctly, [check the docs](https://www.netlifycms.org/docs/git-gateway-backend/)
- > I get Netlify emails but can't use them to login etc.
- It is probably because the 'netlify-identity-widget' is only included in the `/admin`-page. [Follow the advice here](https://answers.netlify.com/t/common-issue-netlify-cms-git-gateway-email-not-confirmed/10690) or enable the included email-templates’ paths in Netlify, under [Site Settings > Identity > Emails](https://app.netlify.com/sites/YOUR_NETLIFY_SITE_SLUG/settings/identity) and there you can set `/public/emails/THE_TEMPLATE_NAME.html` for each template. This will make sure to use the correct links inside the emails. Look at @audetcameron’s [screenshot here](https://github.com/Knogobert/ntn-boilerplate/issues/8#issuecomment-841469850).
- > "This repository is configured for Git LFS but 'git-lfs' was not found on your path."
- Install git-lfs then run `git lfs install` in project root. Then to download the images, run `git lfs pull`. Or if you don't want to download the files/can't login to the lfs server, run `git lfs install --skip-smudge` instead.
- > I can’t get Git LFS to run correctly on Netlify
- Make sure that you have in your [Netlify build settings](https://app.netlify.com/sites/YOUR_NETLIFY_SITE_SLUG/settings/deploys#environment-variables), set the environment variable `GIT_LFS_ENABLED` : `true`. Then also make sure that Netlify LM is setup as [their docs](https://docs.netlify.com/large-media/setup/) specify.
看看同类模板
对比同技术栈与用途的模板,找到更适合的视觉与内容结构。
laravel-nuxt
A Laravel-Nuxt starter kit.
Nuxt · 启动器
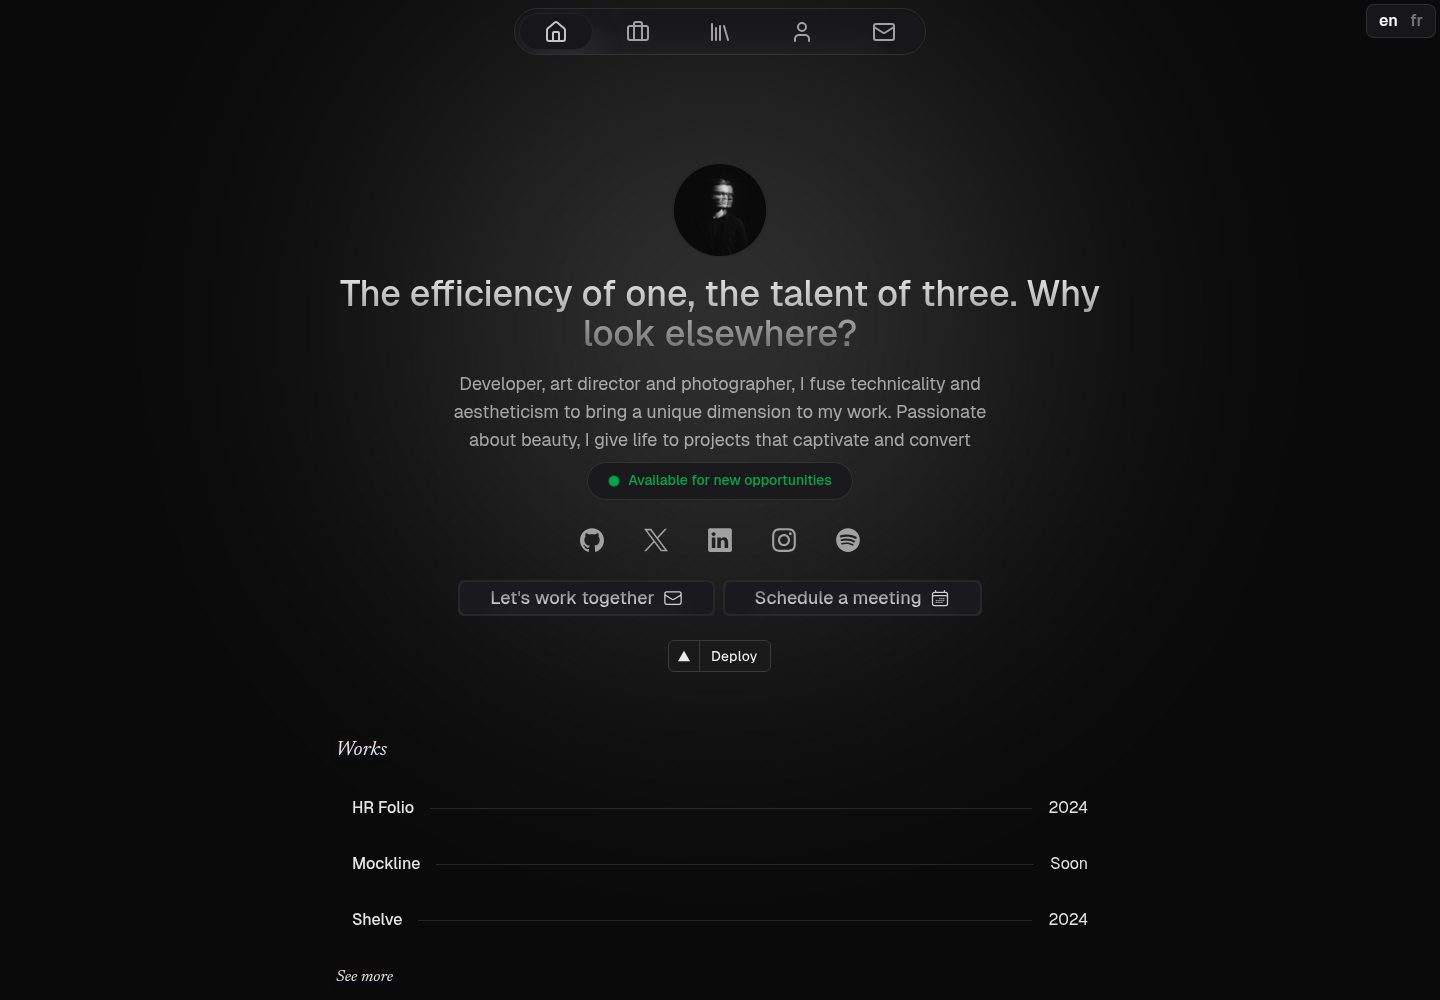
canvas
Portfolio template made with Nuxt 3, Nuxt Content v3, NuxtUI v3 and TailwindCSS v4
Nuxt · 作品集
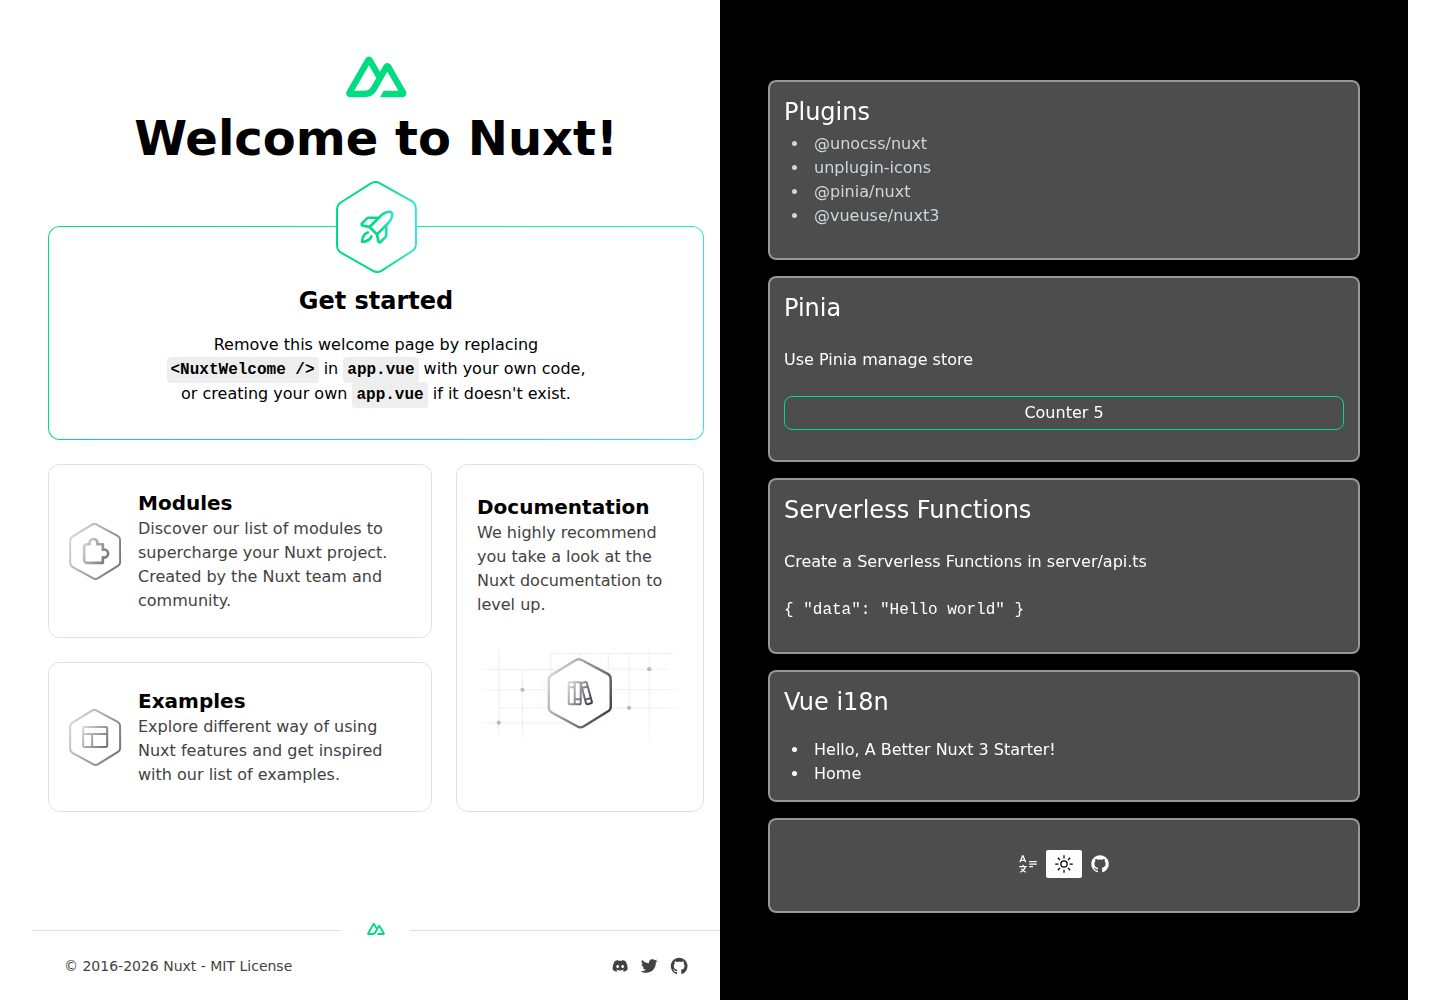
nuxt3-starter
💚 A Better Nuxt 3 Starter Template,generate by nuxi.
Nuxt · 启动器
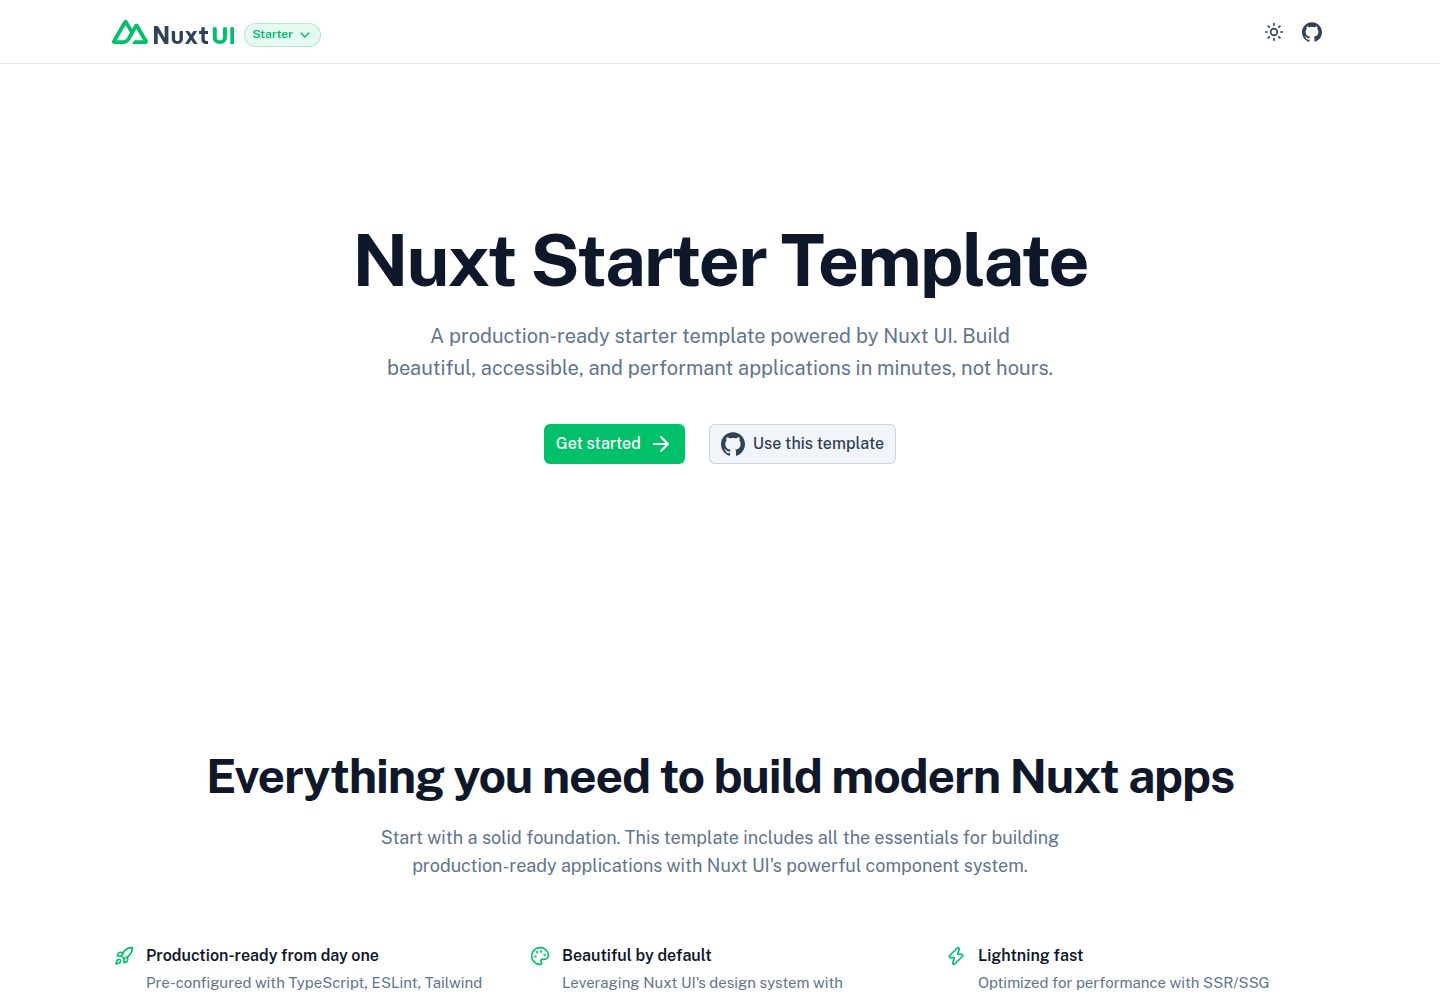
starter
Nuxt Starter Template for Nuxt UI.
Nuxt · 启动器
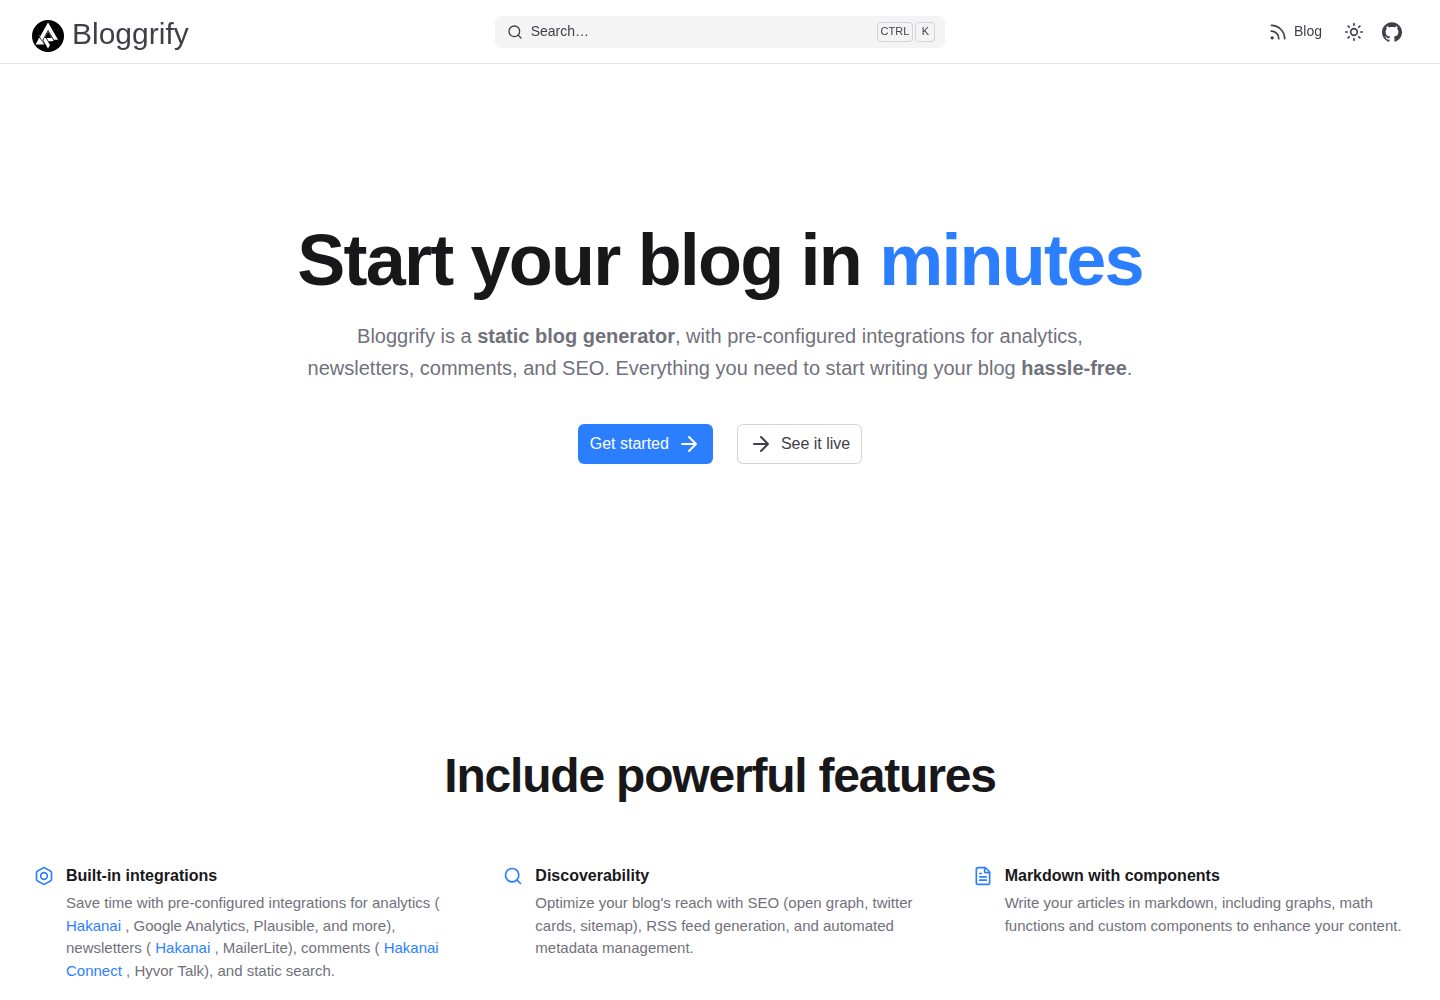
bloggrify
Run a blog from Markdown files. Themes, SEO, analytics, newsletter and comments preconfigured. Like Docus, but…
Nuxt · 博客
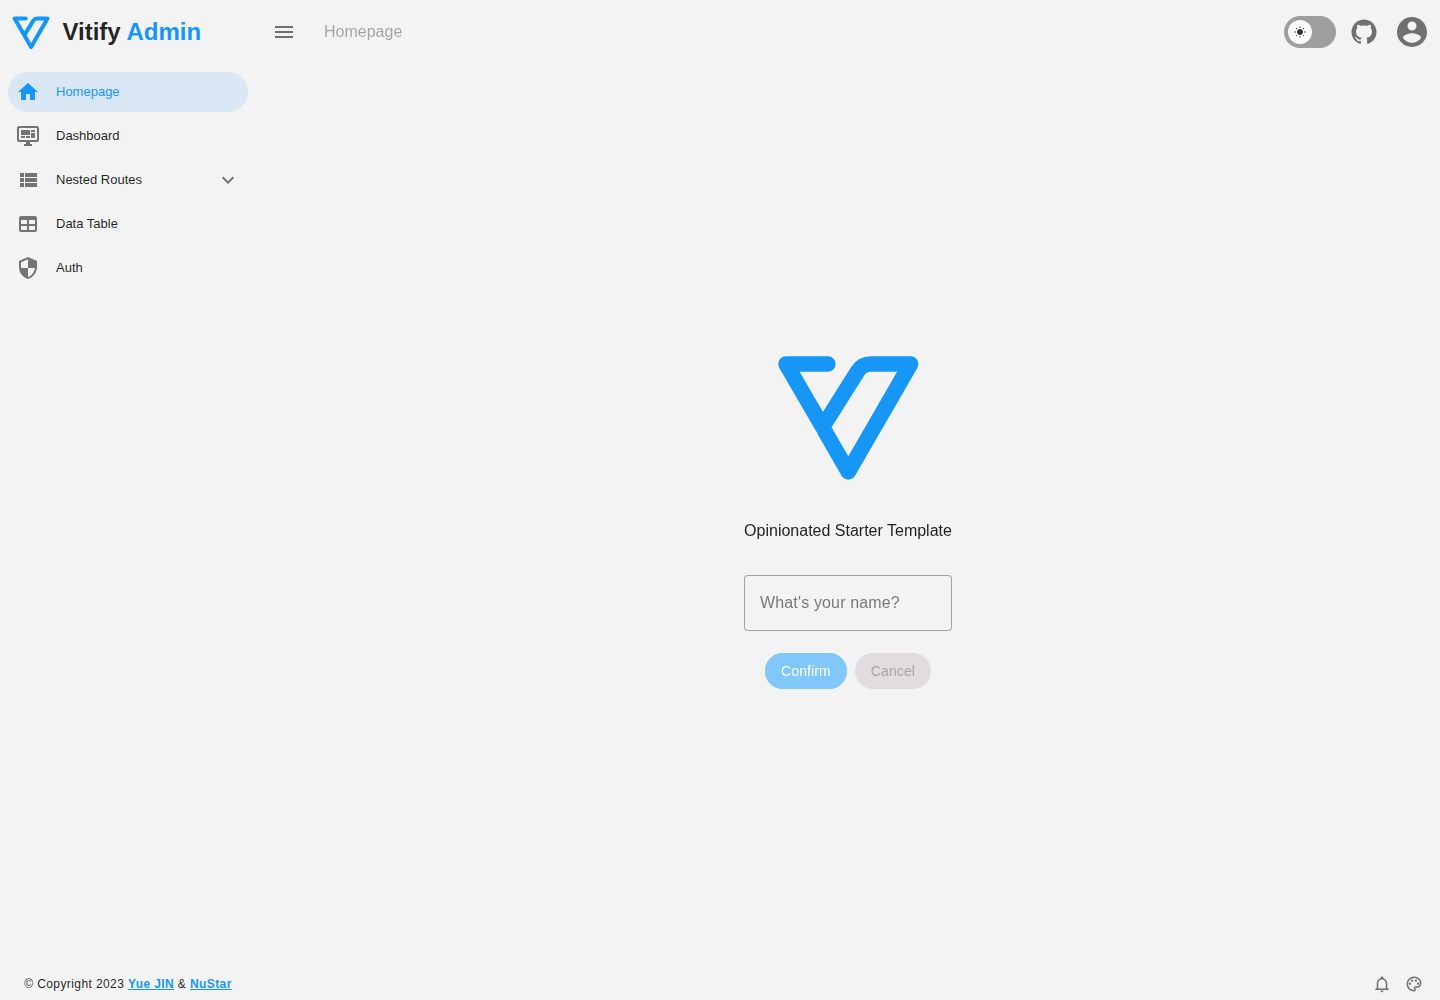
vitify-nuxt
🔽🏔 Vuetify + Nuxt Starter Template
Nuxt · 后台